
In the previous article we talked about 6 photo tips to improve your photos.
In fact it’s very important to have clear what you want to capture, how many and which elements to frame in the photo.
Sometimes, our photos don’t satisfy us and we can’t figure out why.
No fear! There are some simple composition rules that can help us figure out what’s wrong and get better results!
They are very practical and intuitive techniques, based on order, lines and geometries, which make the photo more interesting and pleasant to look at.
So let’s try to explore some of them.
Of course, speaking of art, all these rules are not real imperatives. Indeed, sometimes not following them helps us to better express our message.
But to do this we need to be conscious of the rules, otherwise our result will be just a mistake, or a stroke of luck!
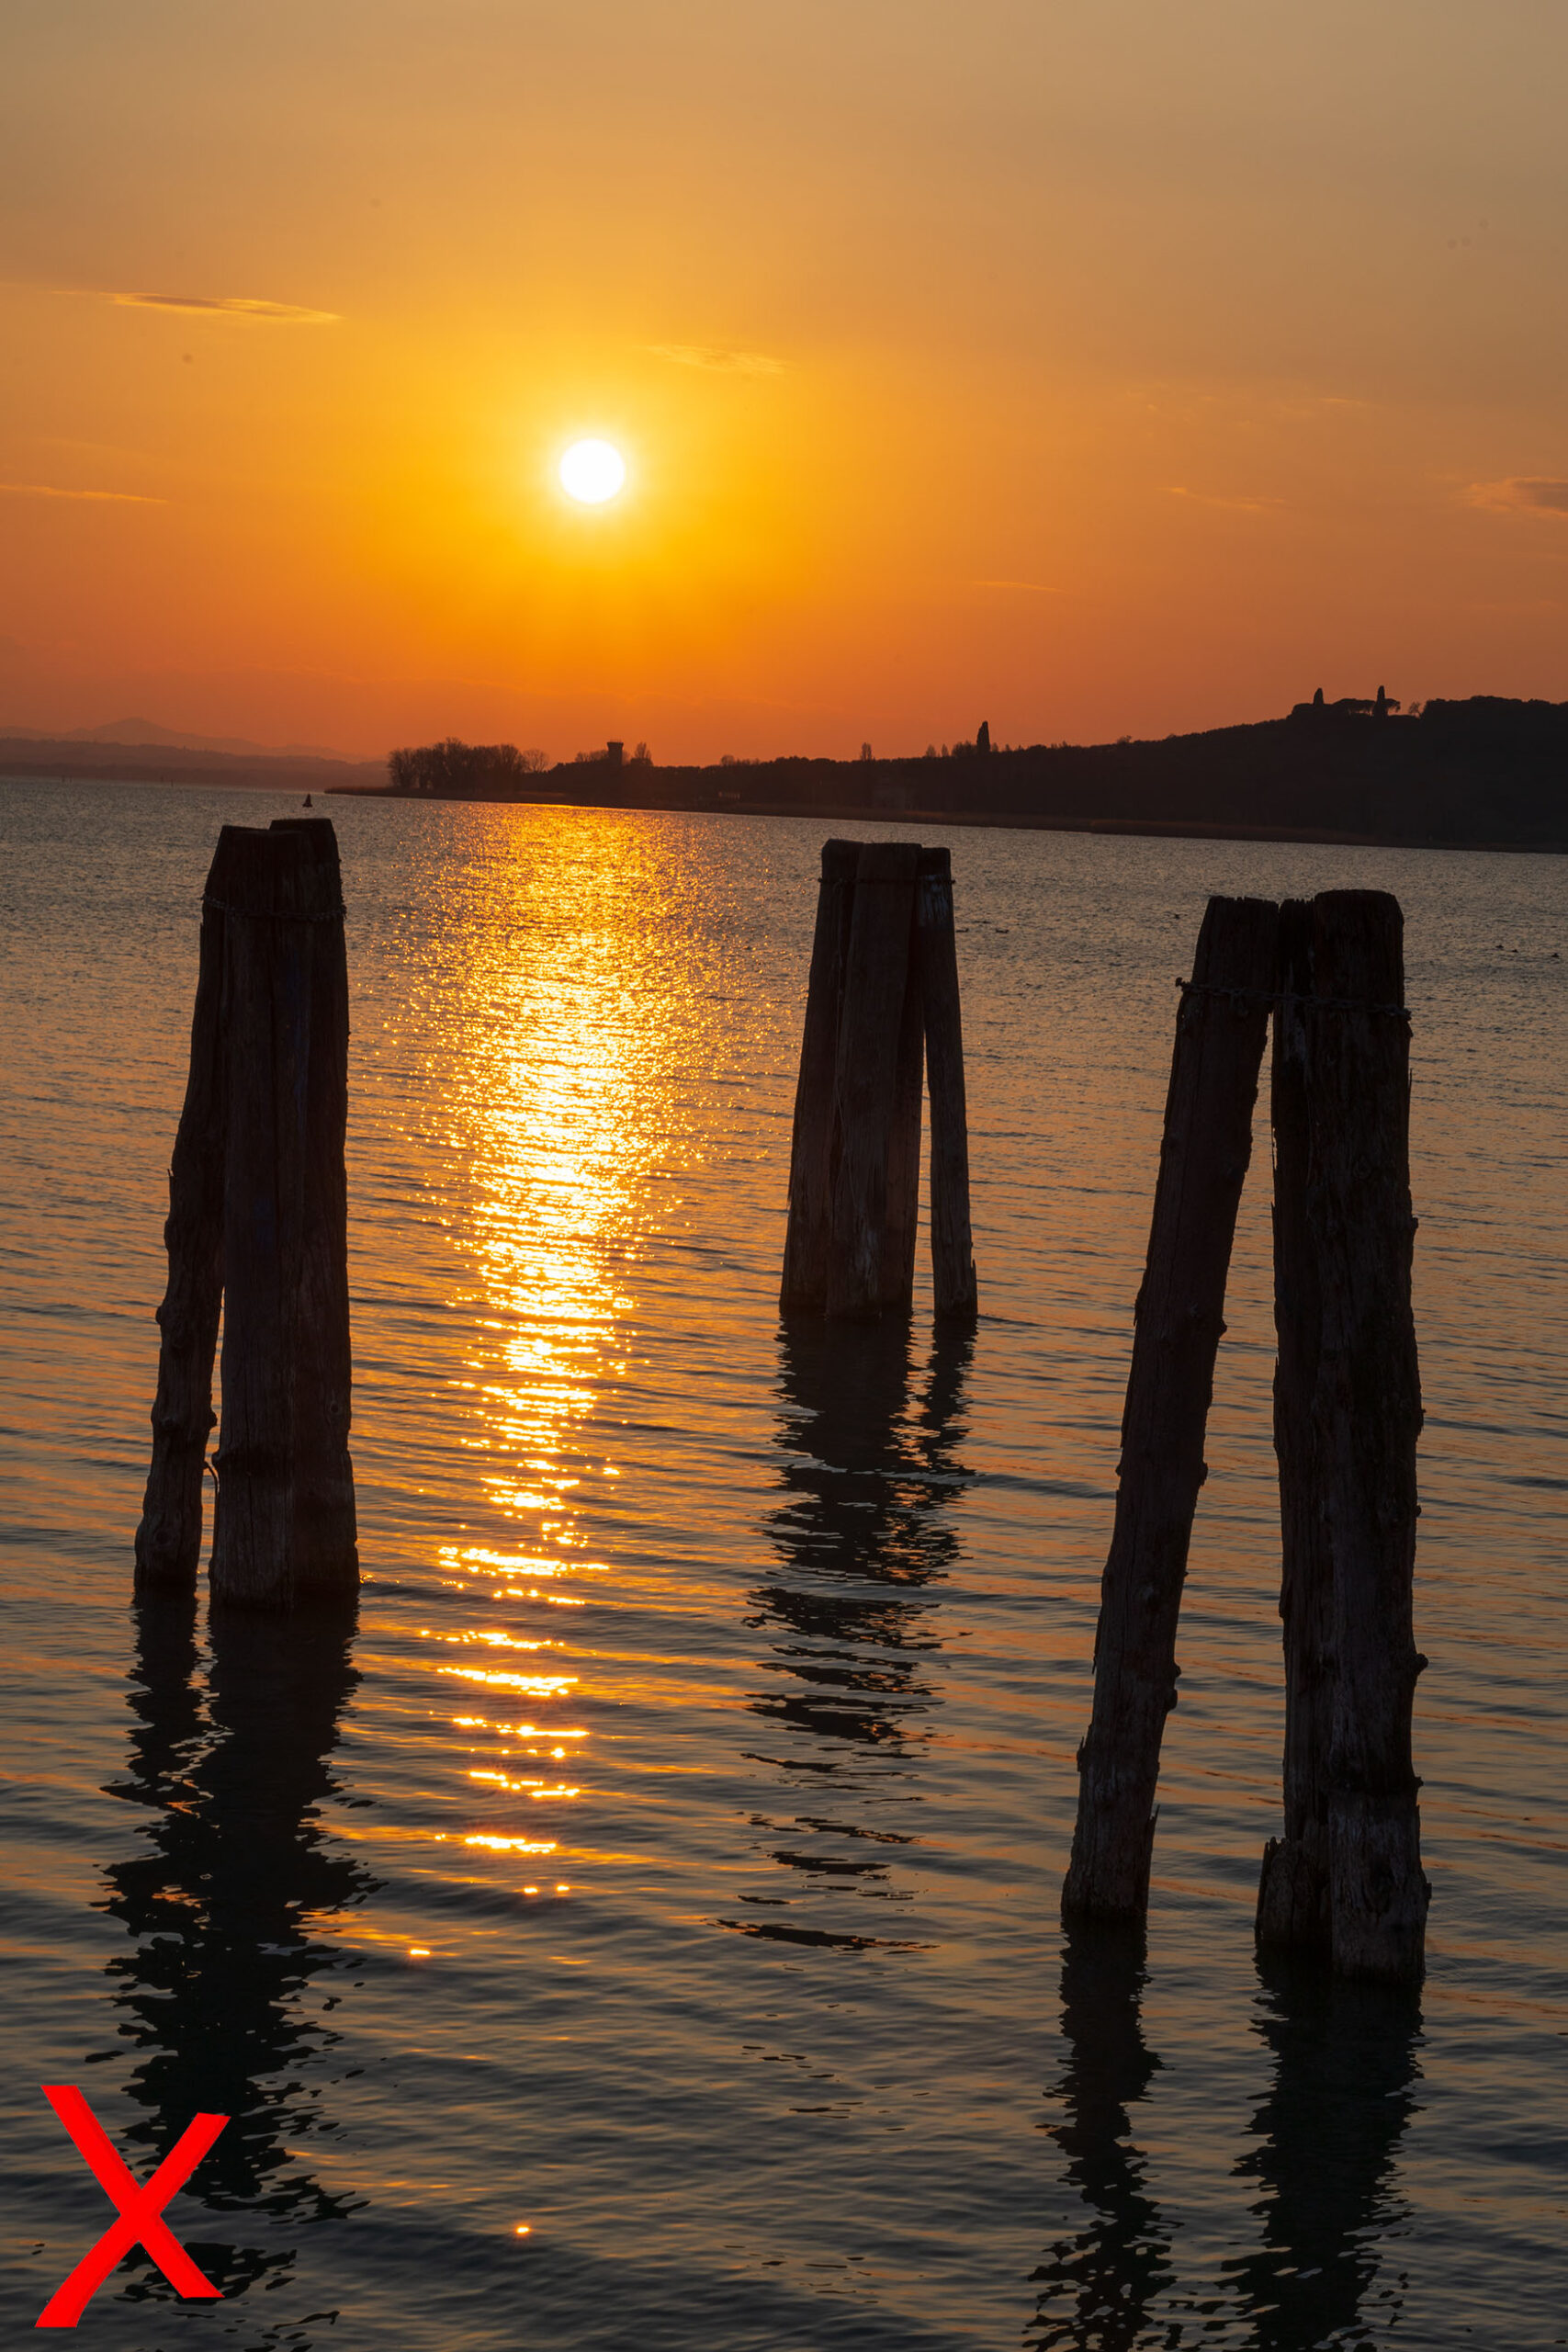
1. Horizon line
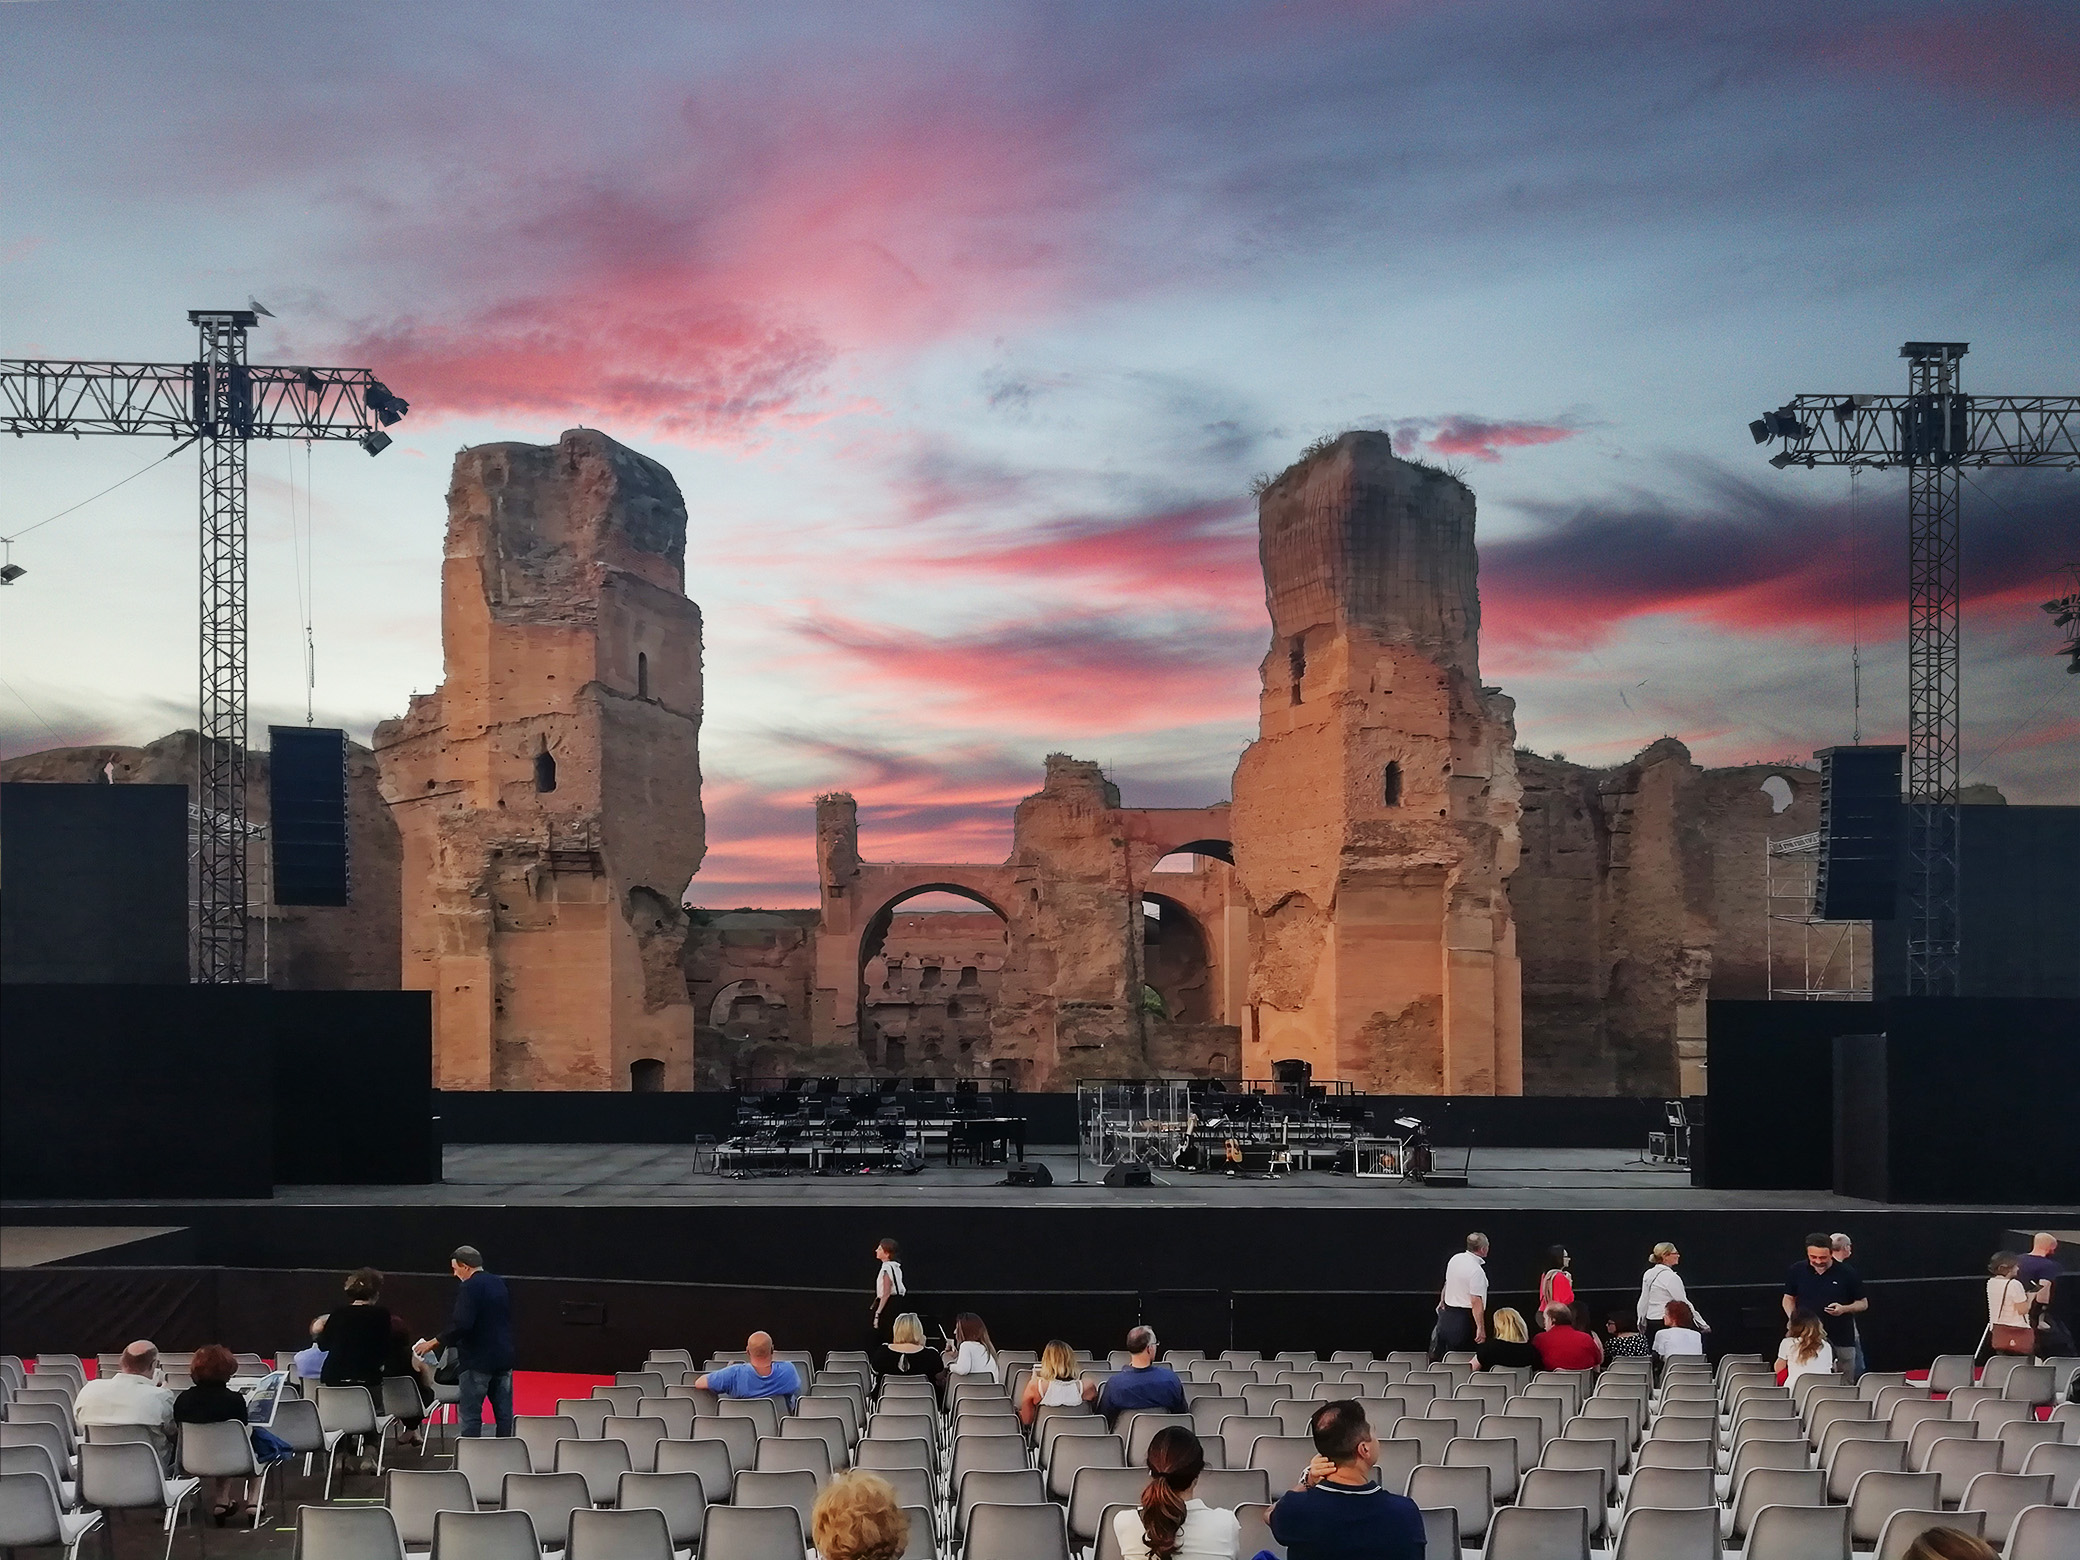
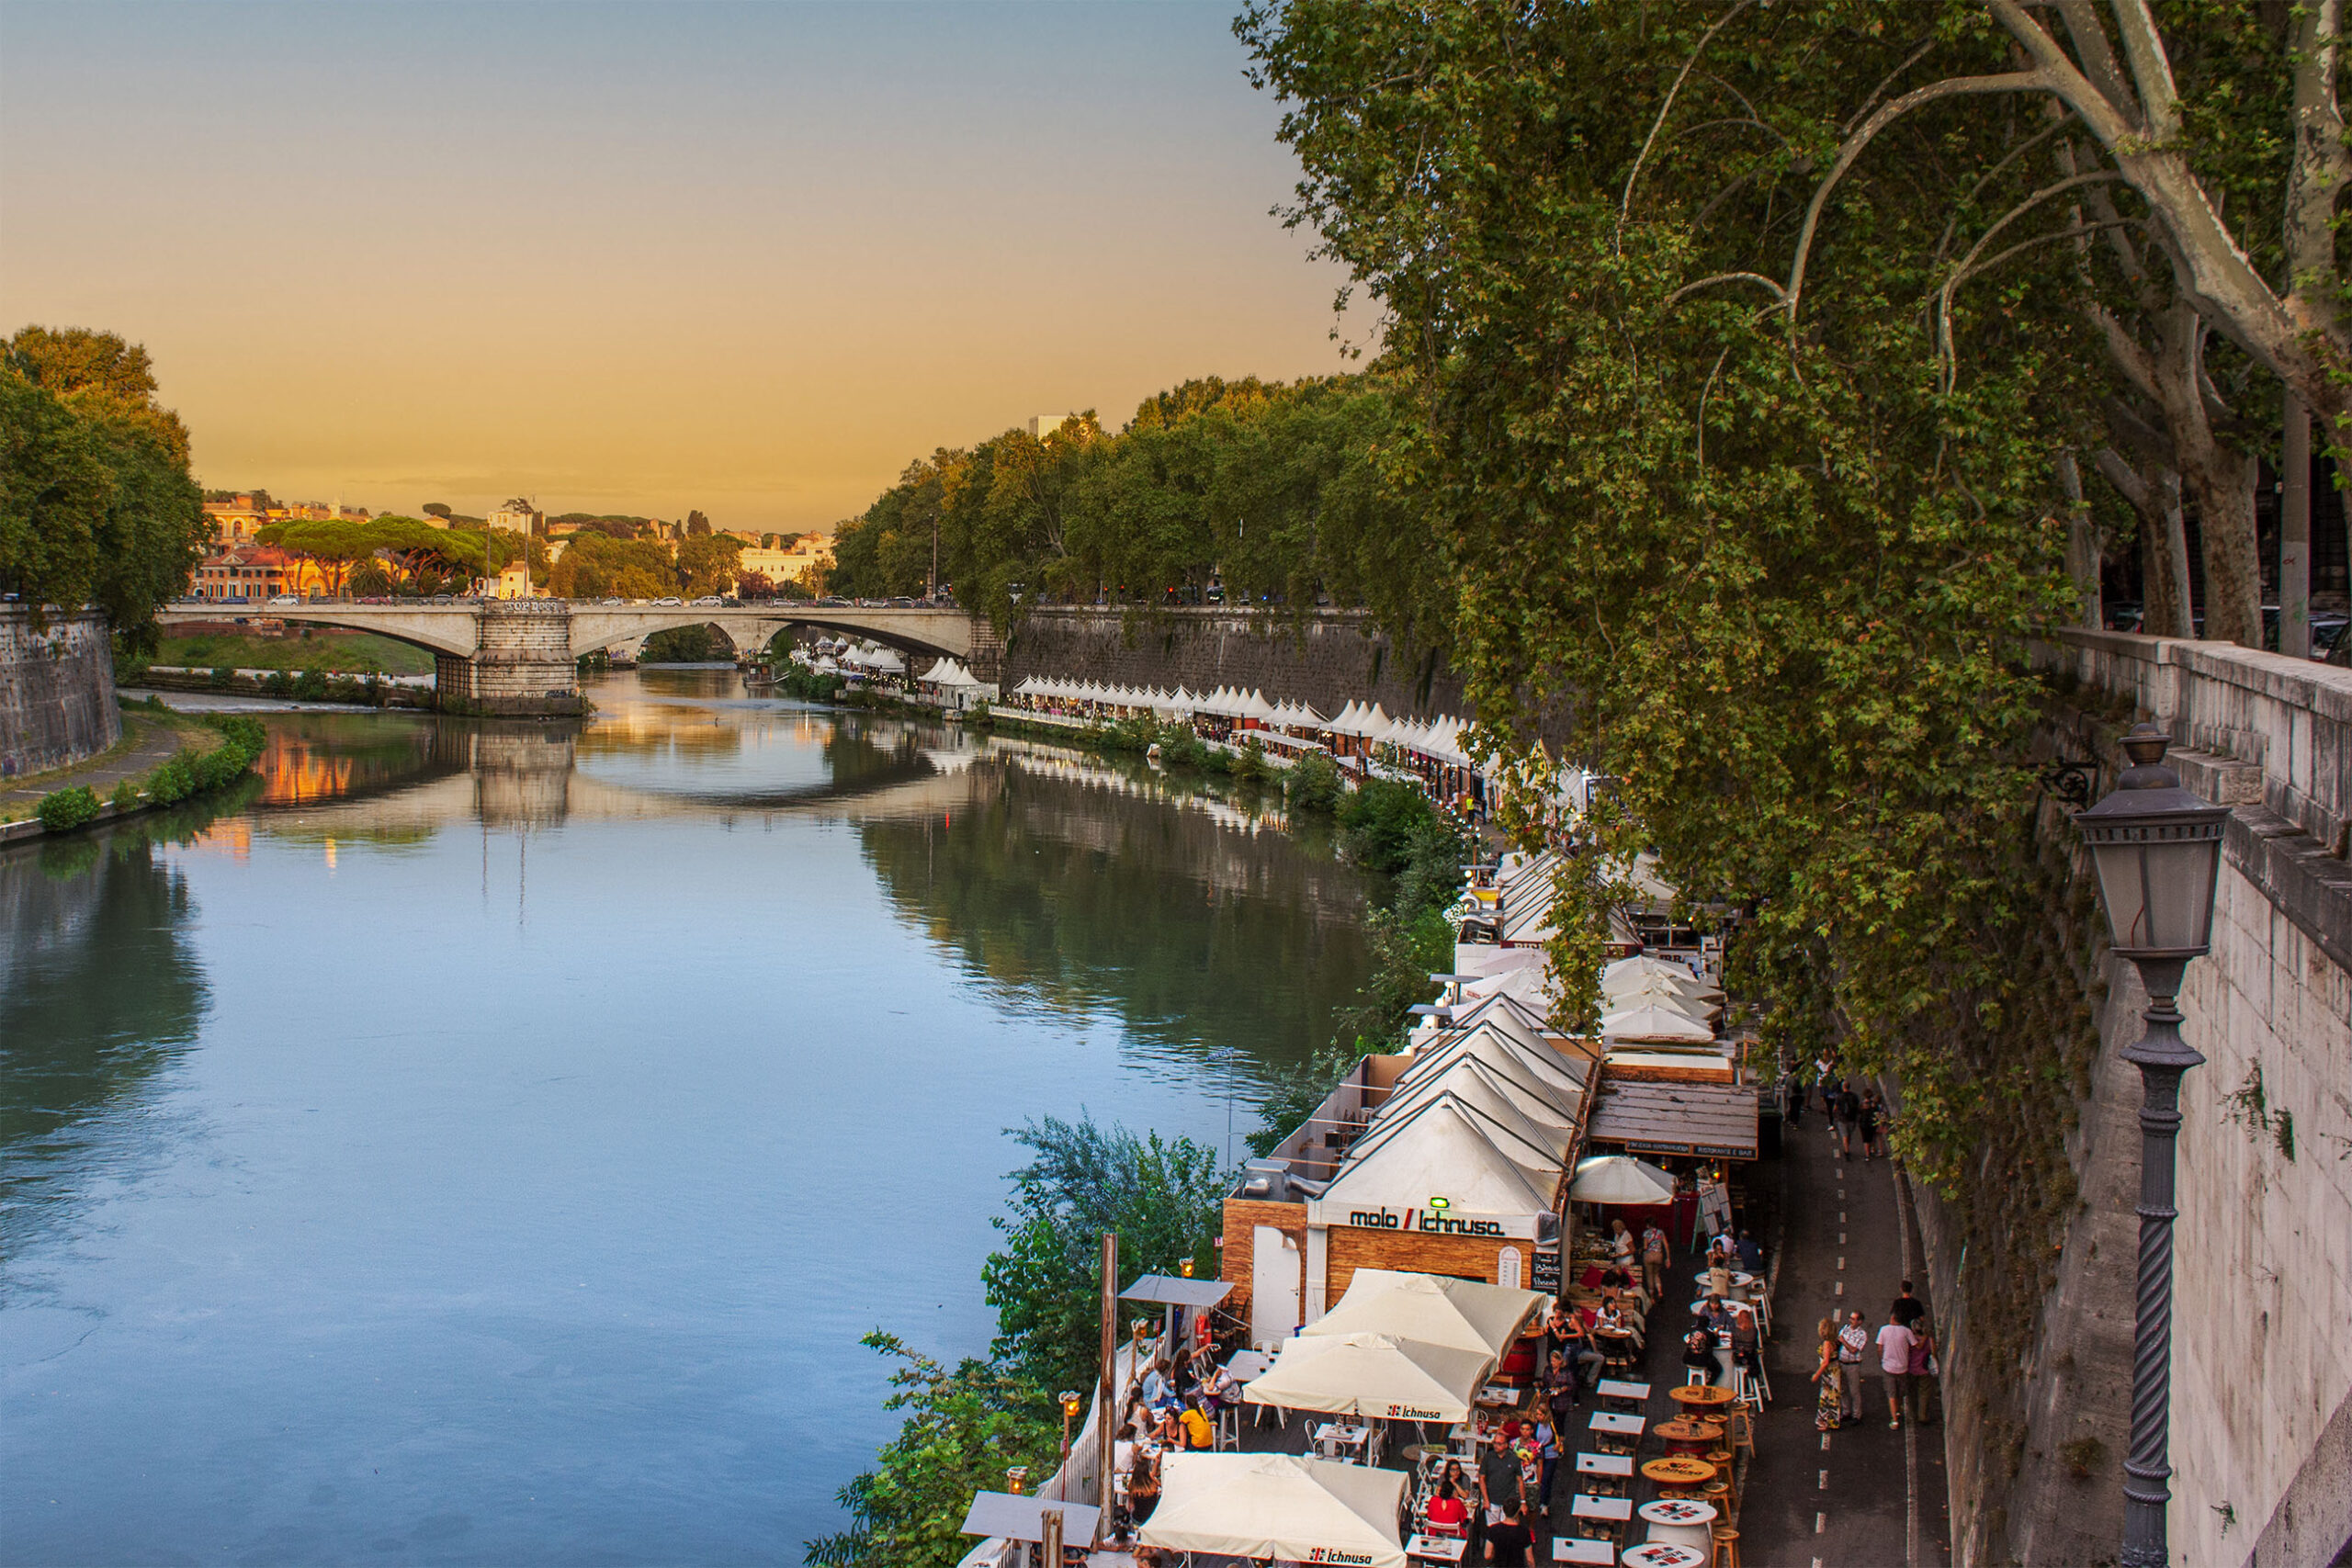
First thing: the horizon line must be perfectly horizontal!
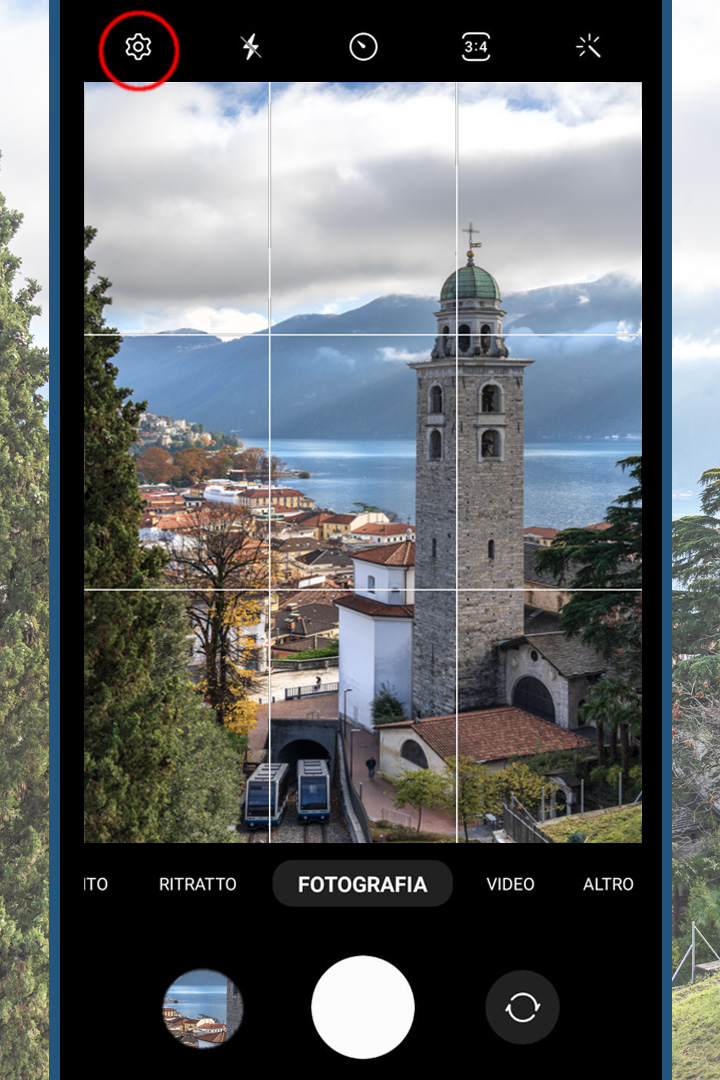
In every phone or camera, a grid of horizontal and vertical lines can be displayed on the screen to help us.
In many cameras there is also a “digital horizon”, which helps us to keep the device exactly horizontal.
Ph: @giadaantonini_photography 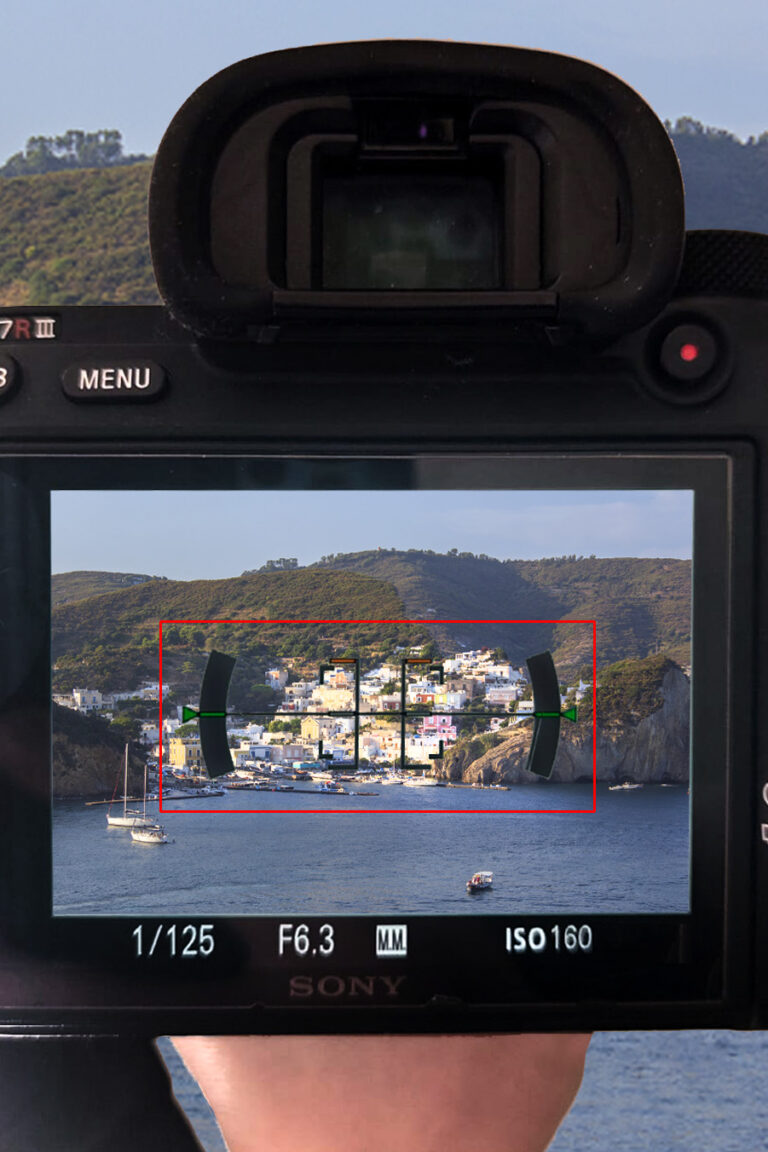
Ph: @giadaantonini_photography
For images that have already been taken, it will be enough to rotate them slightly with any photo editing program or app. Also in this case, the grid will be displayed as a support.
Ph: @giadaantonini_photography 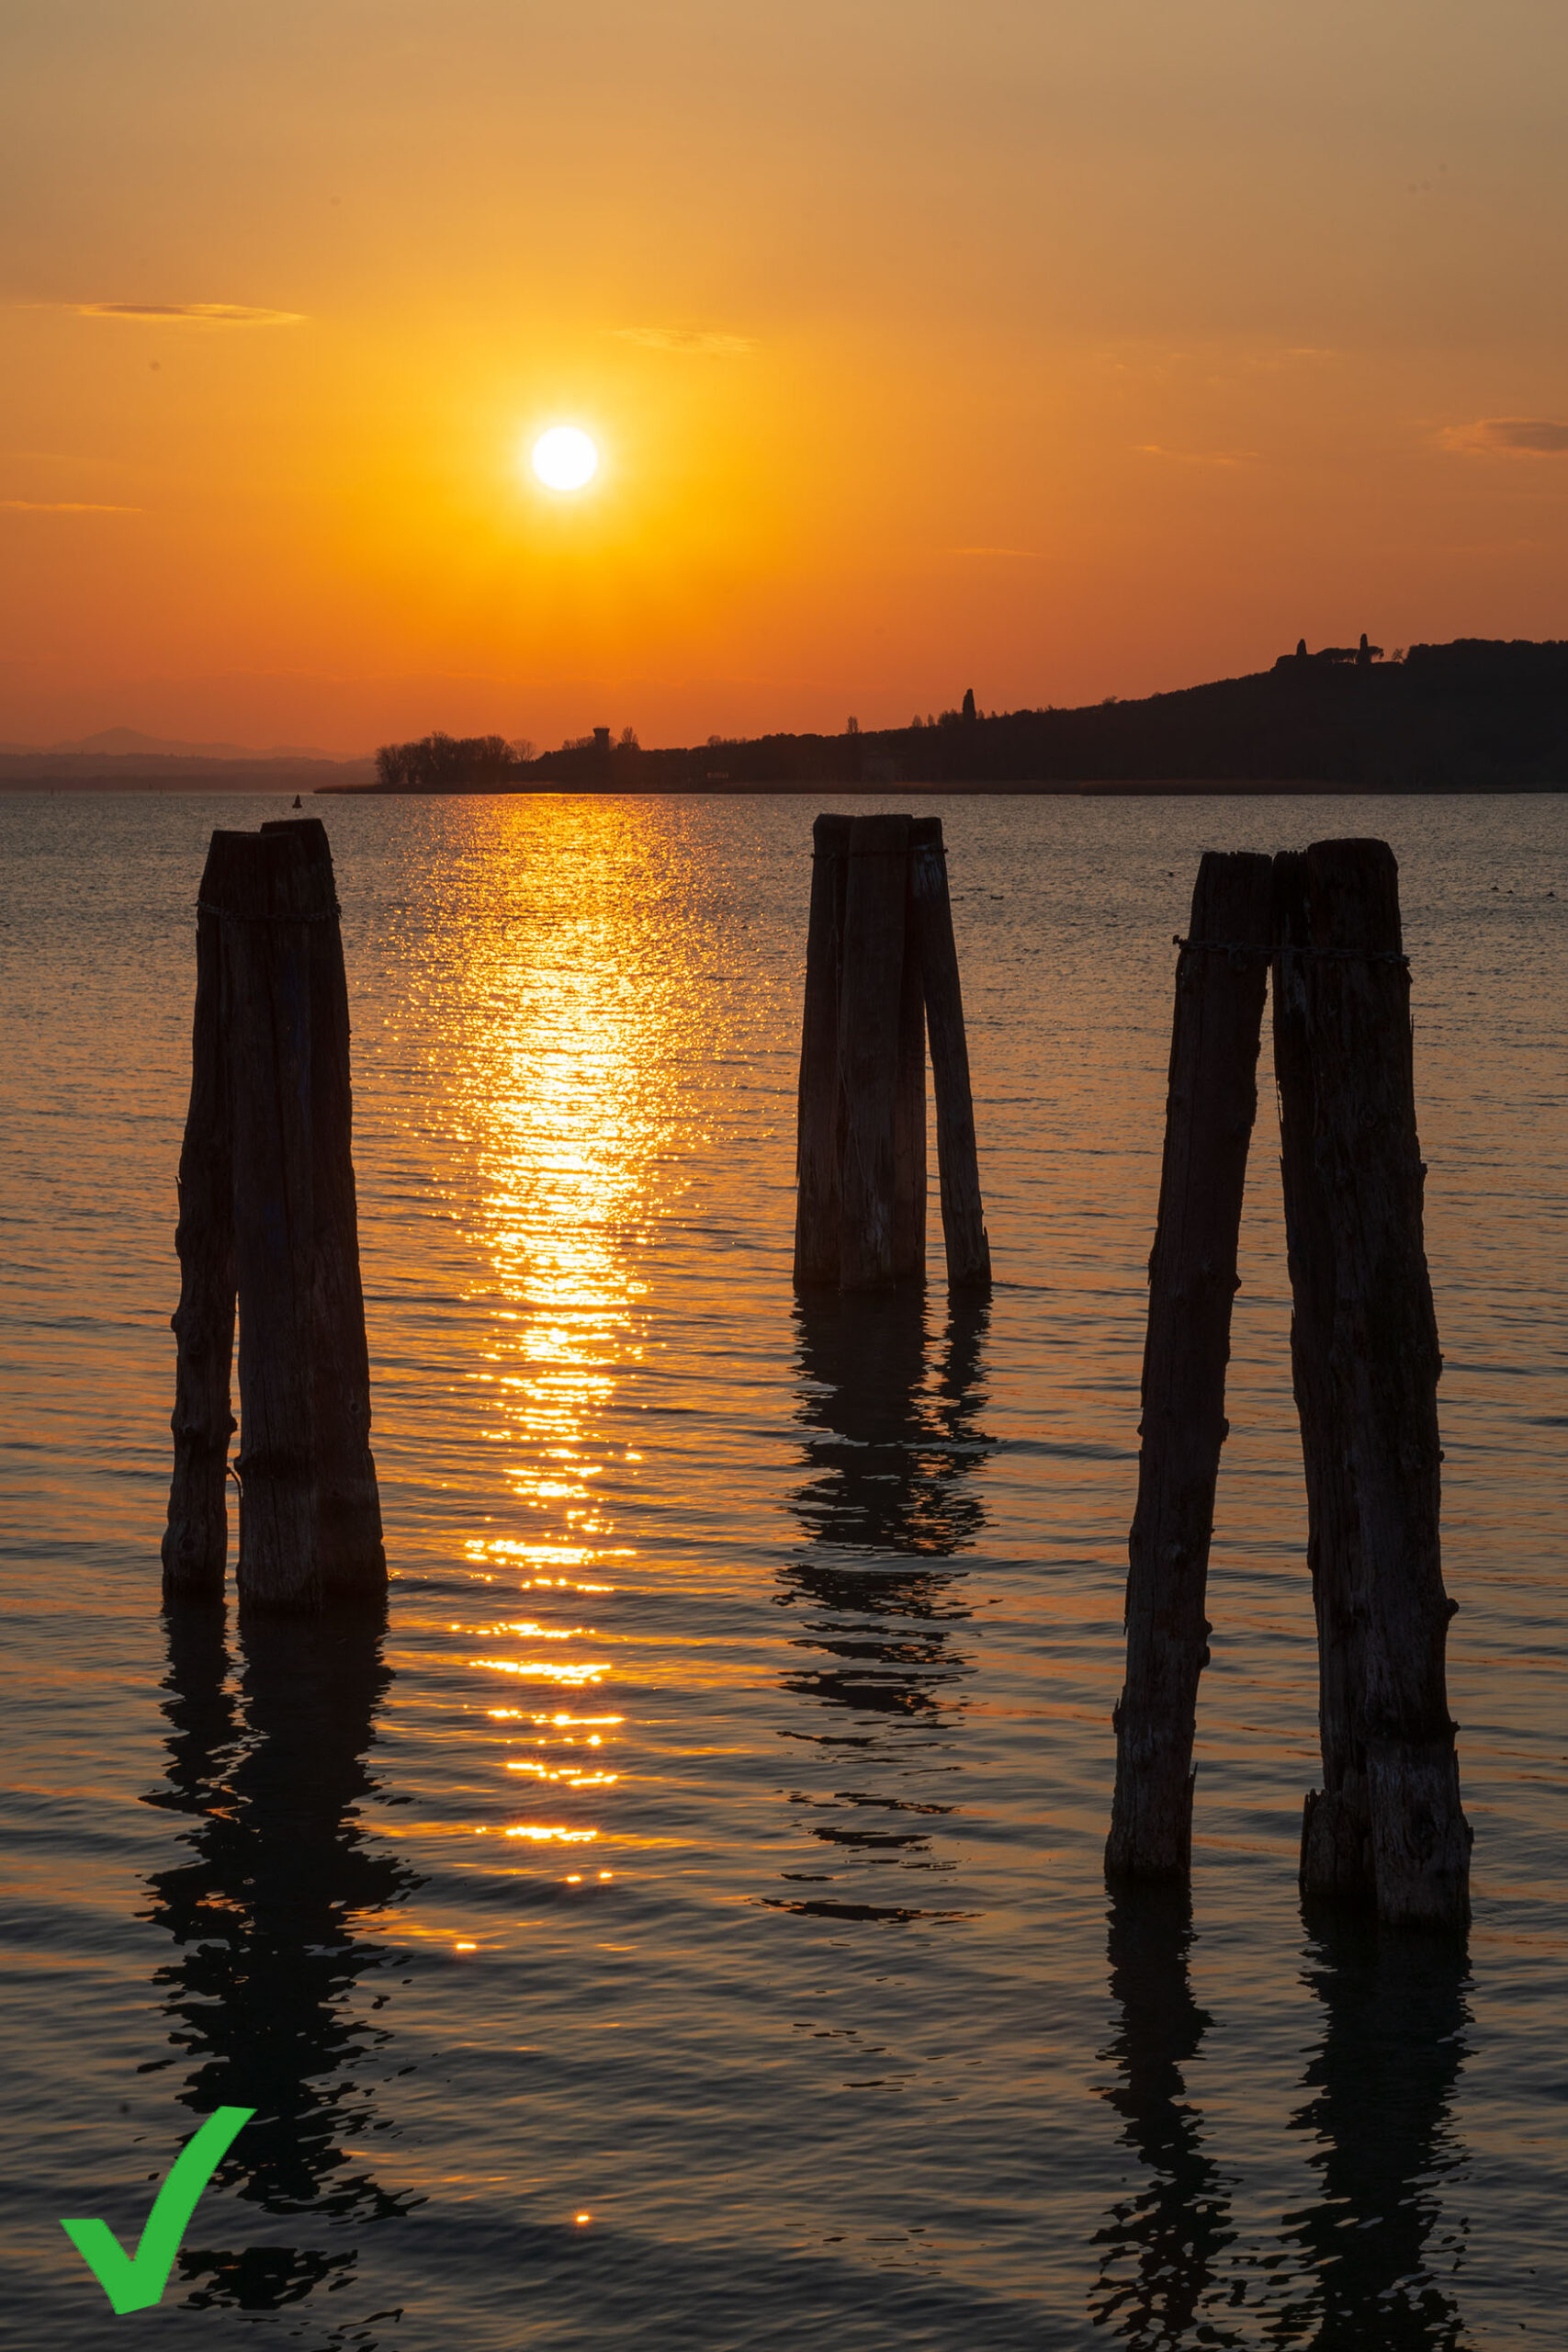
Ph: @giadaantonini_photography
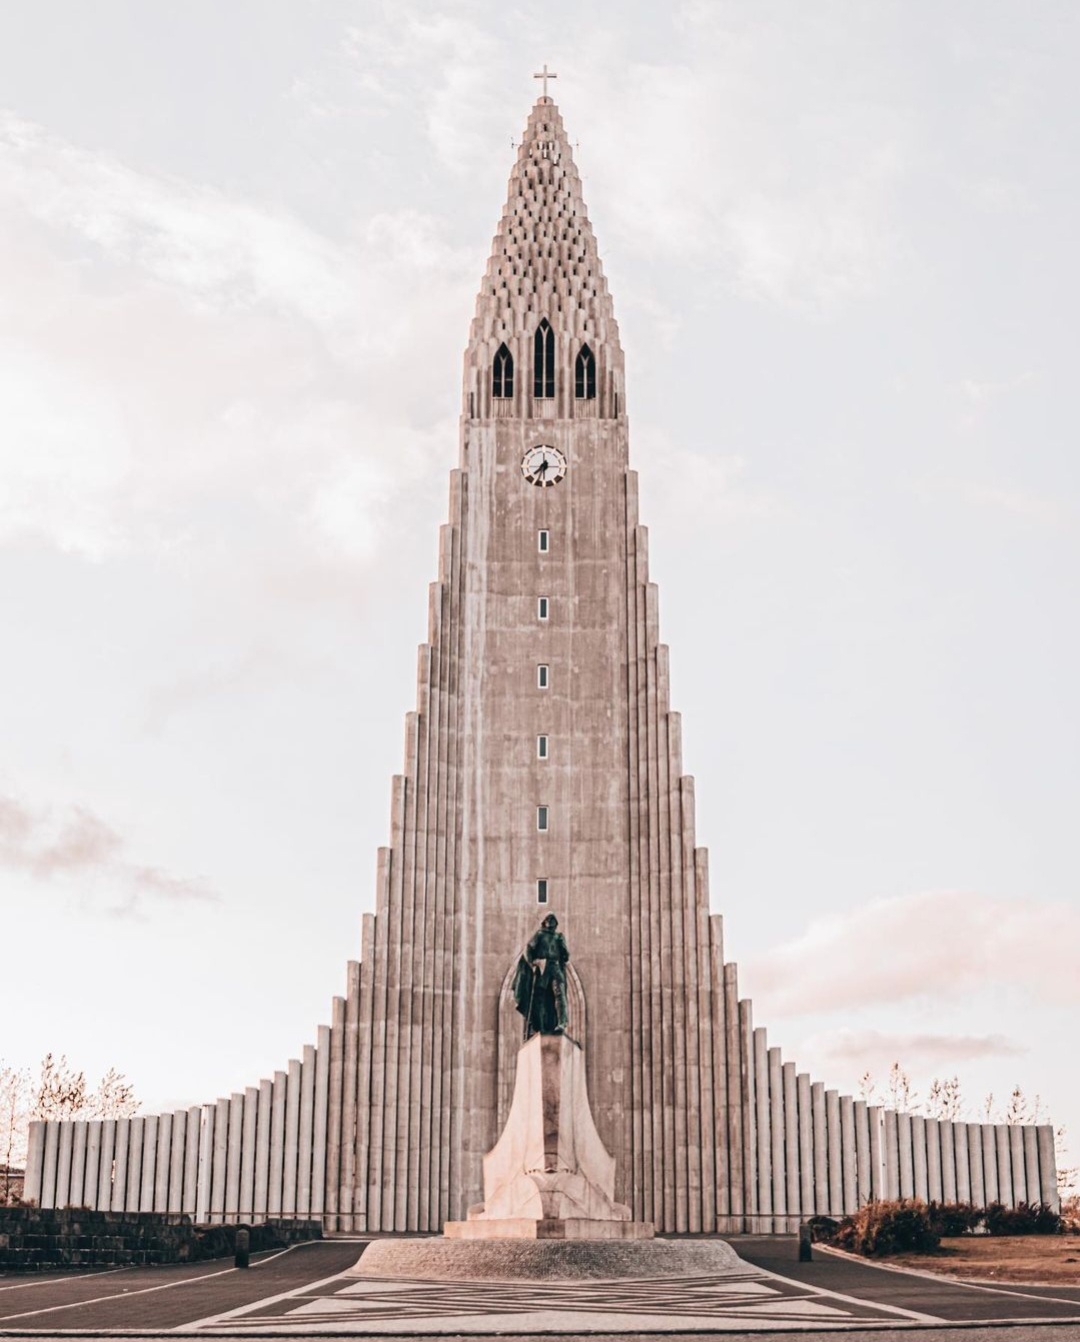
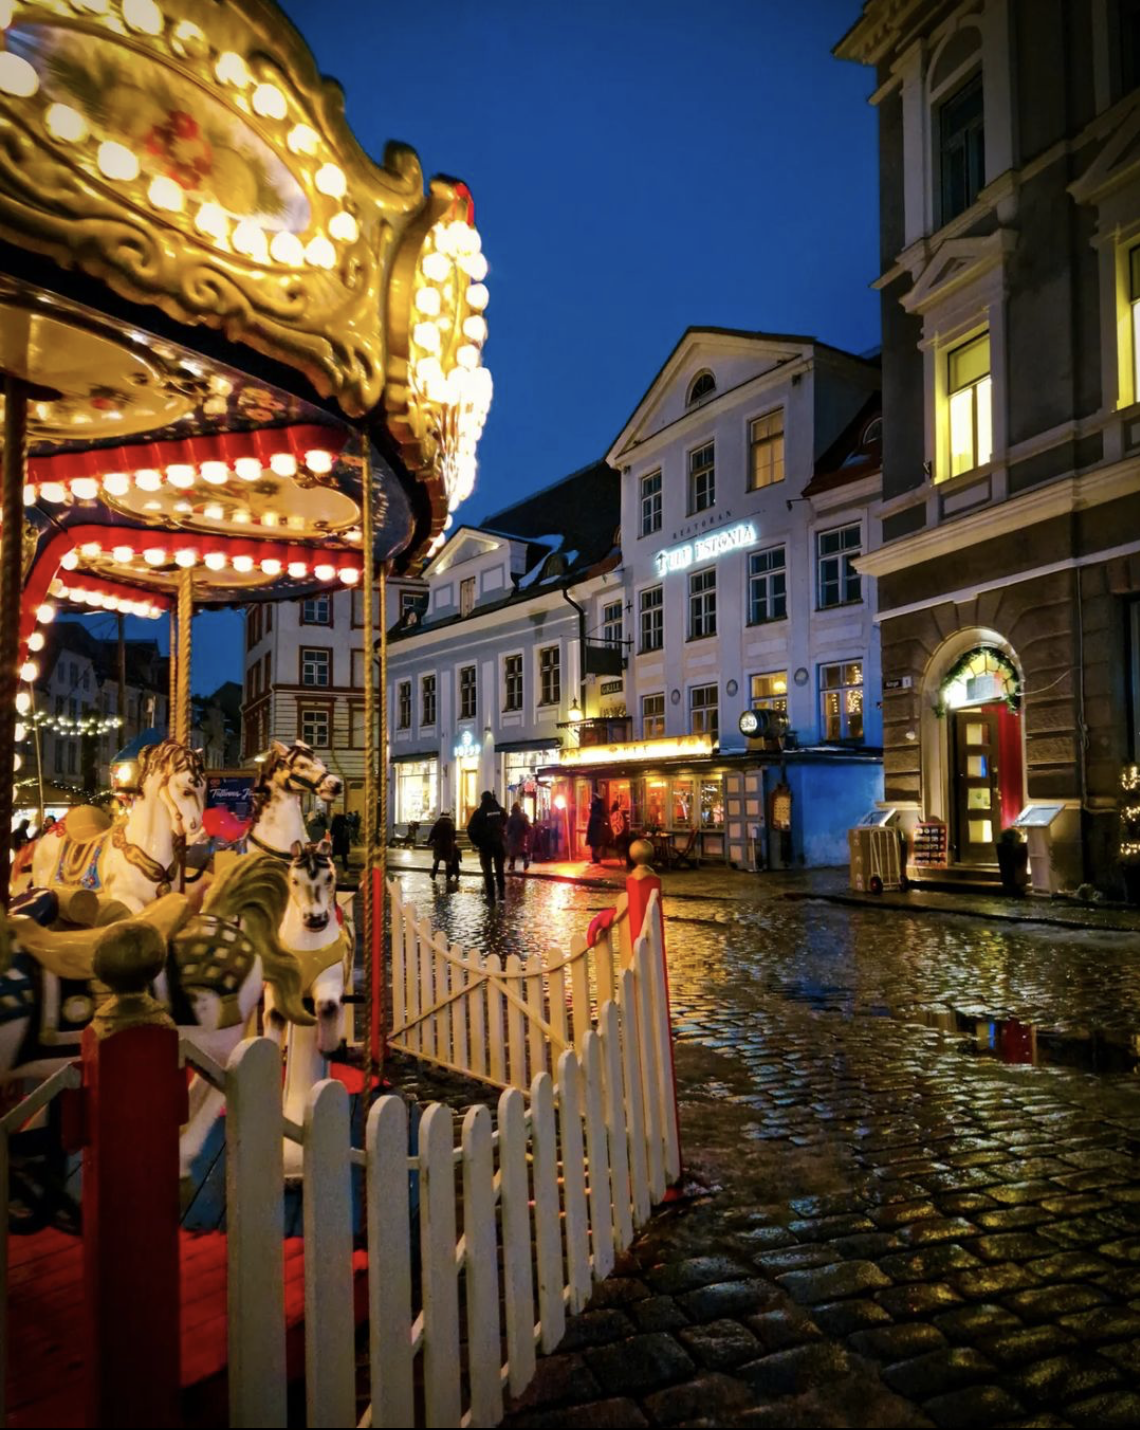
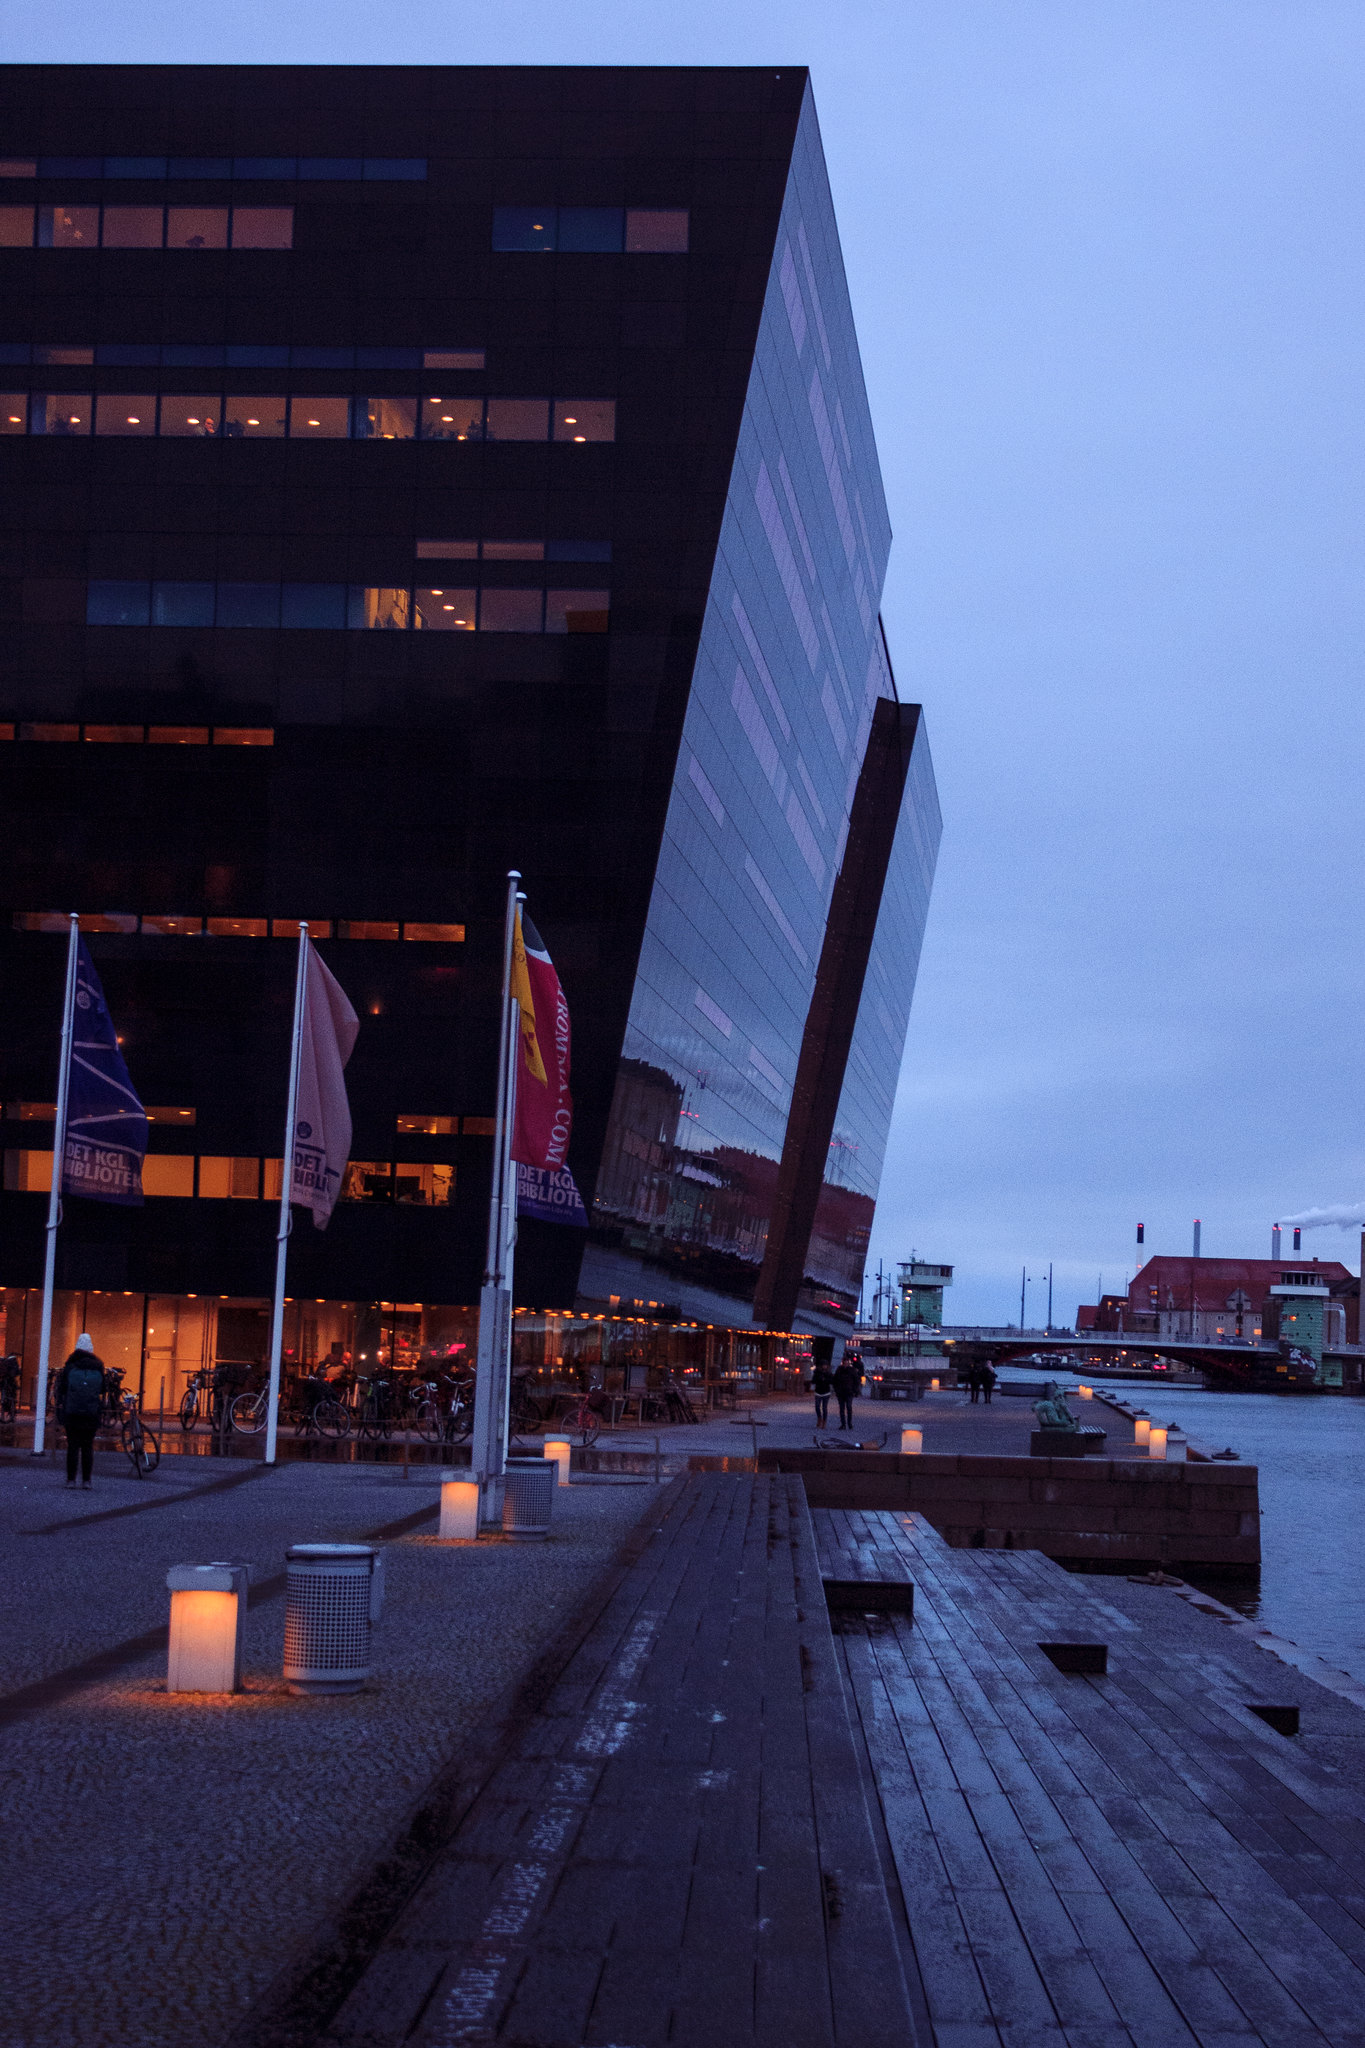
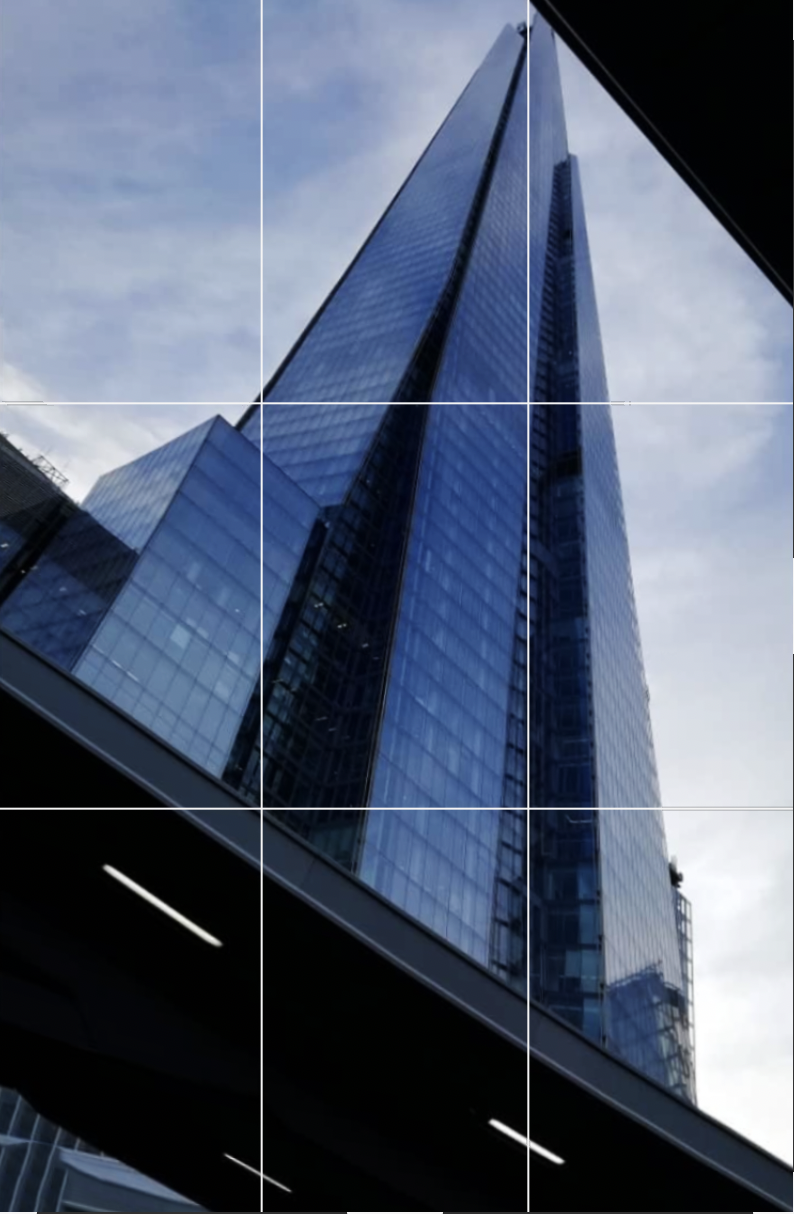
2. Vertical lines
It’s not just the oblique horizon that creates strange sensations when looking at a photo!
Vertical lines are also important.
For example, if you want to frame an entire building, you will often fold your smartphone or camera upwards to make it fit entirely into the picture. The result will be a perspective, in which the vertical lines will be inclined and the buildings will literally appear to fall.
This effect is not very pleasant when we look at an image!
Therefore, you should always avoid tilting the device, and use the grid to check that the lines are actually vertical.
Furthermore, it is not always important that the whole building fits into the image. Drastic cuts are often more effective.
But how to do it if it is really necessary?

Ph: @giadaantonini_photography 
Ph: @giadaantonini_photography
- Try moving away from the frame or zoom out: this way you will be able to widen the scene and keep the camera straight.
- Look for a raised spot nearby, a rooftop or a hill, so you don’t have to tilt the device. Try changing your point of view and get original photos.
- If you want to really emphasize the height of a building, then sloping lines could help. However, try to go right in front of it, exactly in the center of the facade and tilt the device upwards. This way, the verticals will converge towards the center and the image will appear more symmetrical. We talk about this in the next paragraphs!

Ph: @giadaantonini_photography 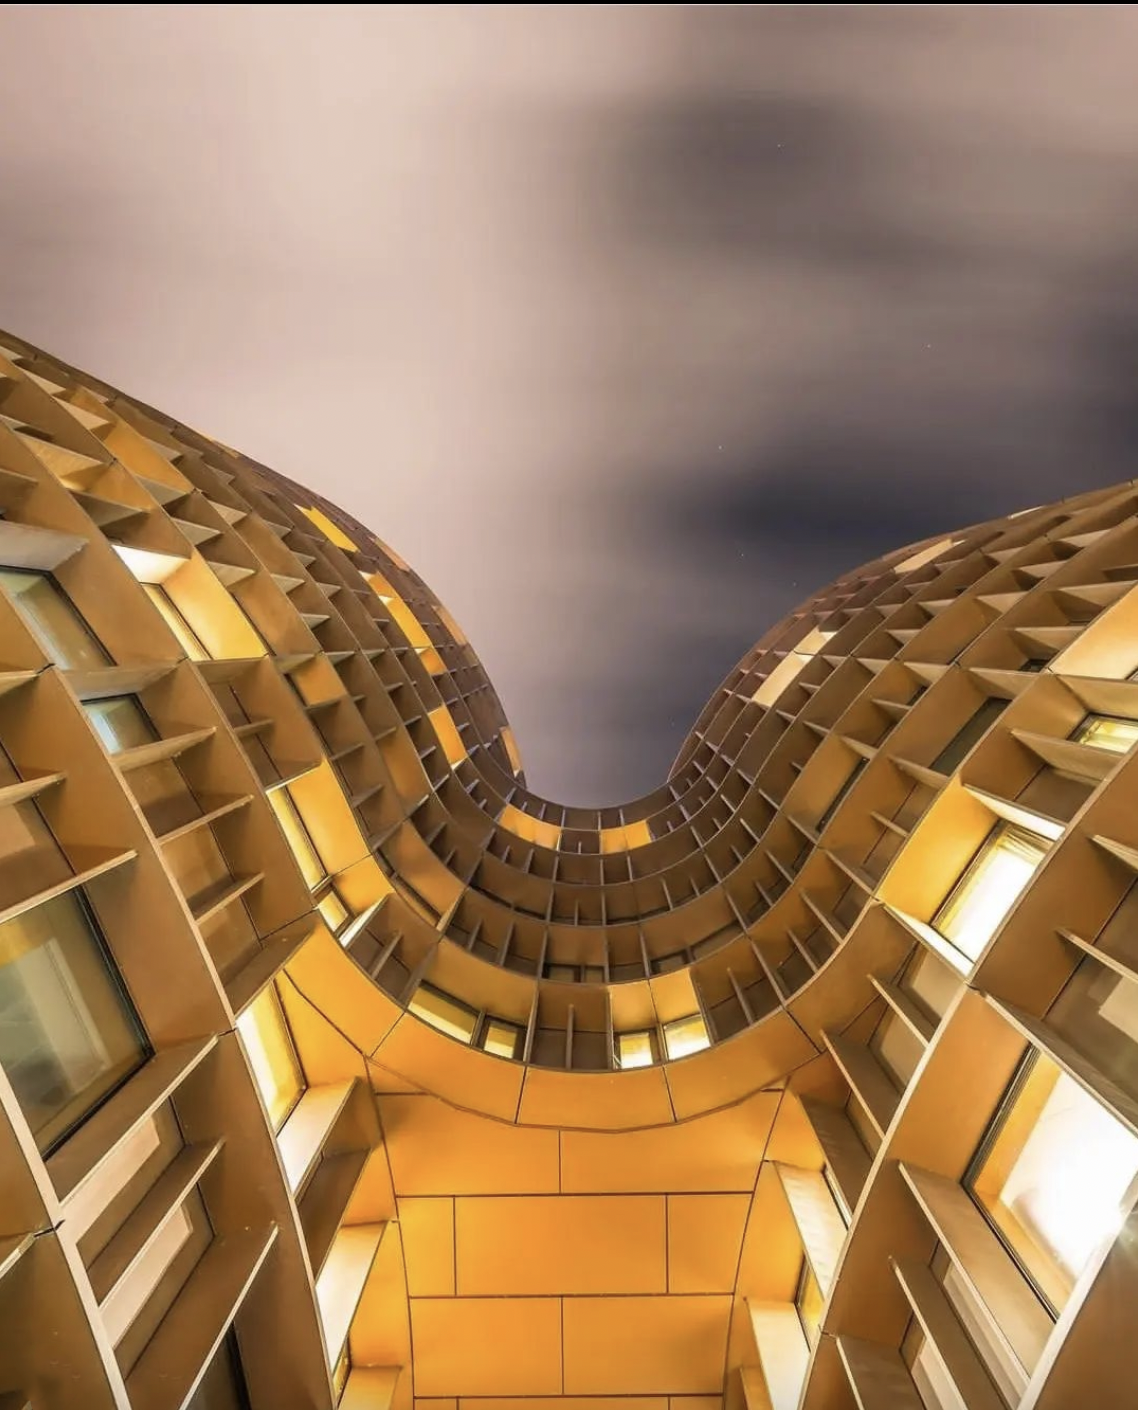
Ph: @micnie02
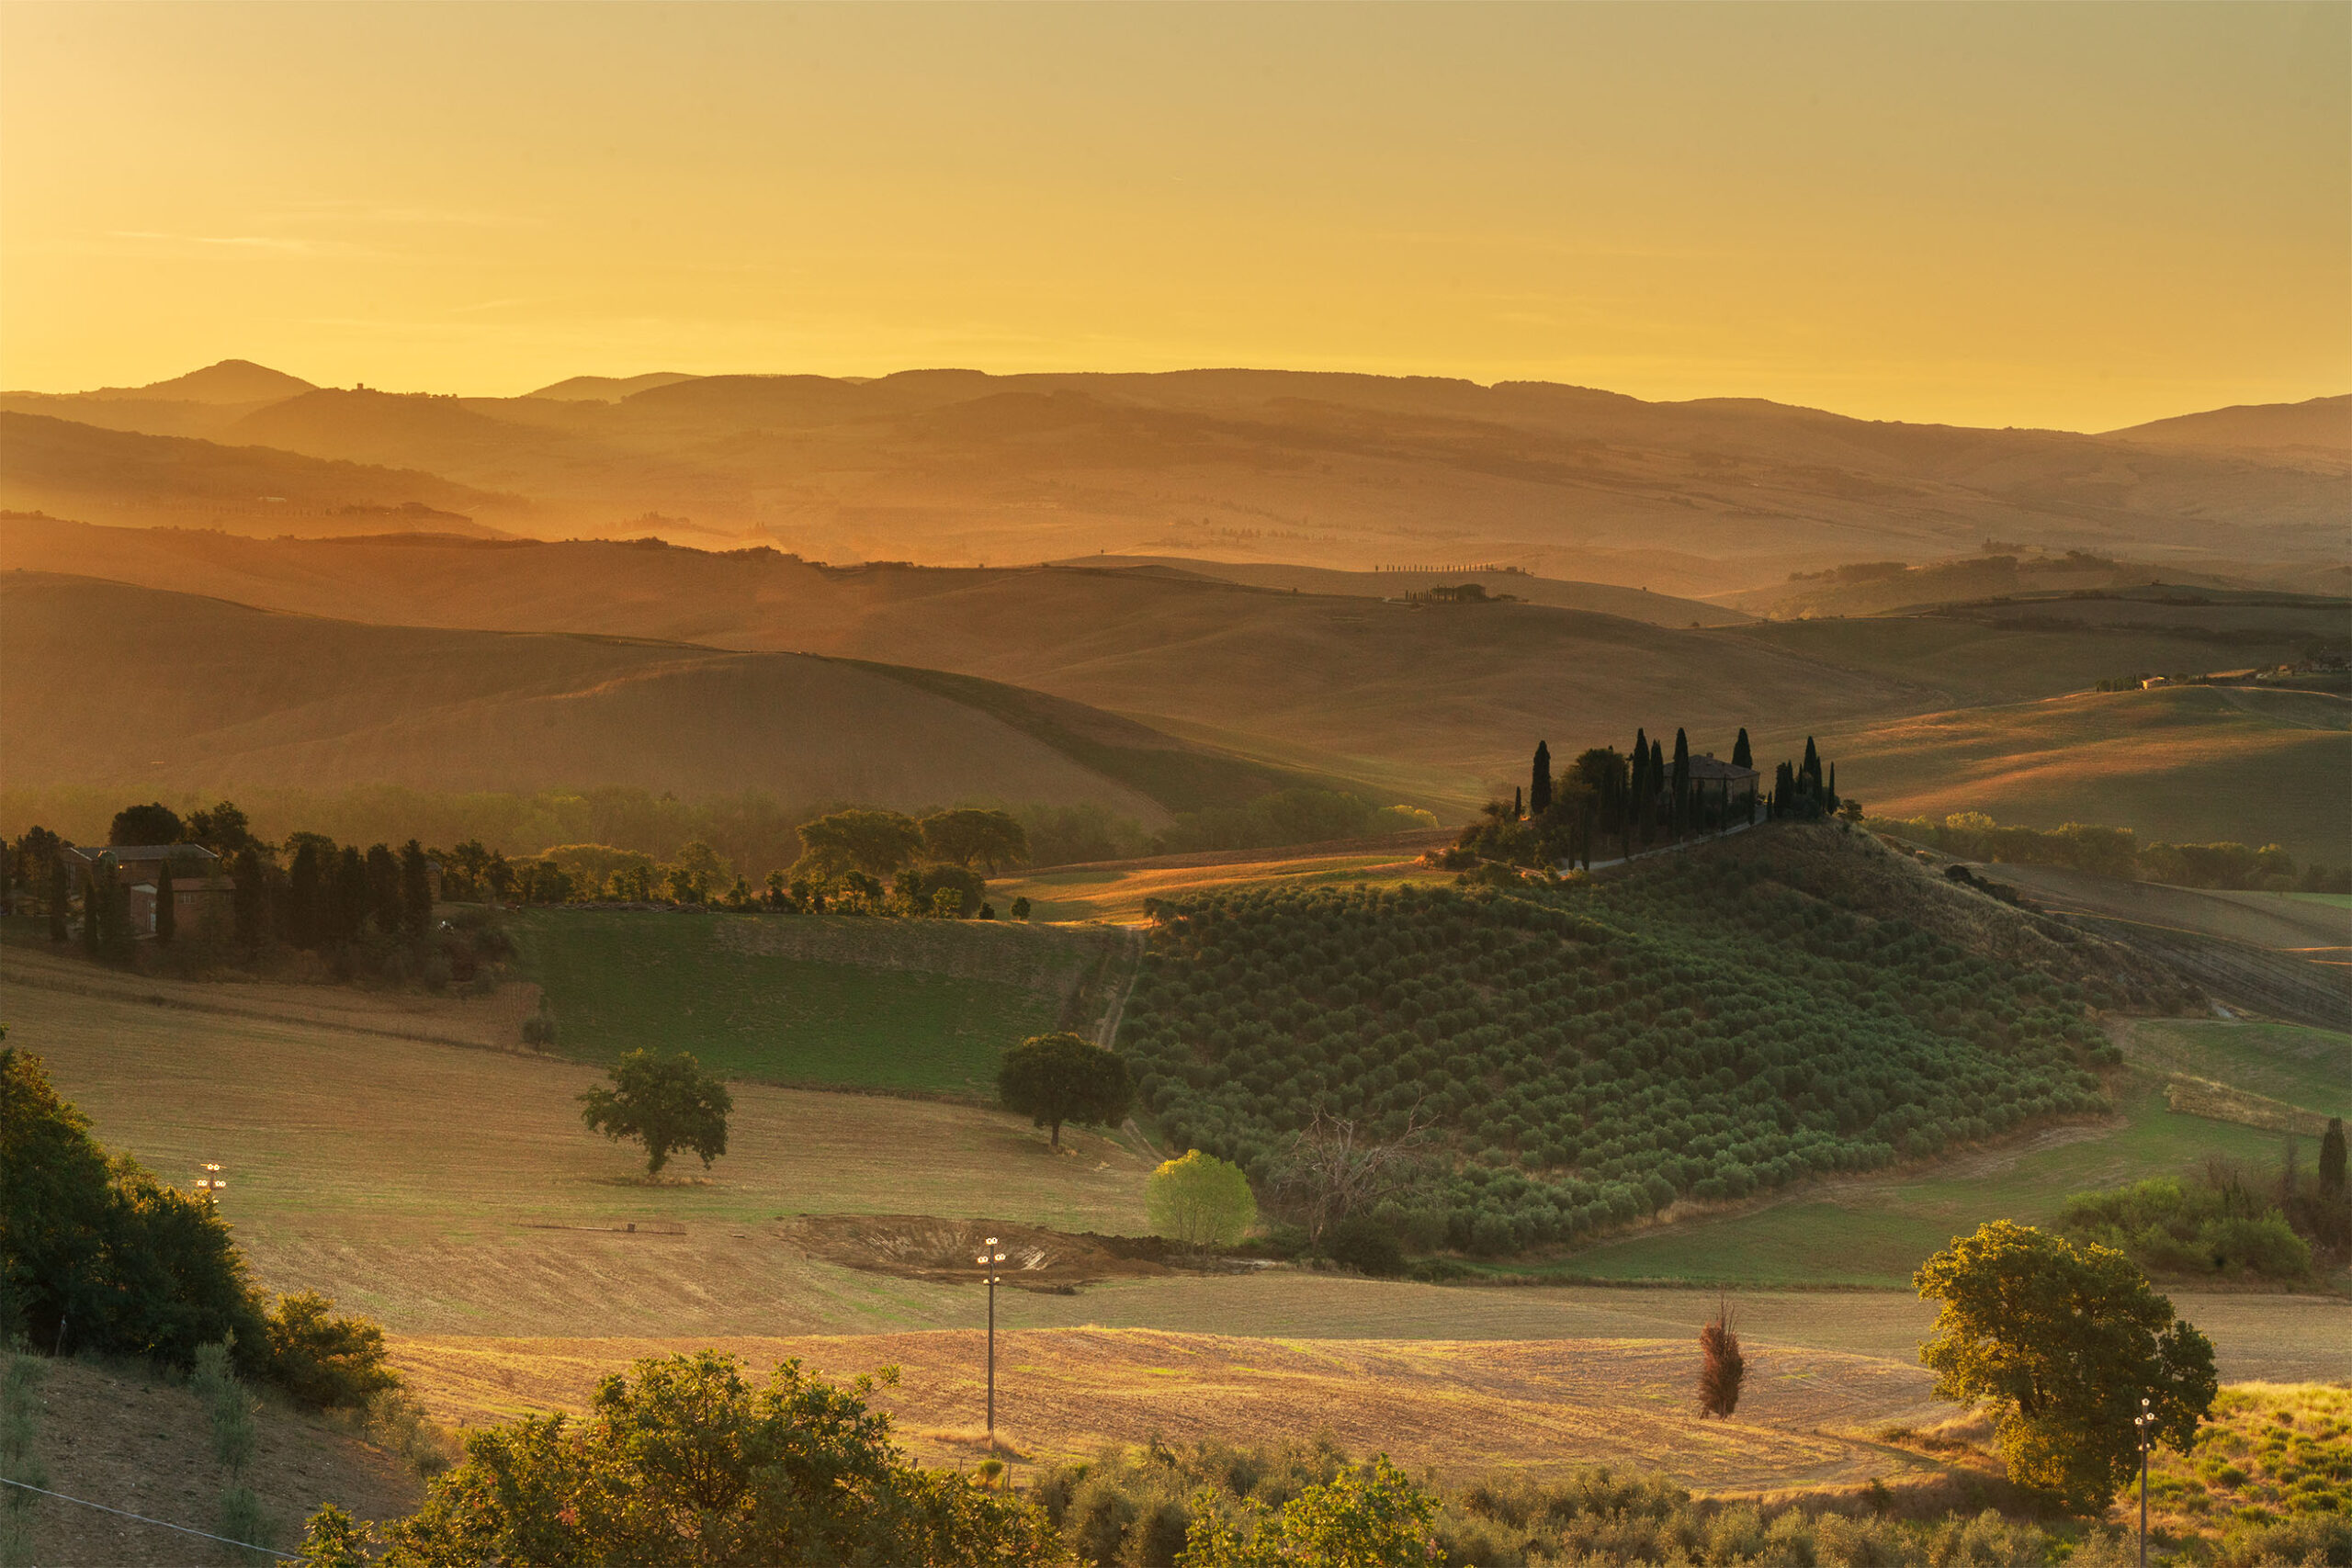
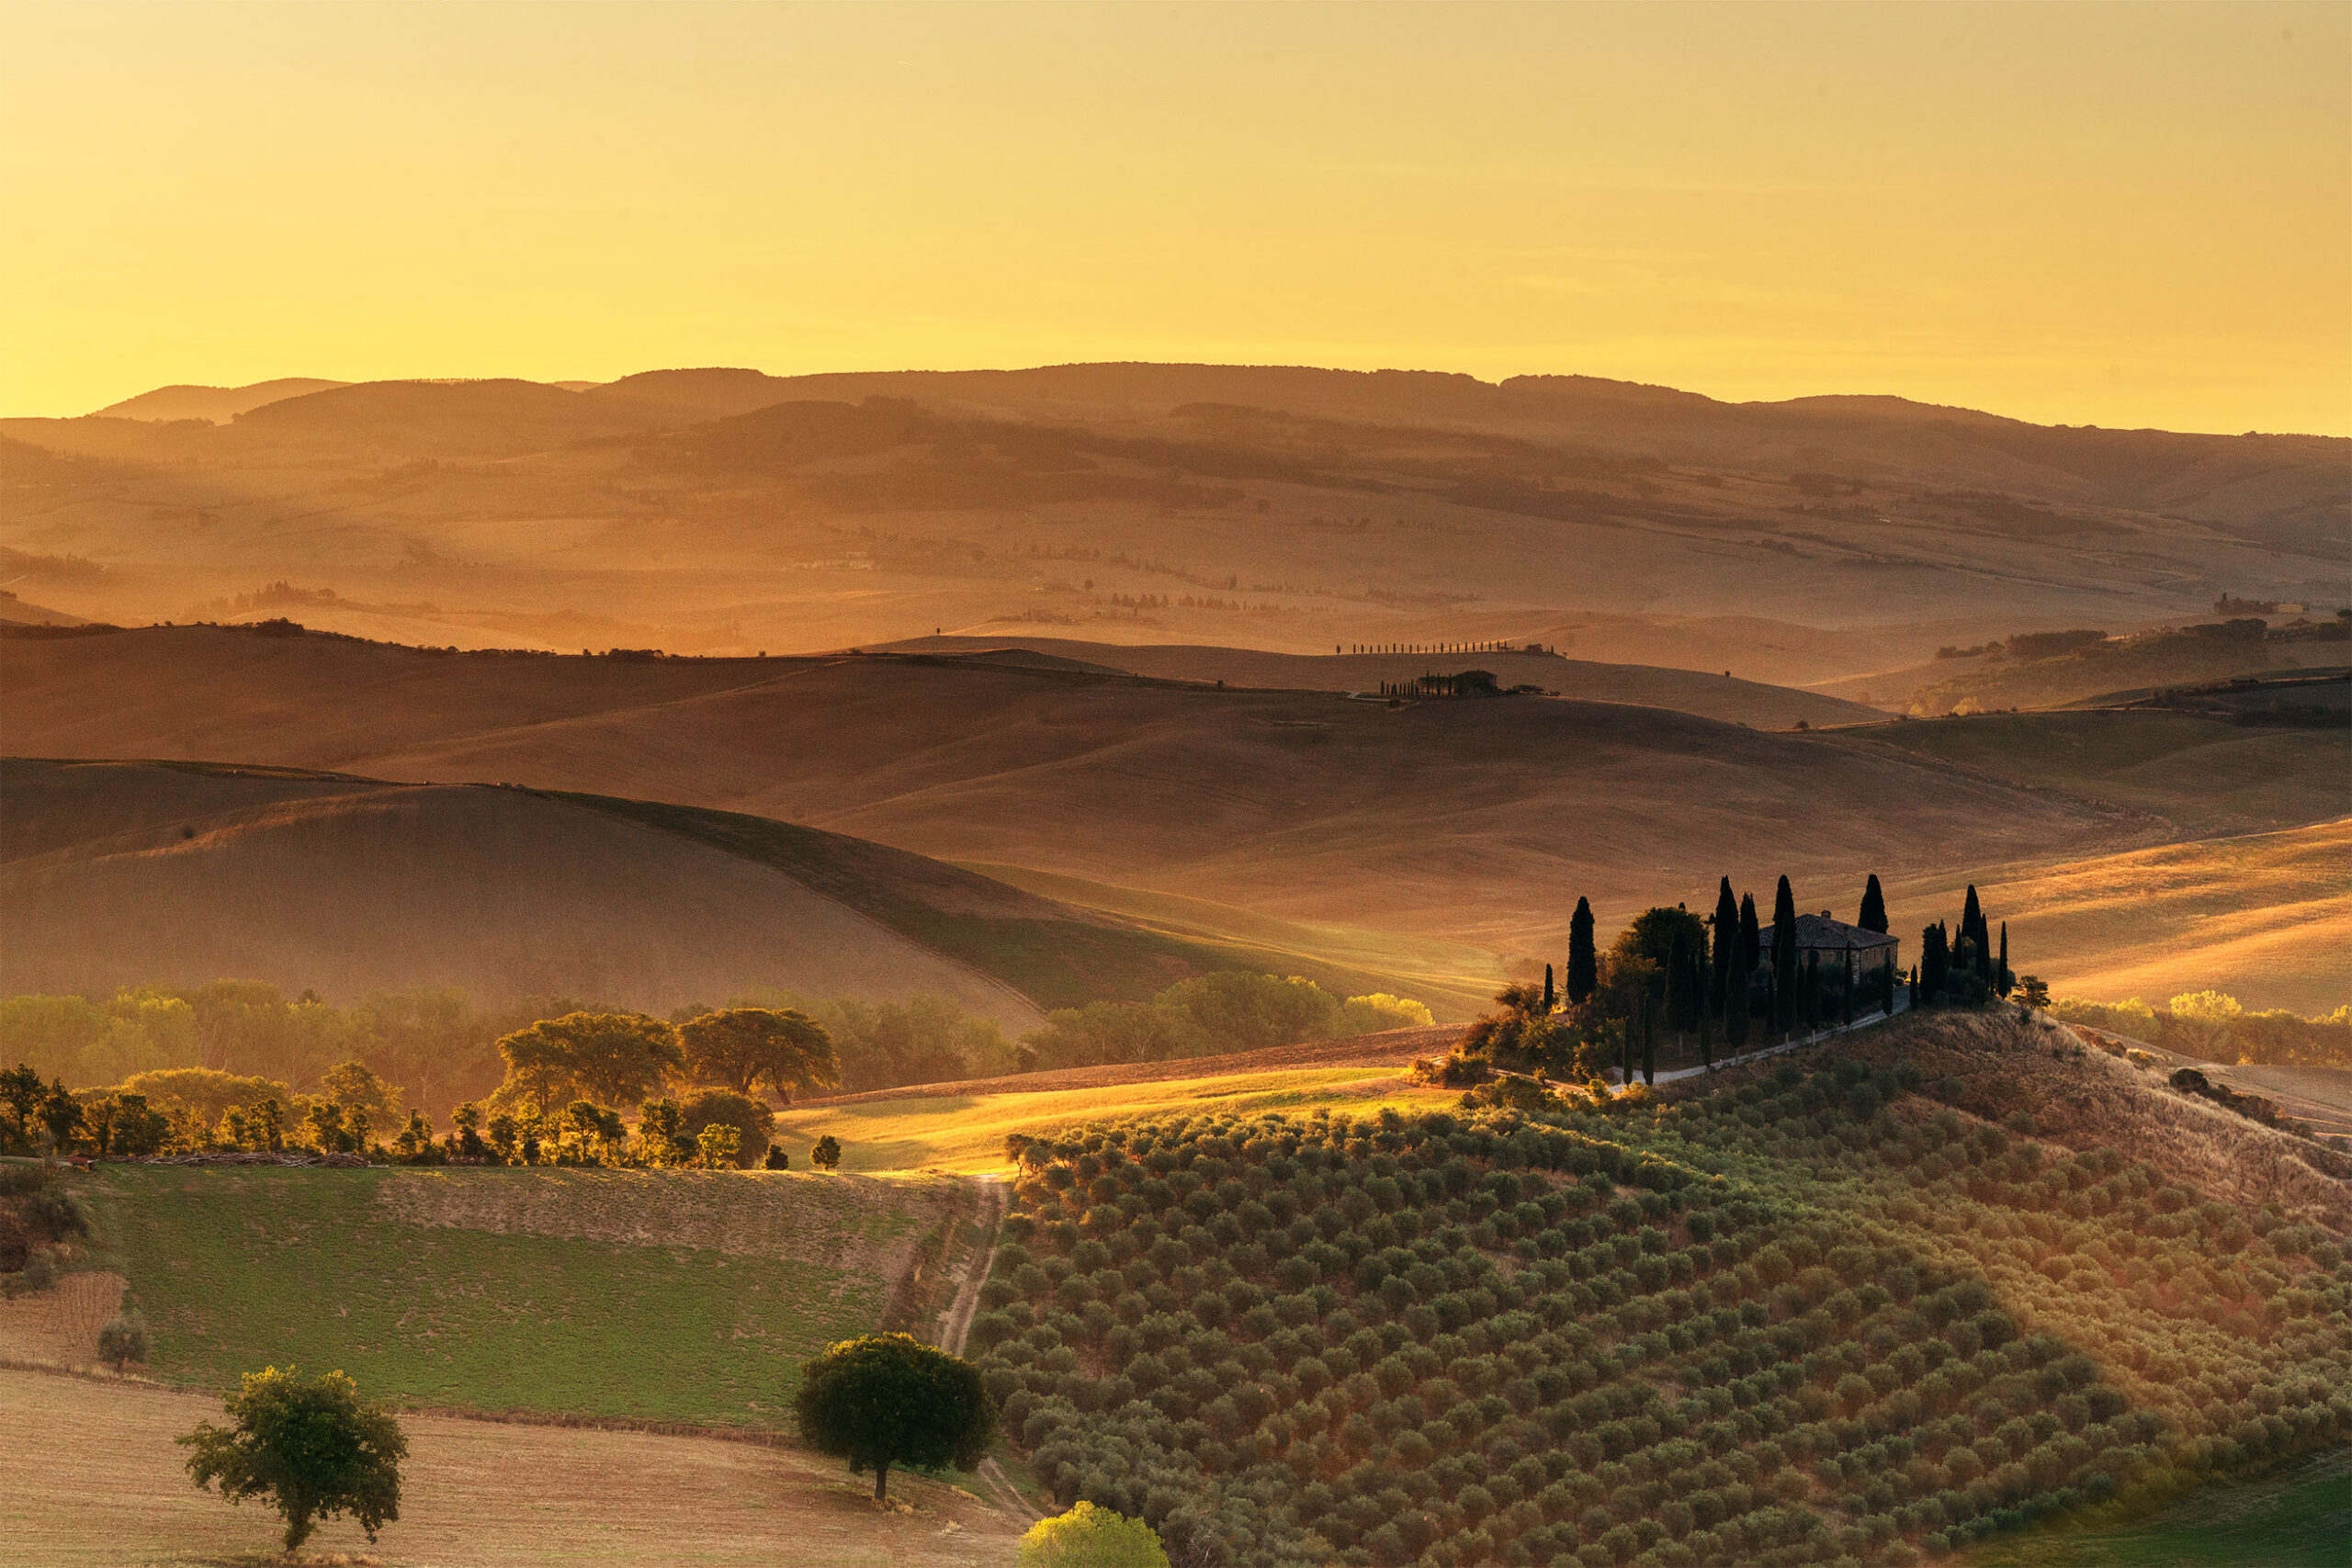
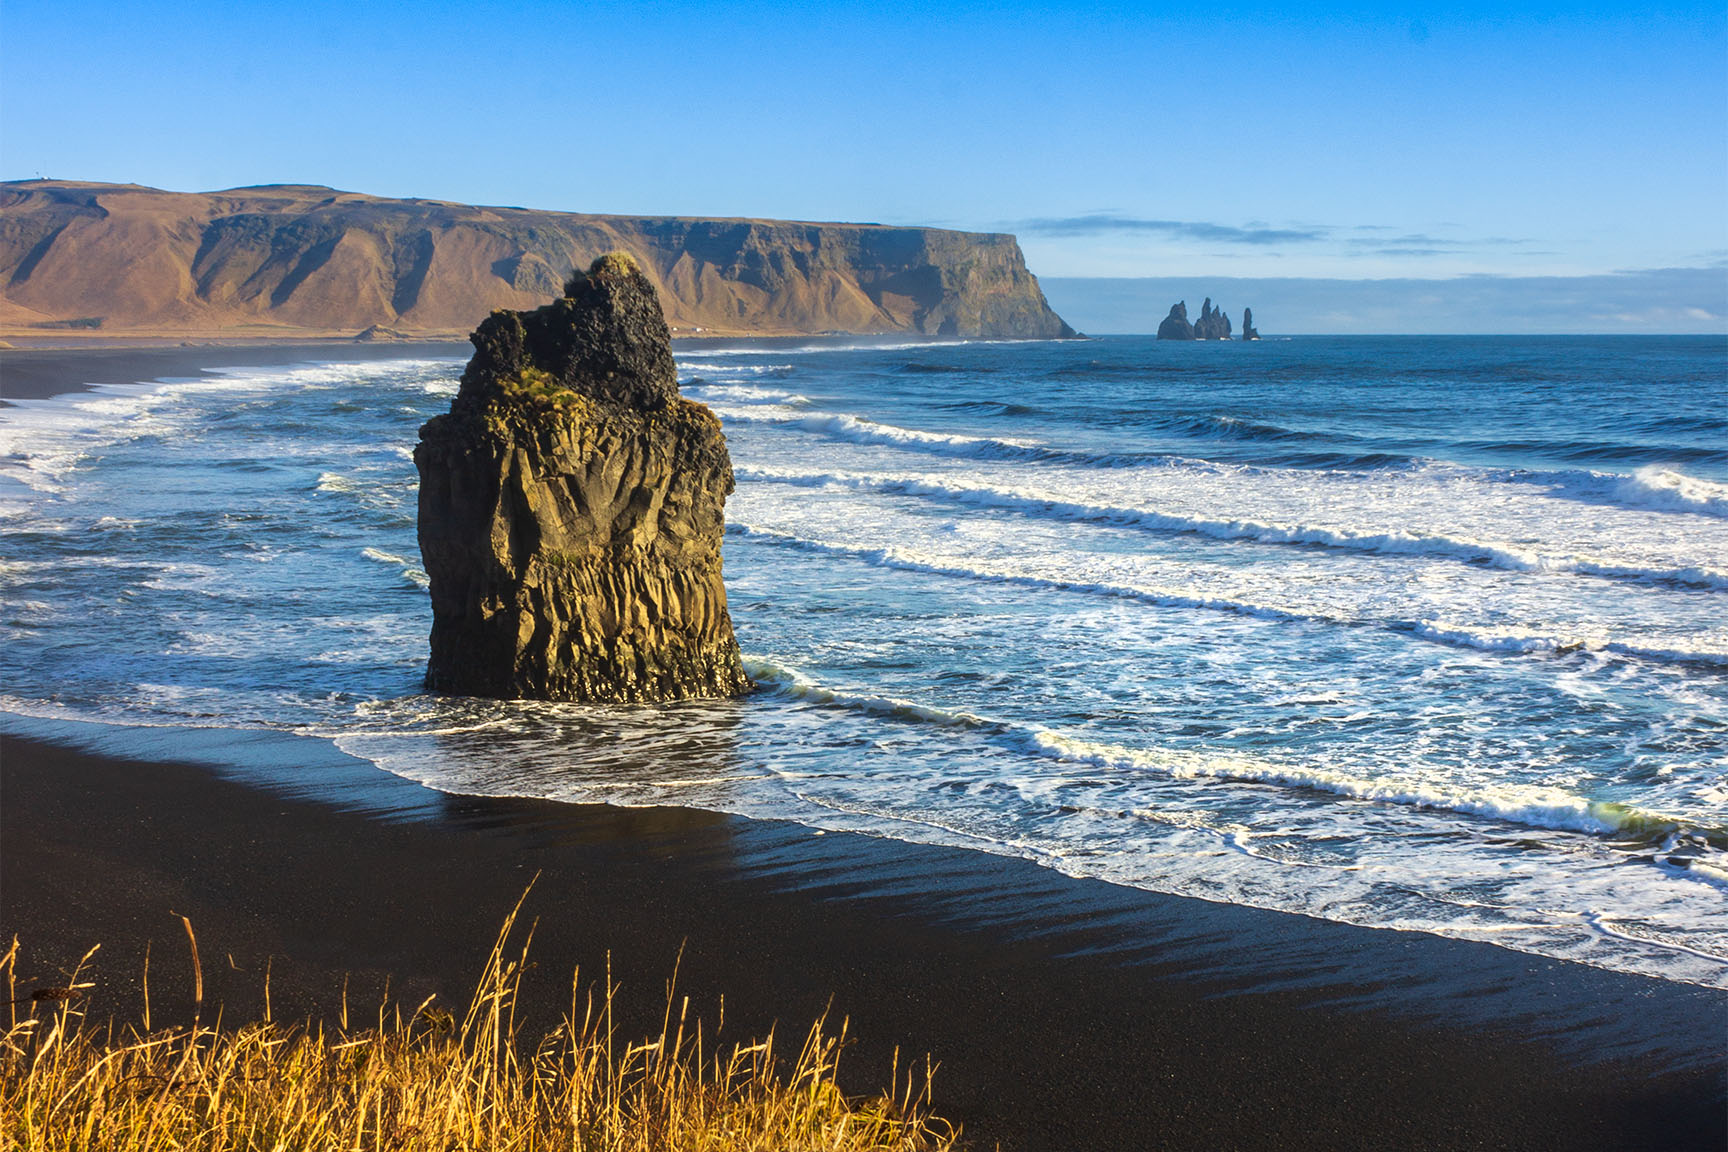
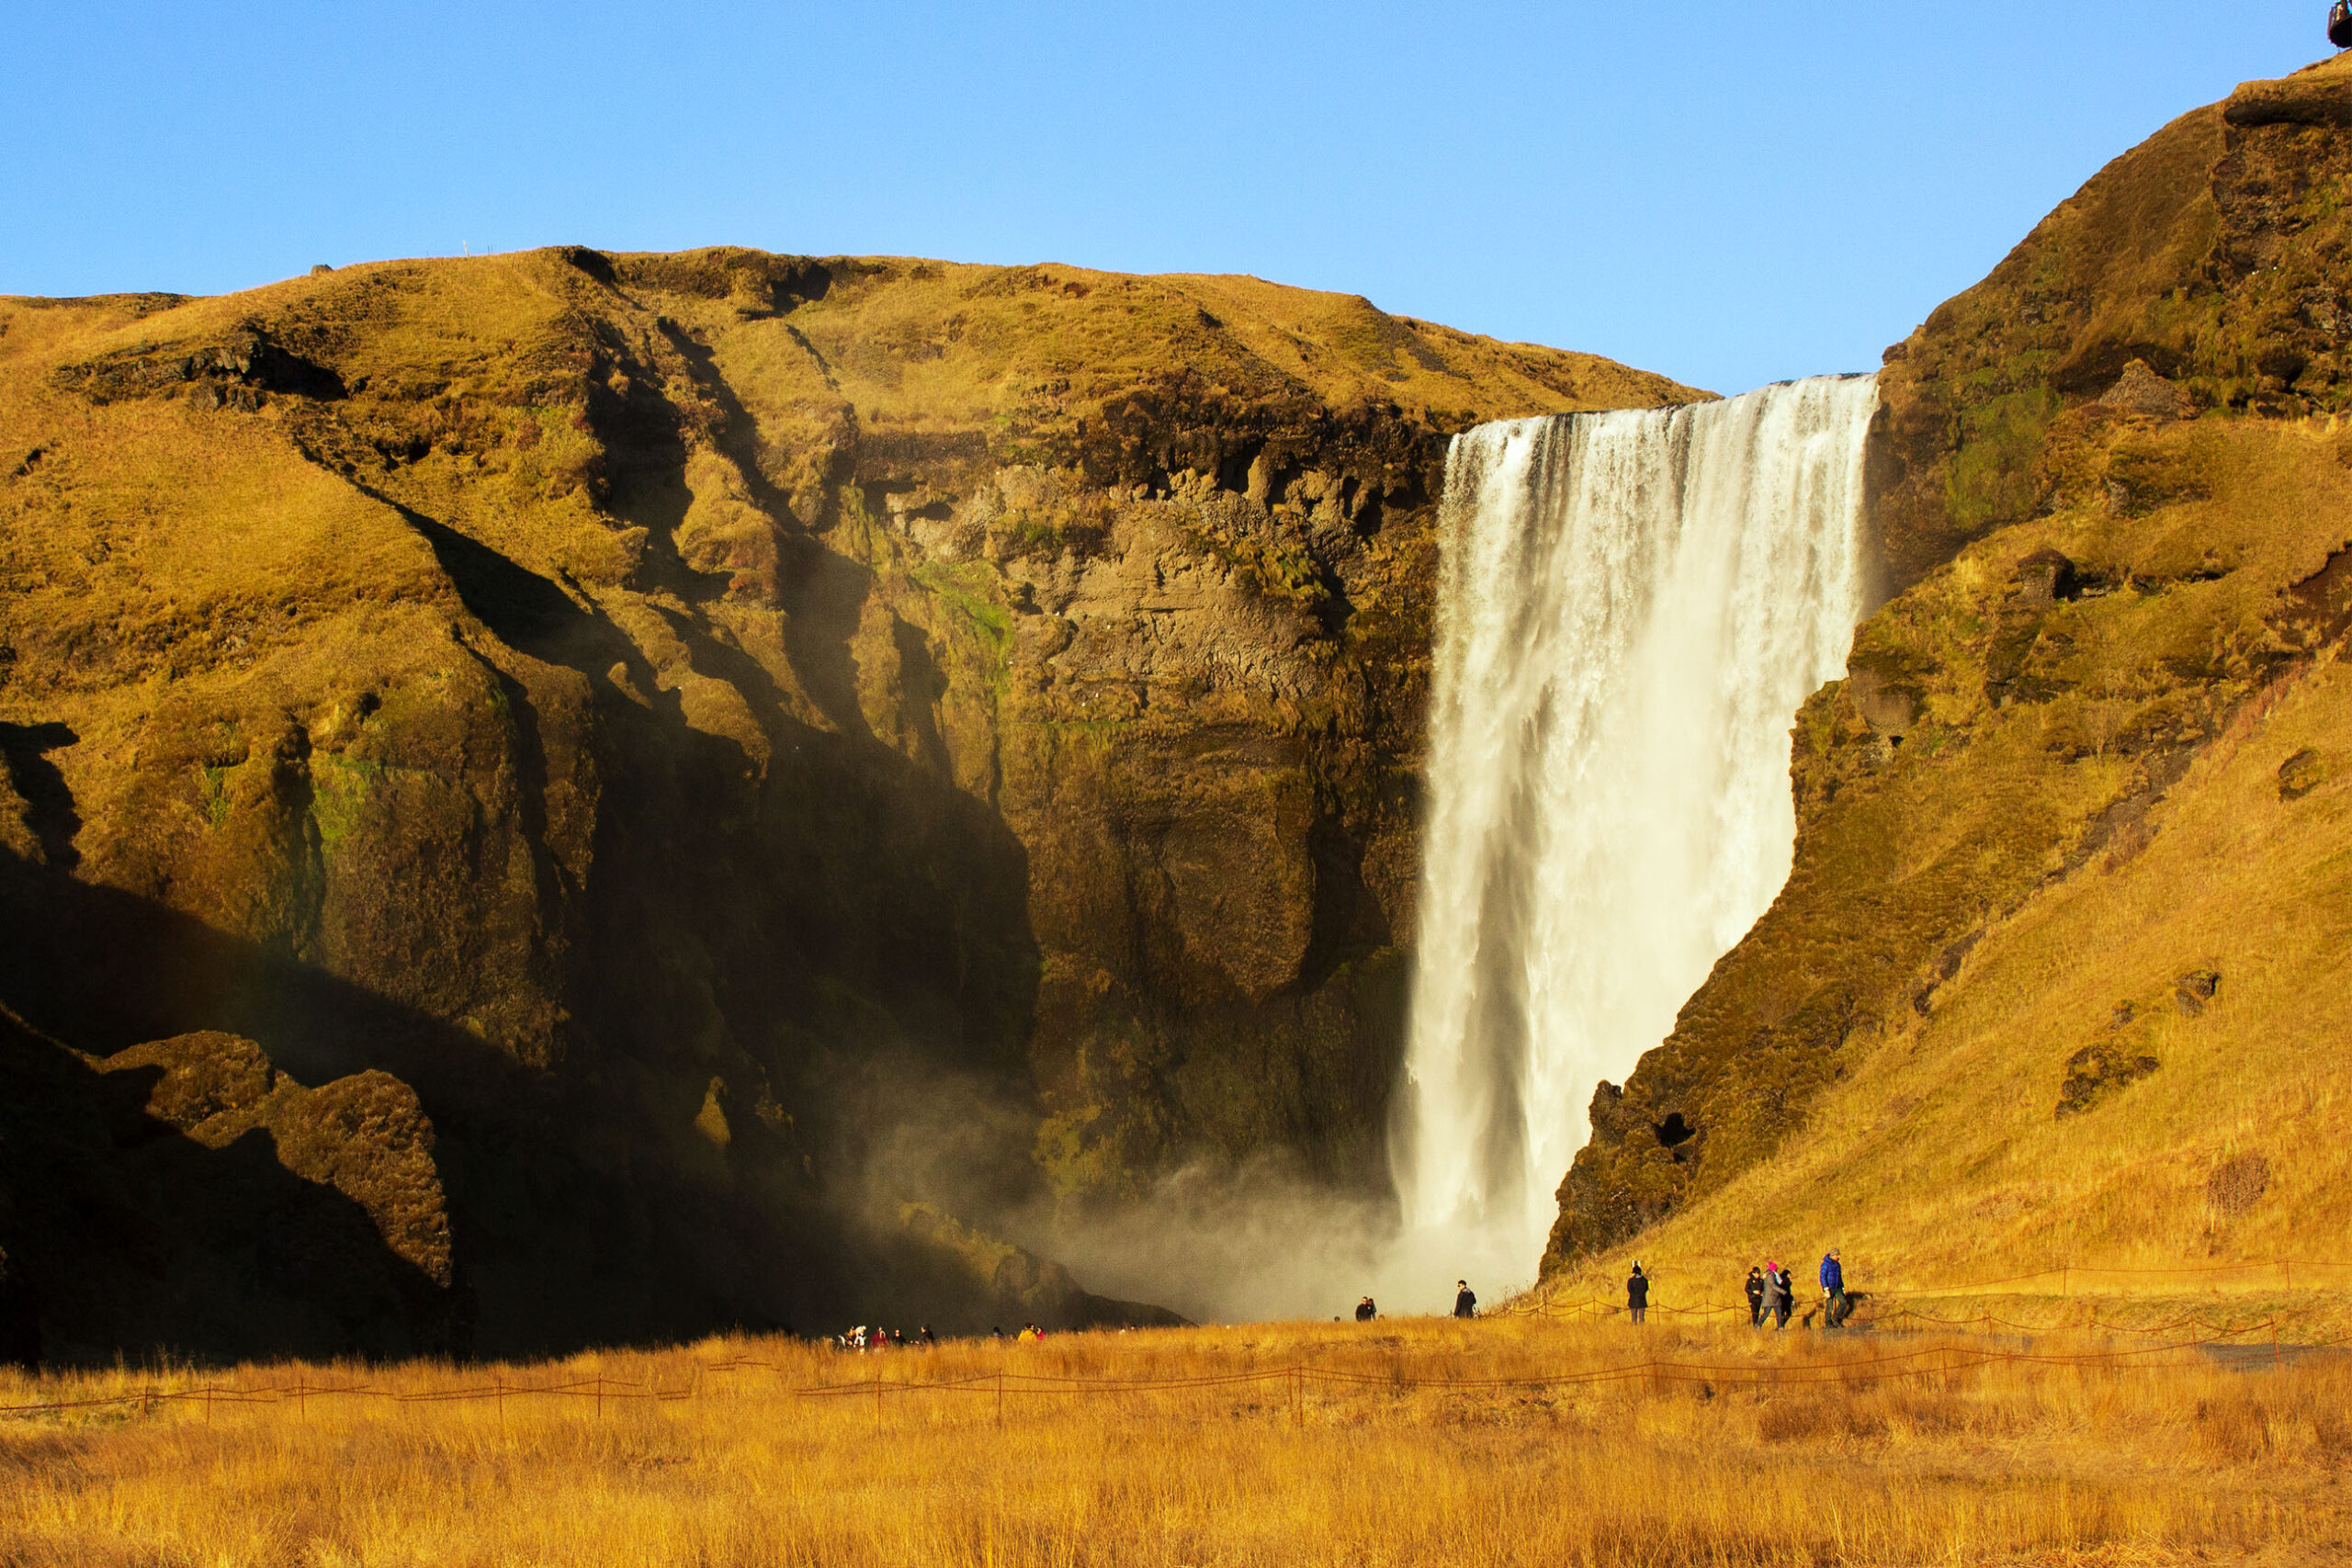
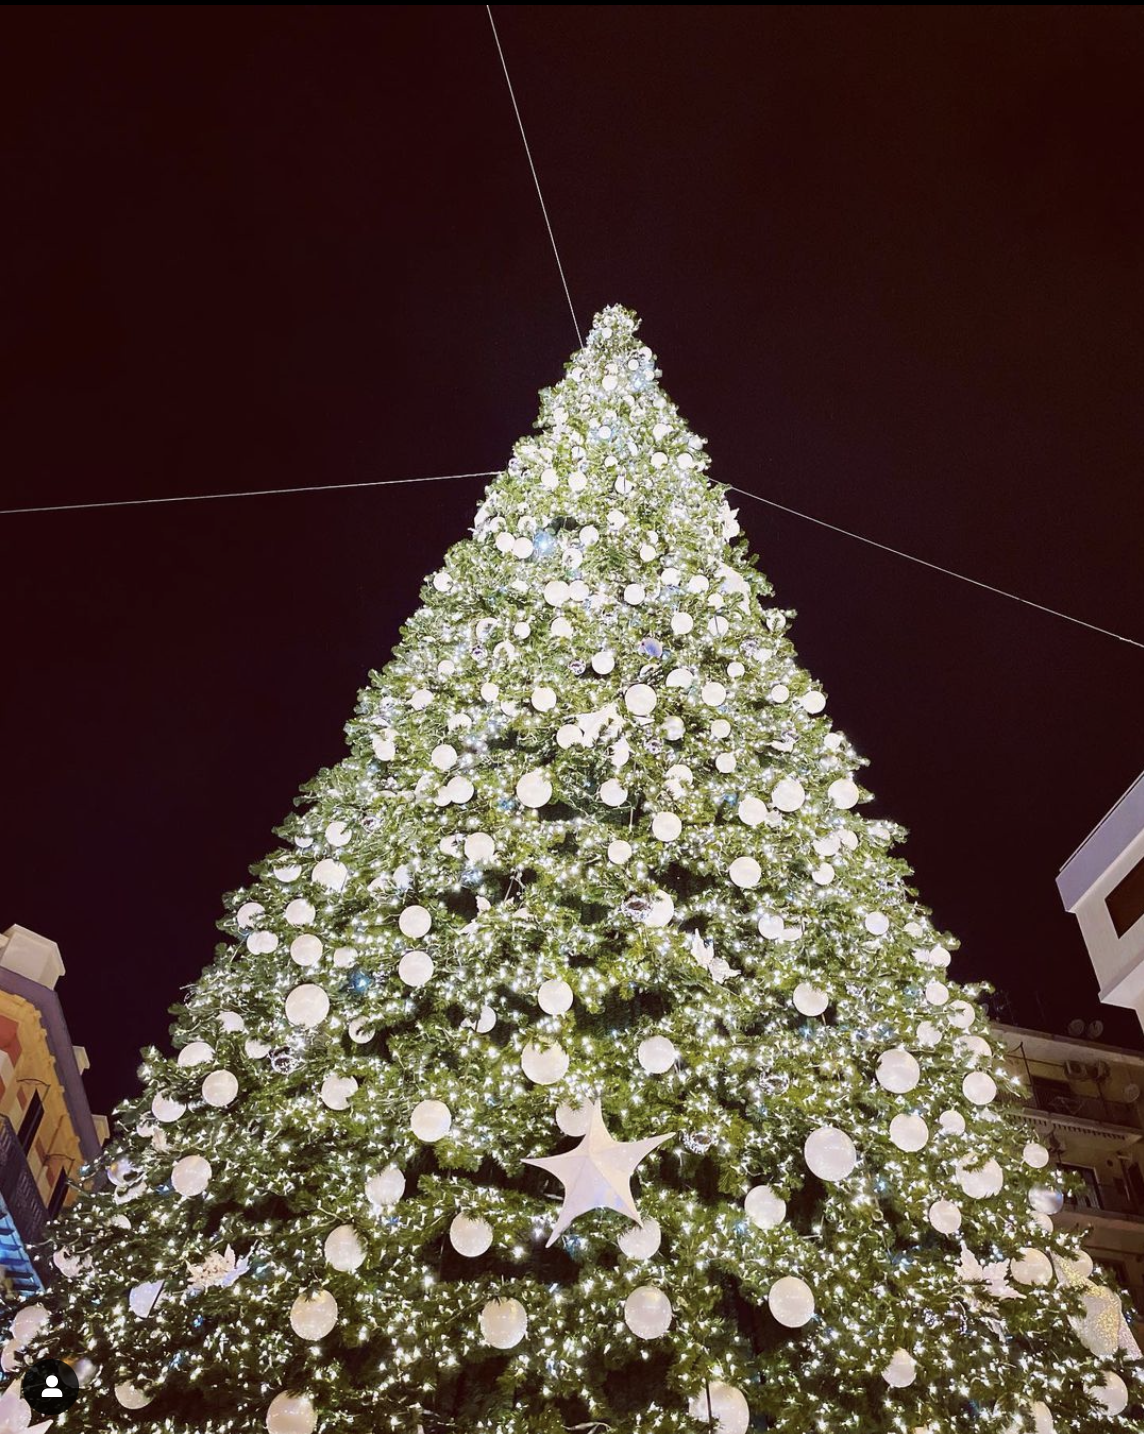
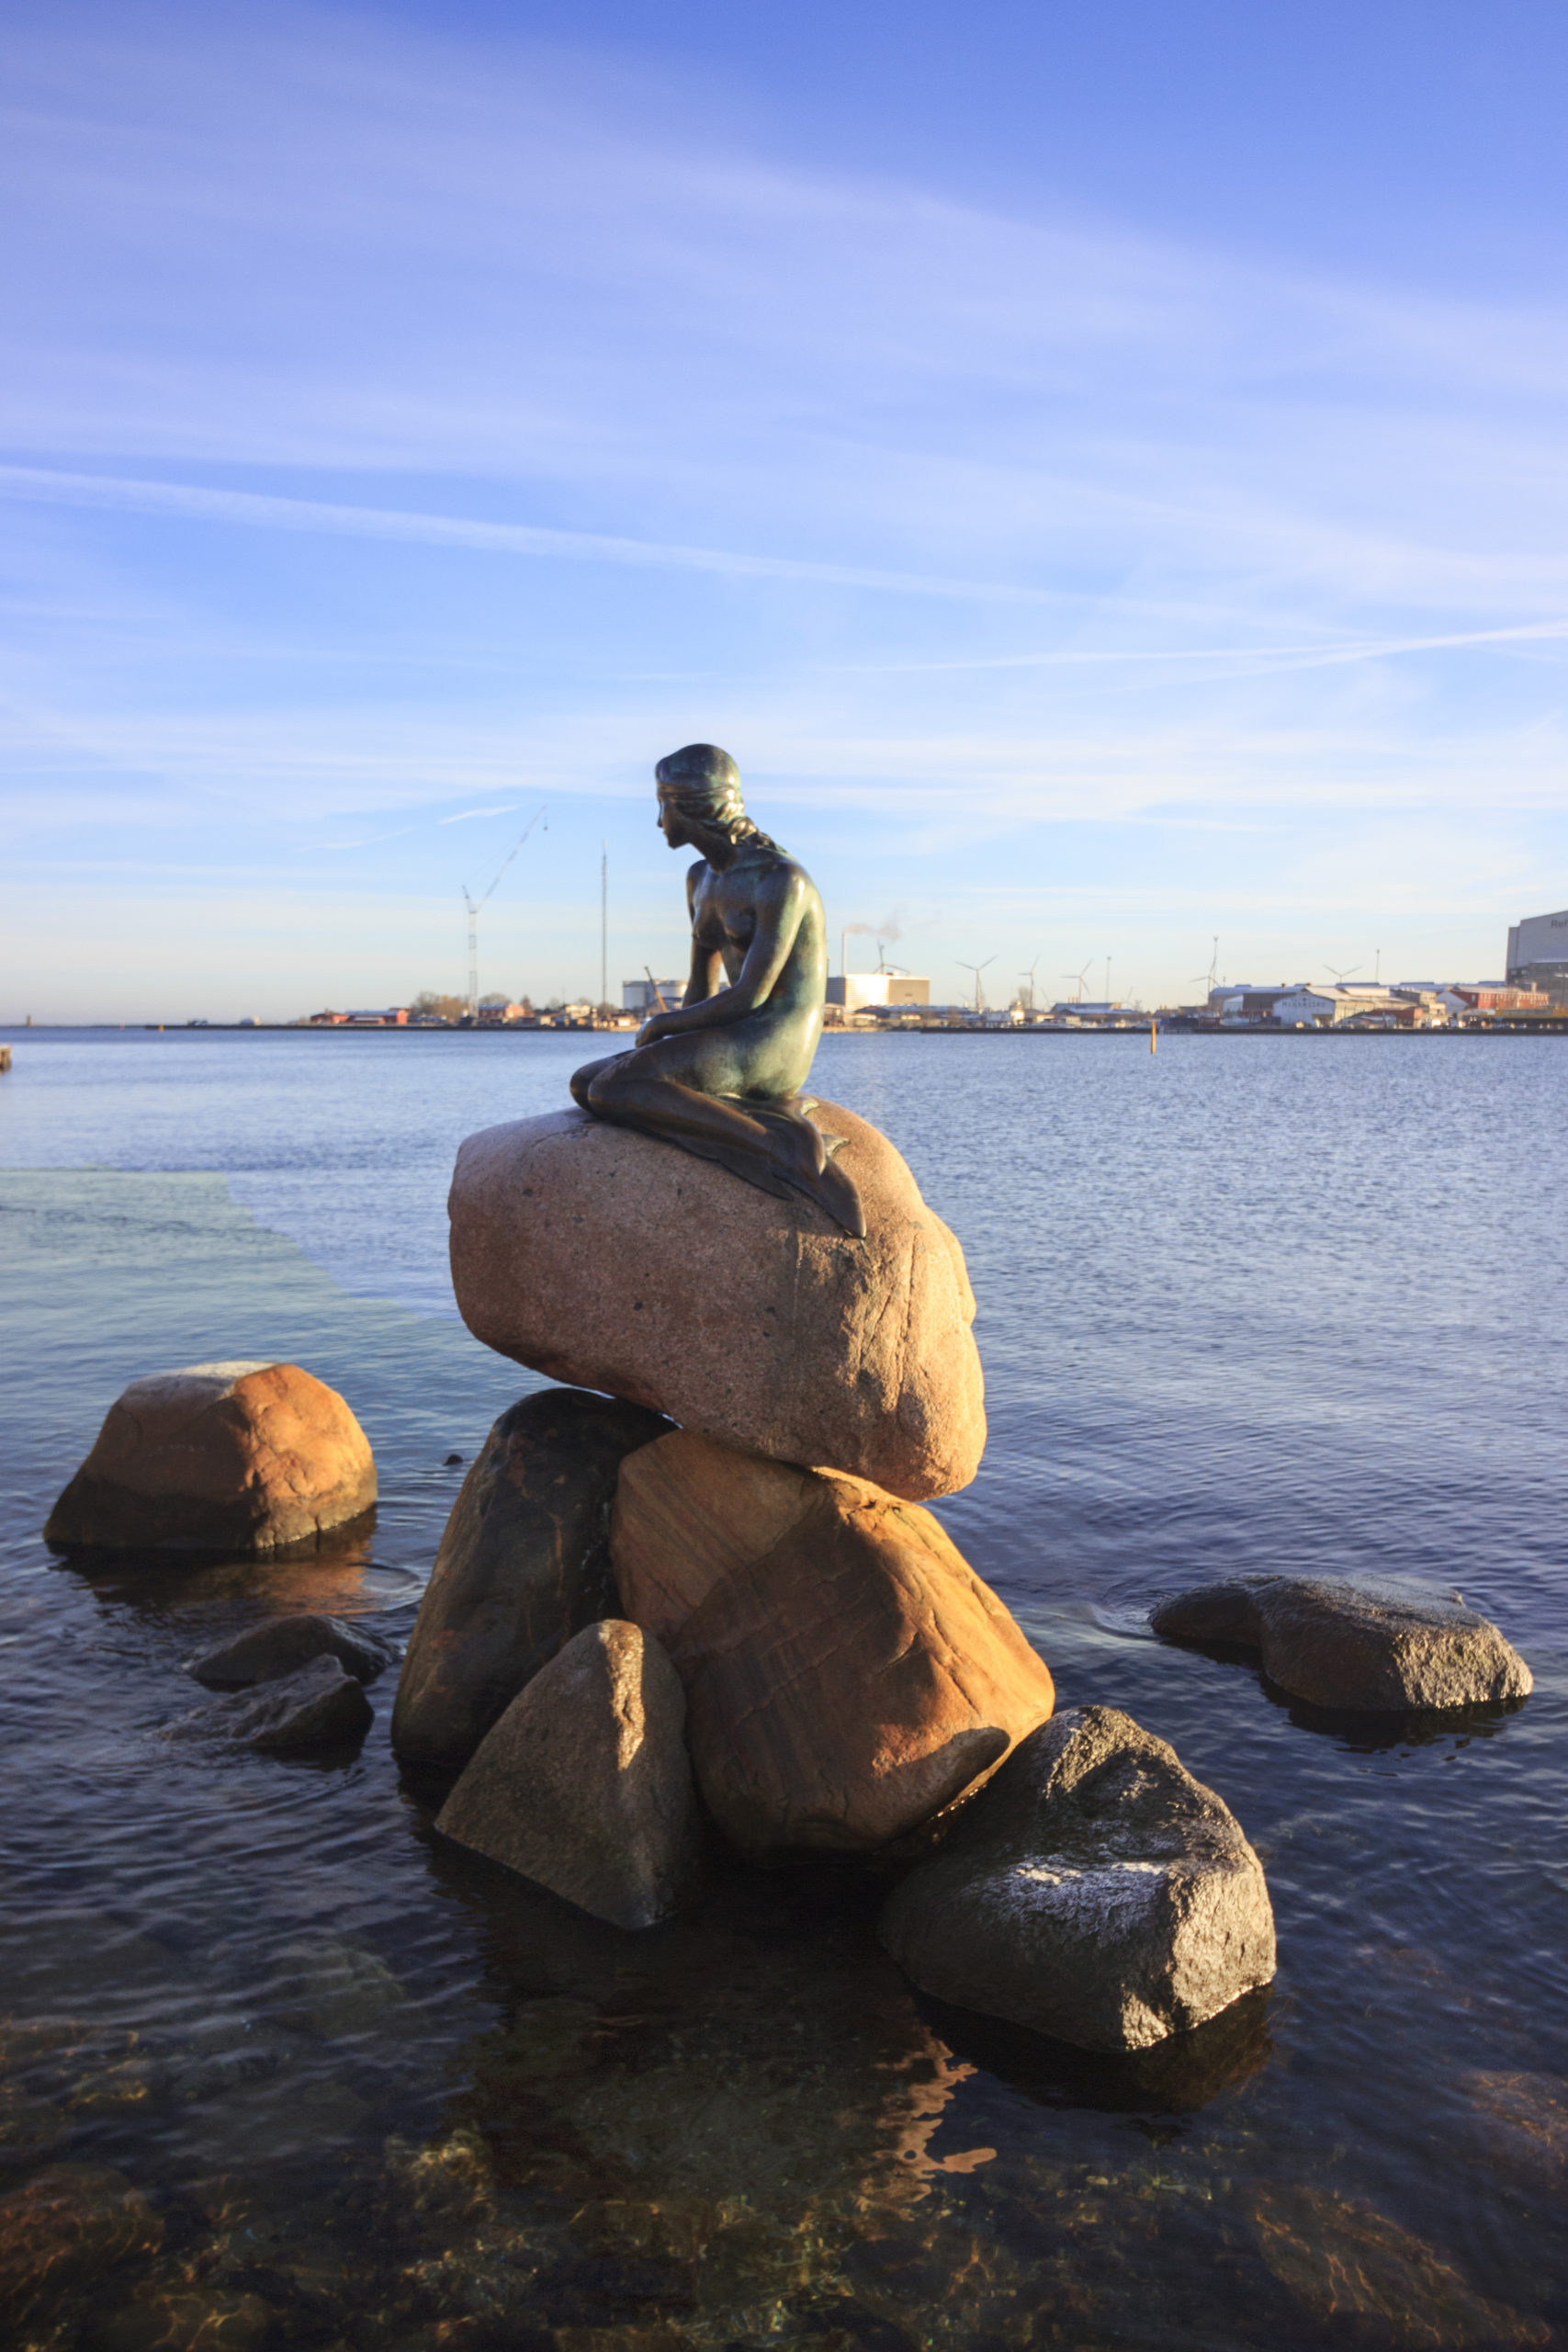
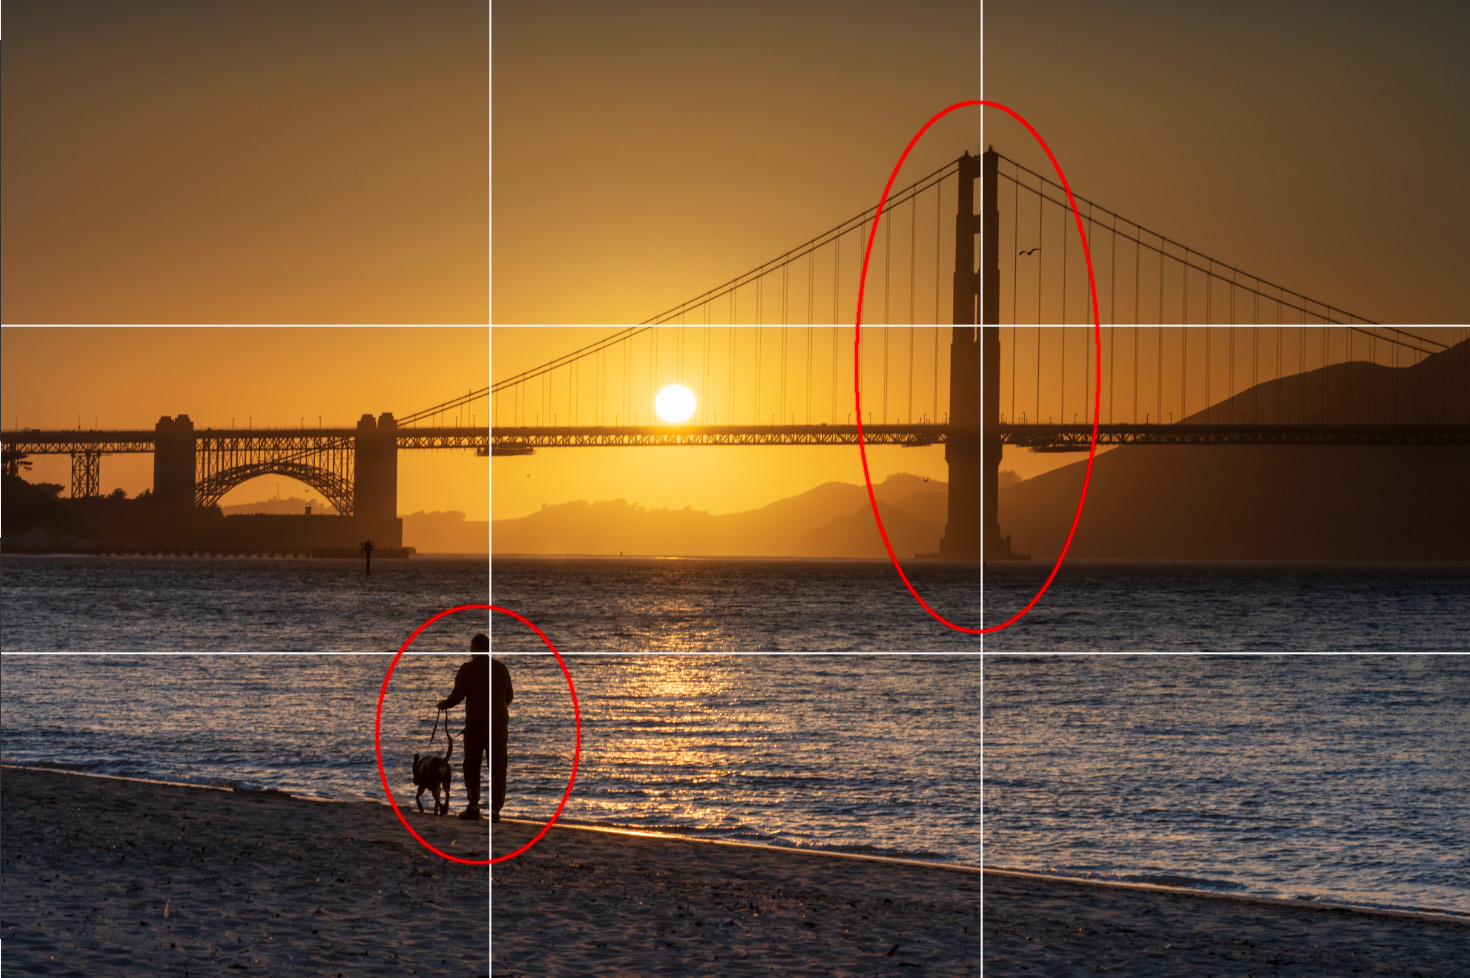
3. The rule of thirds
The most famous of these techniques is the rule of thirds. How many of your photos have the subject exactly in the center of the scene?
Perhaps this is not the best solution, because the photo can be boring or banal!
The grid we are talking about in the previous points, helps you to use the rule of thirds.
In practice, once the grid is activated in the settings of your device, the frame is divided by two vertical and two horizontal lines equidistant from each other, so as to create 9 equal squares.
When framing, what you have to do, is to position the subject on one of the vertices between the lines, because those are the points that attract the eye the most. This means that the main elements of the photo will be located not in the center, but slightly to the right or left. You will see that your photos will be more interesting and amazing!
Ph: @giadaantonini_photography
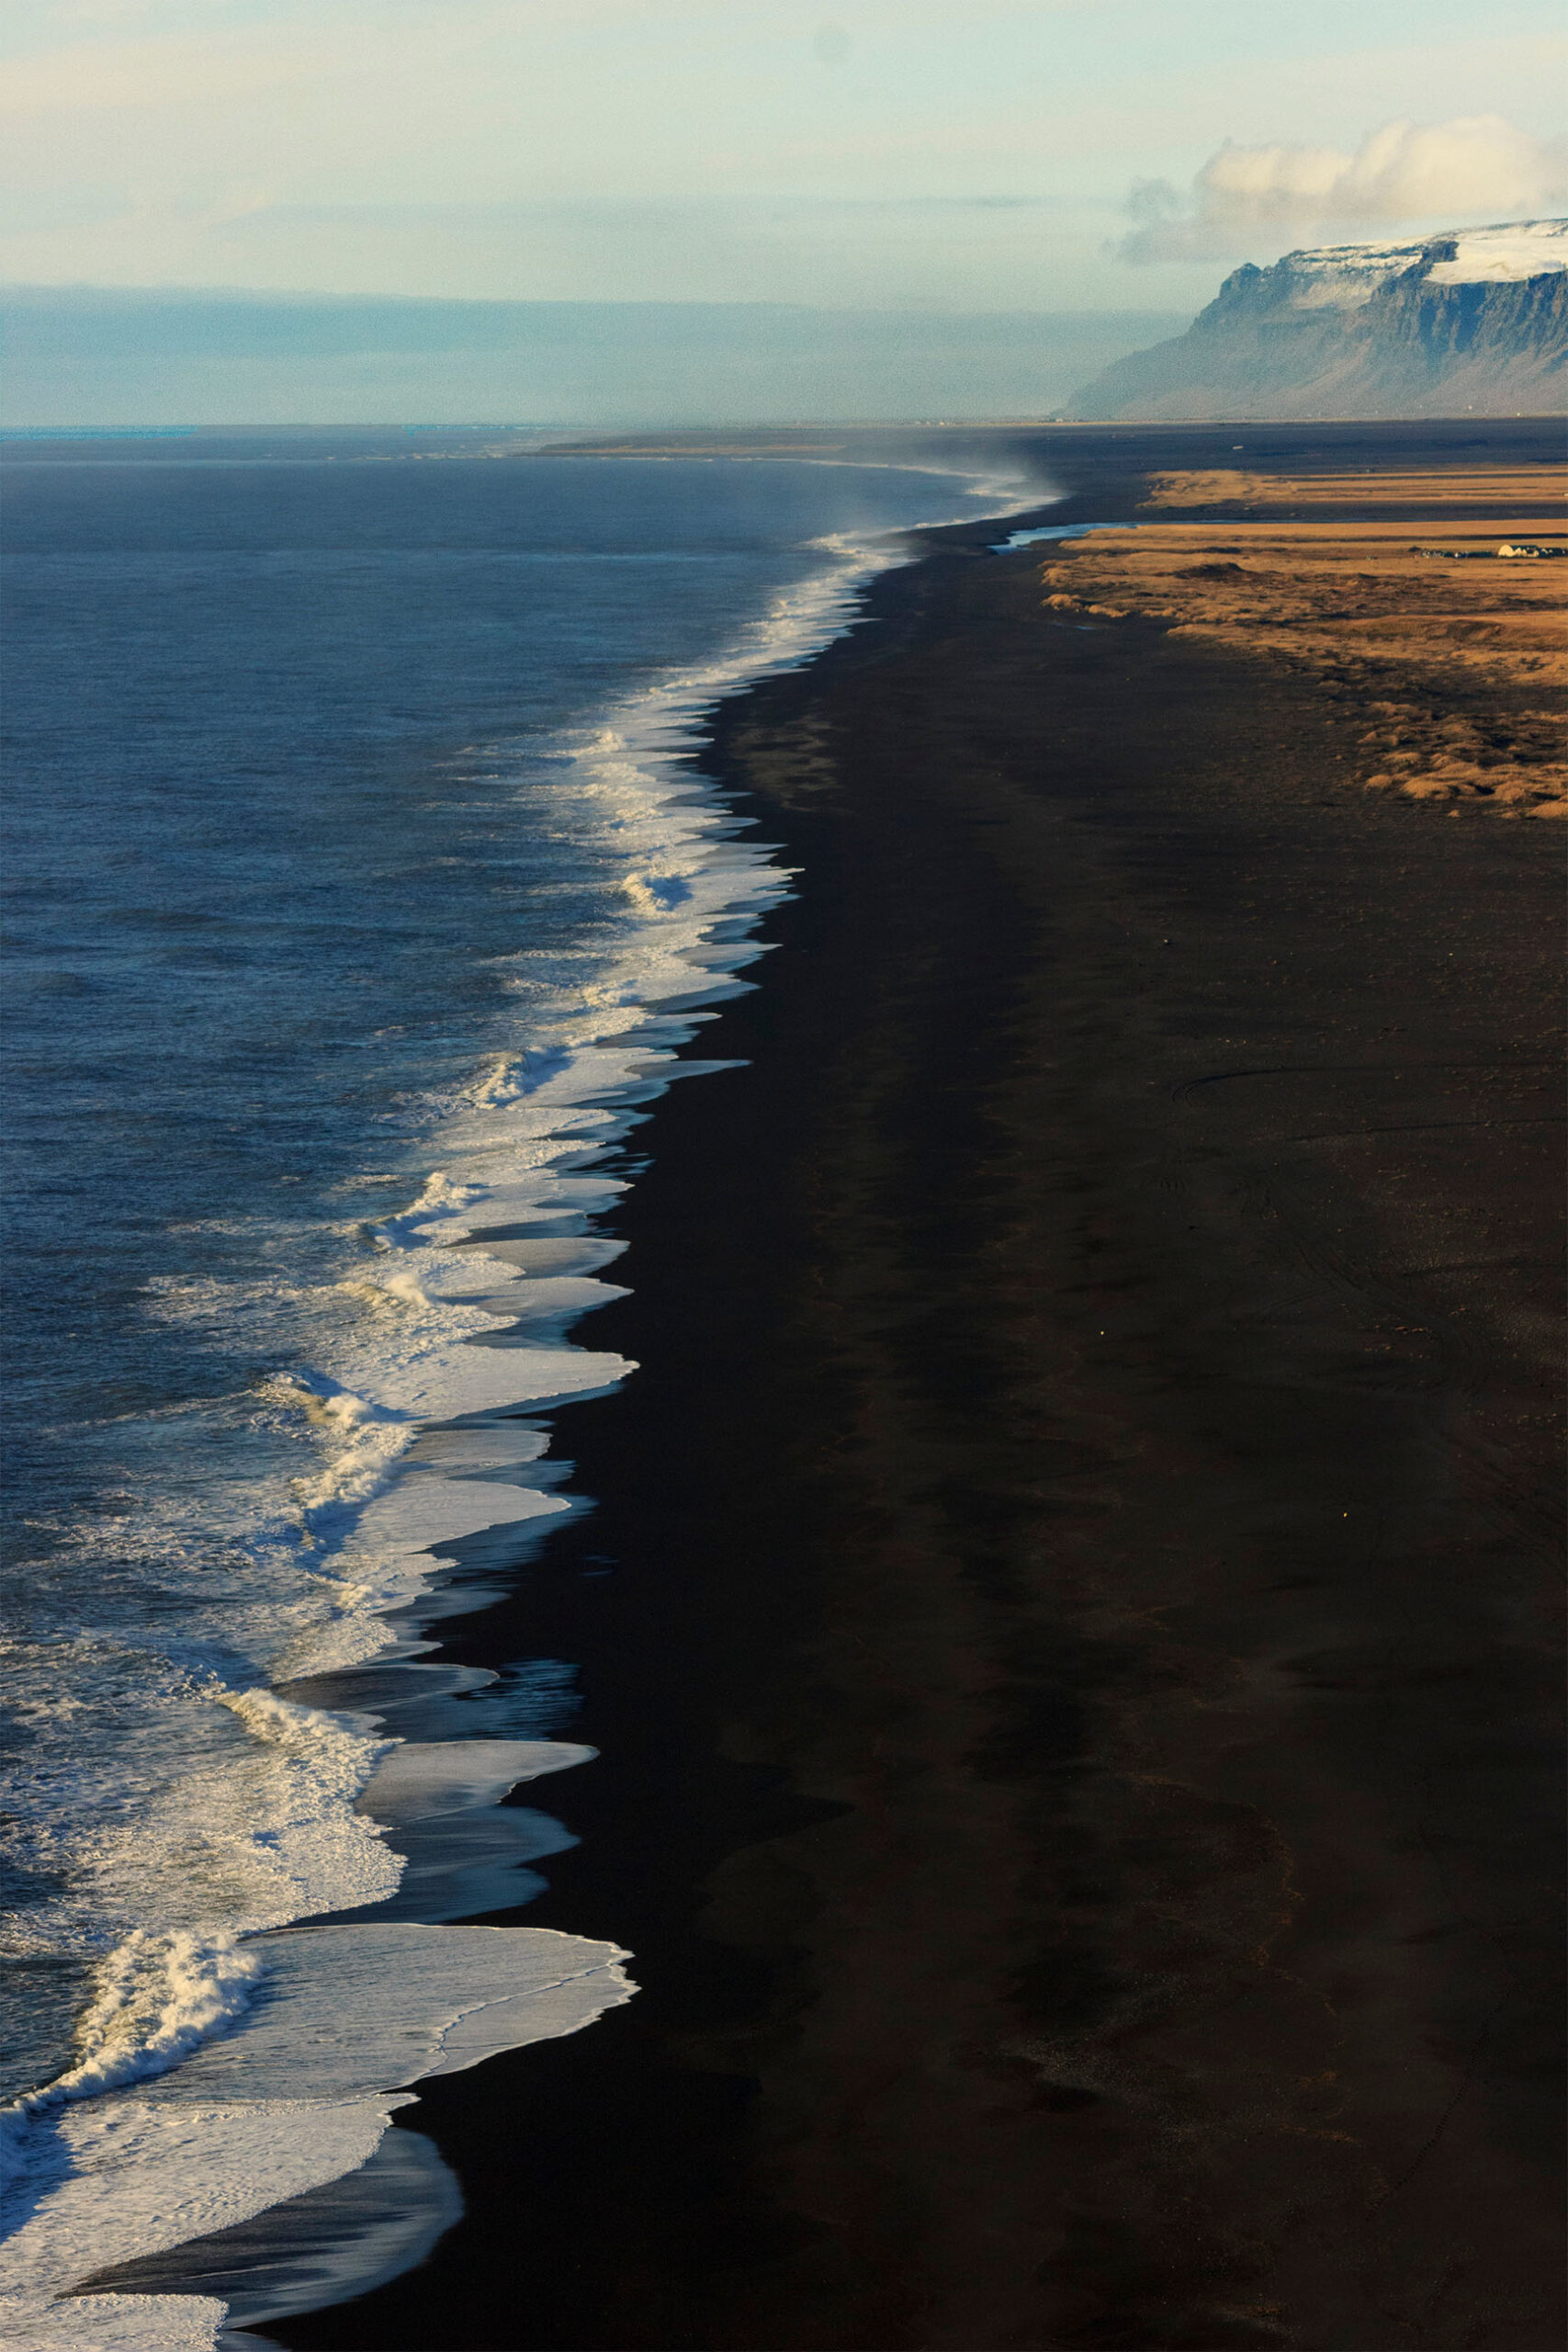
The rule of thirds also helps create a good balance between heaven and earth. In fact, you can consciously choose where to place the horizon line, whether in the middle or on one of the grid lines, dedicating 1/3 of the space to the sky or the earth. More tips on these aspects can be found in this article.
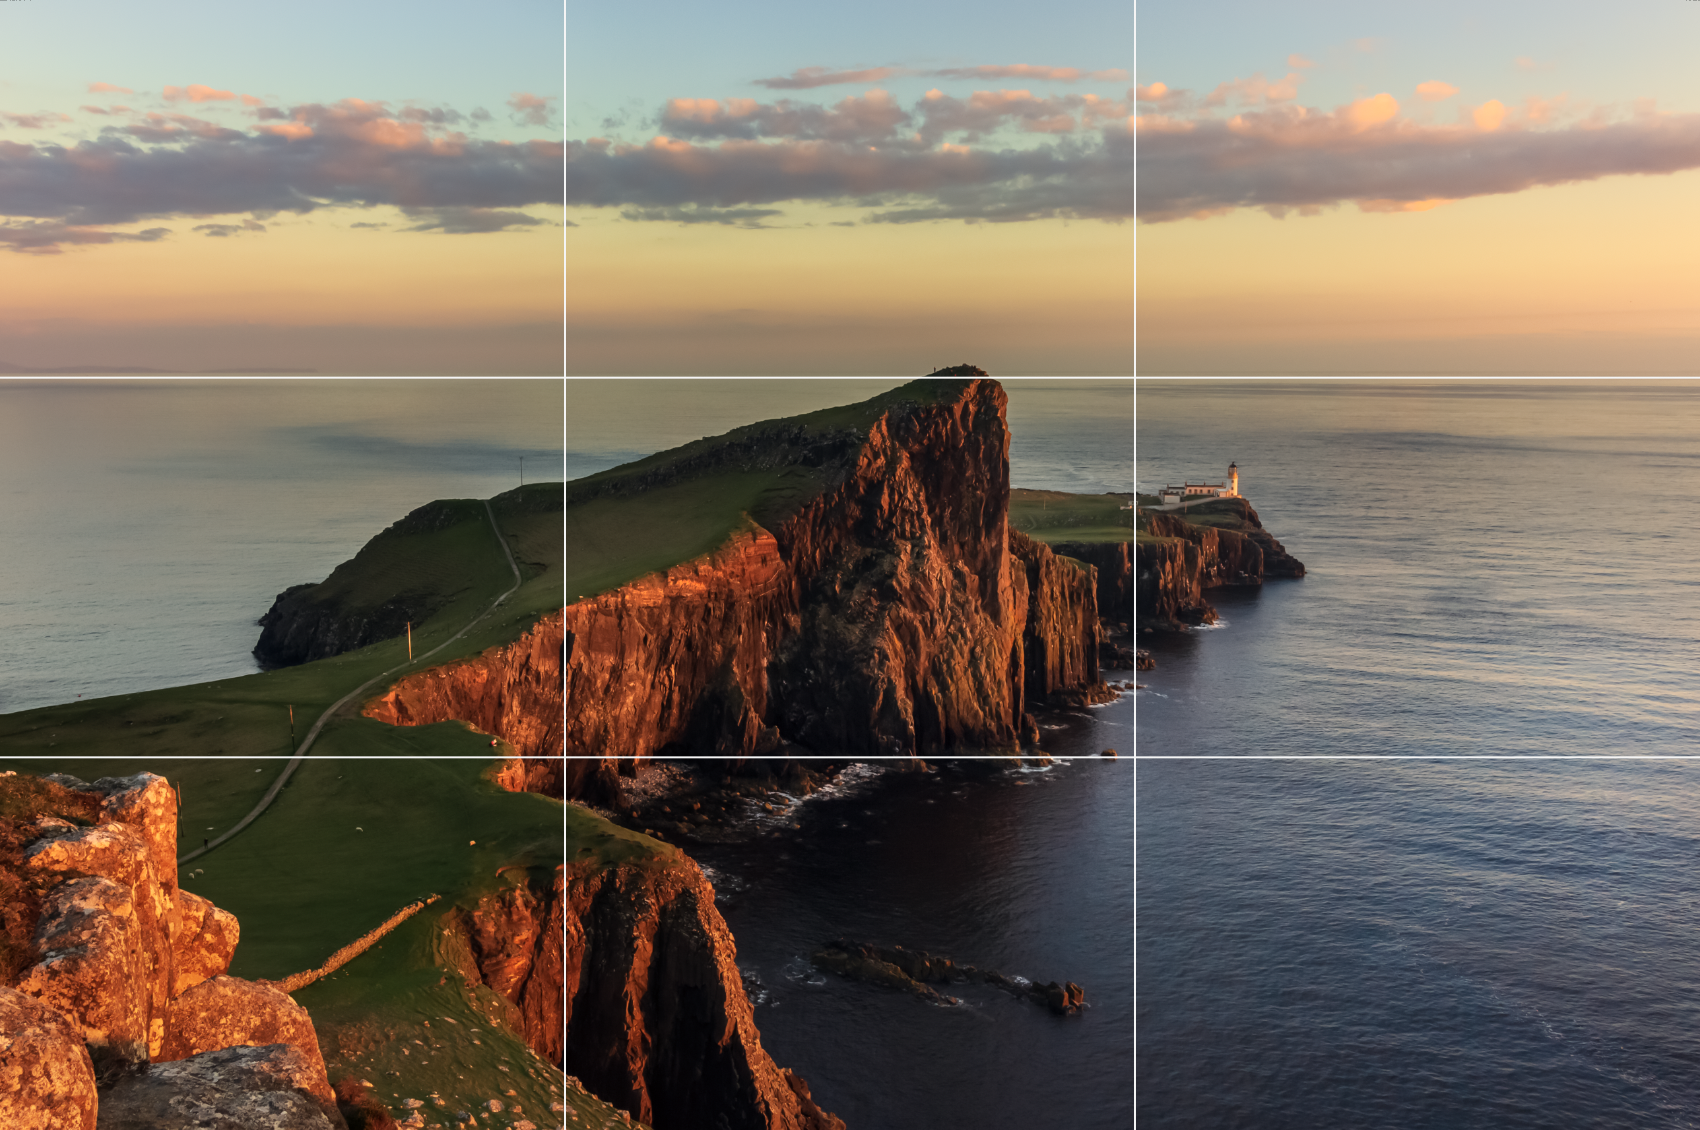
The use of the grid and the rule of thirds is an extremely useful and intuitive aid, simple to put into practice immediately! Just activate it and start paying attention!
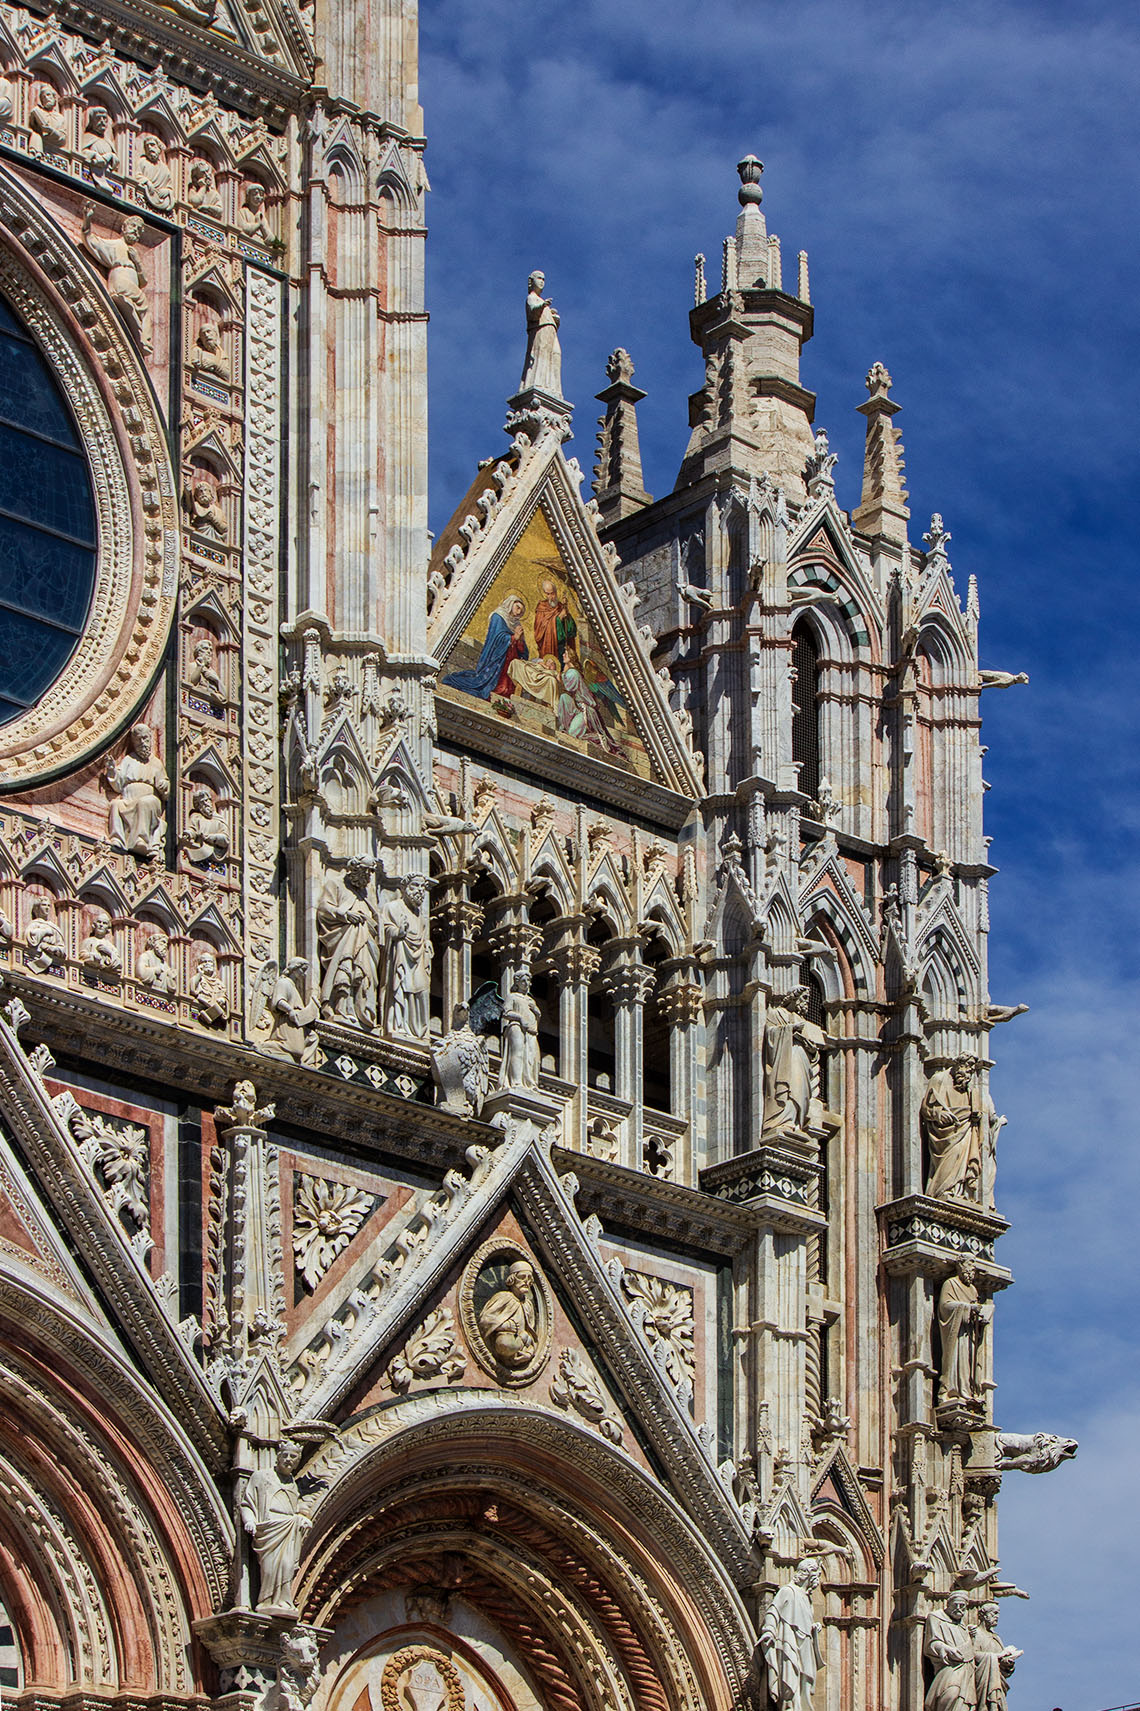
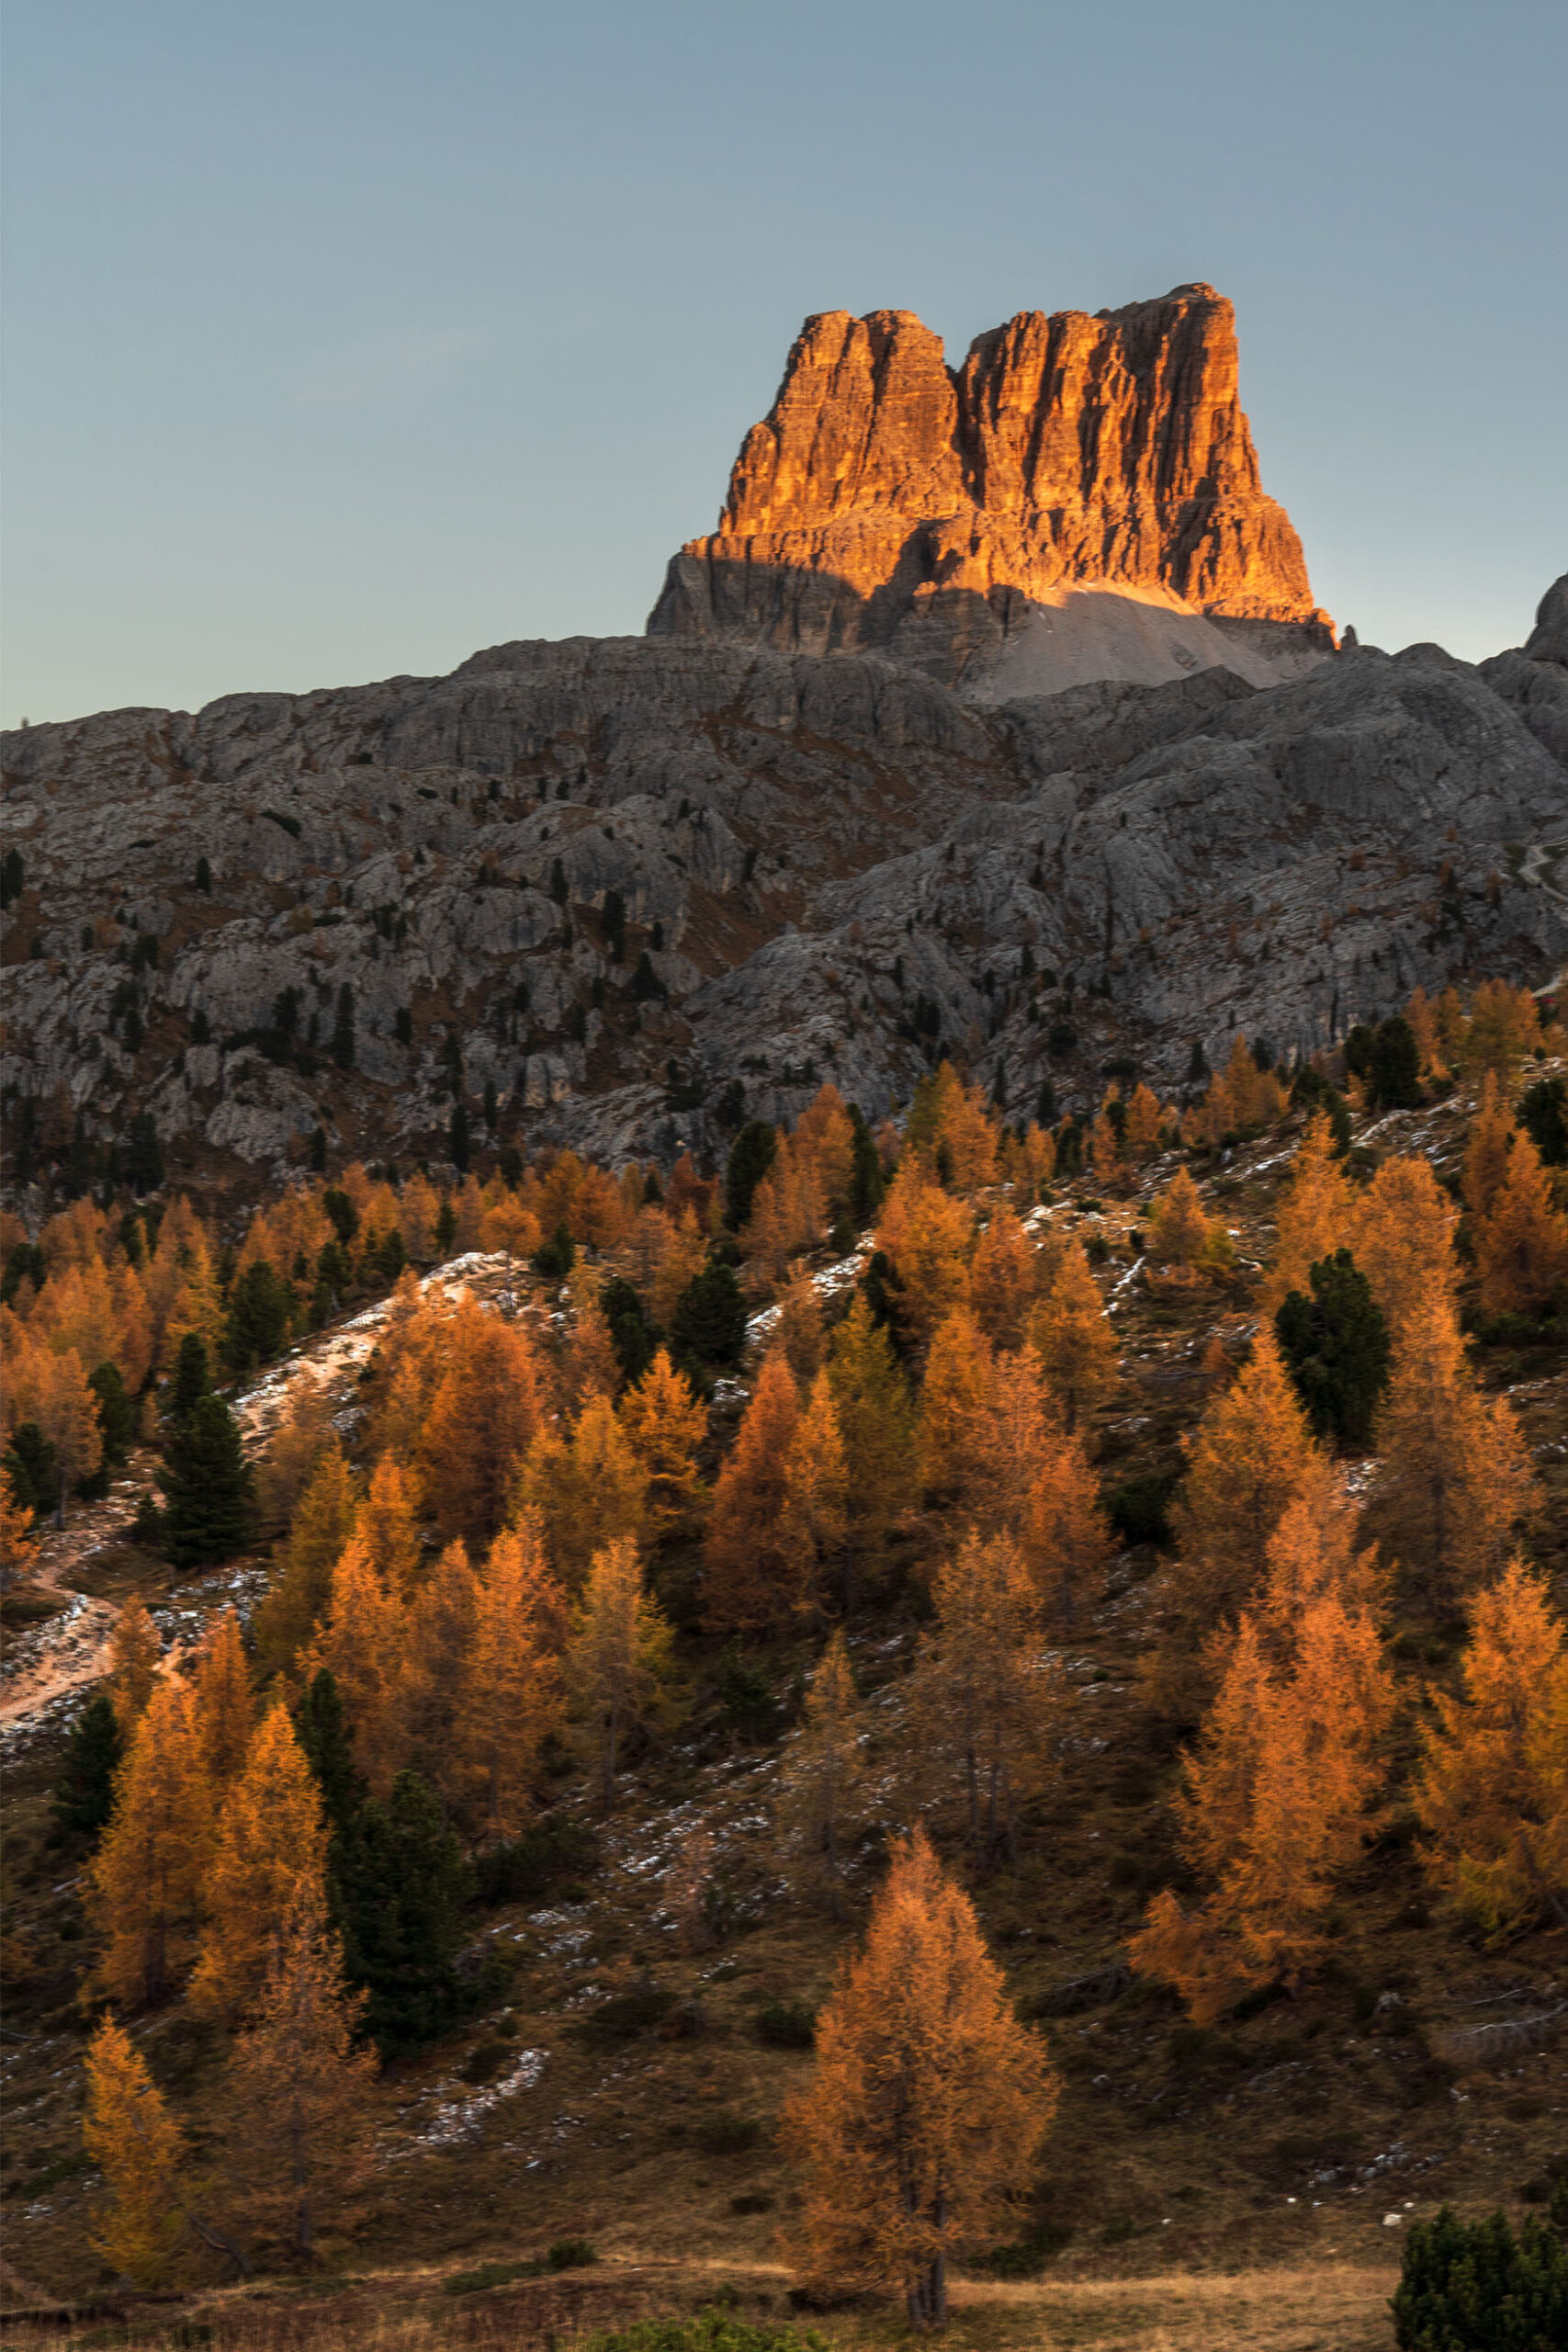
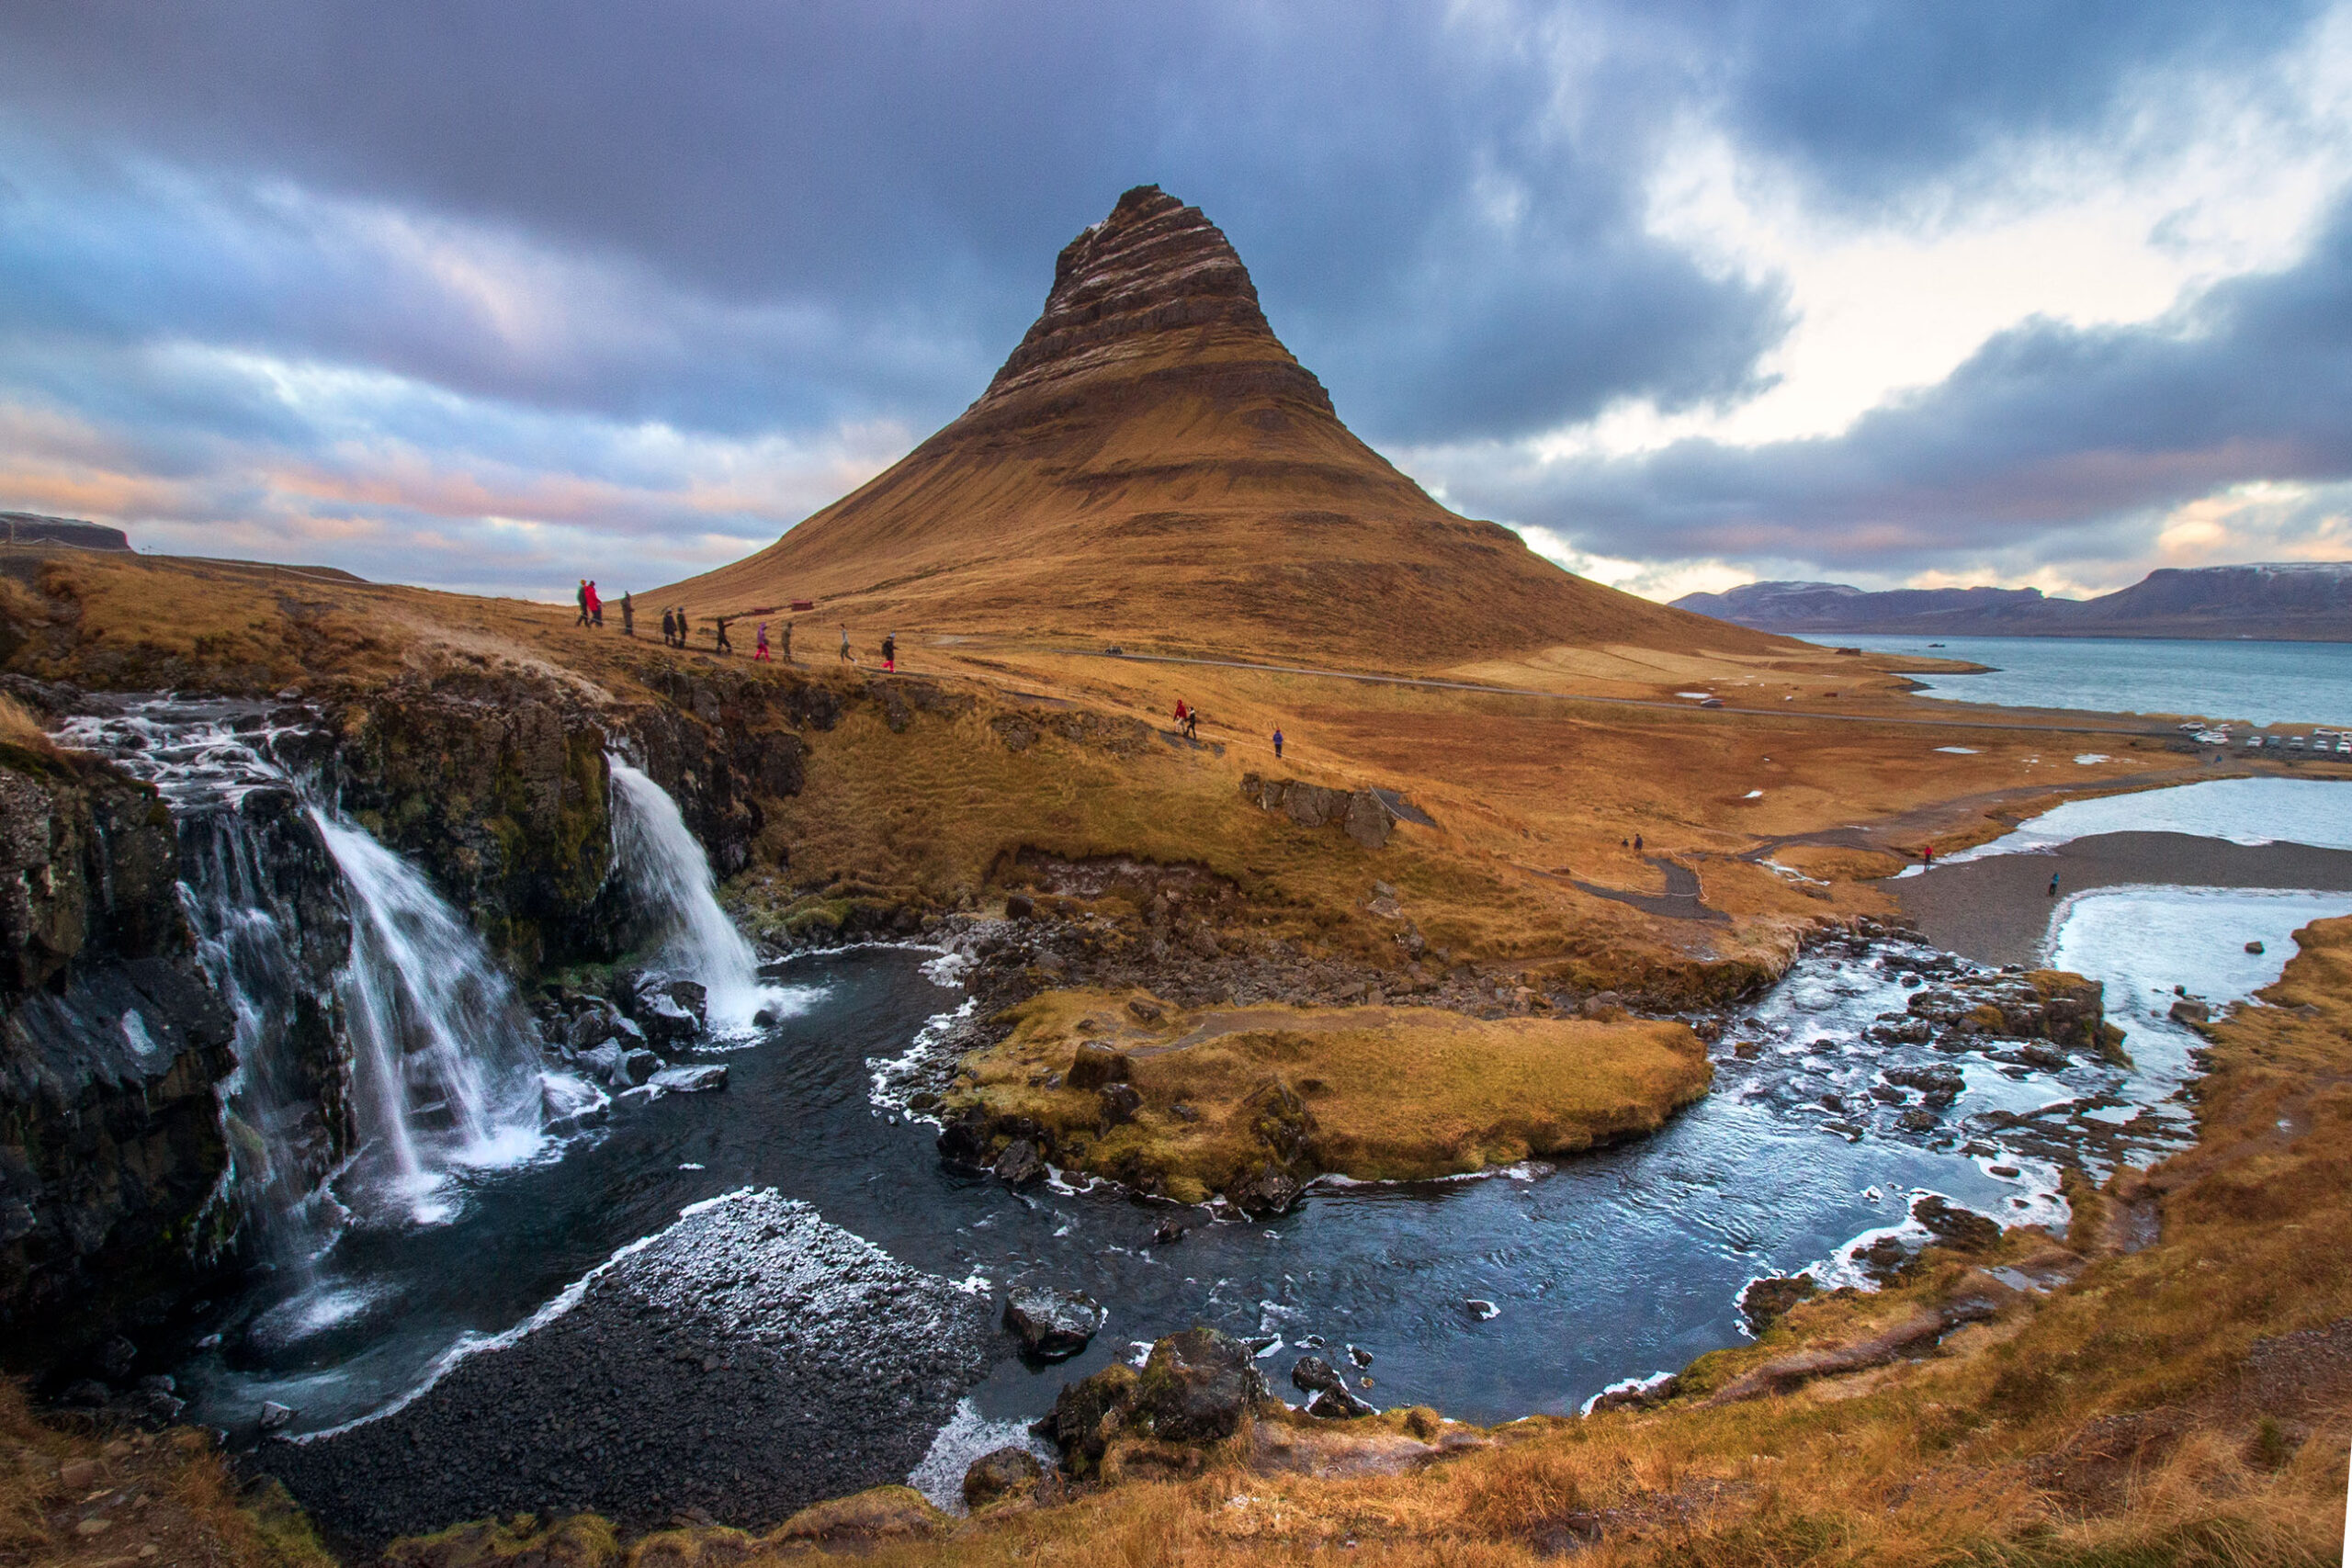
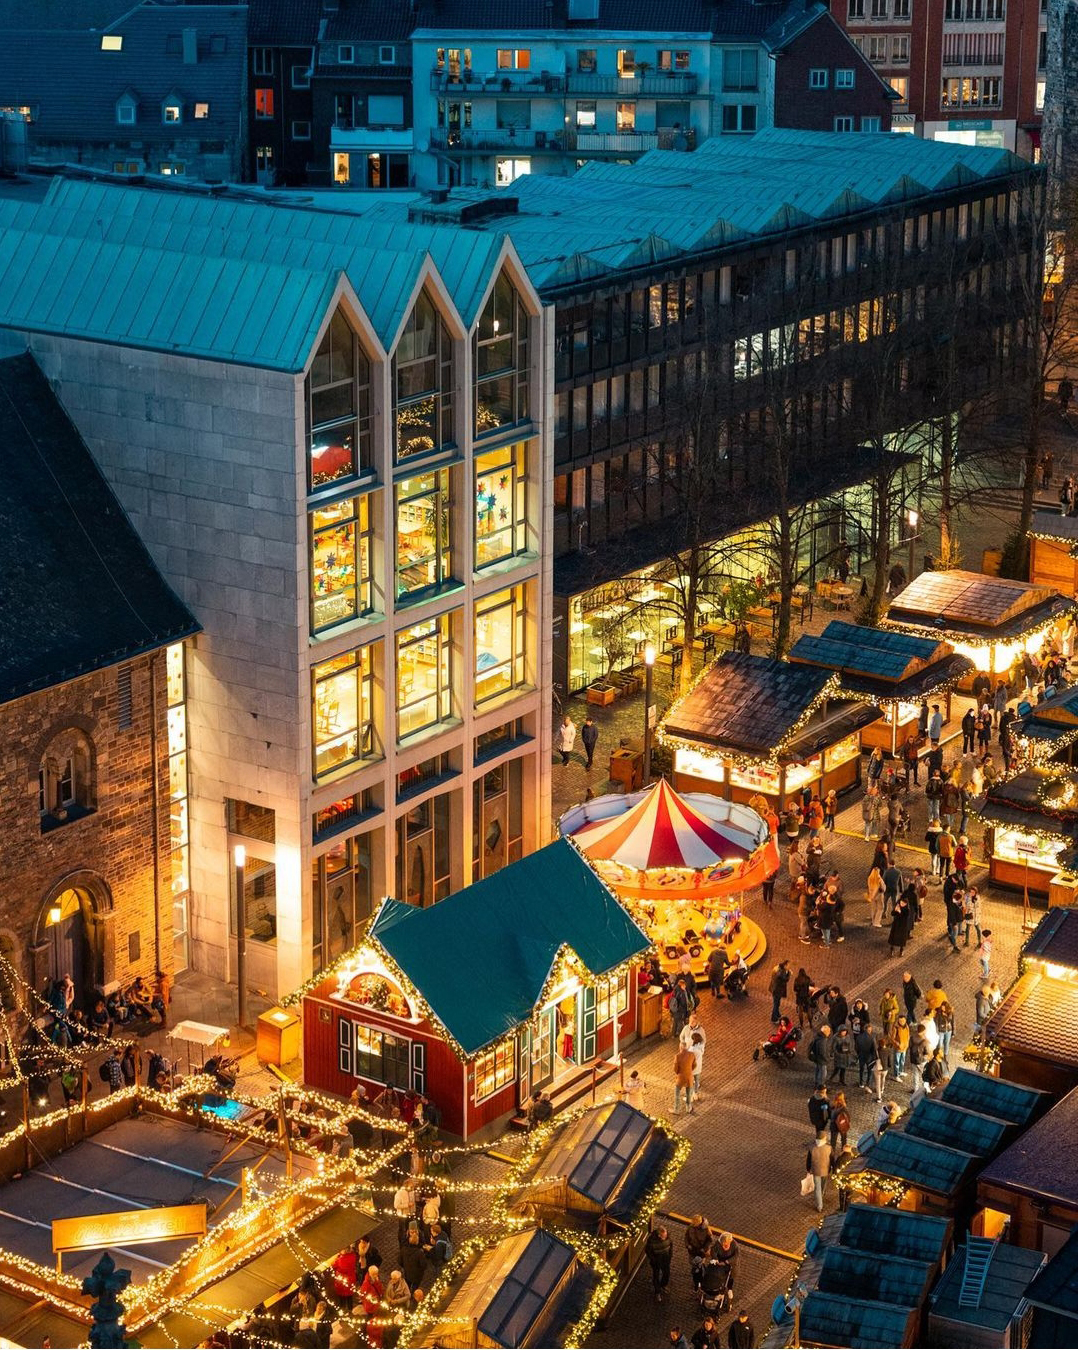
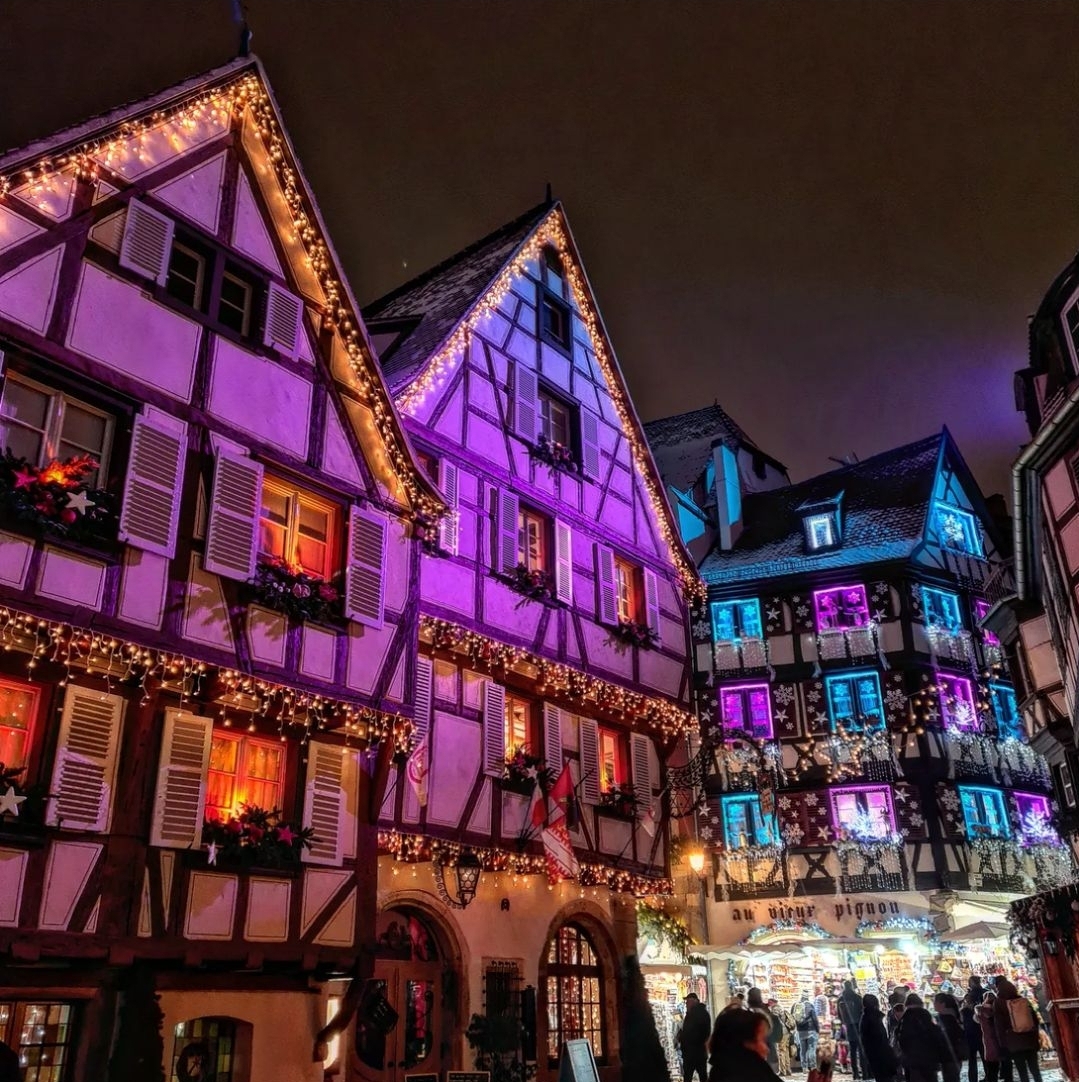
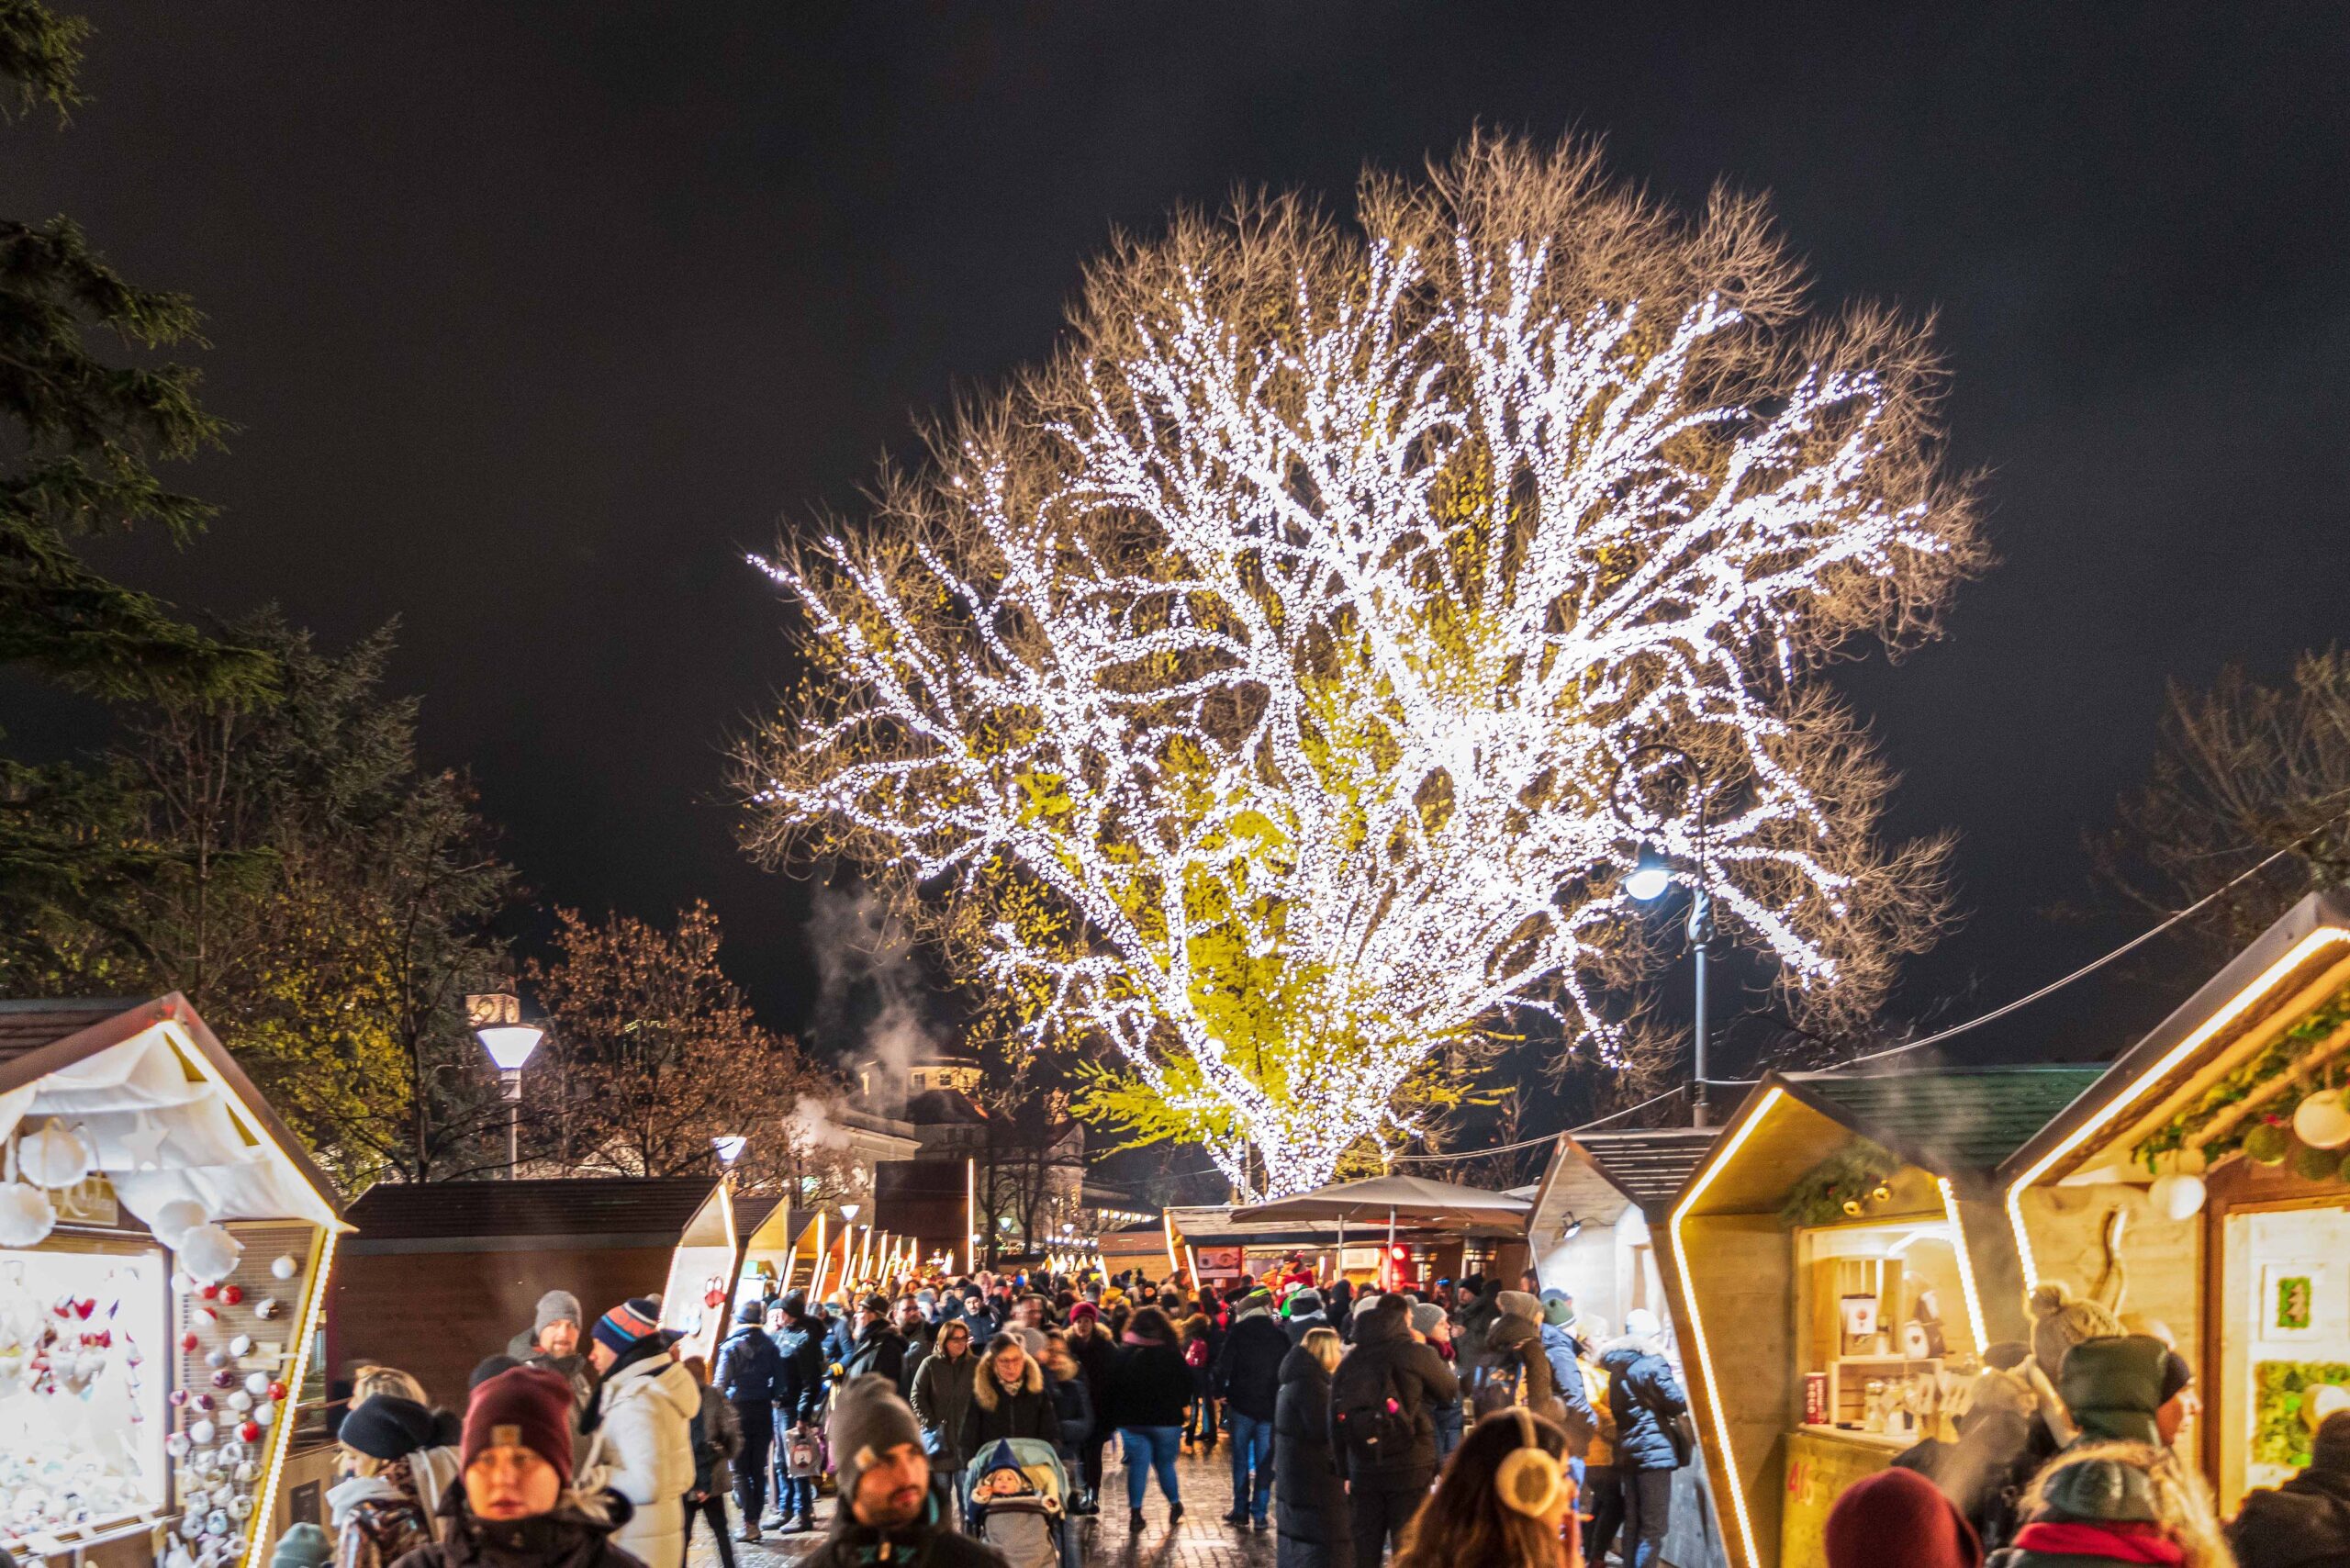
4. Lines and geometries
The lines and geometries allow the image to be more clear and certainly make it more interesting, they give order and guide the eye between the different elements.
Whether the lines are vertical, horizontal, concentric or oblique, or whether you want to emphasize particular geometries, your images will involve the viewer!
Let’s see some examples.
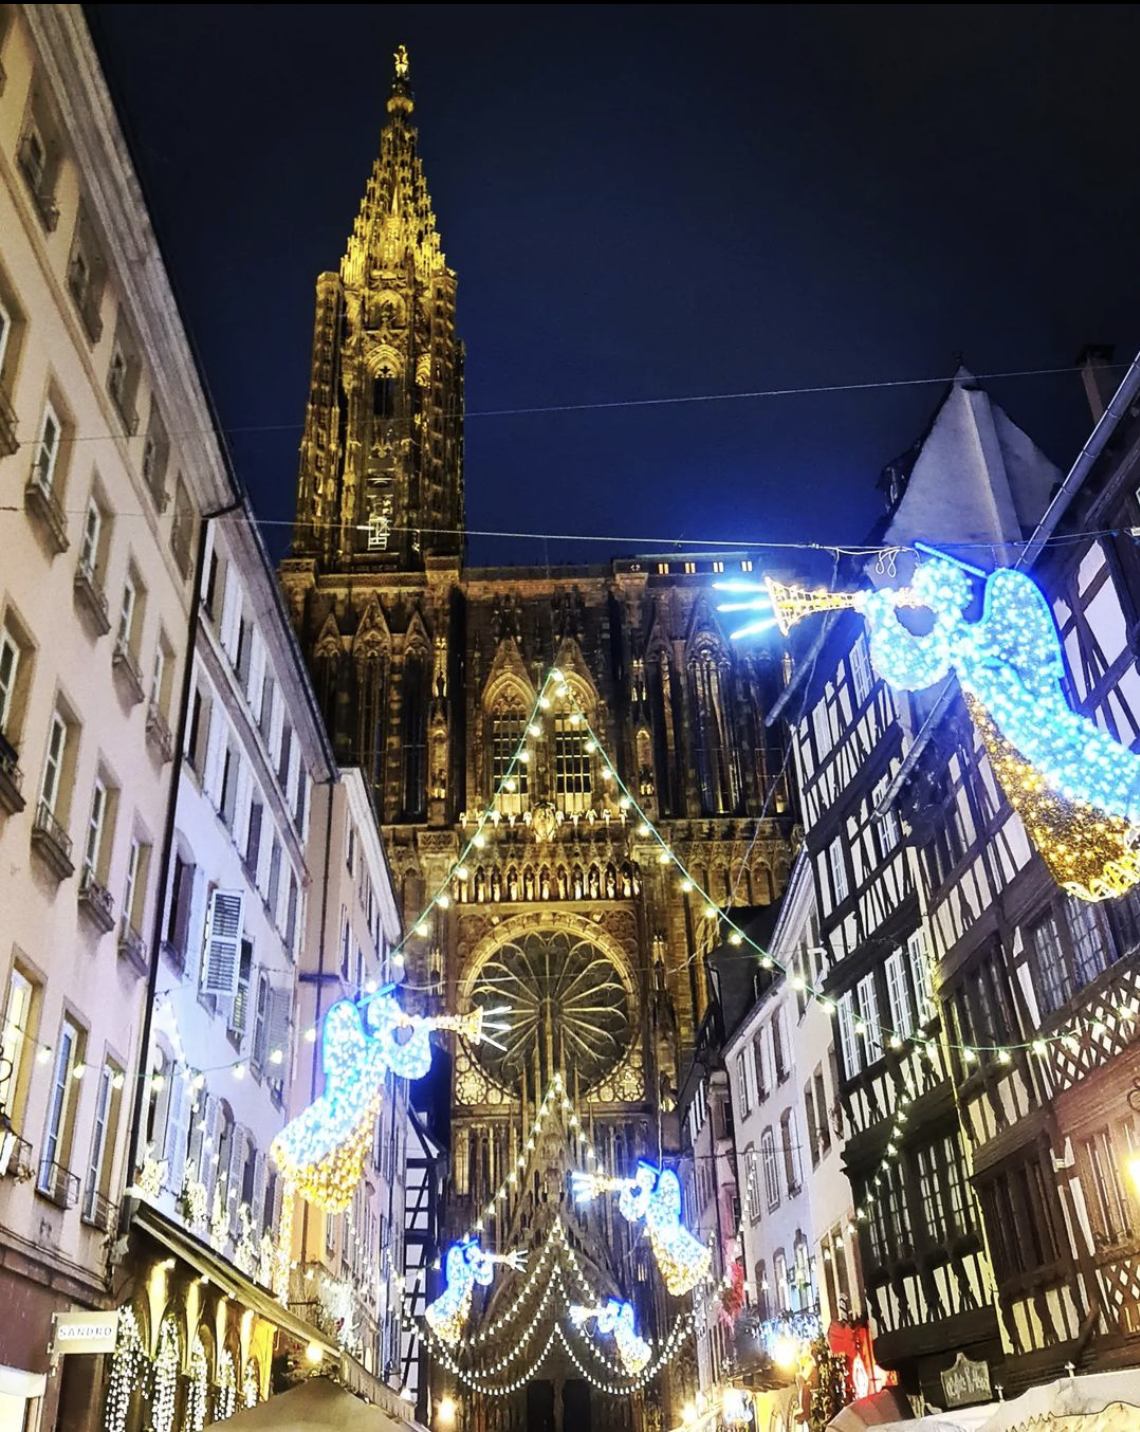
- Oblique lines
If the lines are oblique, make sure, using the grid, that they cross the vertices between the lines, or end up on the vertices of the outer edges. It is not necessary that all oblique lines go in the same direction, indeed, sometimes lines in different directions make the image even more incisive.
Ph: @giadaantonini_photography 
Ph: @giadaantonini_photography 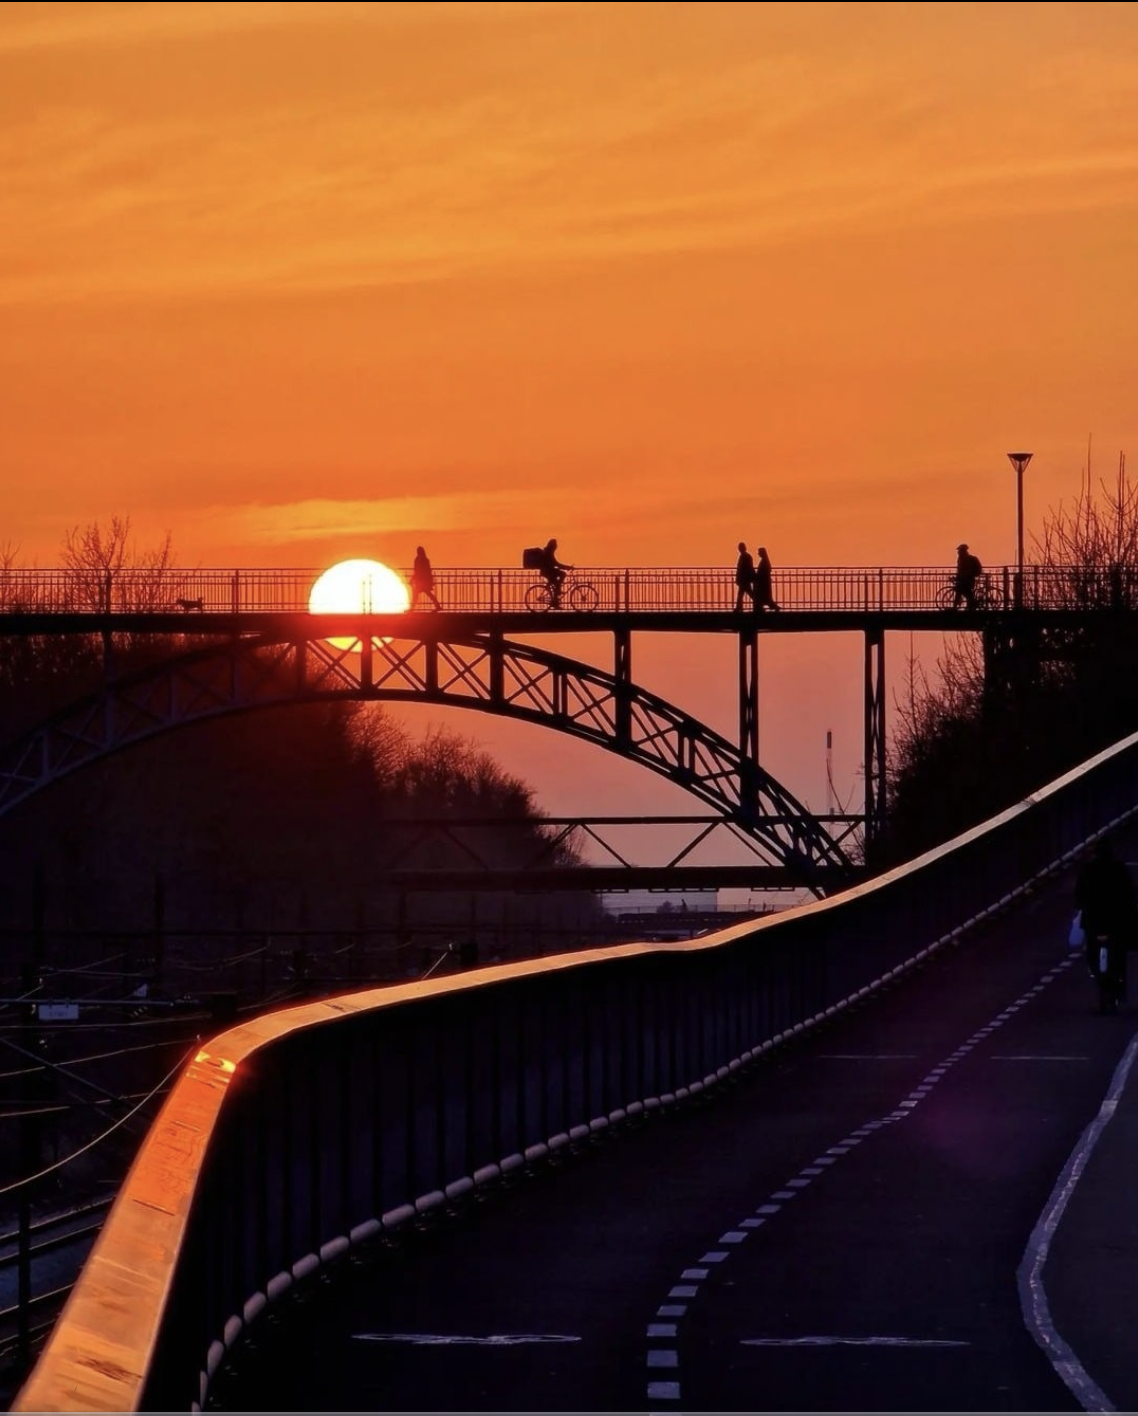
Ph: @kentkillebjer
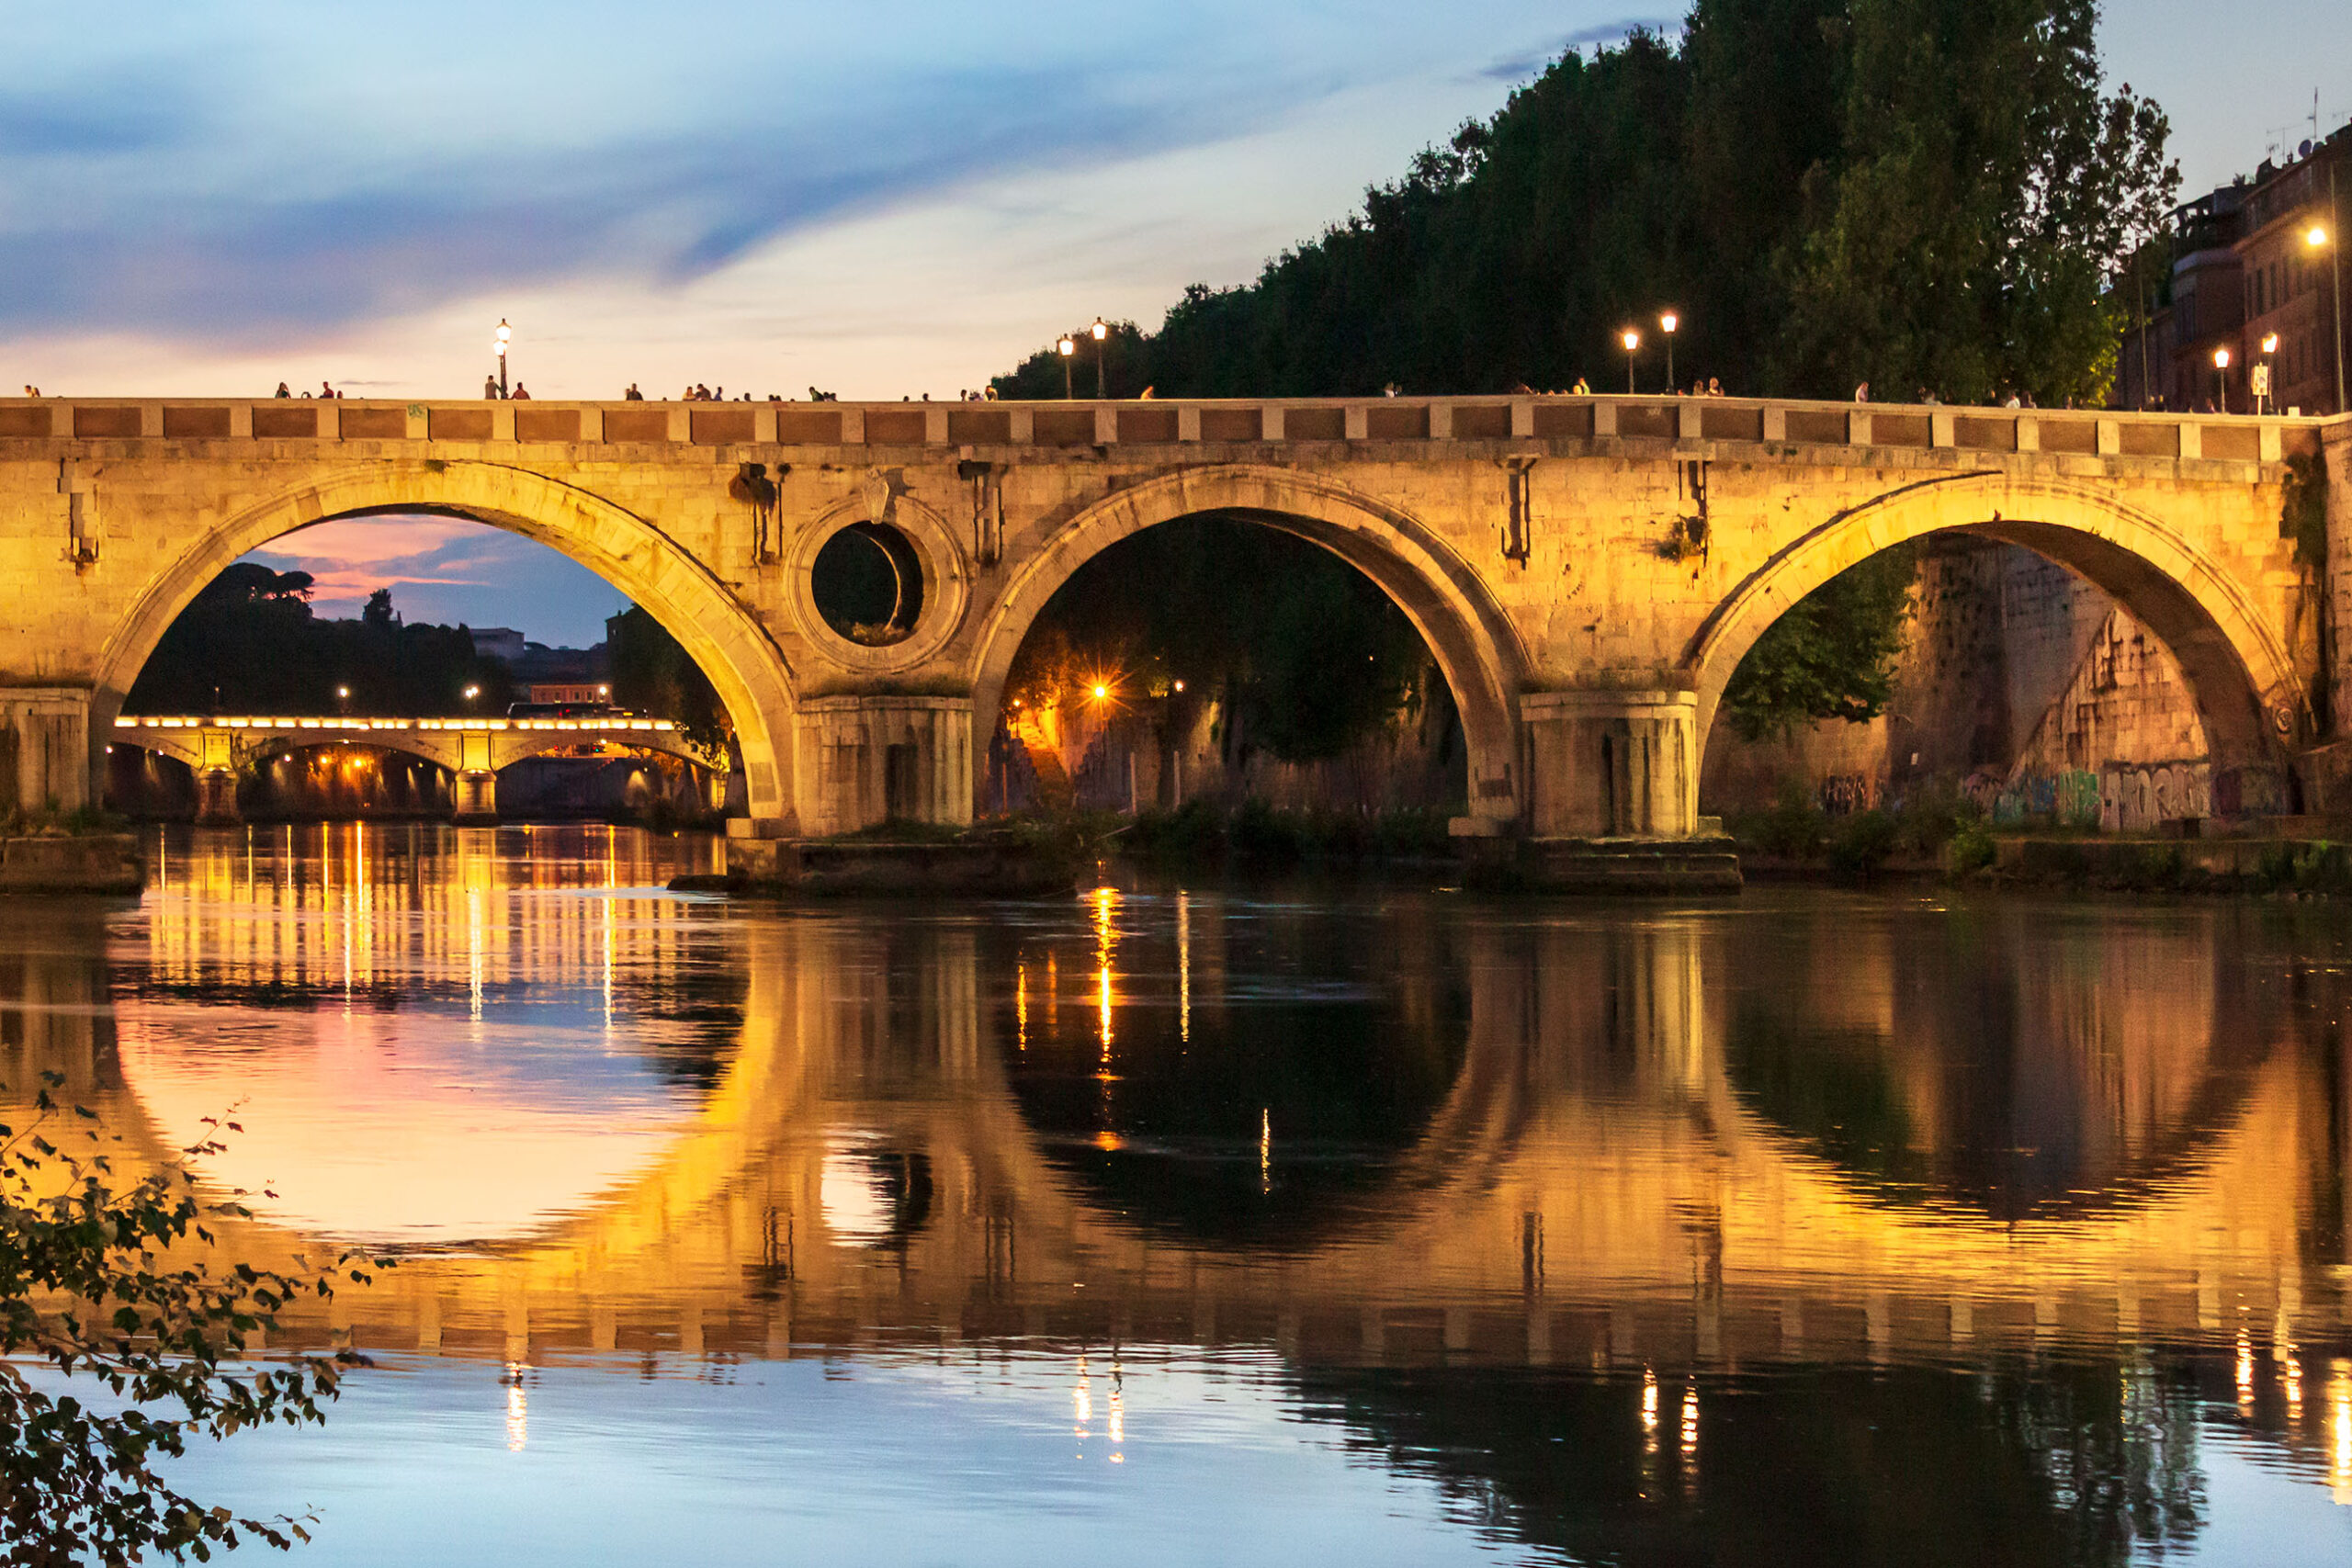
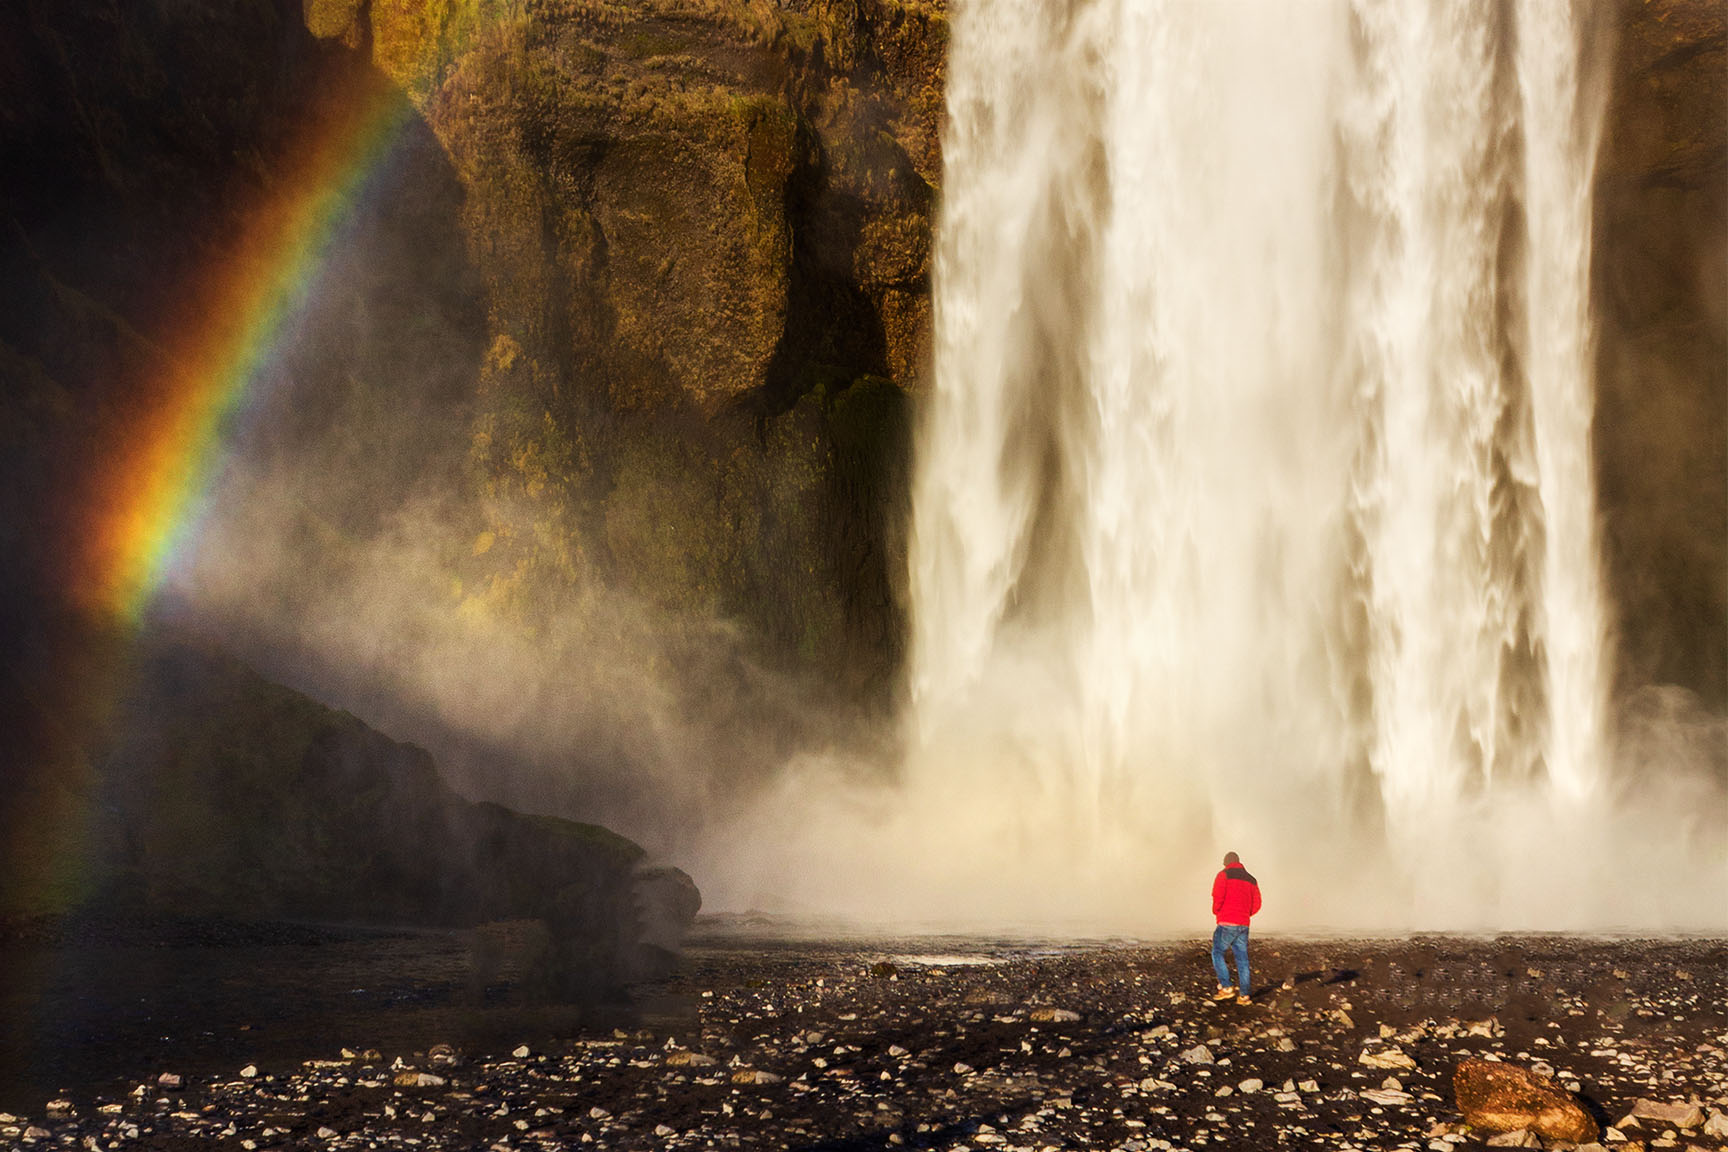
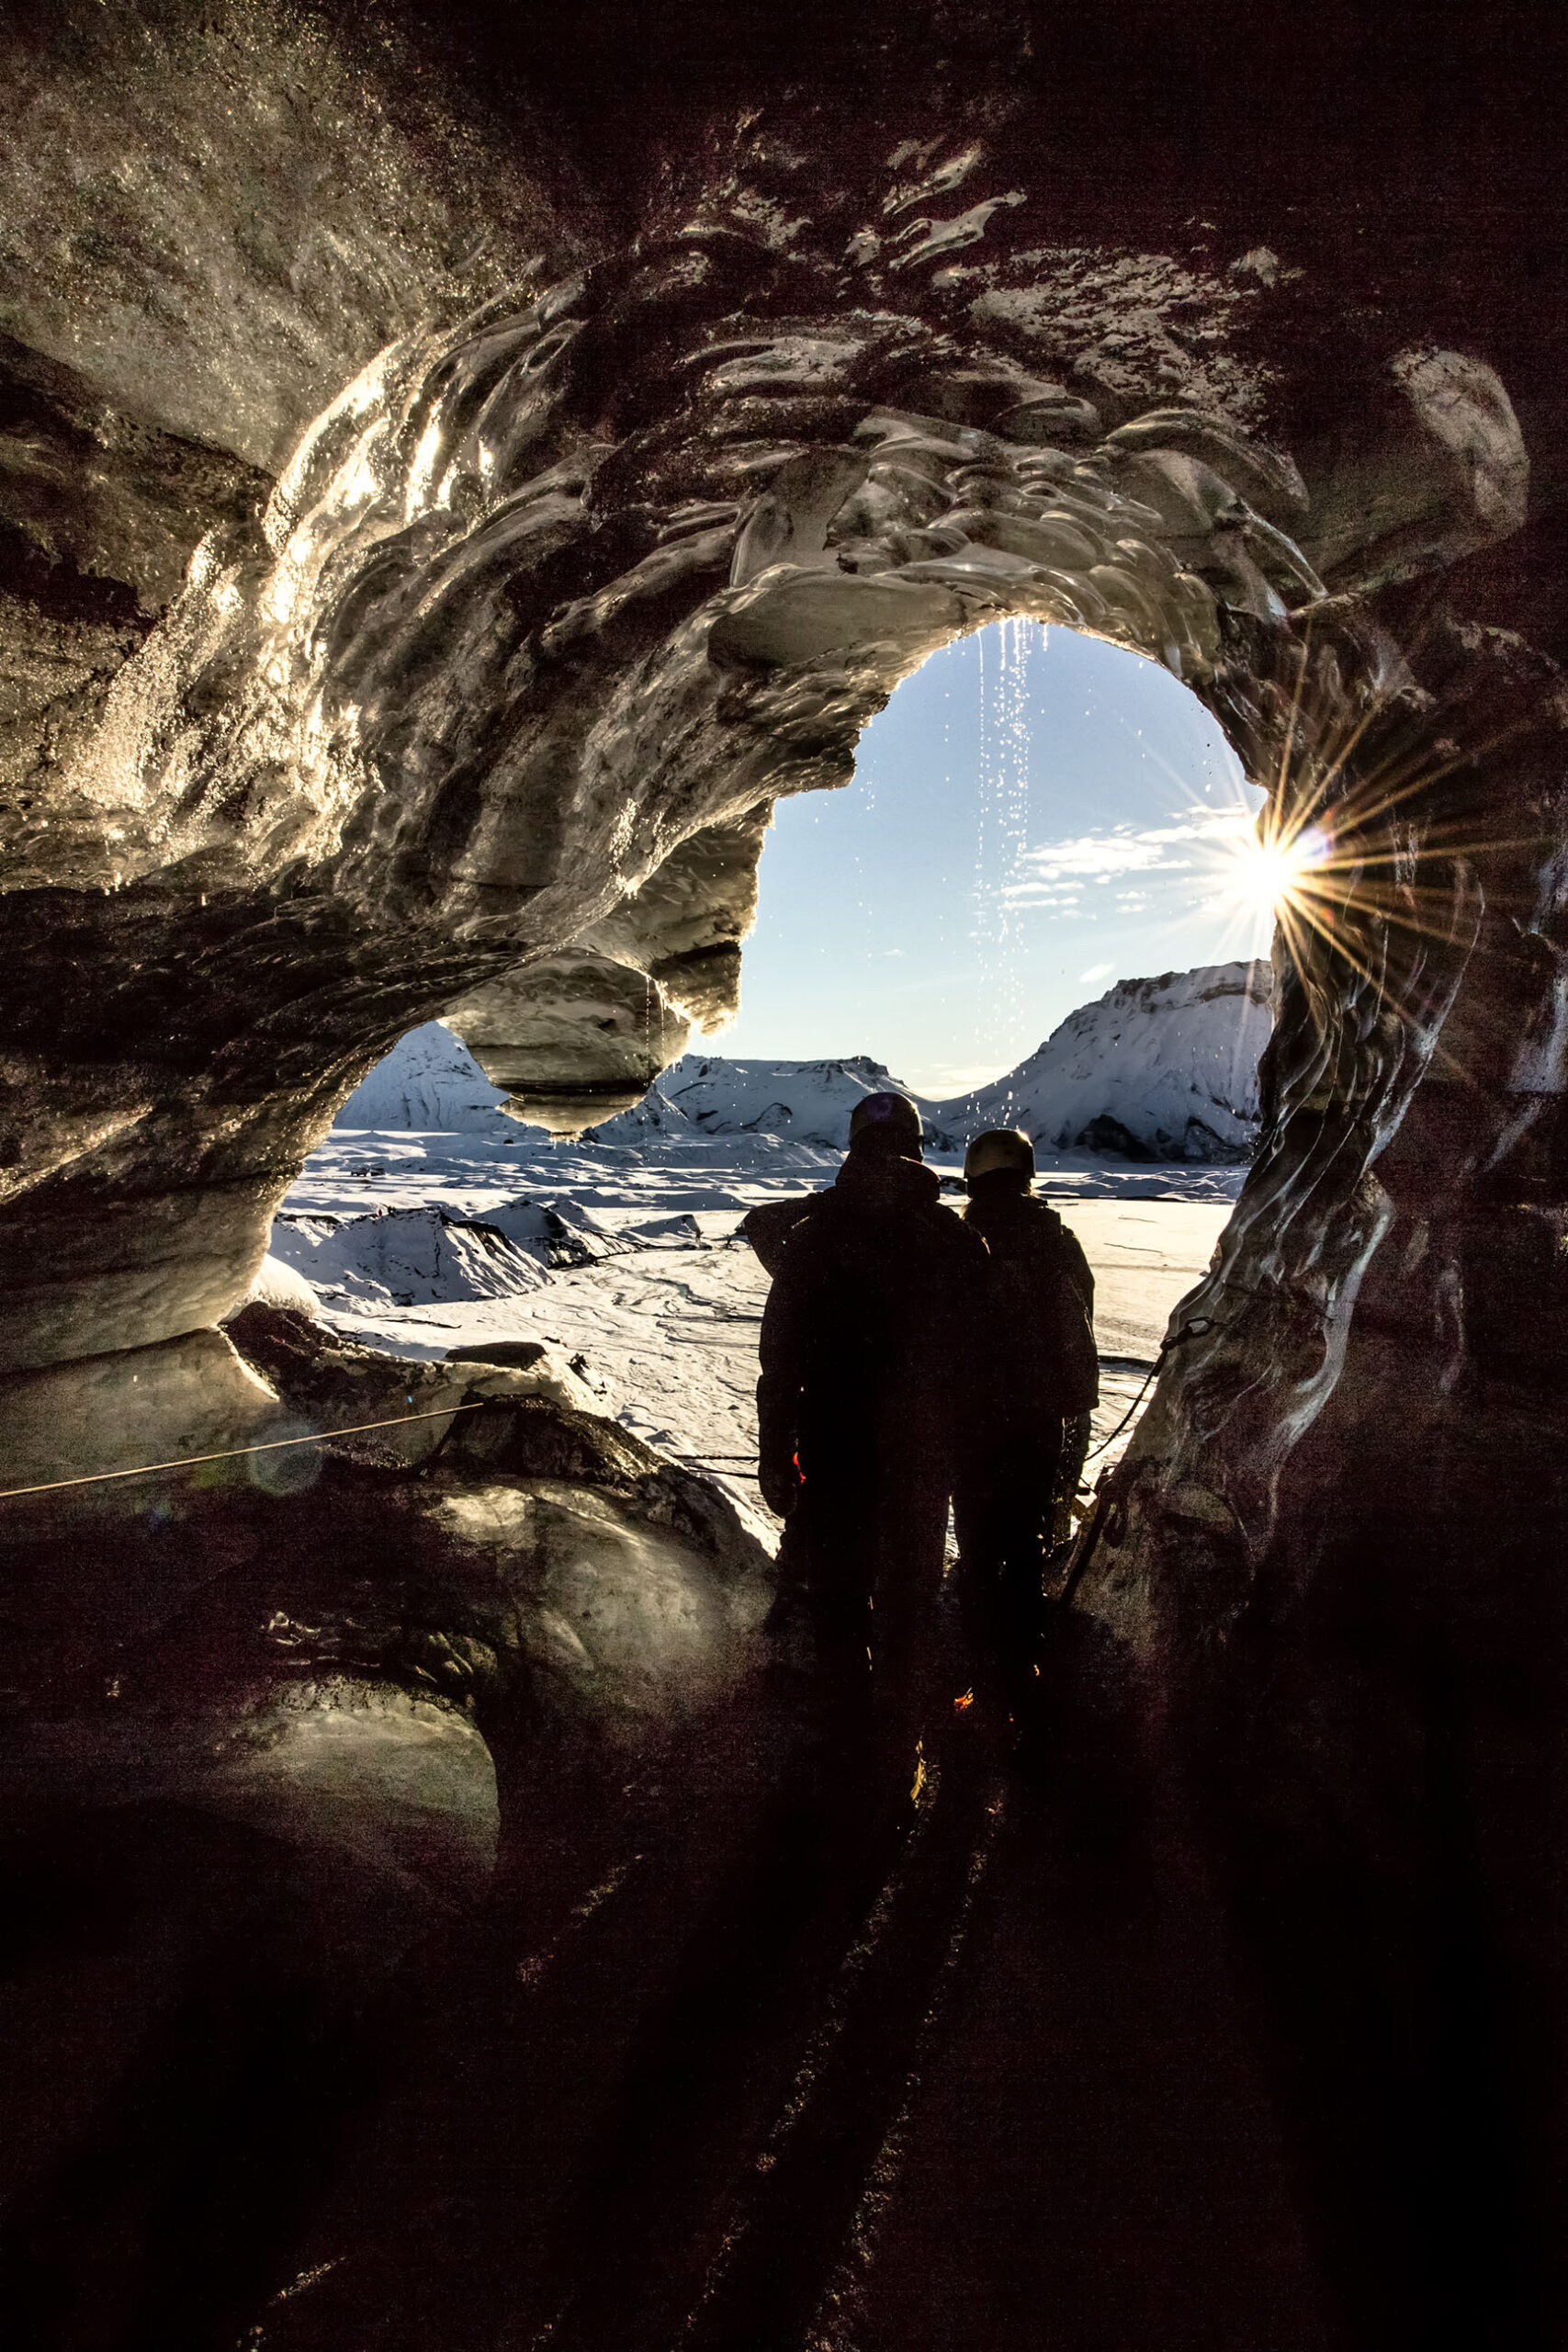
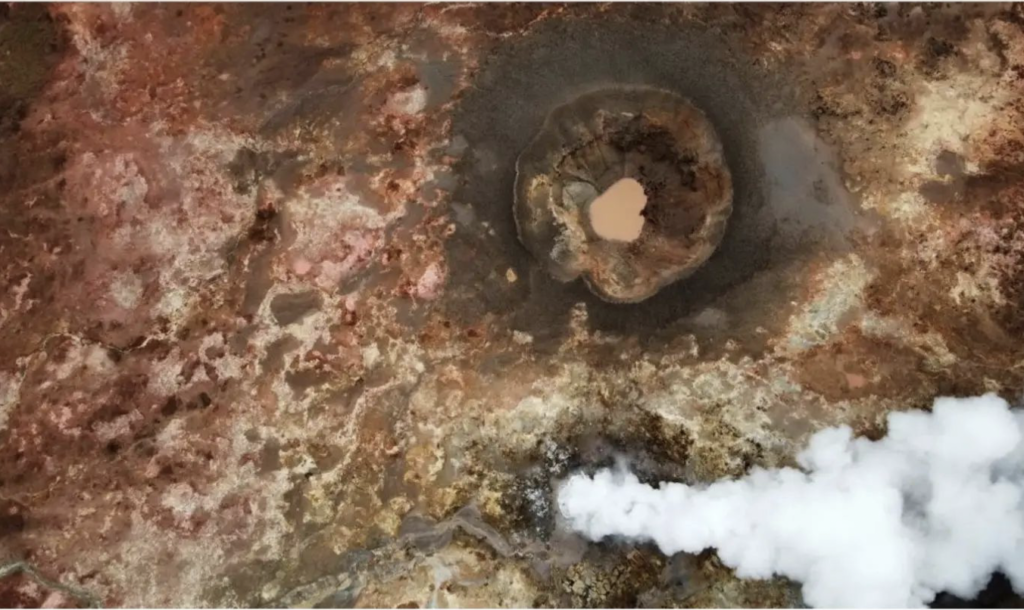
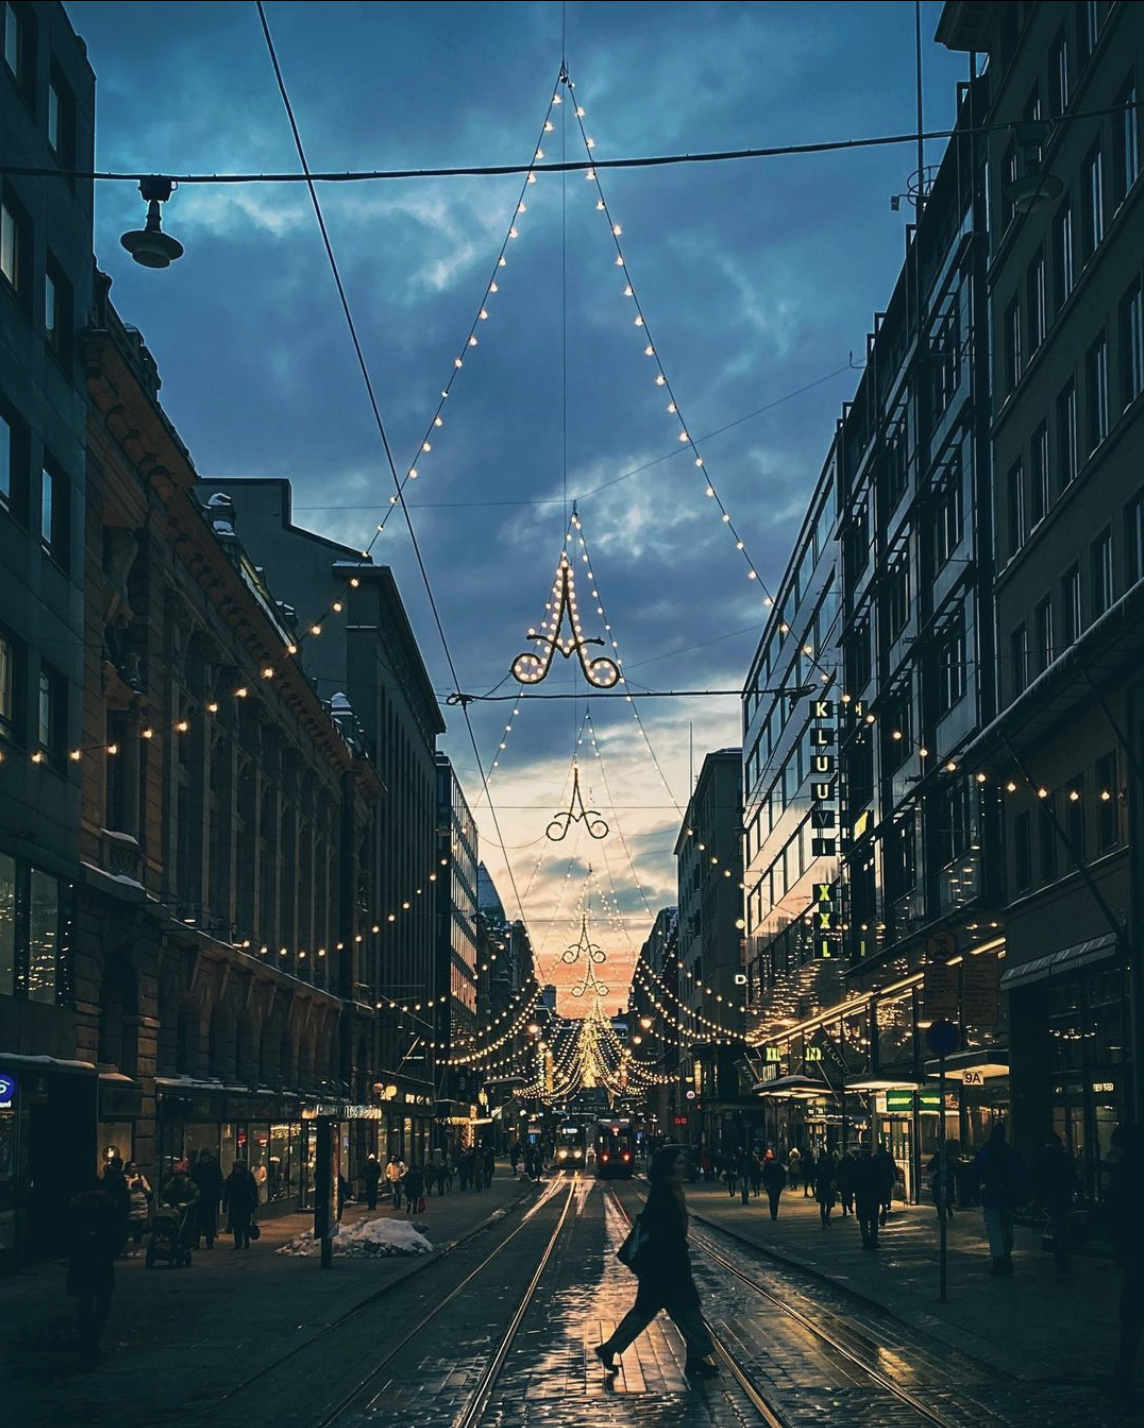
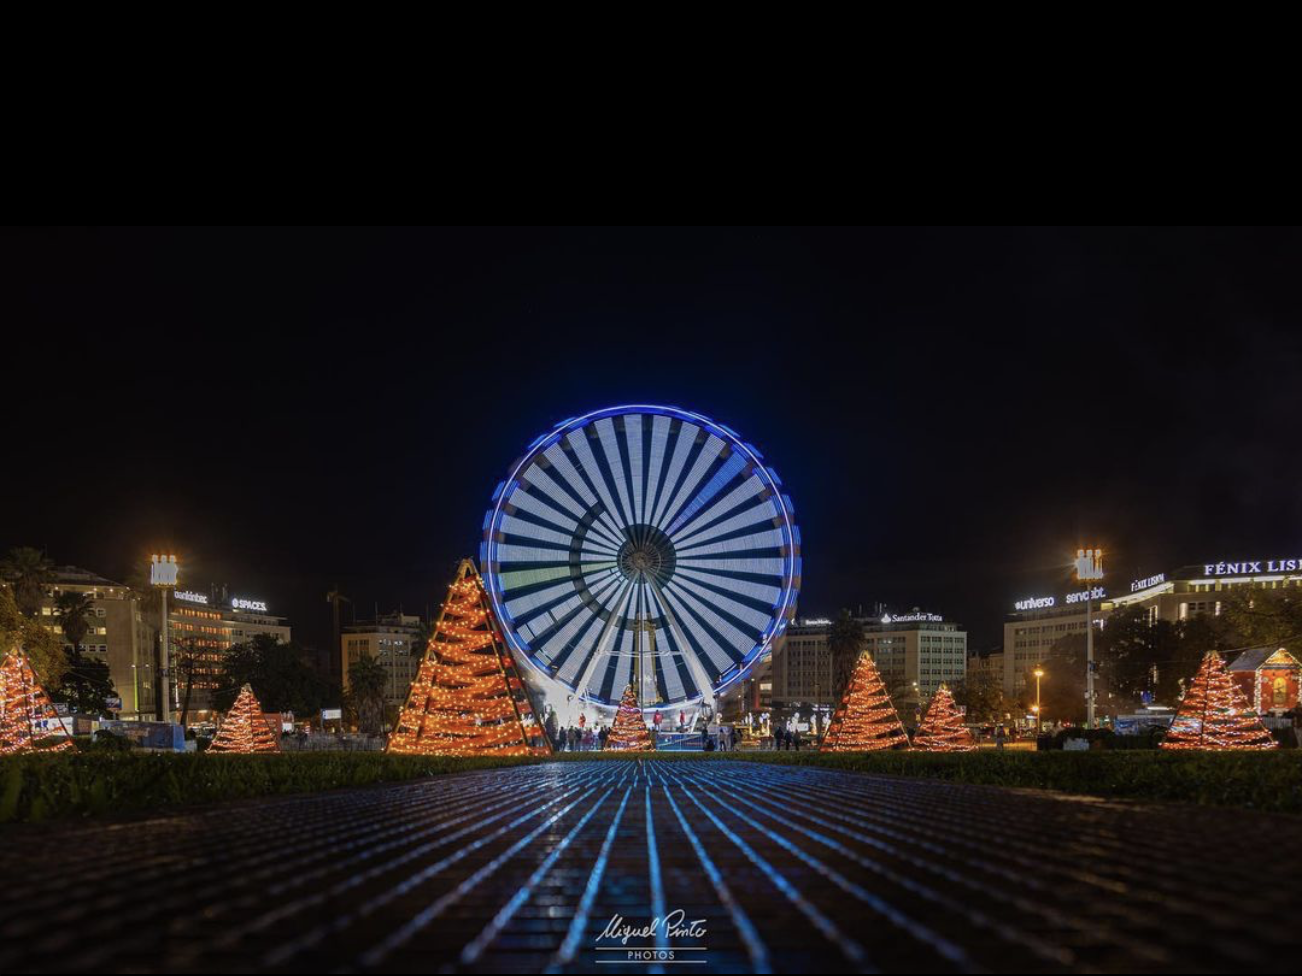
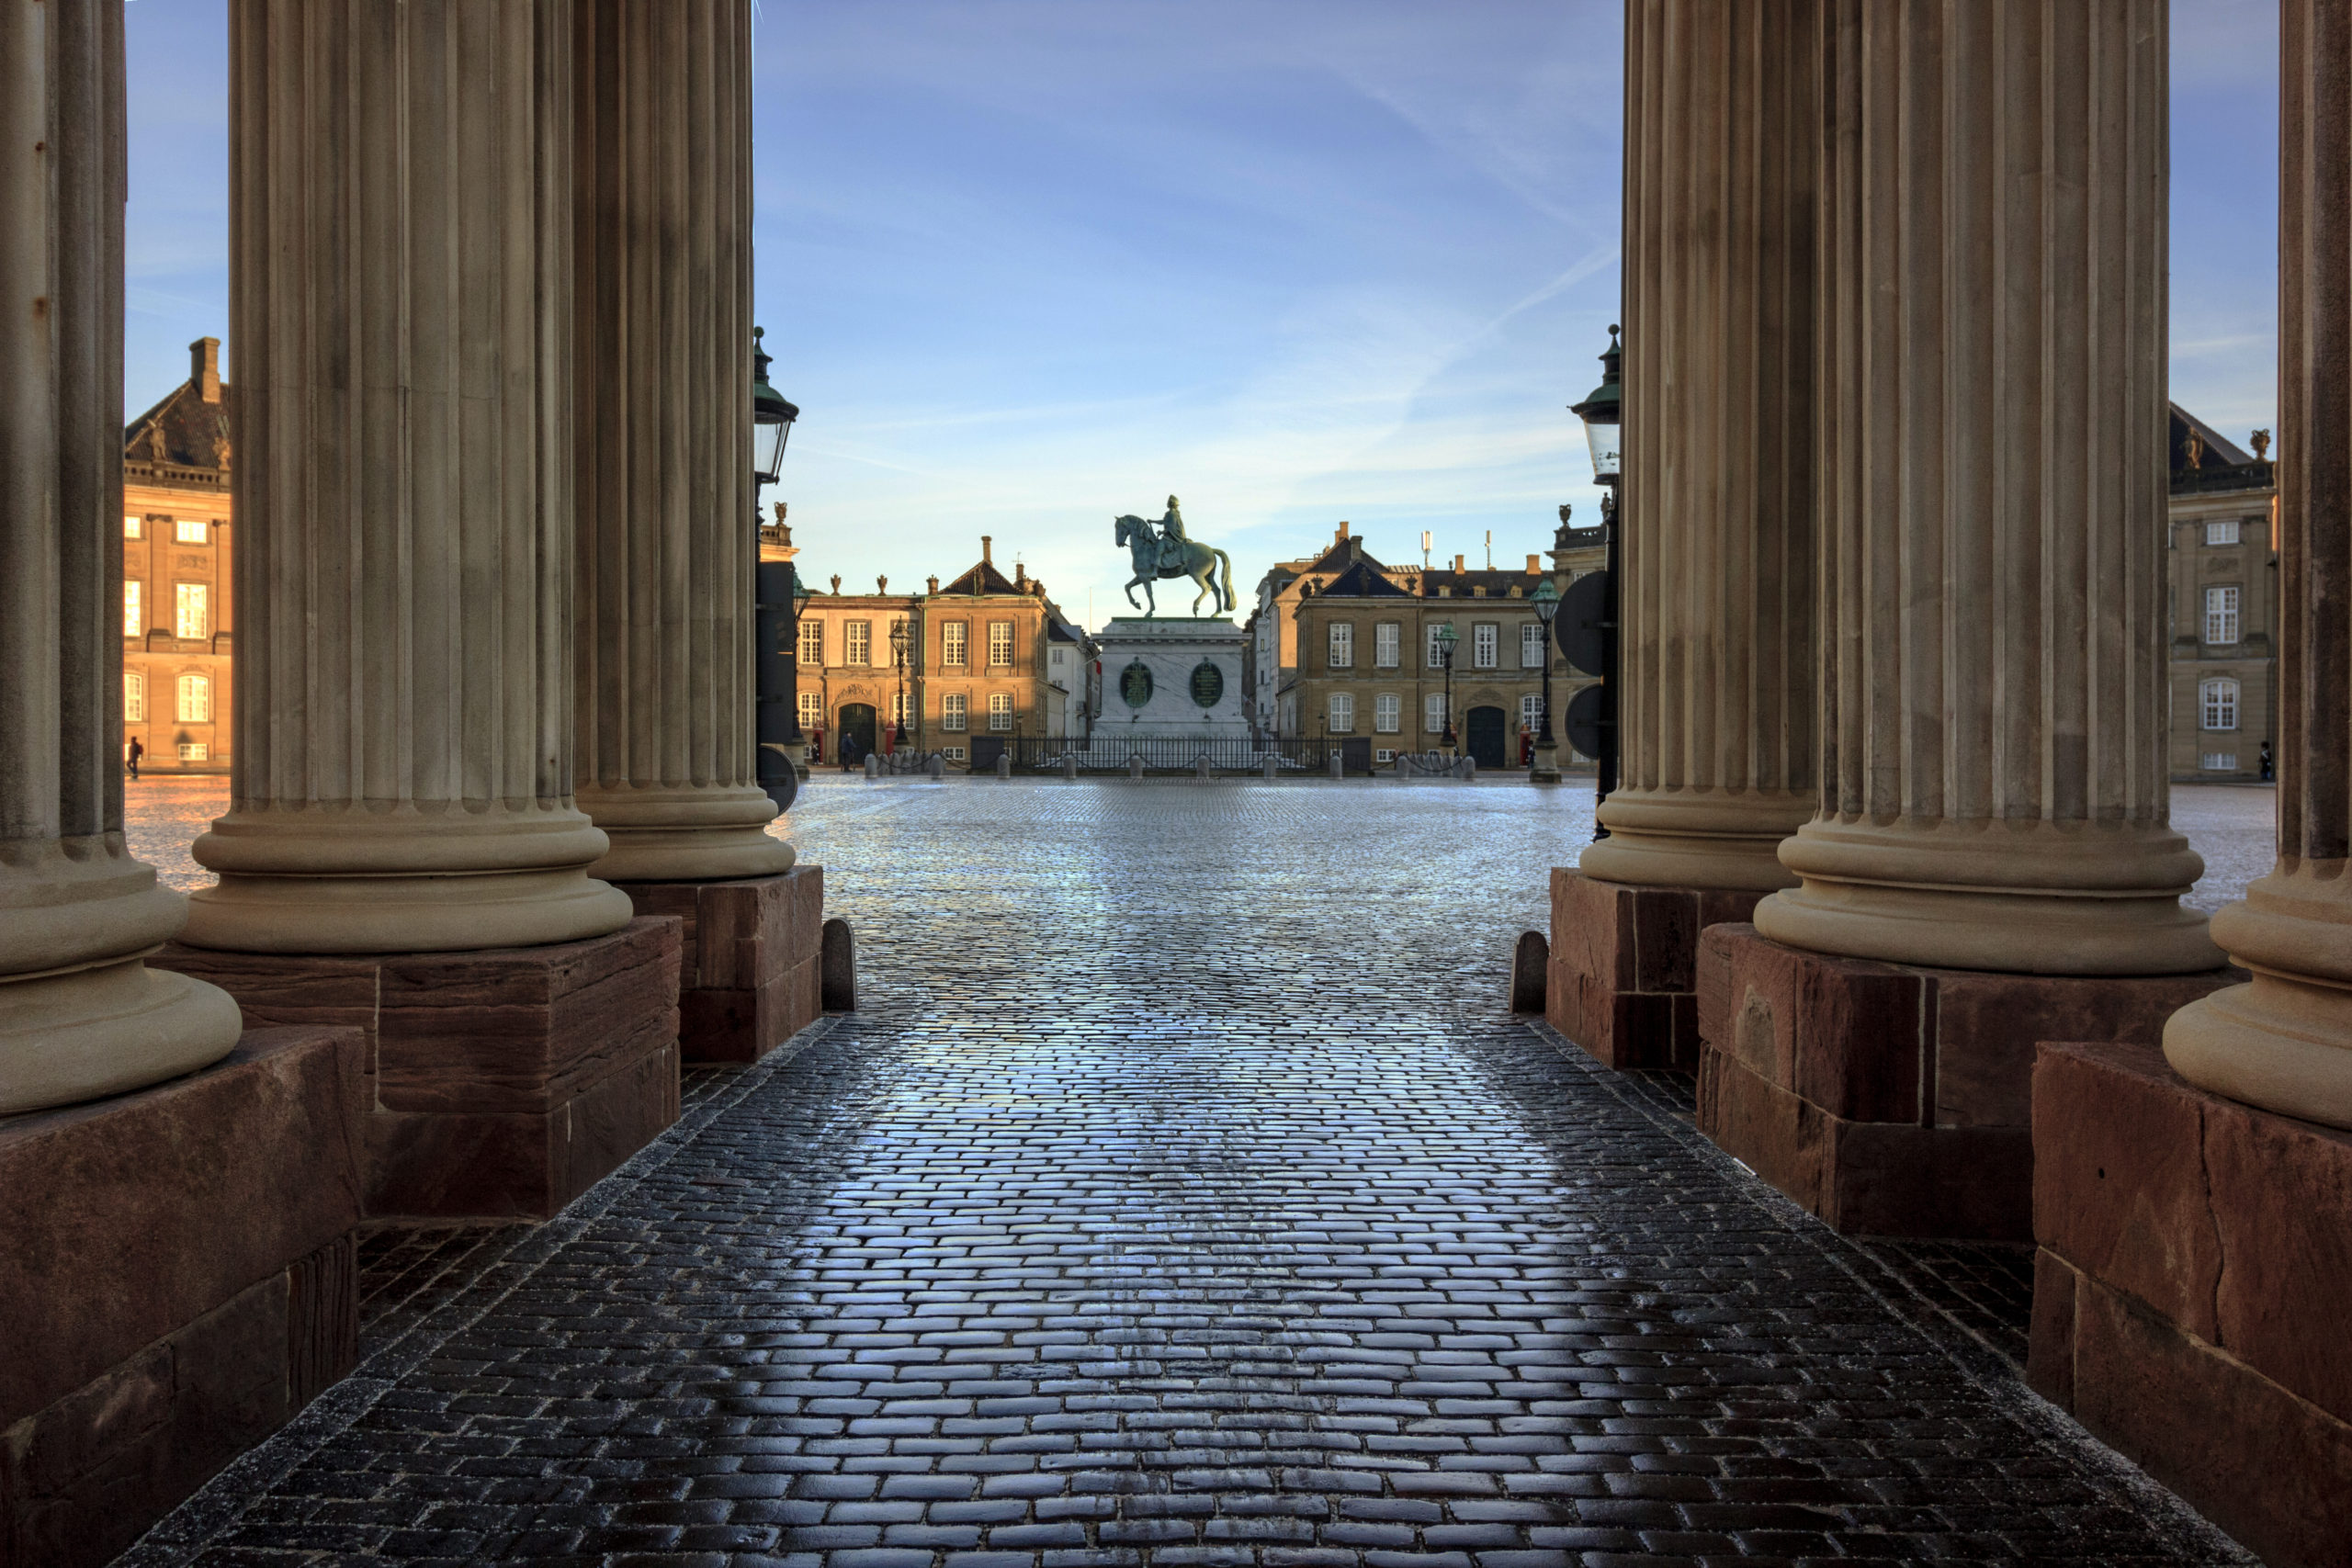
- Convergent or concentric lines
The lines converging towards a single point allow you to guide the eye towards the main subject. And If the fulcrum of the converging lines falls on the center of the photo or on one of the thirds, it will have even more success. Concentric or circular lines are also a good way to lead the eye to the focus of the image.
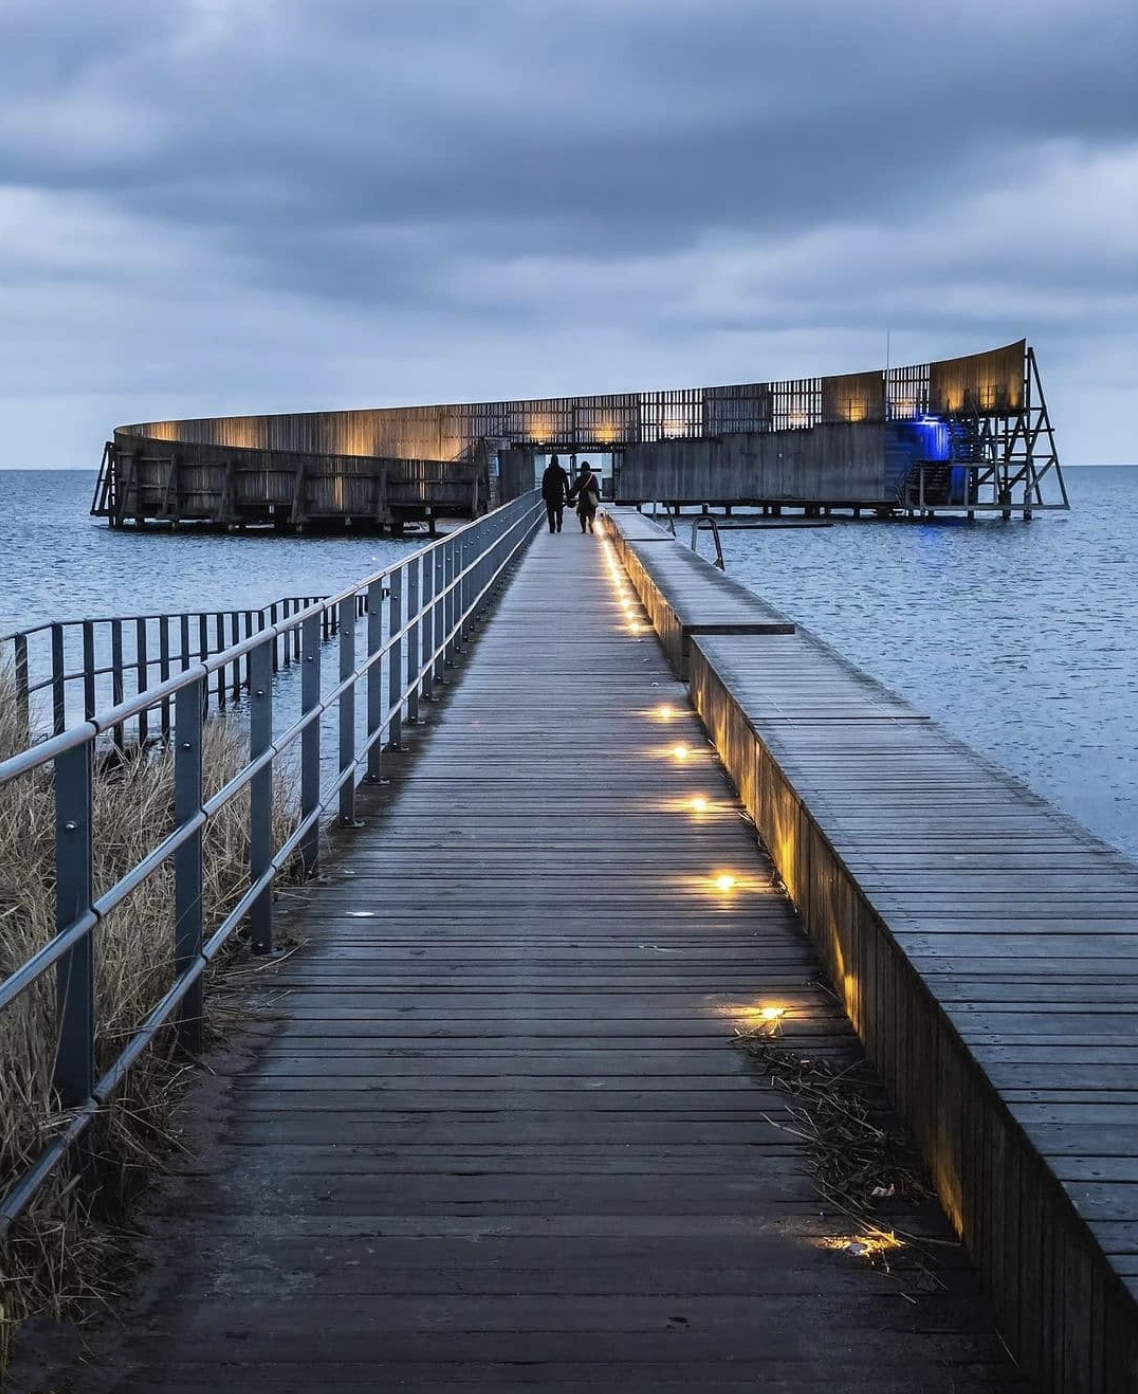
Ph: @andreas.kbh 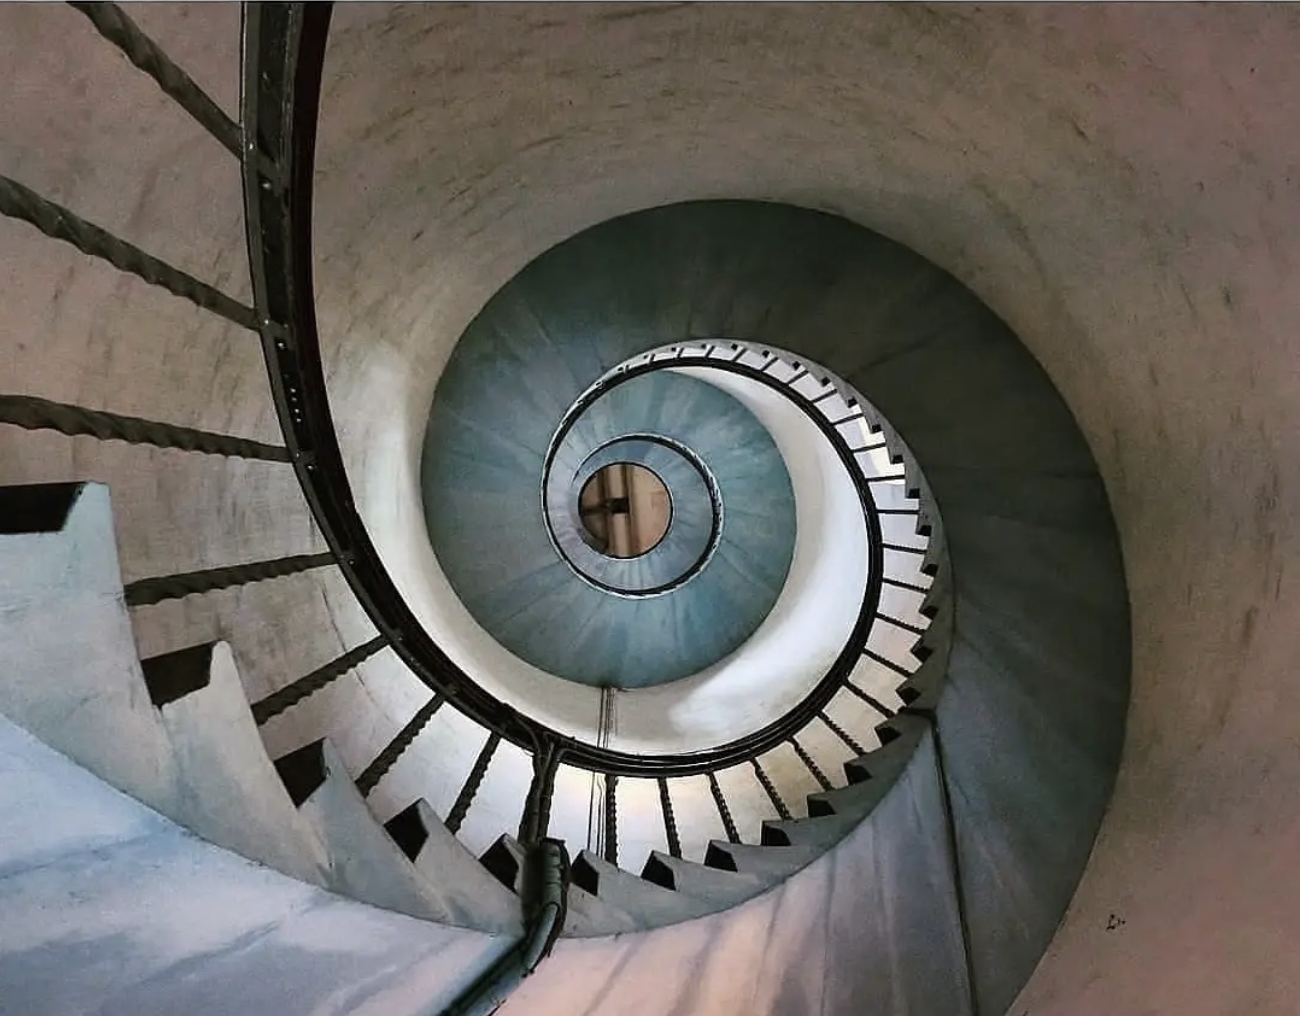
Ph: @knederskovpetersen 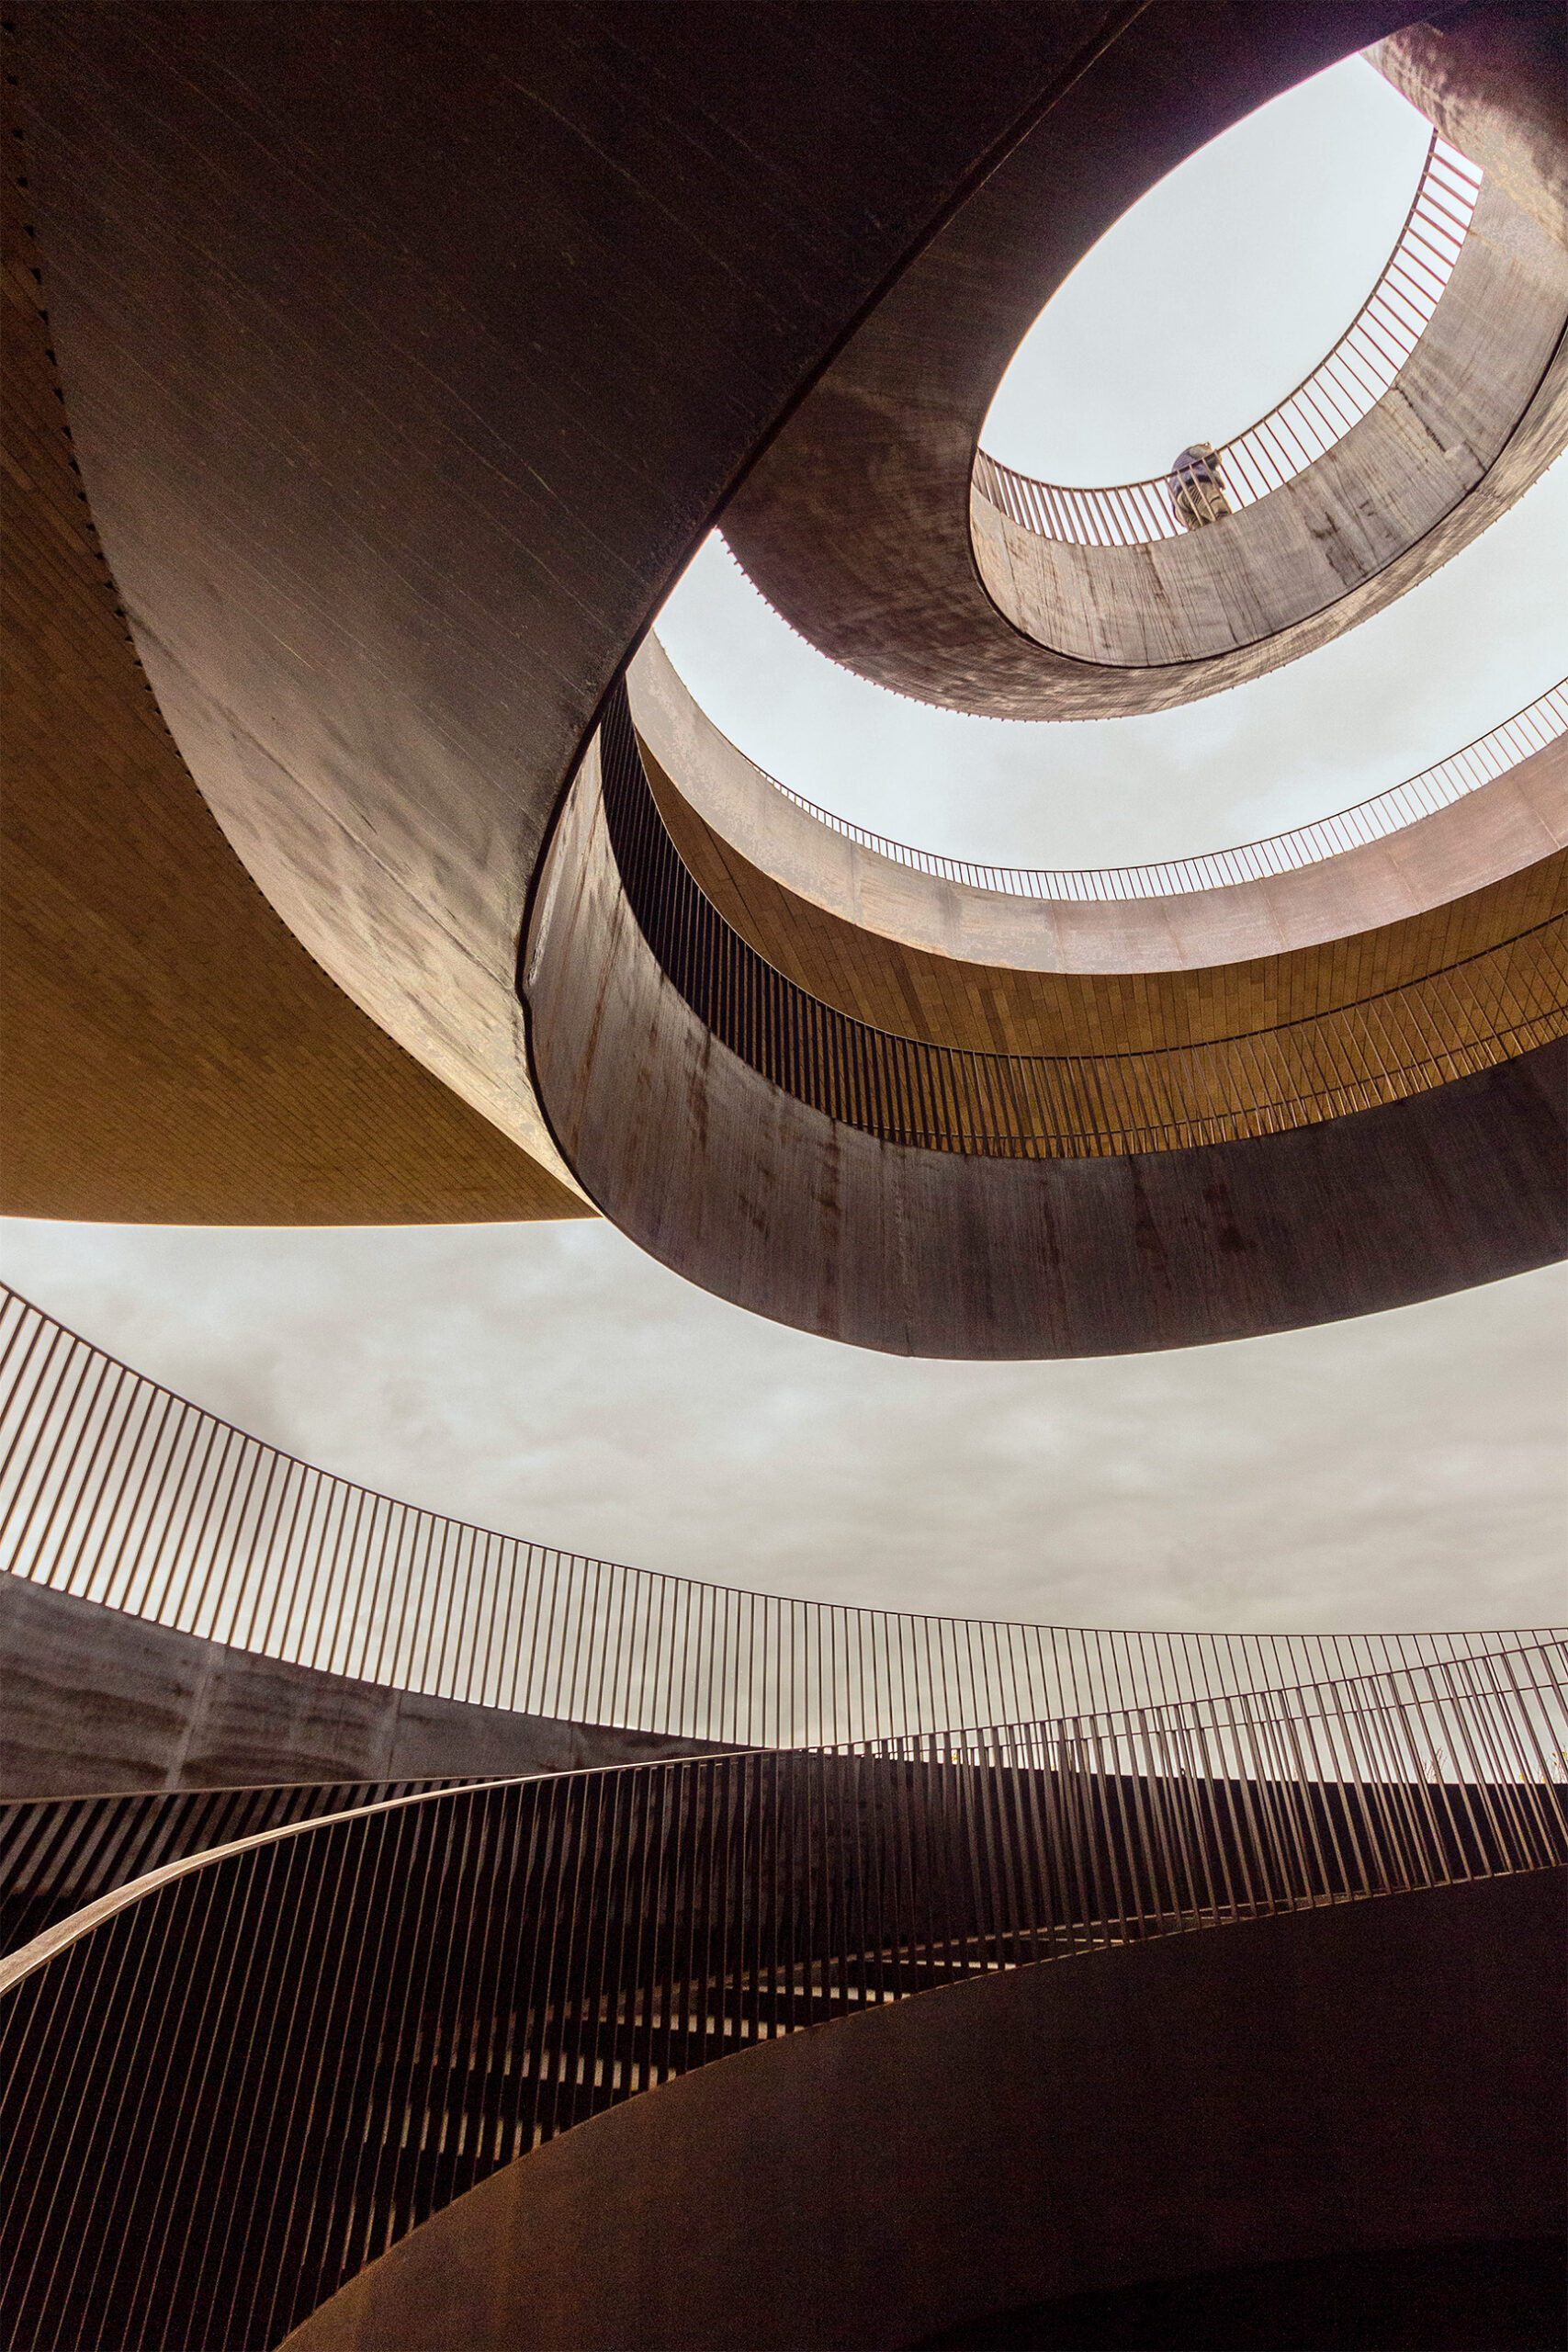
Ph: @giadaantonini_photography 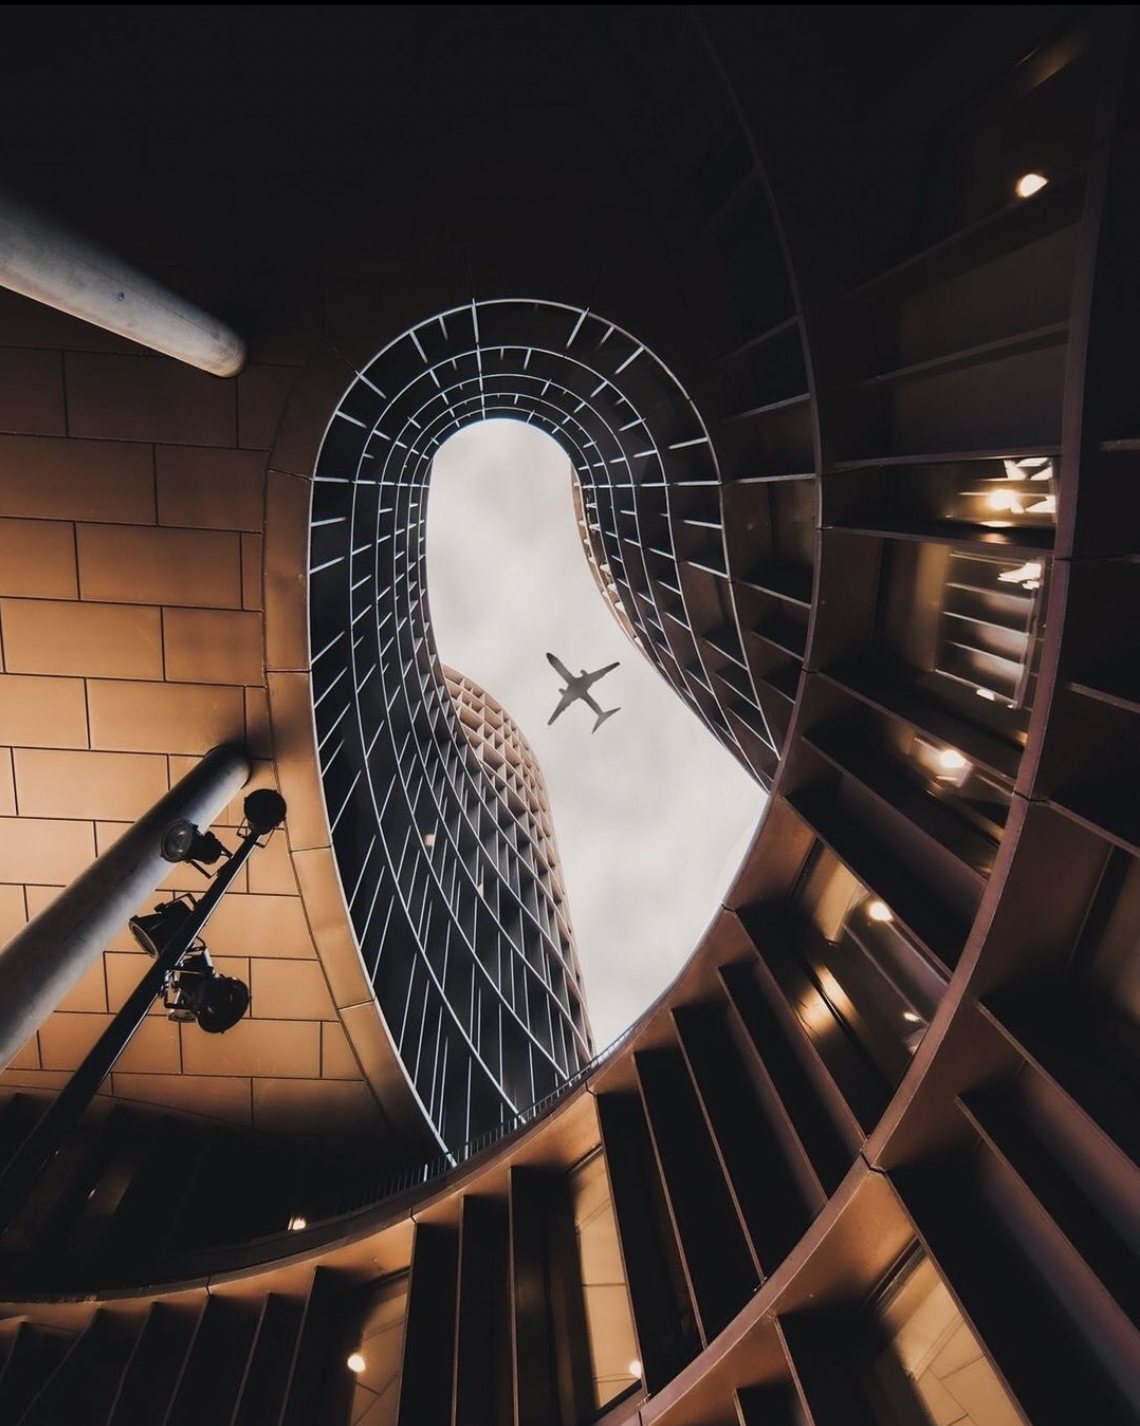
Ph: @giannis_kovras
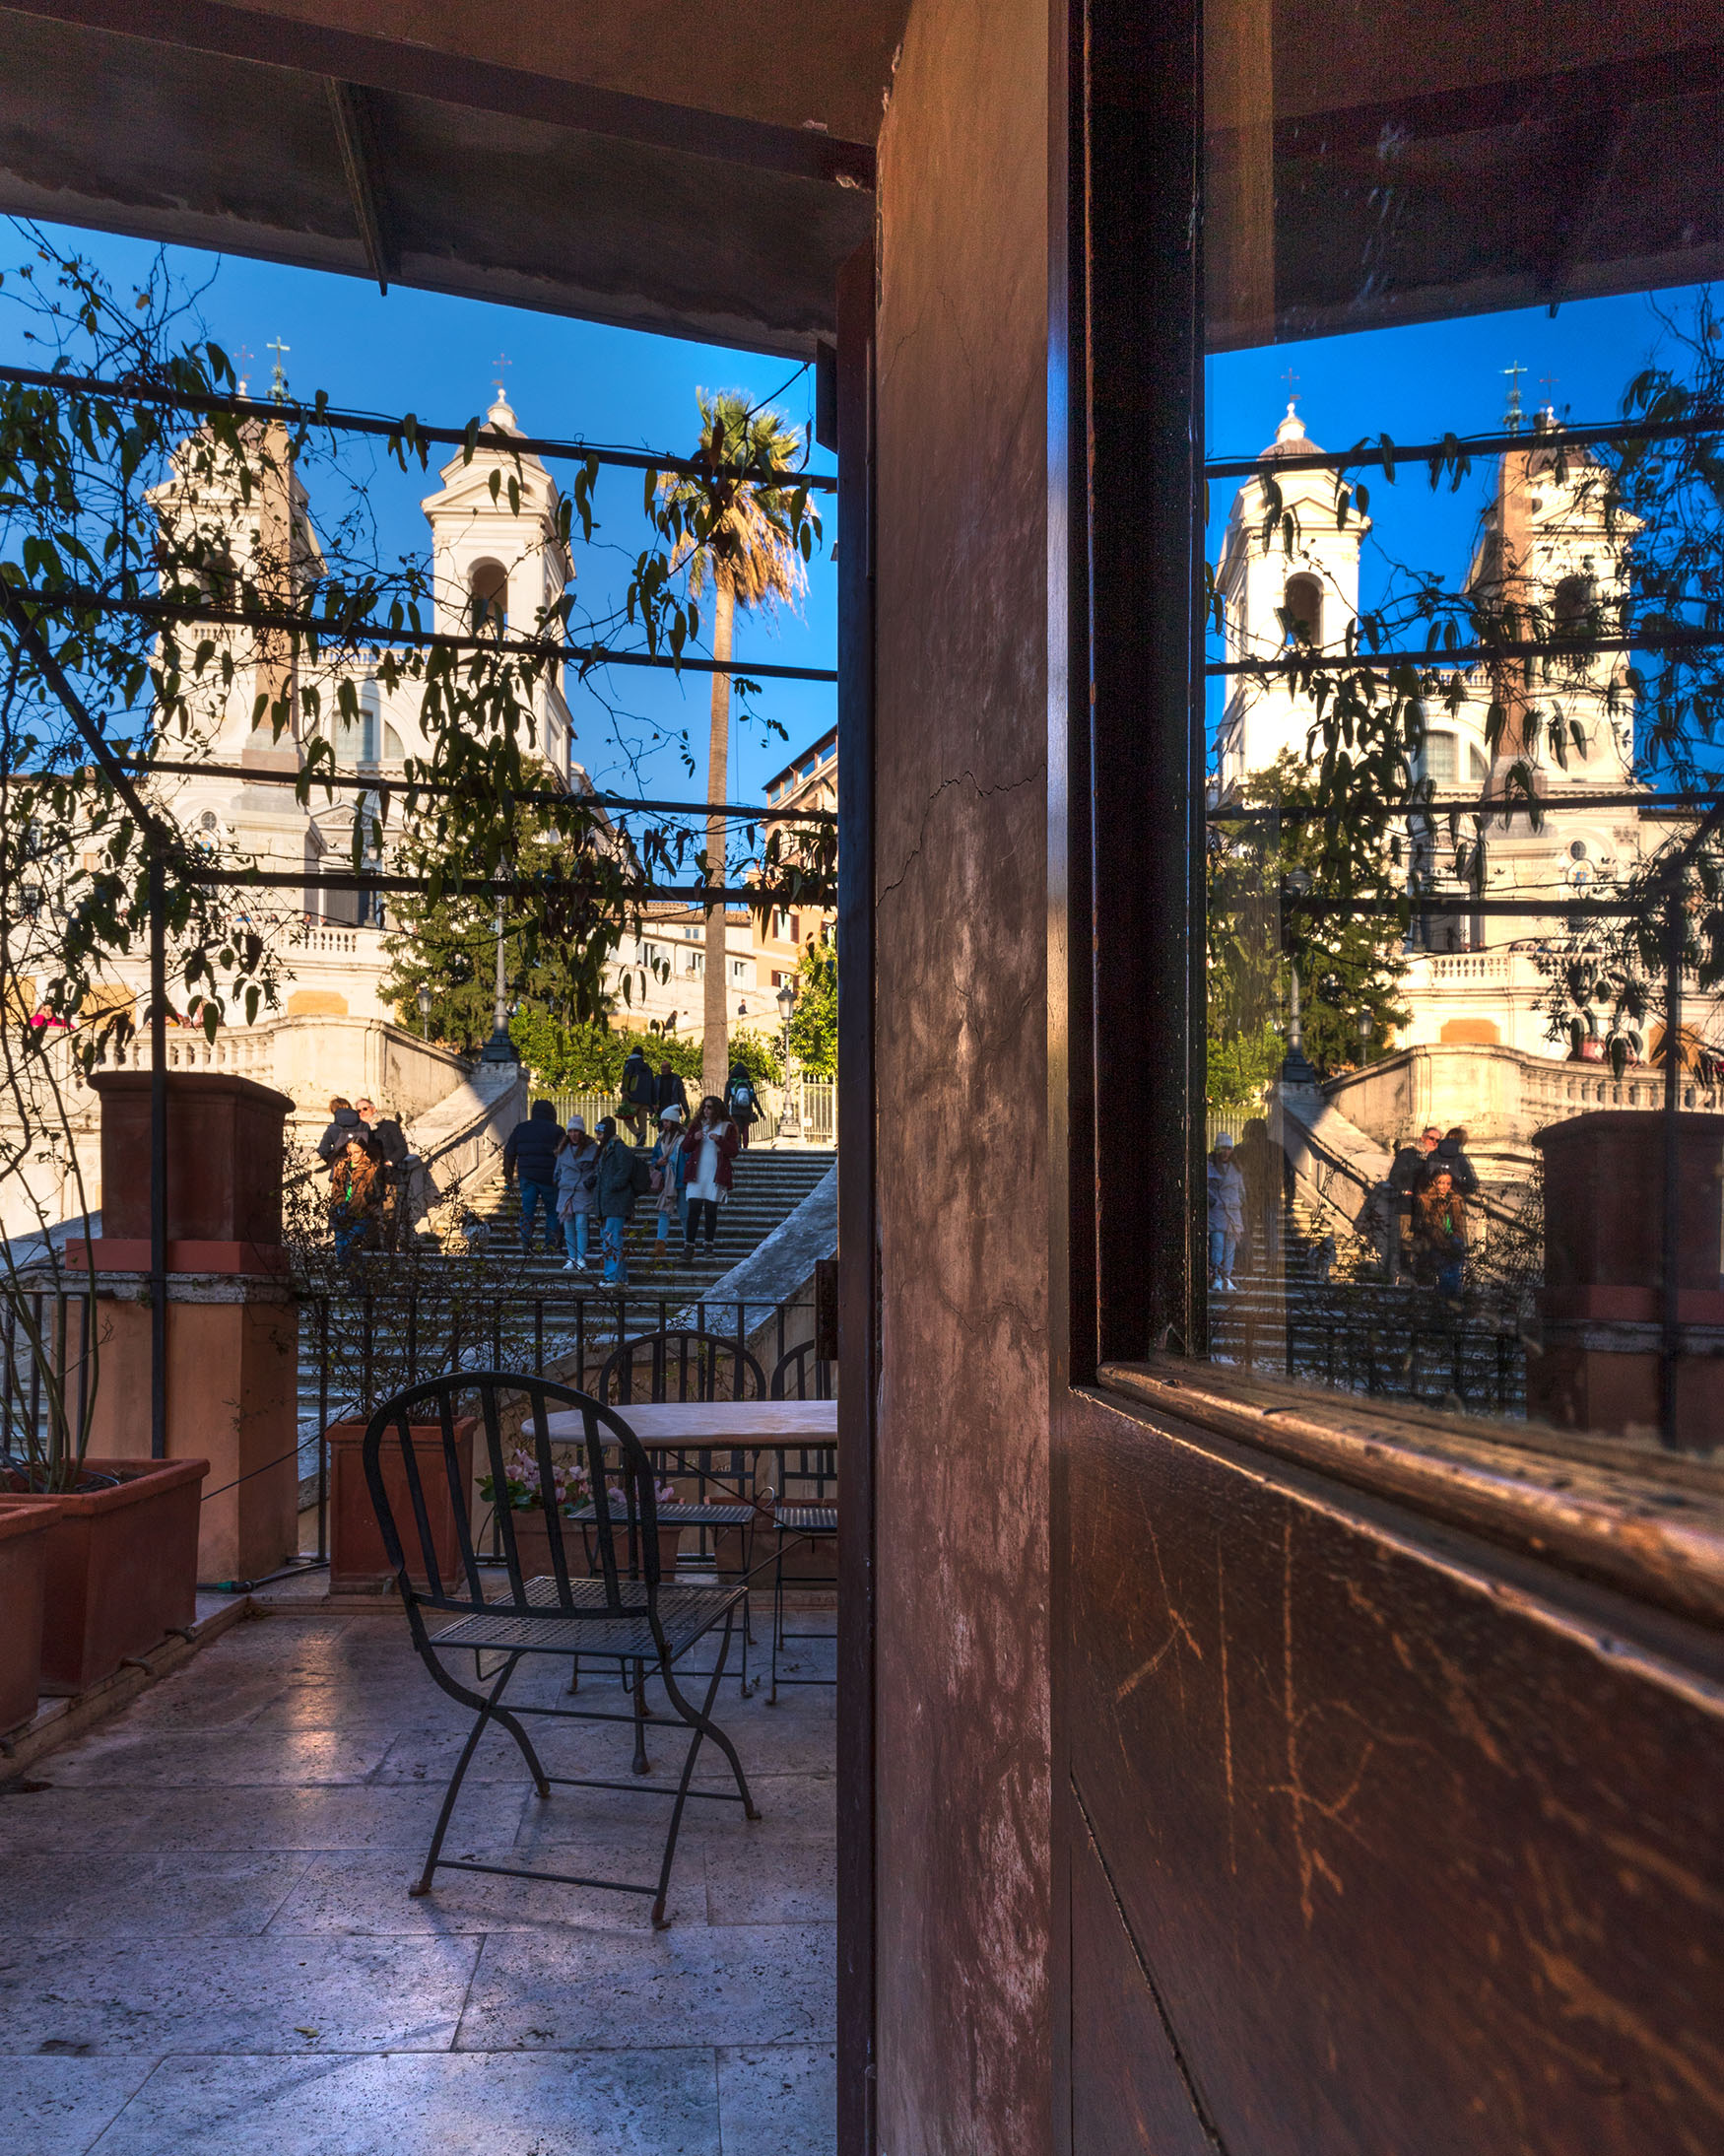
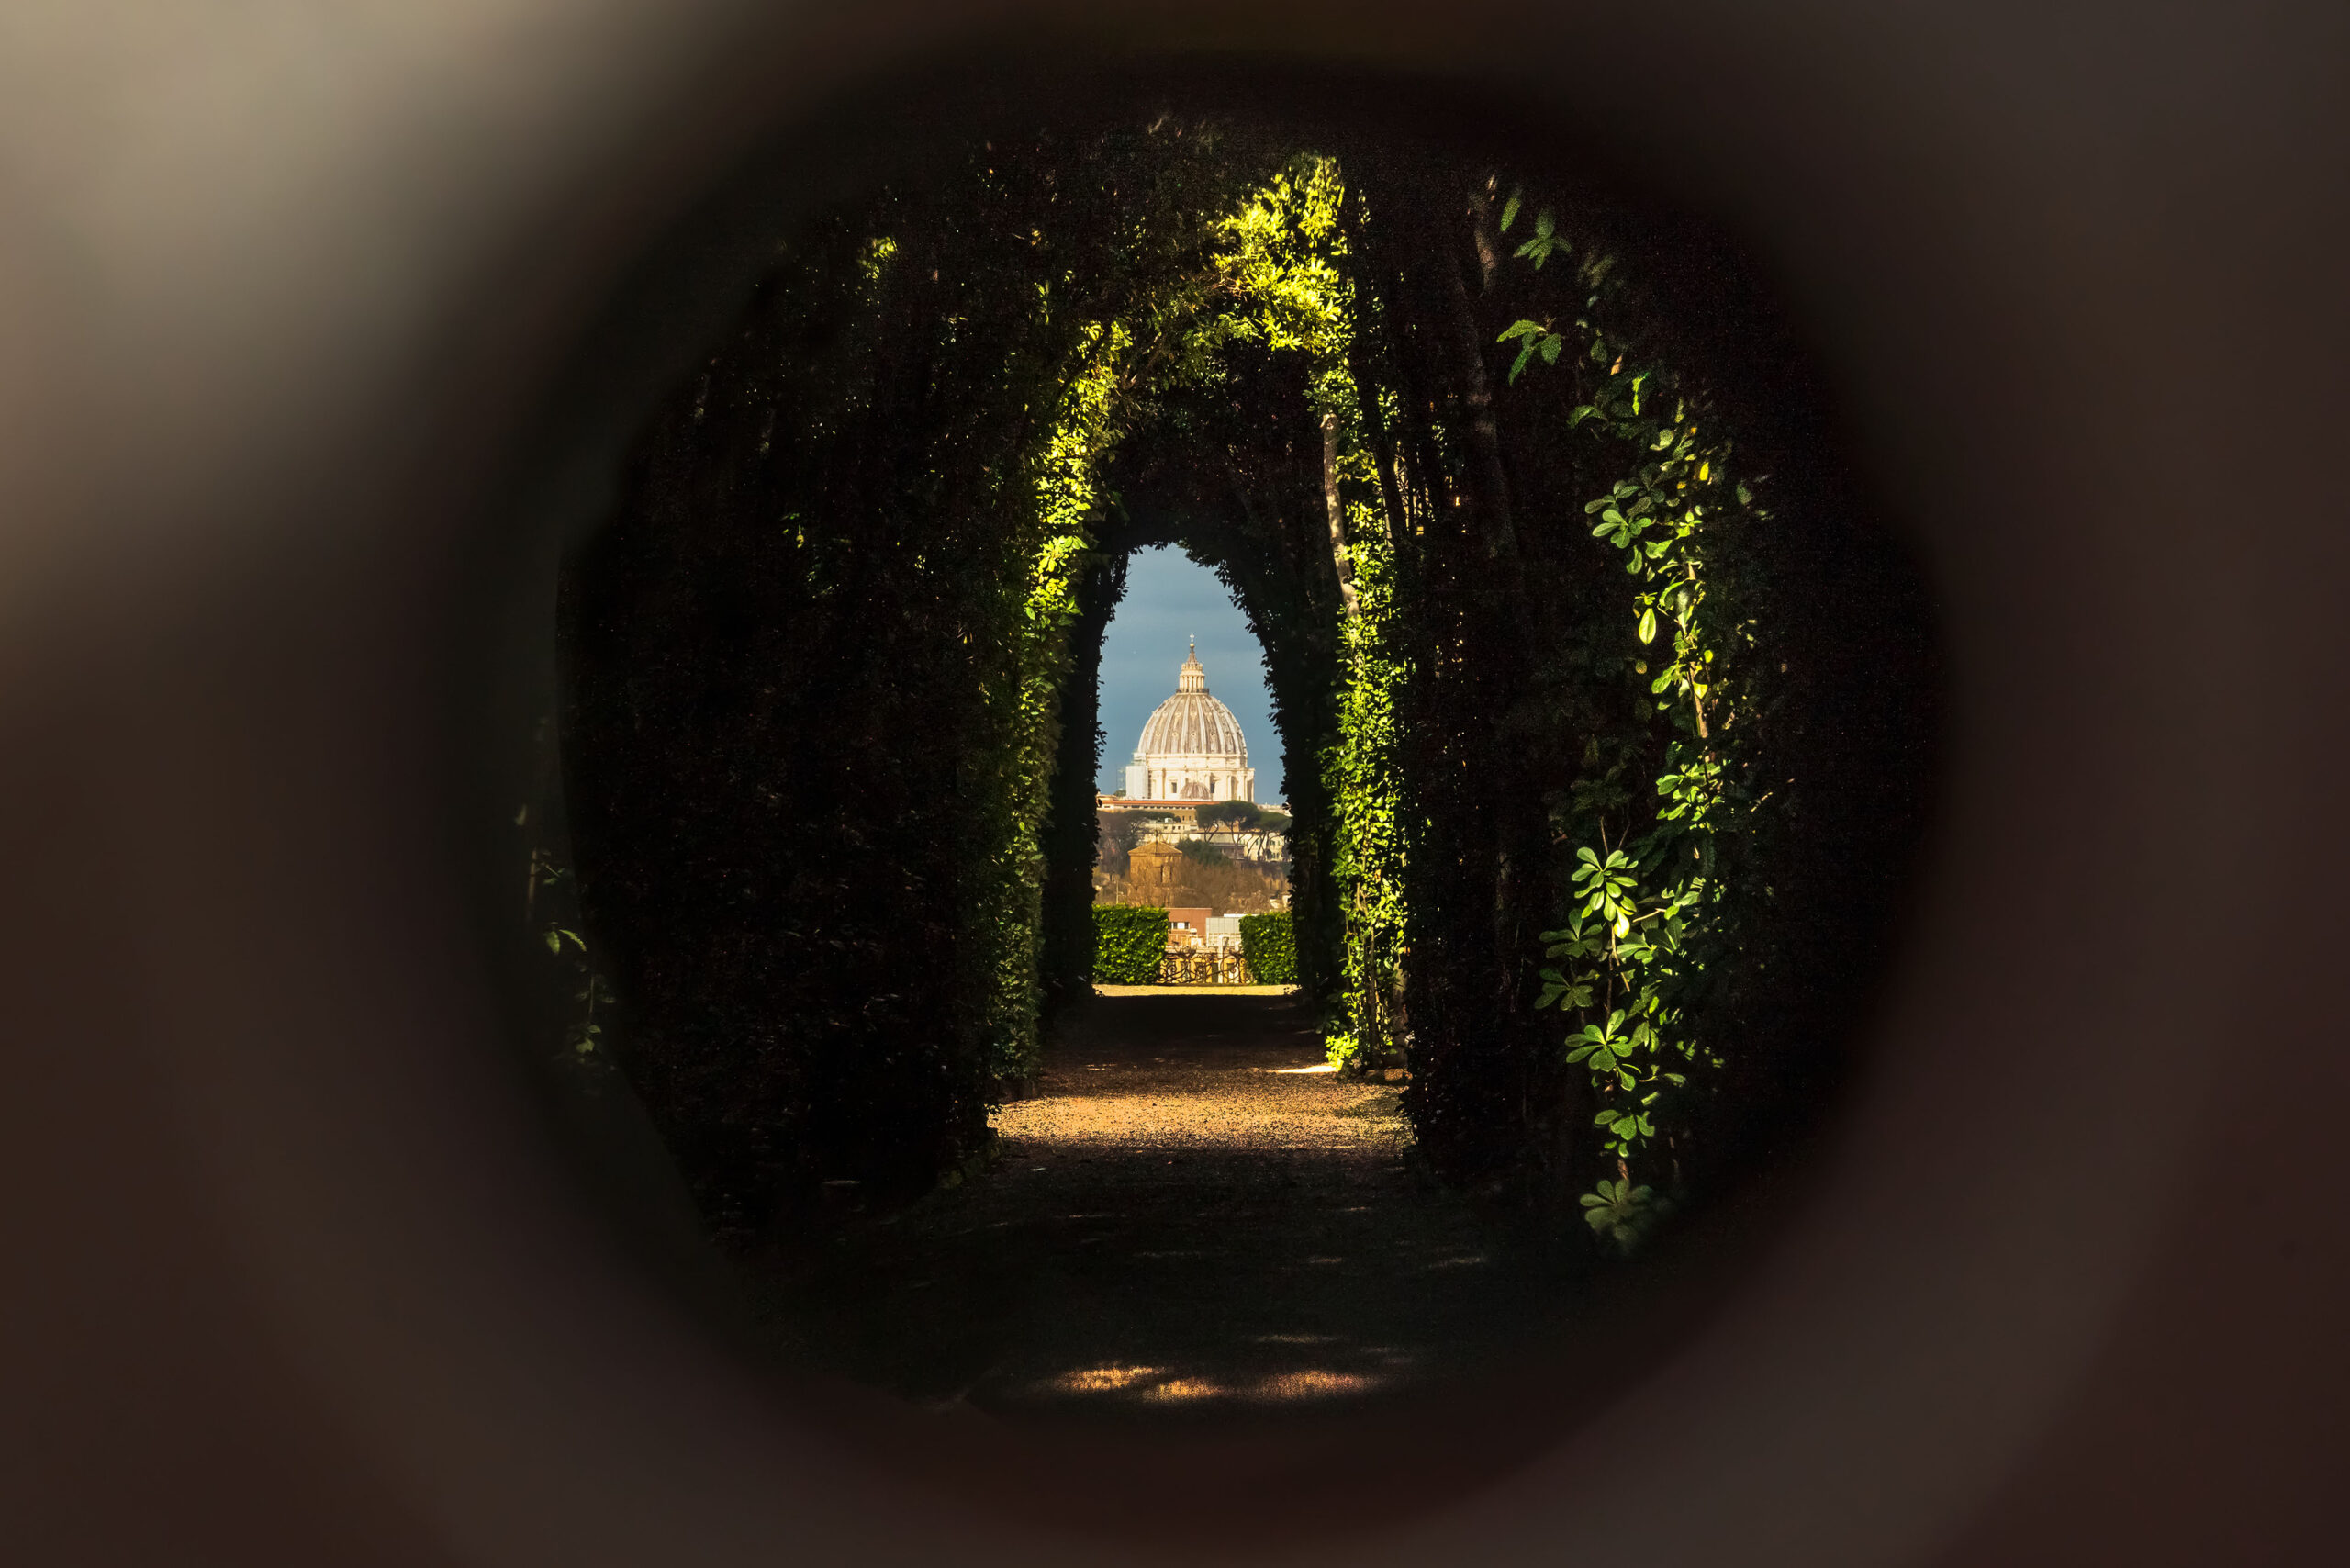
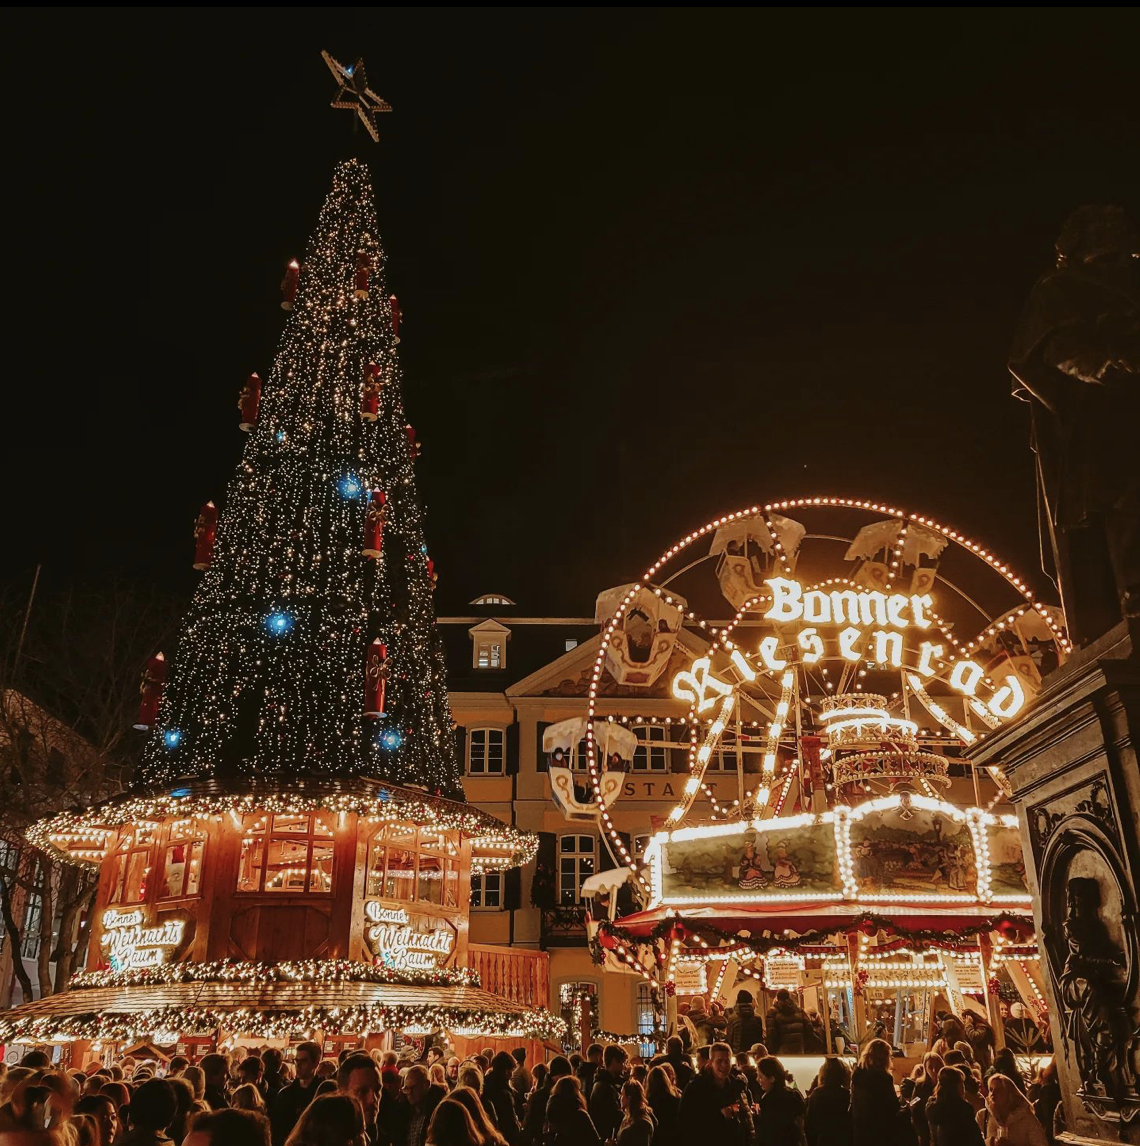
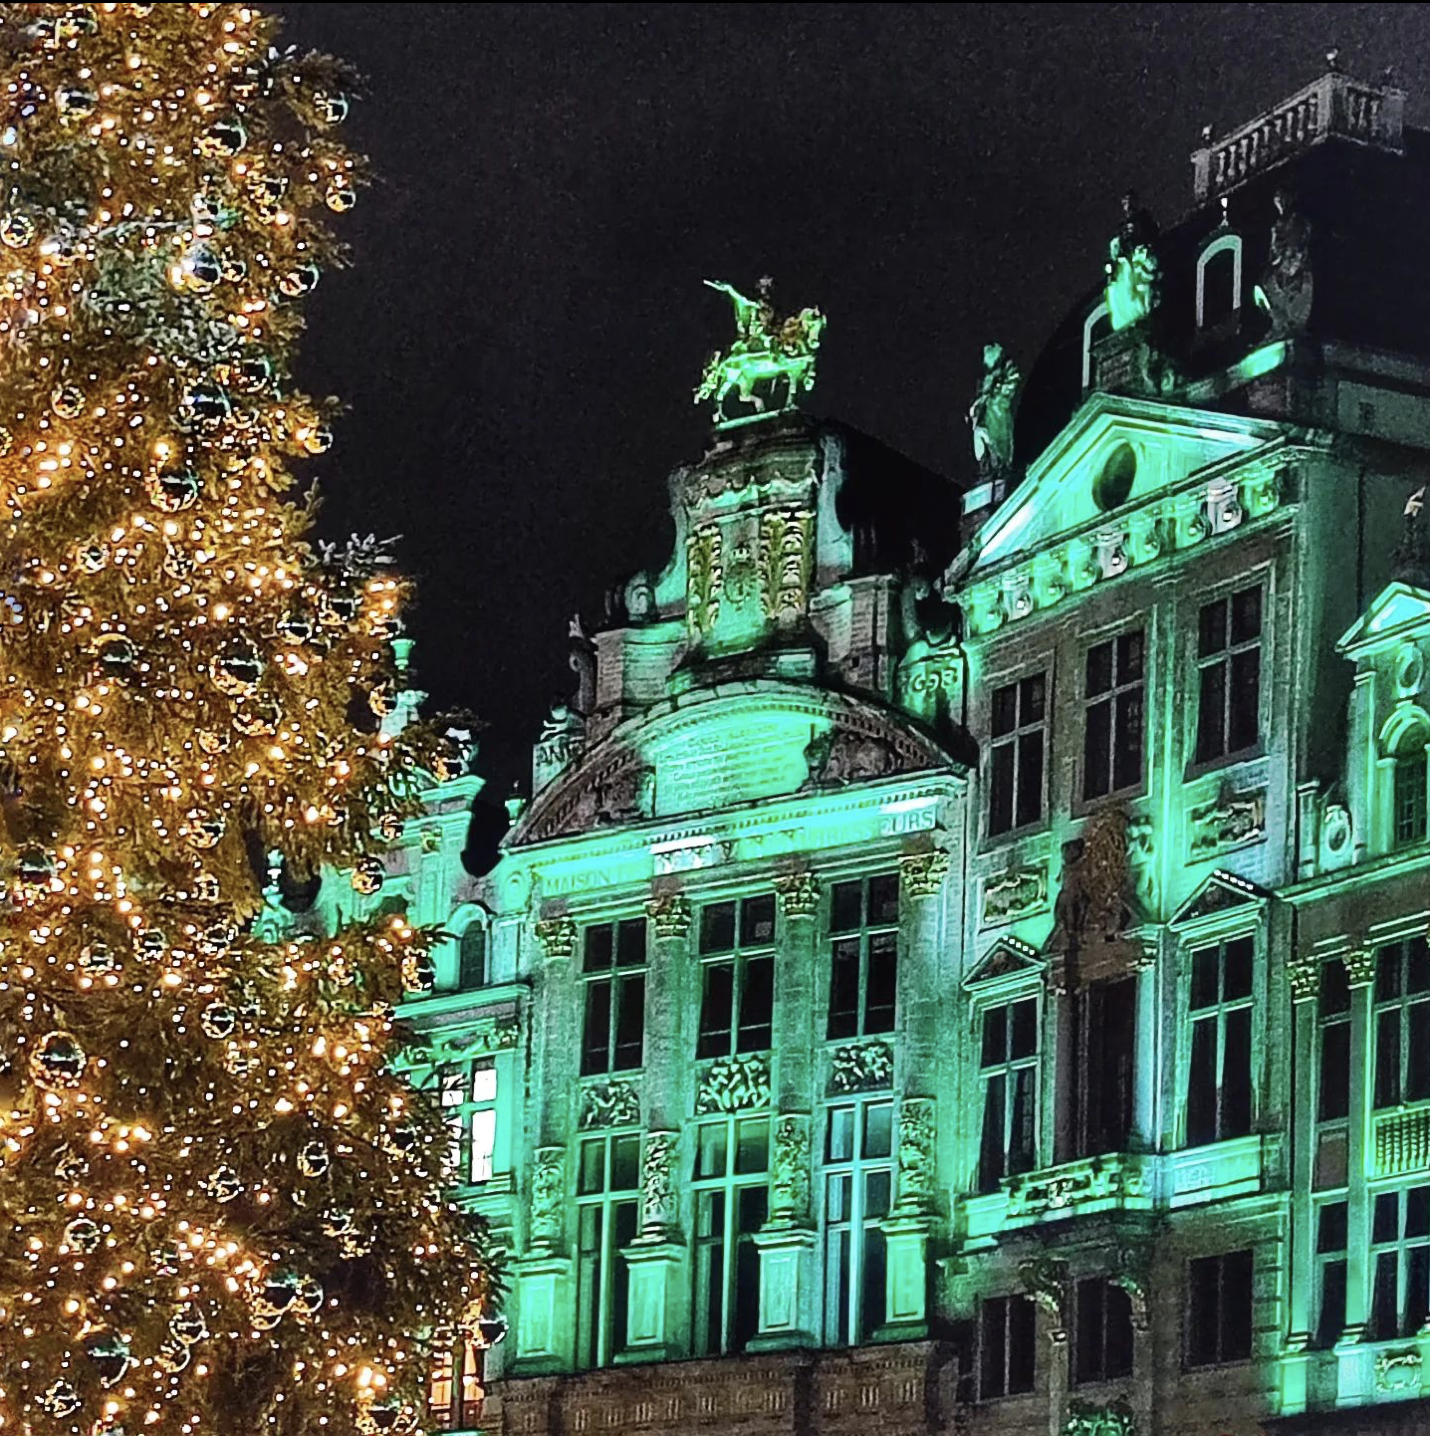
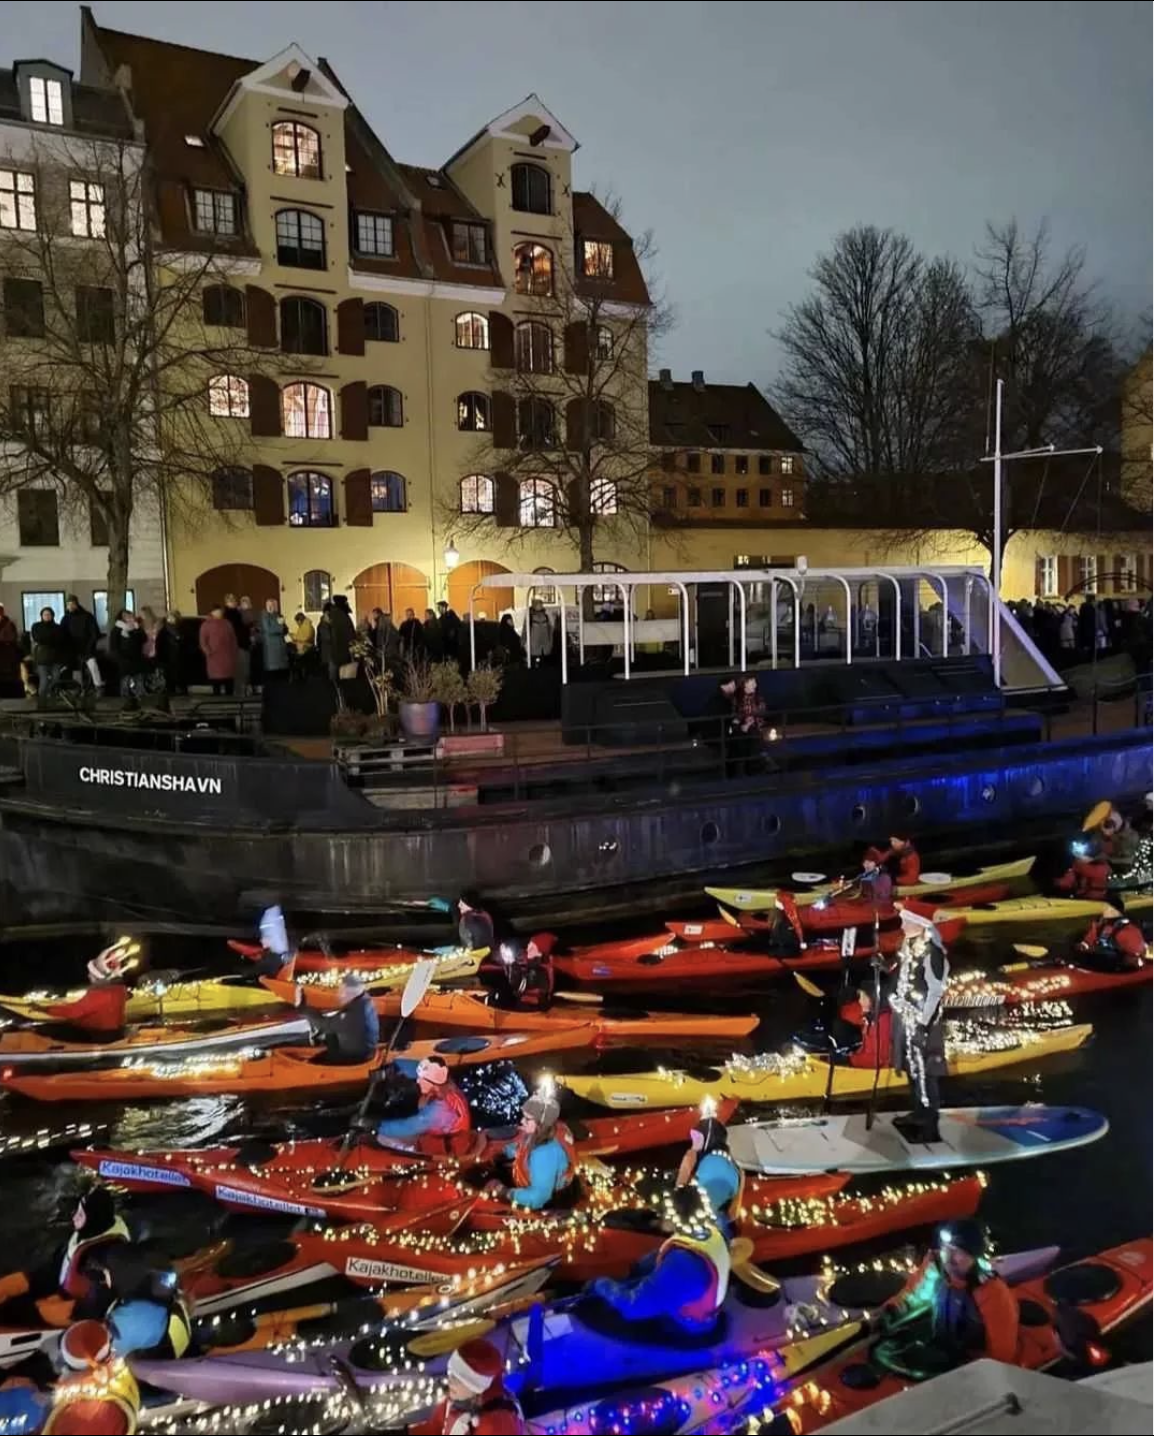
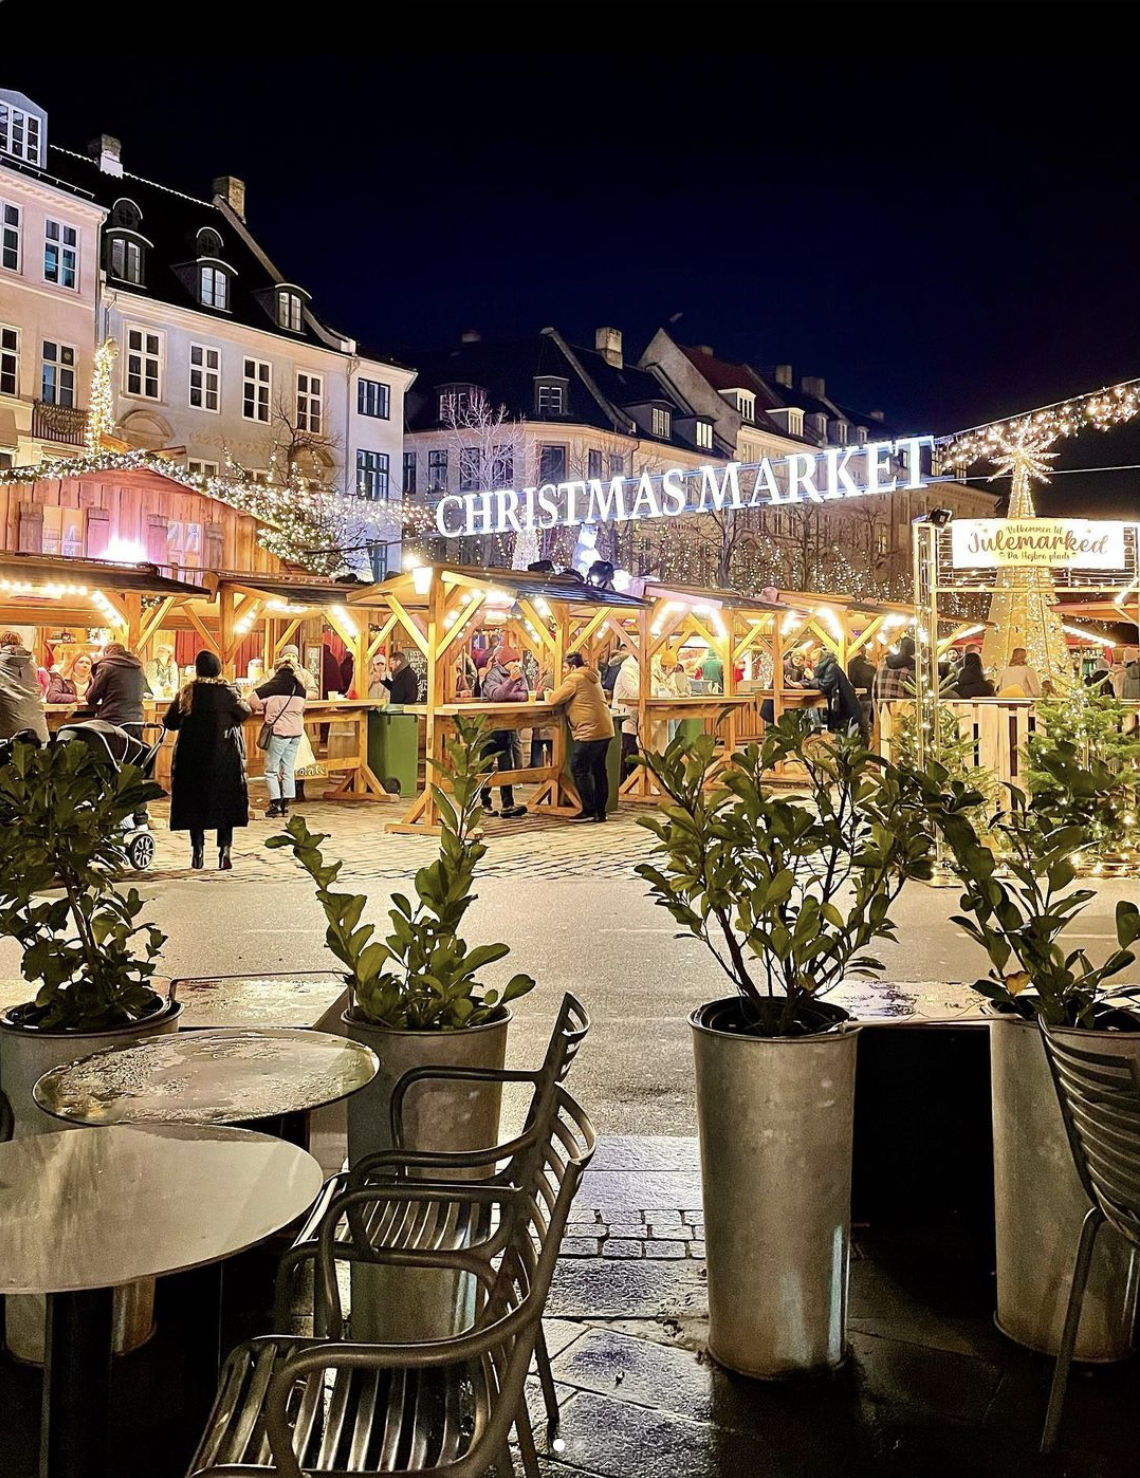
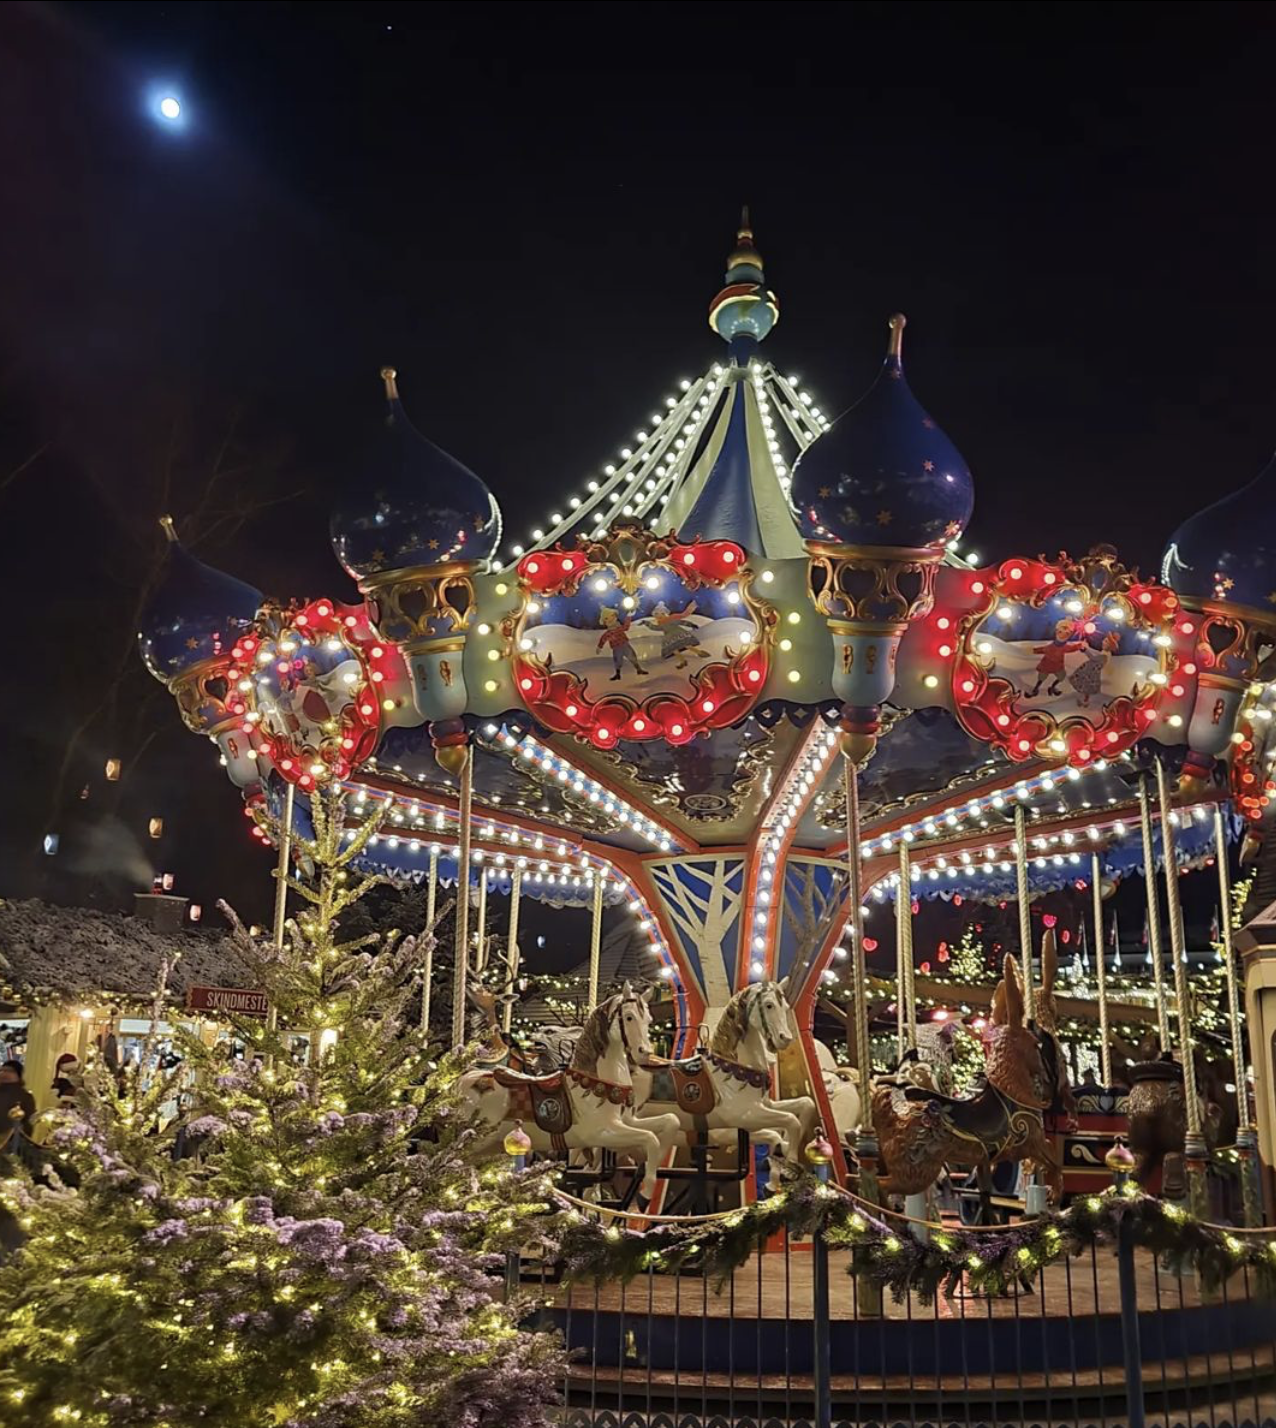
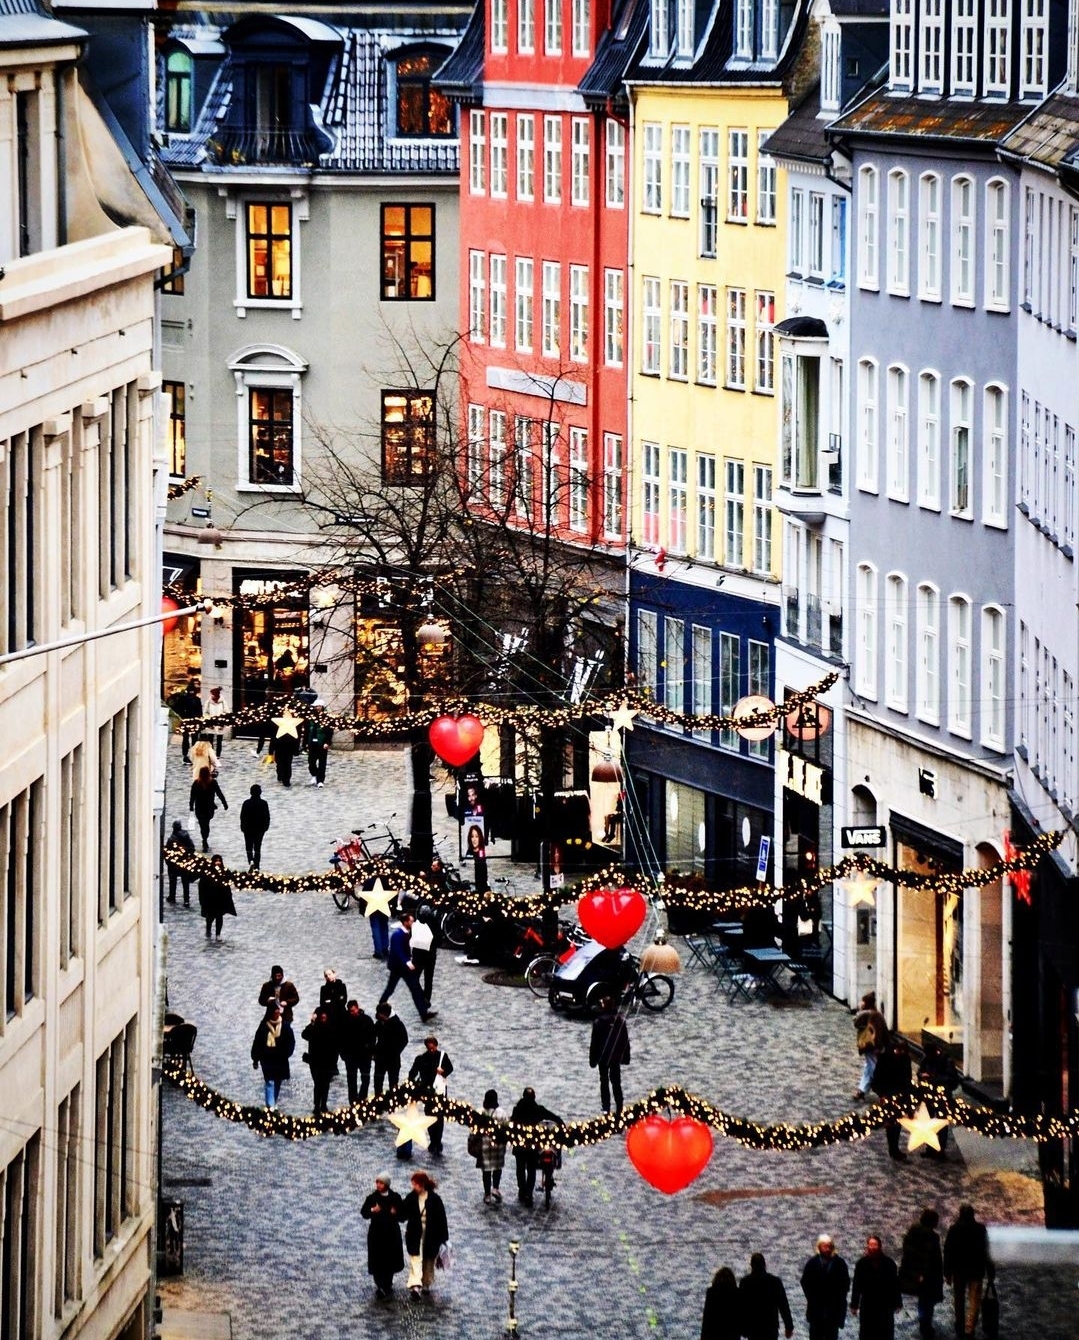
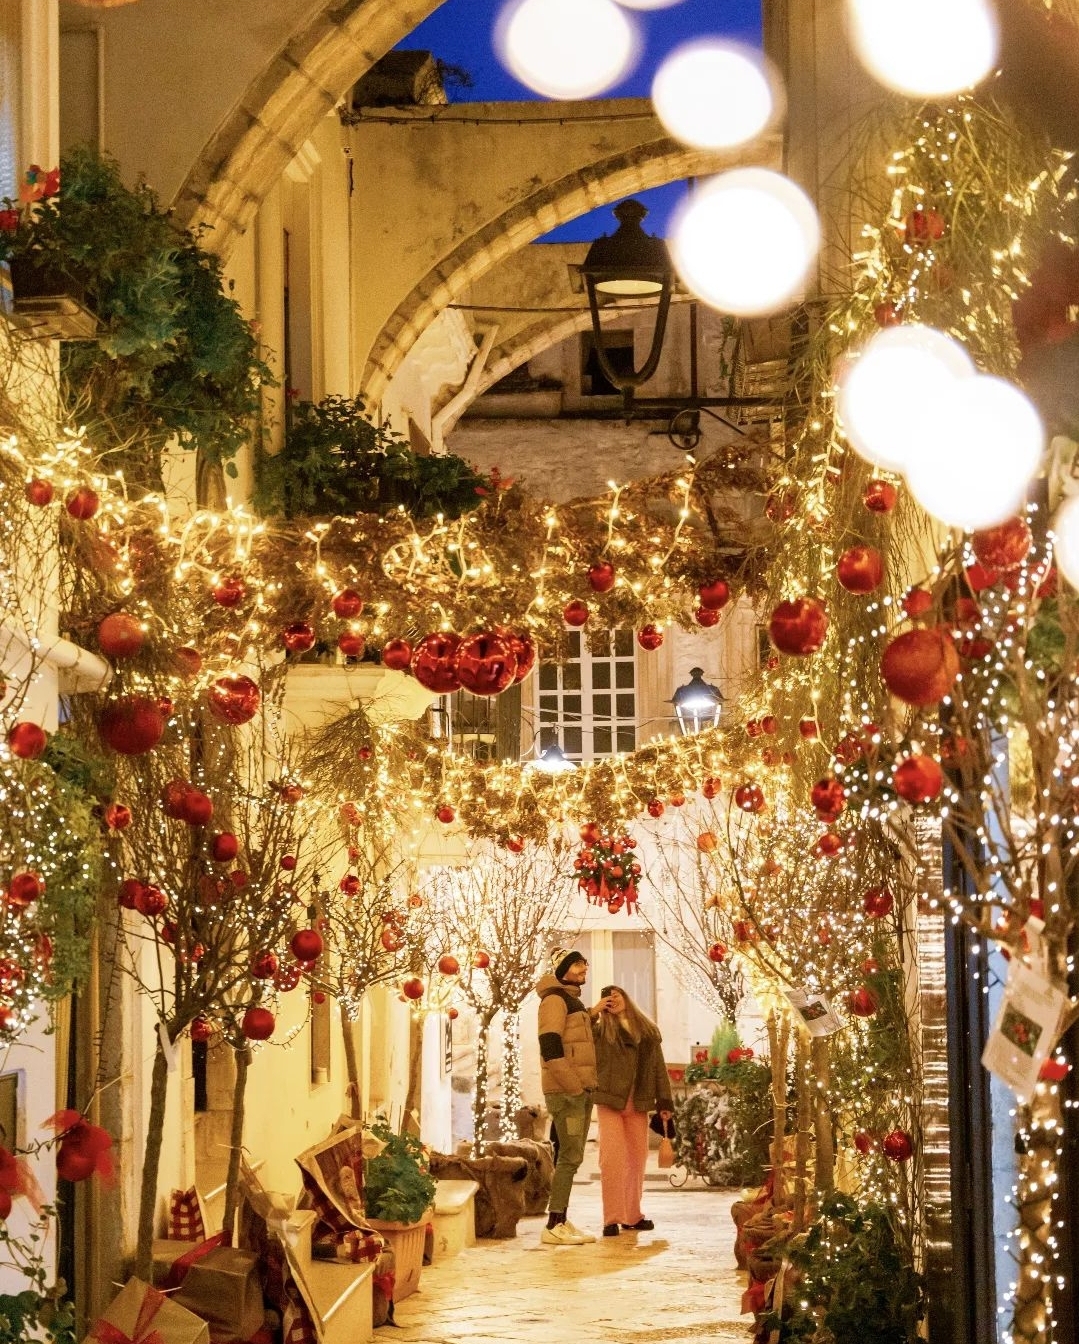
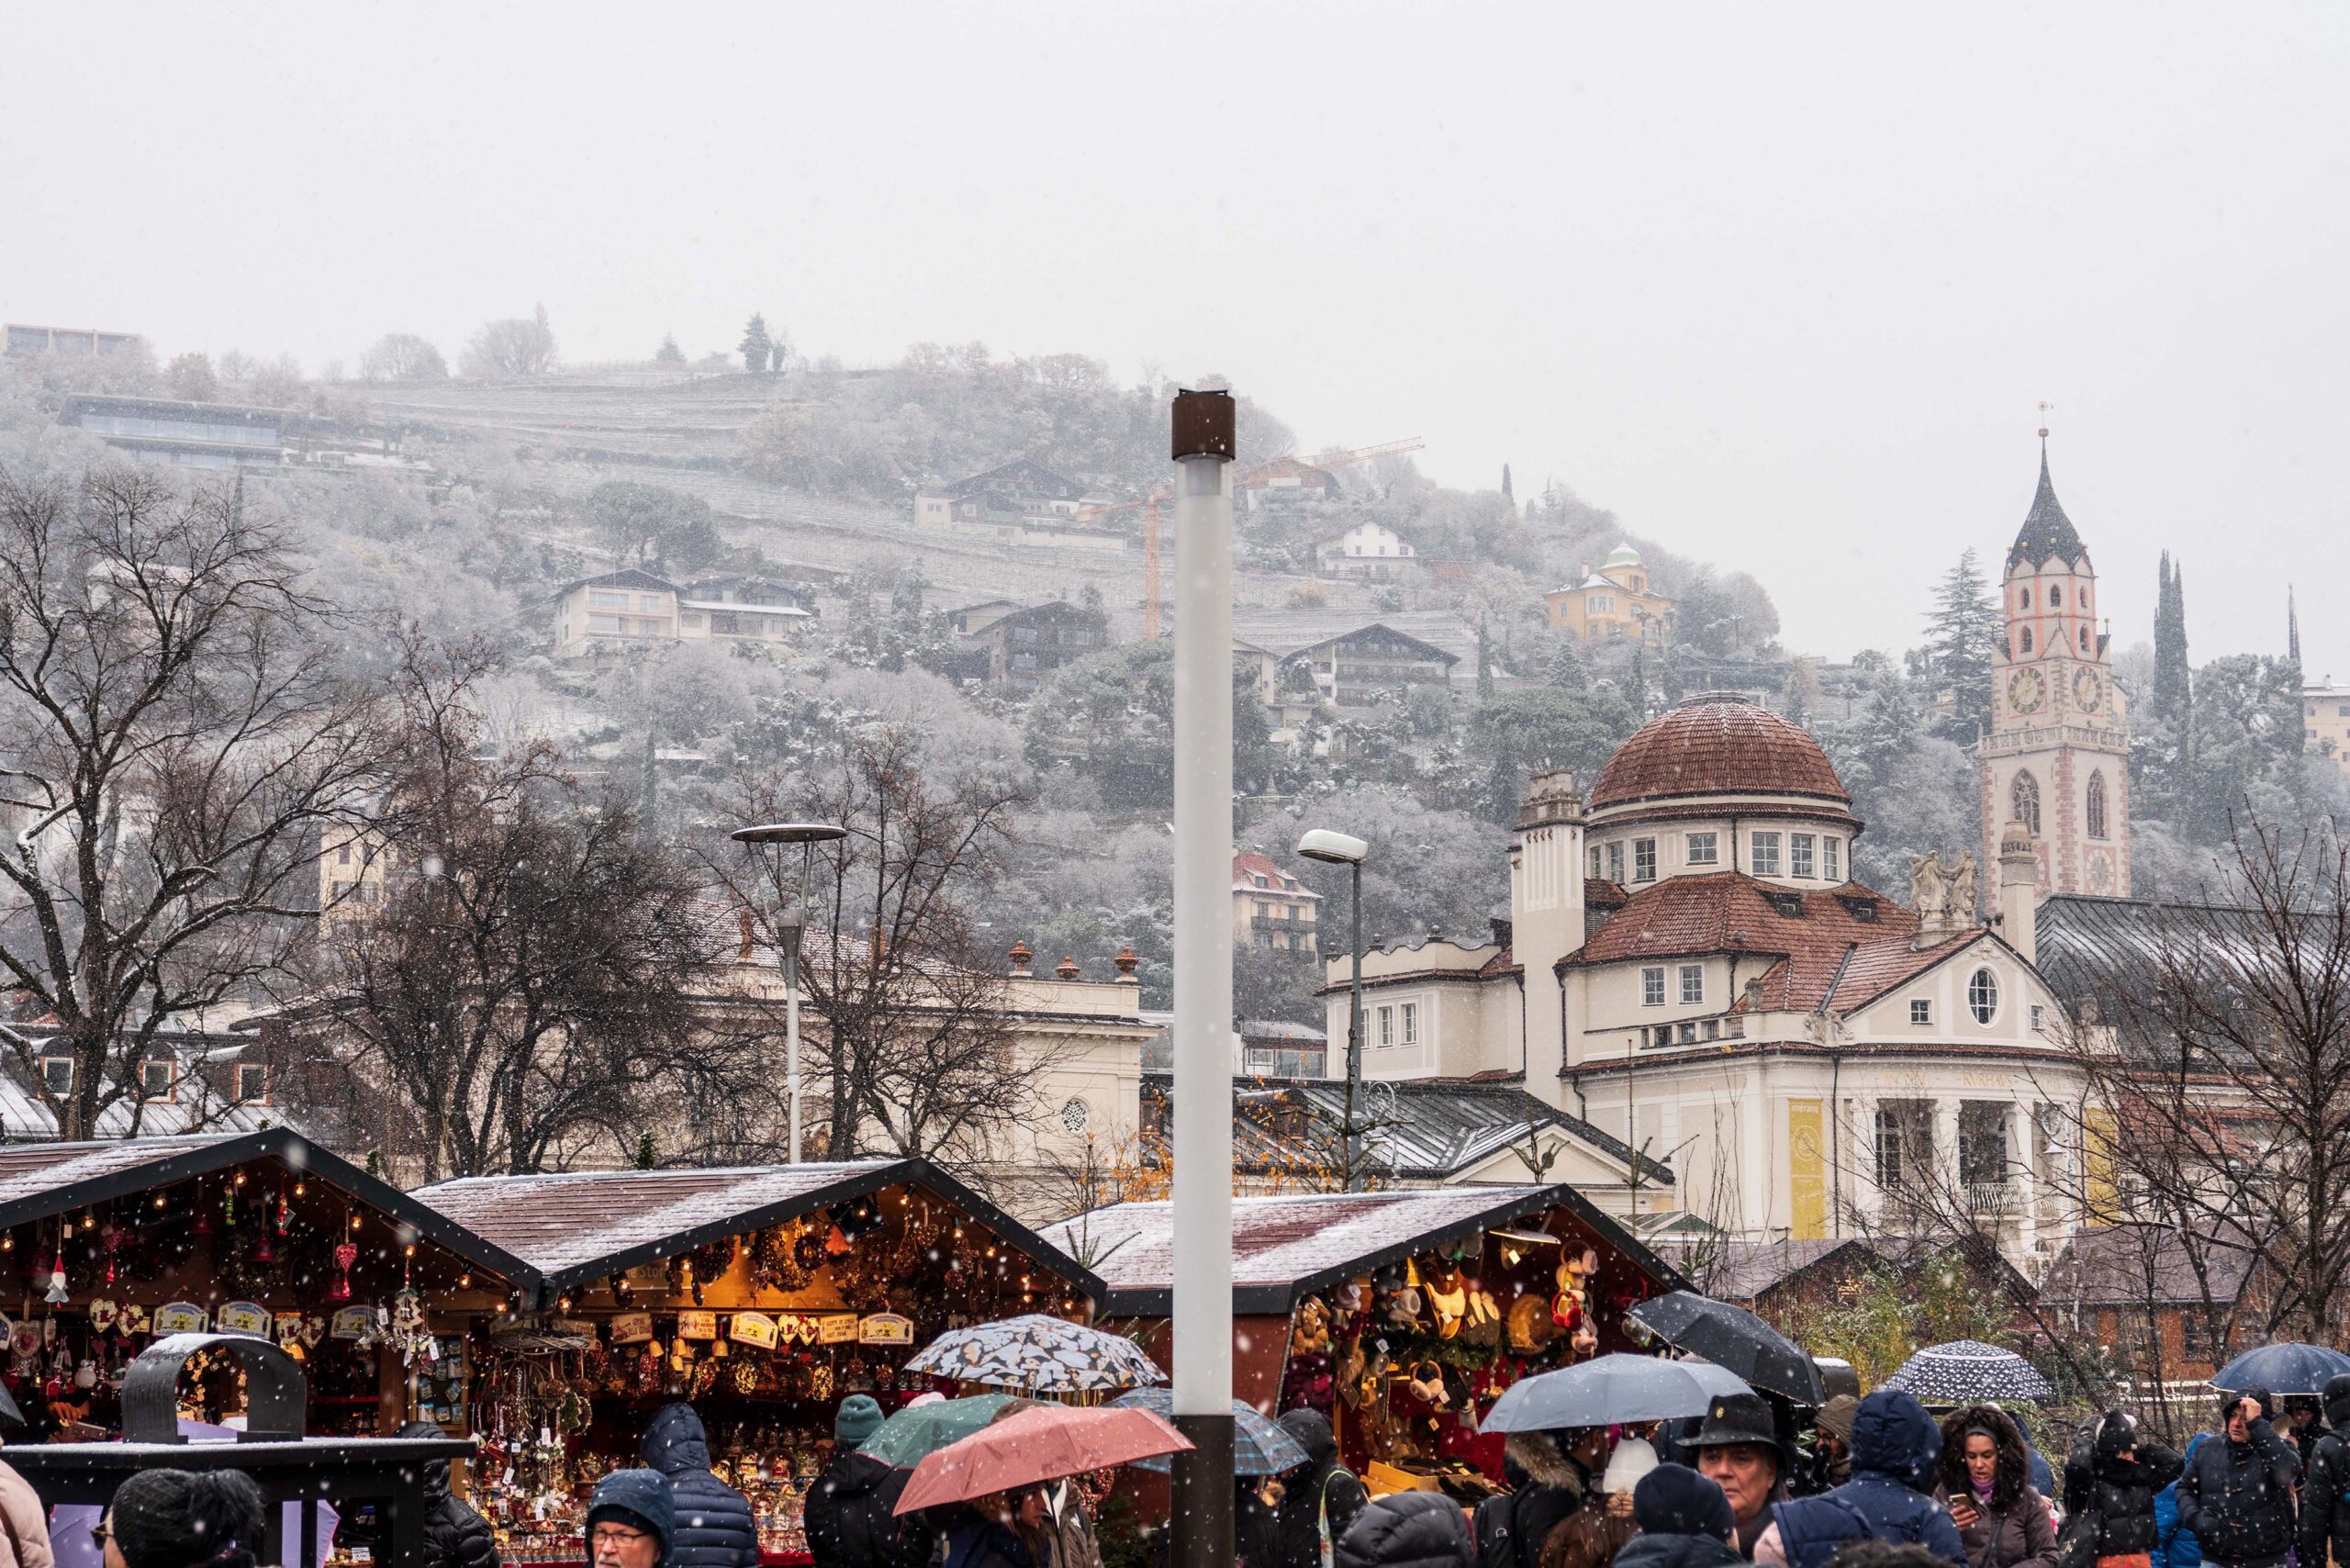
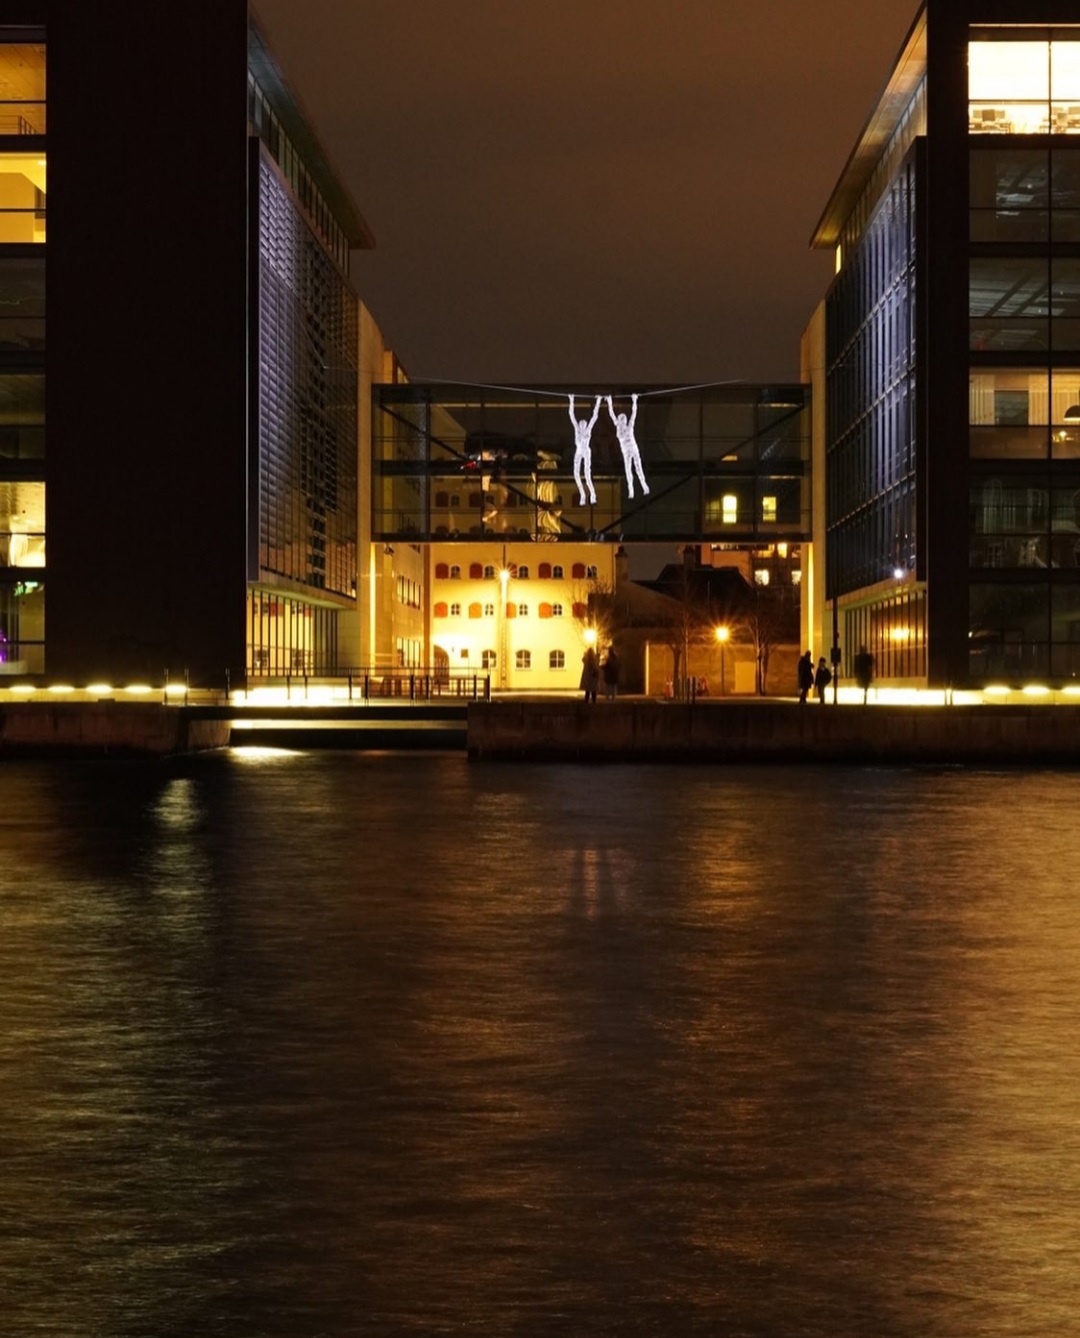
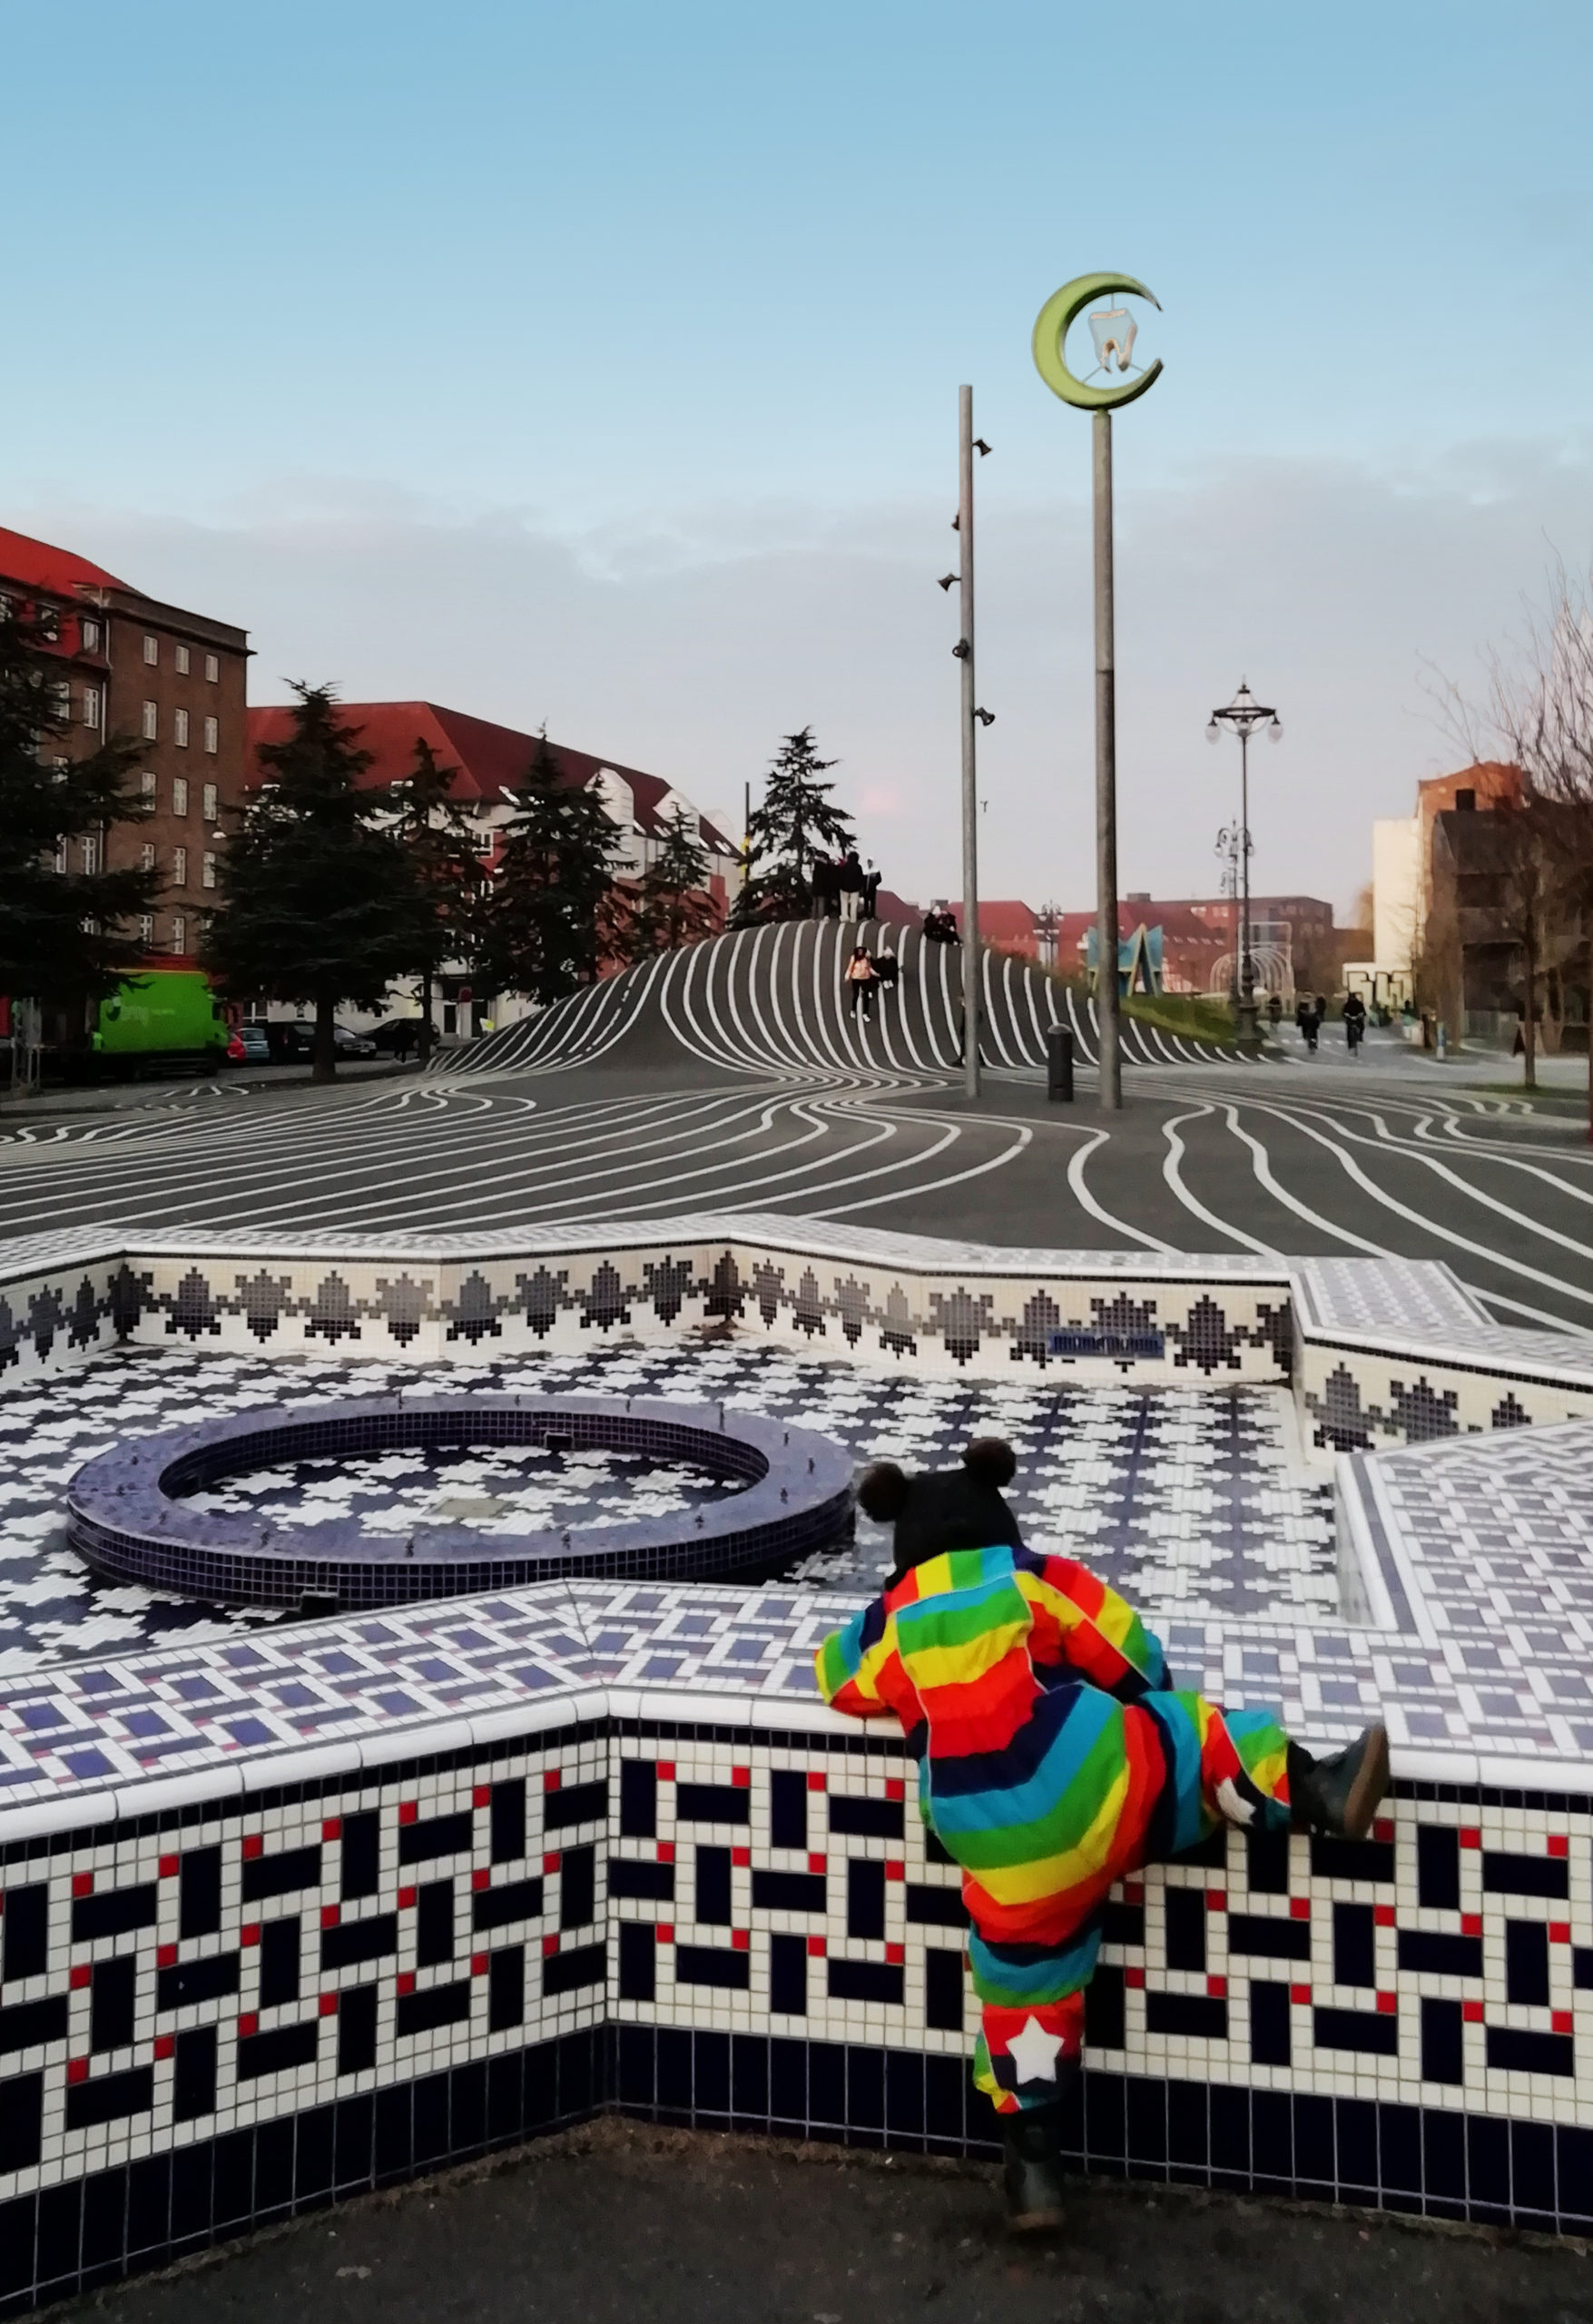
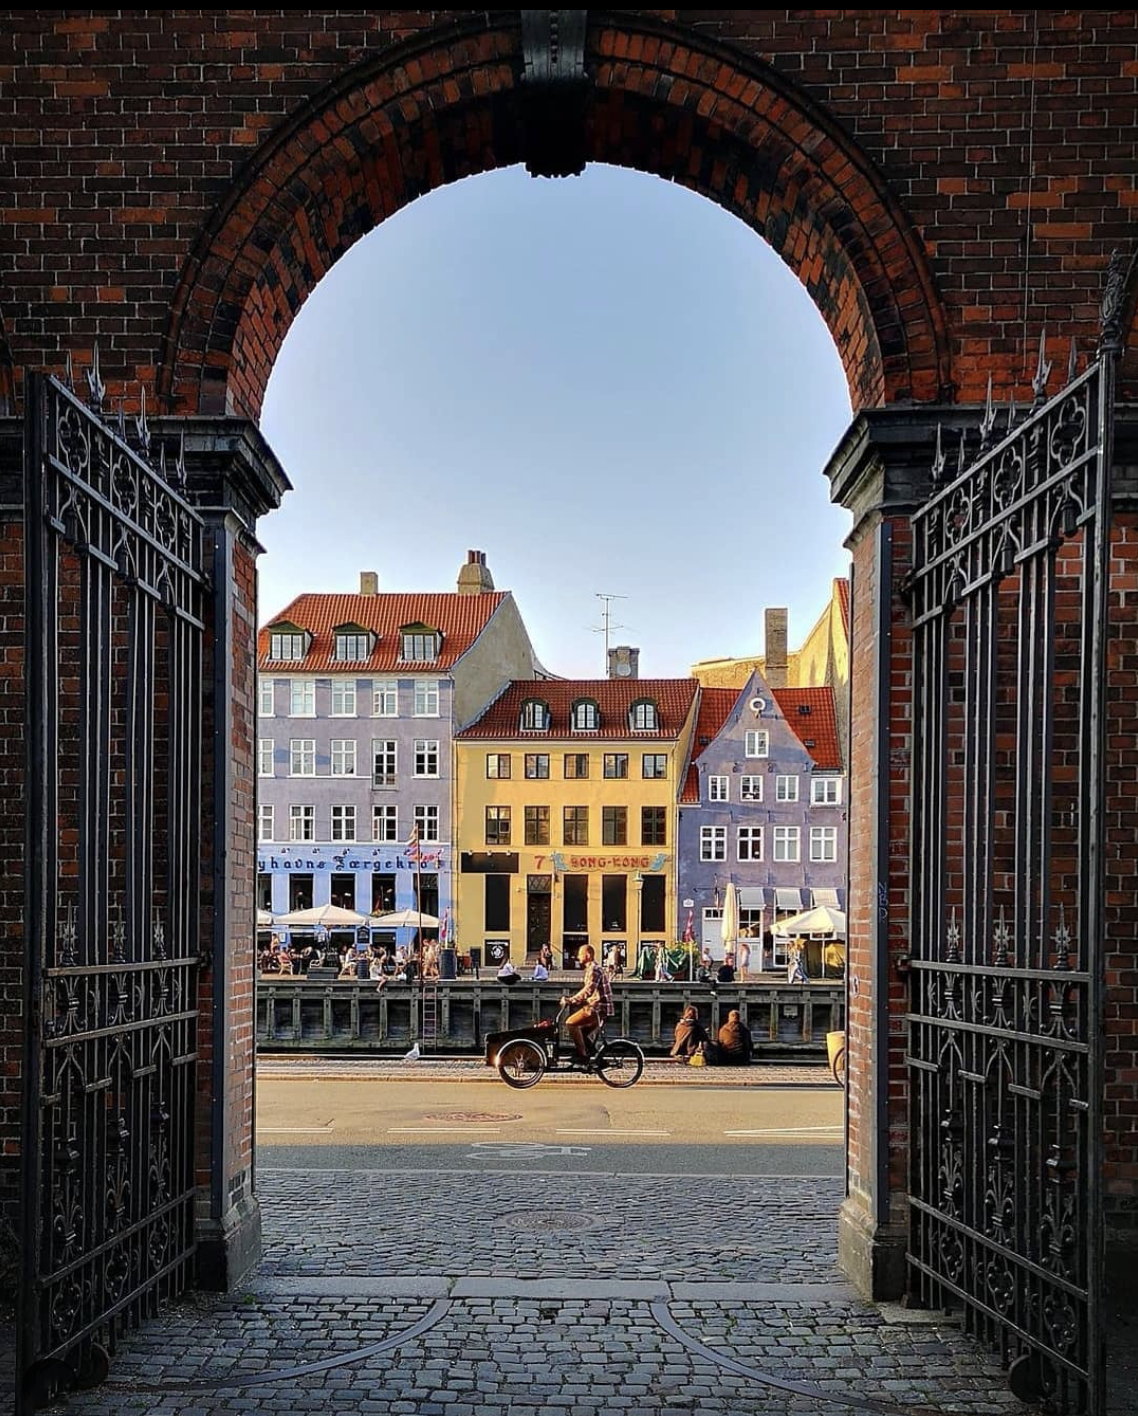
- Frames
Often, a geometry that frames the subject can help you focus attention on it, because it it makes it stand out and delimits it. Whether it’s a window, a door, or any other element, you will surely be able to create original and effective pics. So, look around and find something good to frame your shot. You will be surprised how many there may be: even a simple railing can be perfect!
Ph: @copenhagendreamer 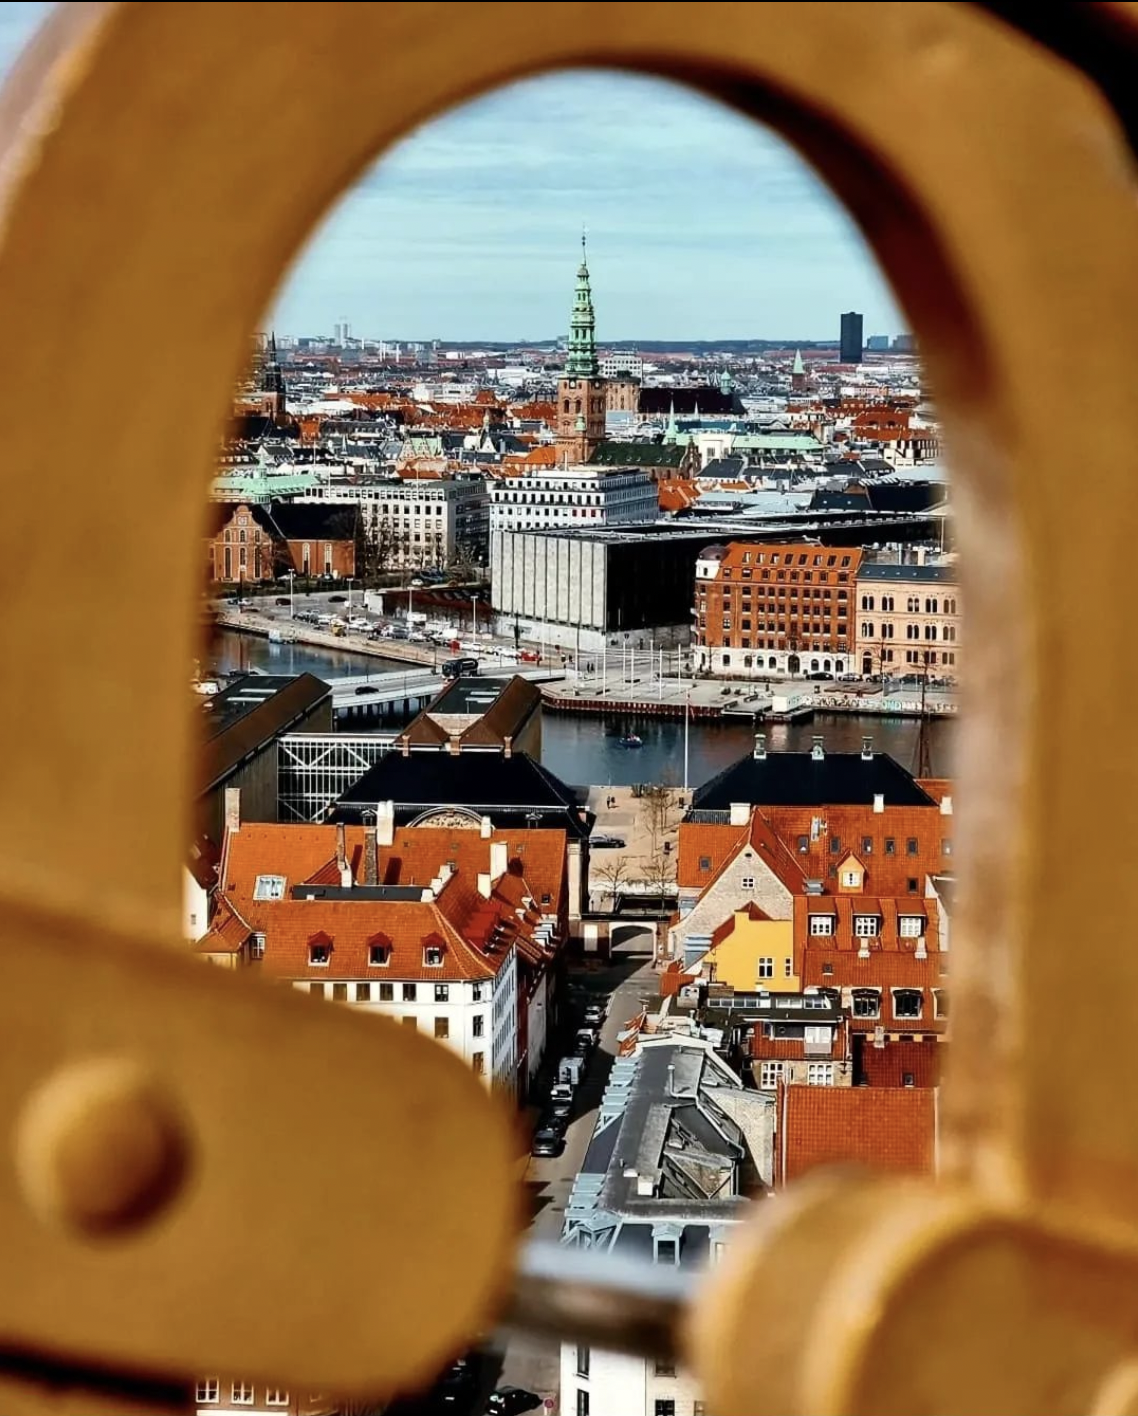
Ph: @traveller_of_life
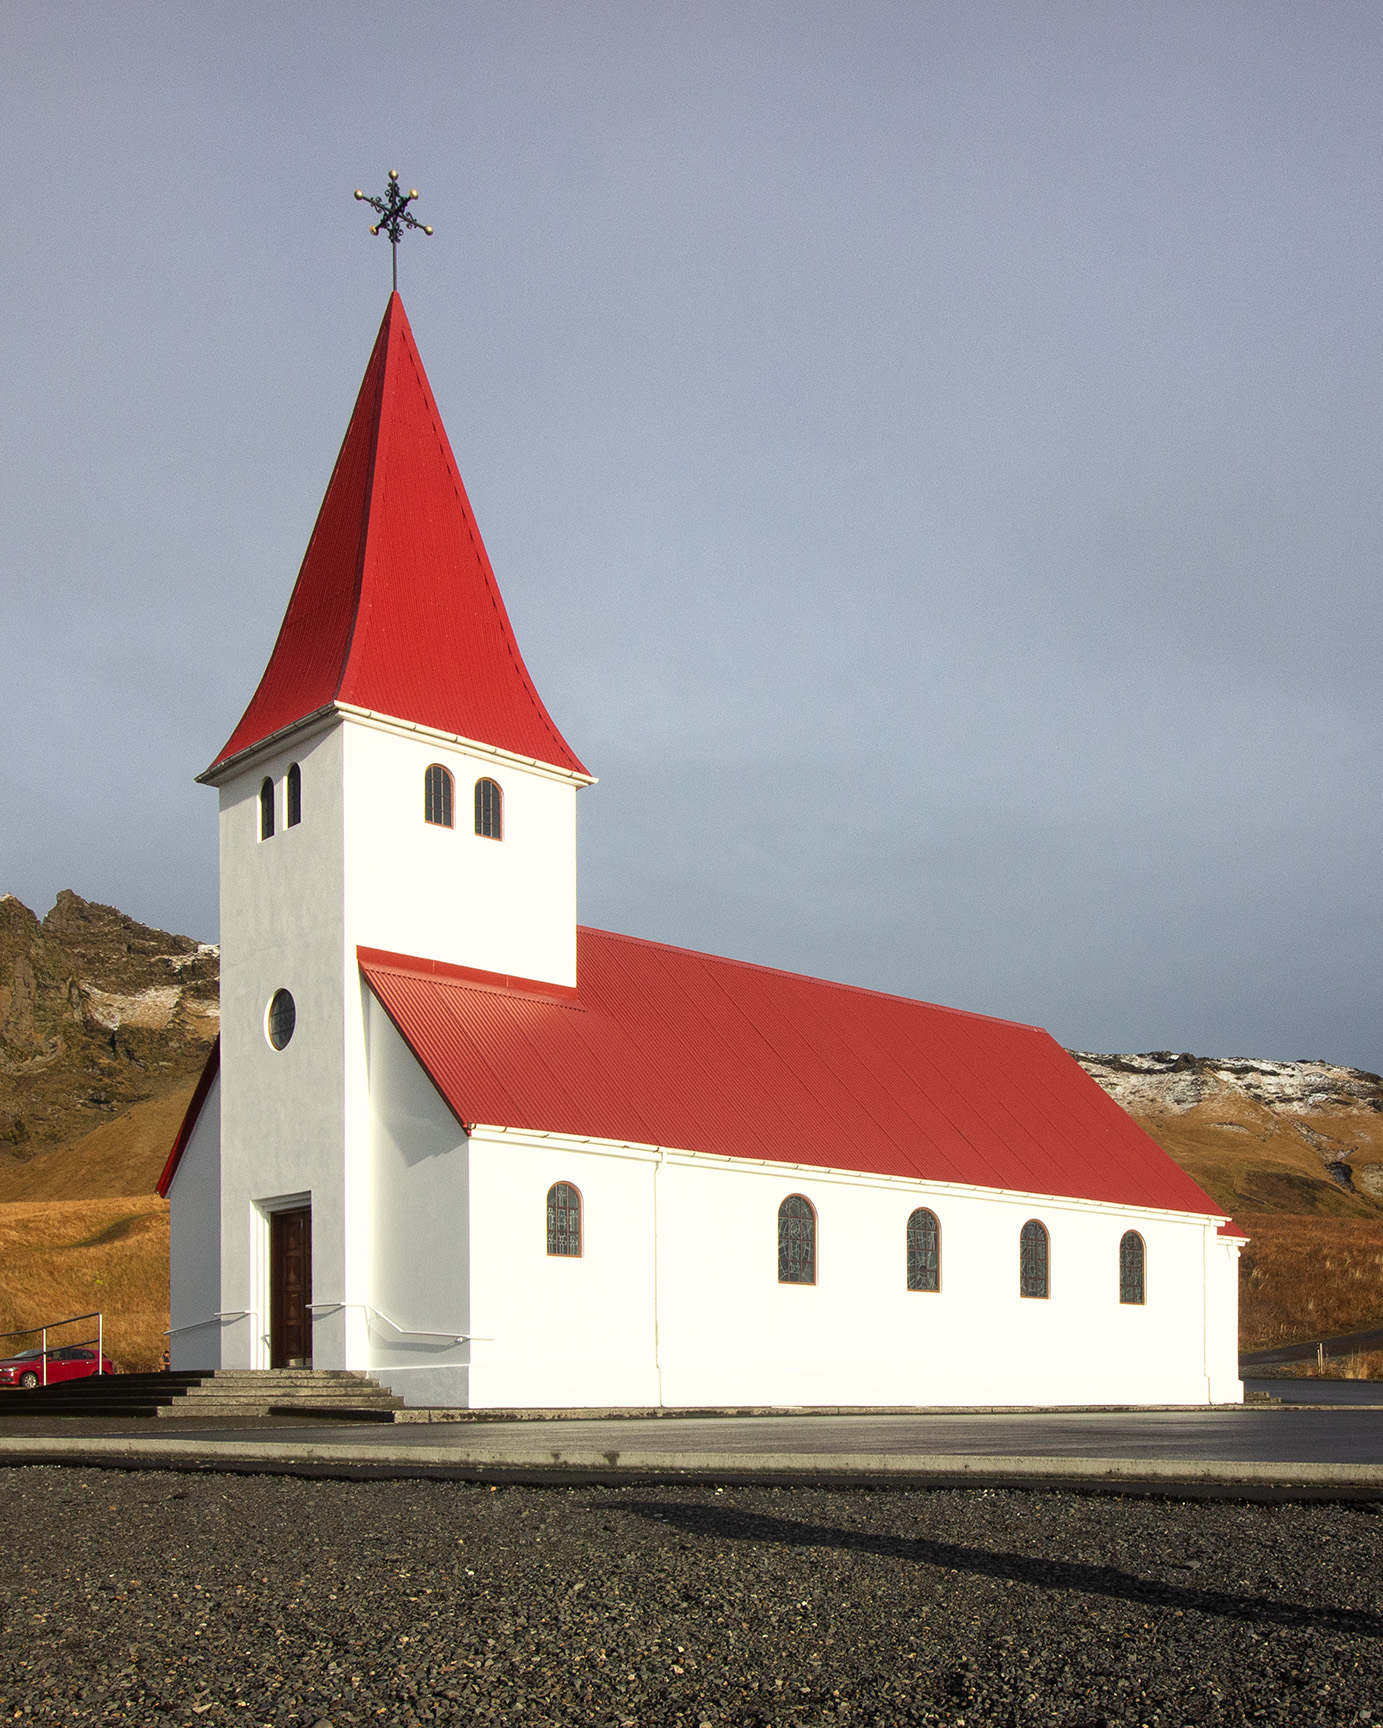
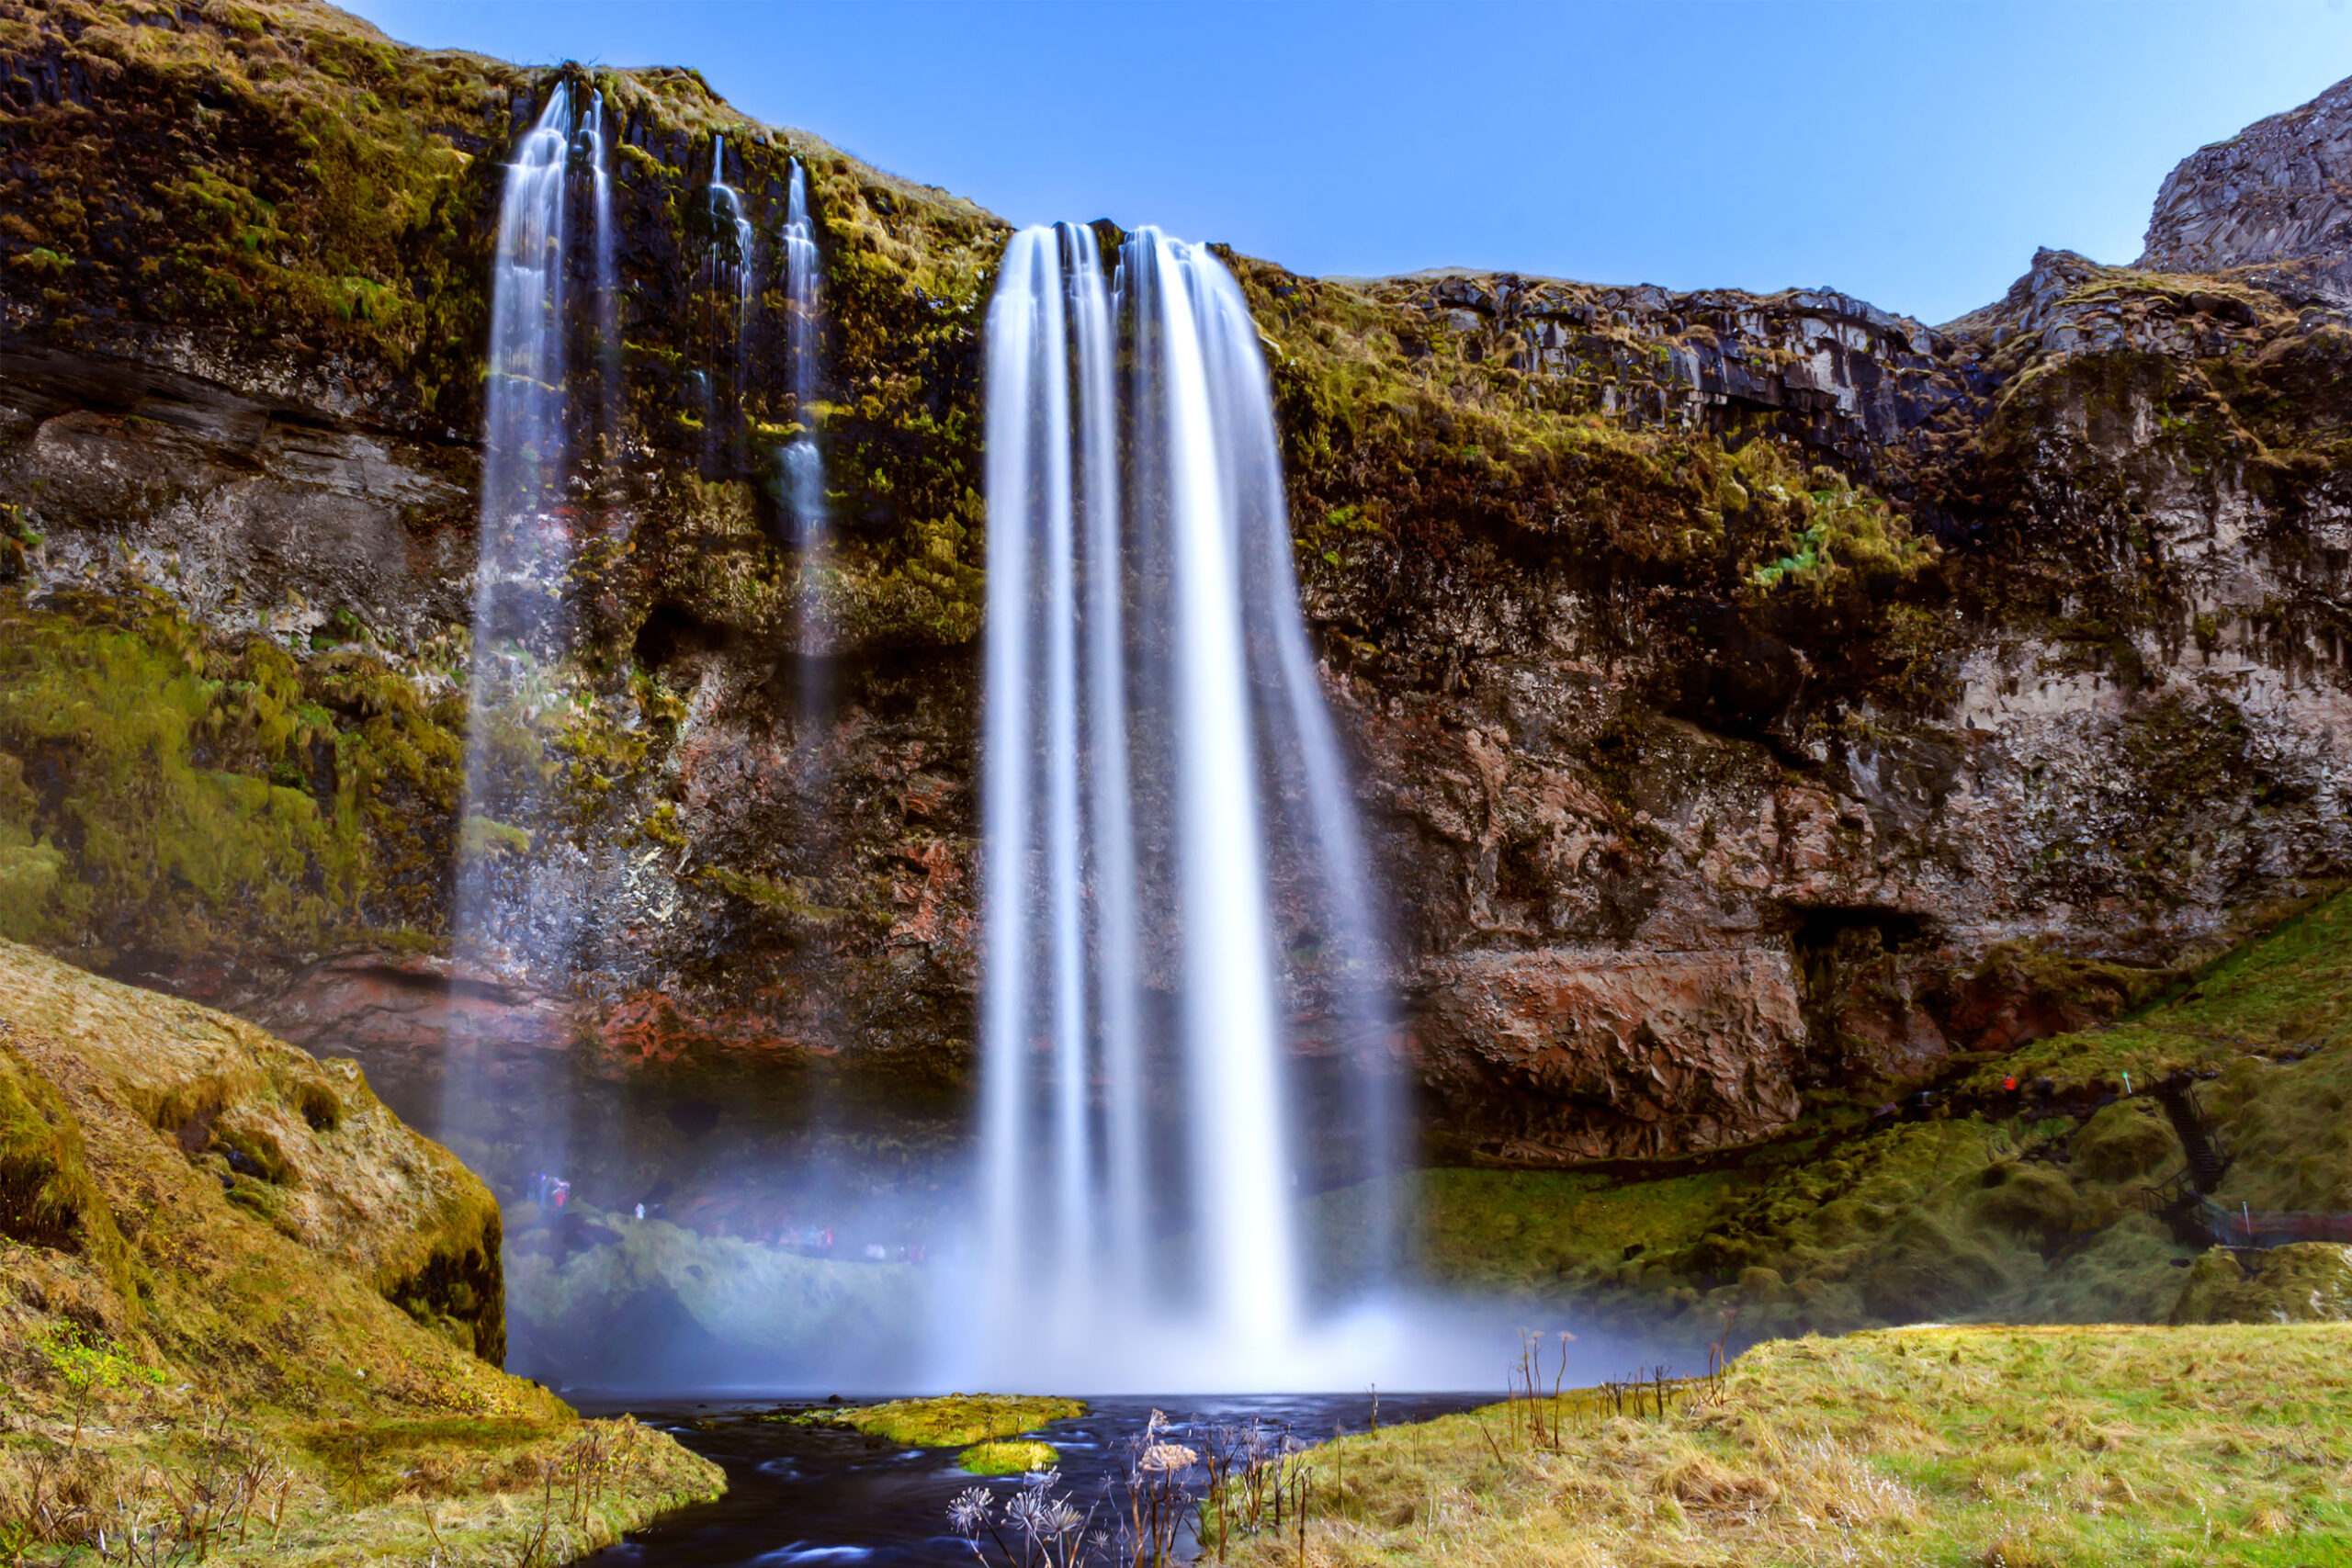
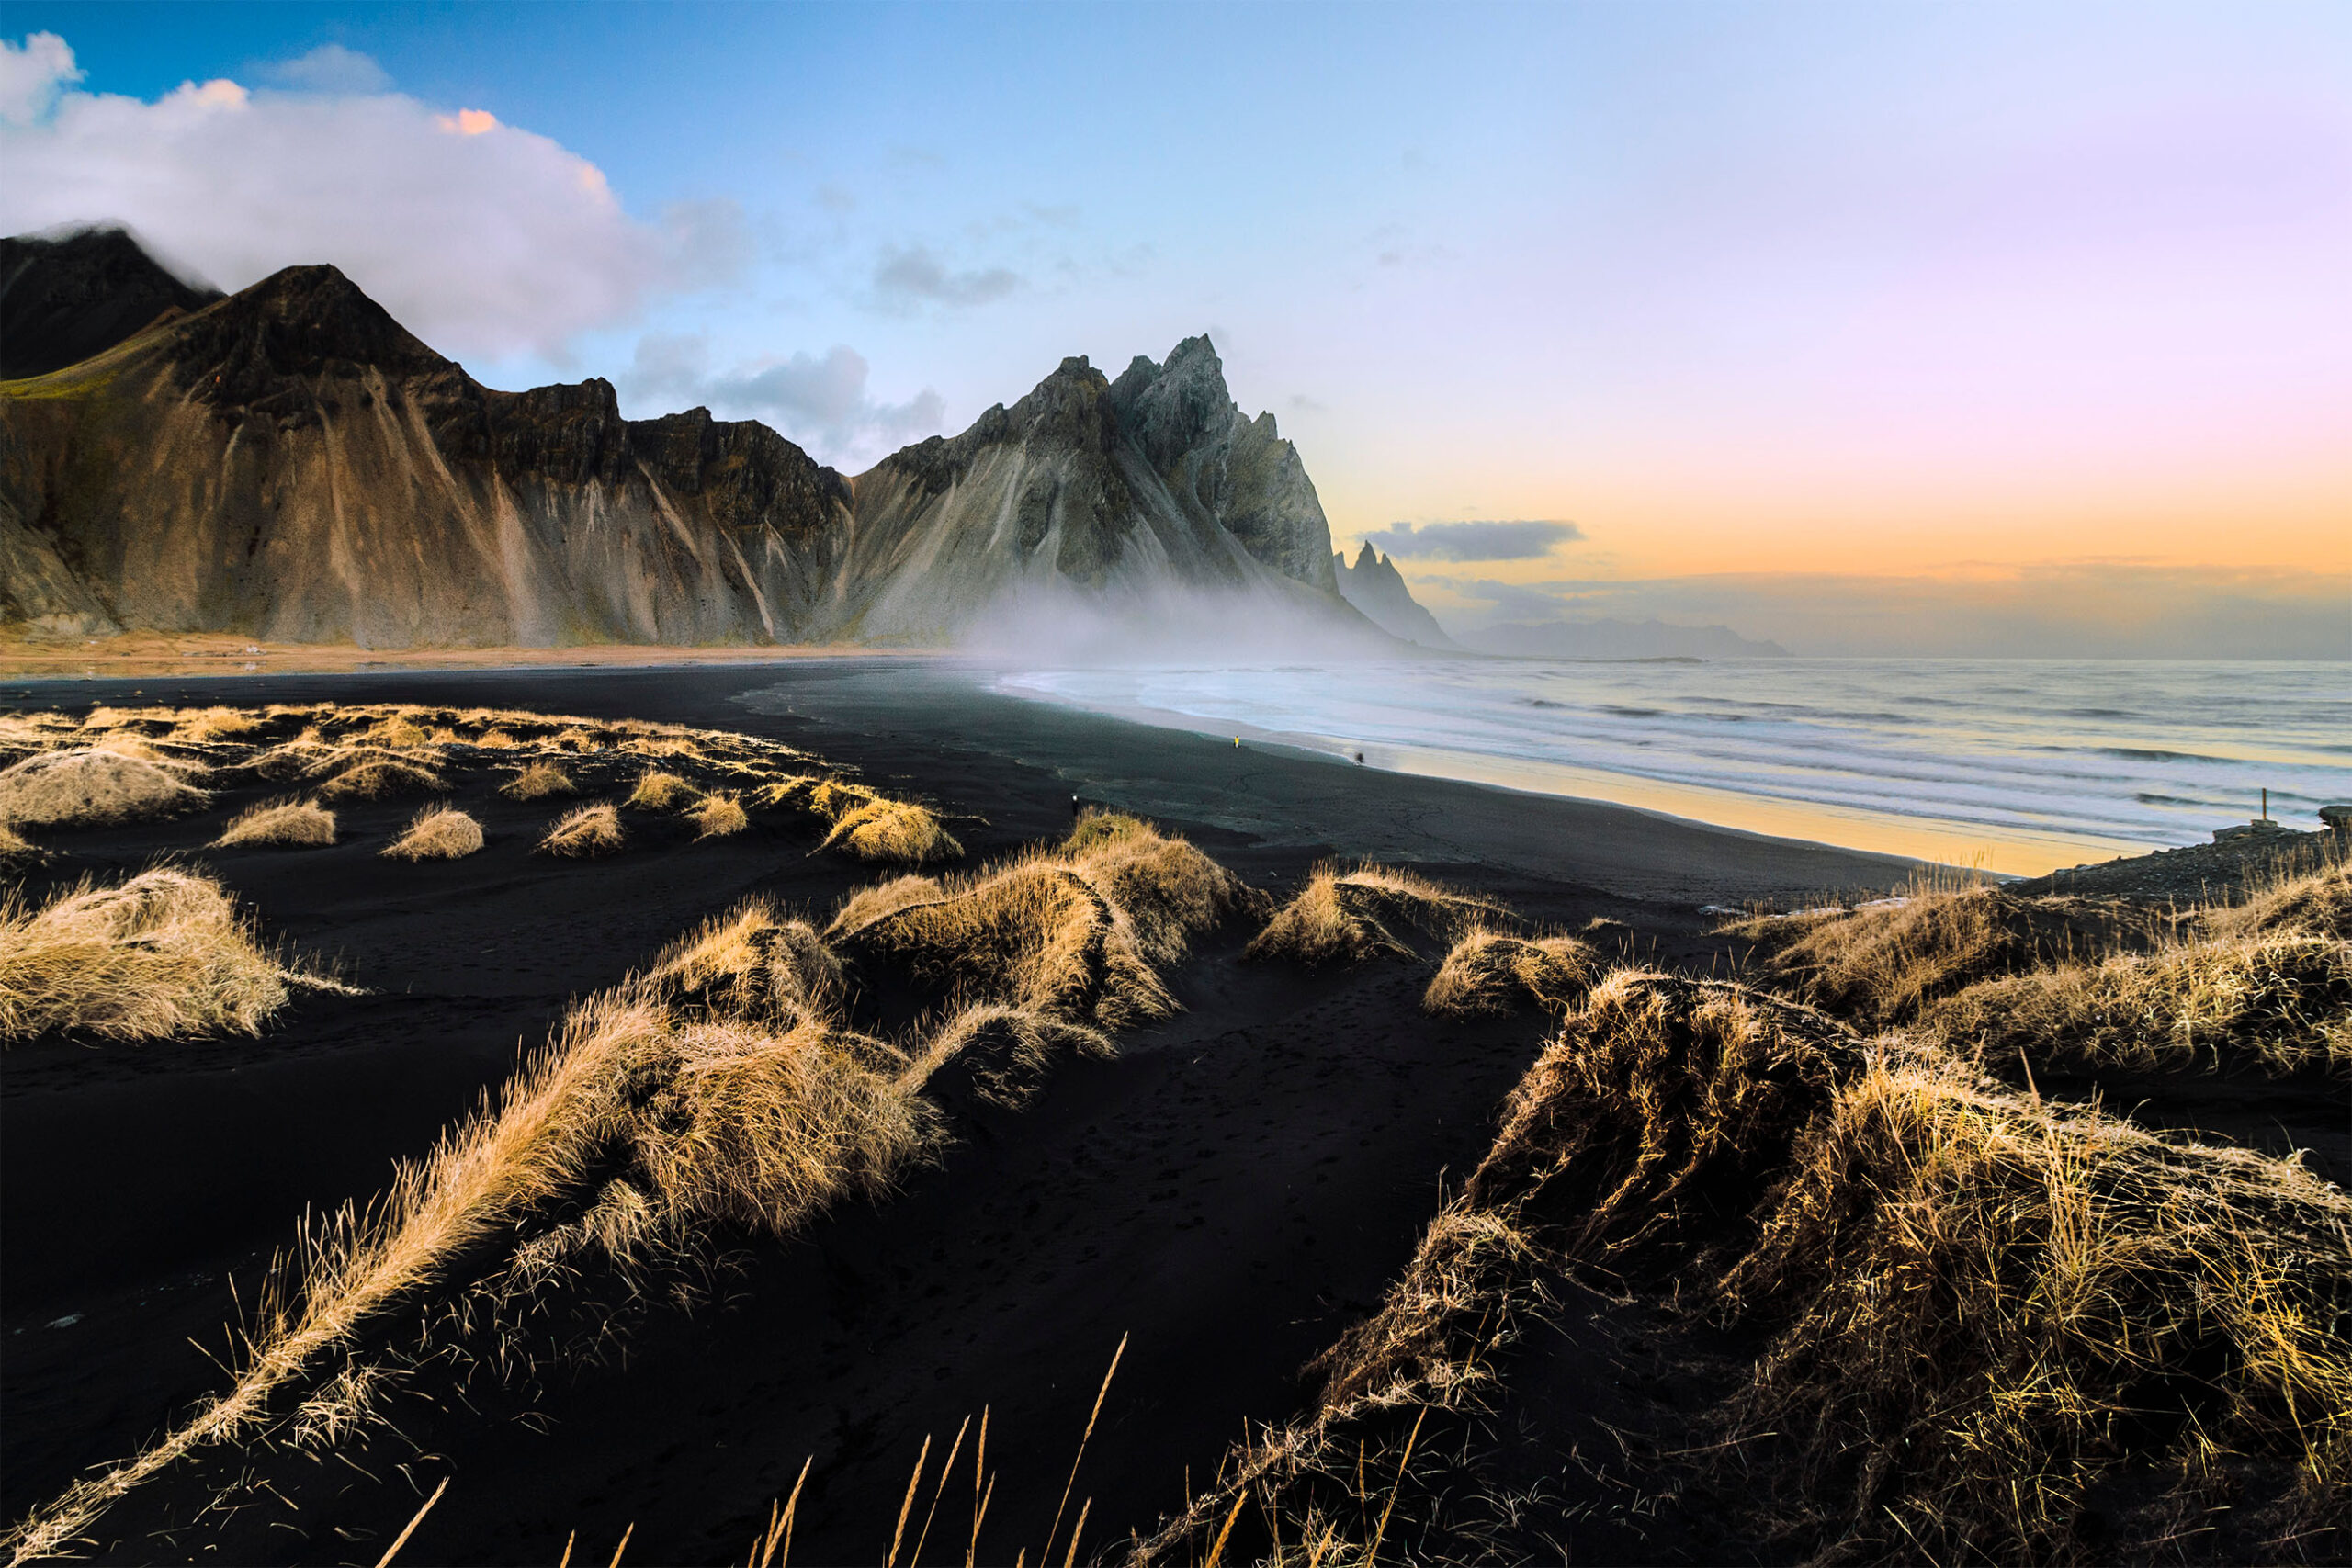
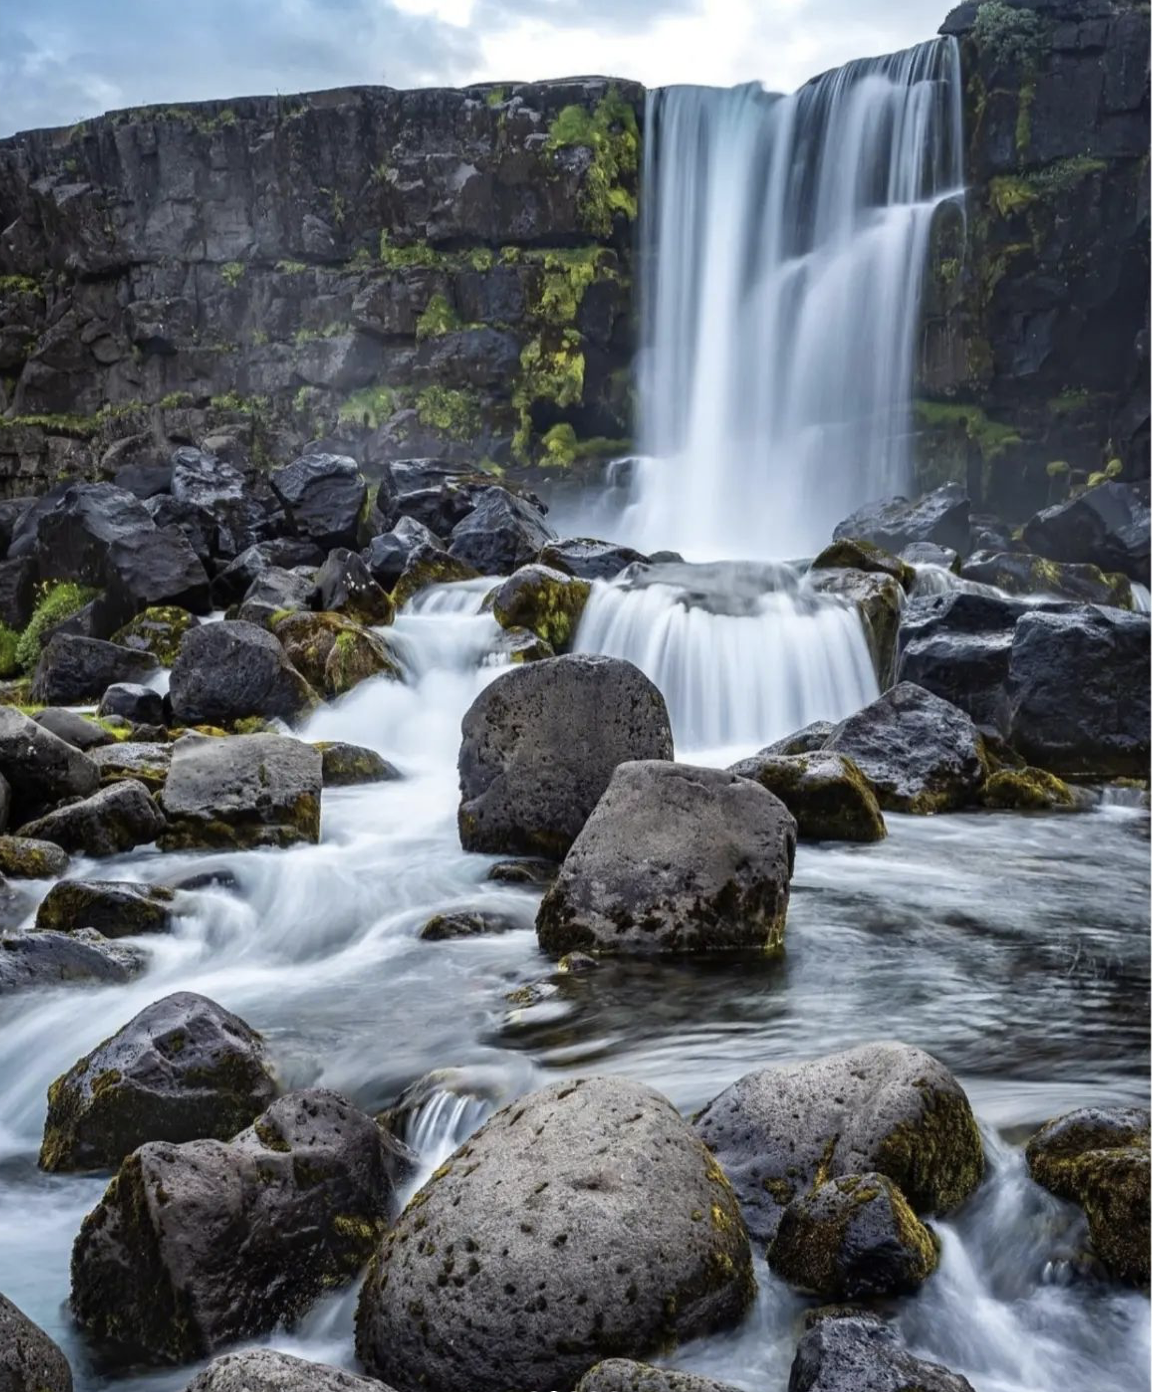
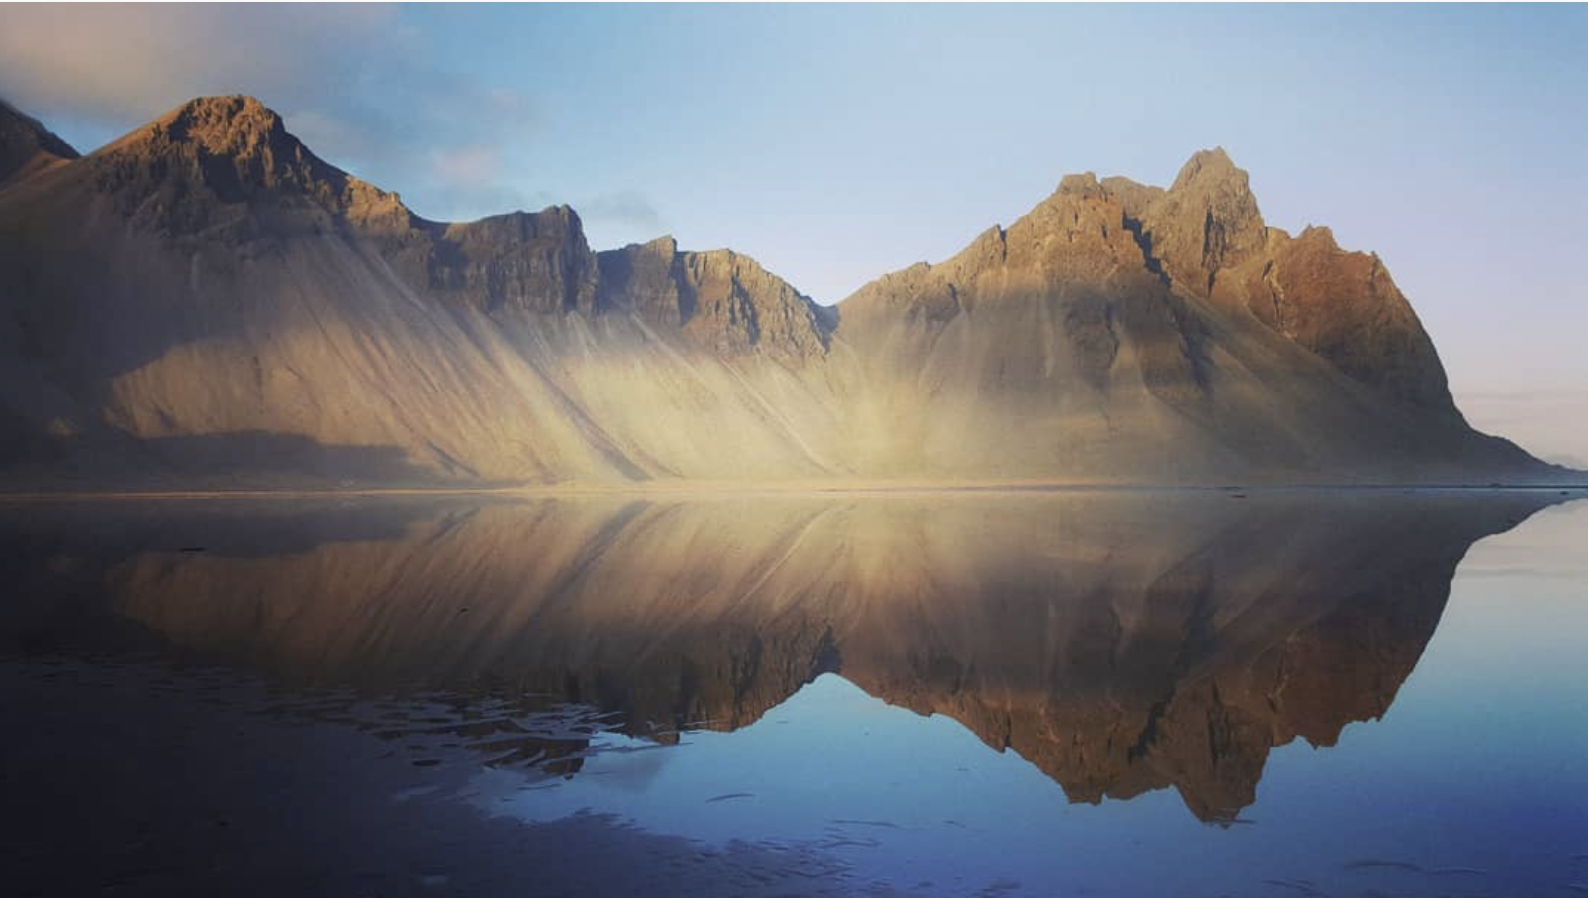
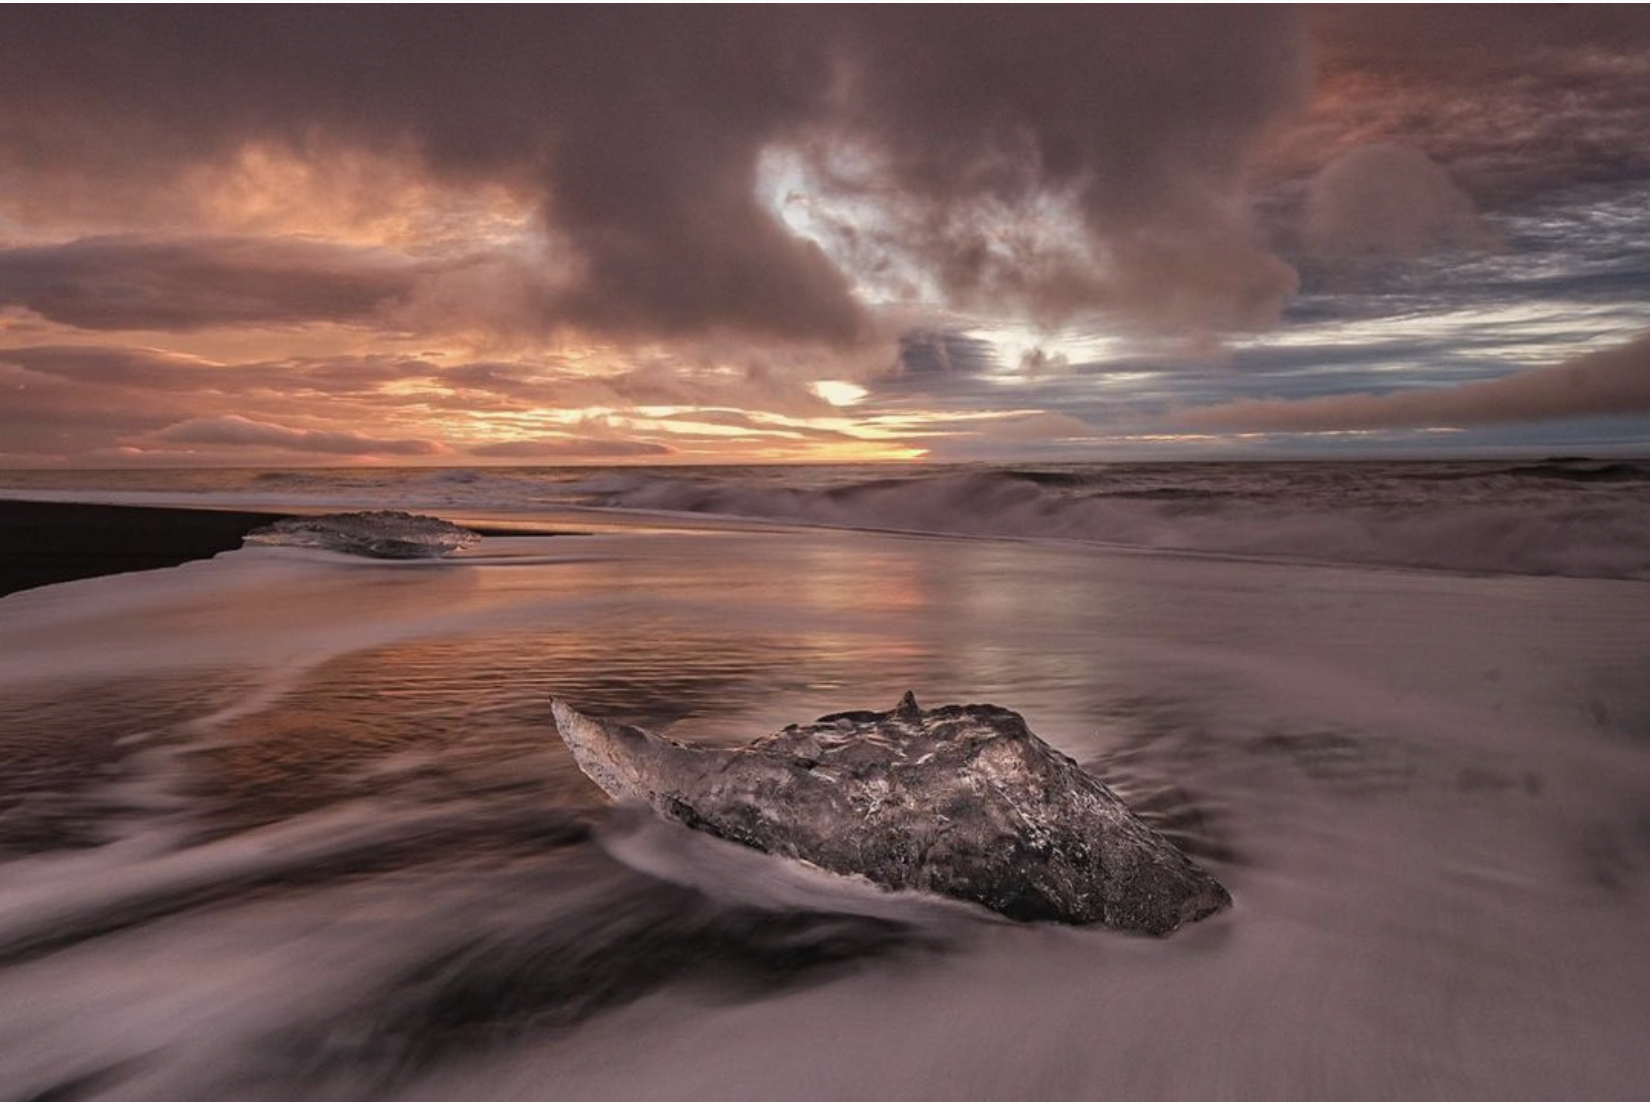
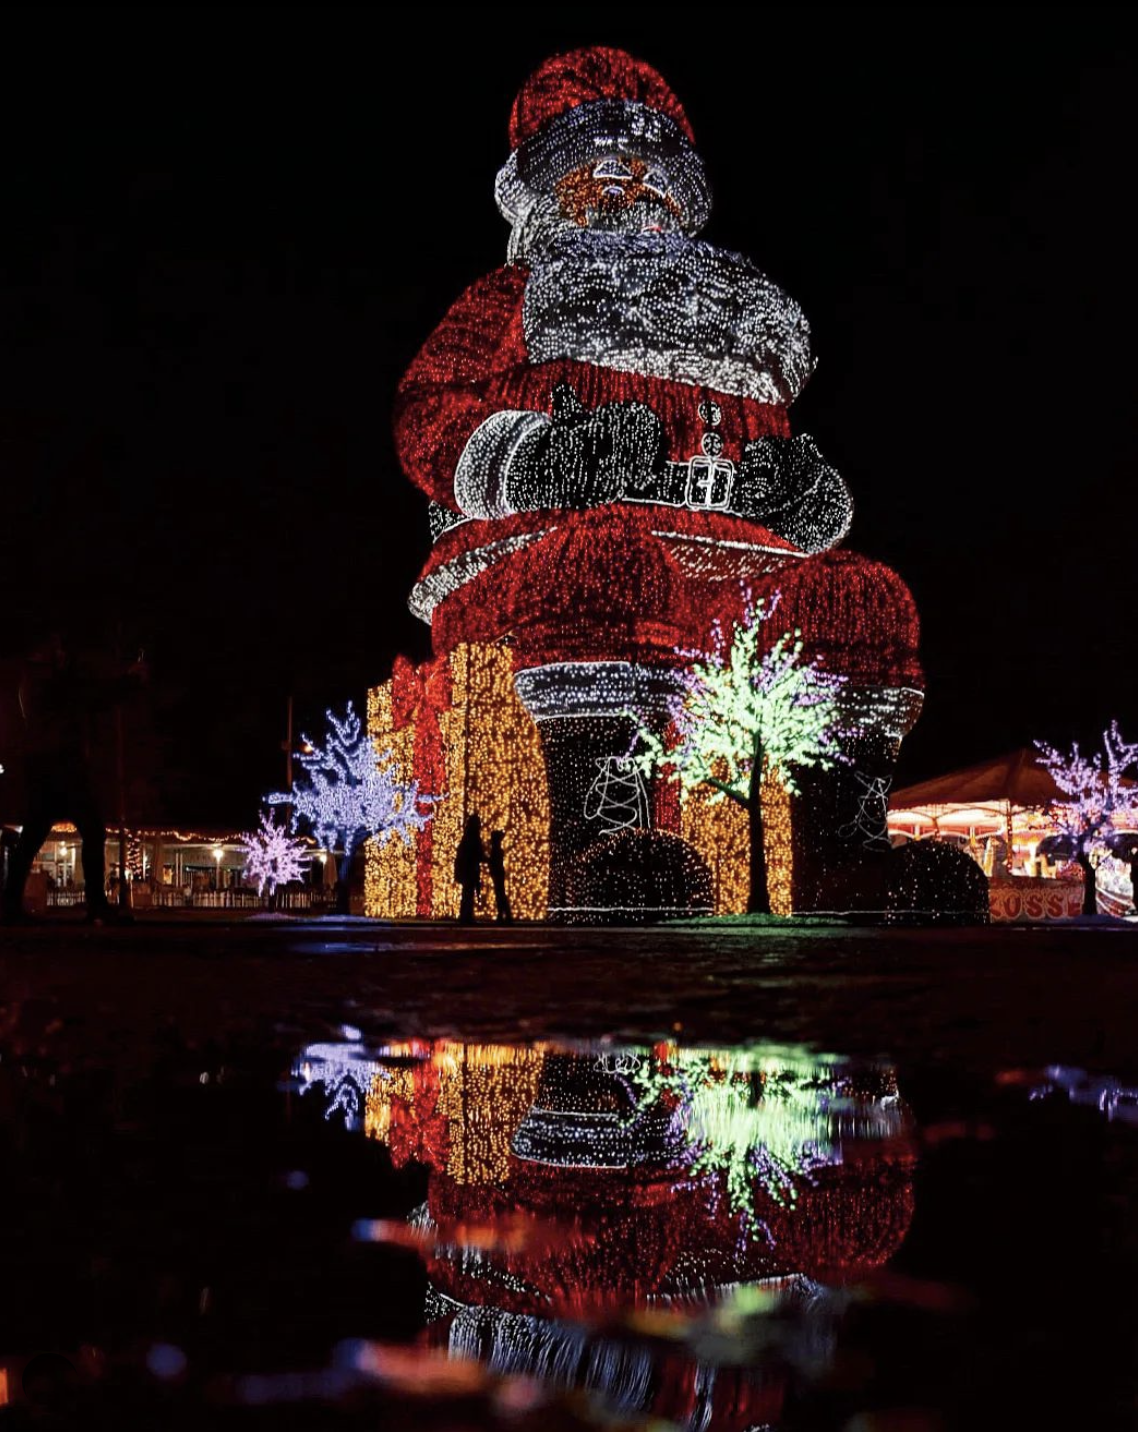
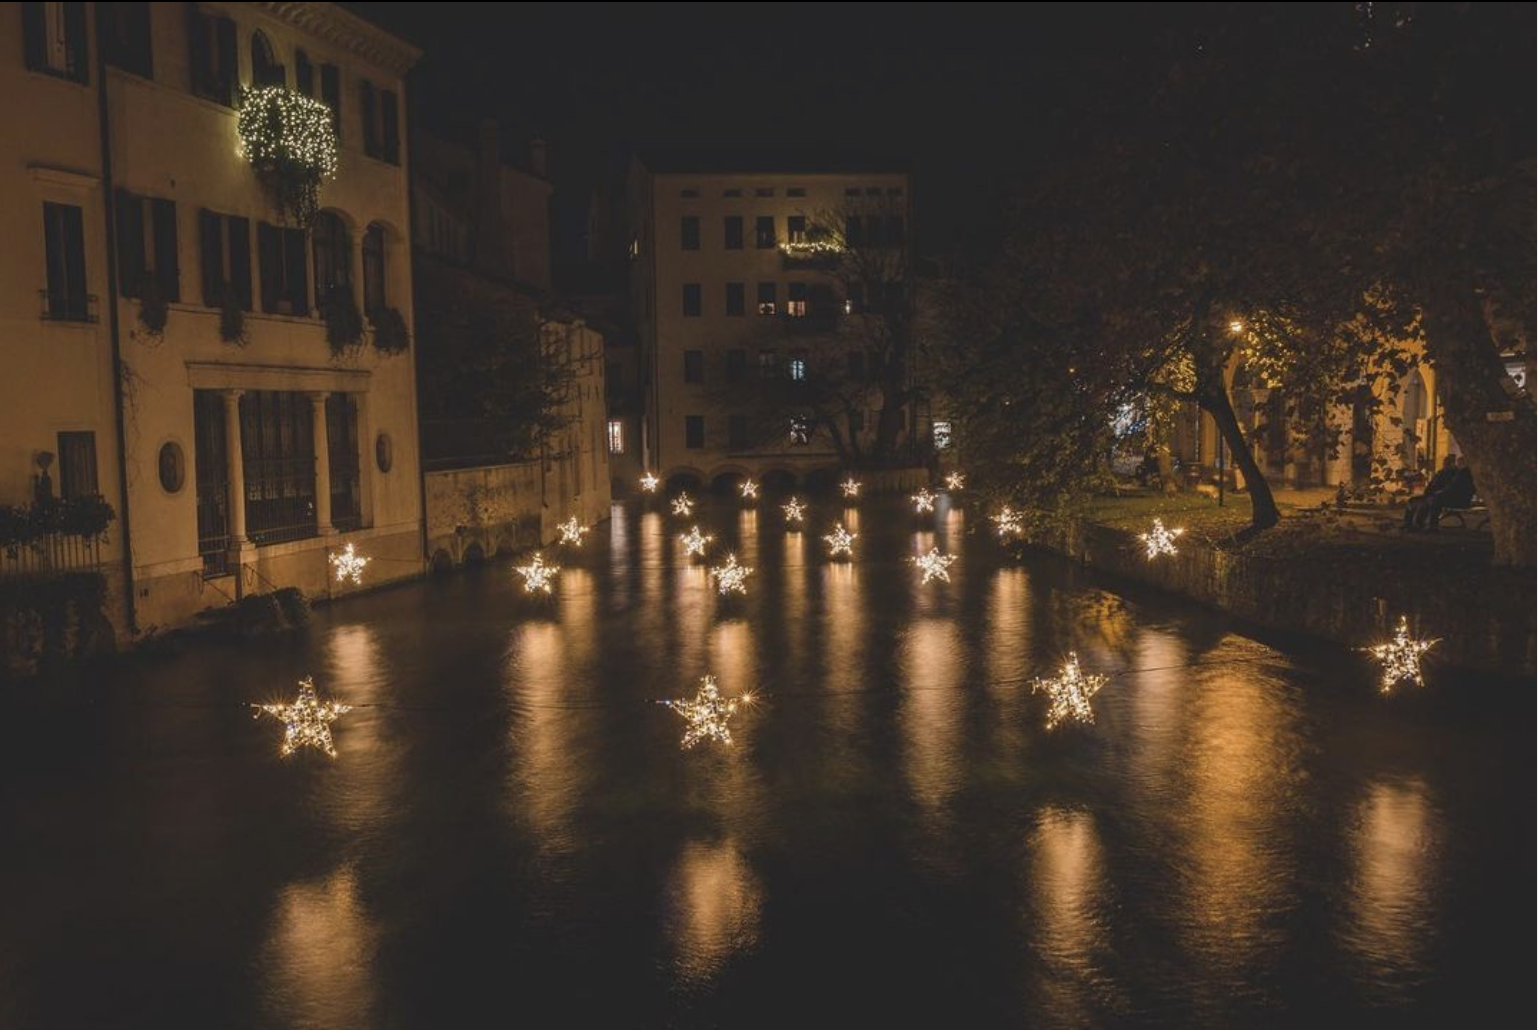
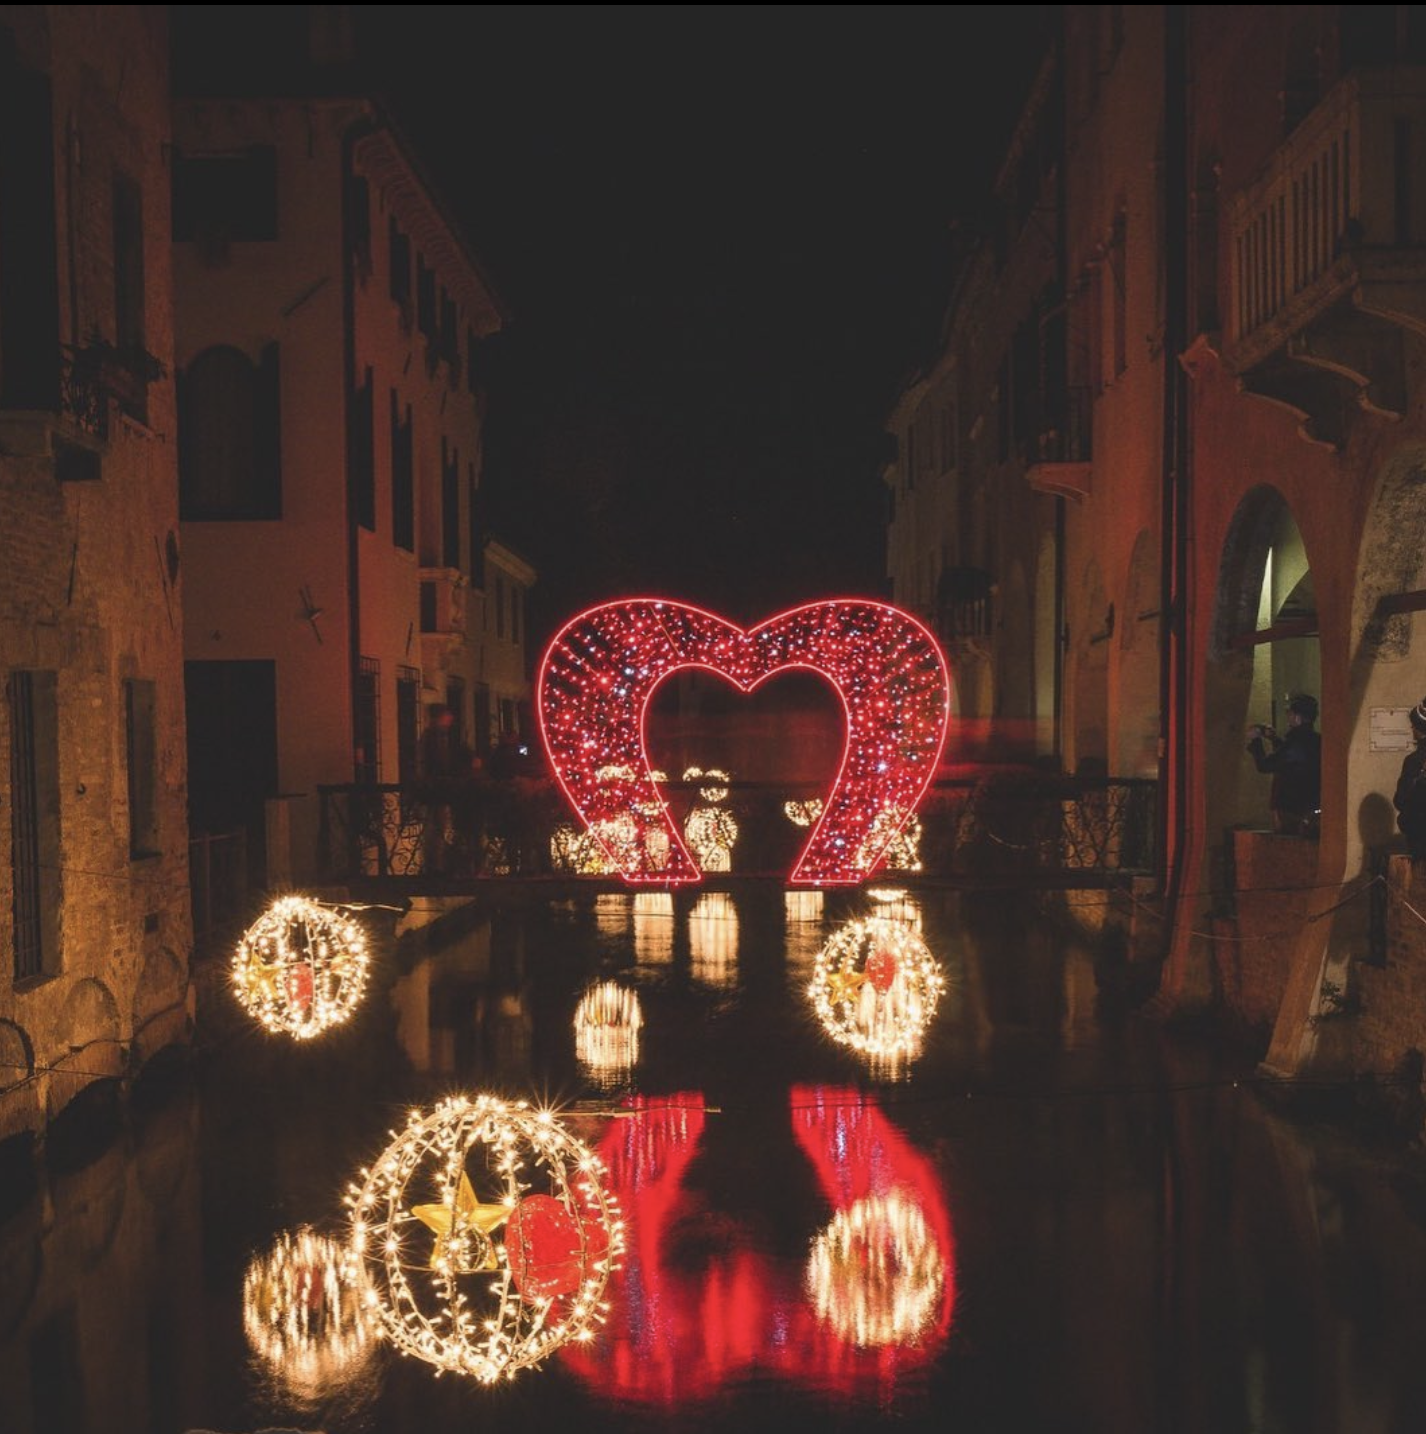
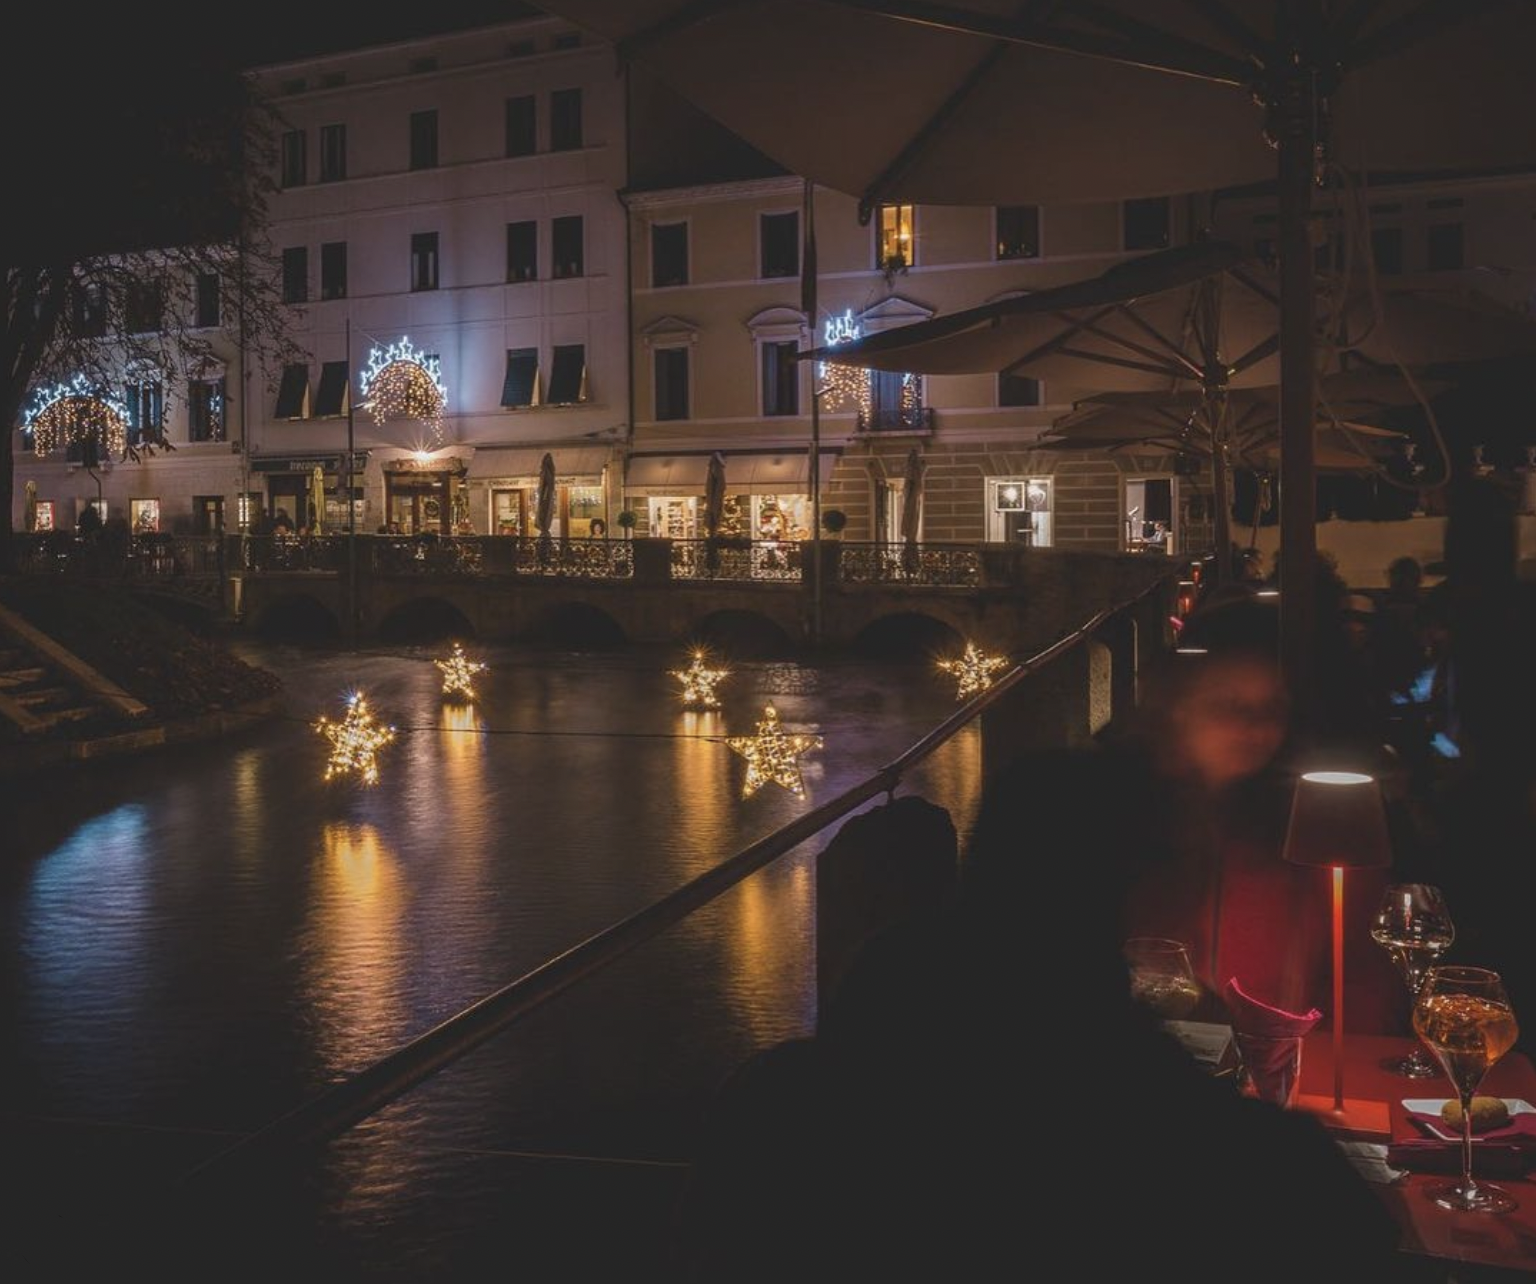
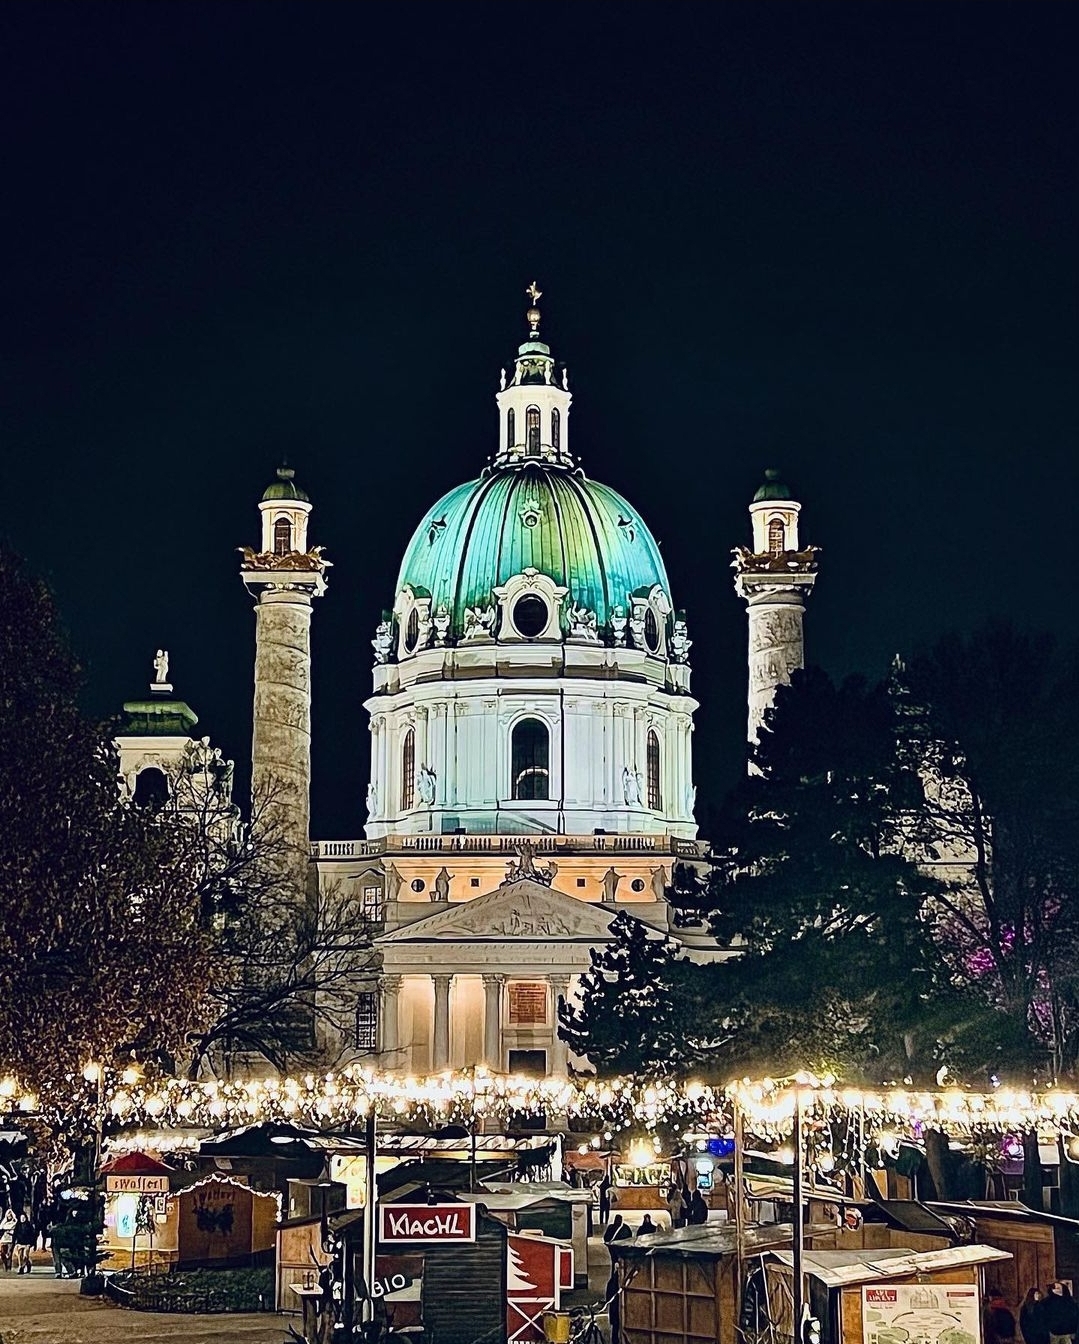
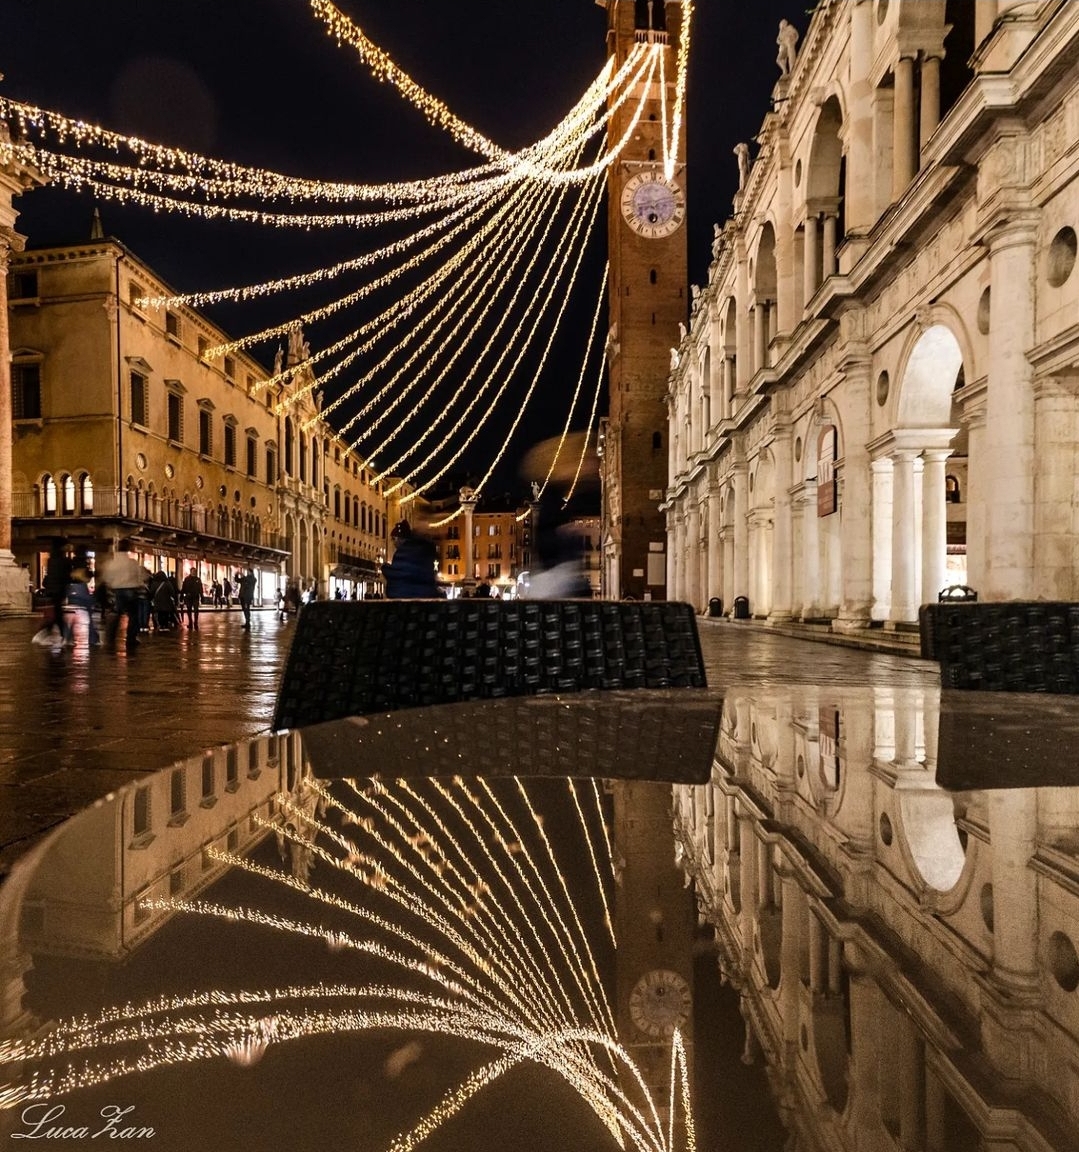
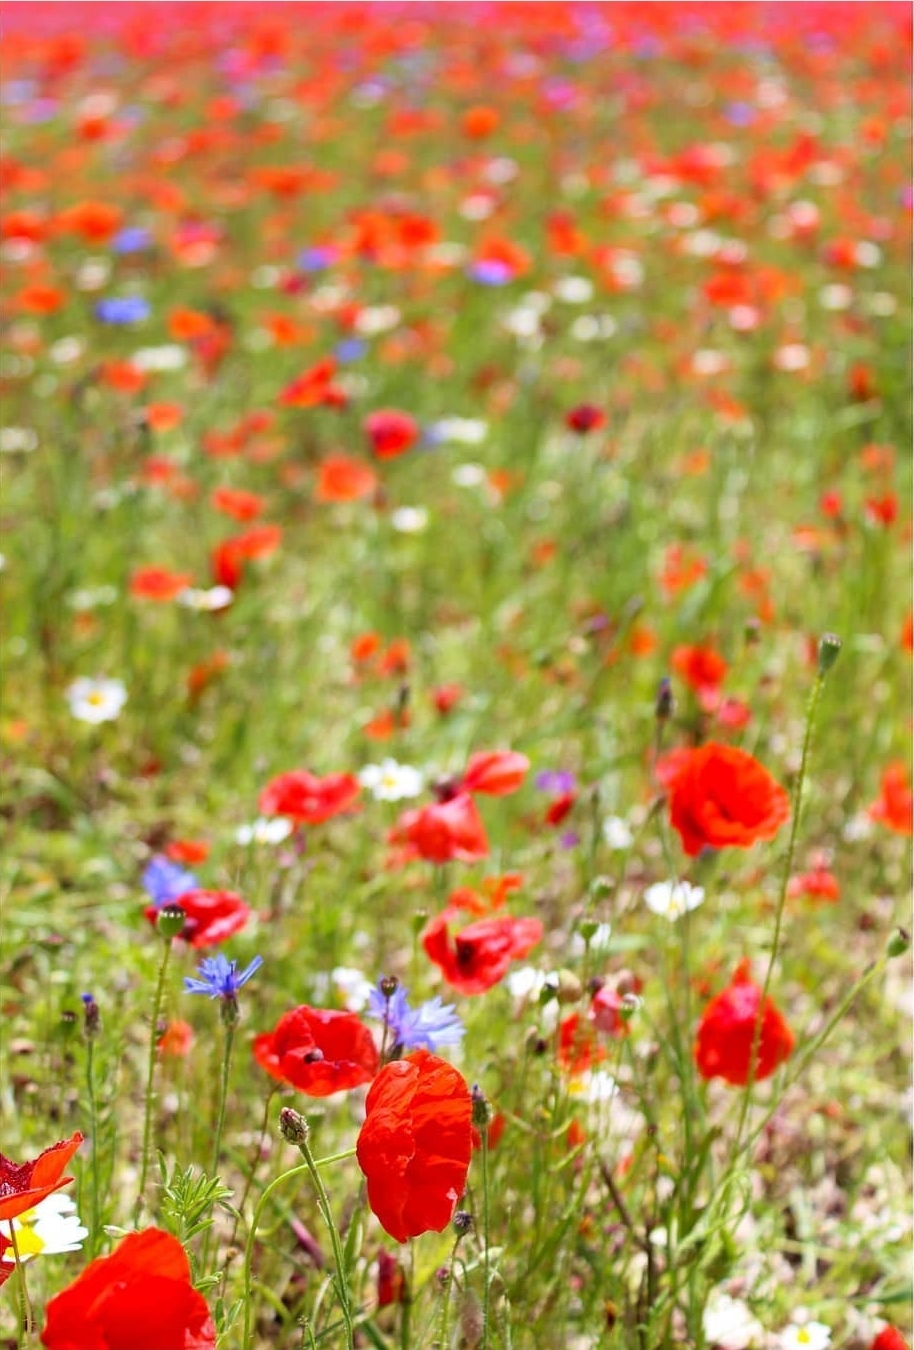
5. Symmetries and series
Playing with the geometries and symmetries between the elements of the photo creates dynamic and beautiful images.
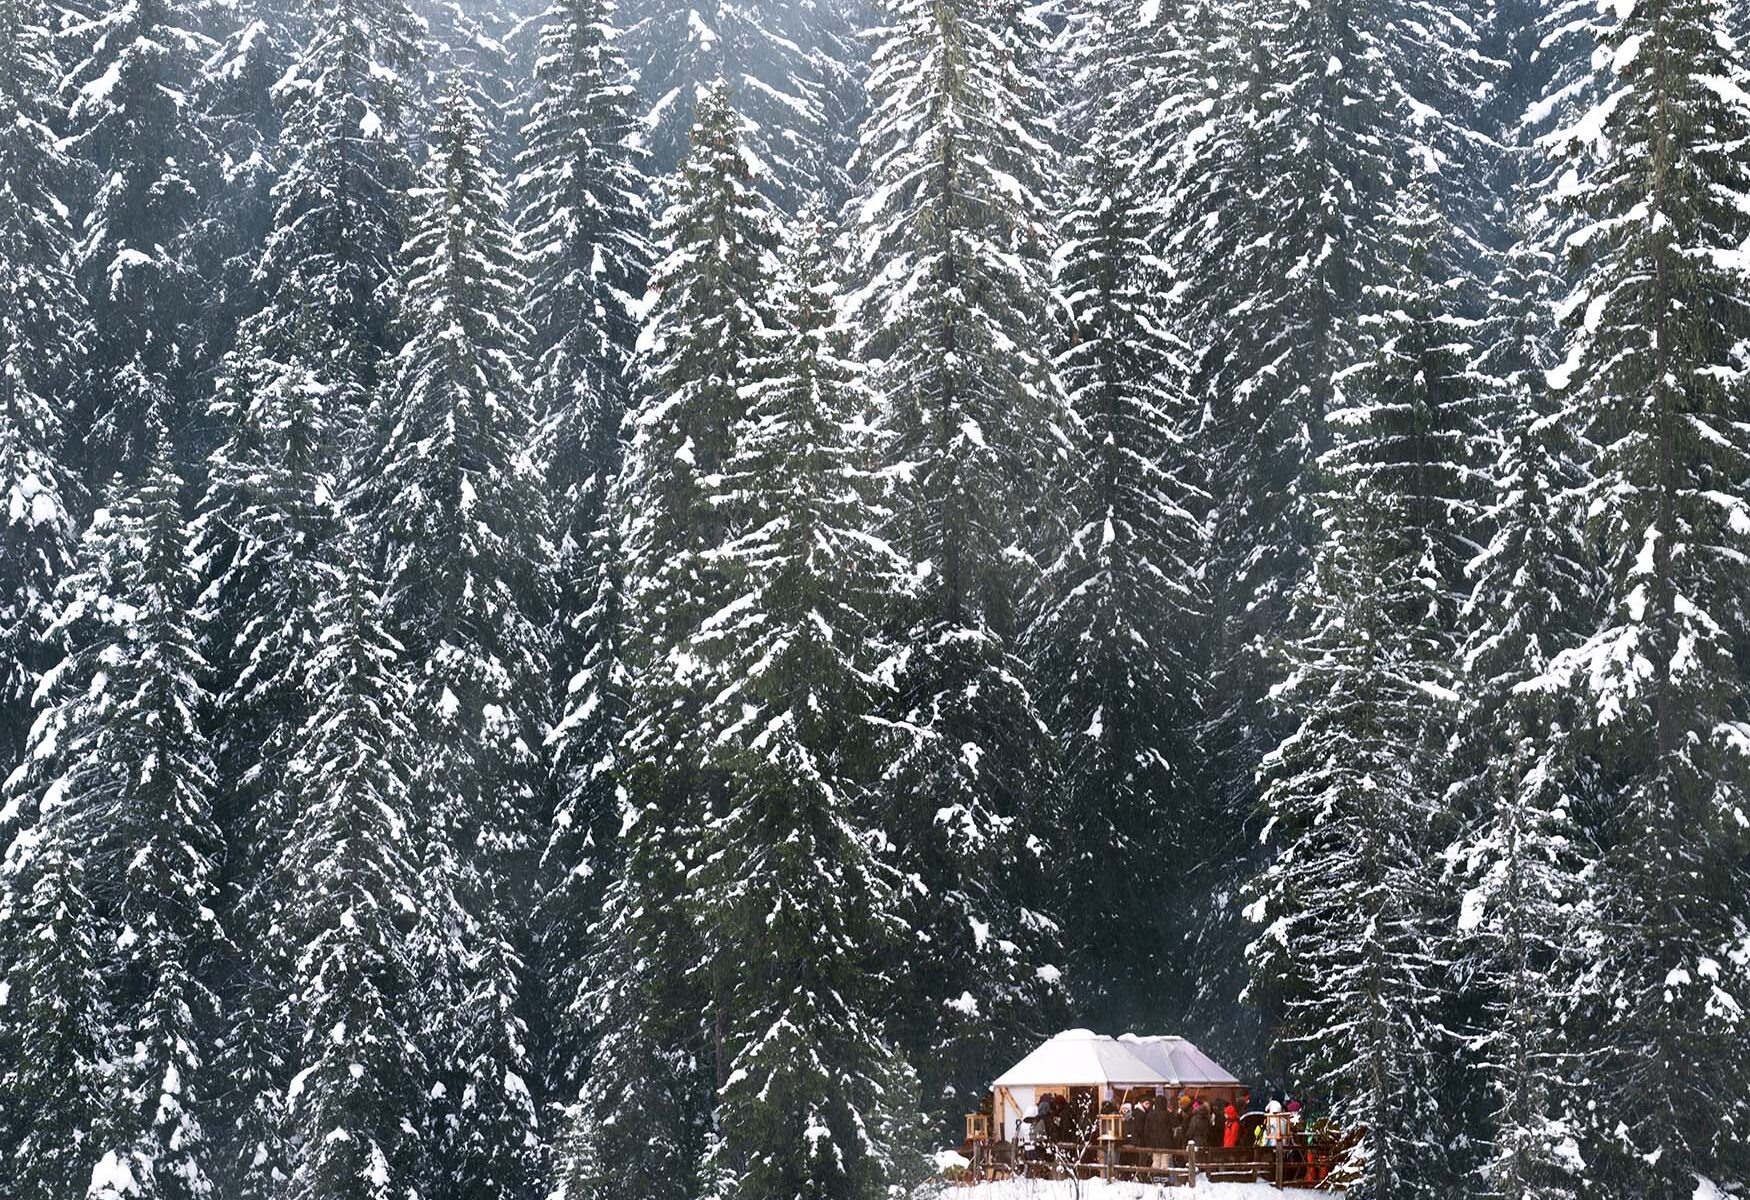
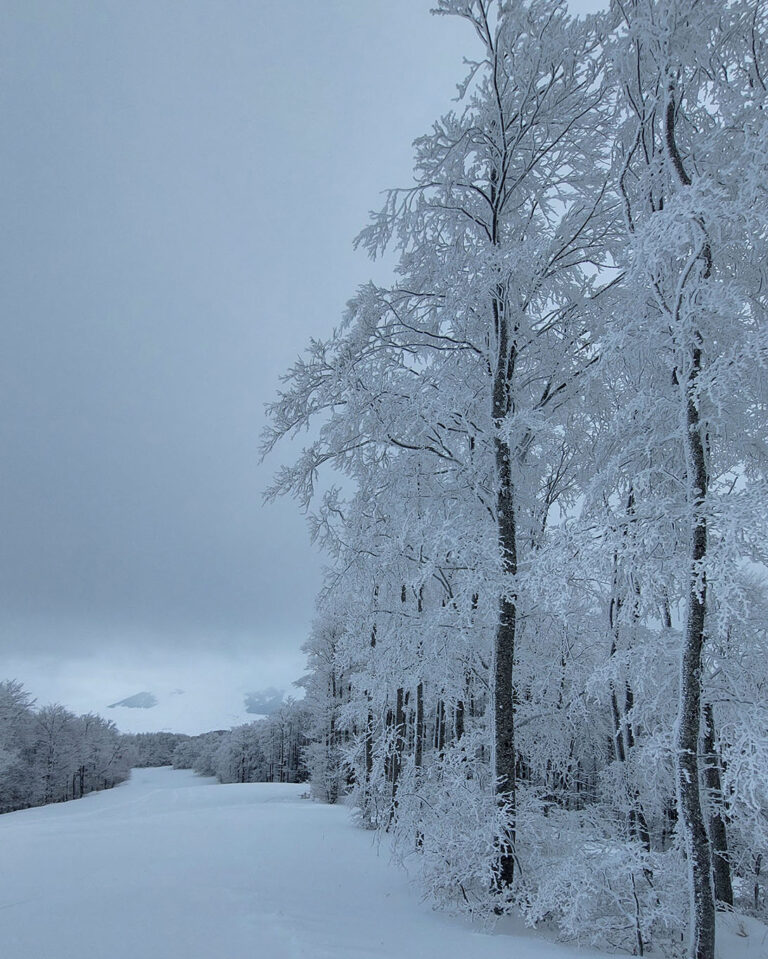
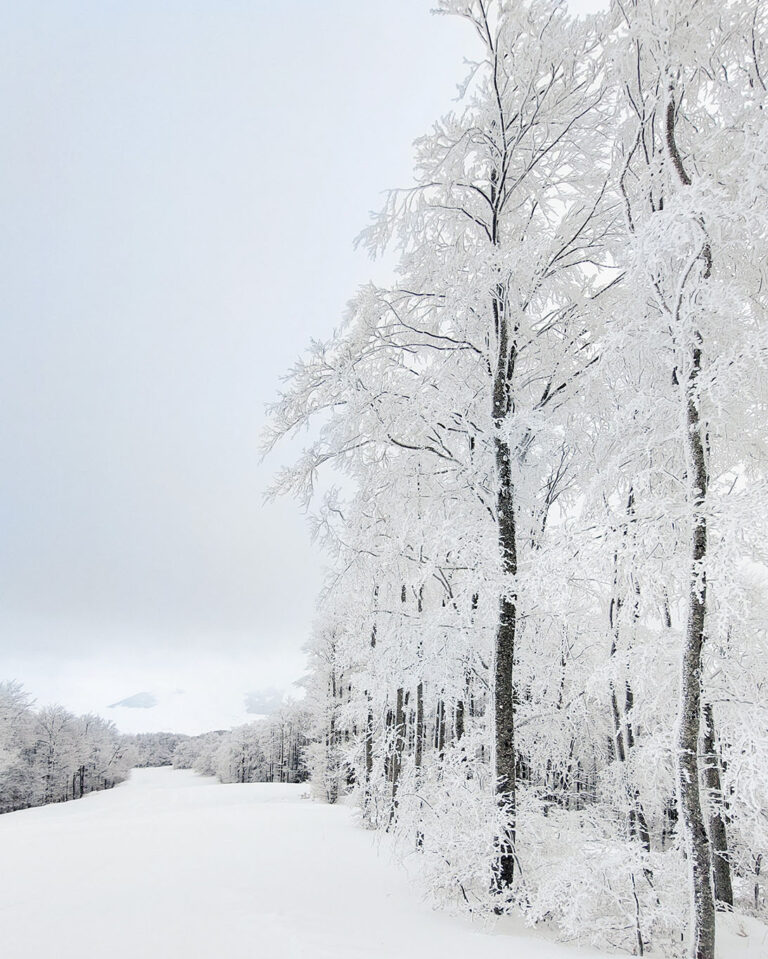
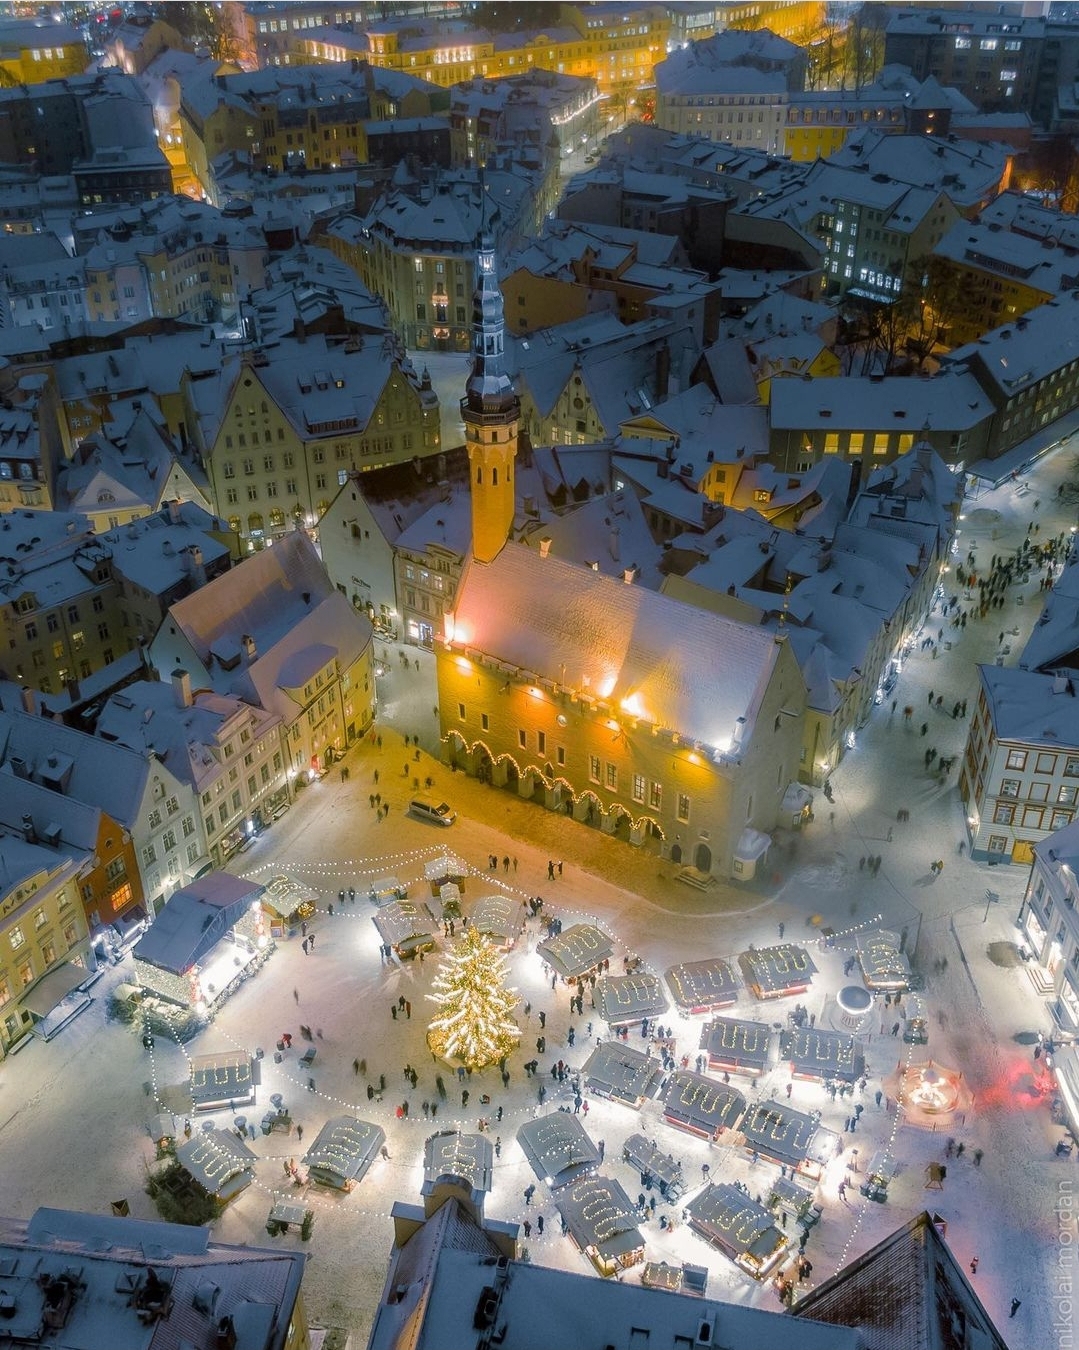
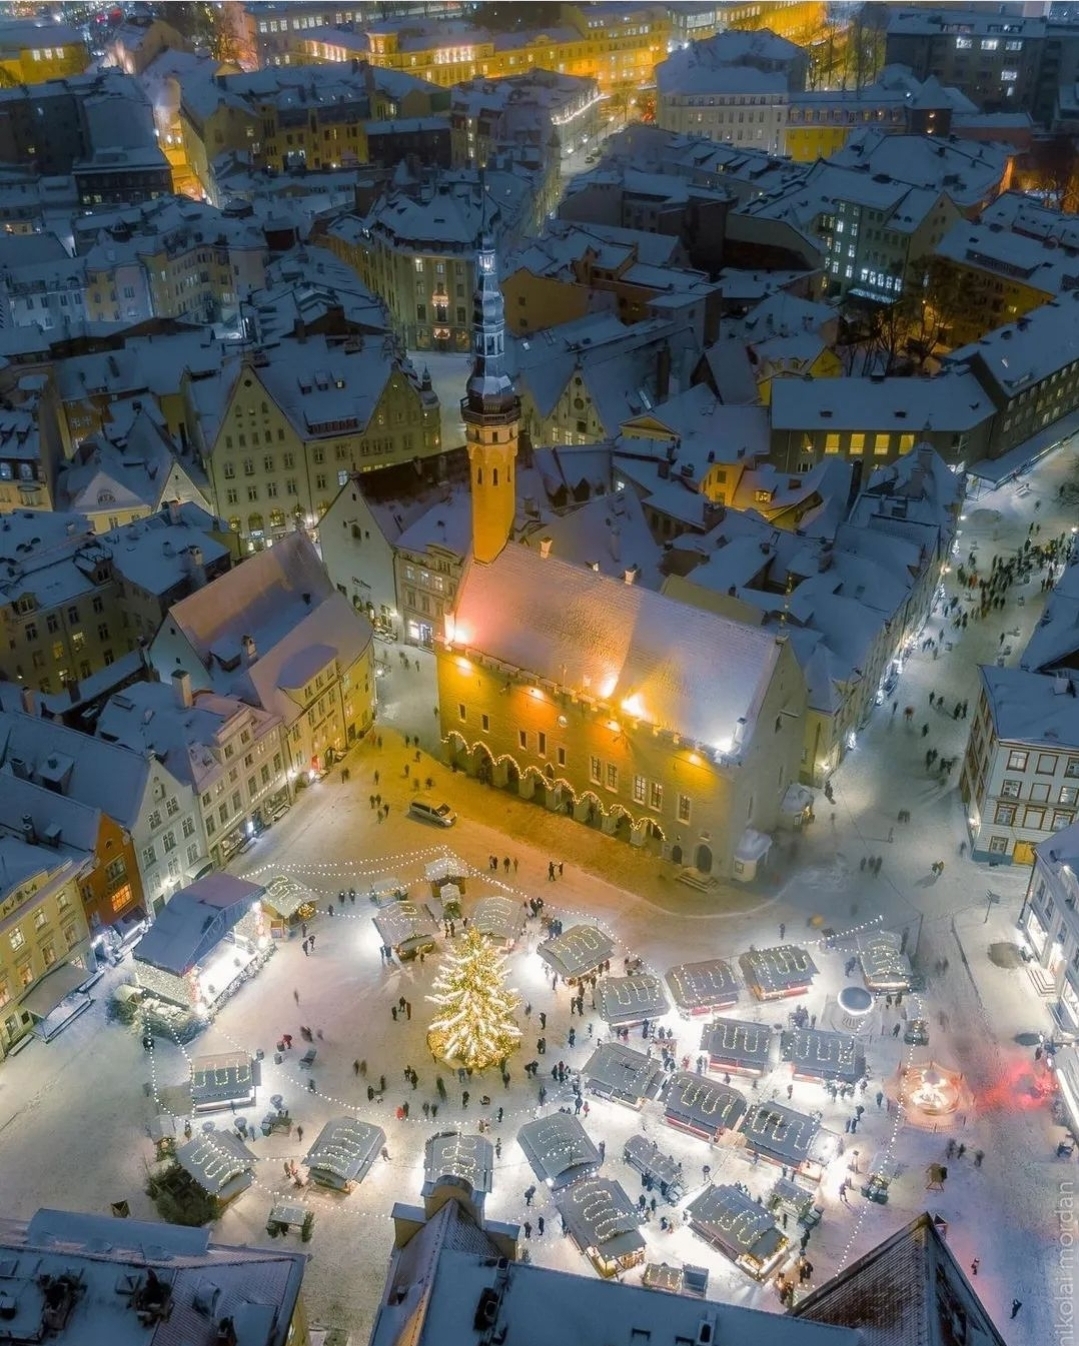
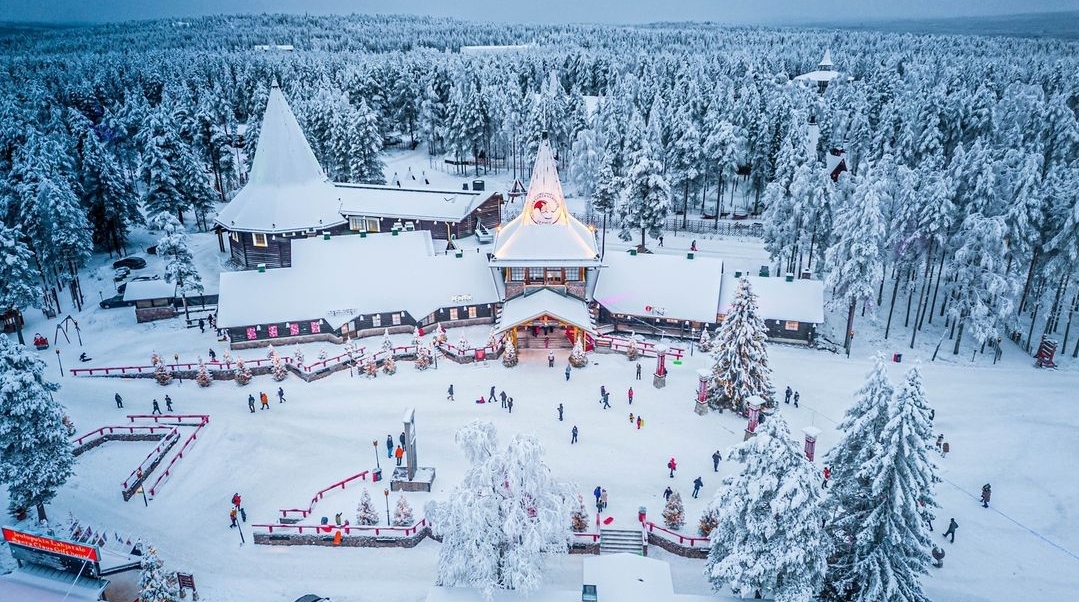
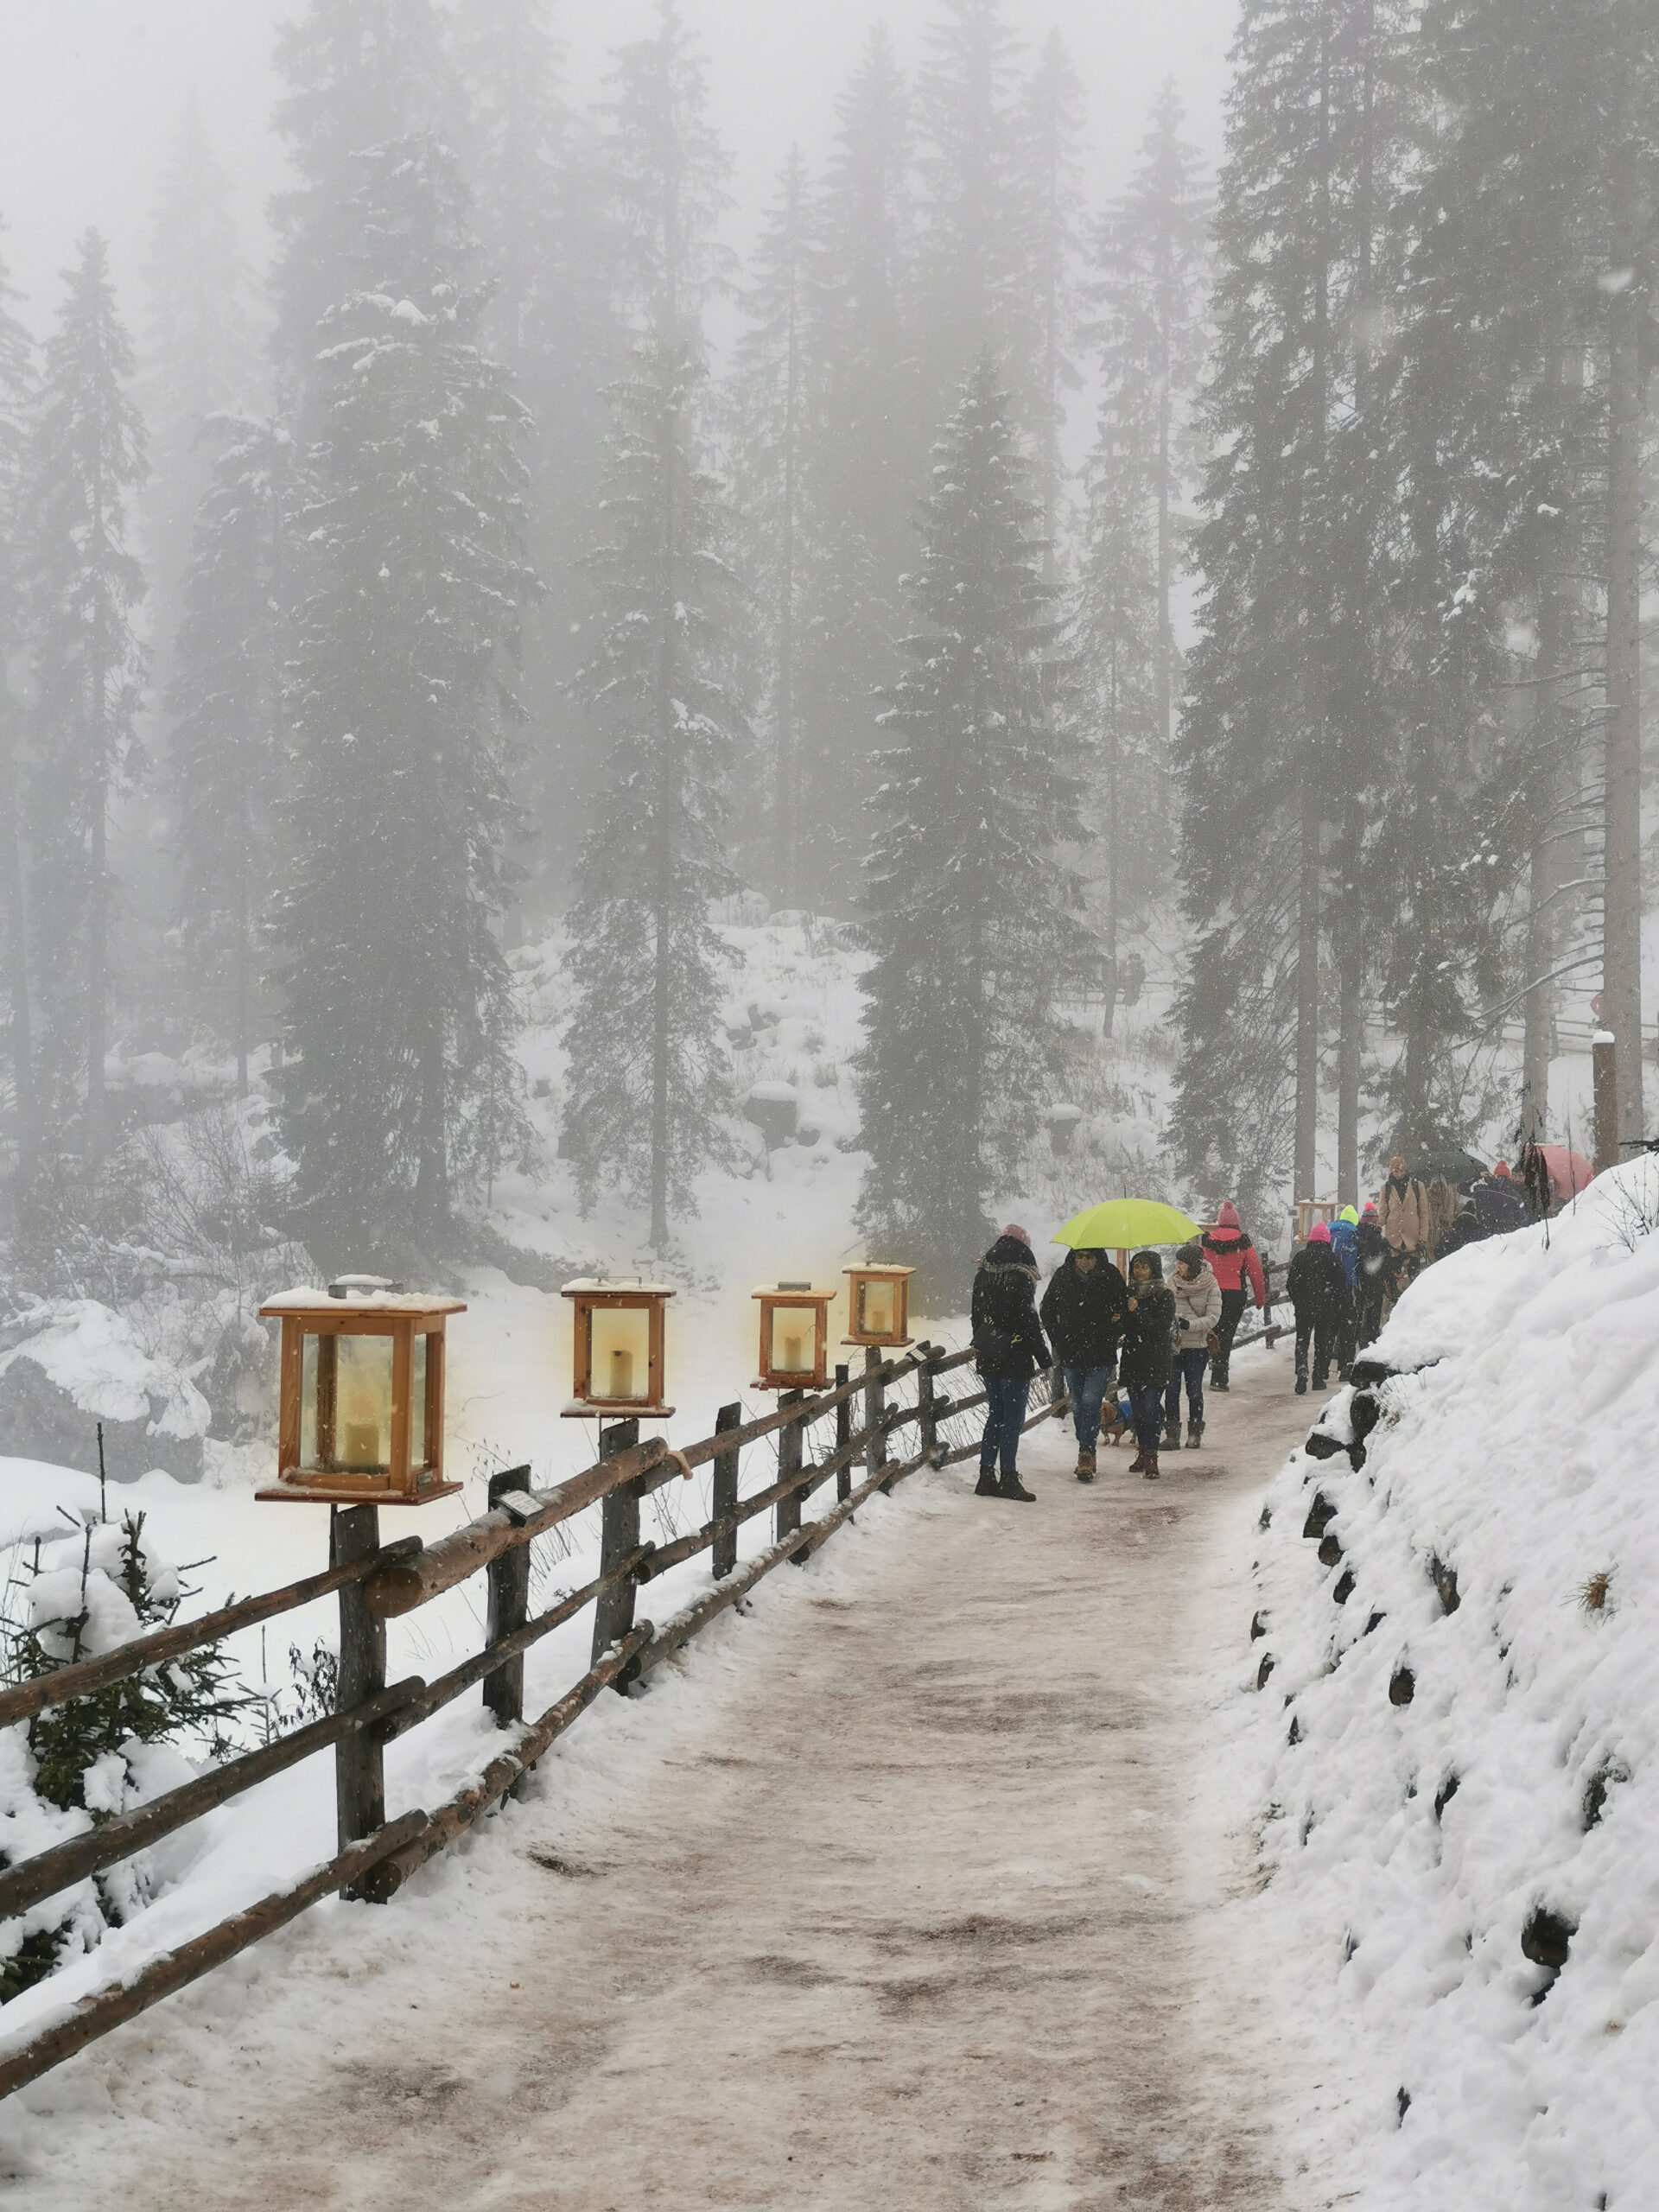
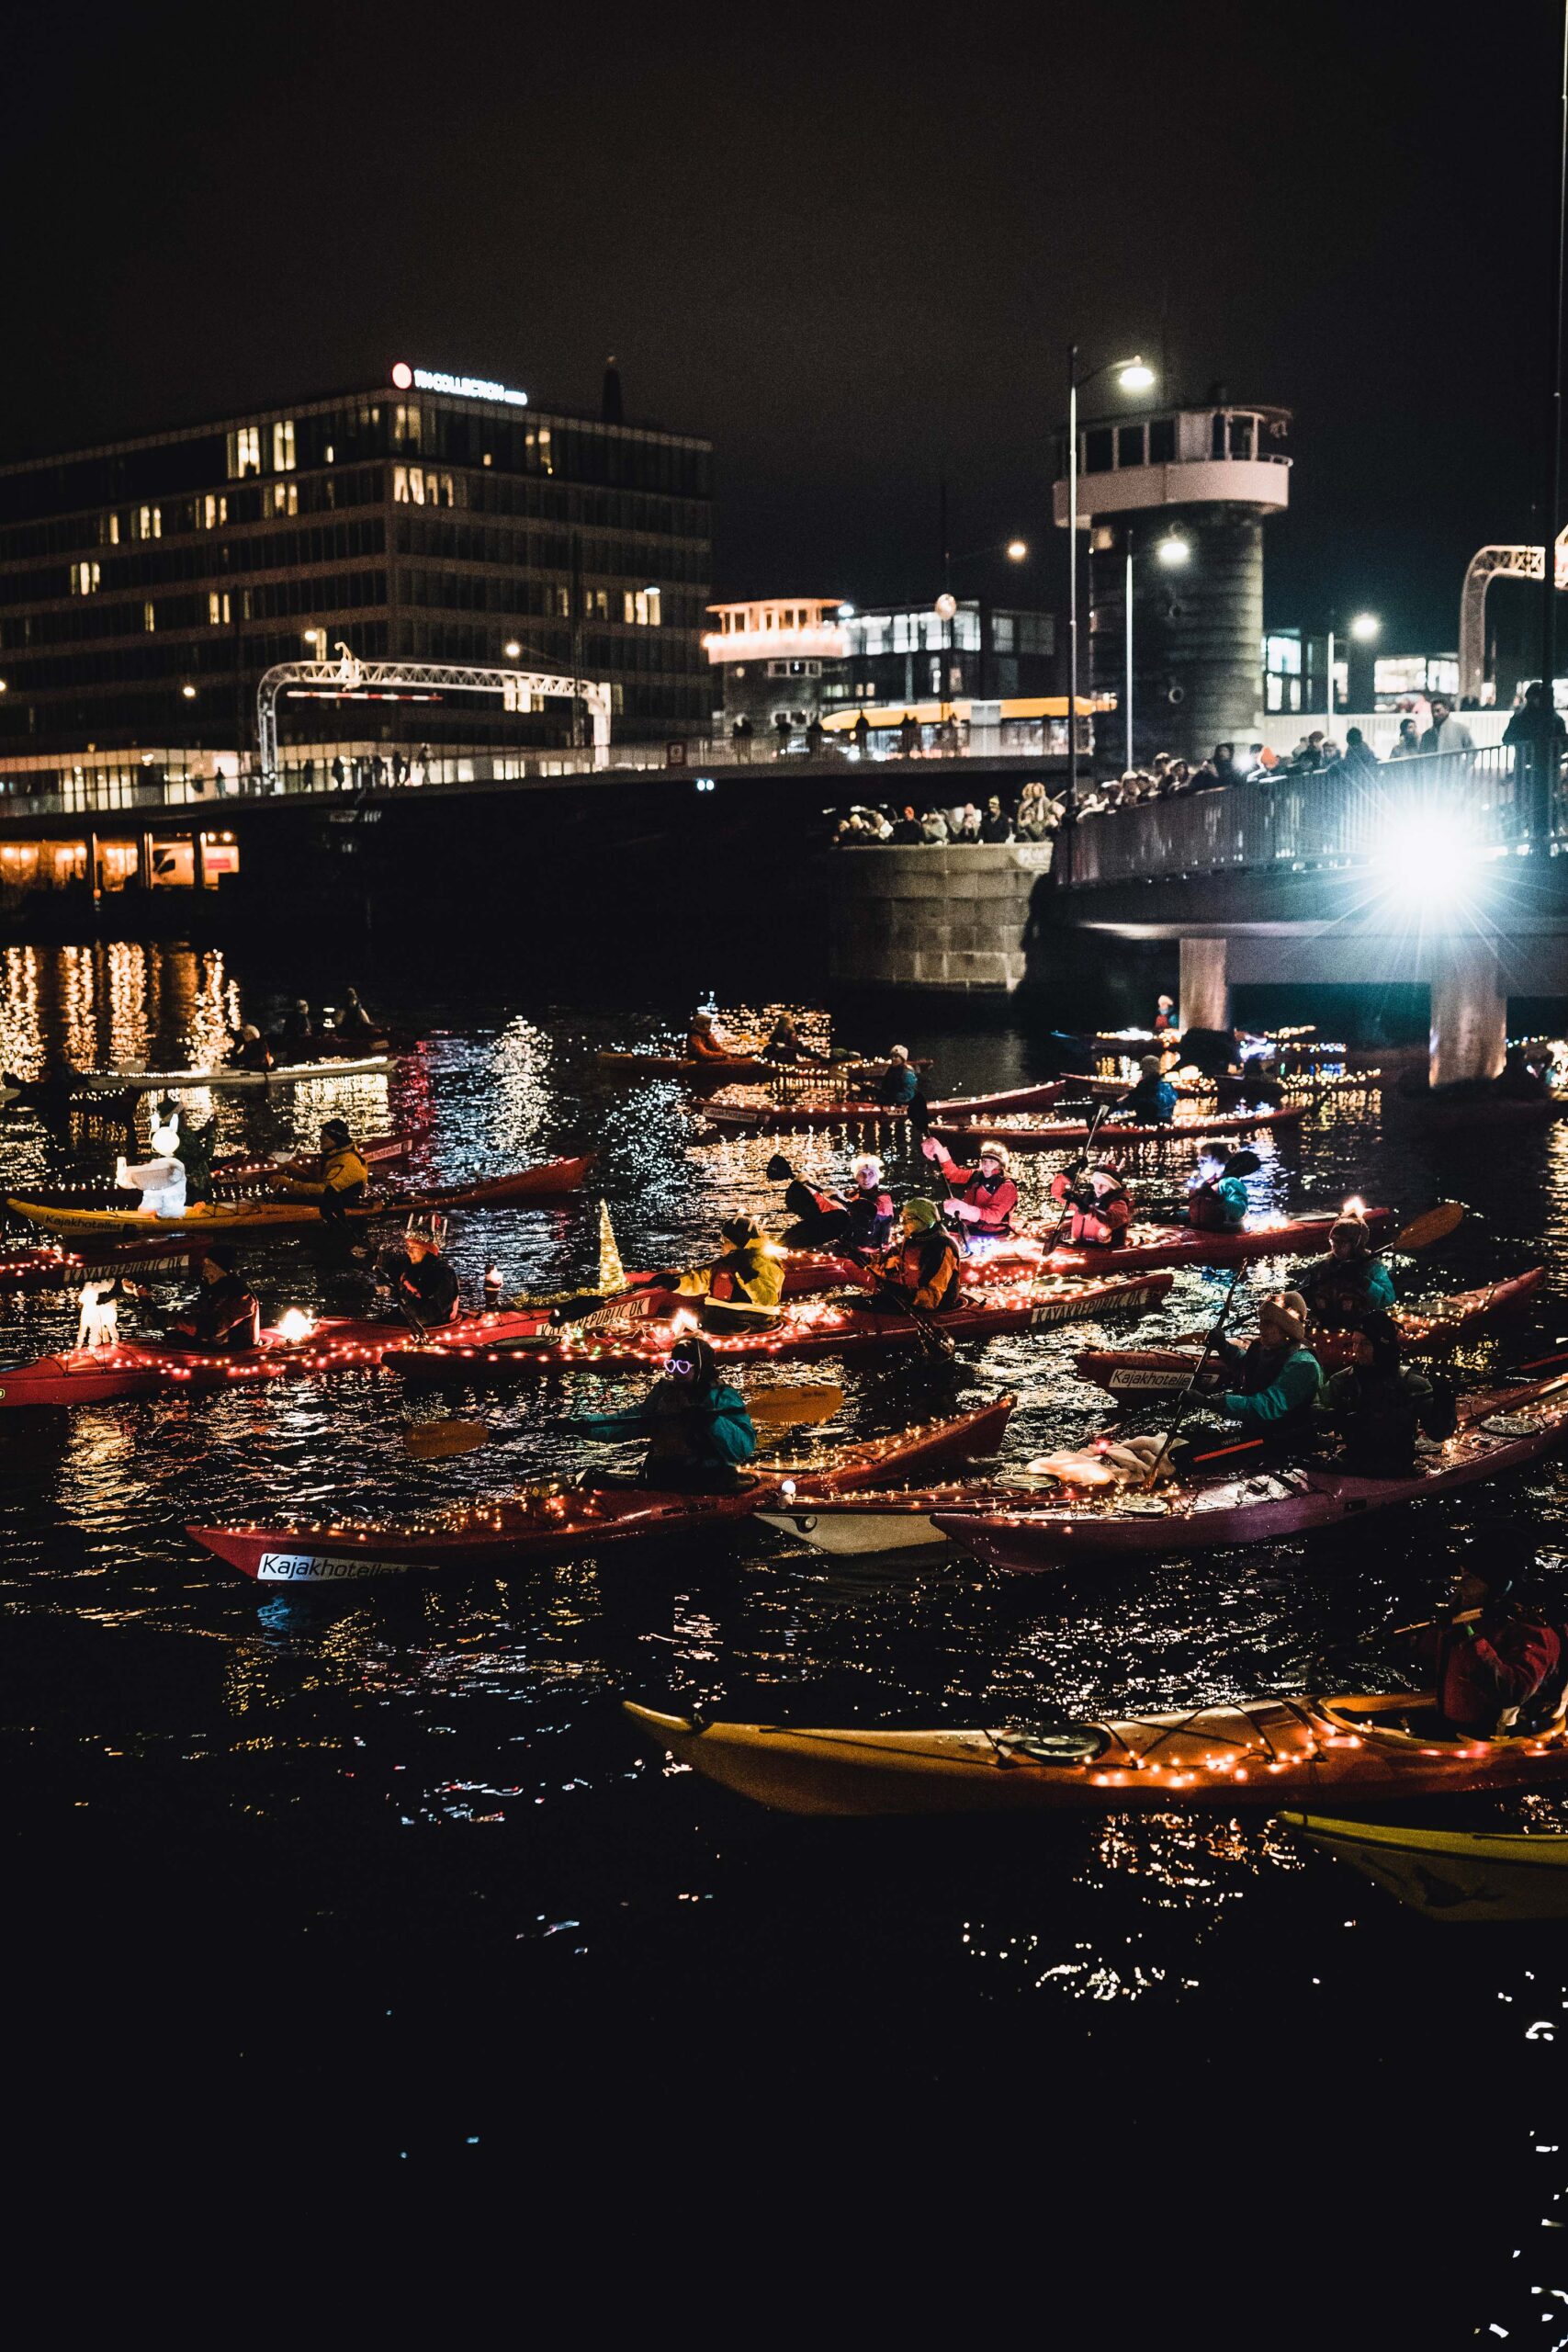
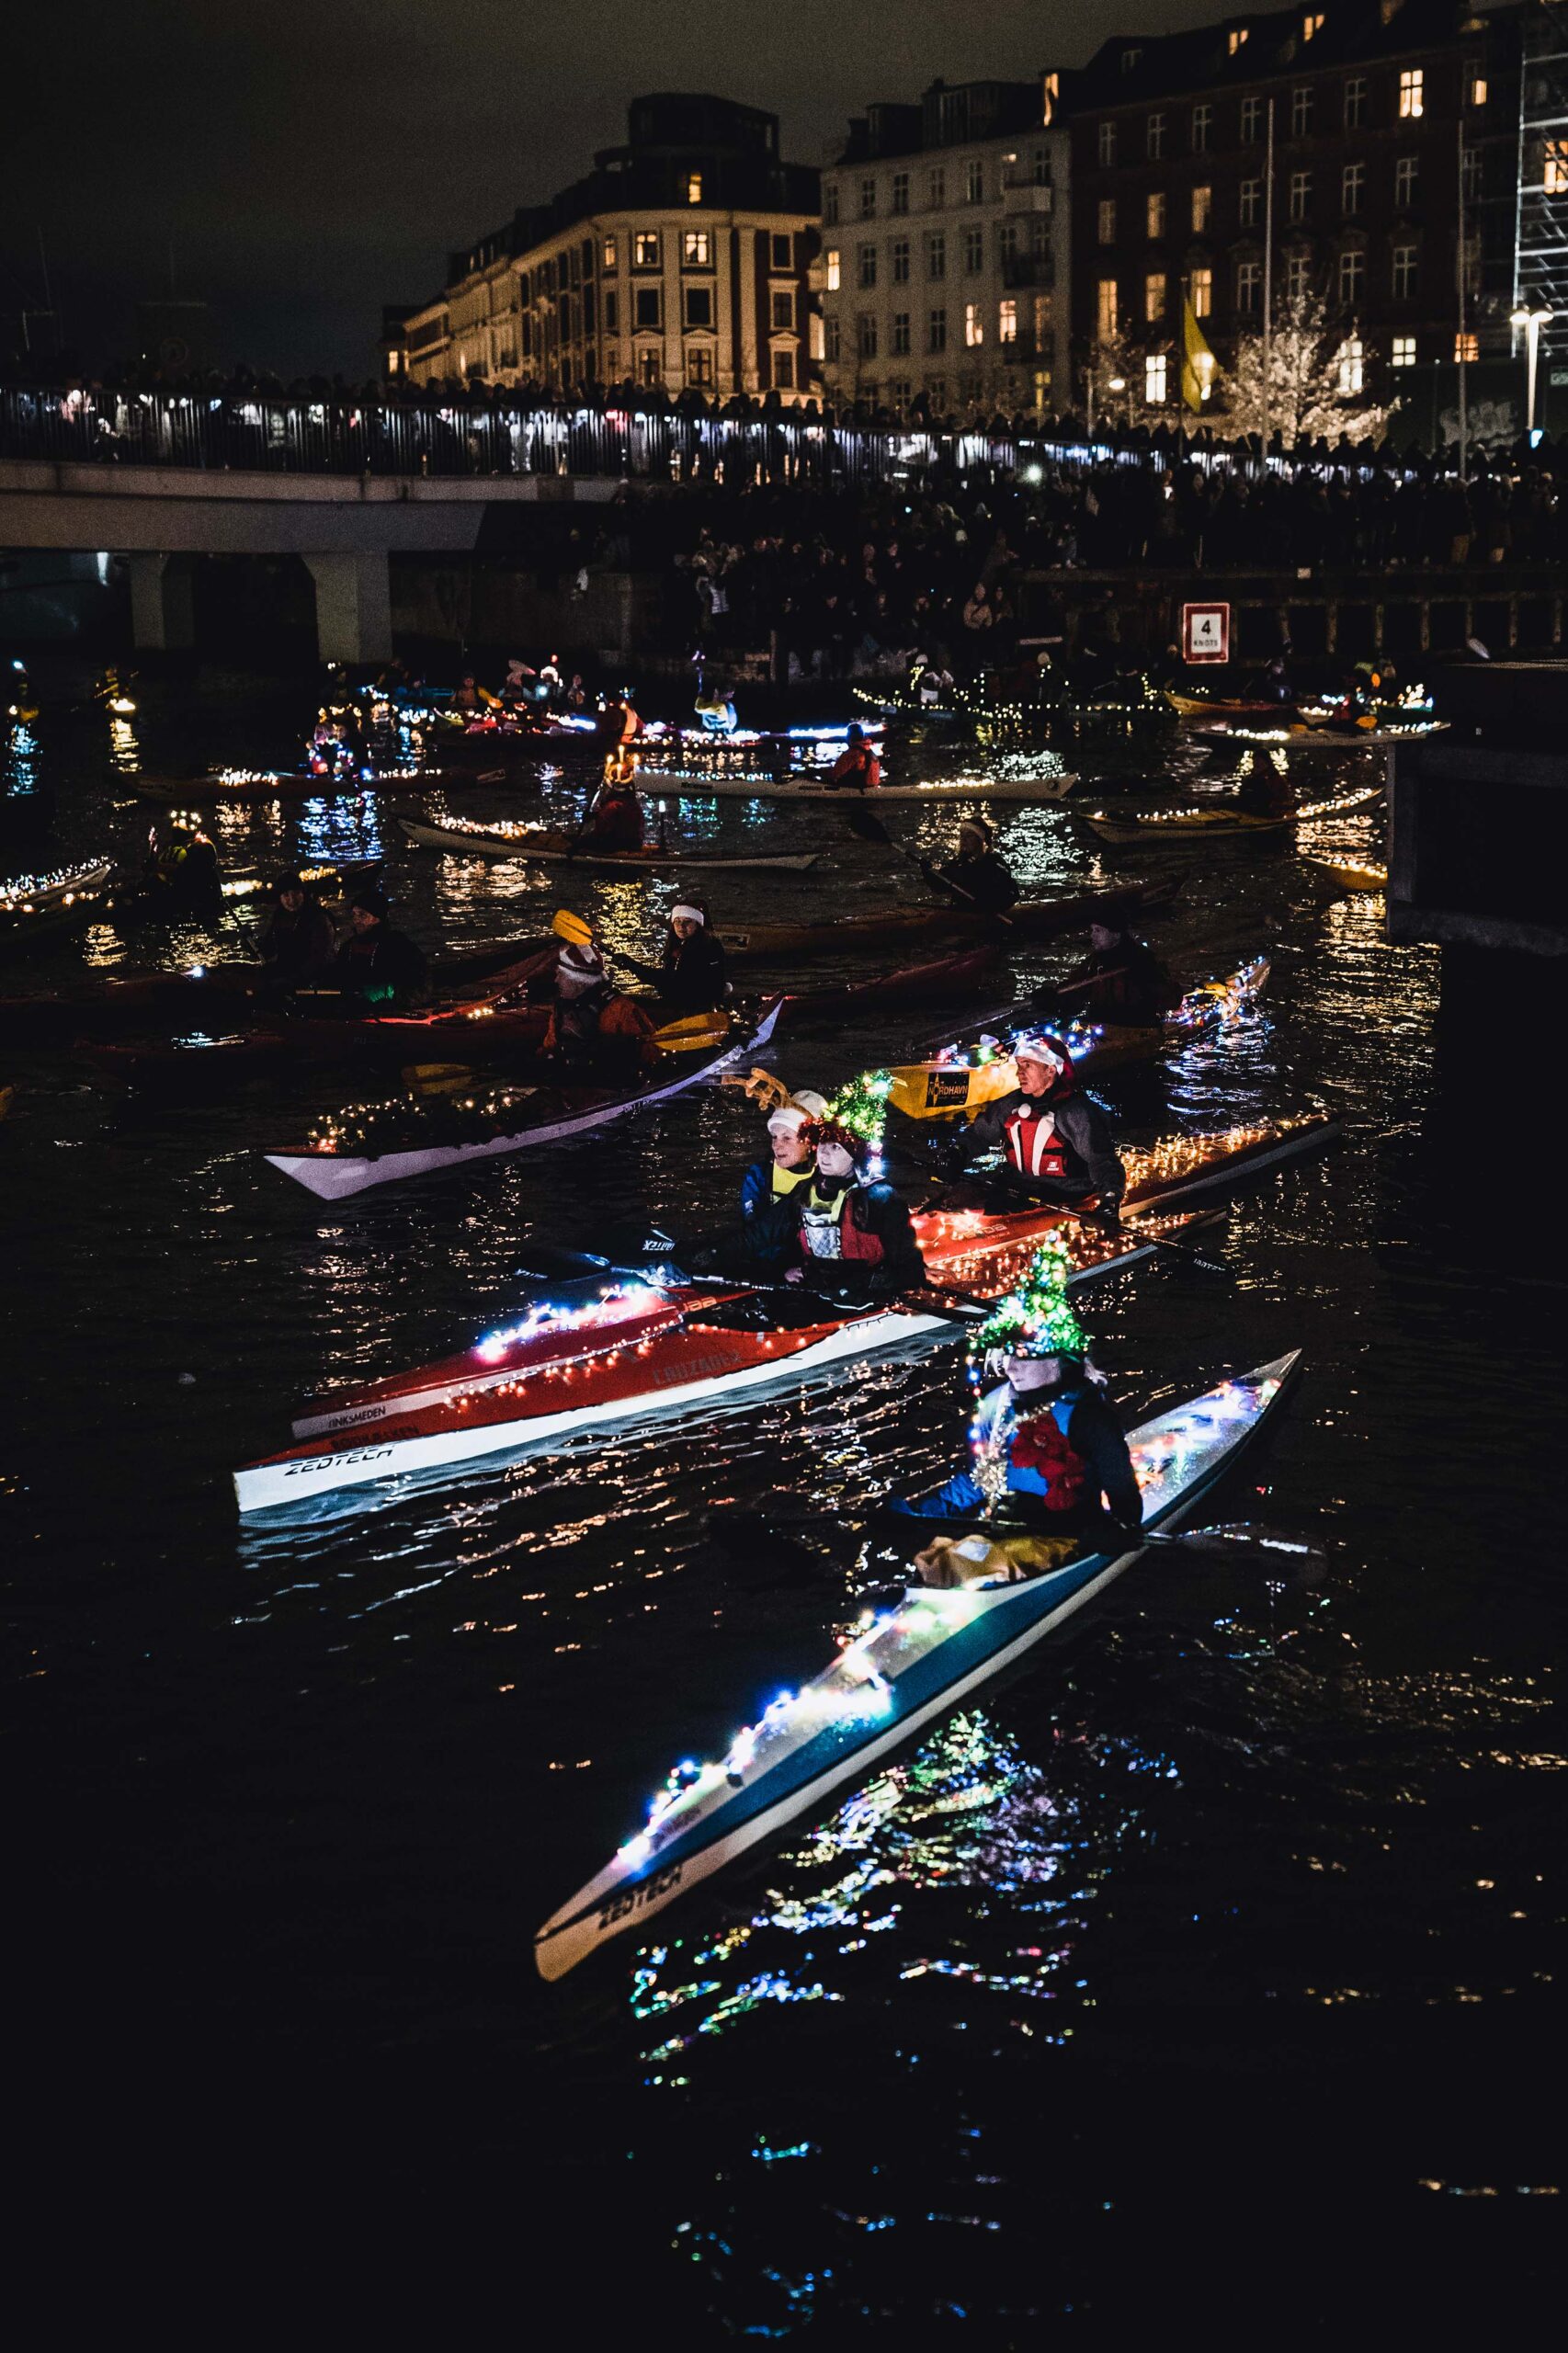
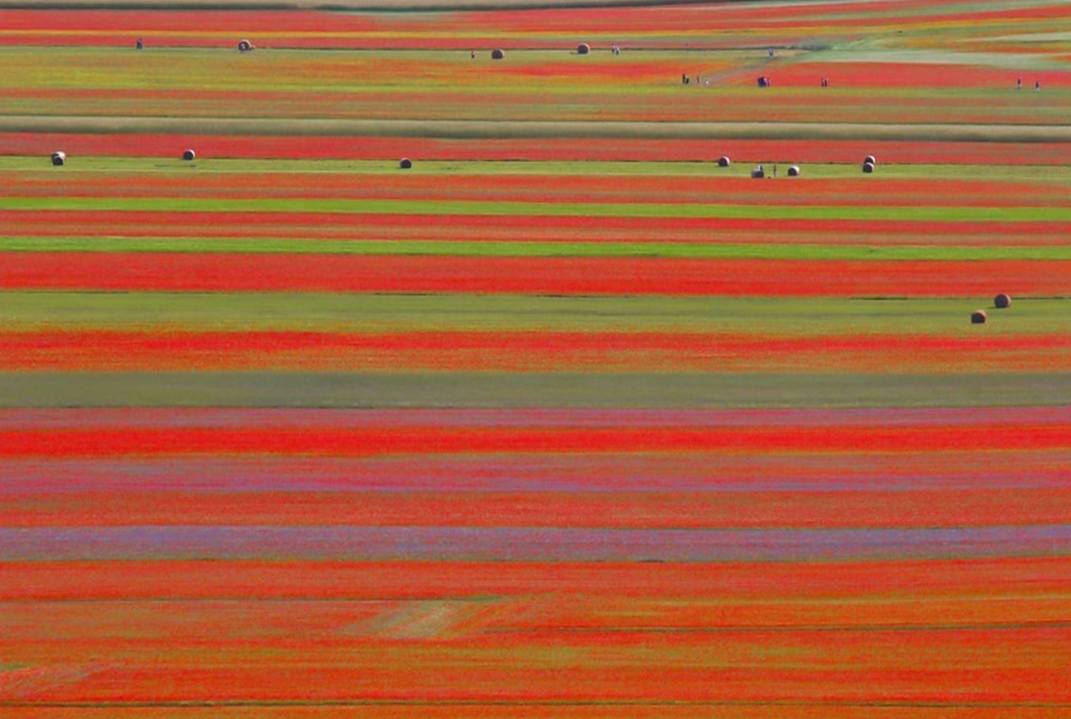
The series are given by identical elements that repeat themselves, such as the columns of a portico or of a church nave, a series of barrels in a cellar, the trunks of trees in a wood. In this case the contrasts of light and shadow can help you strengthen the series.
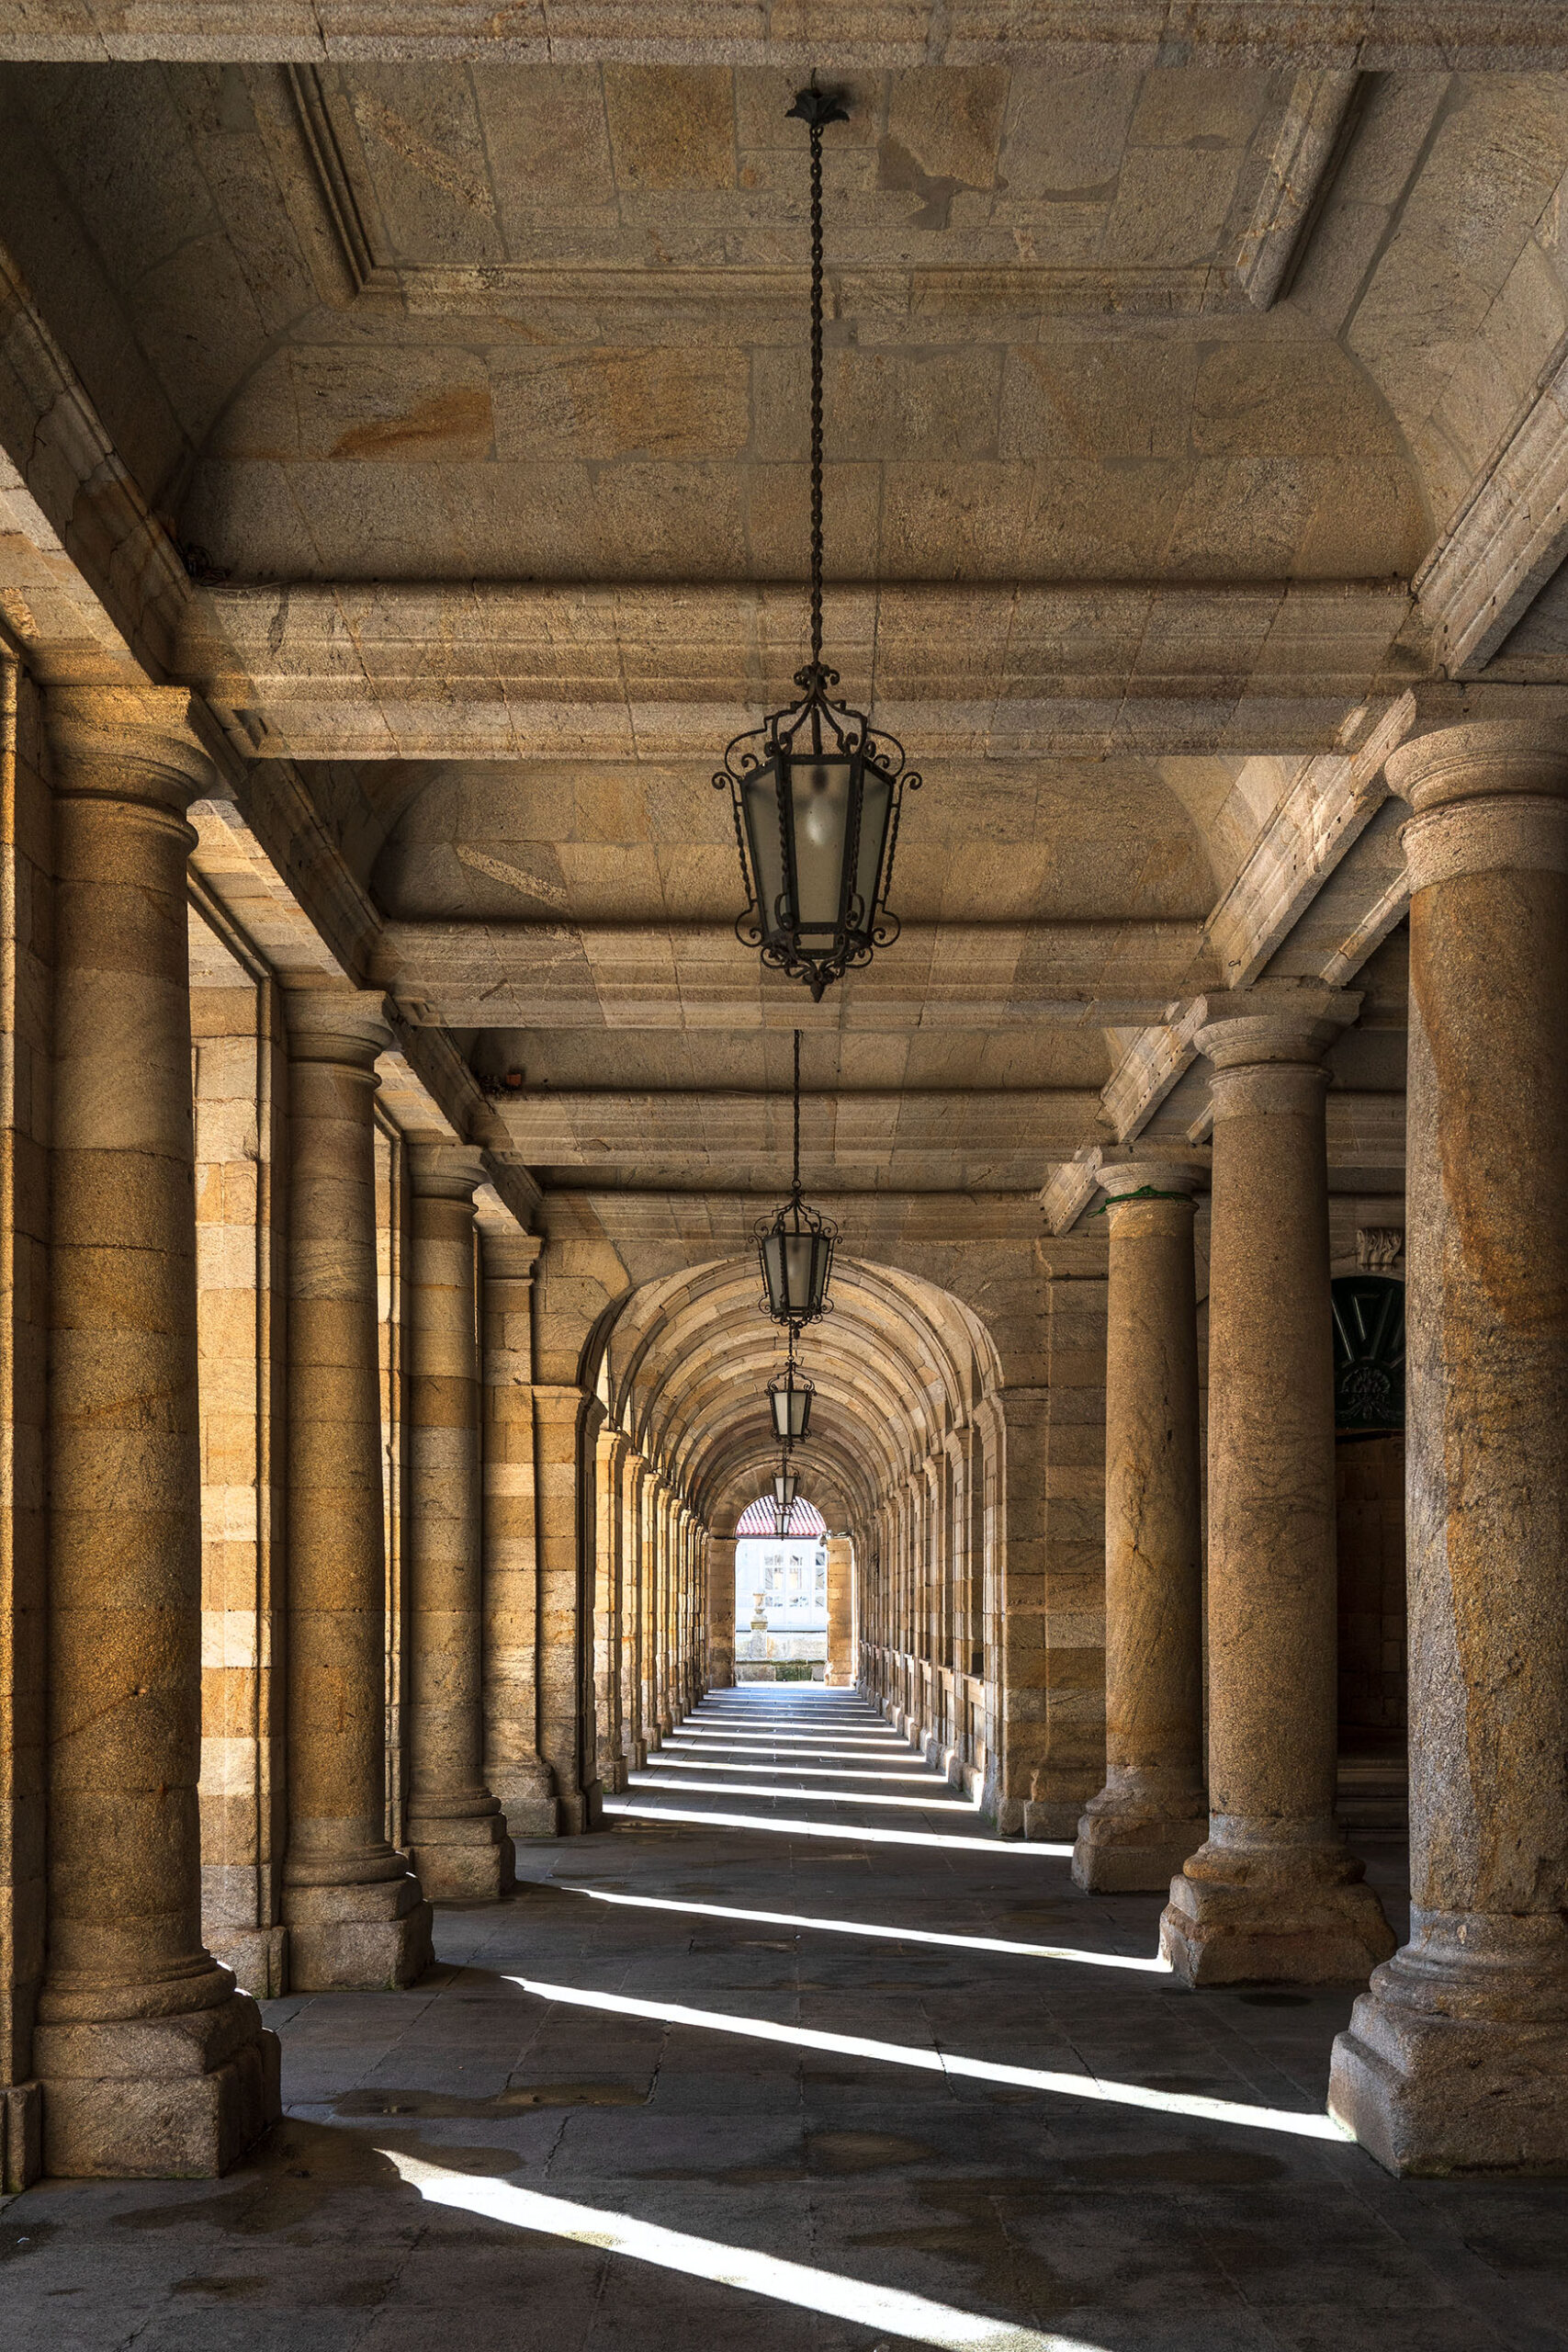
Ph: @giadaantonini_photography 
Ph: @giadaantonini_photography 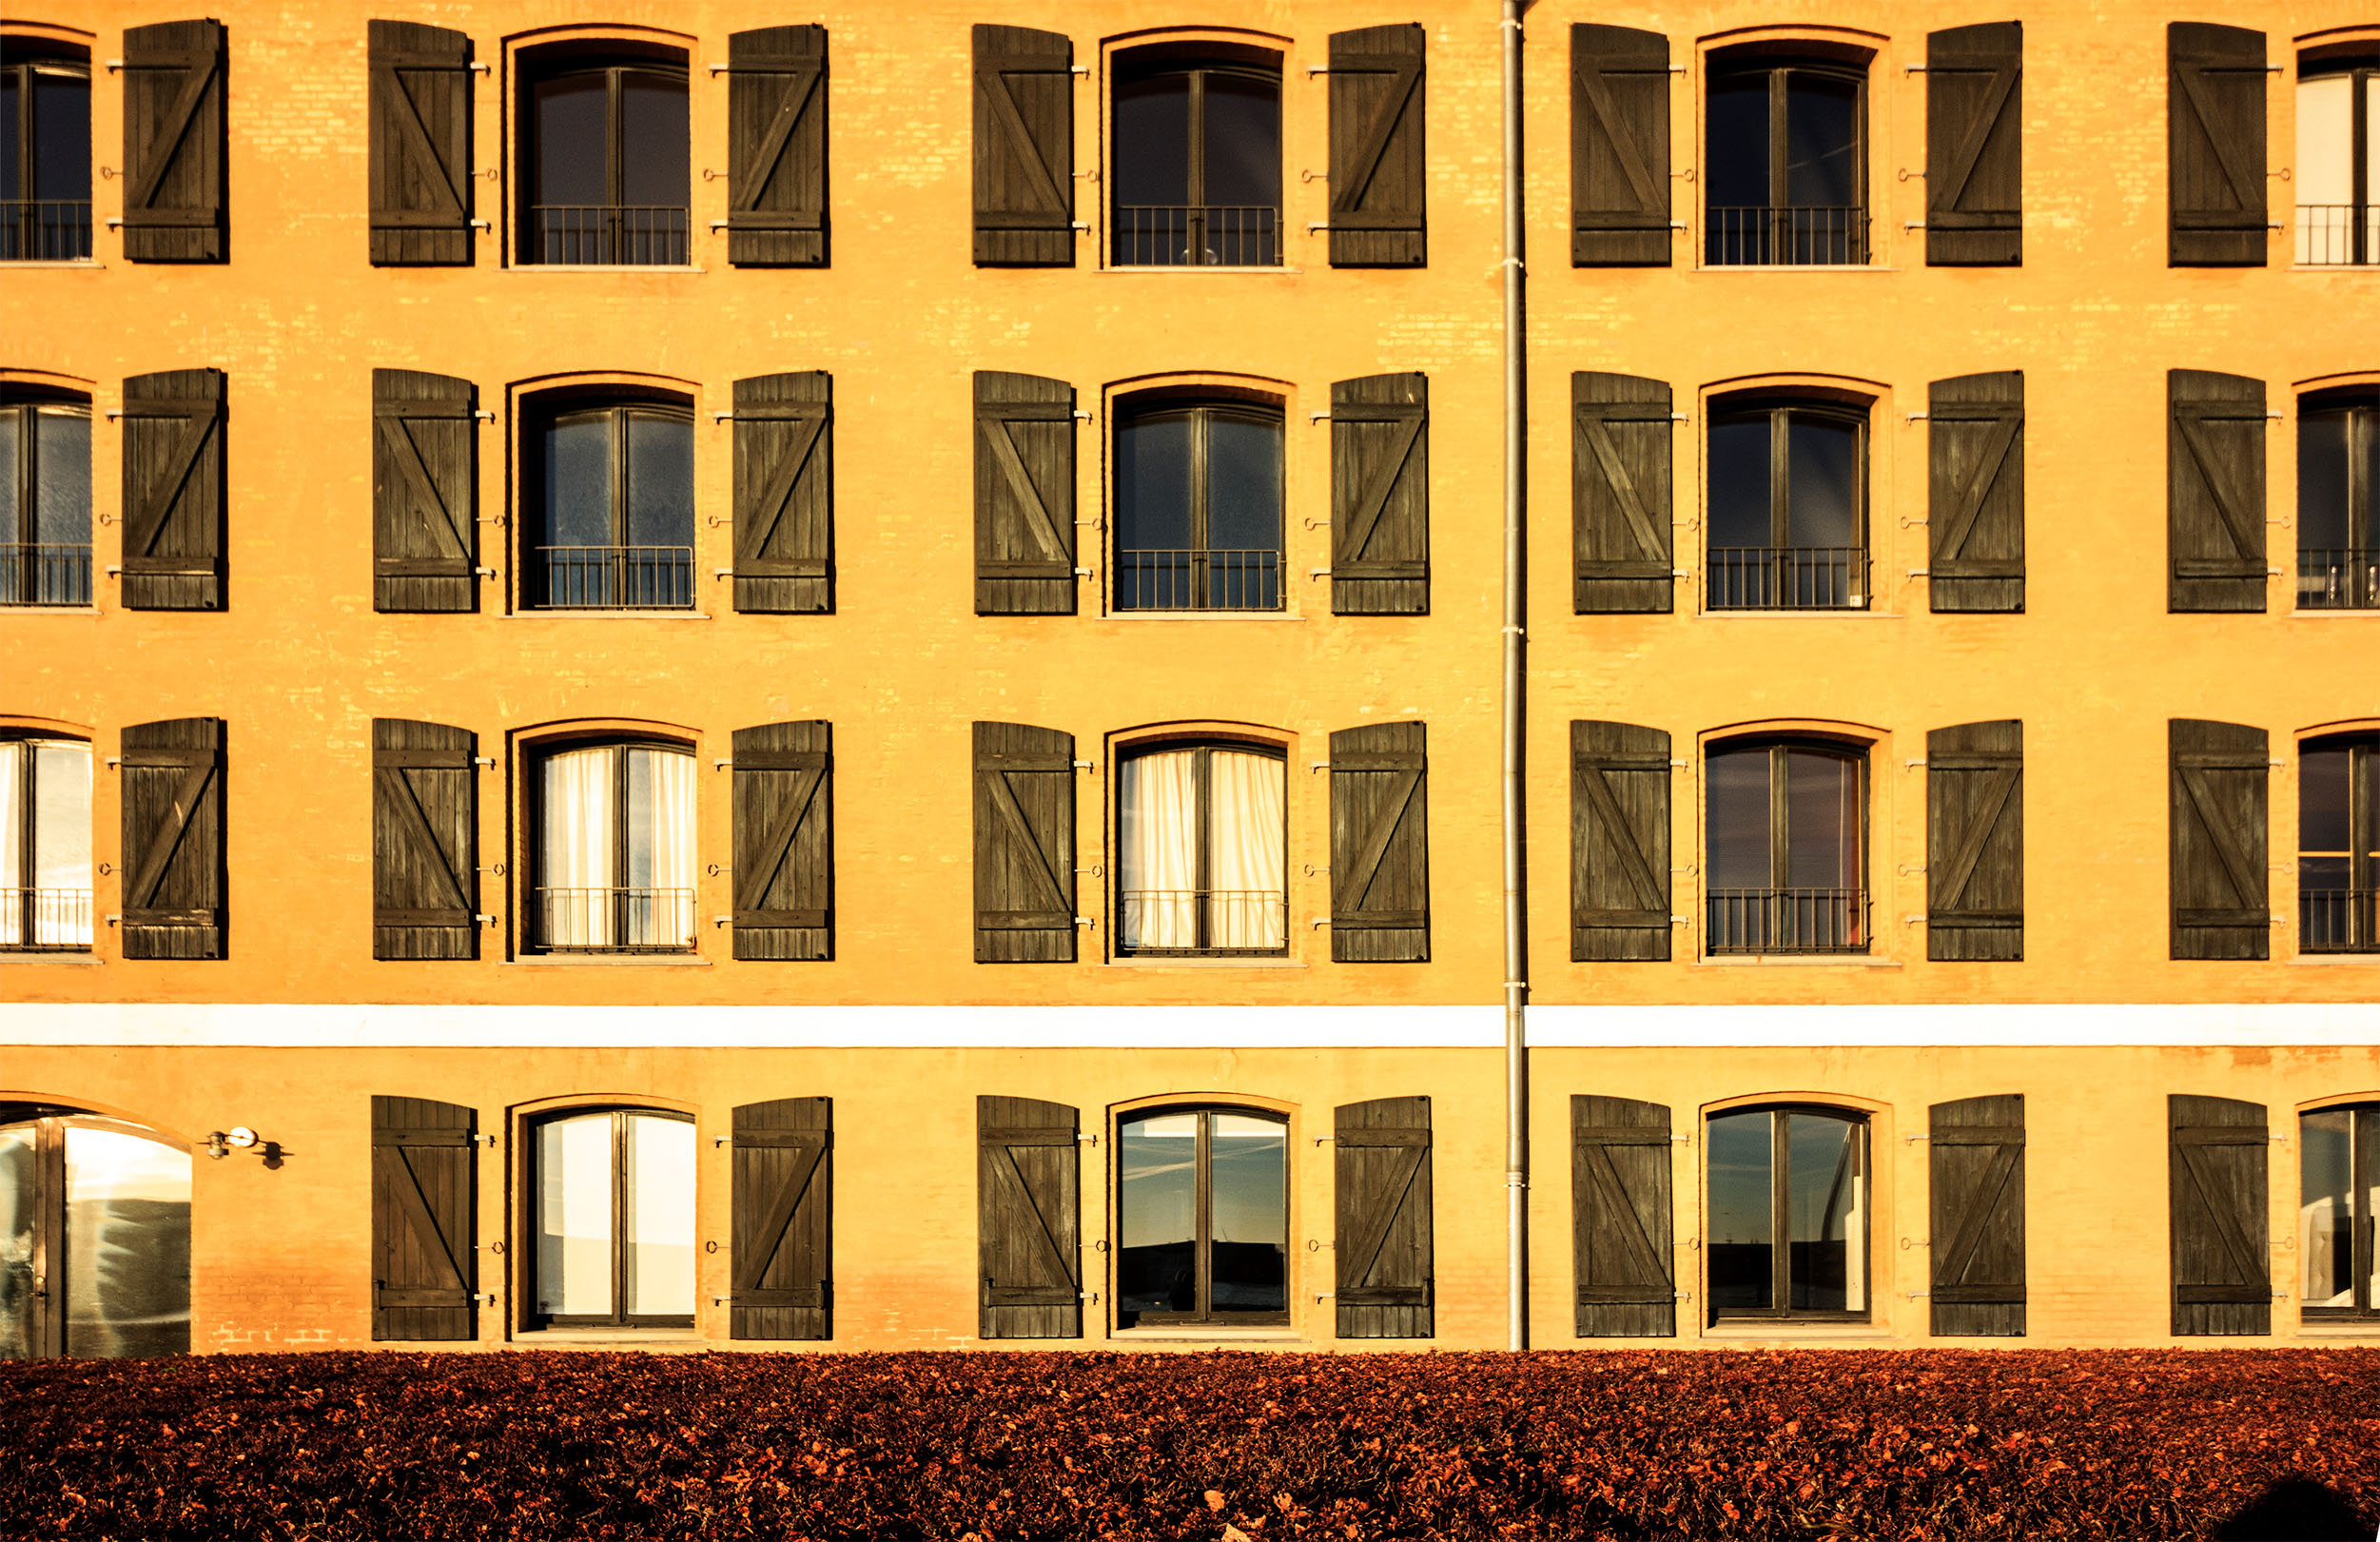
Ph: @giadaantonini_photography 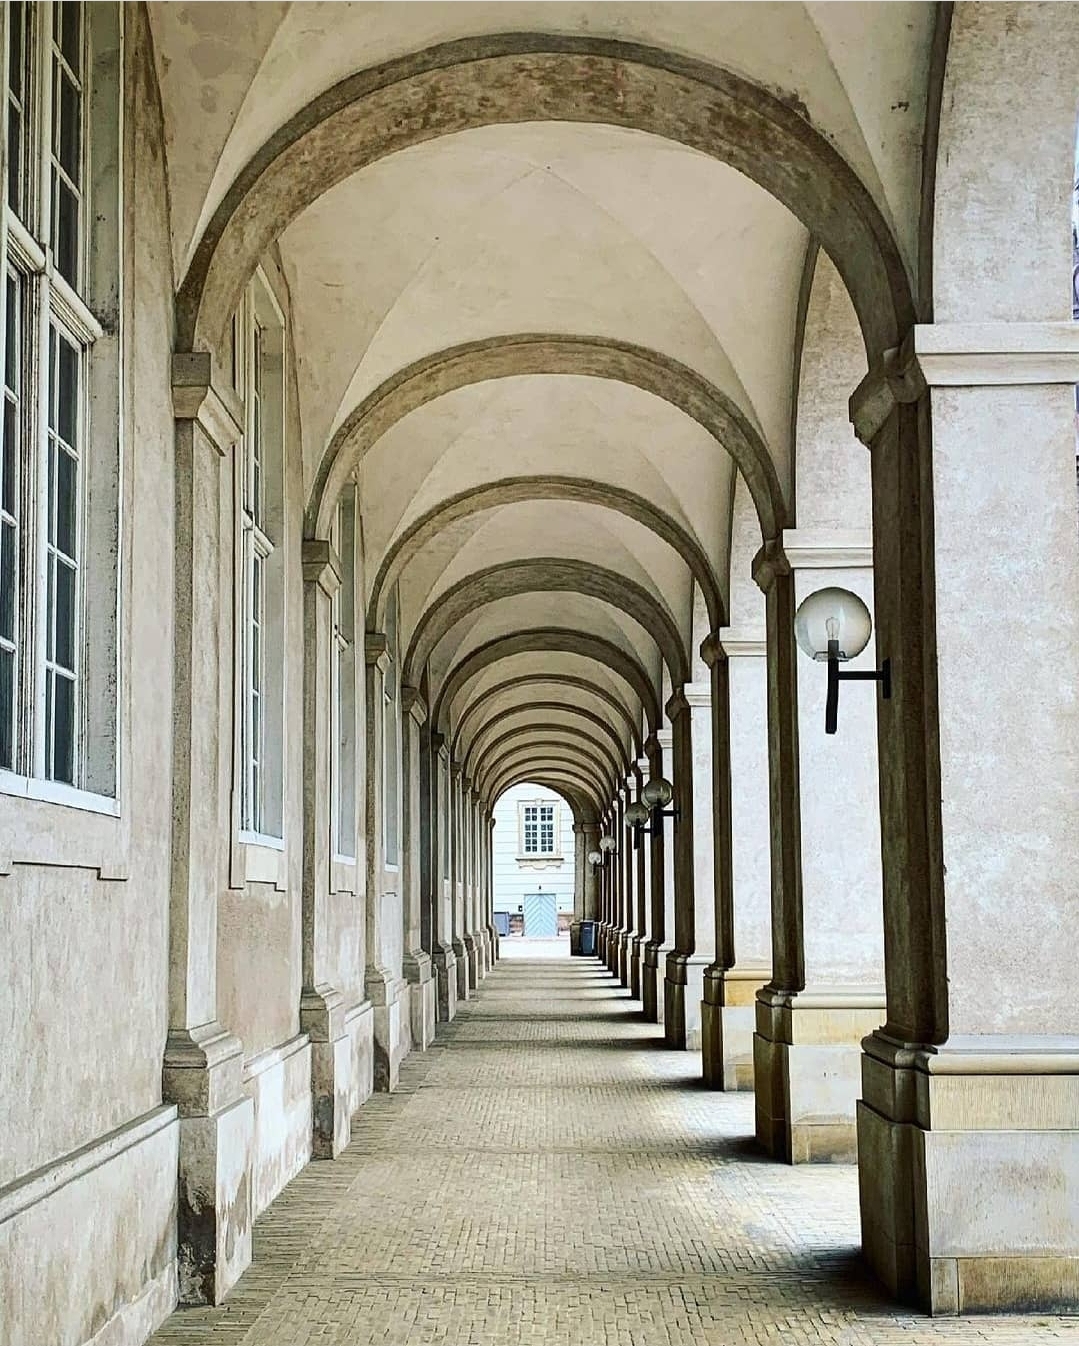
Ph: @hammertouringtheworld
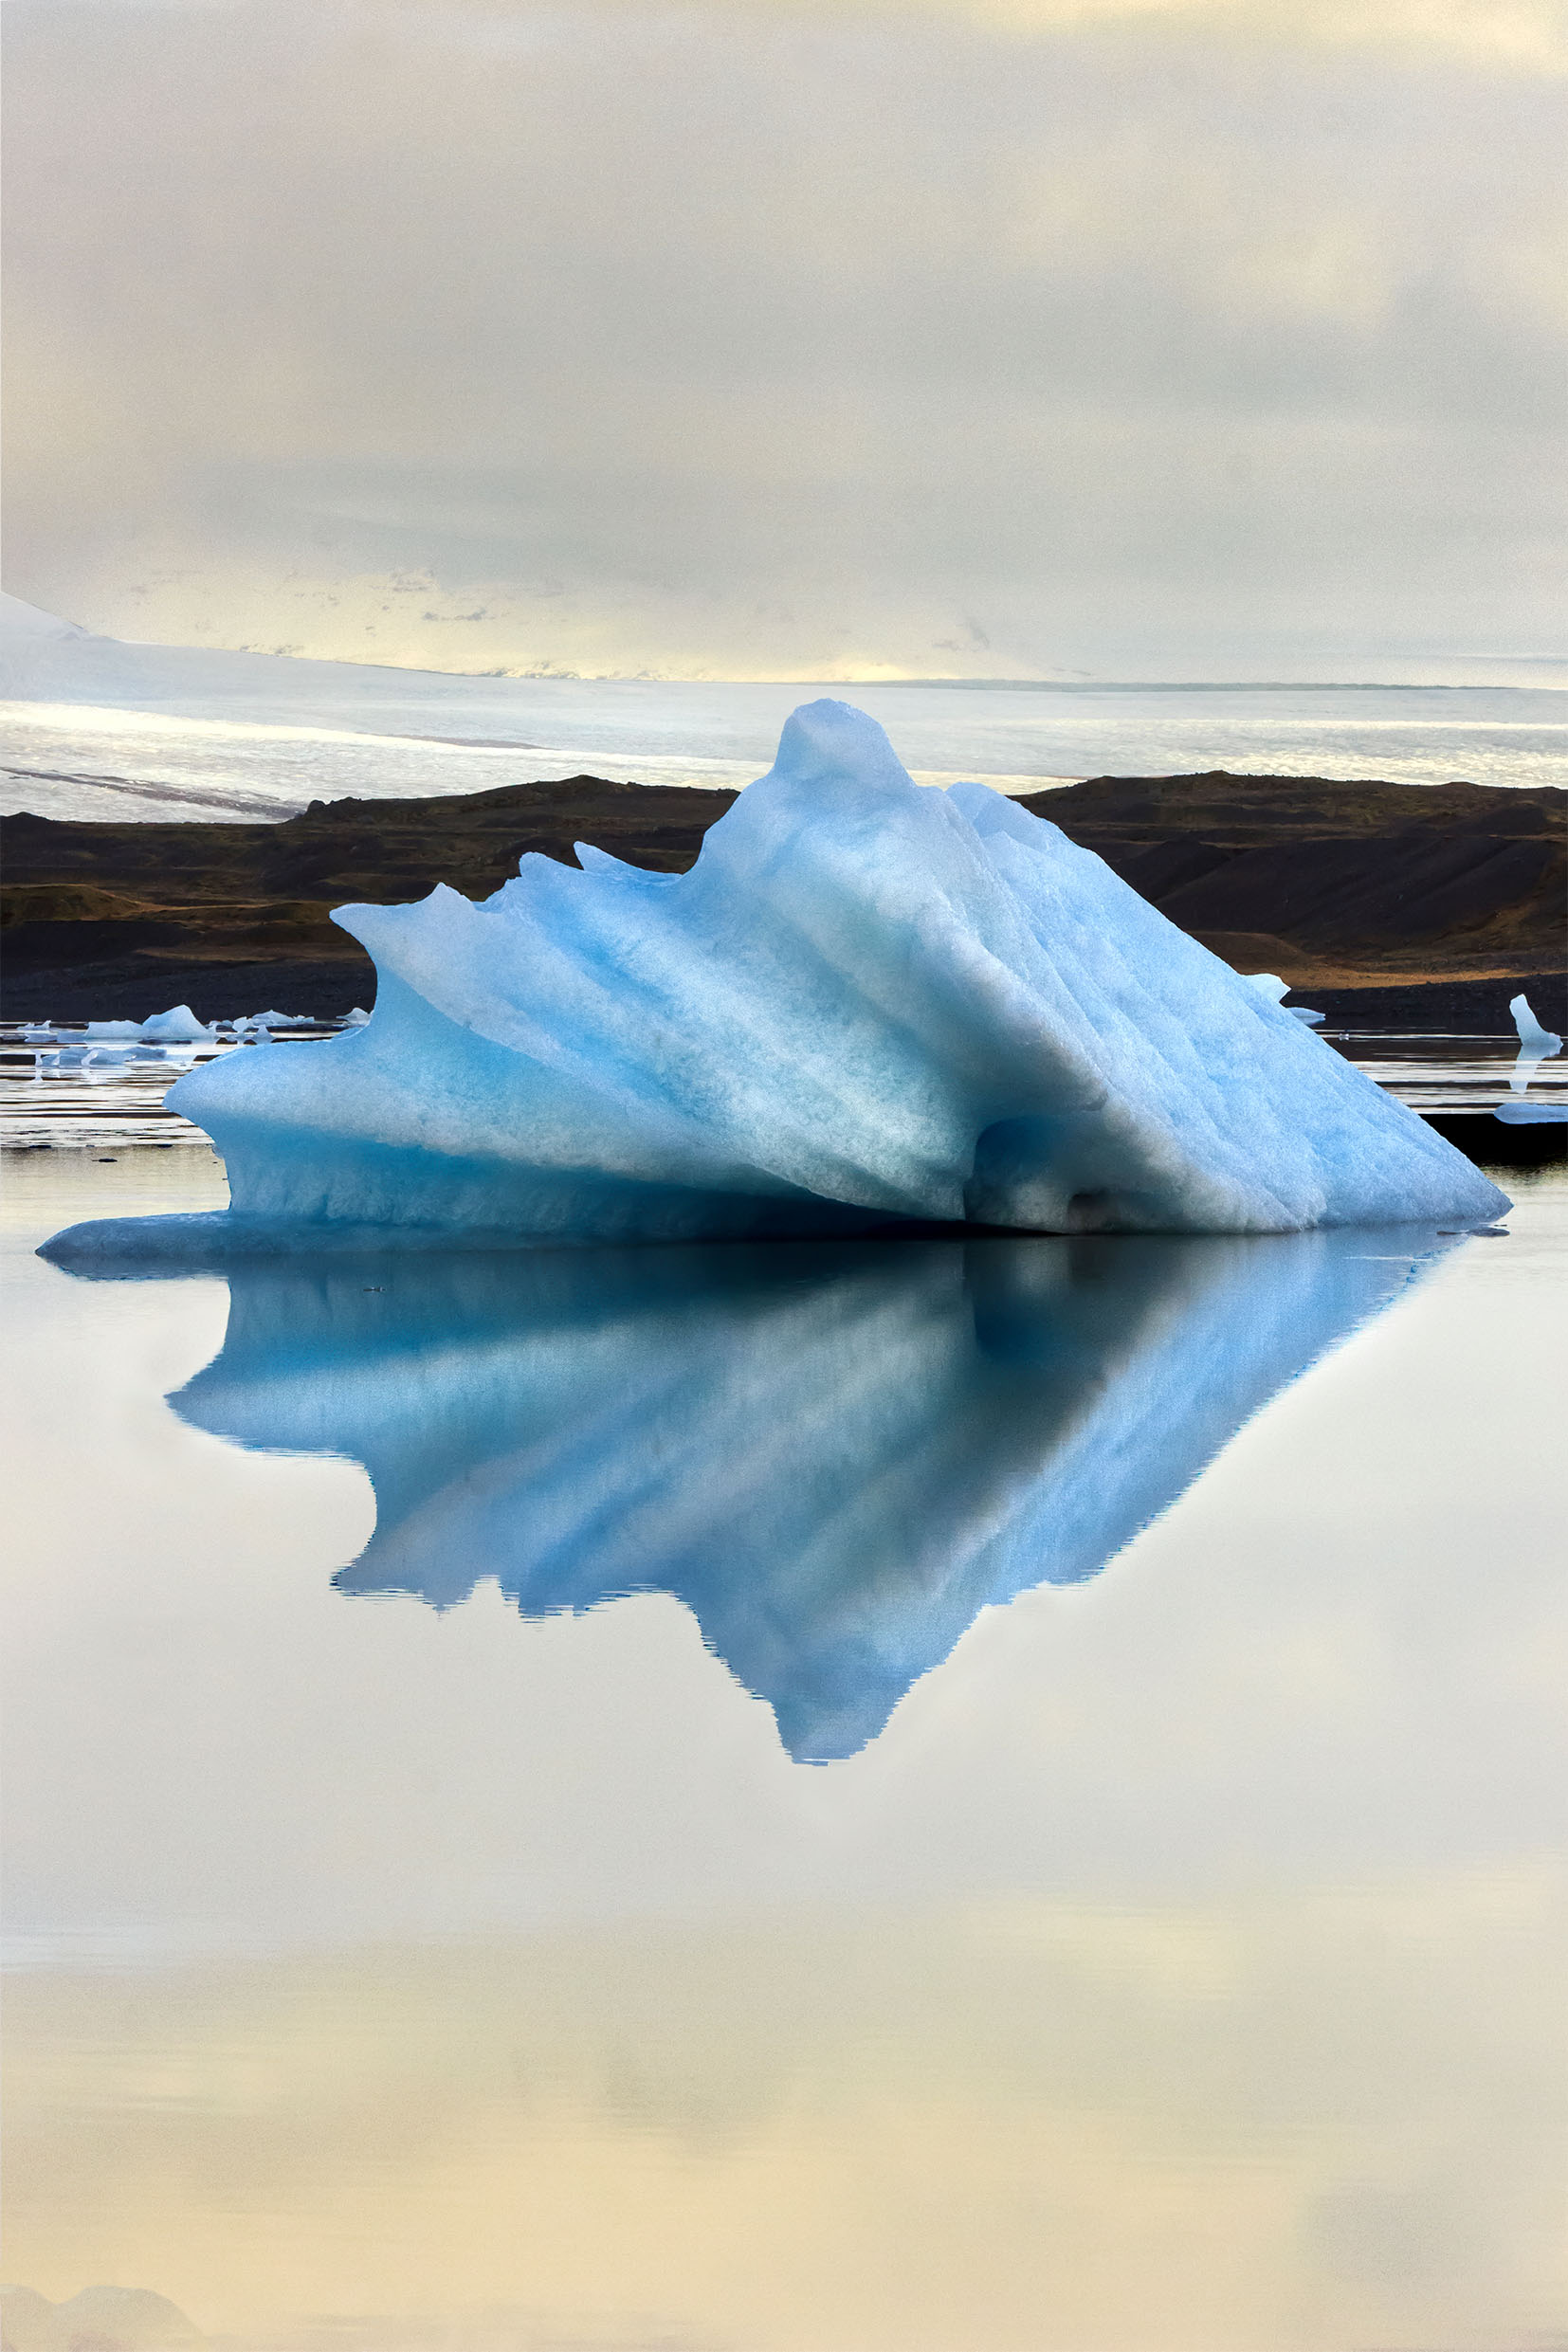
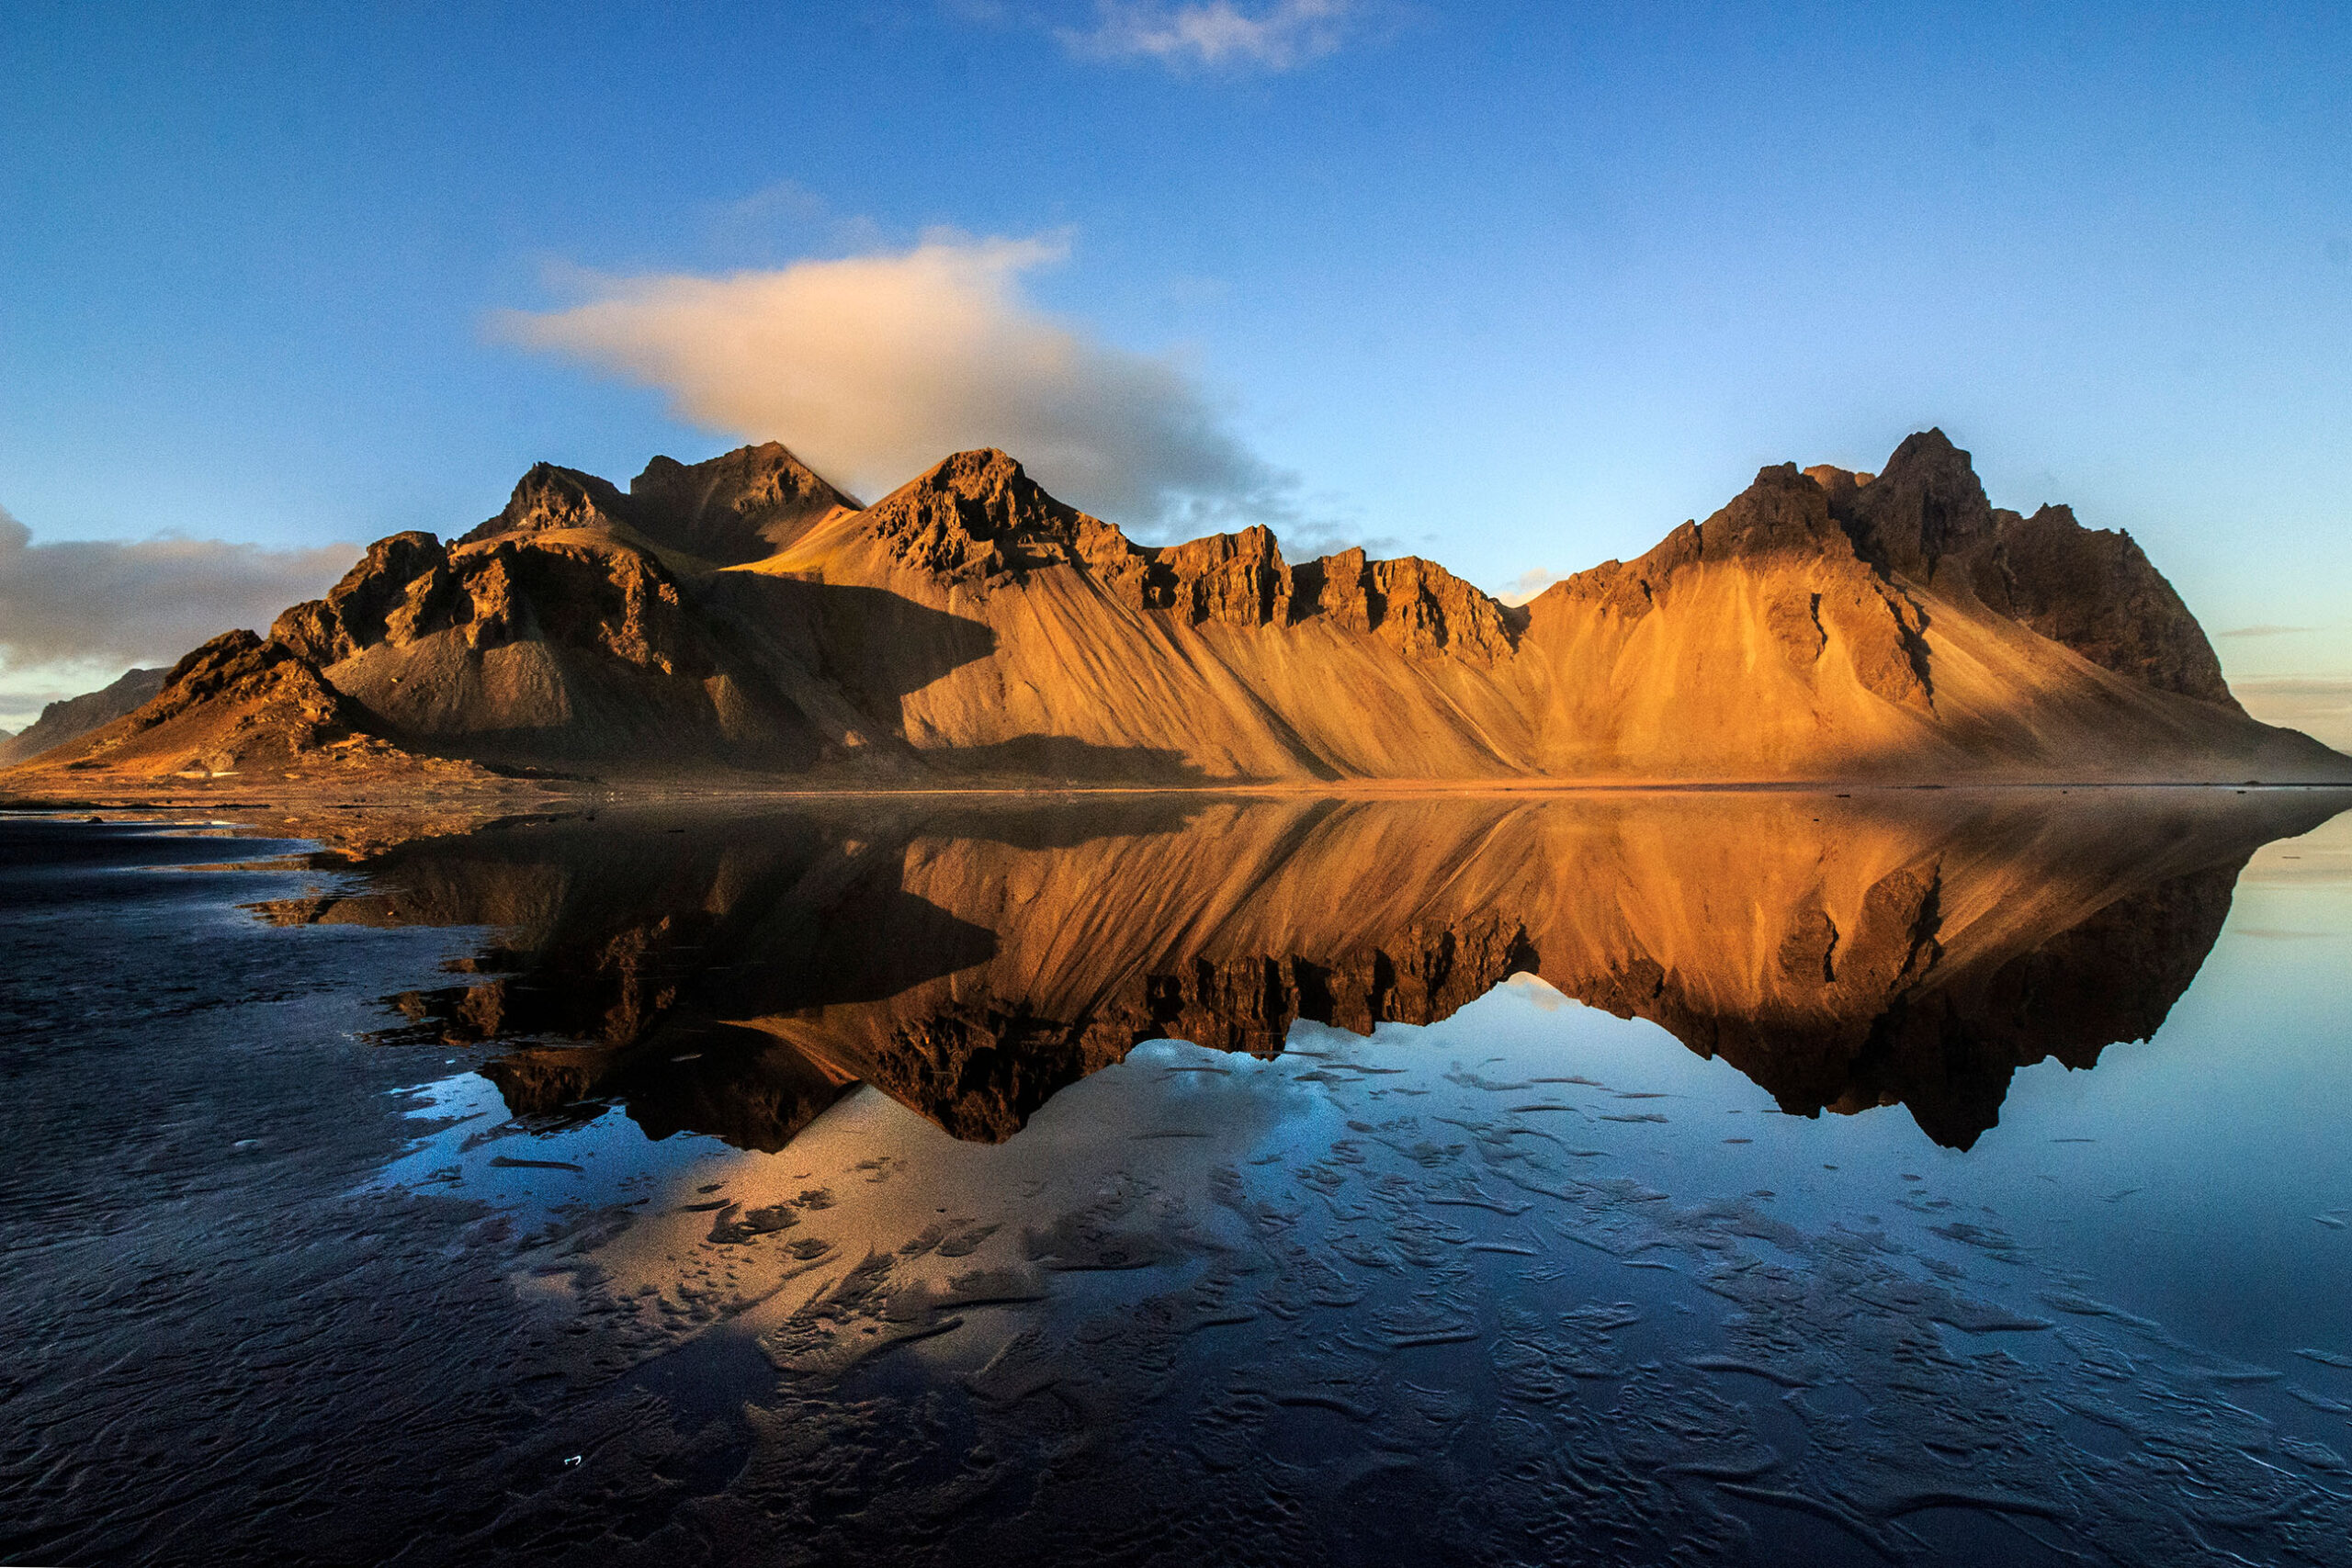
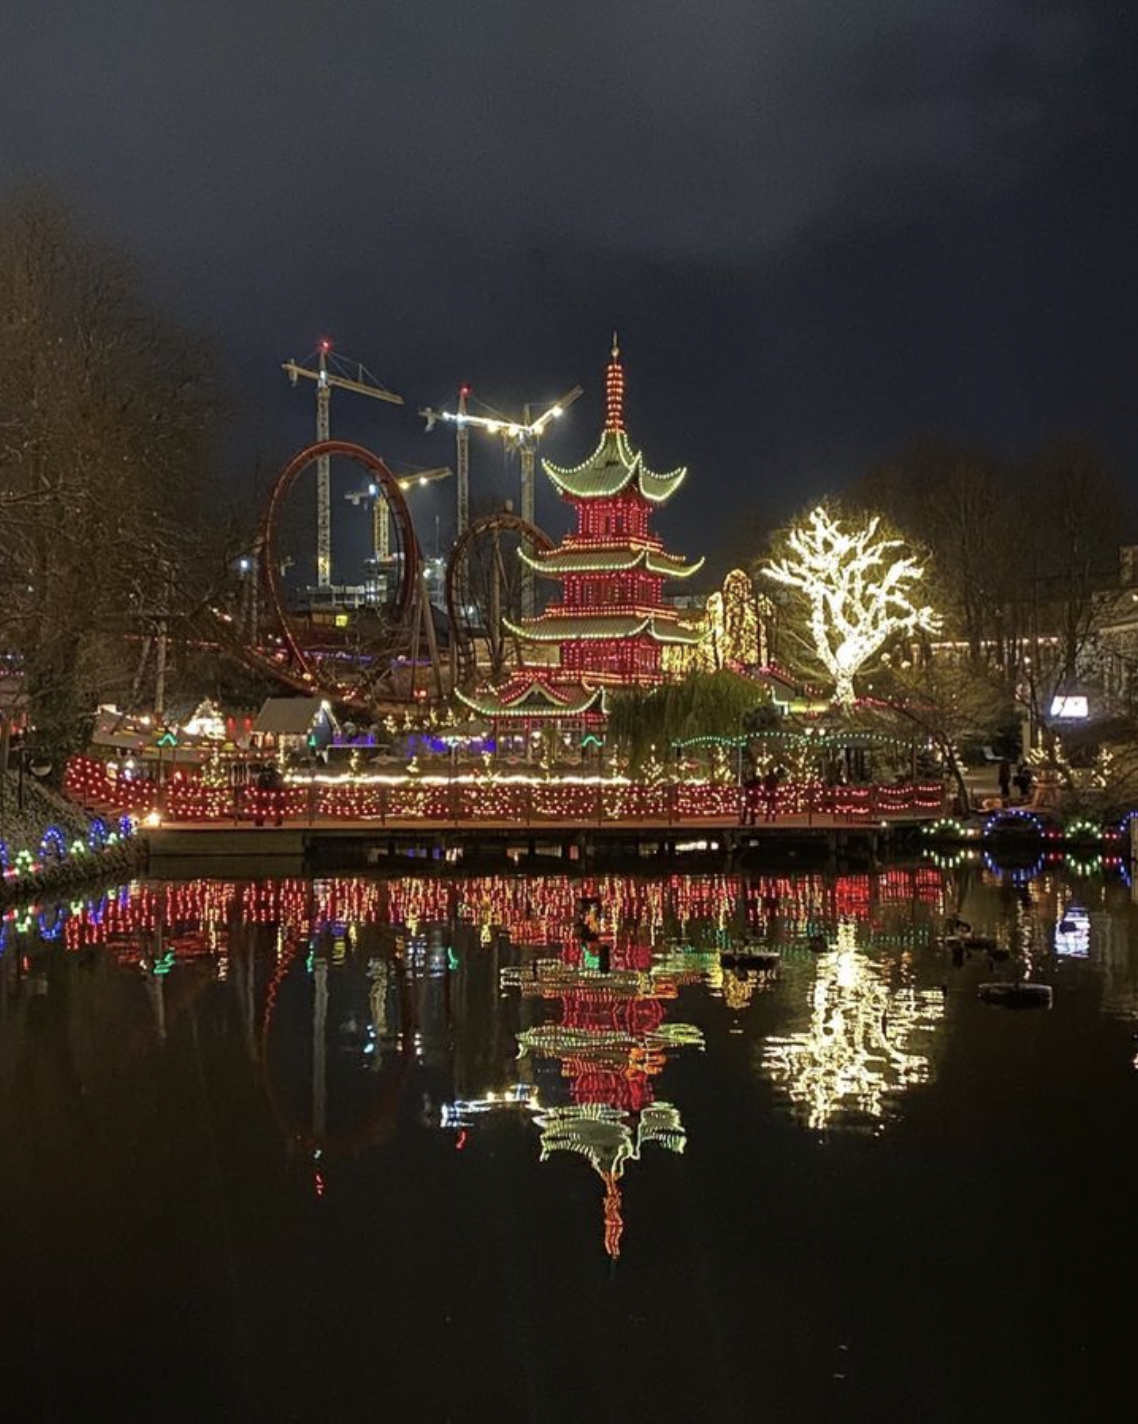
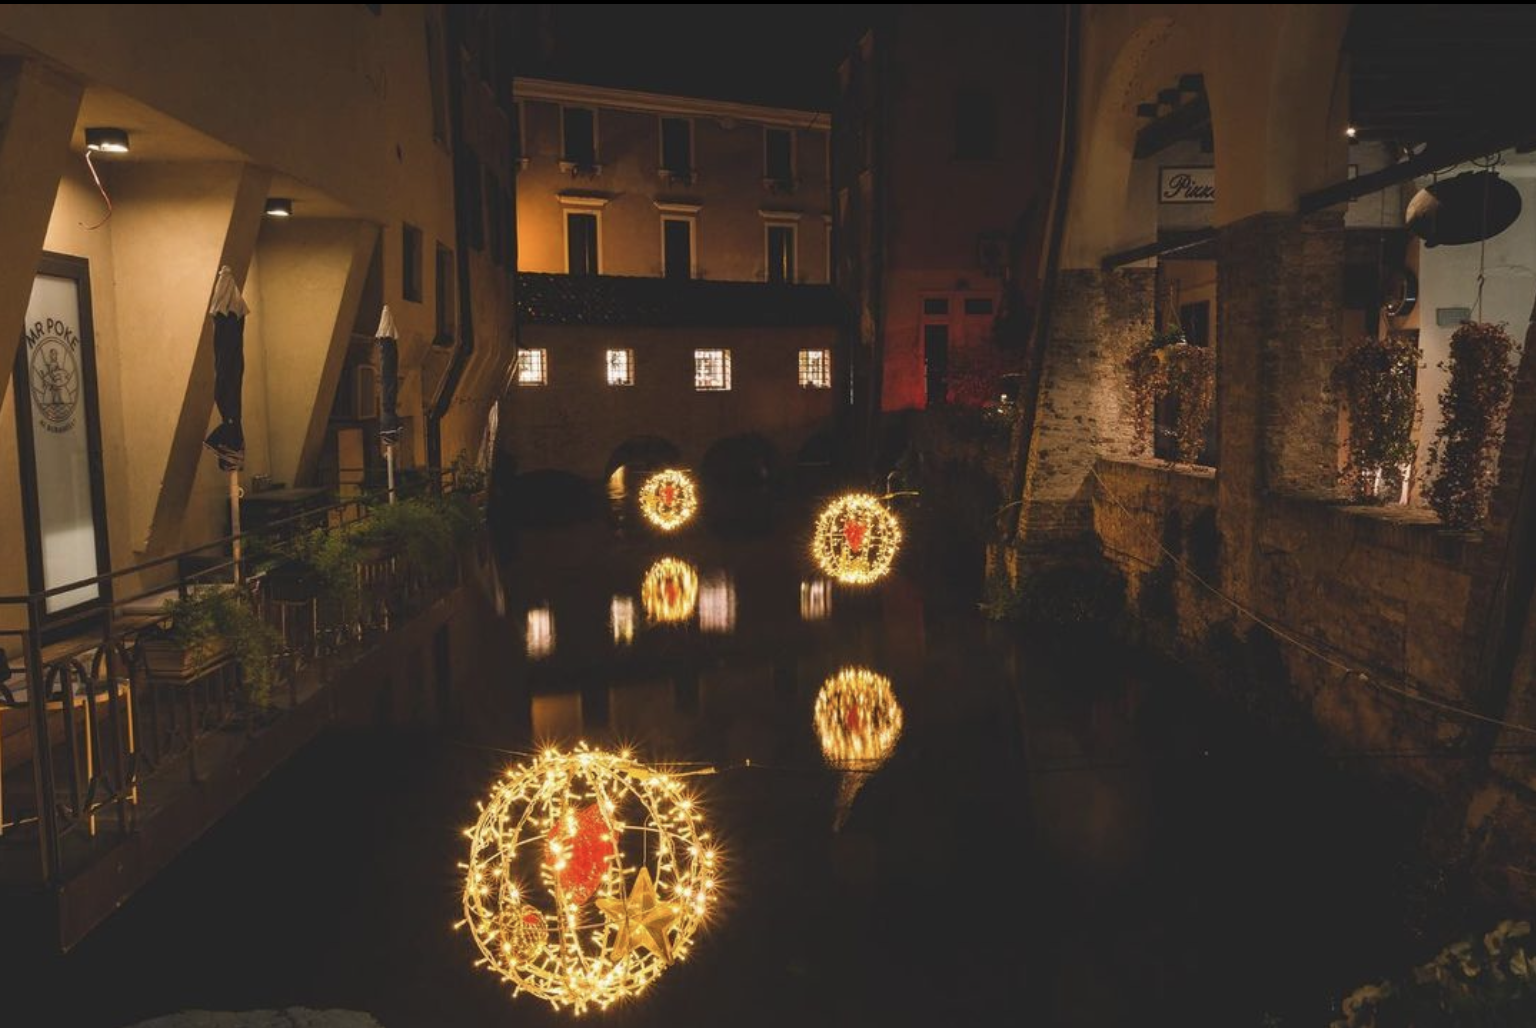
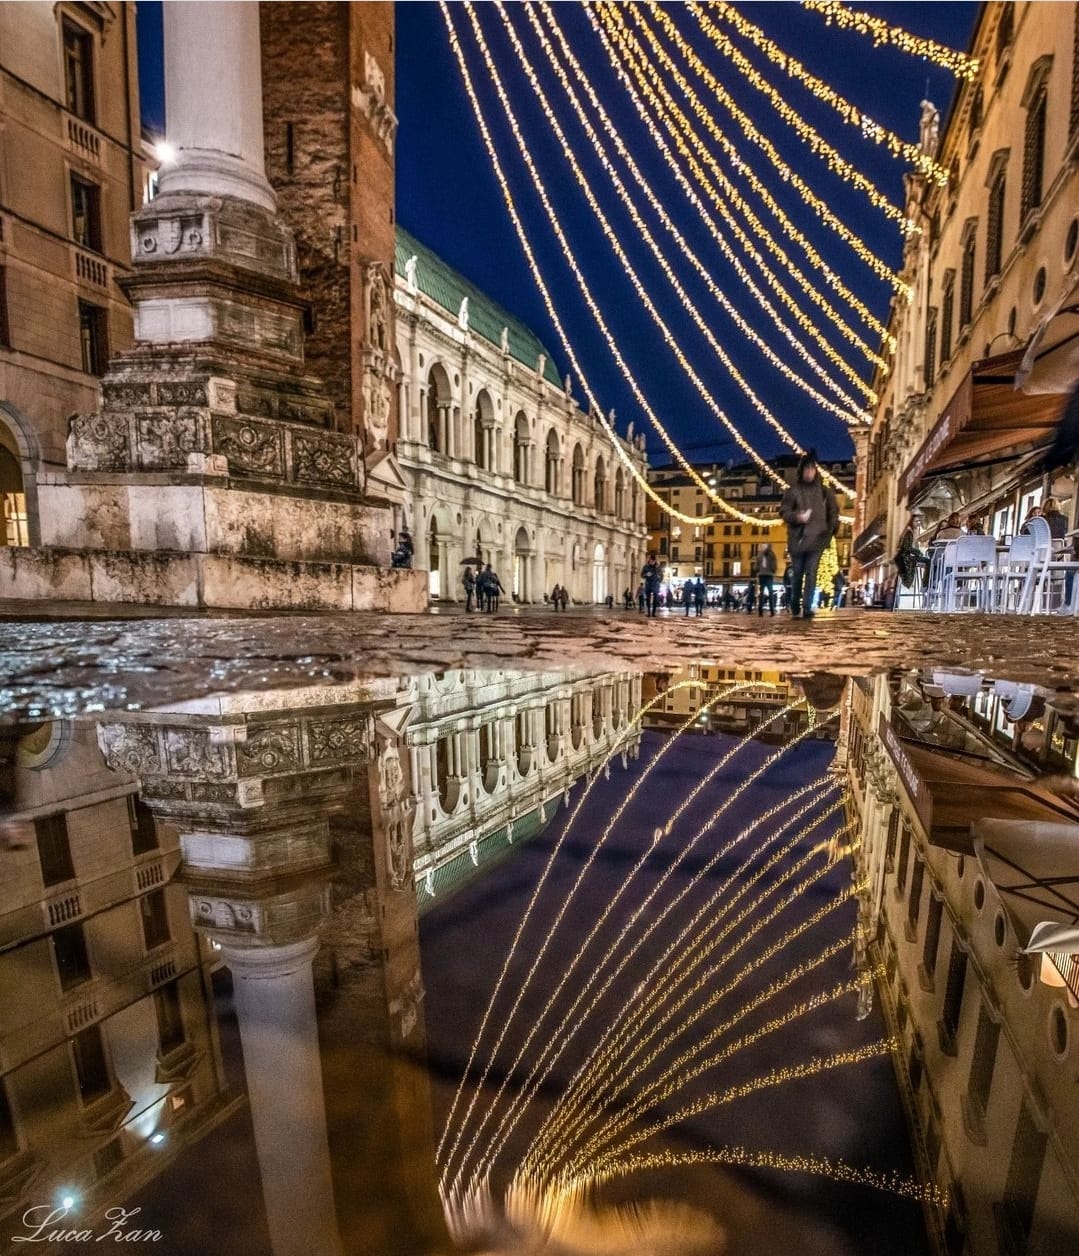
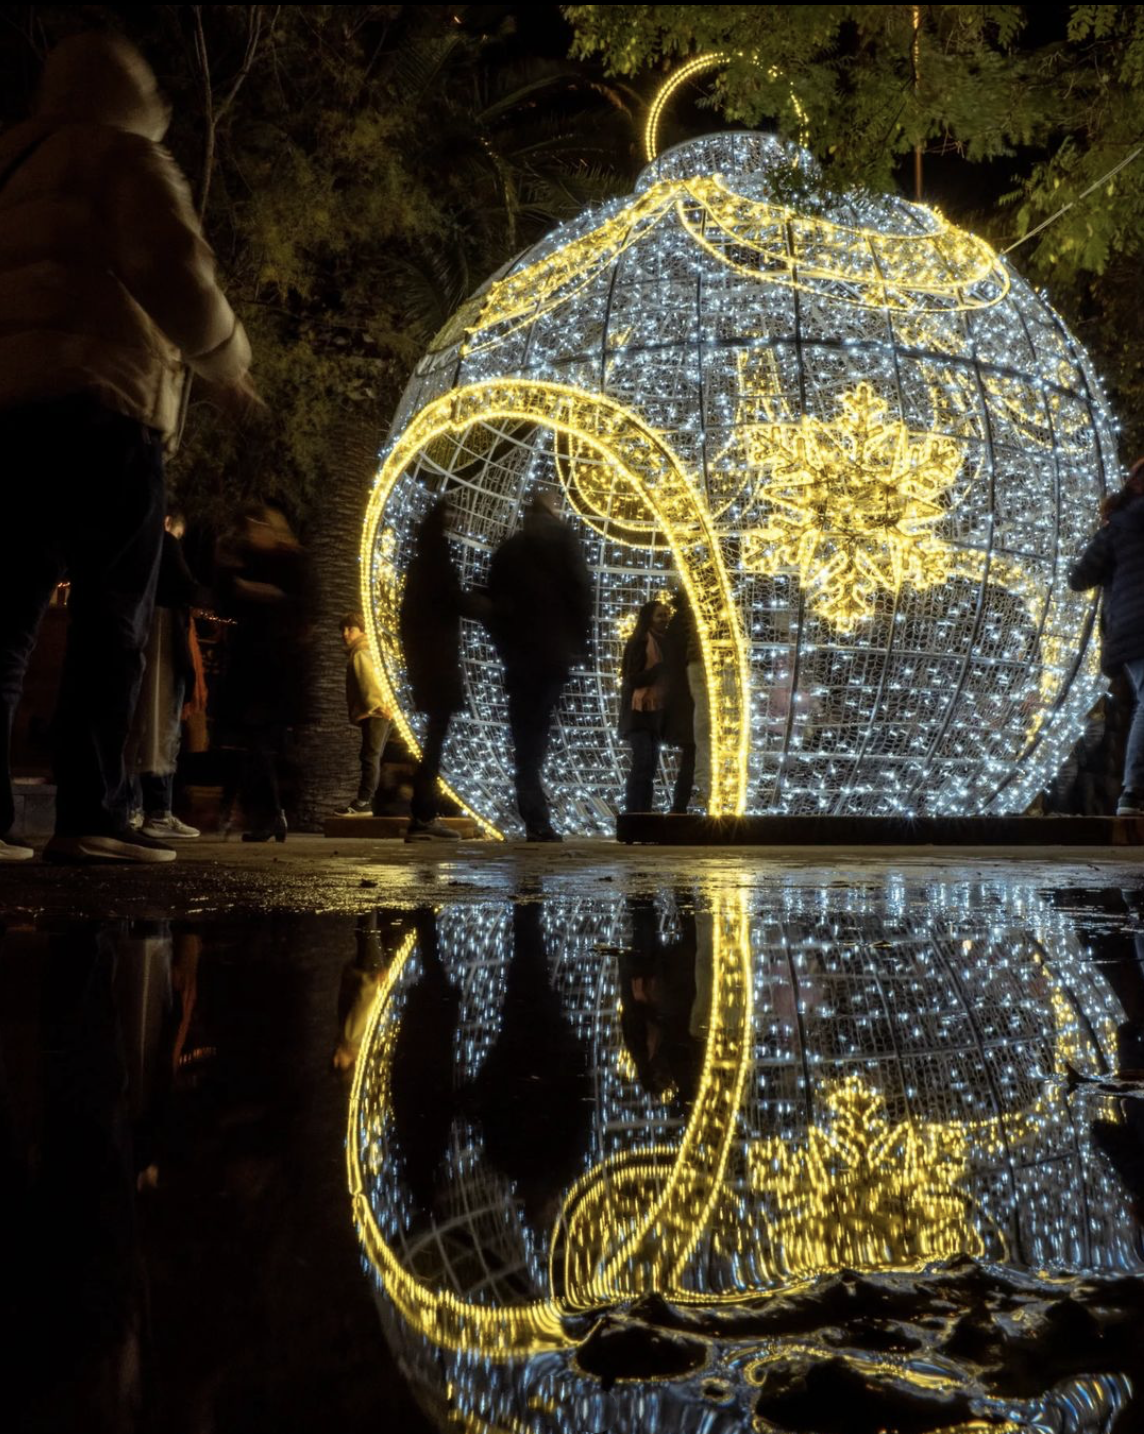
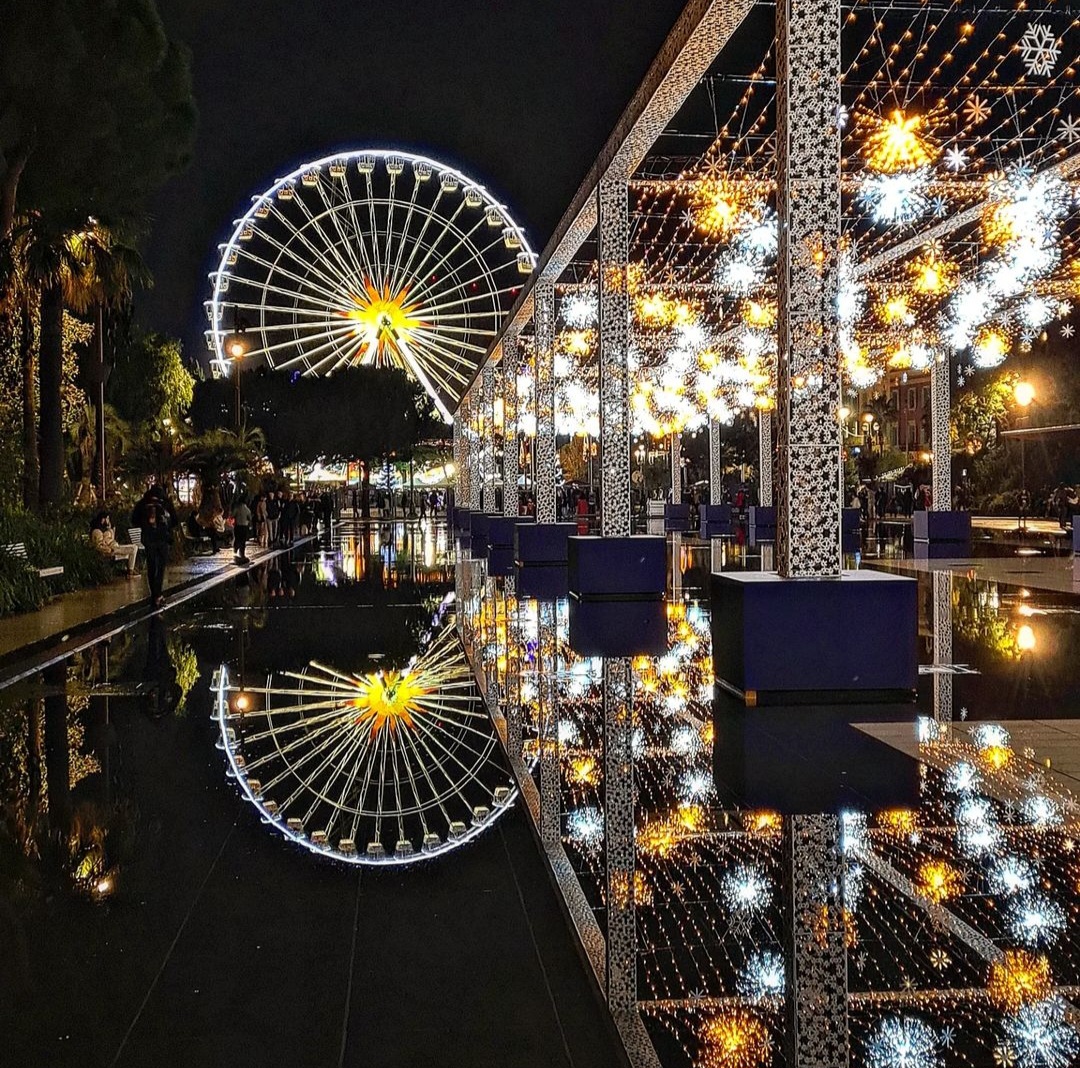
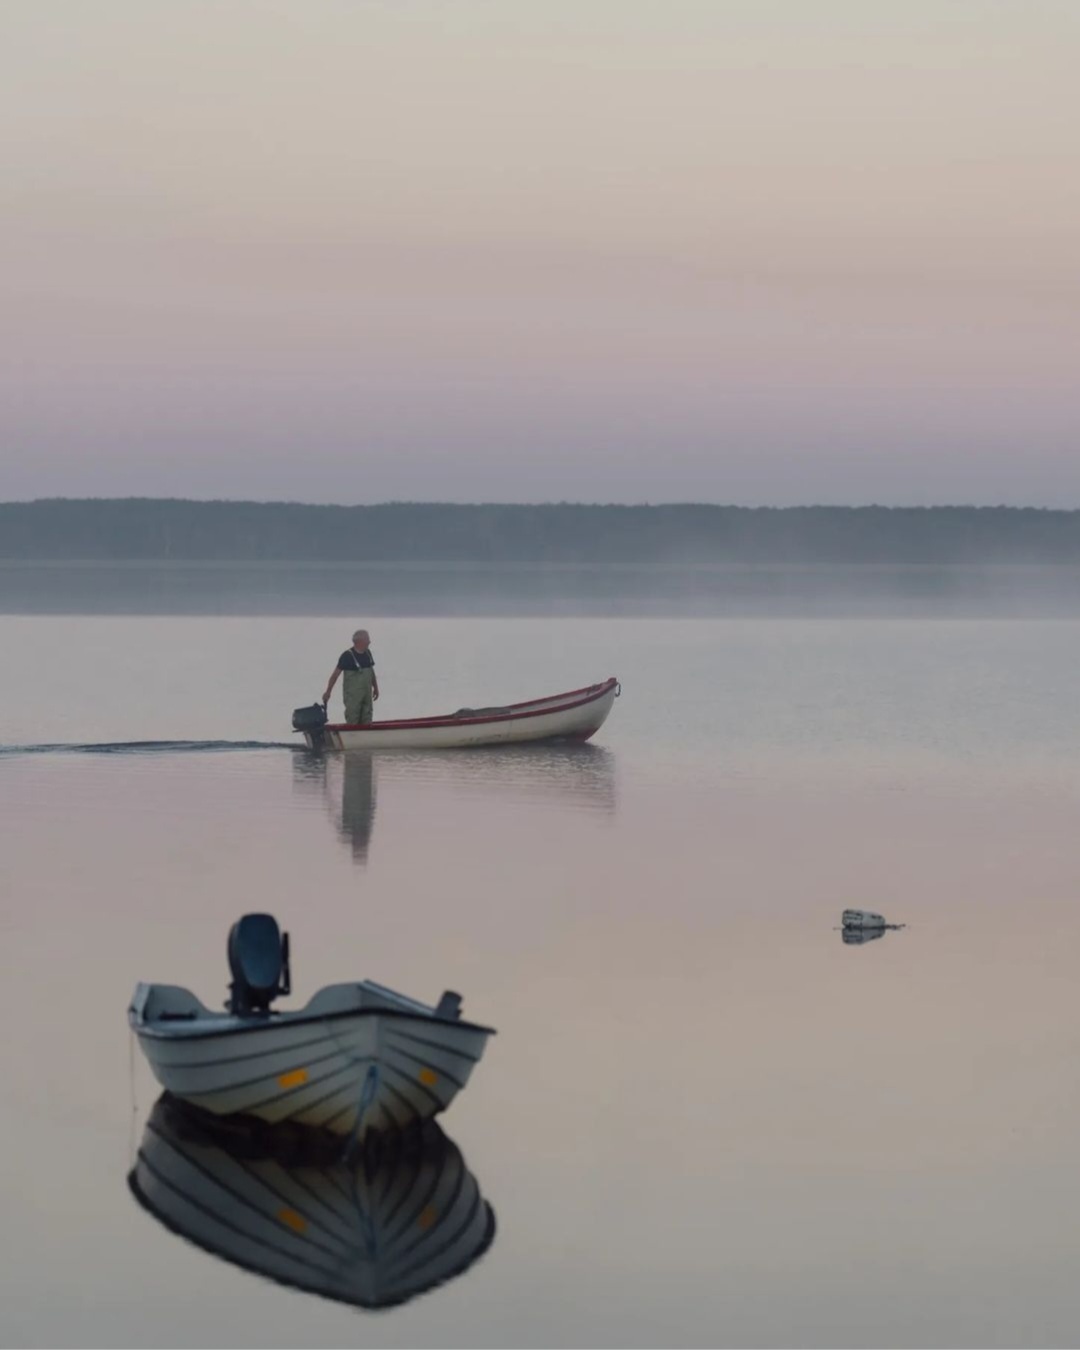
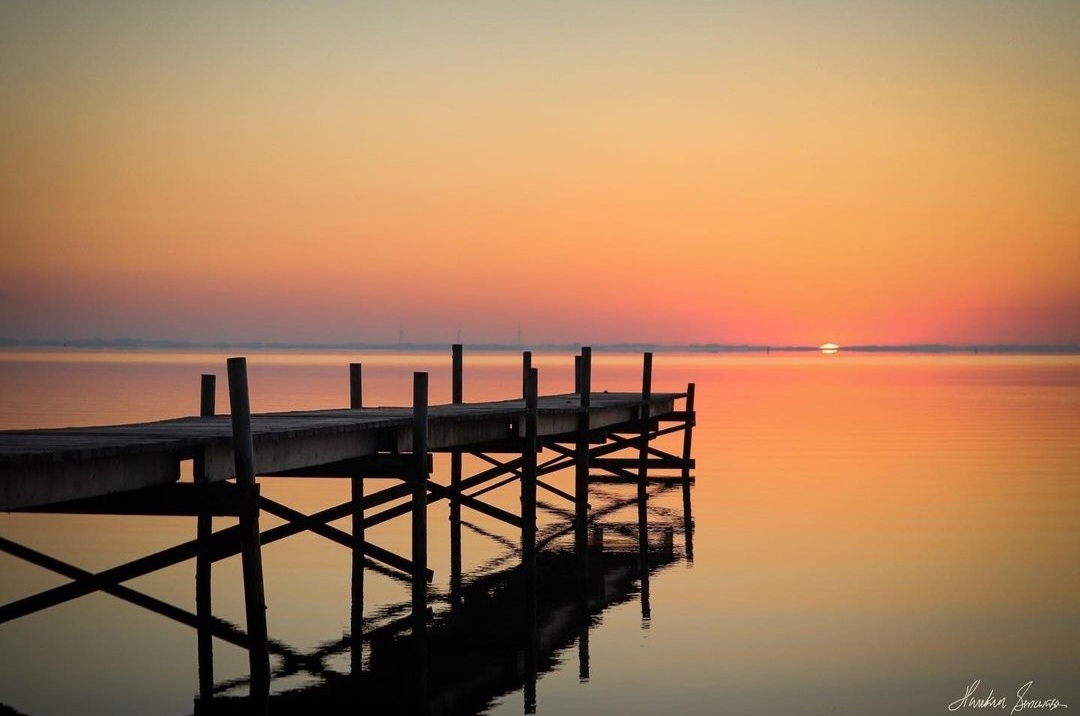
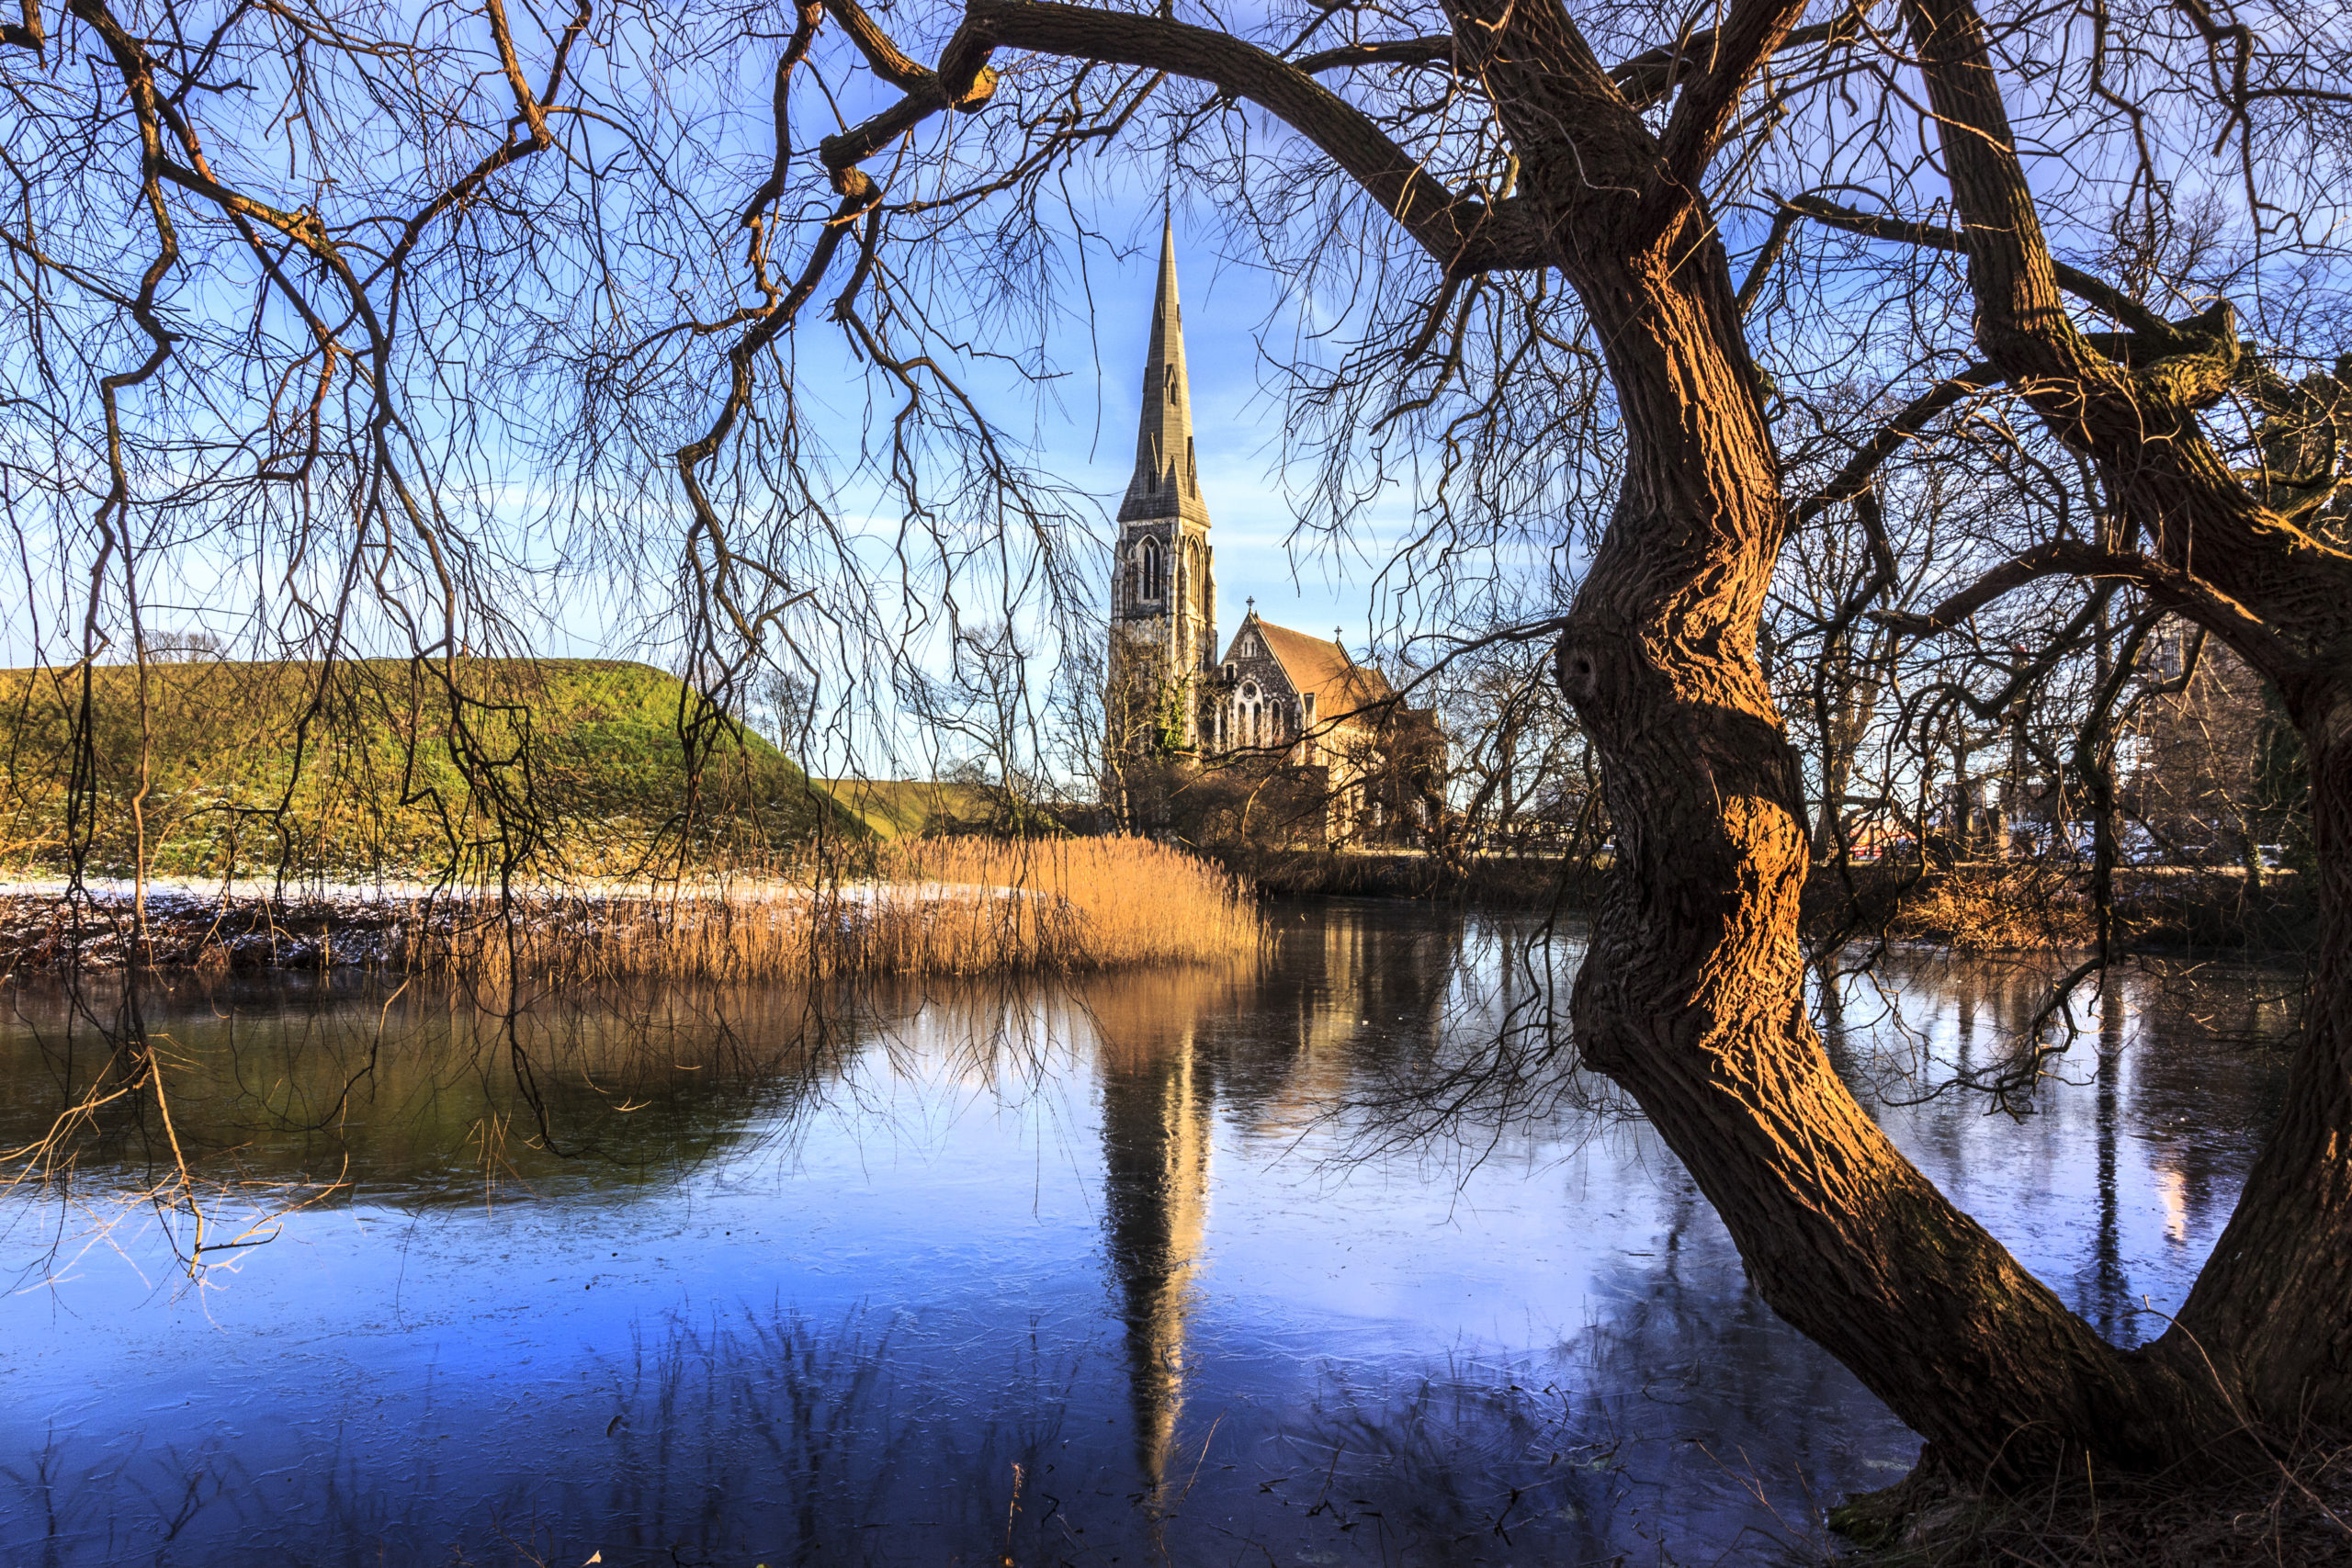
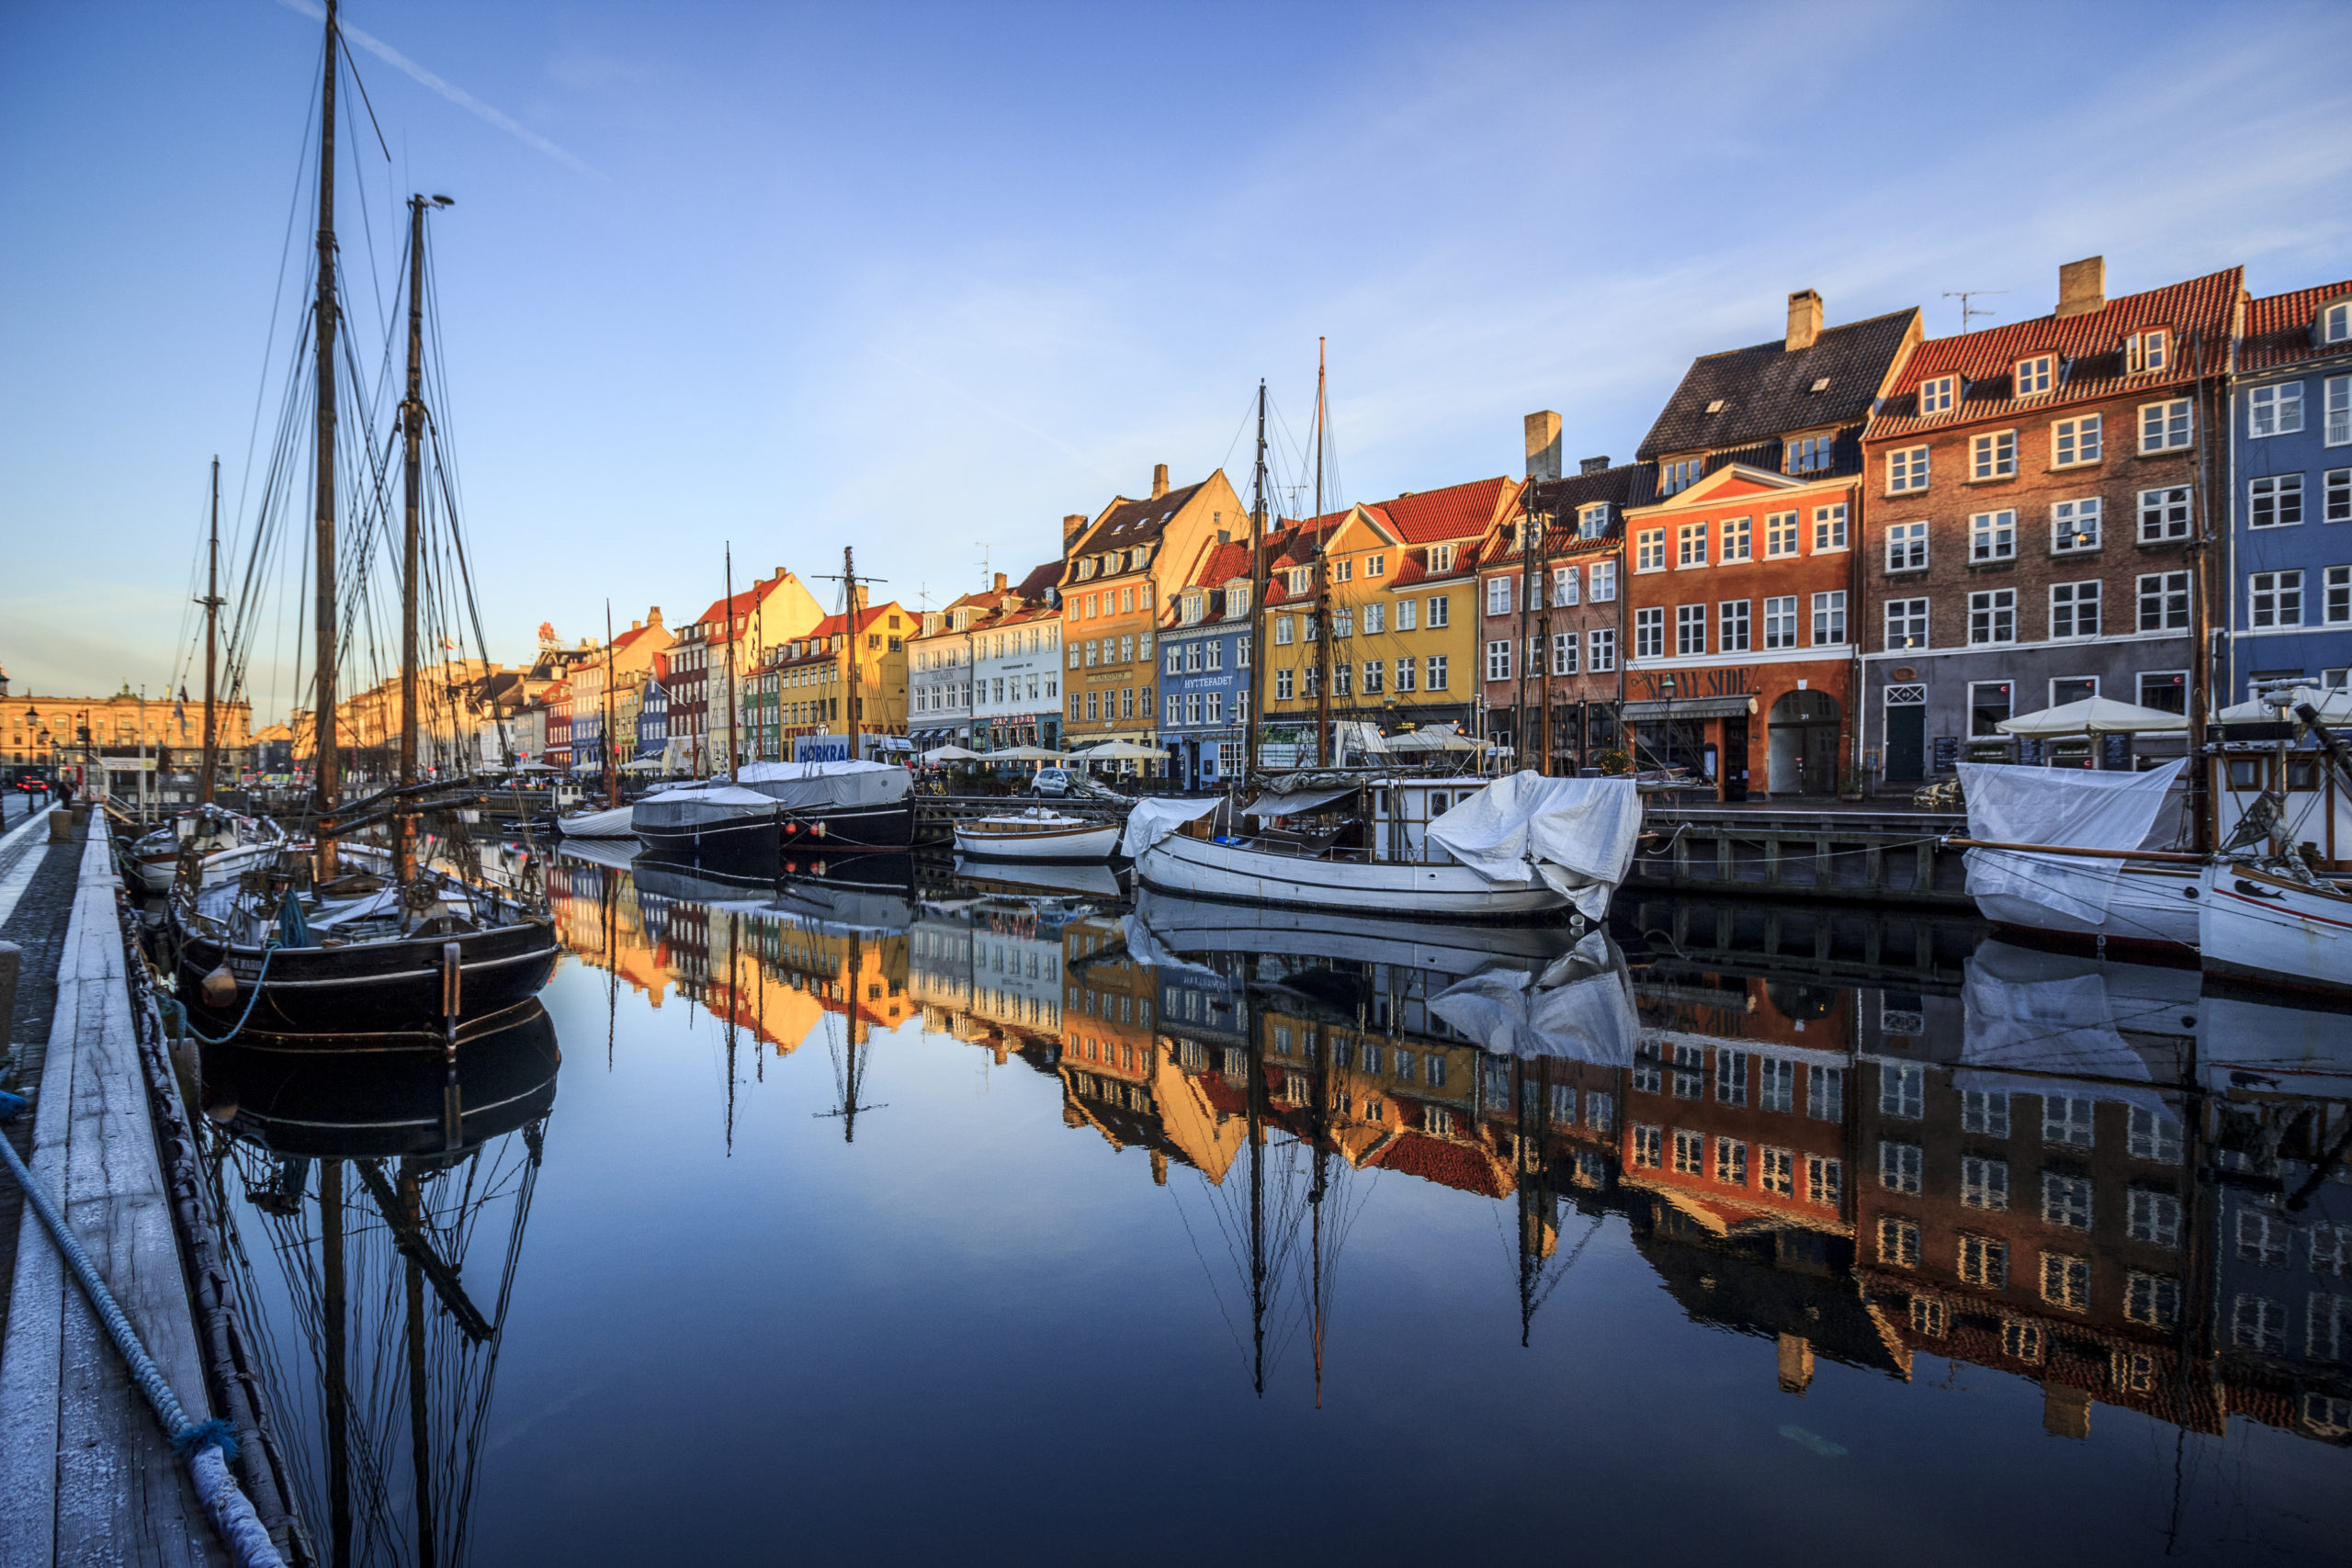
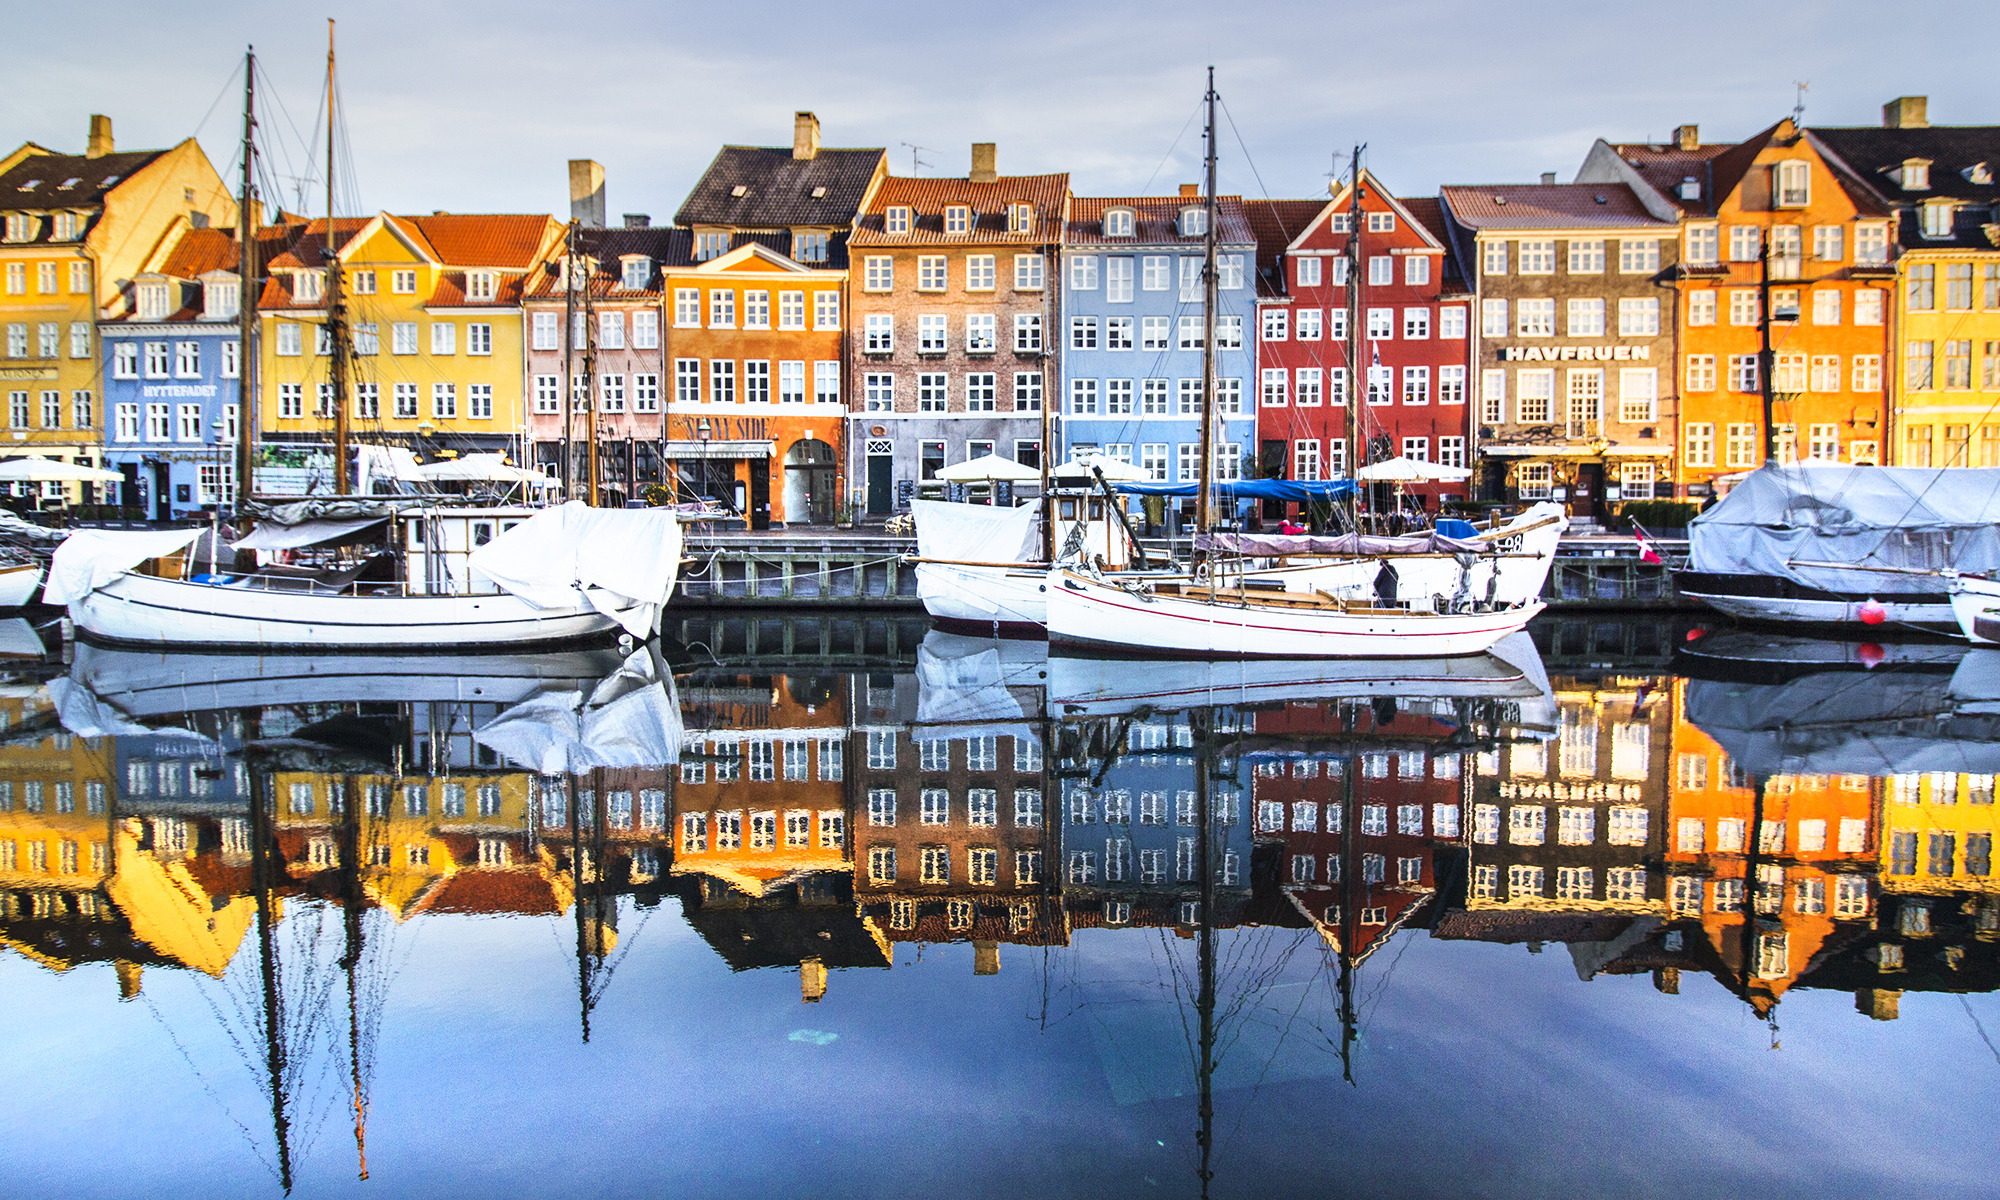
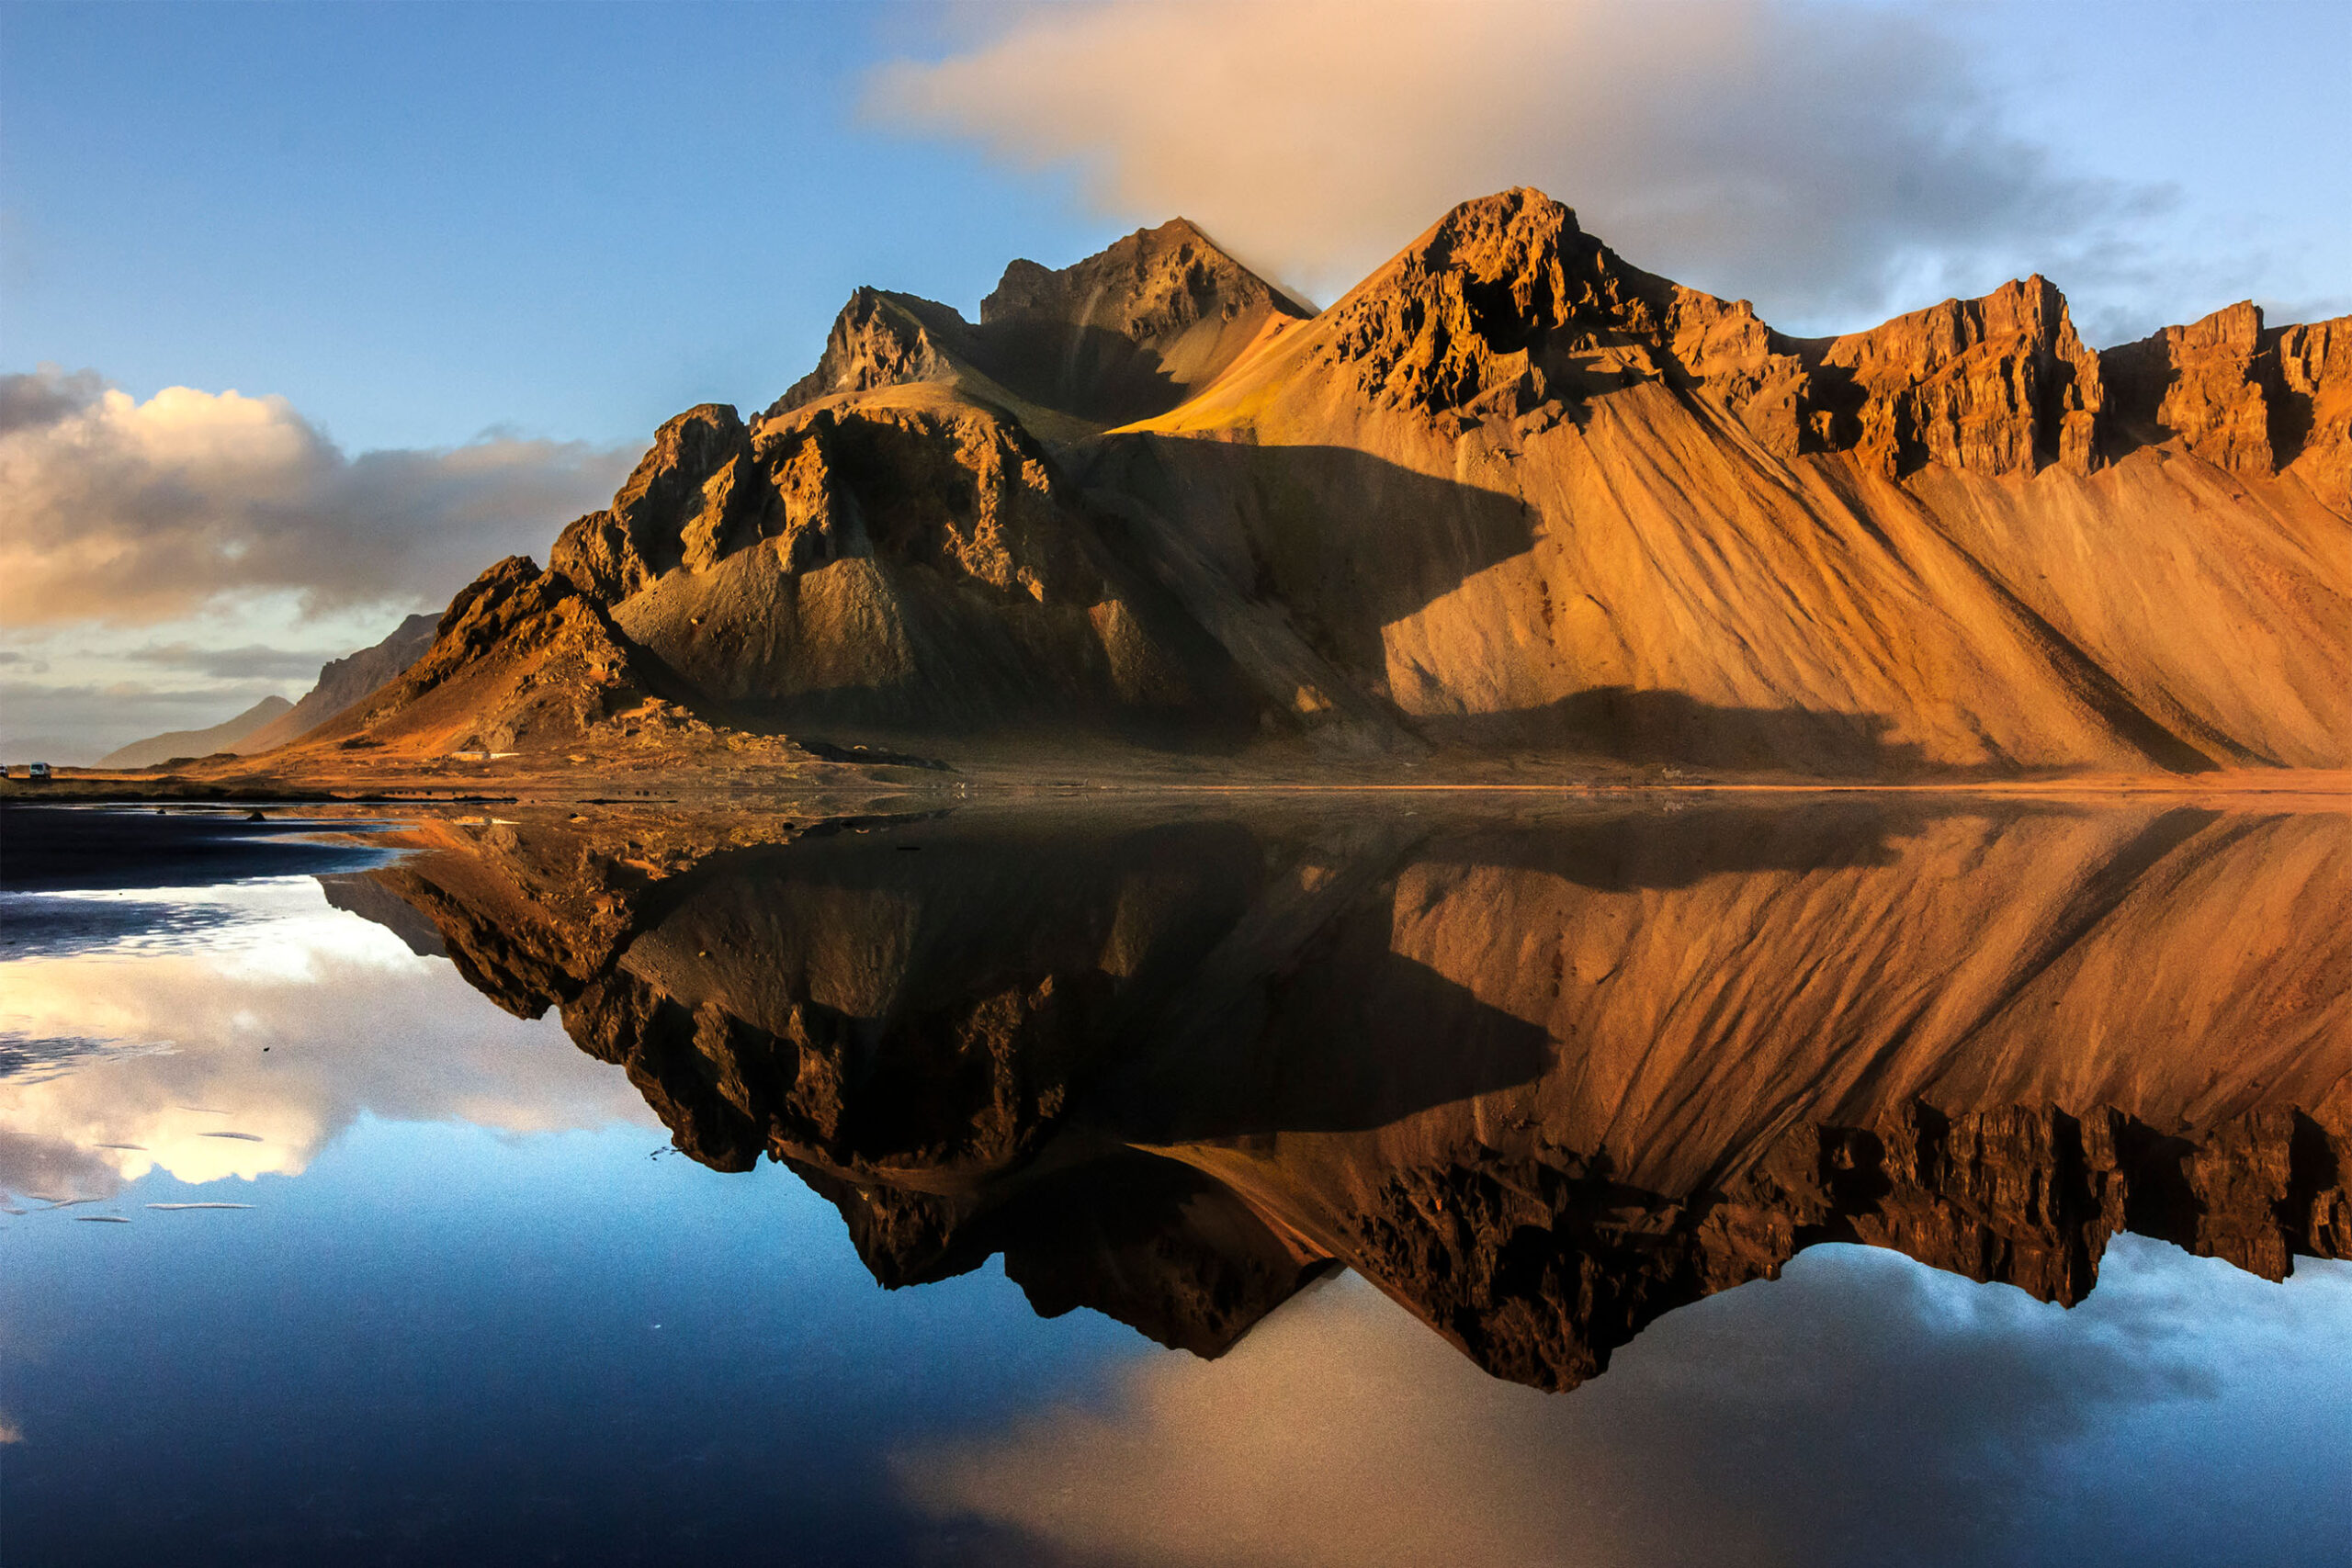
Symmetries, on the other hand, are given by shapes, geometries or elements that are mirrored symmetrically in the photo. They can easily be created with reflections: whether it’s thanks to a lake, a puddle, a shiny floor or a shop window, just place the line of symmetry in the center of the photo.
With this technique you can also create beautiful abstract photos, like the one below in black and white.
Ph: @giadaantonini_photography 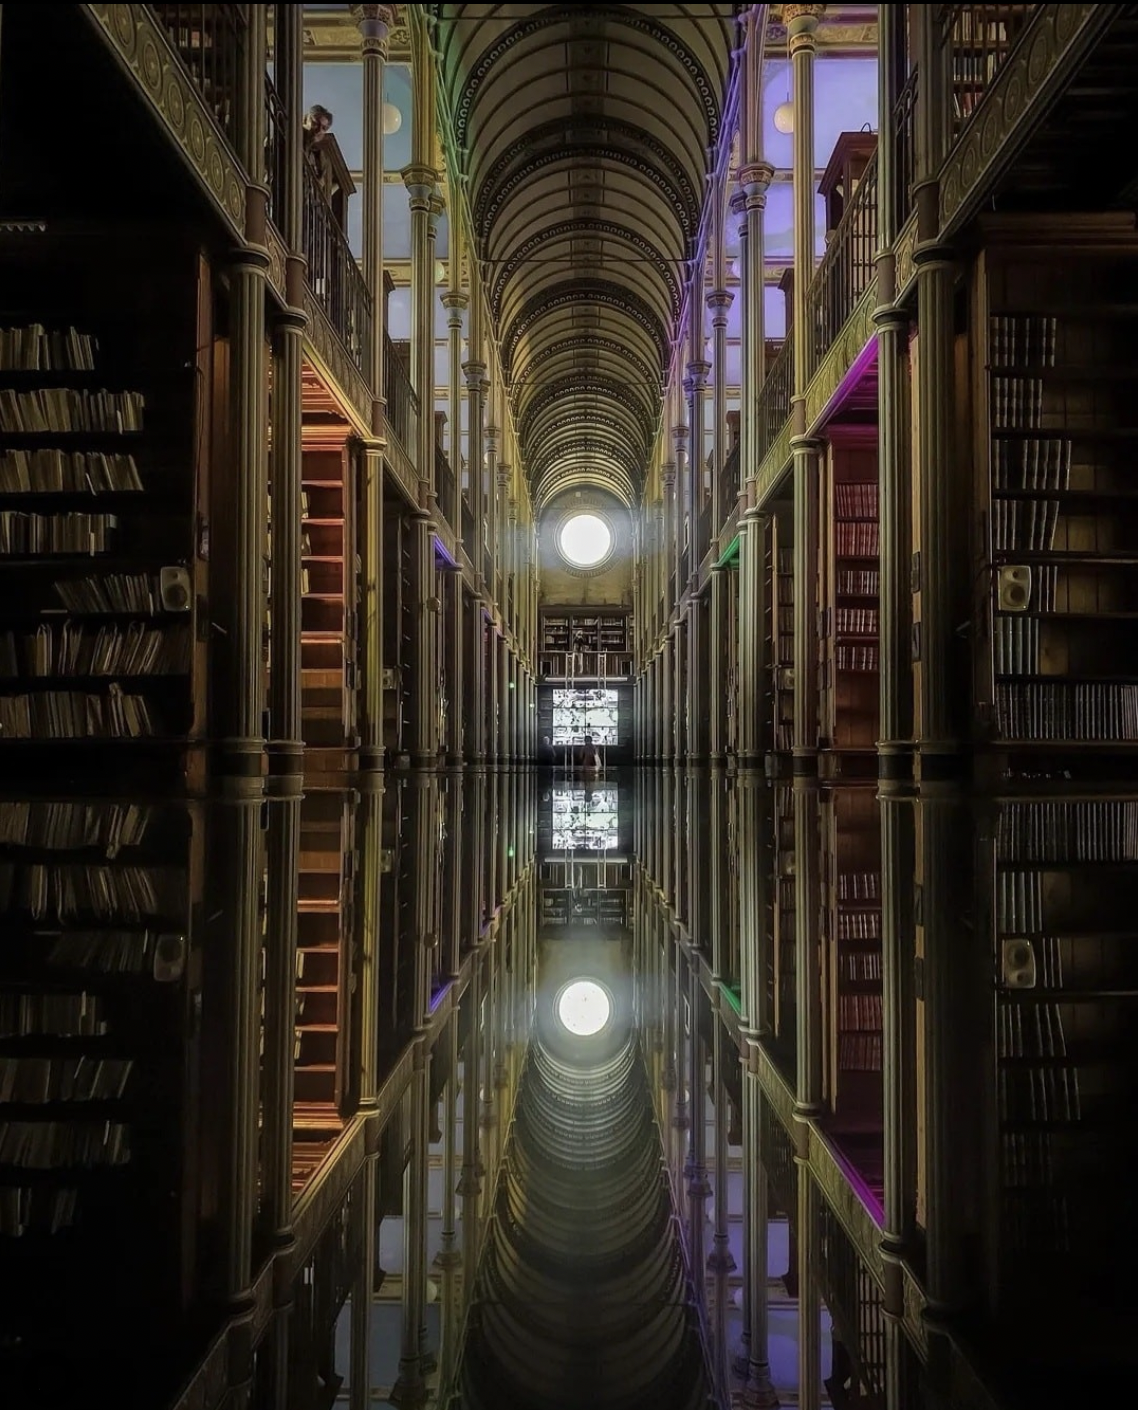
Ph: @iamsakibakhter 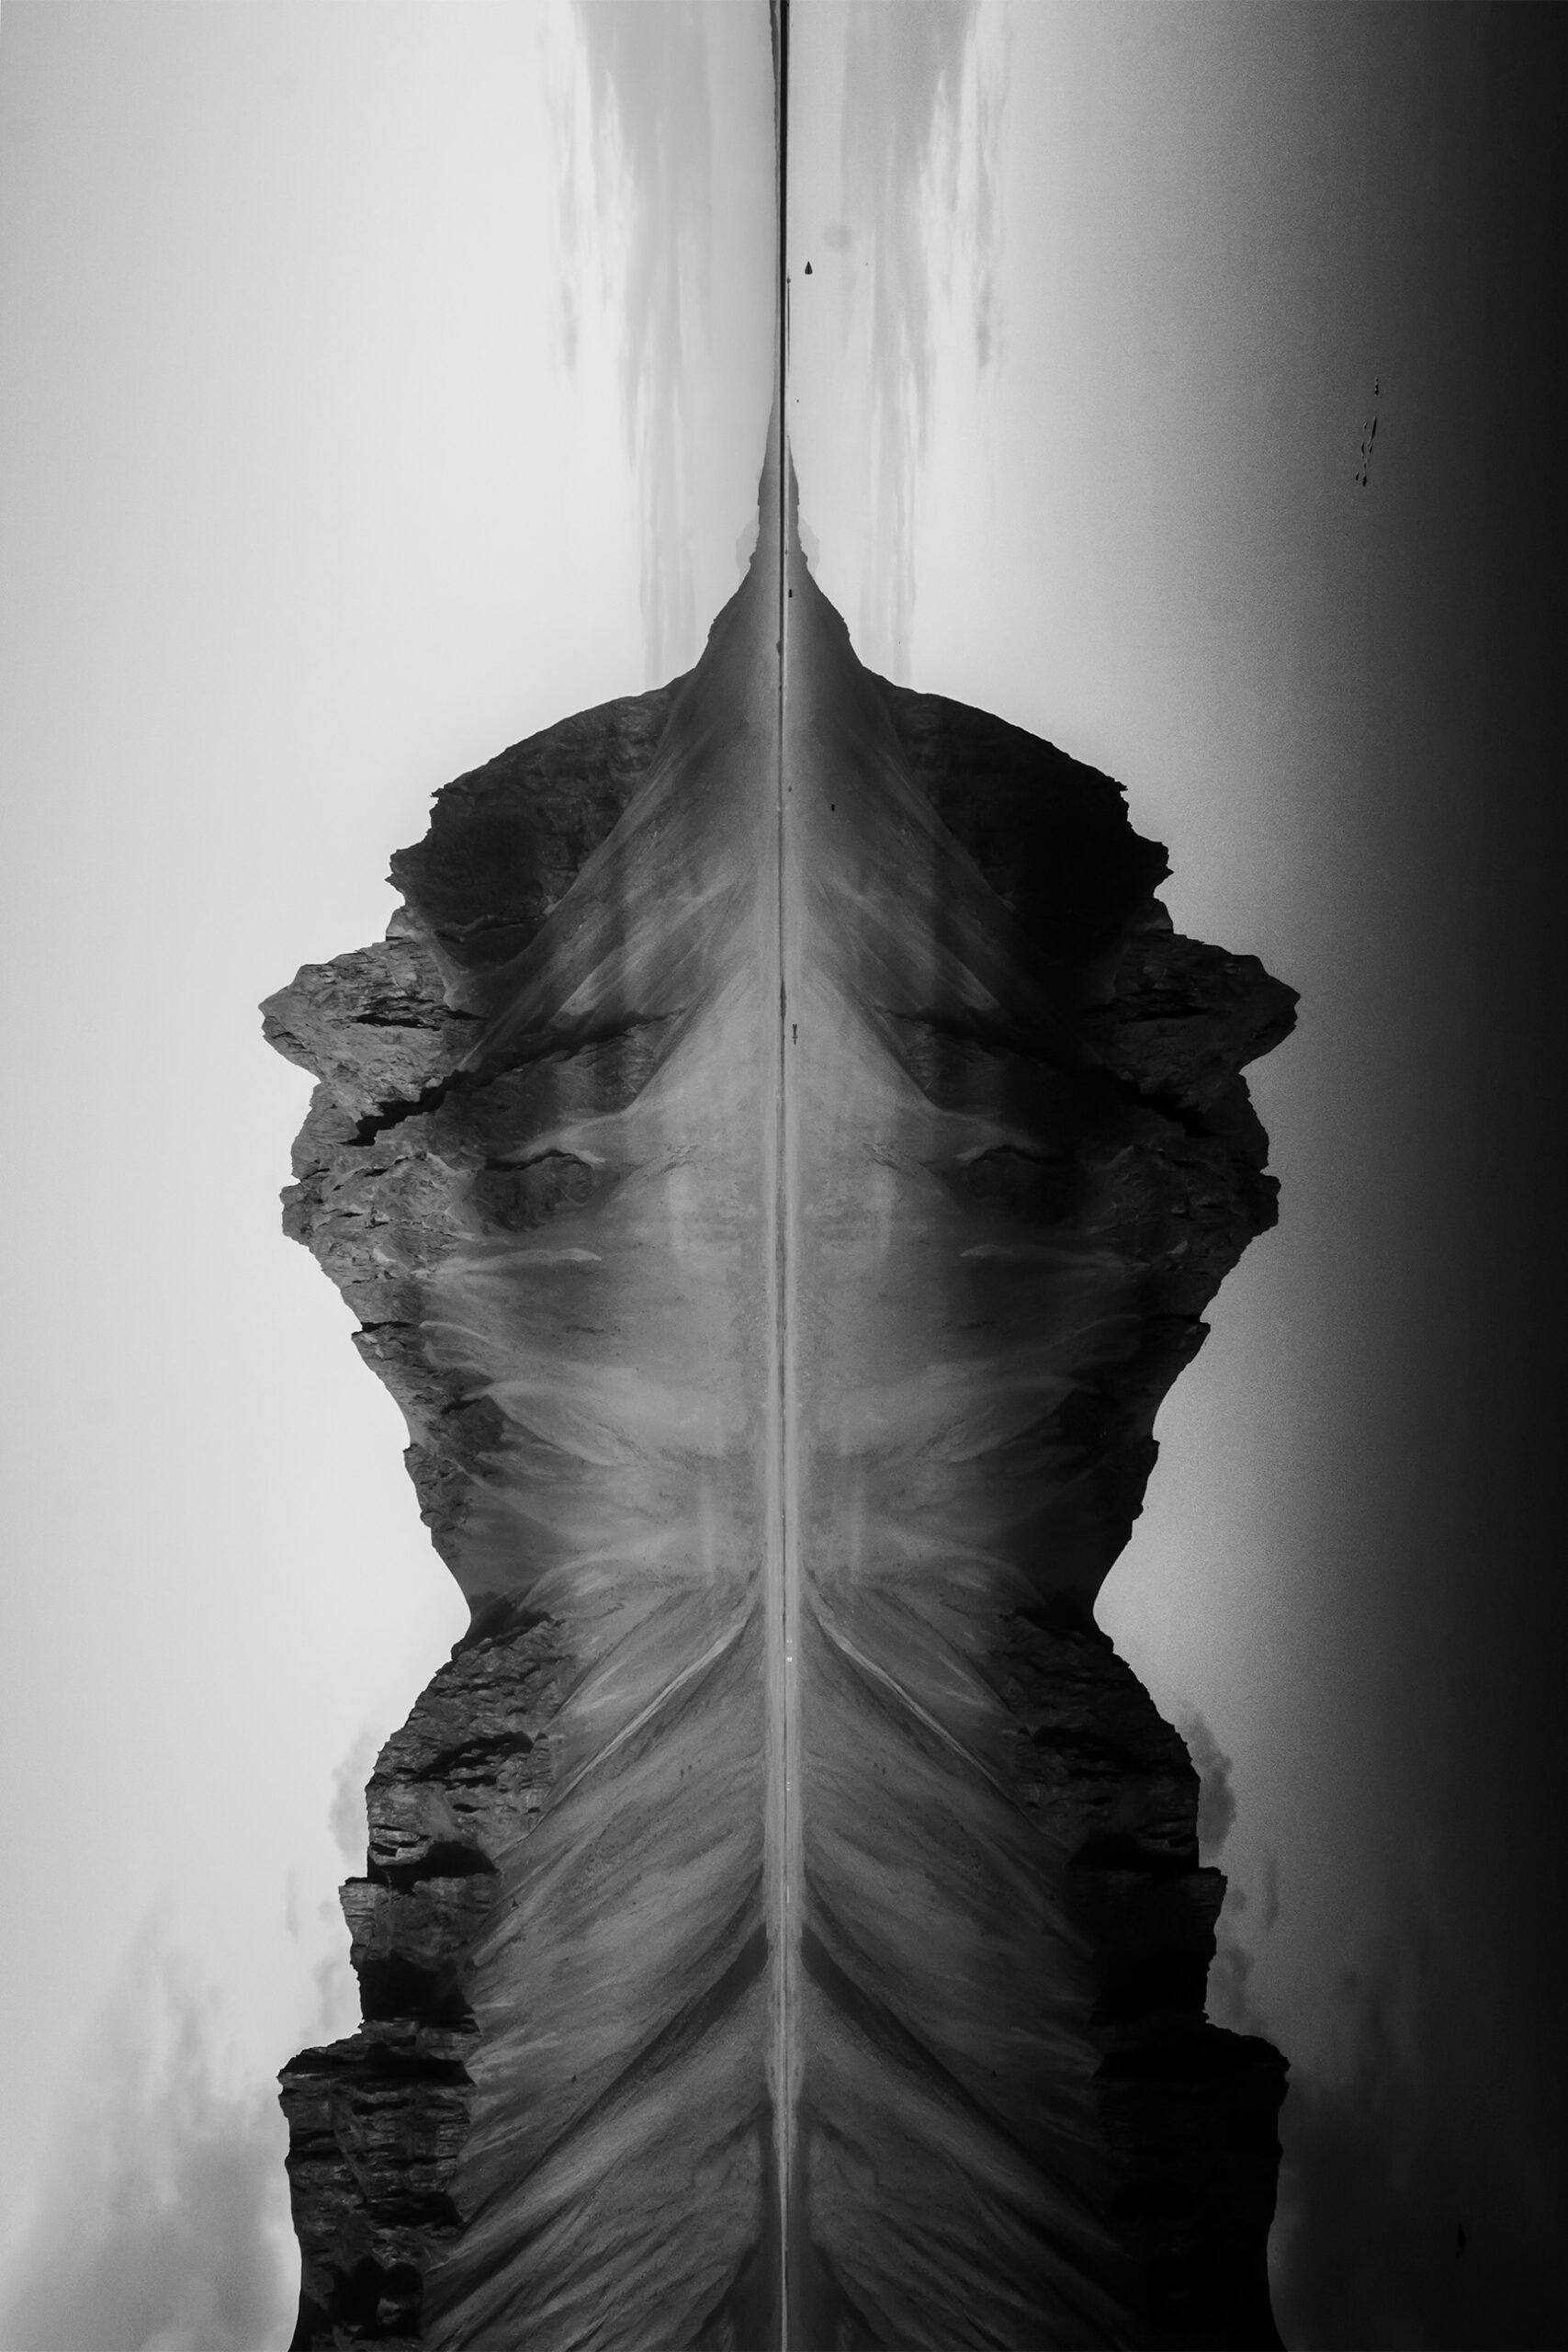
Ph: @giadaantonini_photography 
Ph: @lil_jwoo
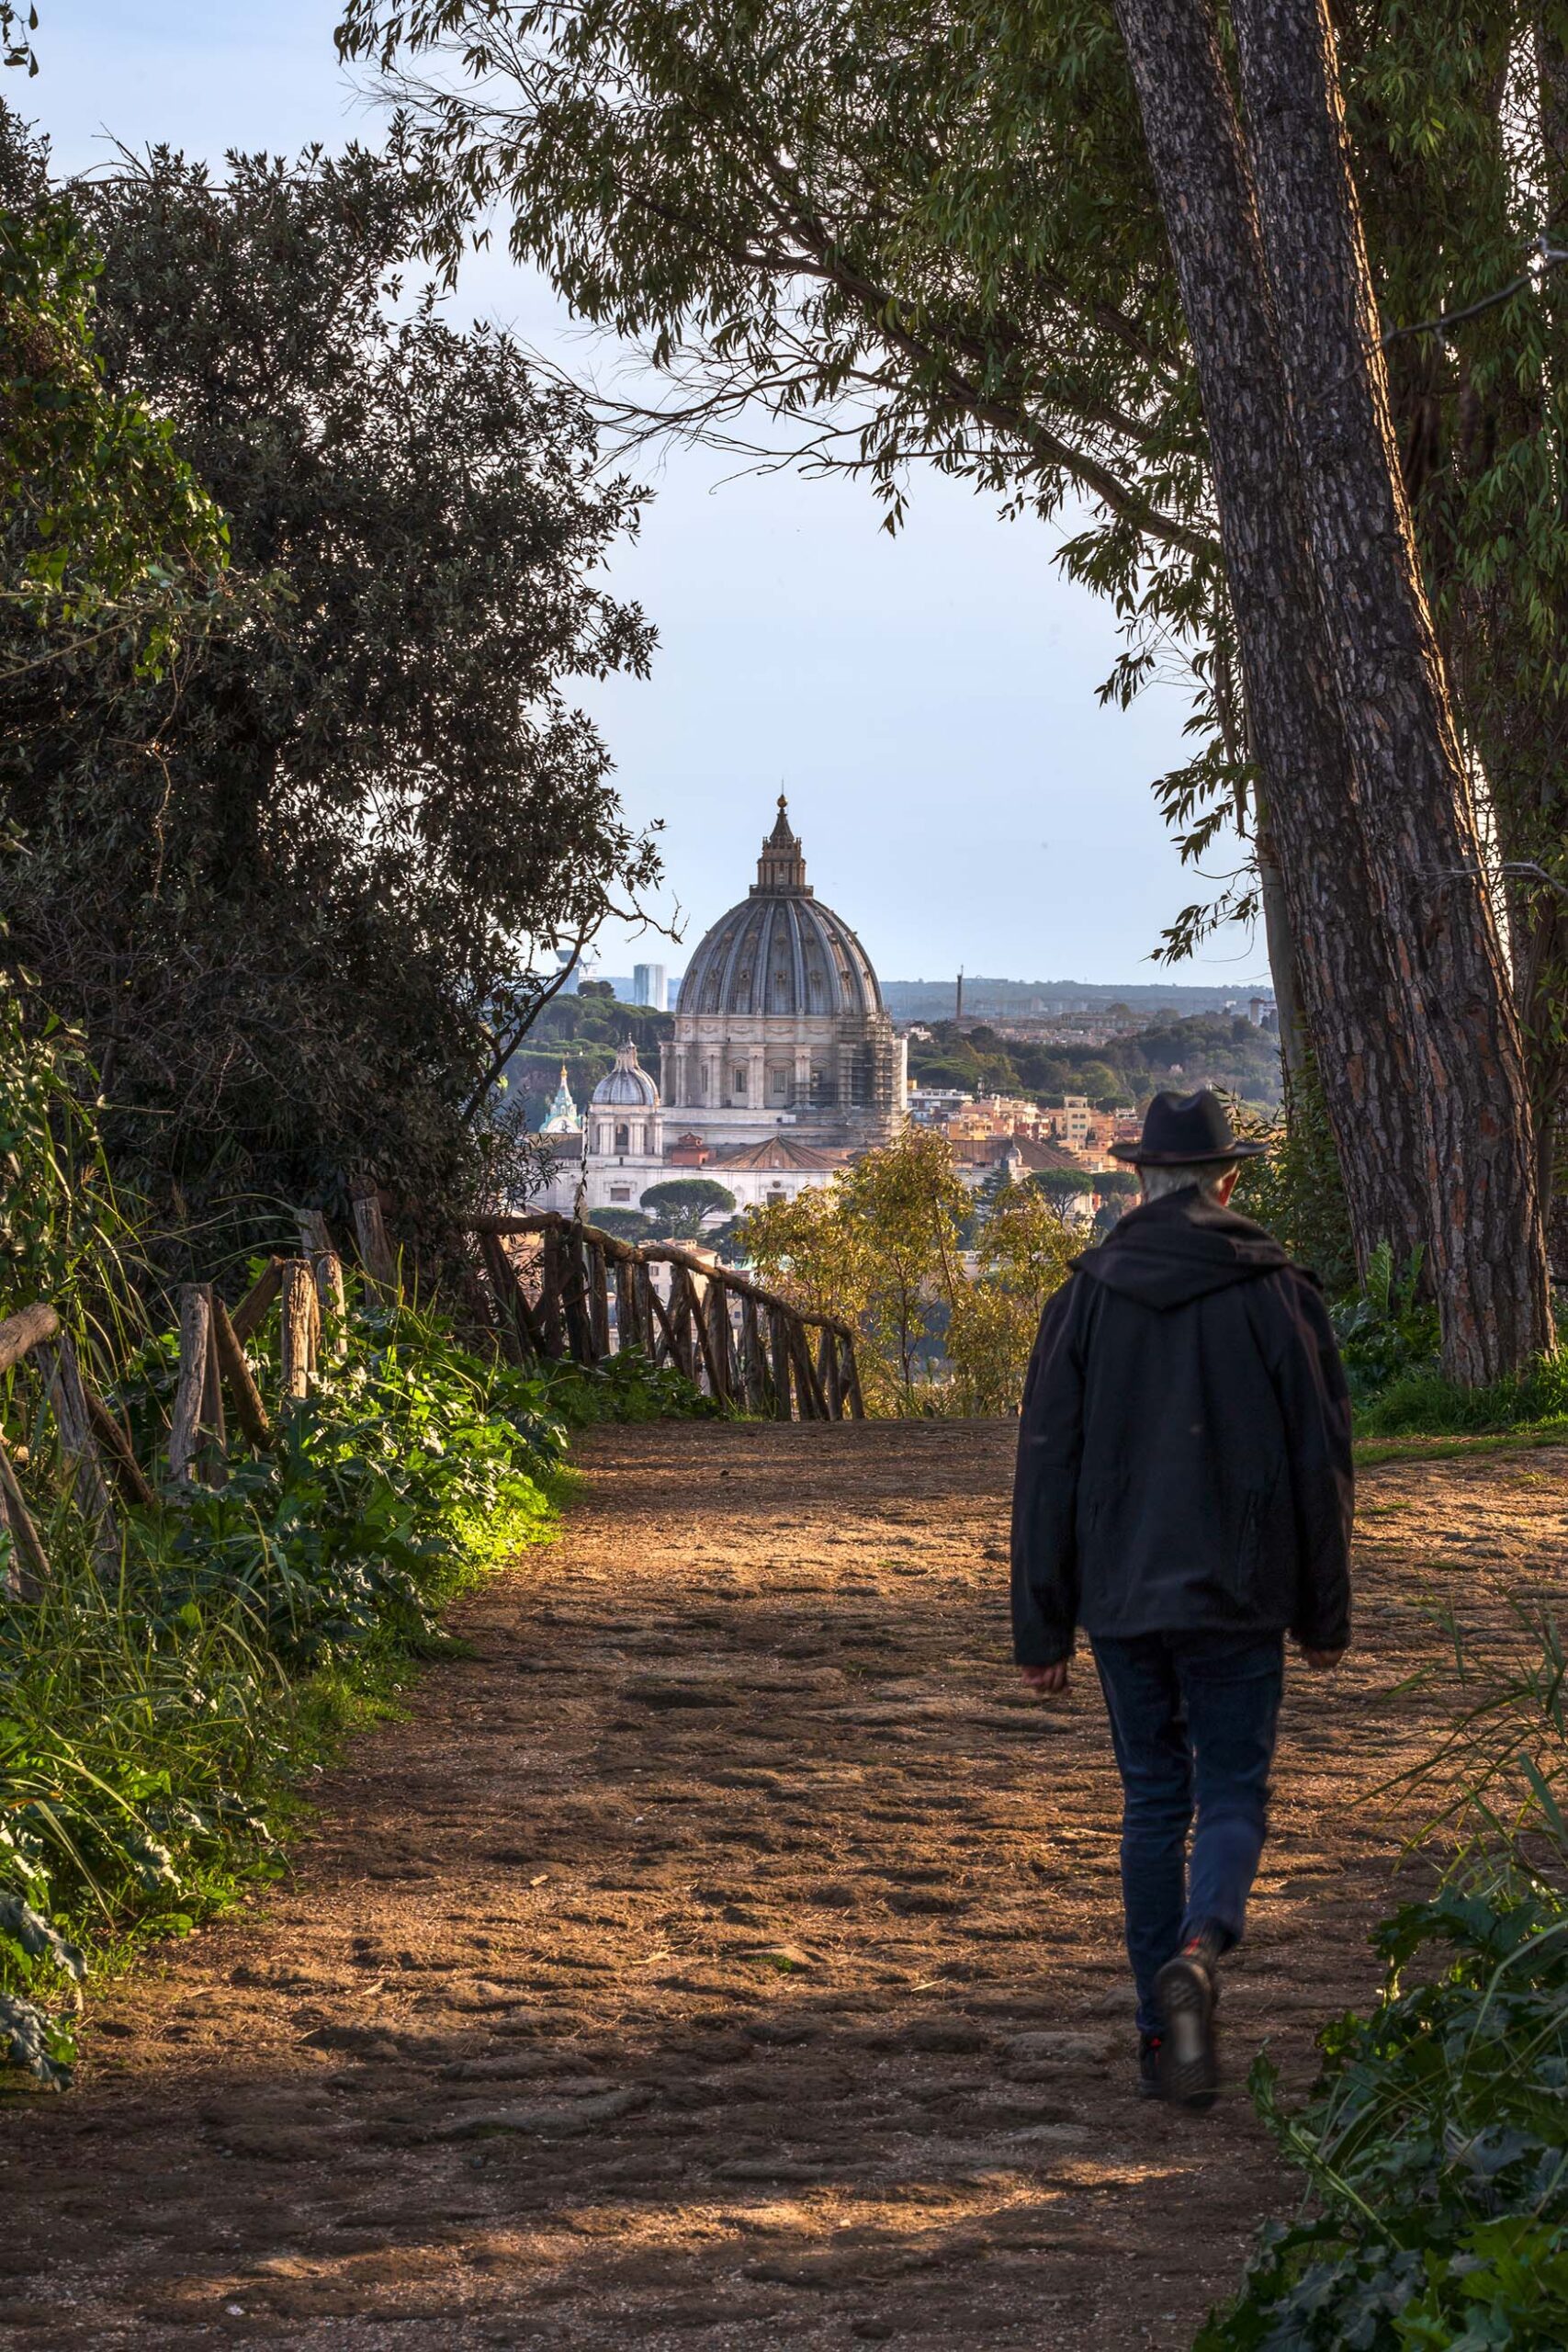
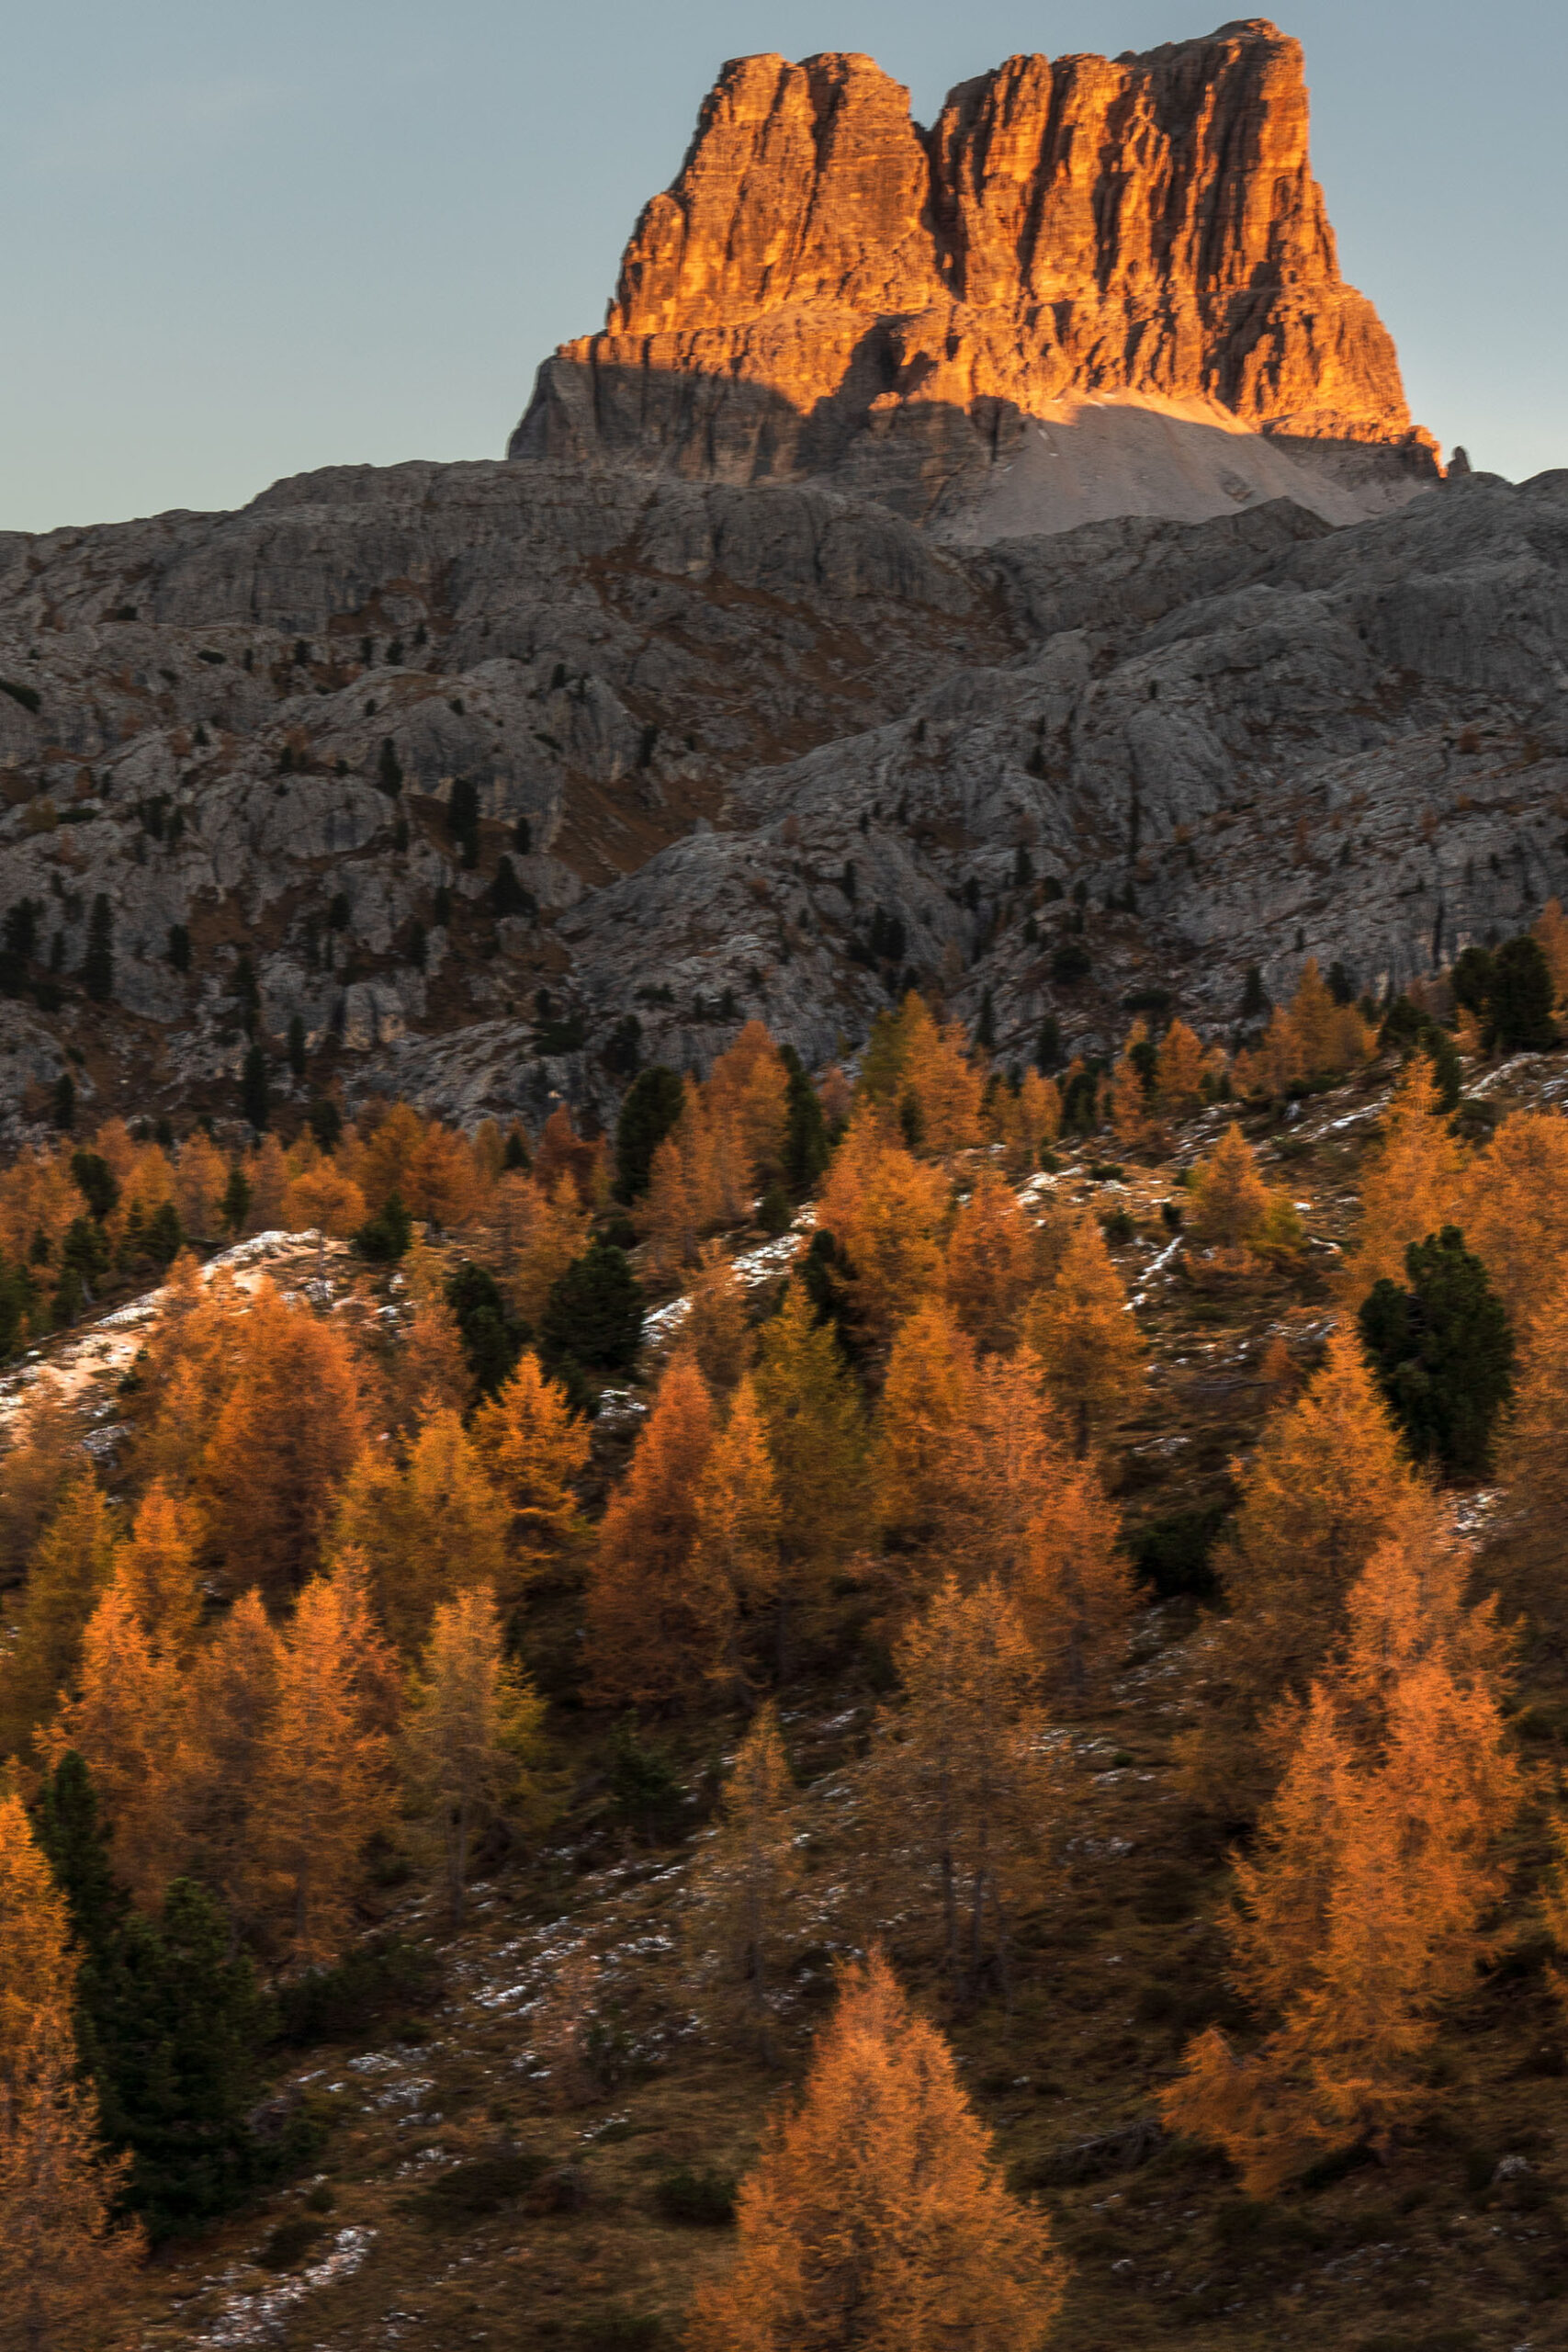
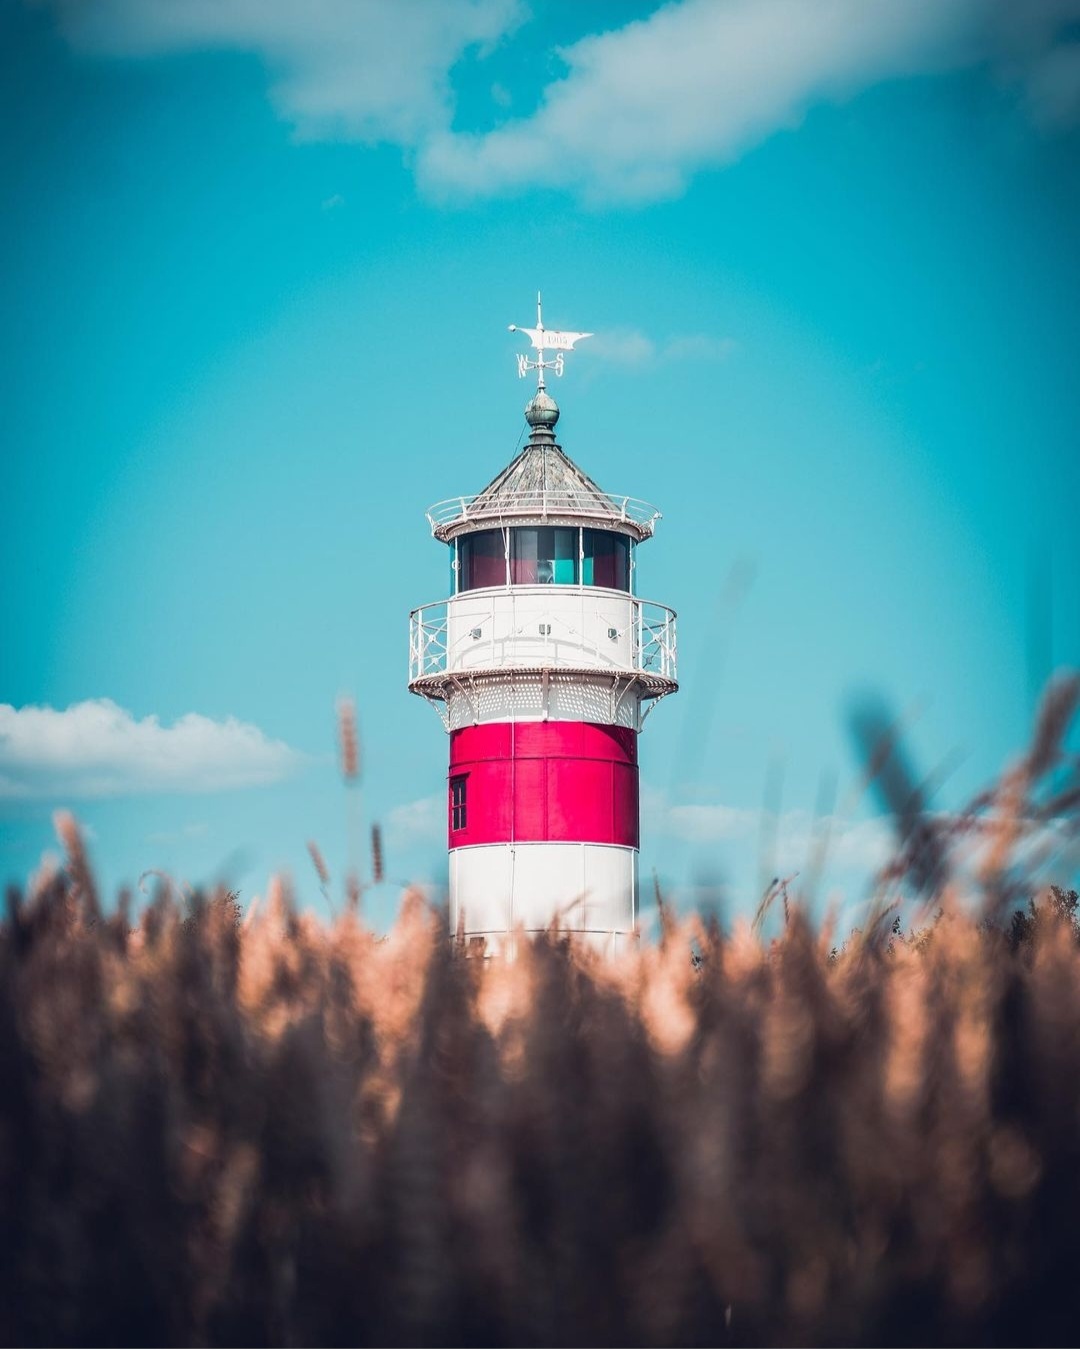
6. Depth of field
Another choice we can make is to emphasize our subject by making sure that it is in focus, while everything else will appear out of focus.
A technique widely used, lately, in the portrait mode of smartphones. In this case, in fact, just click on the main subject before the shot to immediately see how it will stand out compared to the rest of the scene.
This effect is given by the so-called depth of field, which strongly influences final shot.
If with the smartphone it is enough to select a specific shooting mode, let’s see briefly and without going into too much technical detail, how to change the depth of field with a camera.
The value we are interested in is f, which indicates the aperture. At low values (open aperture, f/2.8 for example), you will have a smaller depth of field: the subject will be in focus, while the other elements will be more blurred the further away from it.
On the other hand, to have a greater depth of field and the whole scene in focus, you will have to increase the f-value (closed aperture, for example f/11).
The aperture value to choose and the blur intensity will also depend on the distance between the different subjects and between the lens and the scene: to be clear, you will never be able to focus on a hill and blur the mountain behind it, if they are close to each other and far from you.
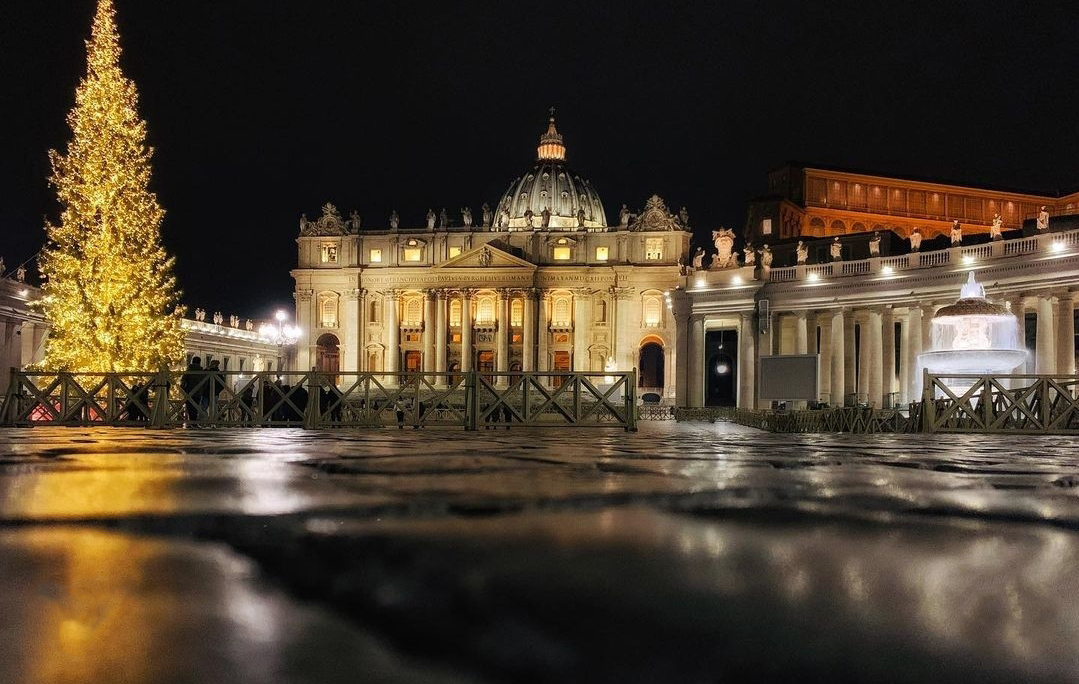
In fact, always in a simple but practical way, for the blur effect to work, the subject to be focused on must be close enough to you and far from the other elements to be blurred, as in the photo below, on the left. Or, conversely, far enough away from you, so that the blurred elements will be in the foreground, as in the photo on the right.
In fact, depth of field extends 1/3 in front of the point of focus and 2/3 behind it. Therefore, based on the choice of the subject in focus, you will obtain different blurs.
Ph: @giadaantonini_photography 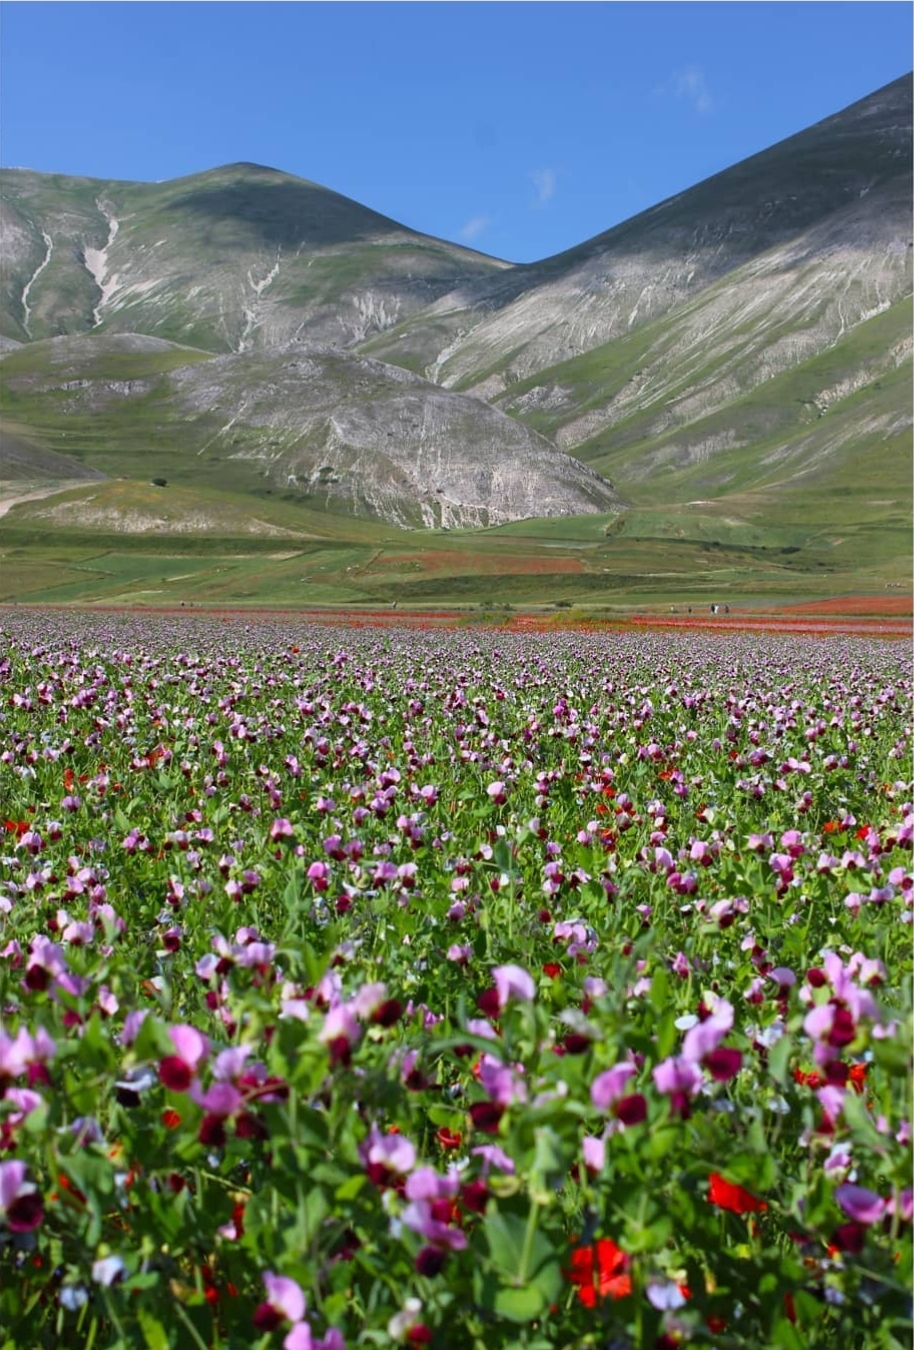
Ph: @giadaantonini_photography
If you then combine it with the rule of thirds, you will have even better results!
For example, place the first subject in focus on one of the thirds and the second subject in the distance (out of focus) on the other third. You will have an image where the eye will be captured by the subject in the foreground and will immediately understand the depth of the space and the distance between the elements.
What are you waiting for?
You just have to practice to take wonderful pics with these settings!
If you like our article, write it in the comments!
To not miss the next article and all the other travel and photography tips, subscribe to our newsletter !
Follow us on Instagram and Facebook and share your pics with the tag @imagomap or the hashtag #imagomap!
Thanks to all our followers who allowed us to use their photos for the article!
Tag us for this opportunity!