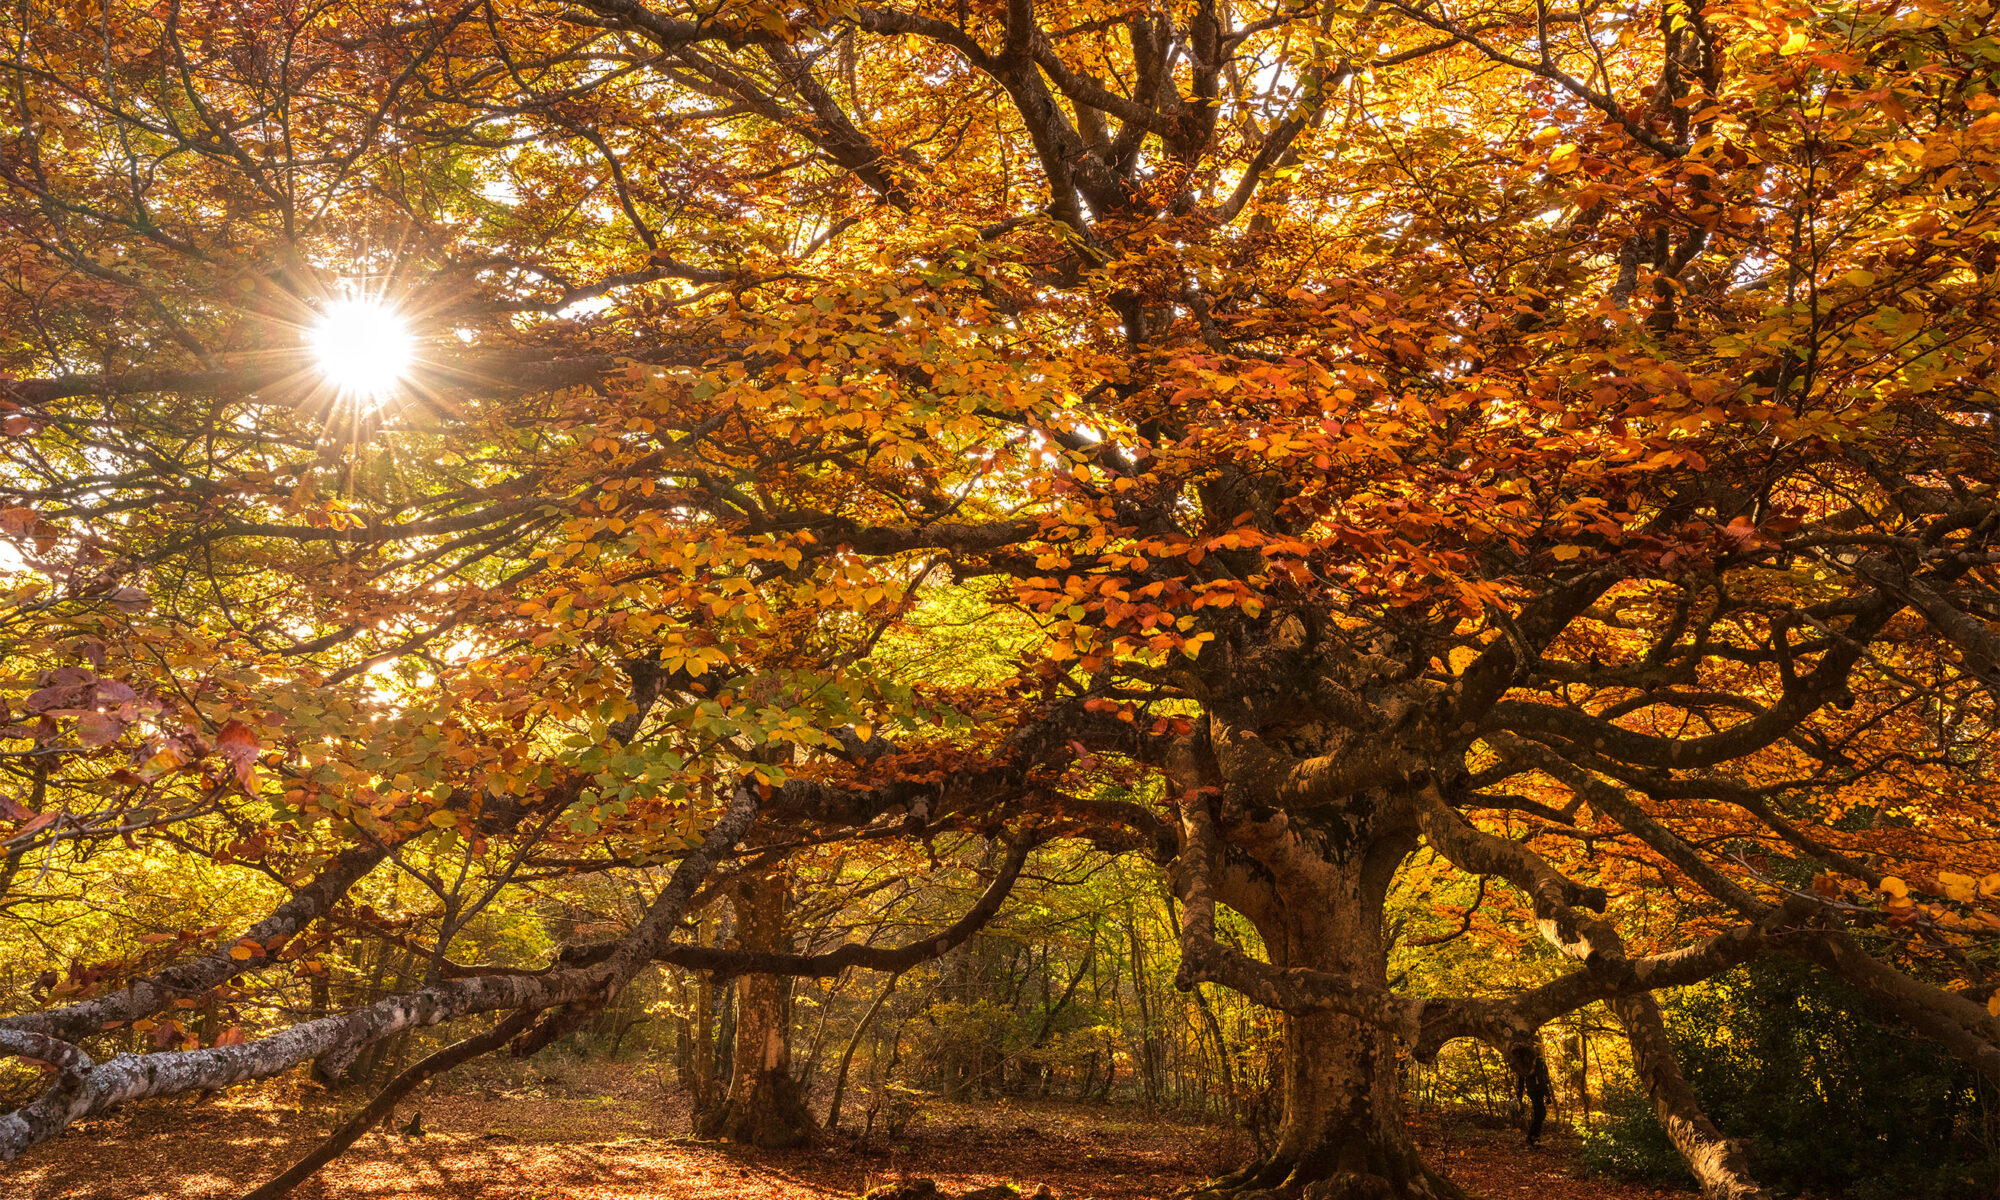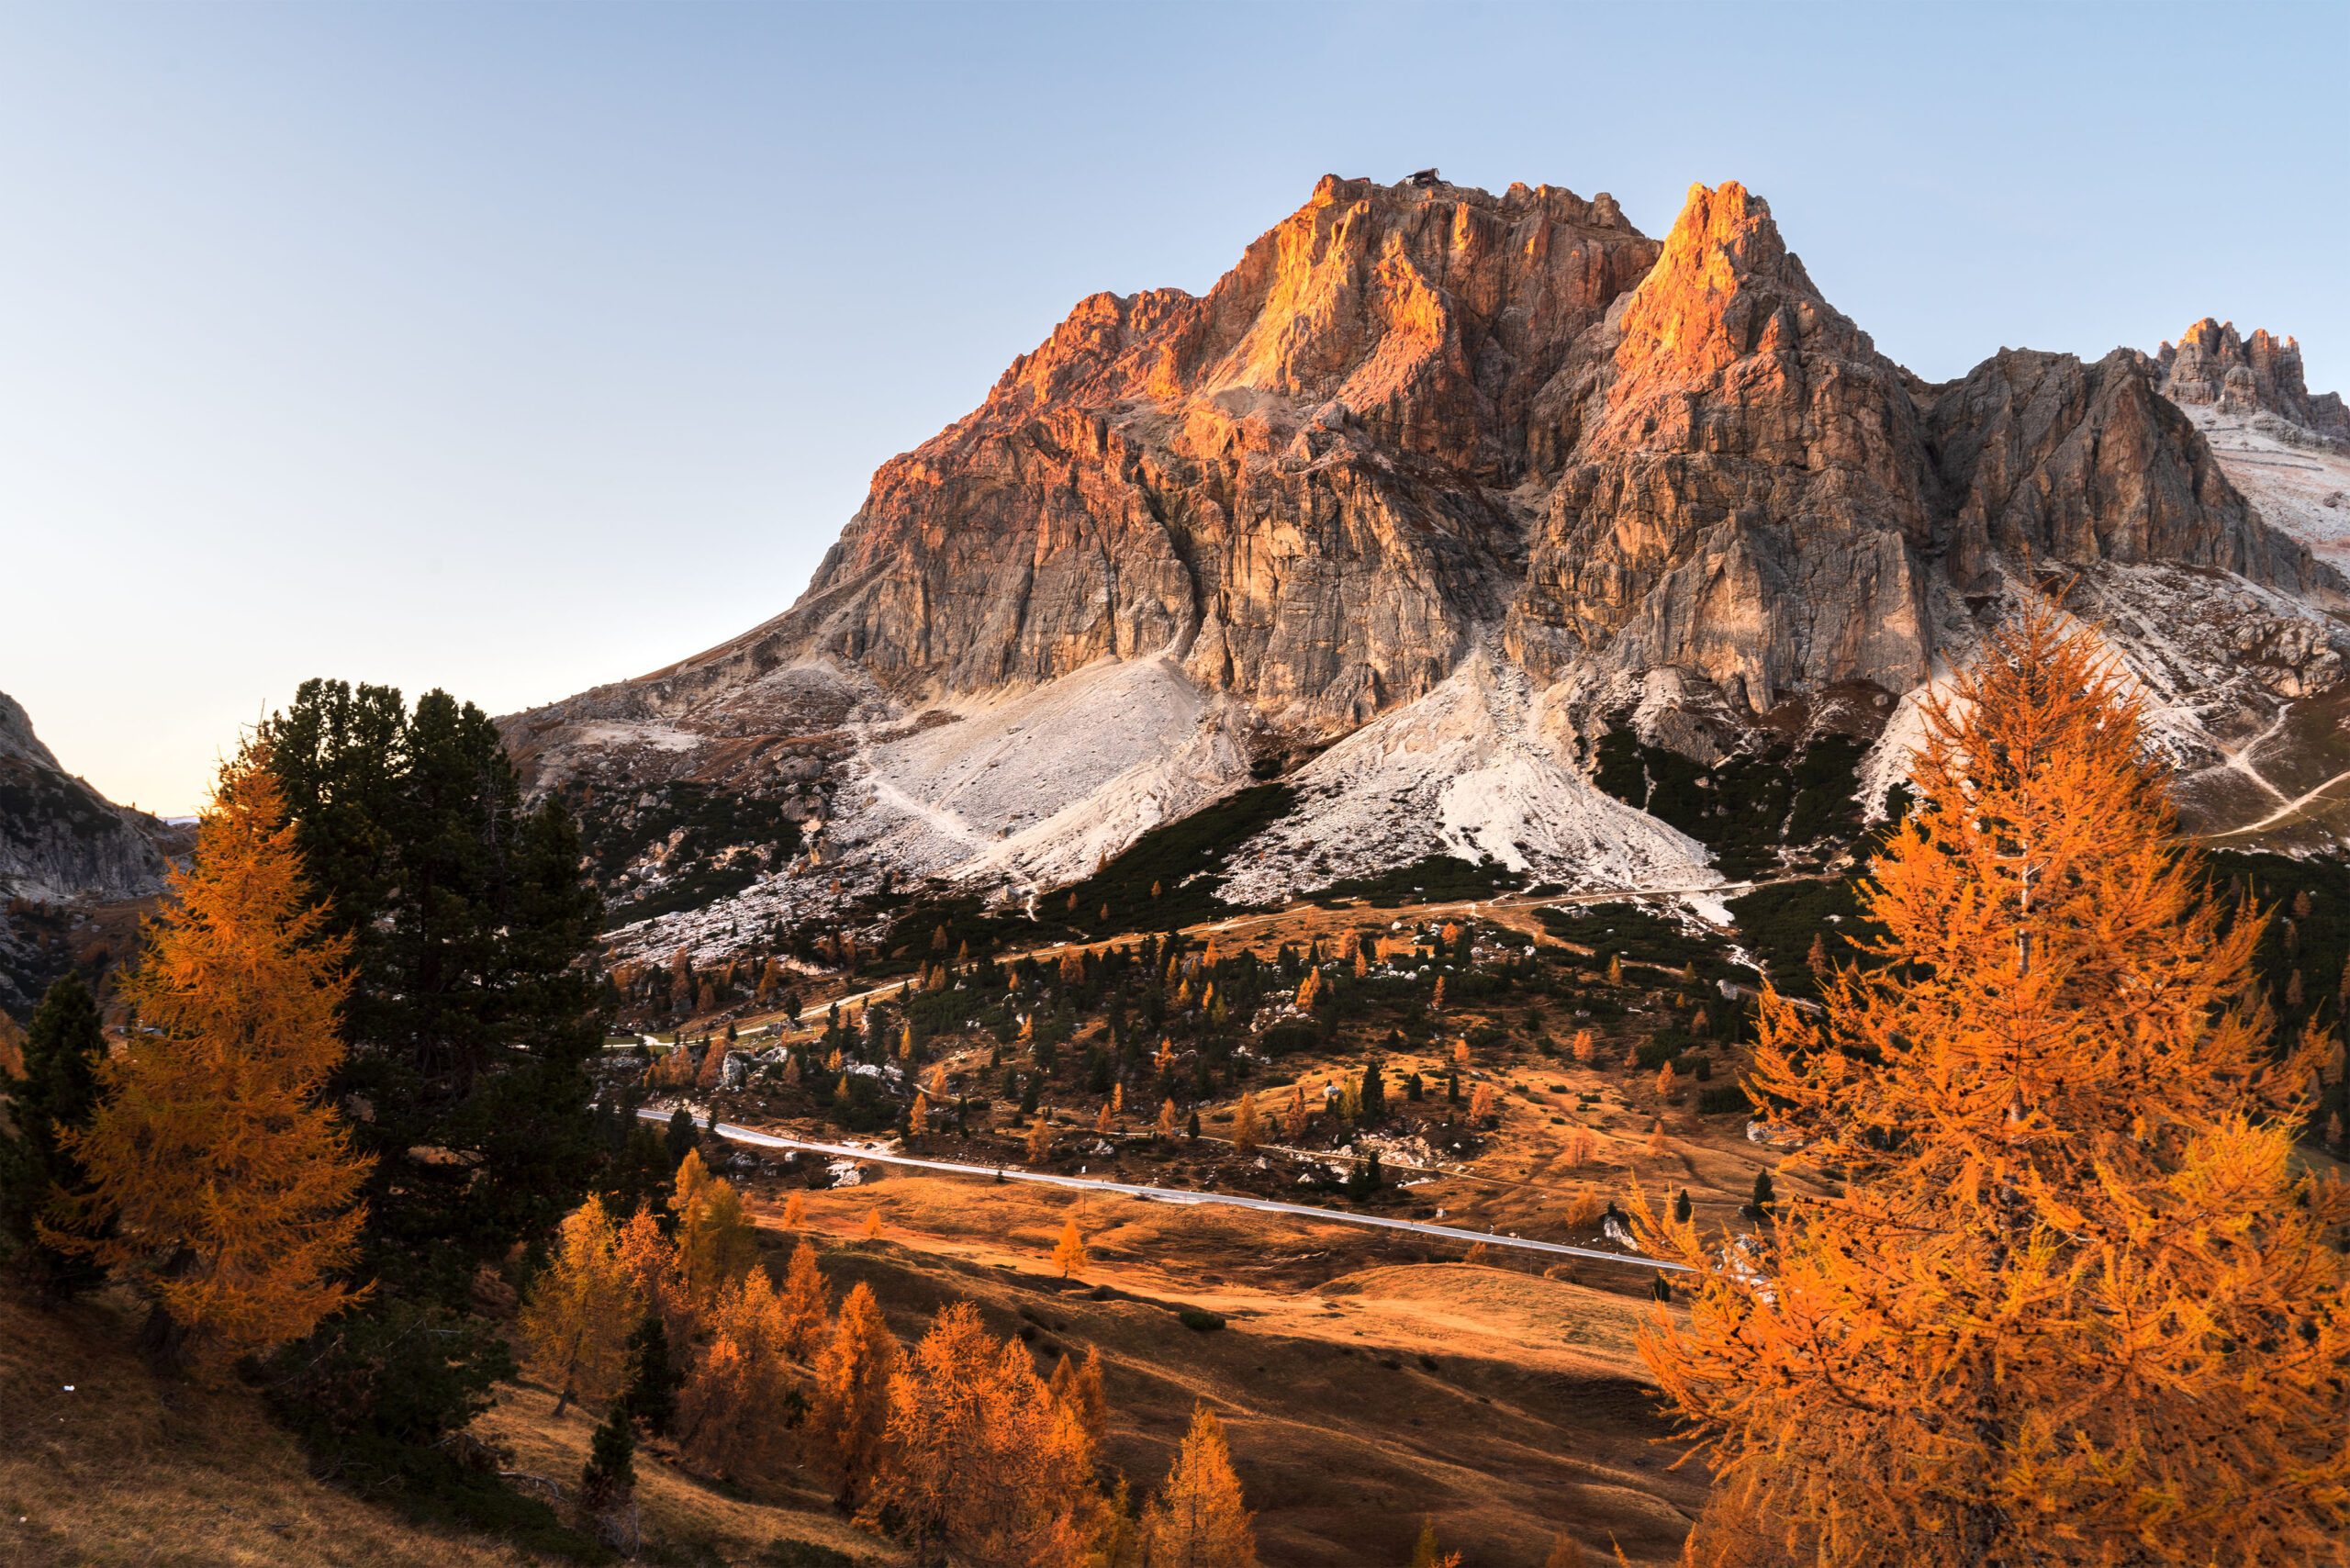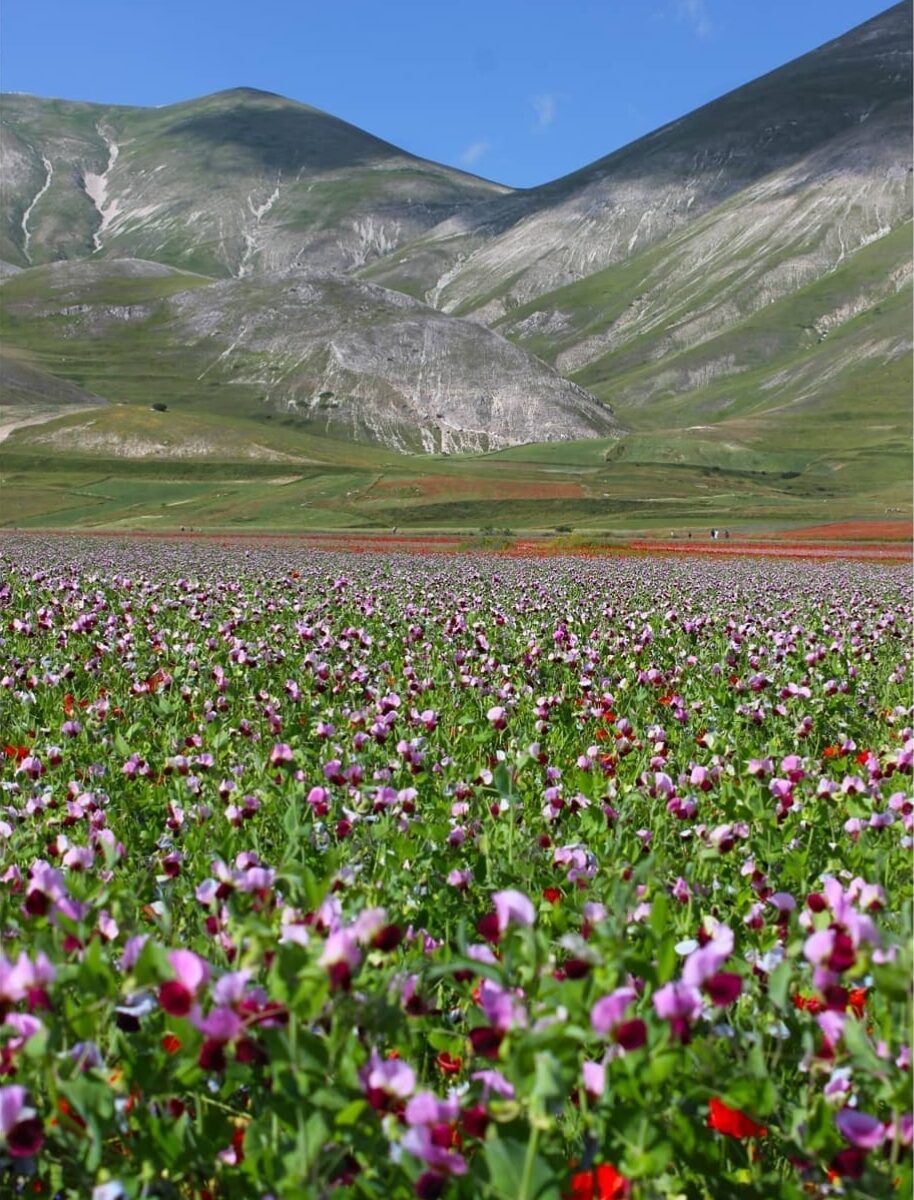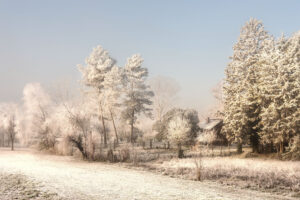
In the third post about fall foliage, we deal with autumn portrait pictures, which concerns how to photograph autumn landscapes with human subjects.
In addition to allowing us to have a super personal memory while visiting a place, having someone into a landscape photo, if well managed, can enhance both the landscape and the subject, and give original and certainly unique photo.
Let’s see some simple tips to get the best results!
Autumn portrait pictures: 4 tips to take portraits photos in autumn landscapes
1. Choose a good composition before putting in the person
The first step to getting good autumn portrait pictures is not to rush.
First, observe the scene and choose the point that captures your attention the most. Understand which elements of the landscape around you want to include in the composition and which are superfluous or even annoying.
Once you have found your setting, choose where in the composition the subject could best fit.
In particular, avoid allowing the subject to obscure other elements. This means making sure, for example, that a trunk or branch does not emerge from behind the subject and seems to be sticking out of their head!
Otherwise the eye will be caught by this curiousness, which will ruin the photo.
Beyond this aspect, there are some composition choices that can help you.
Here some advice on how to best fit the person in the photo:
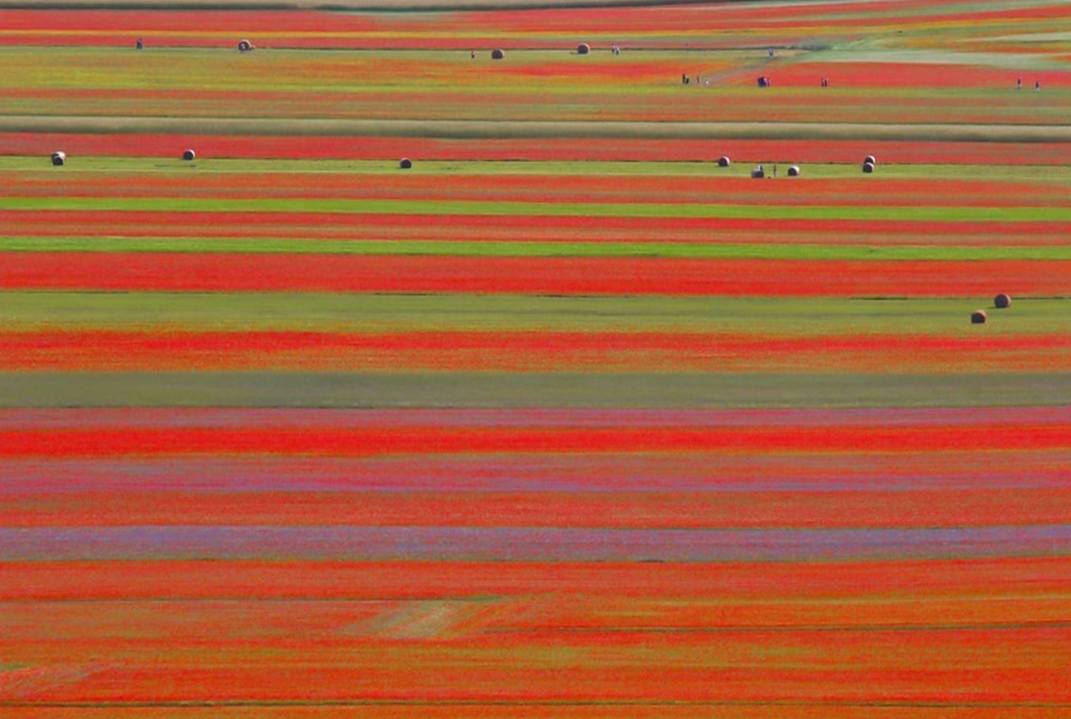
- If the landscape is in the background, prefer the subject in the foreground, in the center or in one of the thirds.
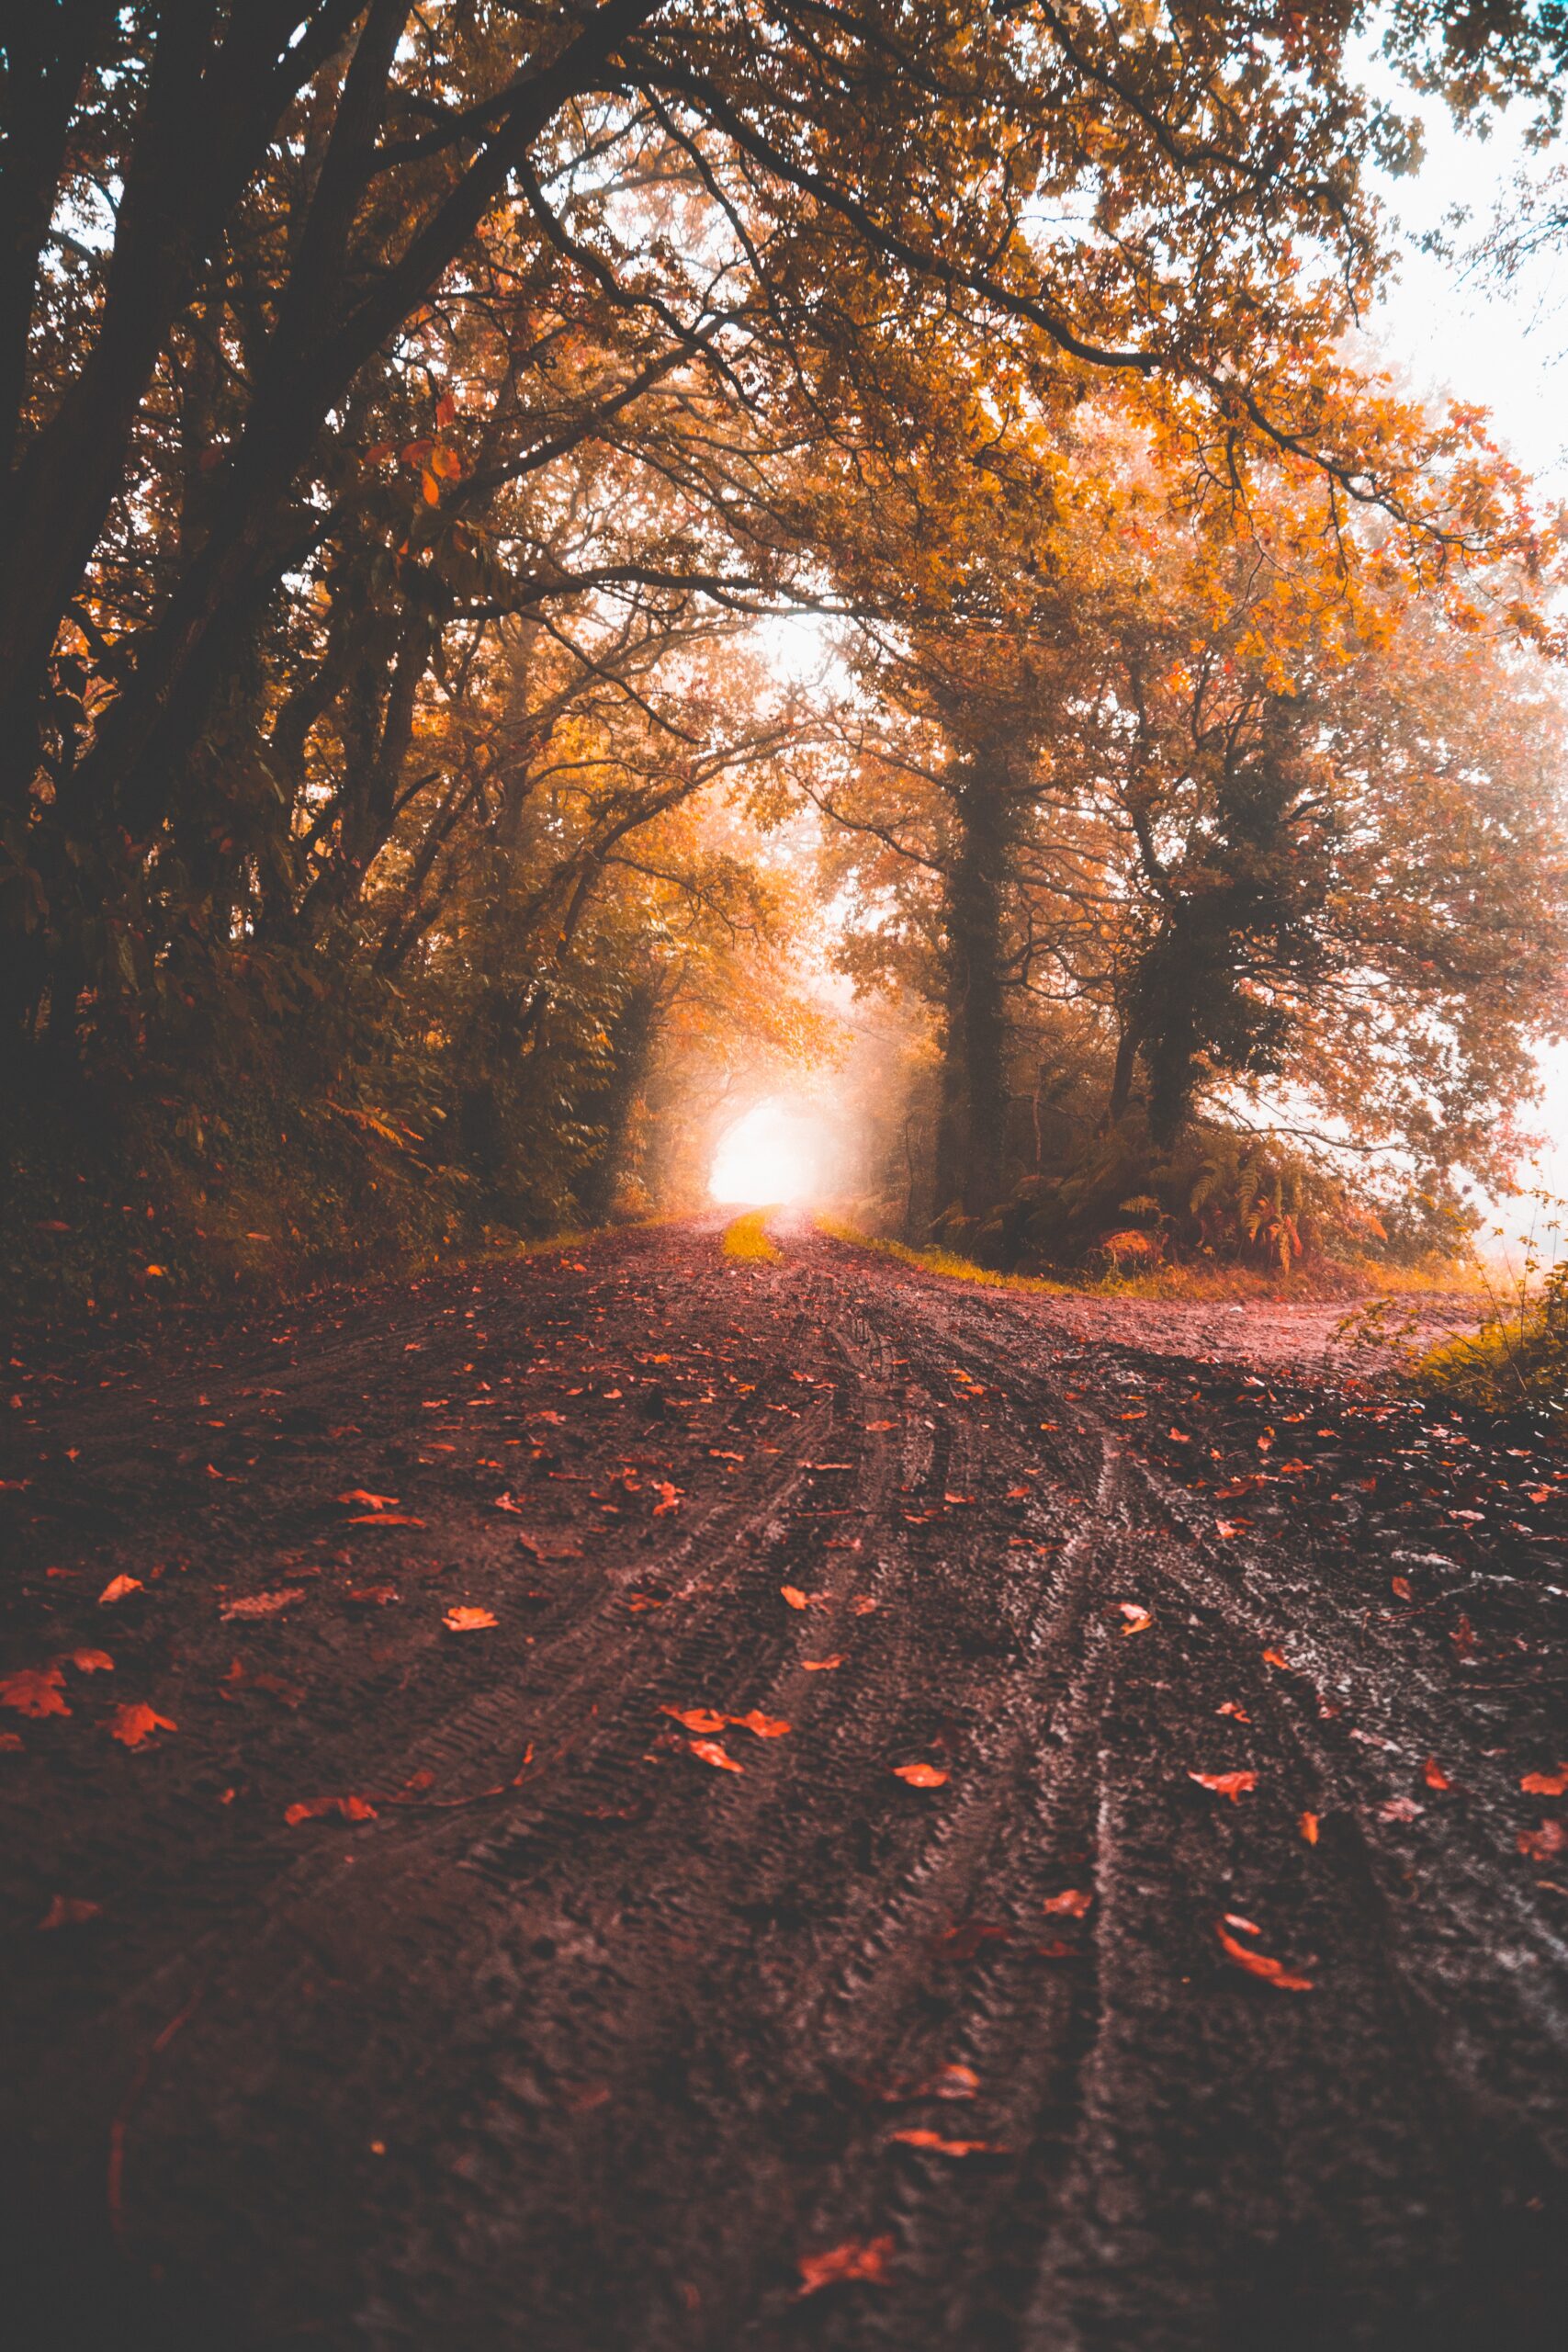
- If, however, the landscape leaves the center empty and is in the sides, such as in a tree-lined avenue, then your subject will fit better in the center of the scene. In this case, also consider whether it is better to lower the frame by getting closer to the ground.
- When the landscape is less “tidy”, look for an “empty spot” where to insert the subject, even if not in the foreground. If it has free space around it, it will capture the attention.
- If the landscape is very confusing and there are many elements, it might be more interesting to choose a greater integration of the person into the scene, for example coming out from behind a tree or choosing a pose in direct contact with nature, to suggest the person’s immersion in the surroundings.
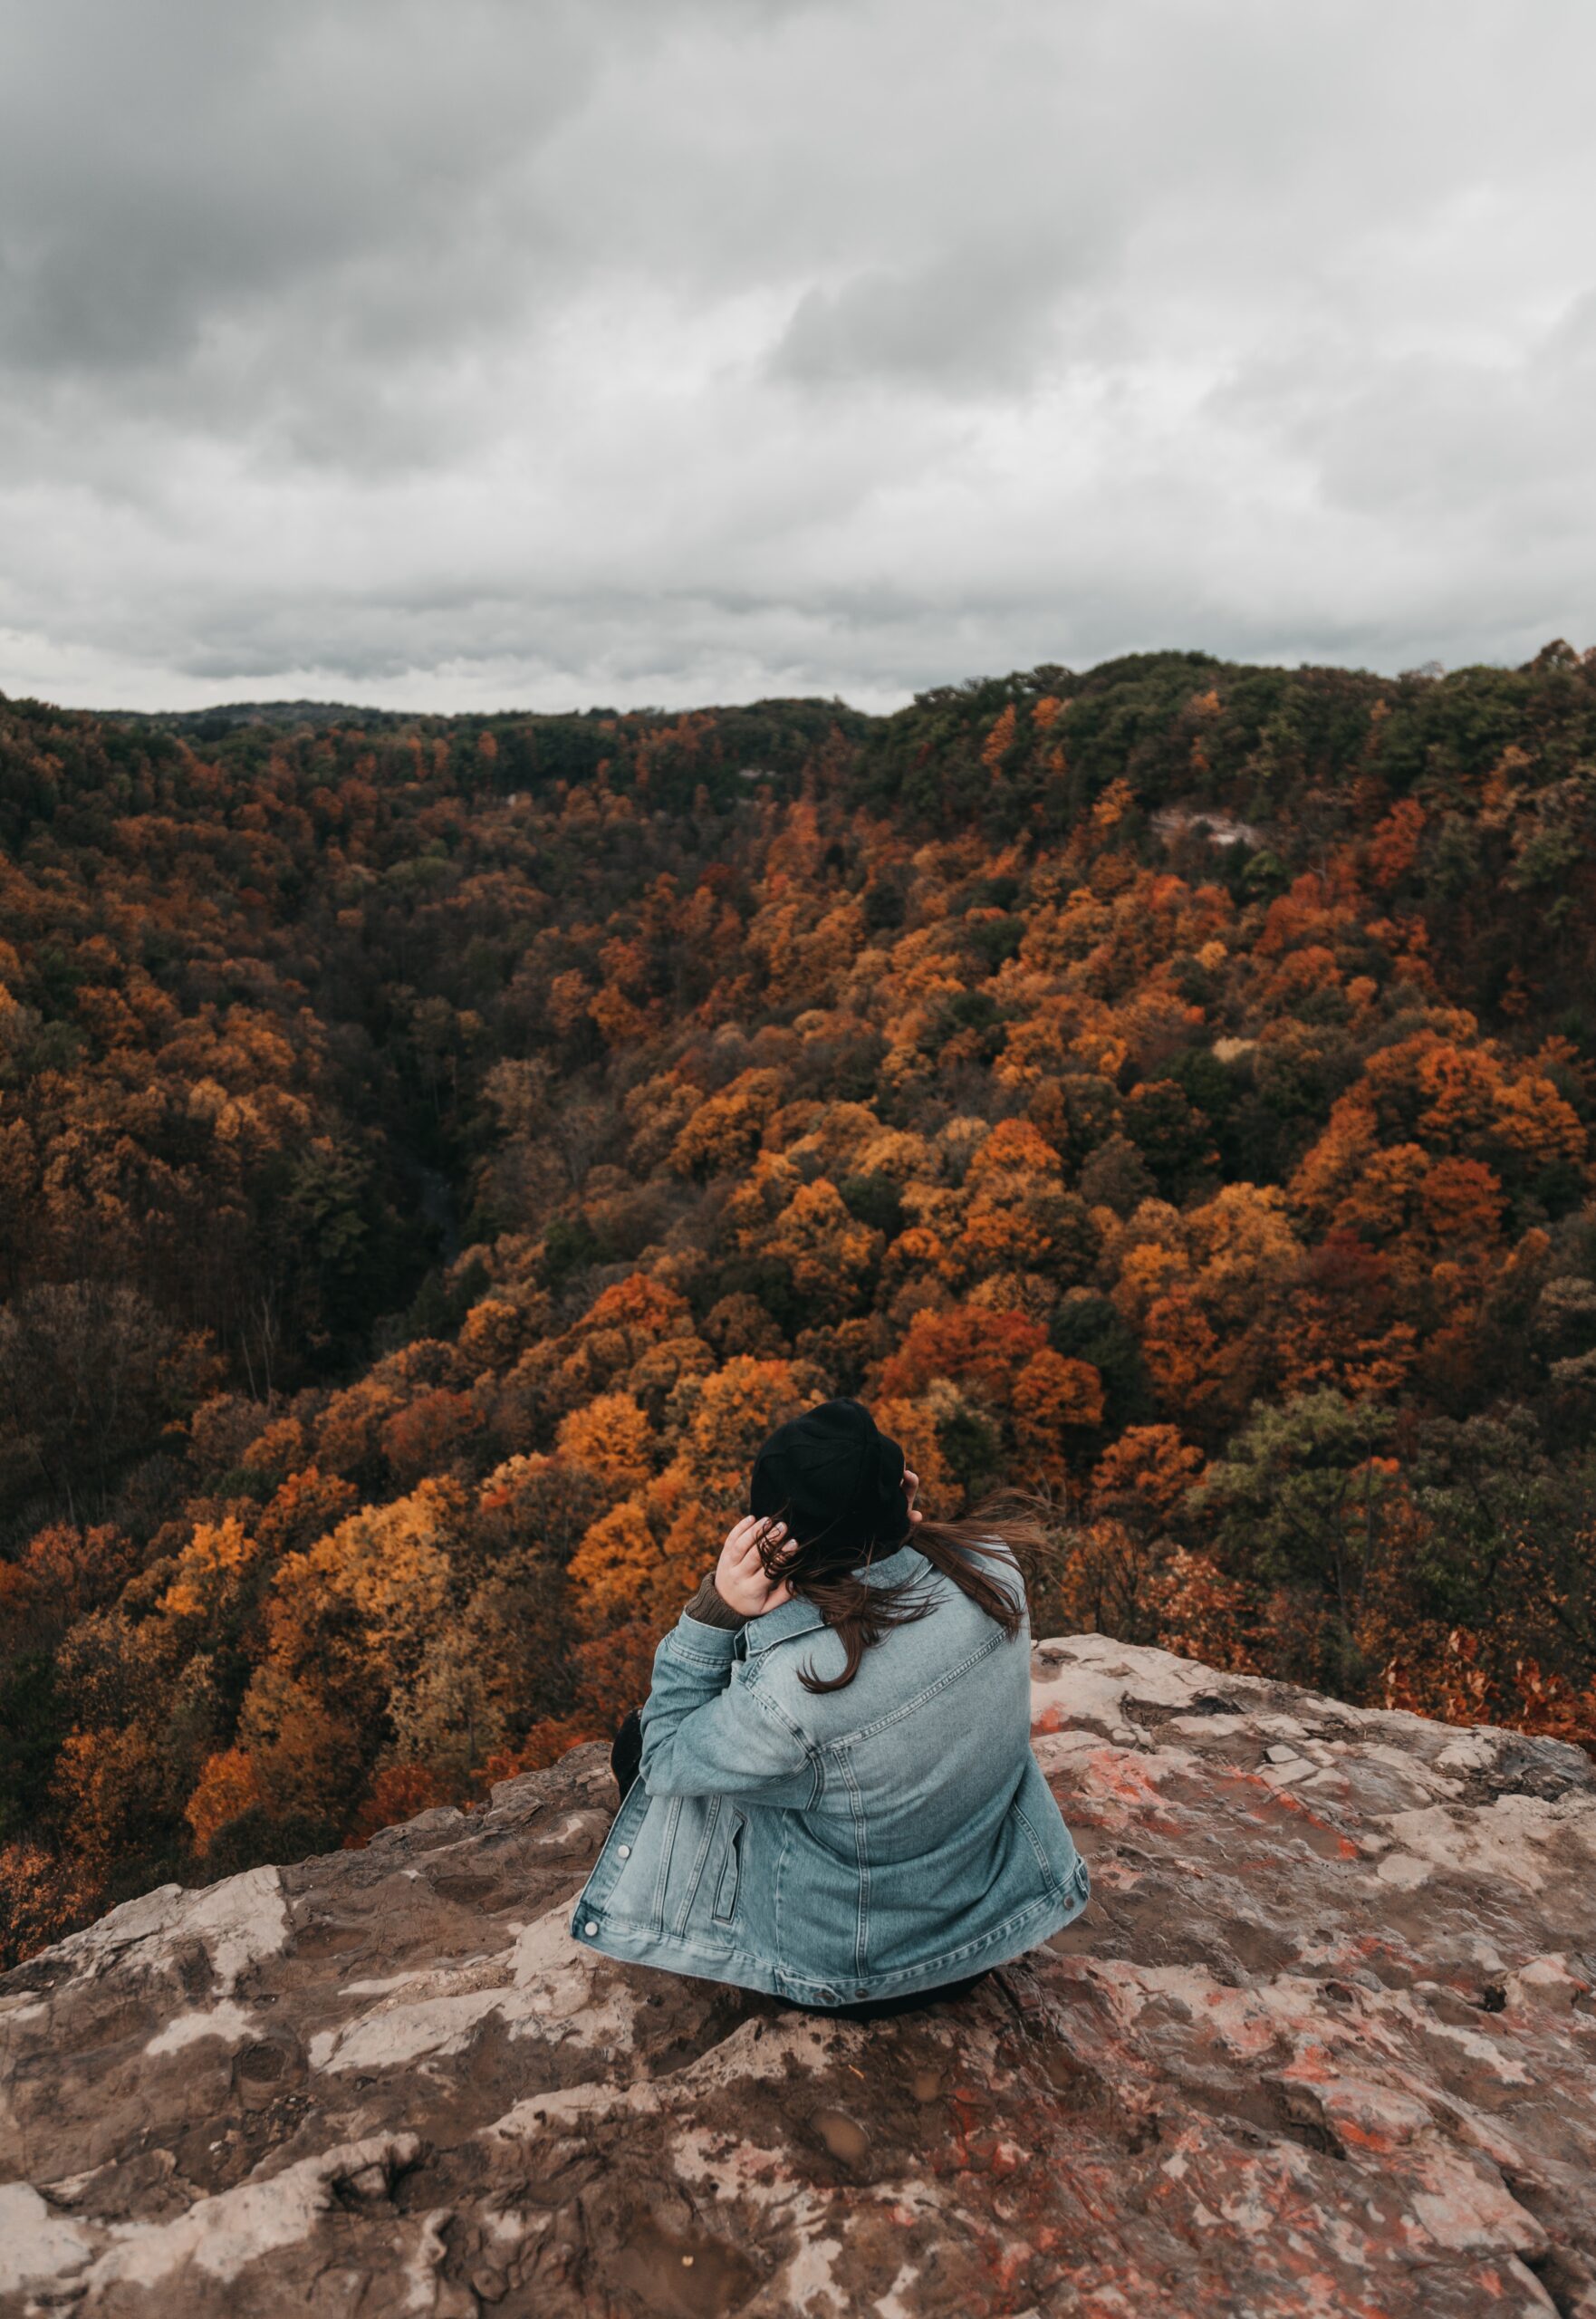
Photo by Brendan Church on Unsplash 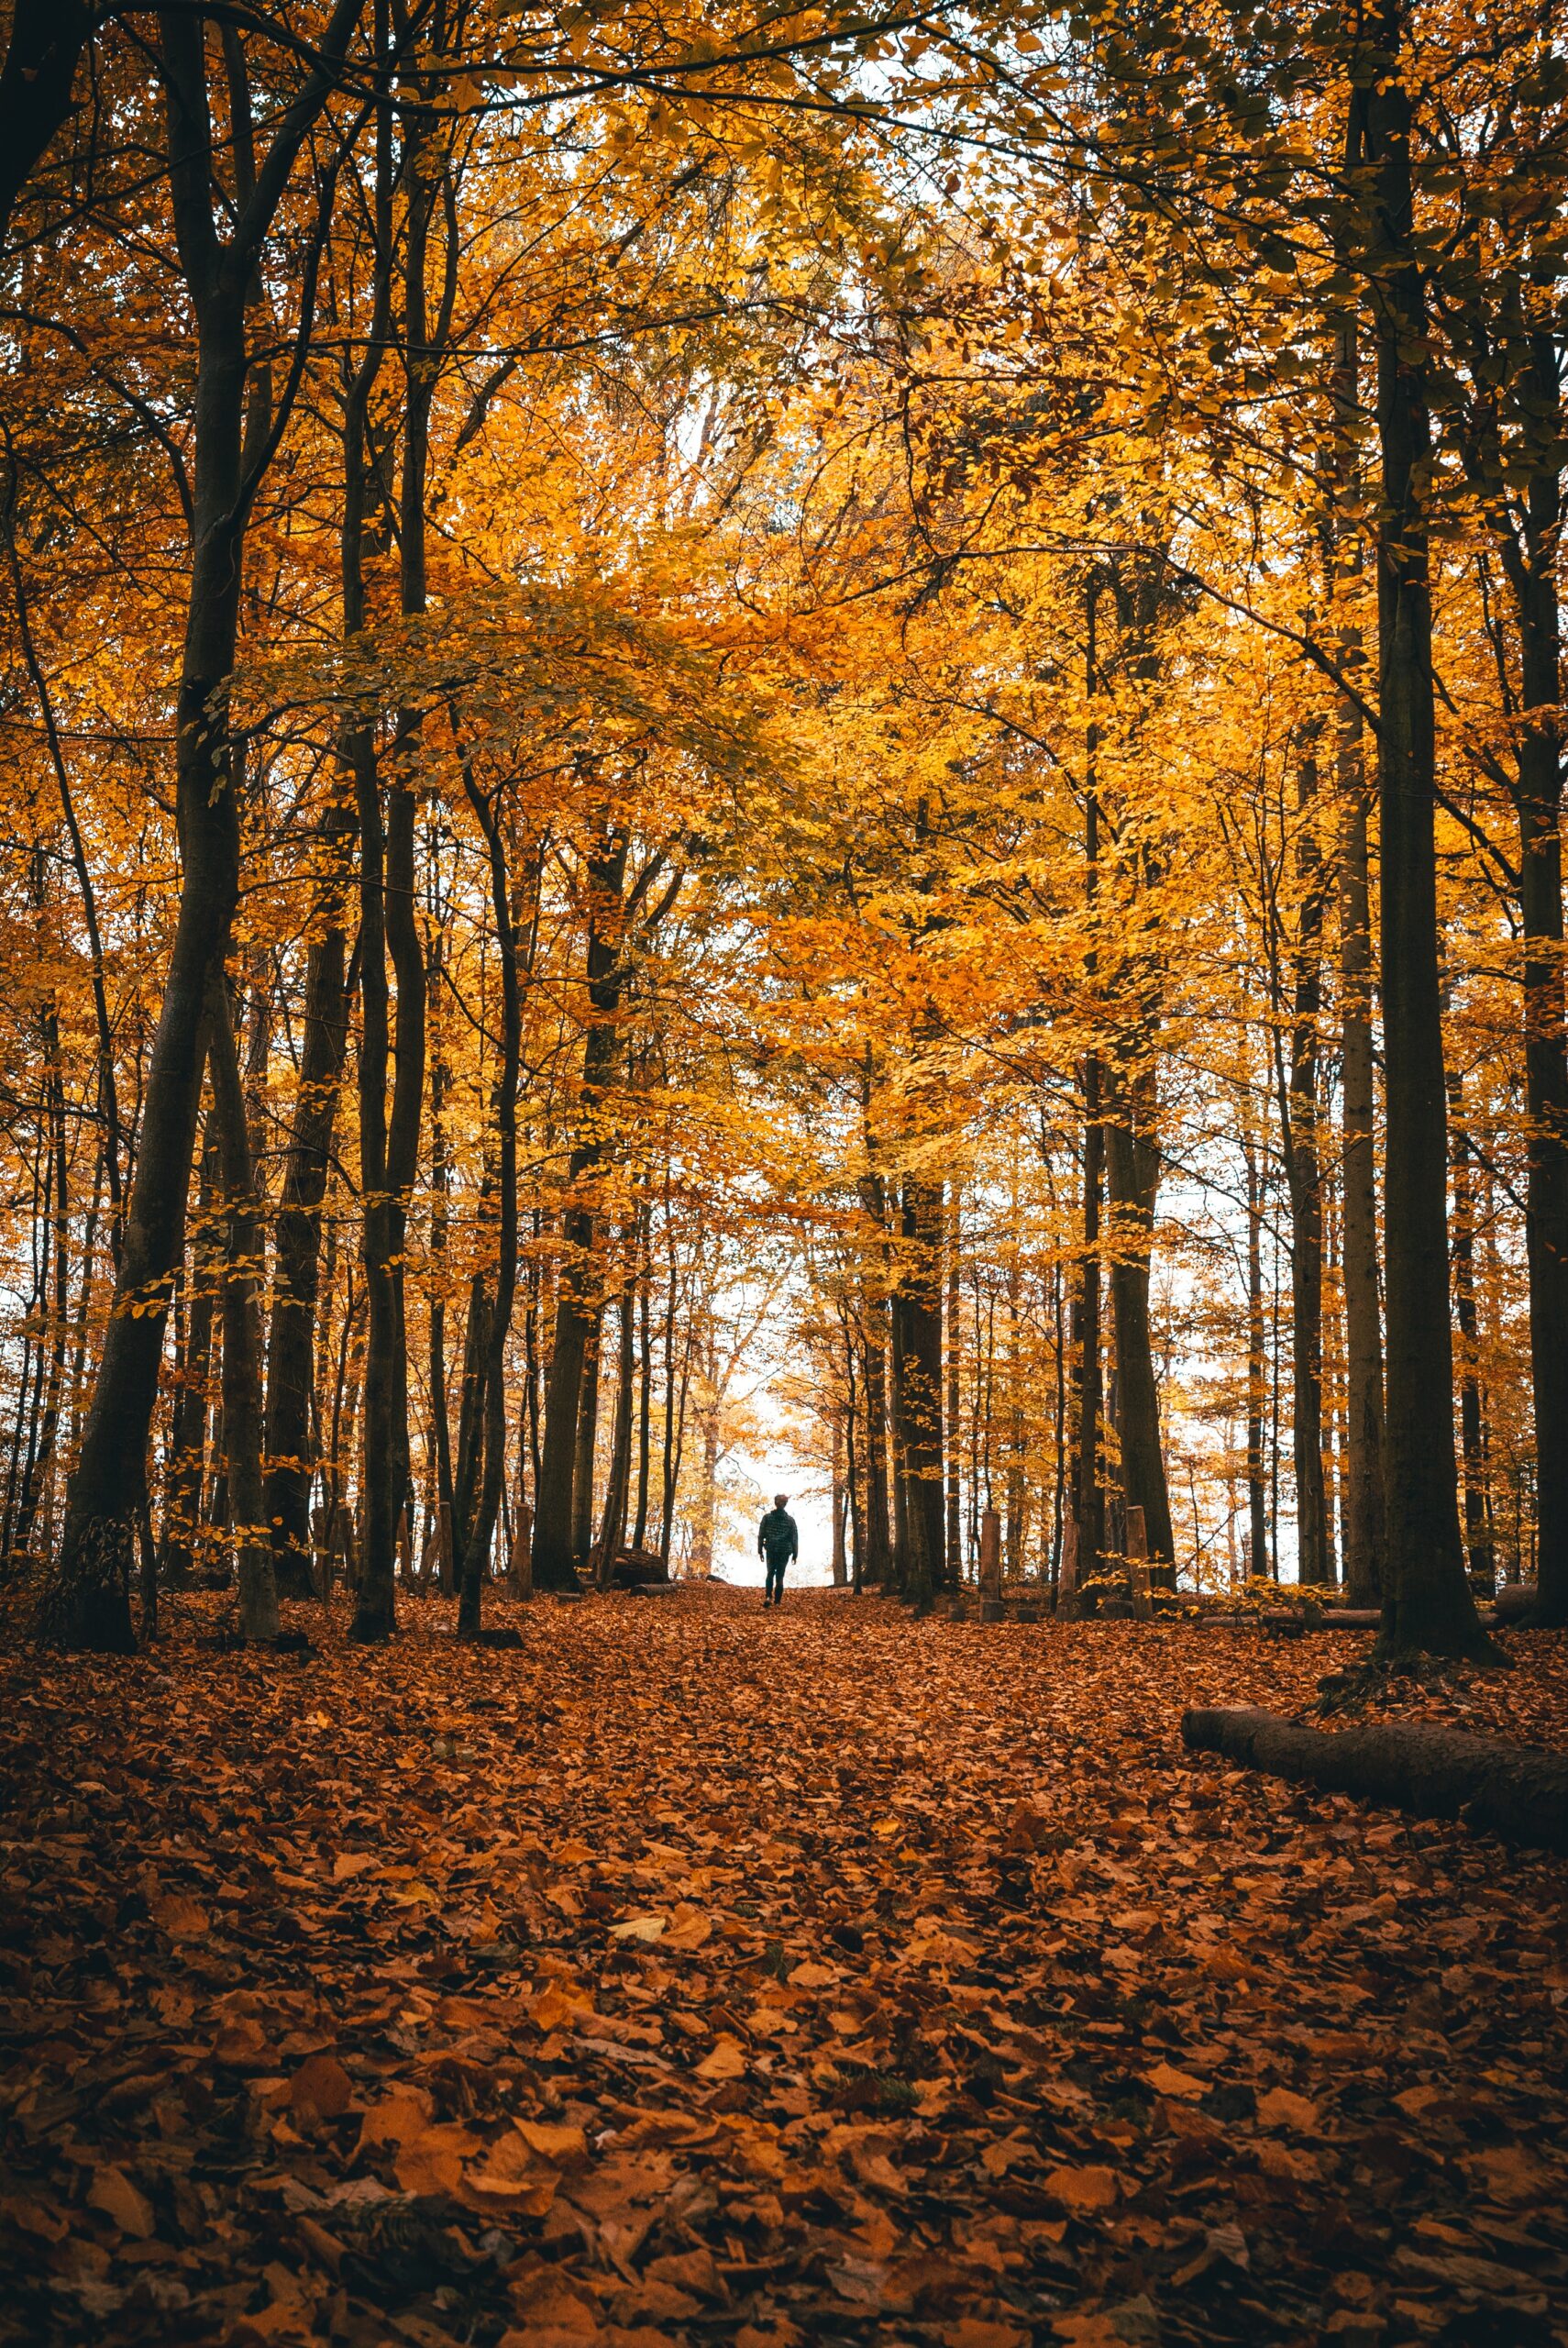
Photo by Andreas Rasmussen on Unsplash 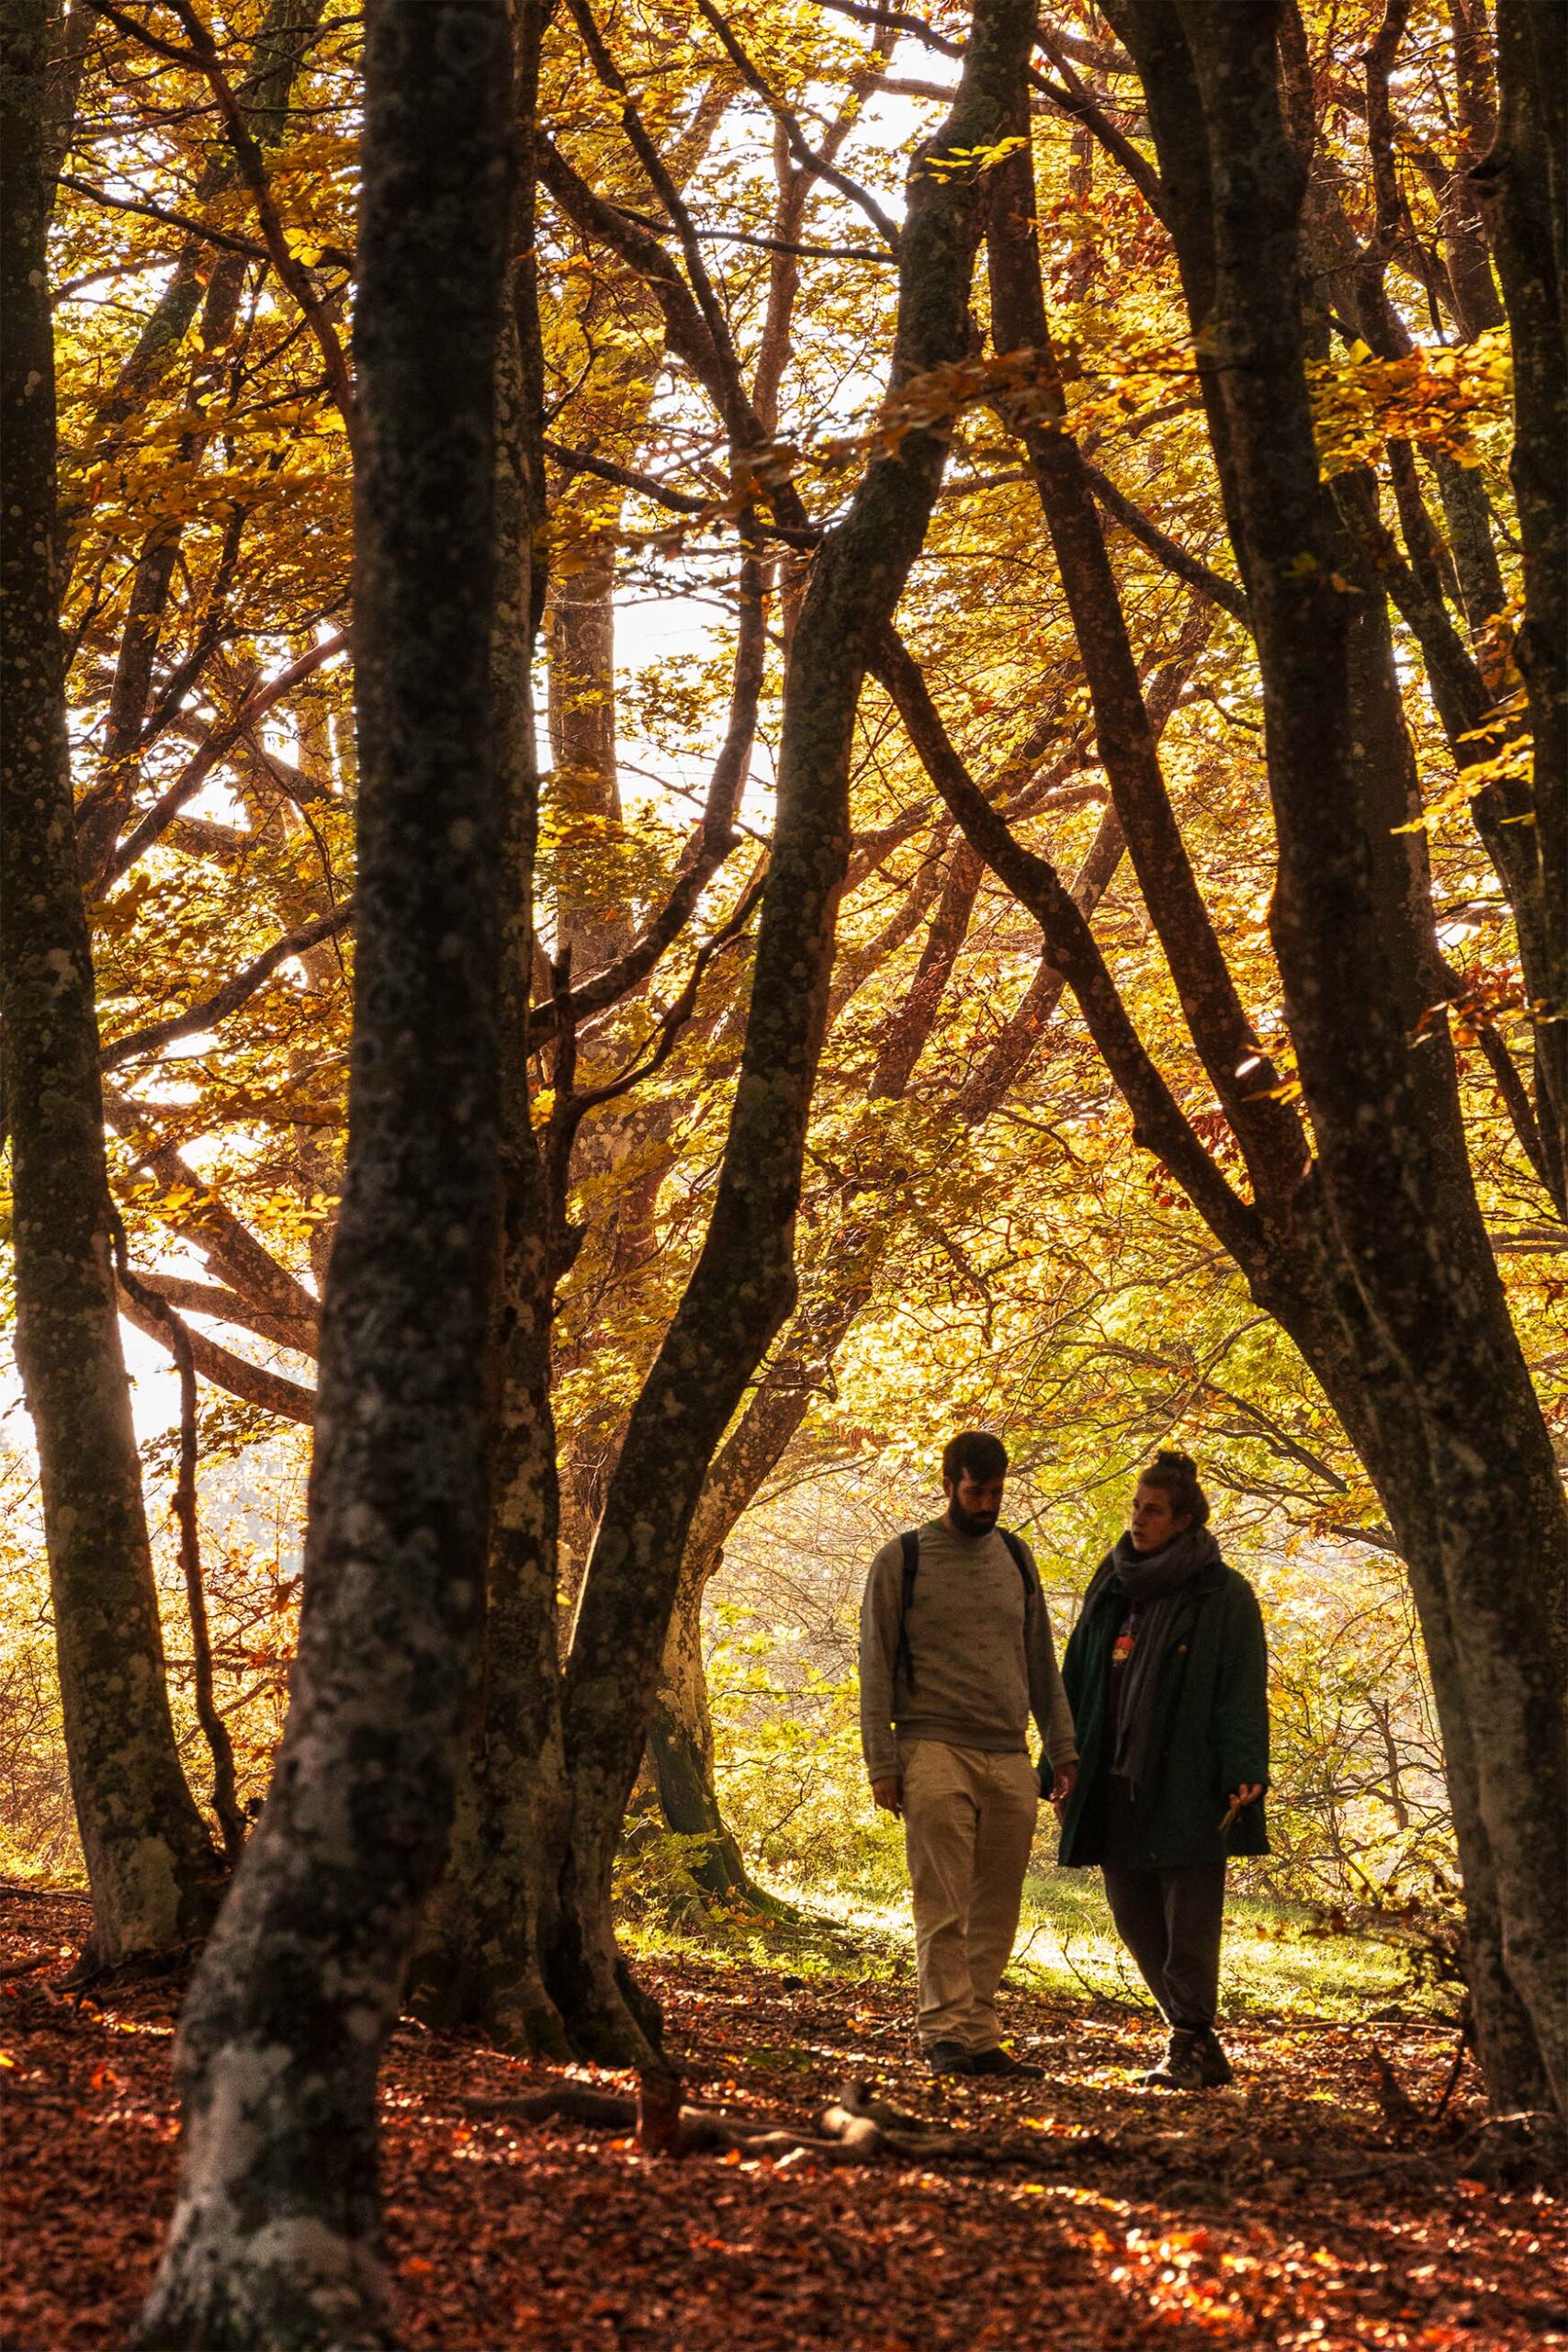
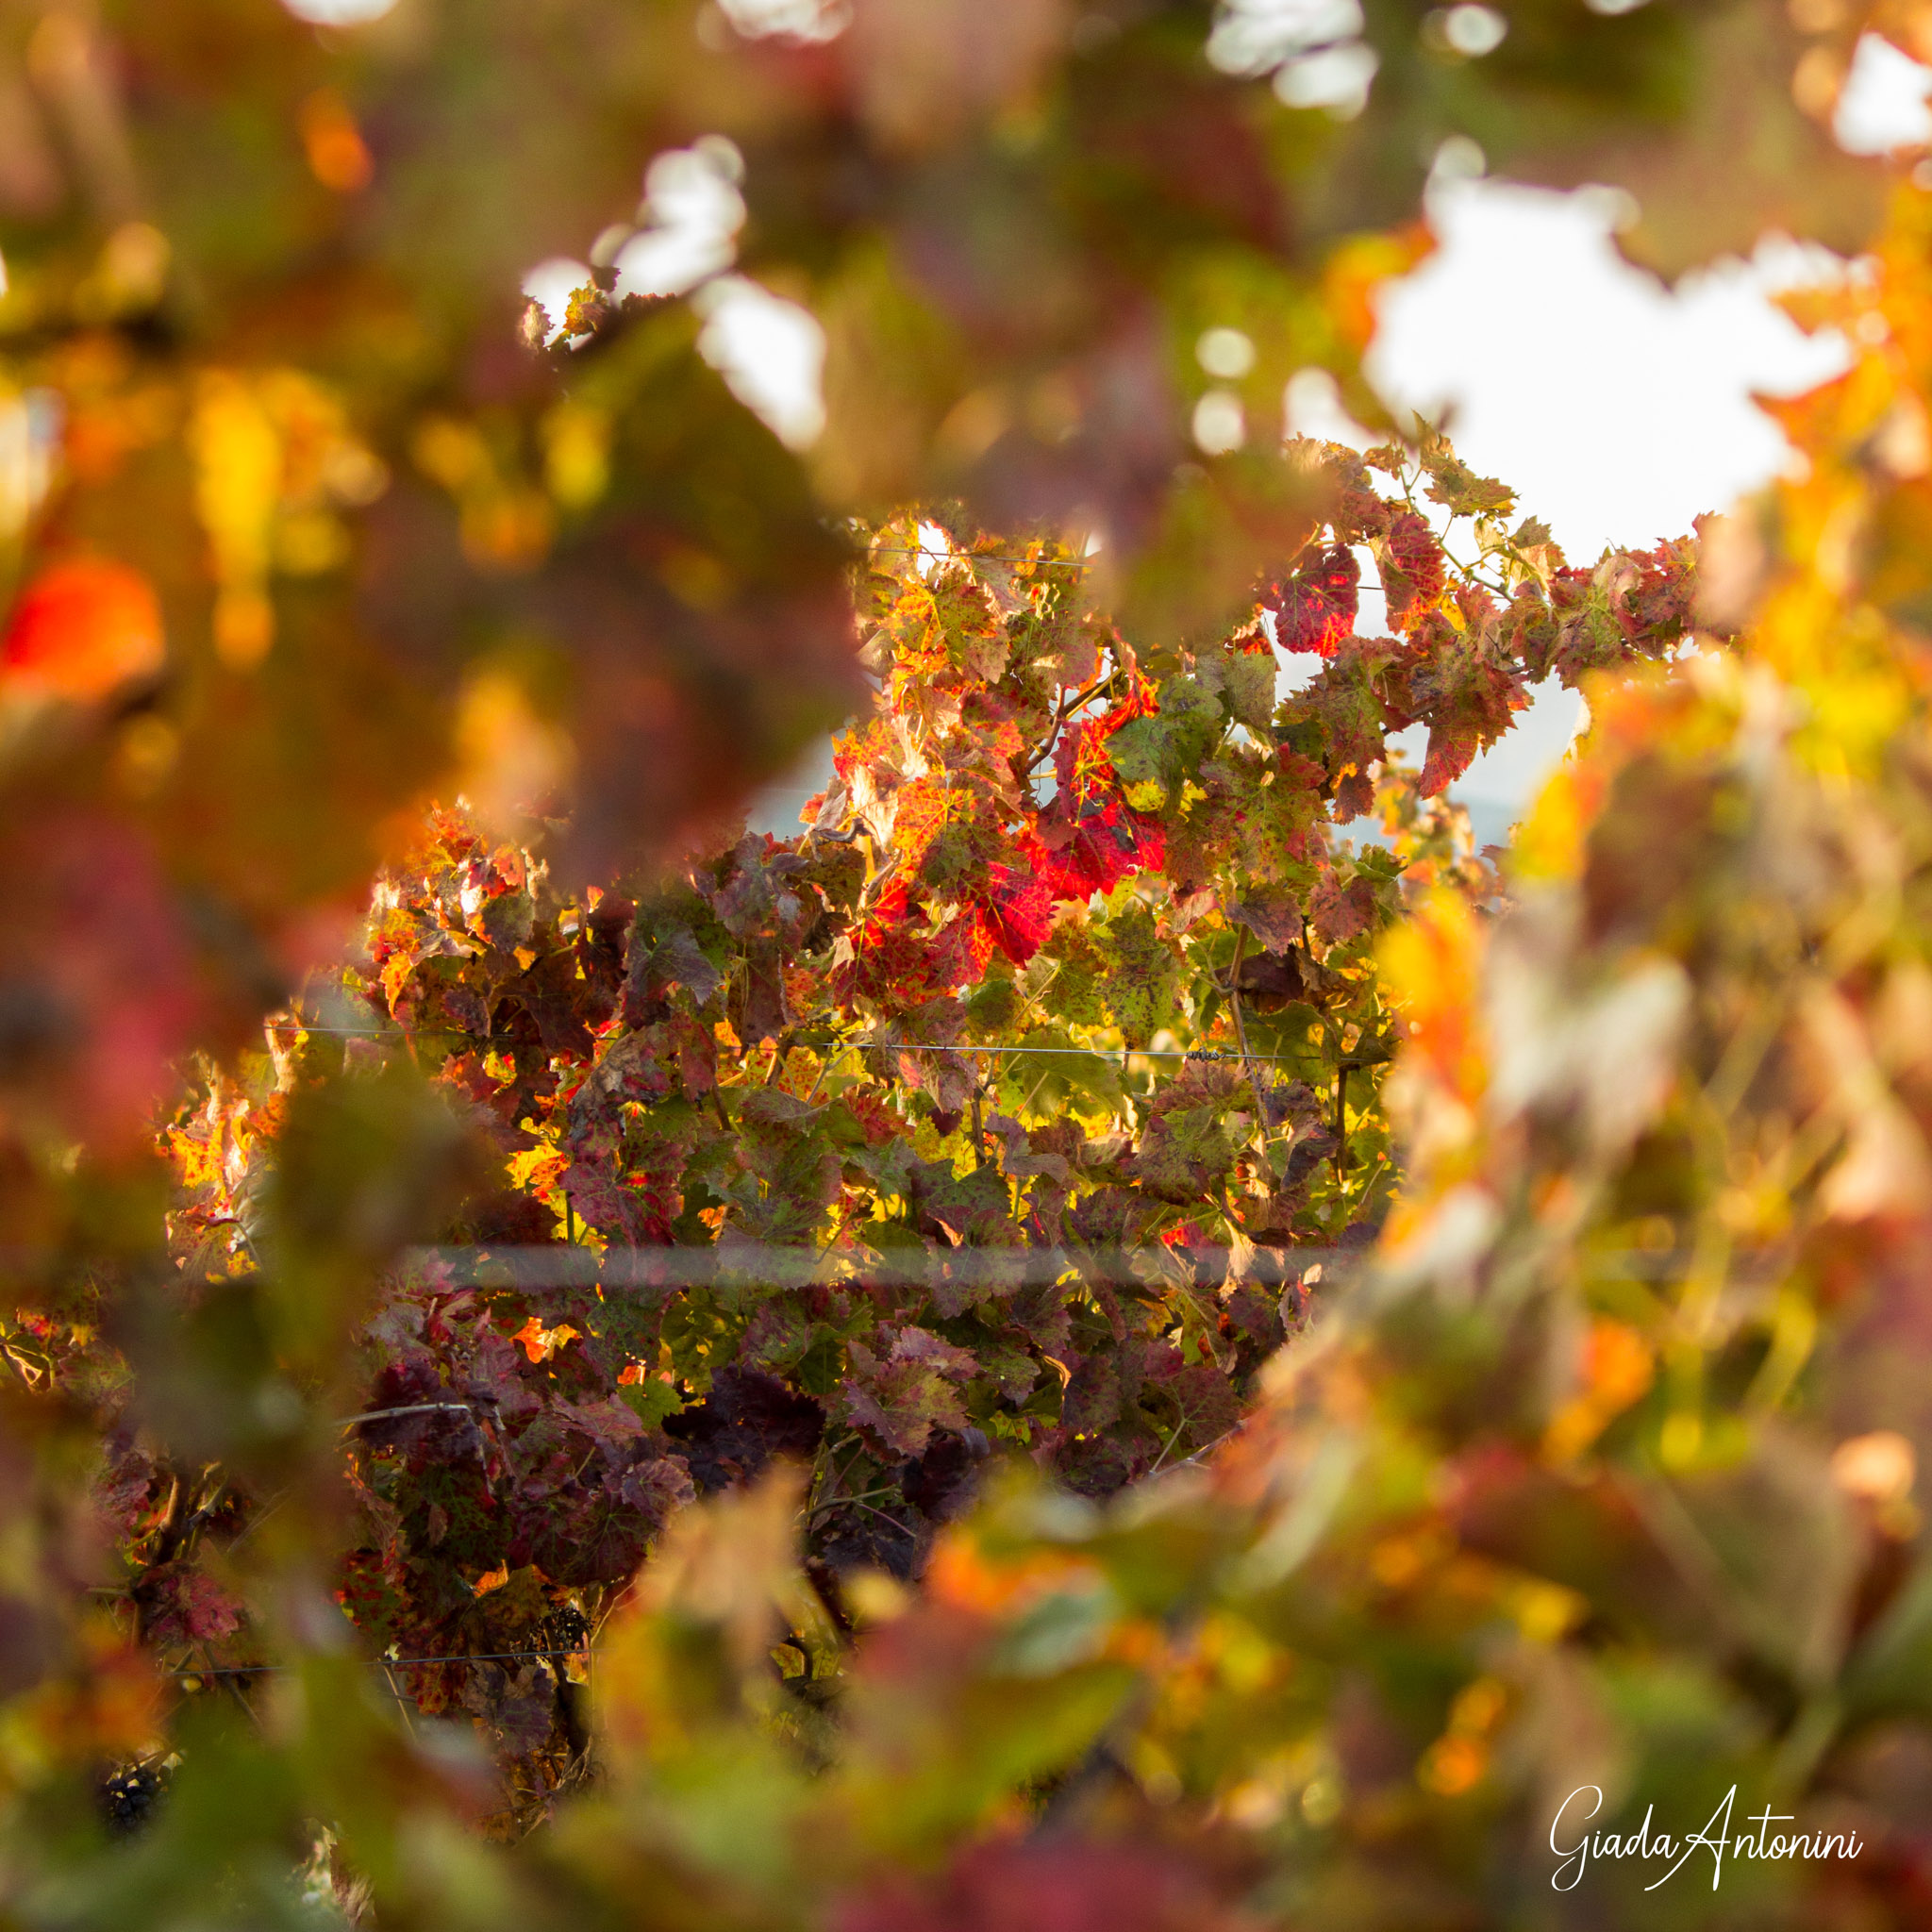
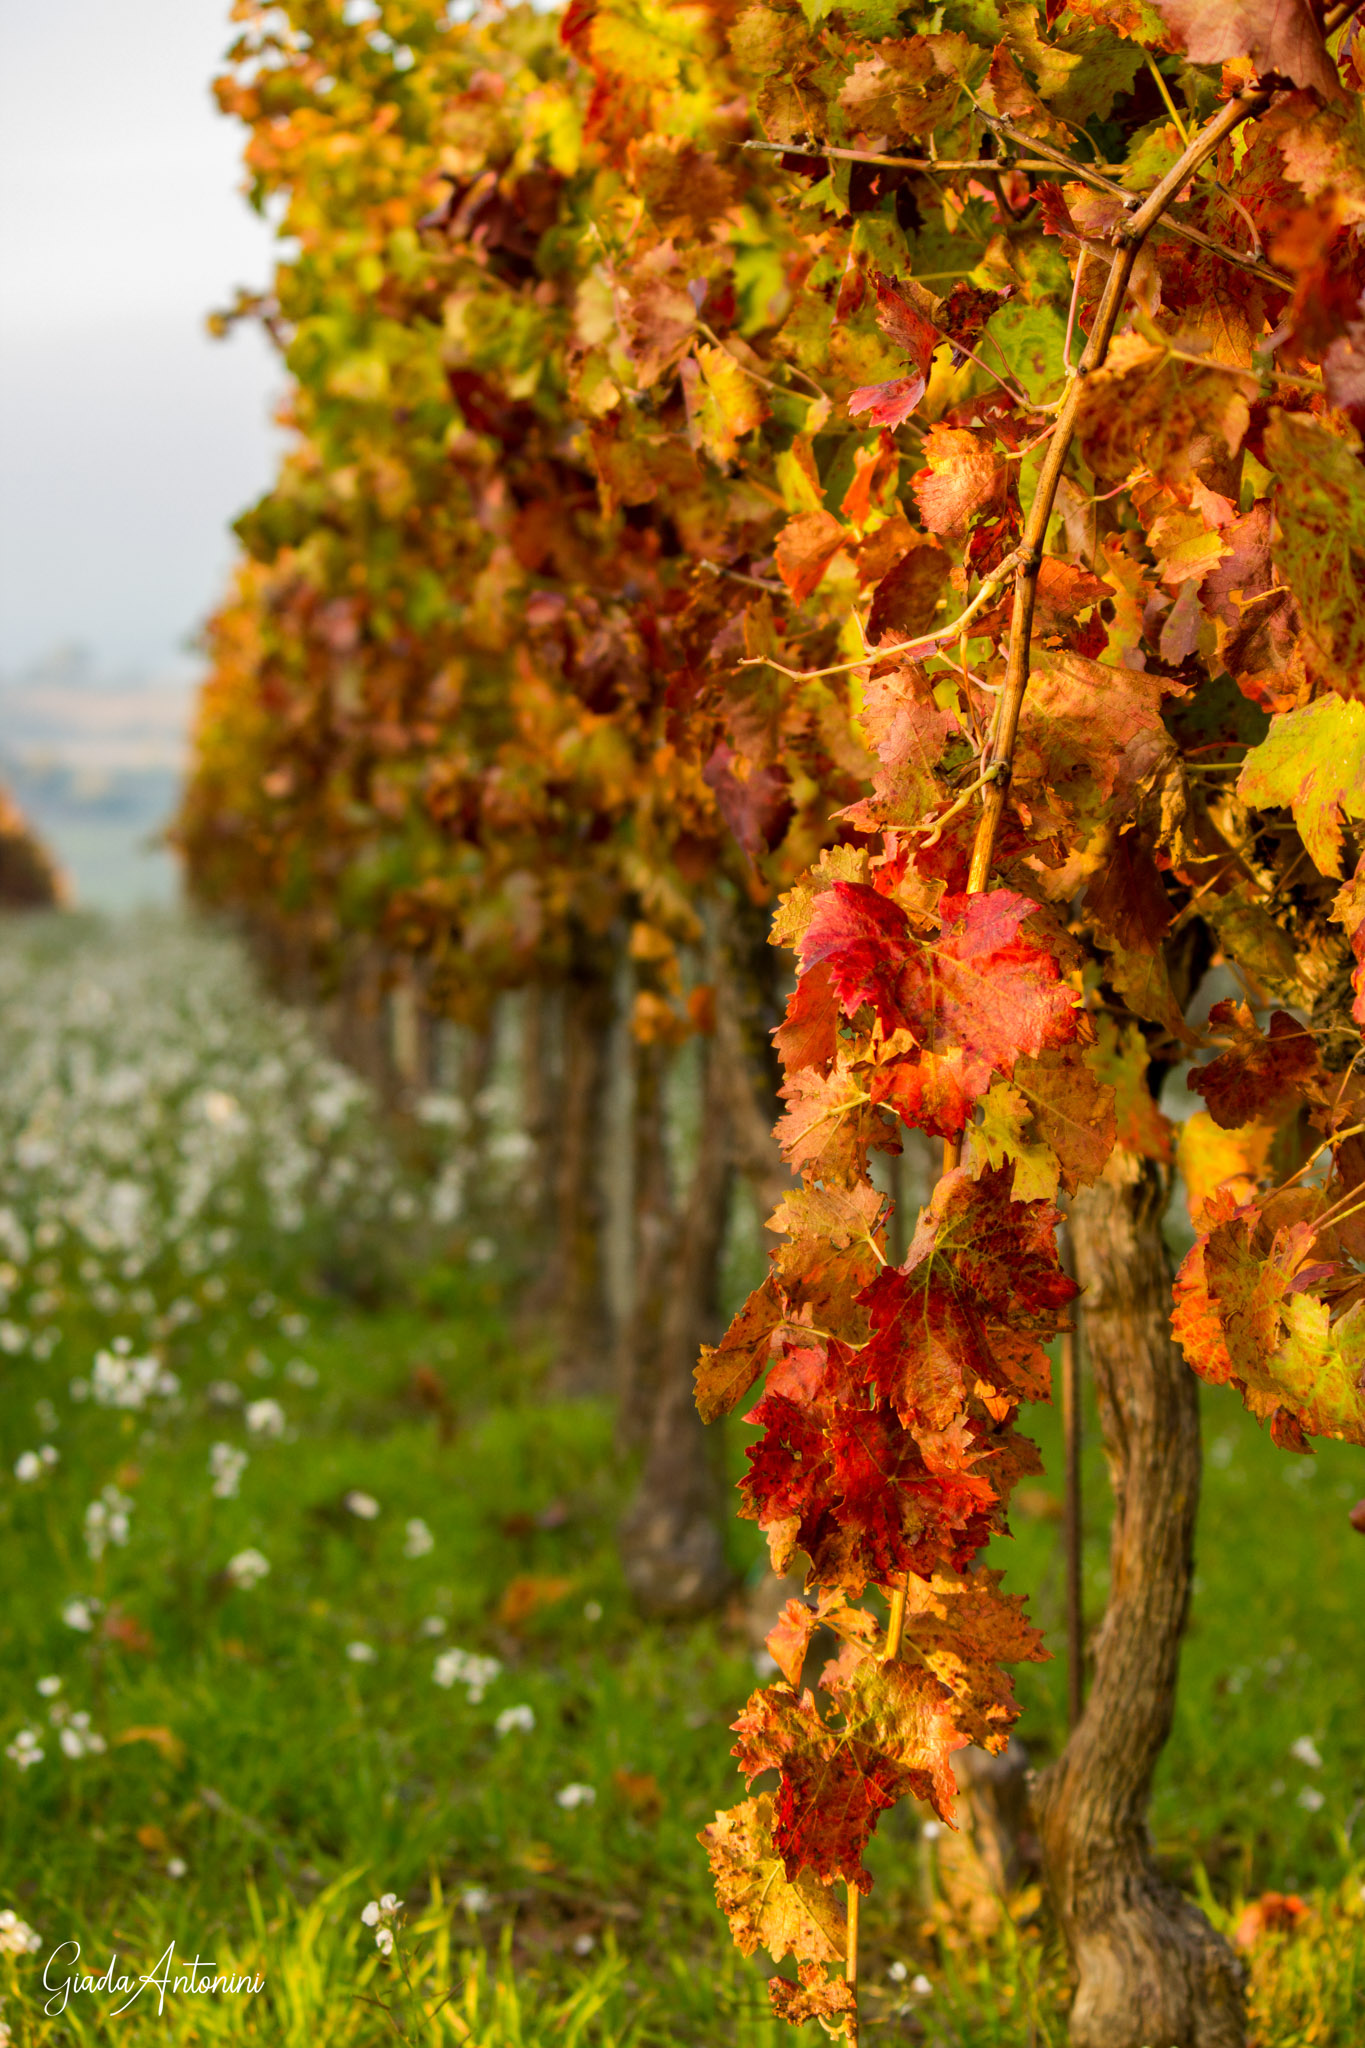
@giadaantonini_photography 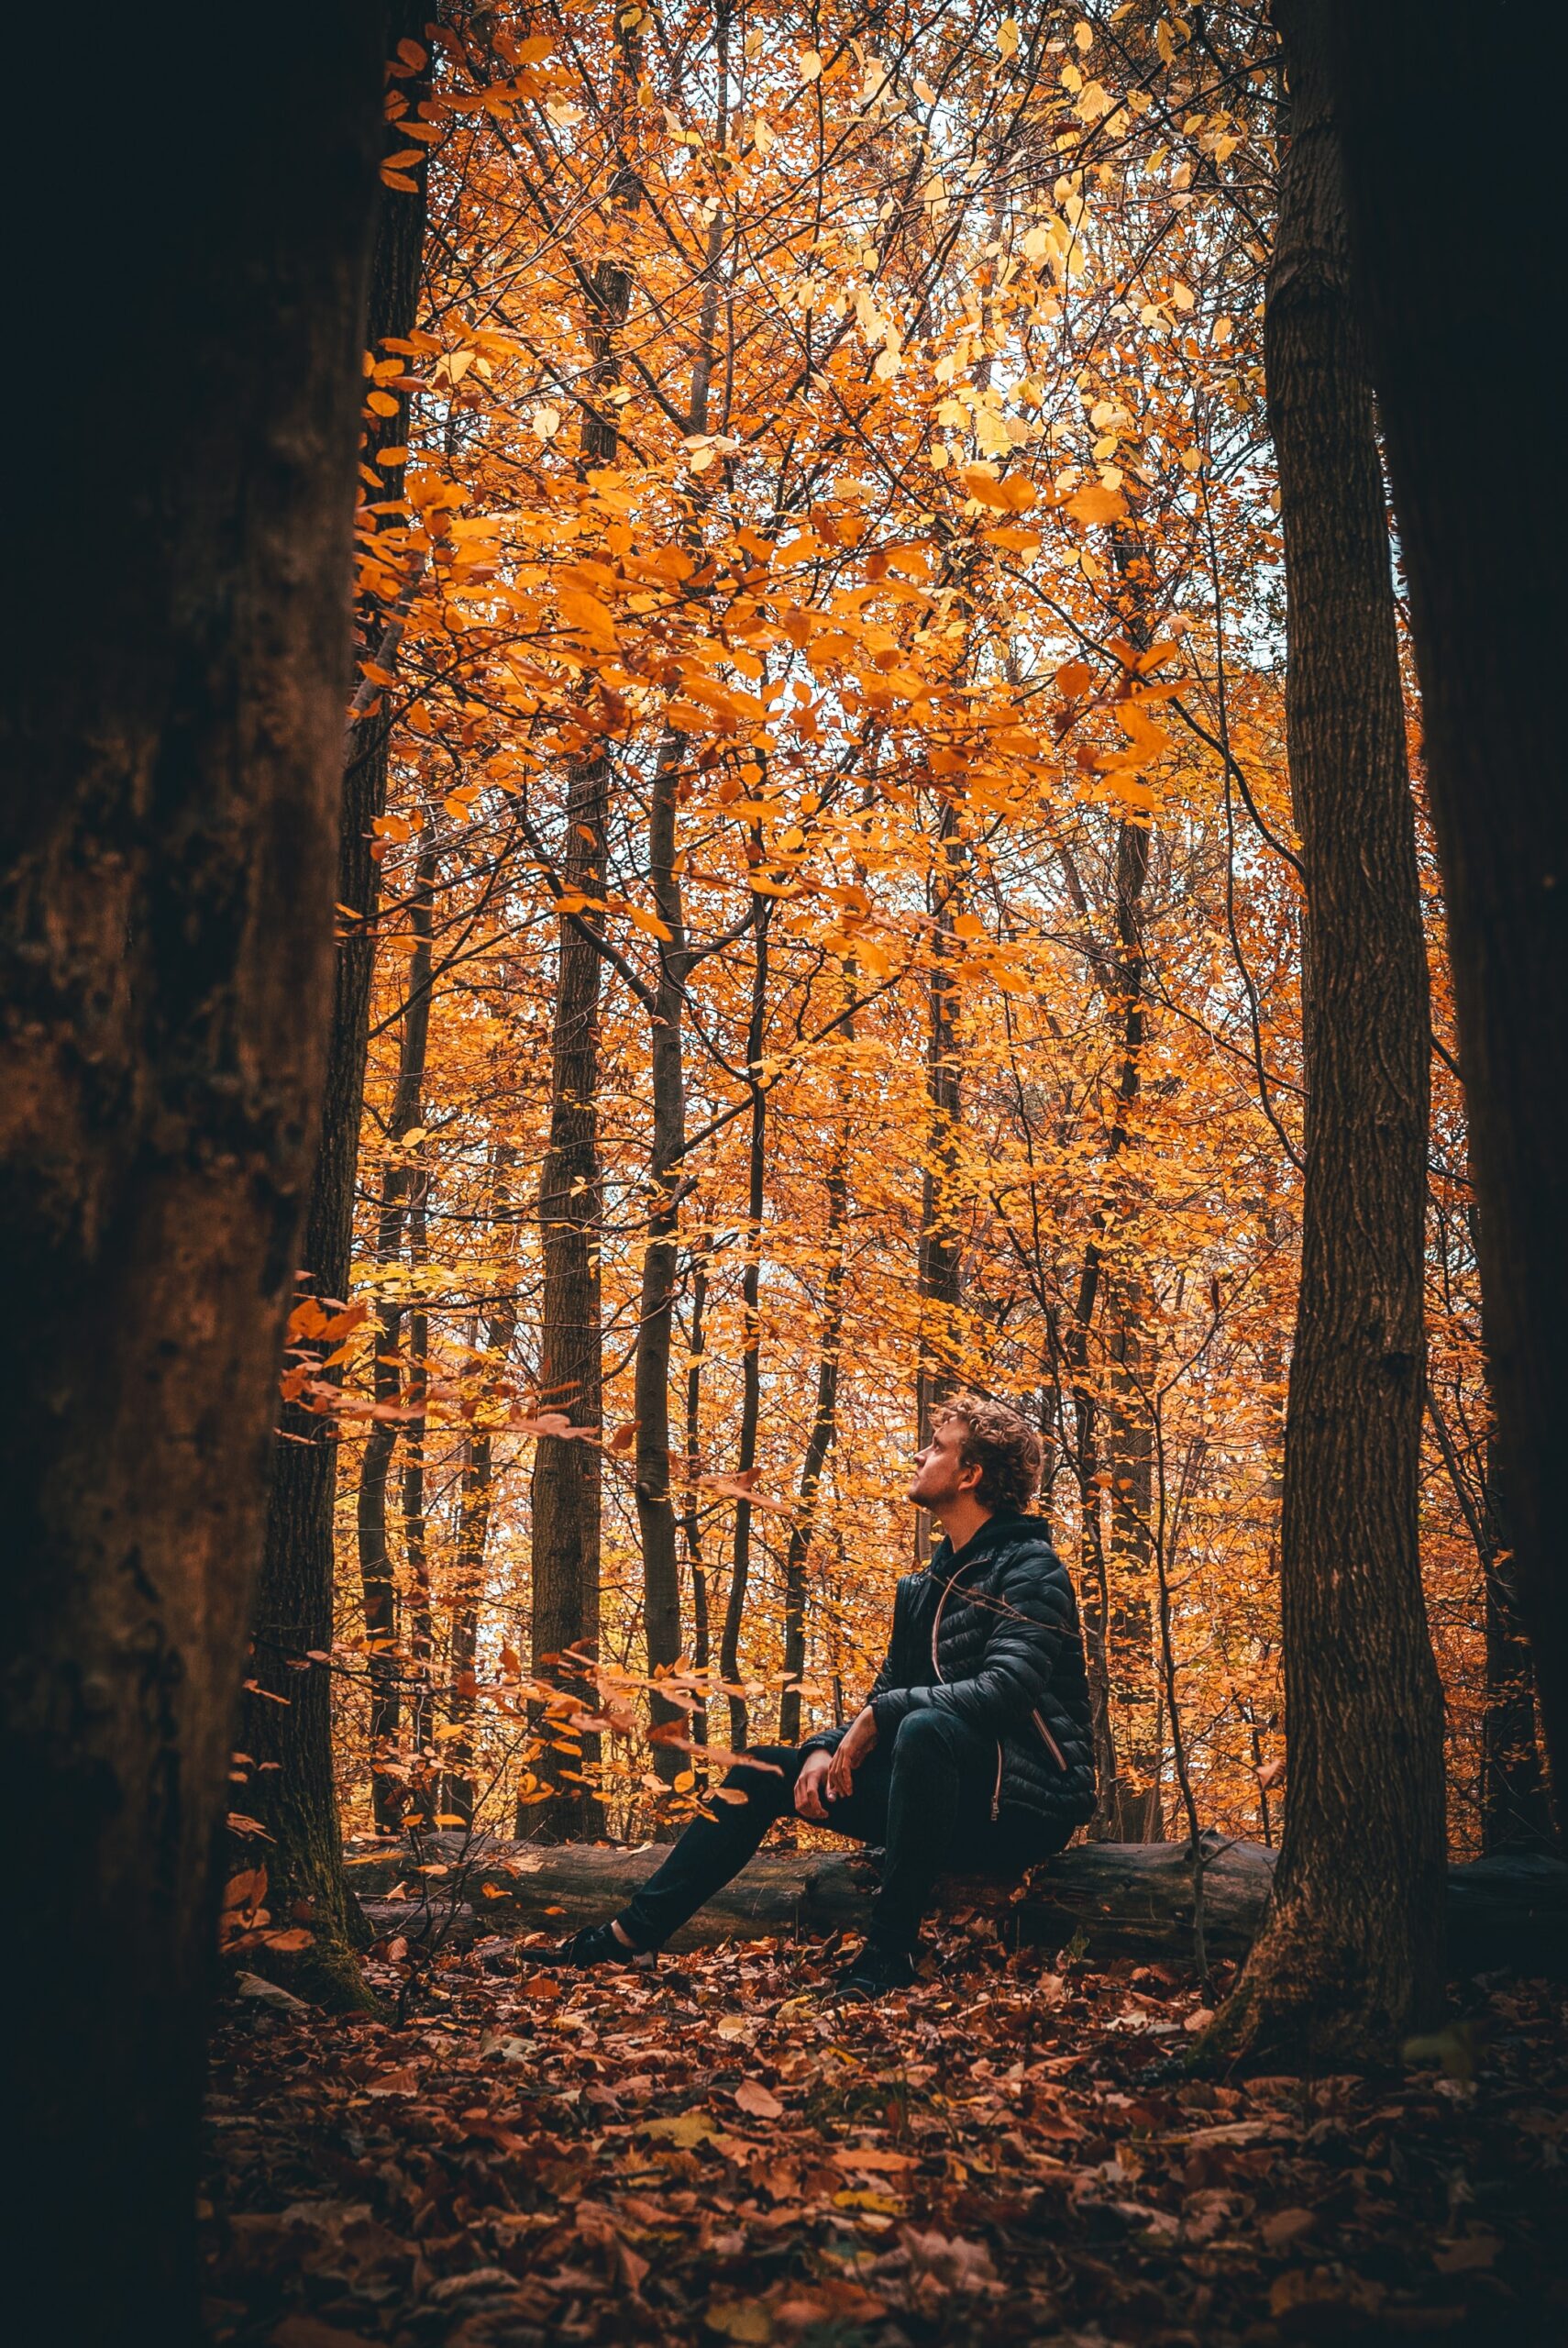
Photo by Andreas Rasmussen on Unsplash
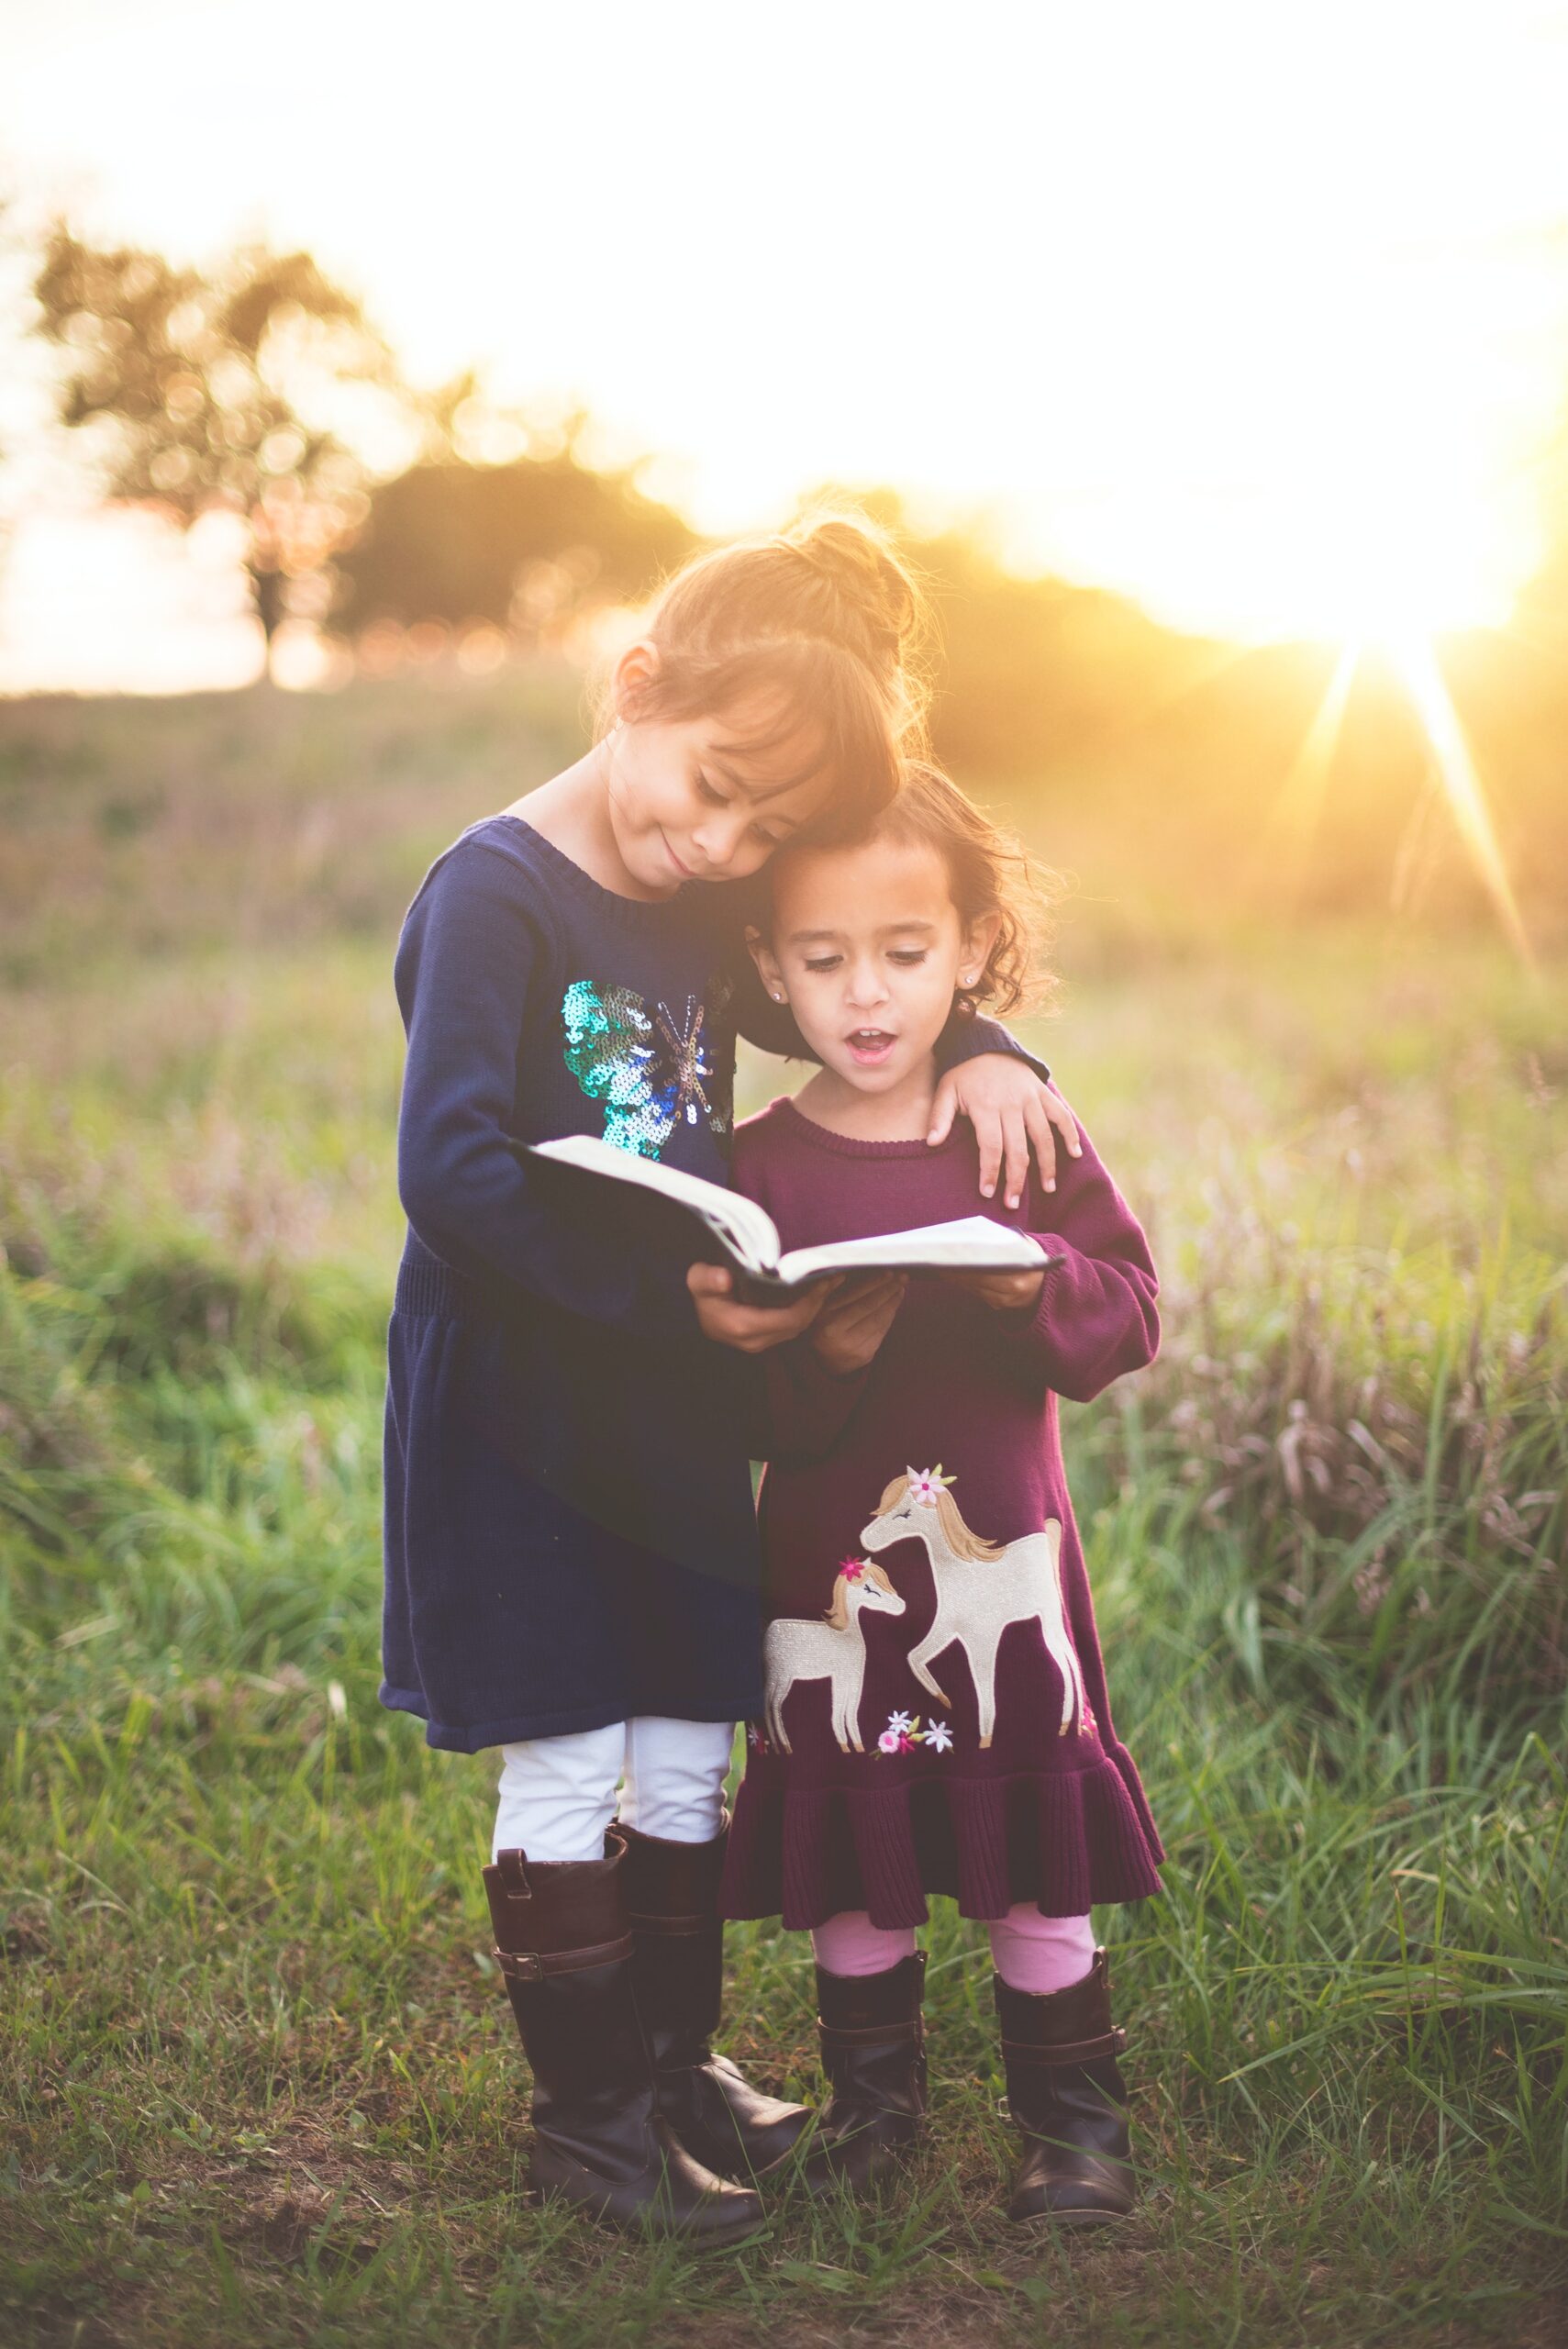
2. Autumn portrait pictures: a good pose
We are all bored of seeing in photos people standing in classic poses looking towards the camera. How to take more original autumn portrait pictures? Here are some examples.
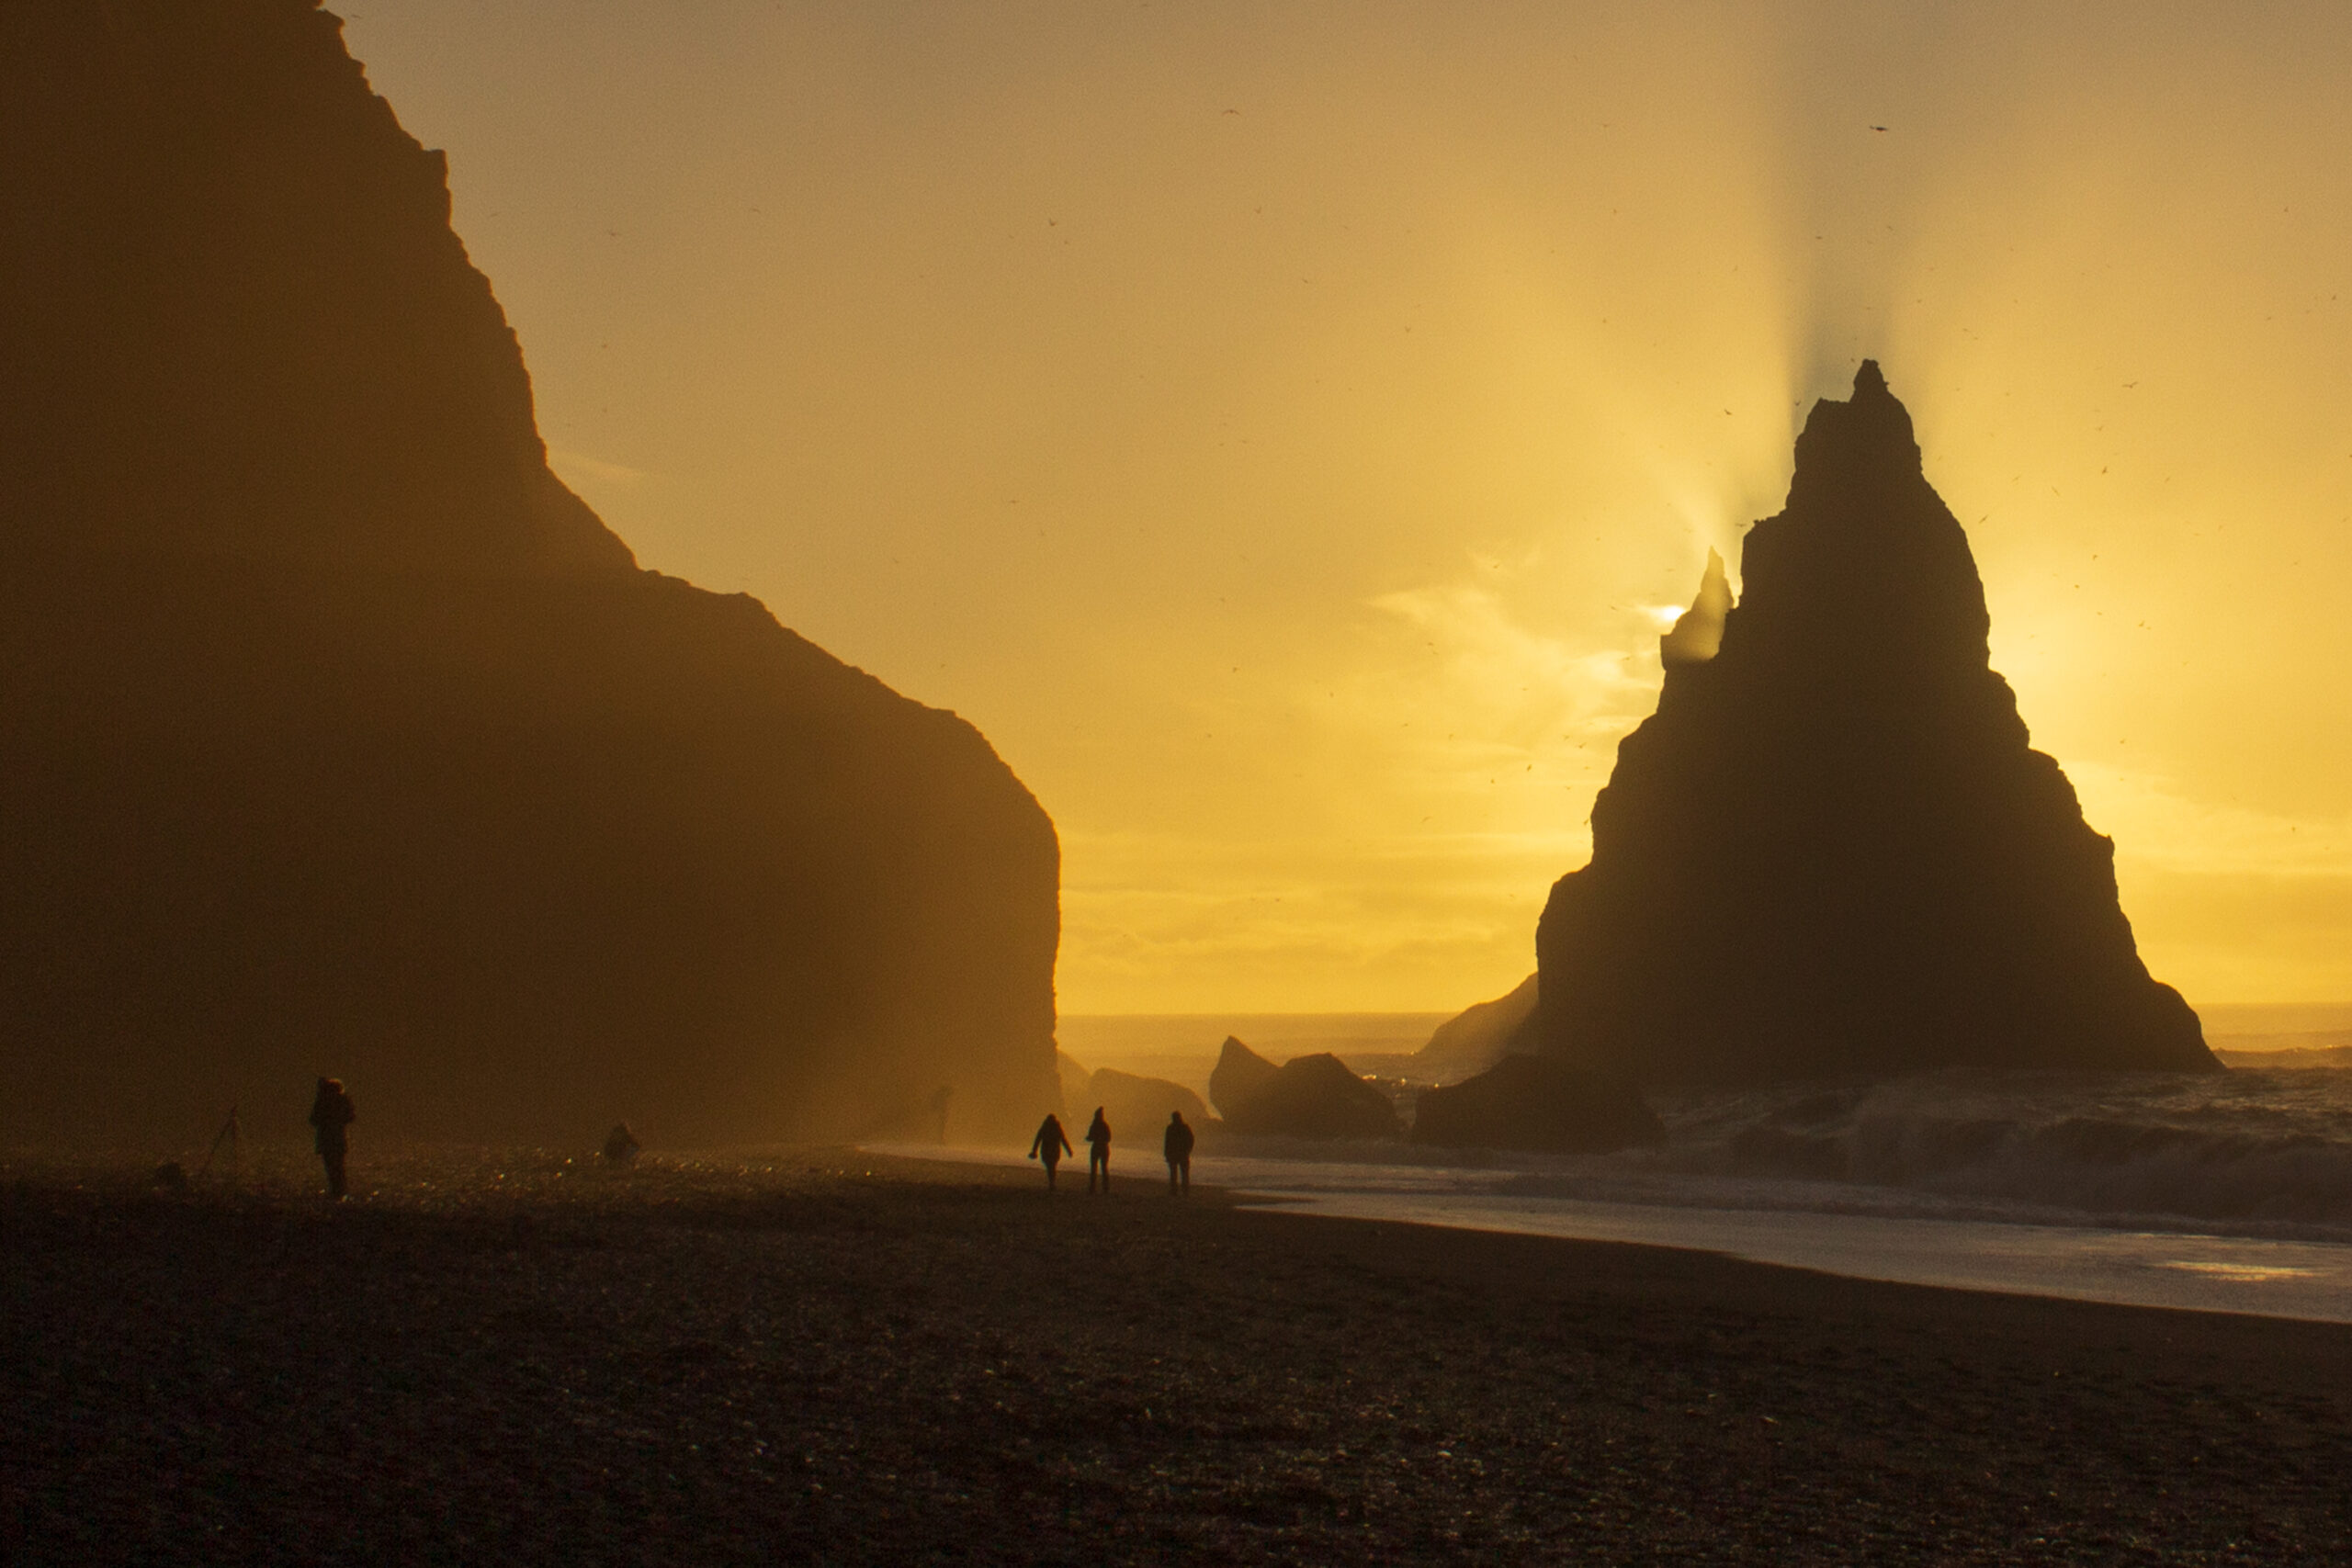
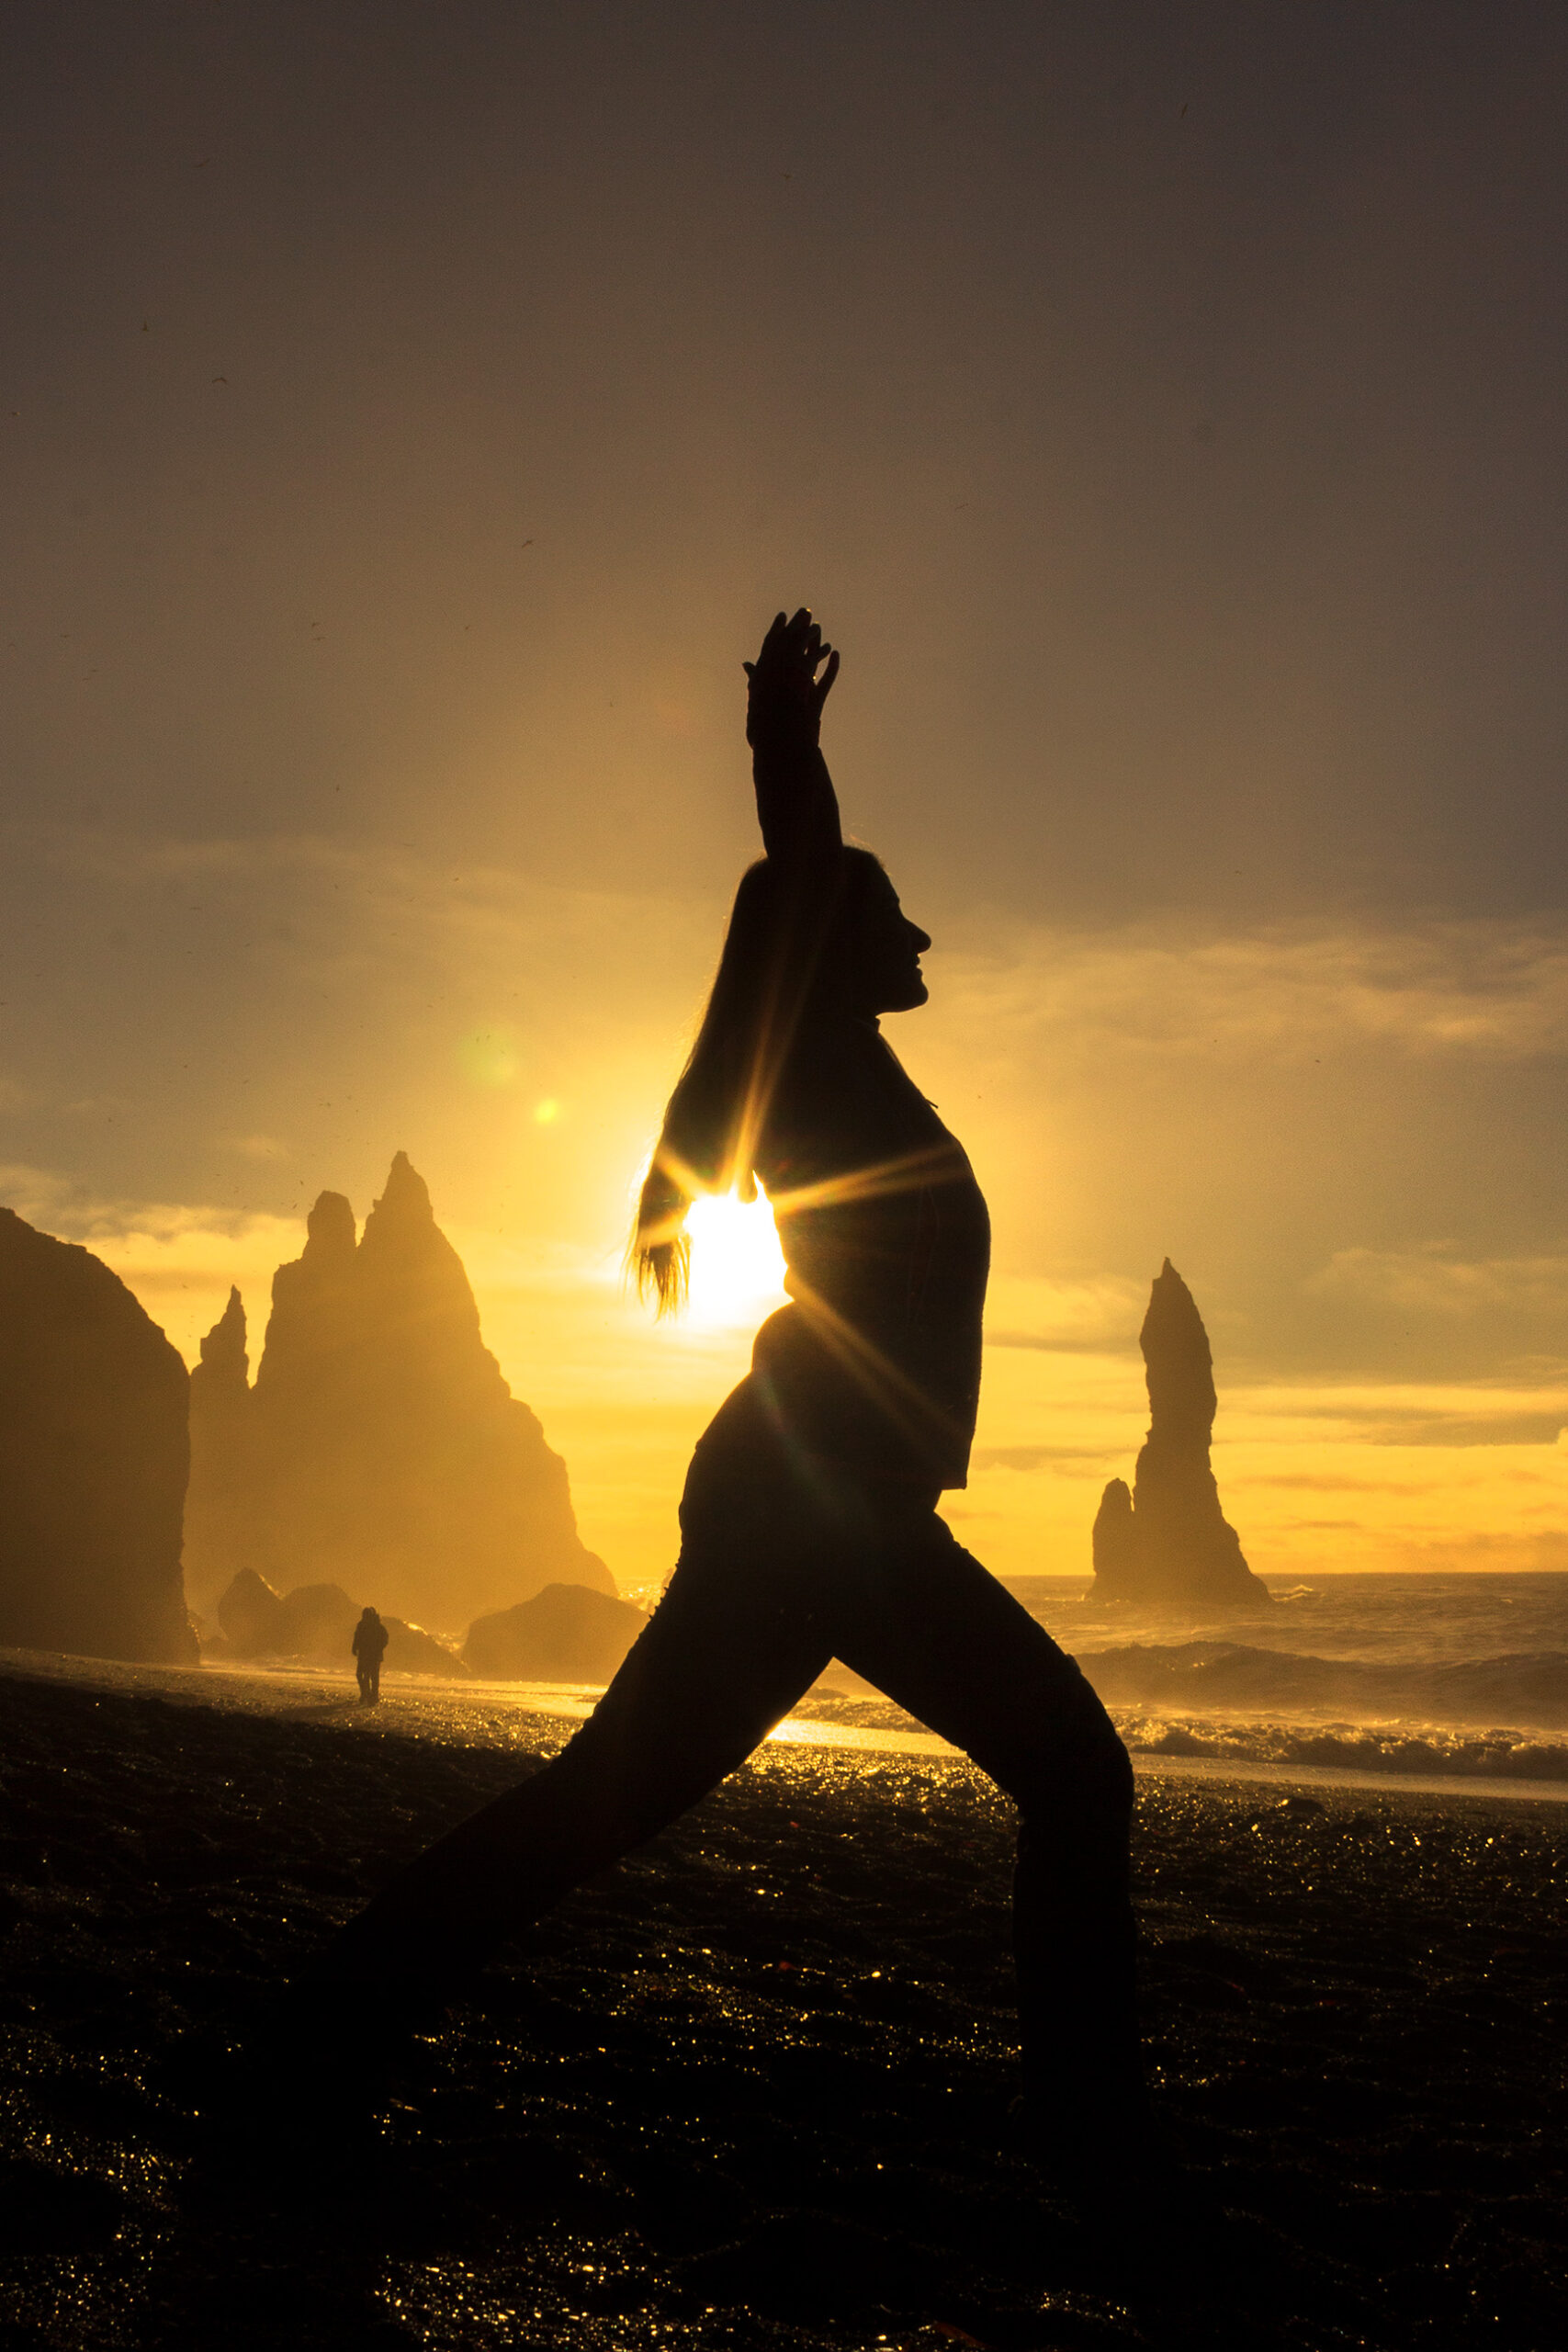
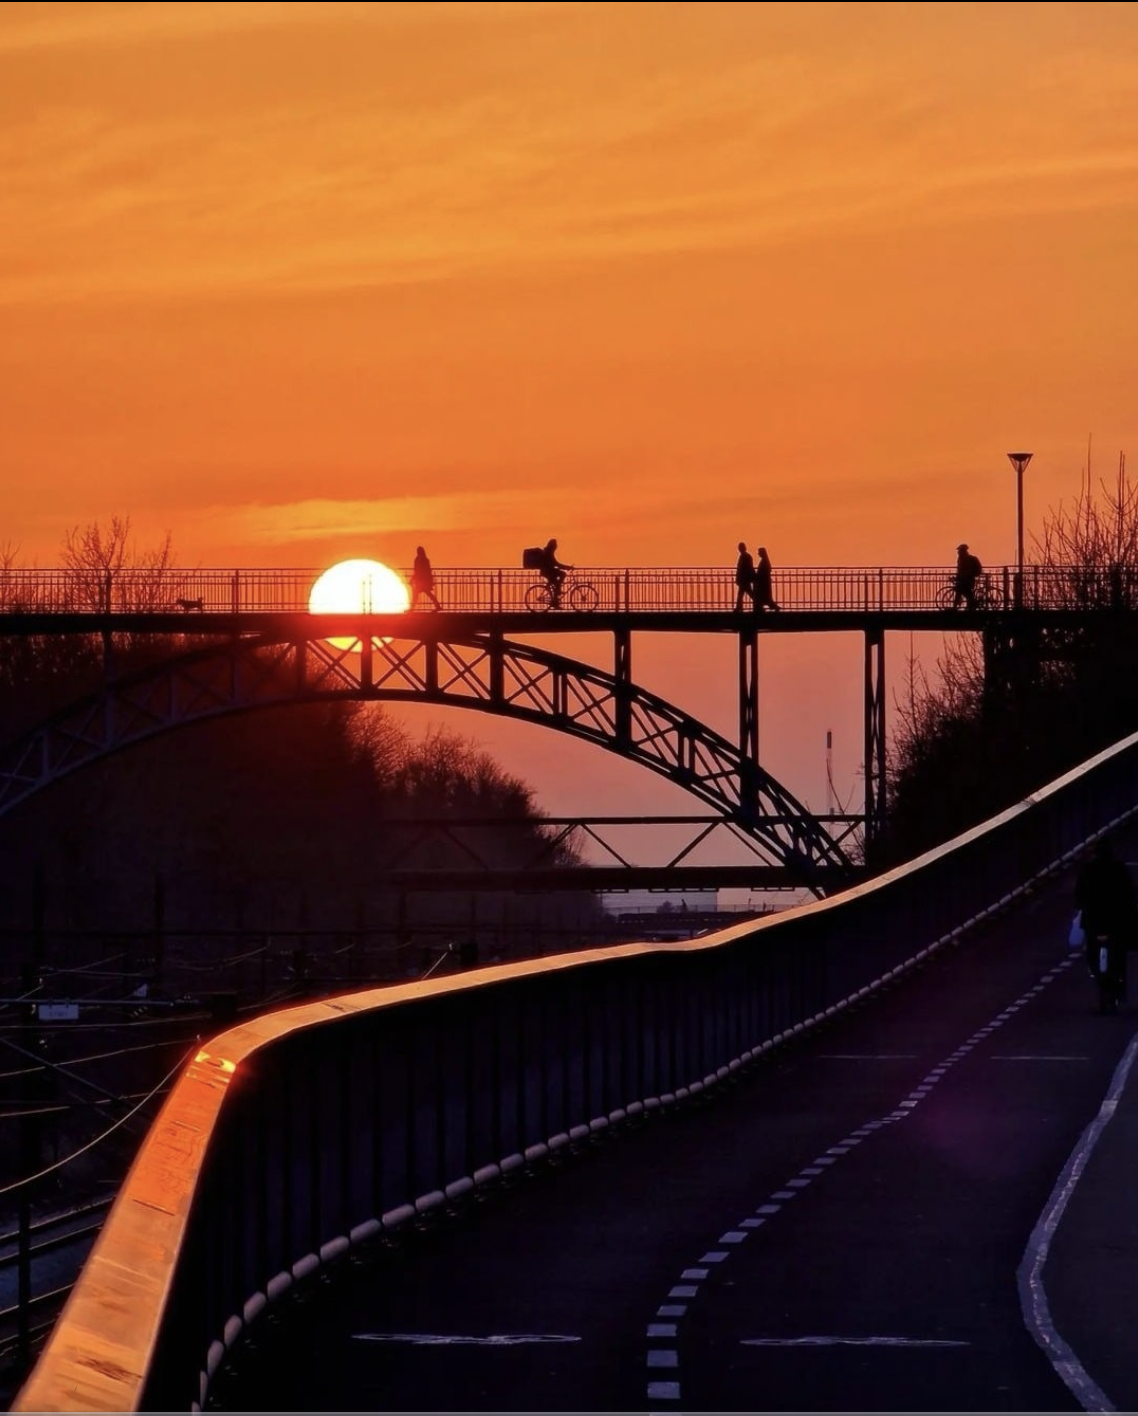
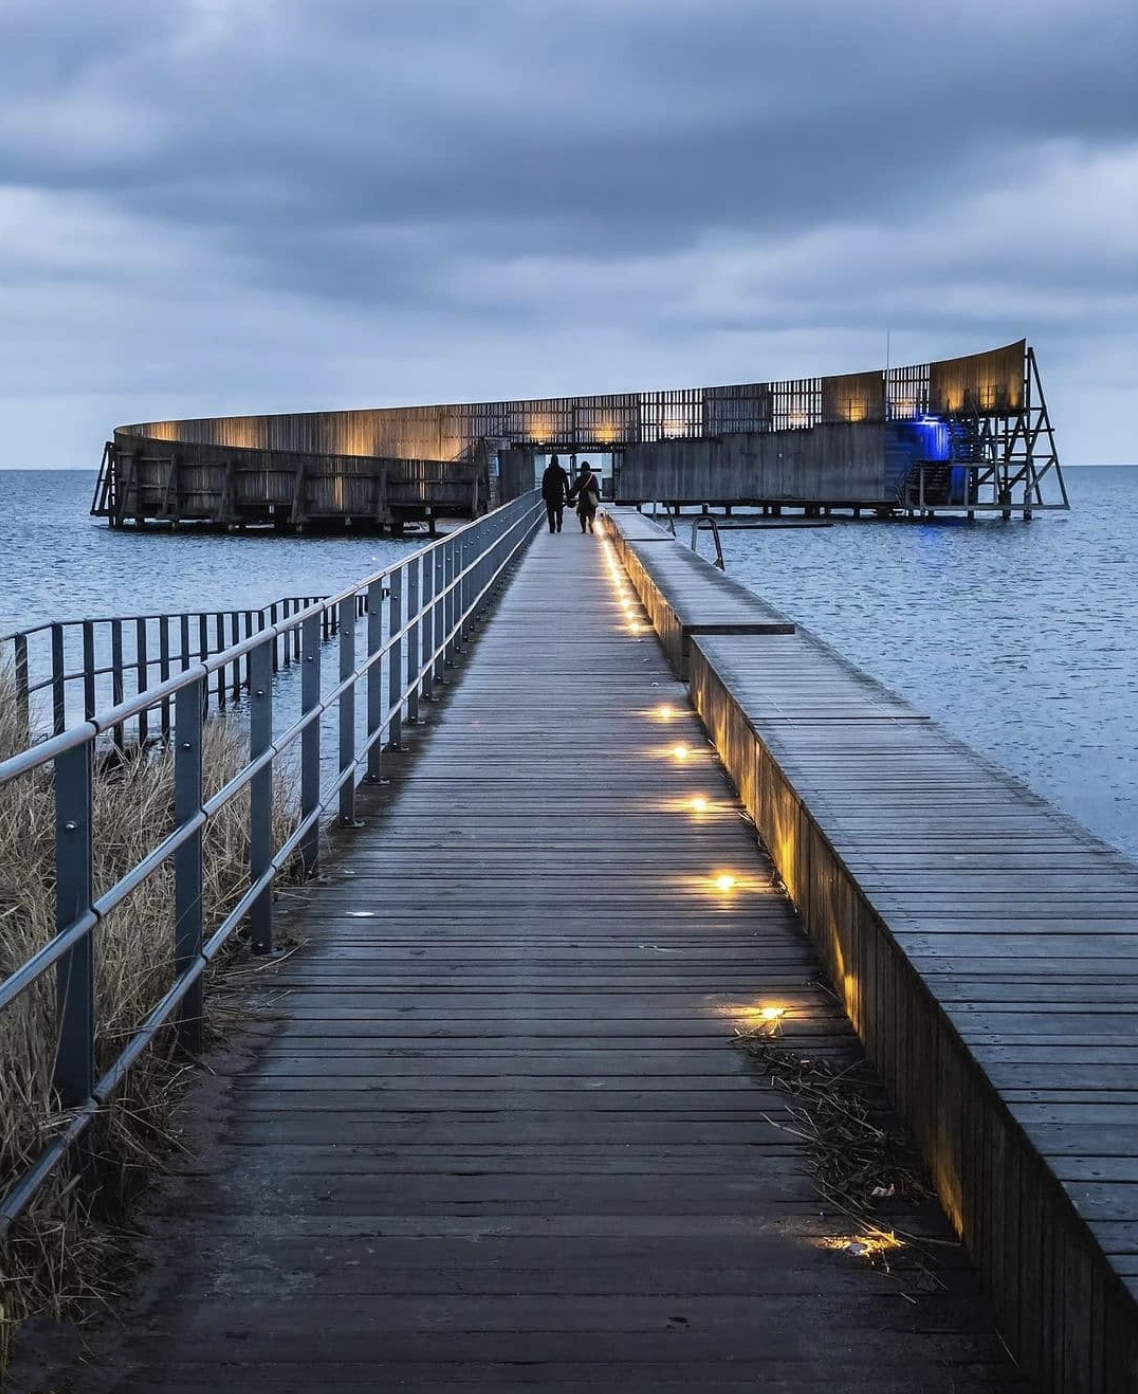
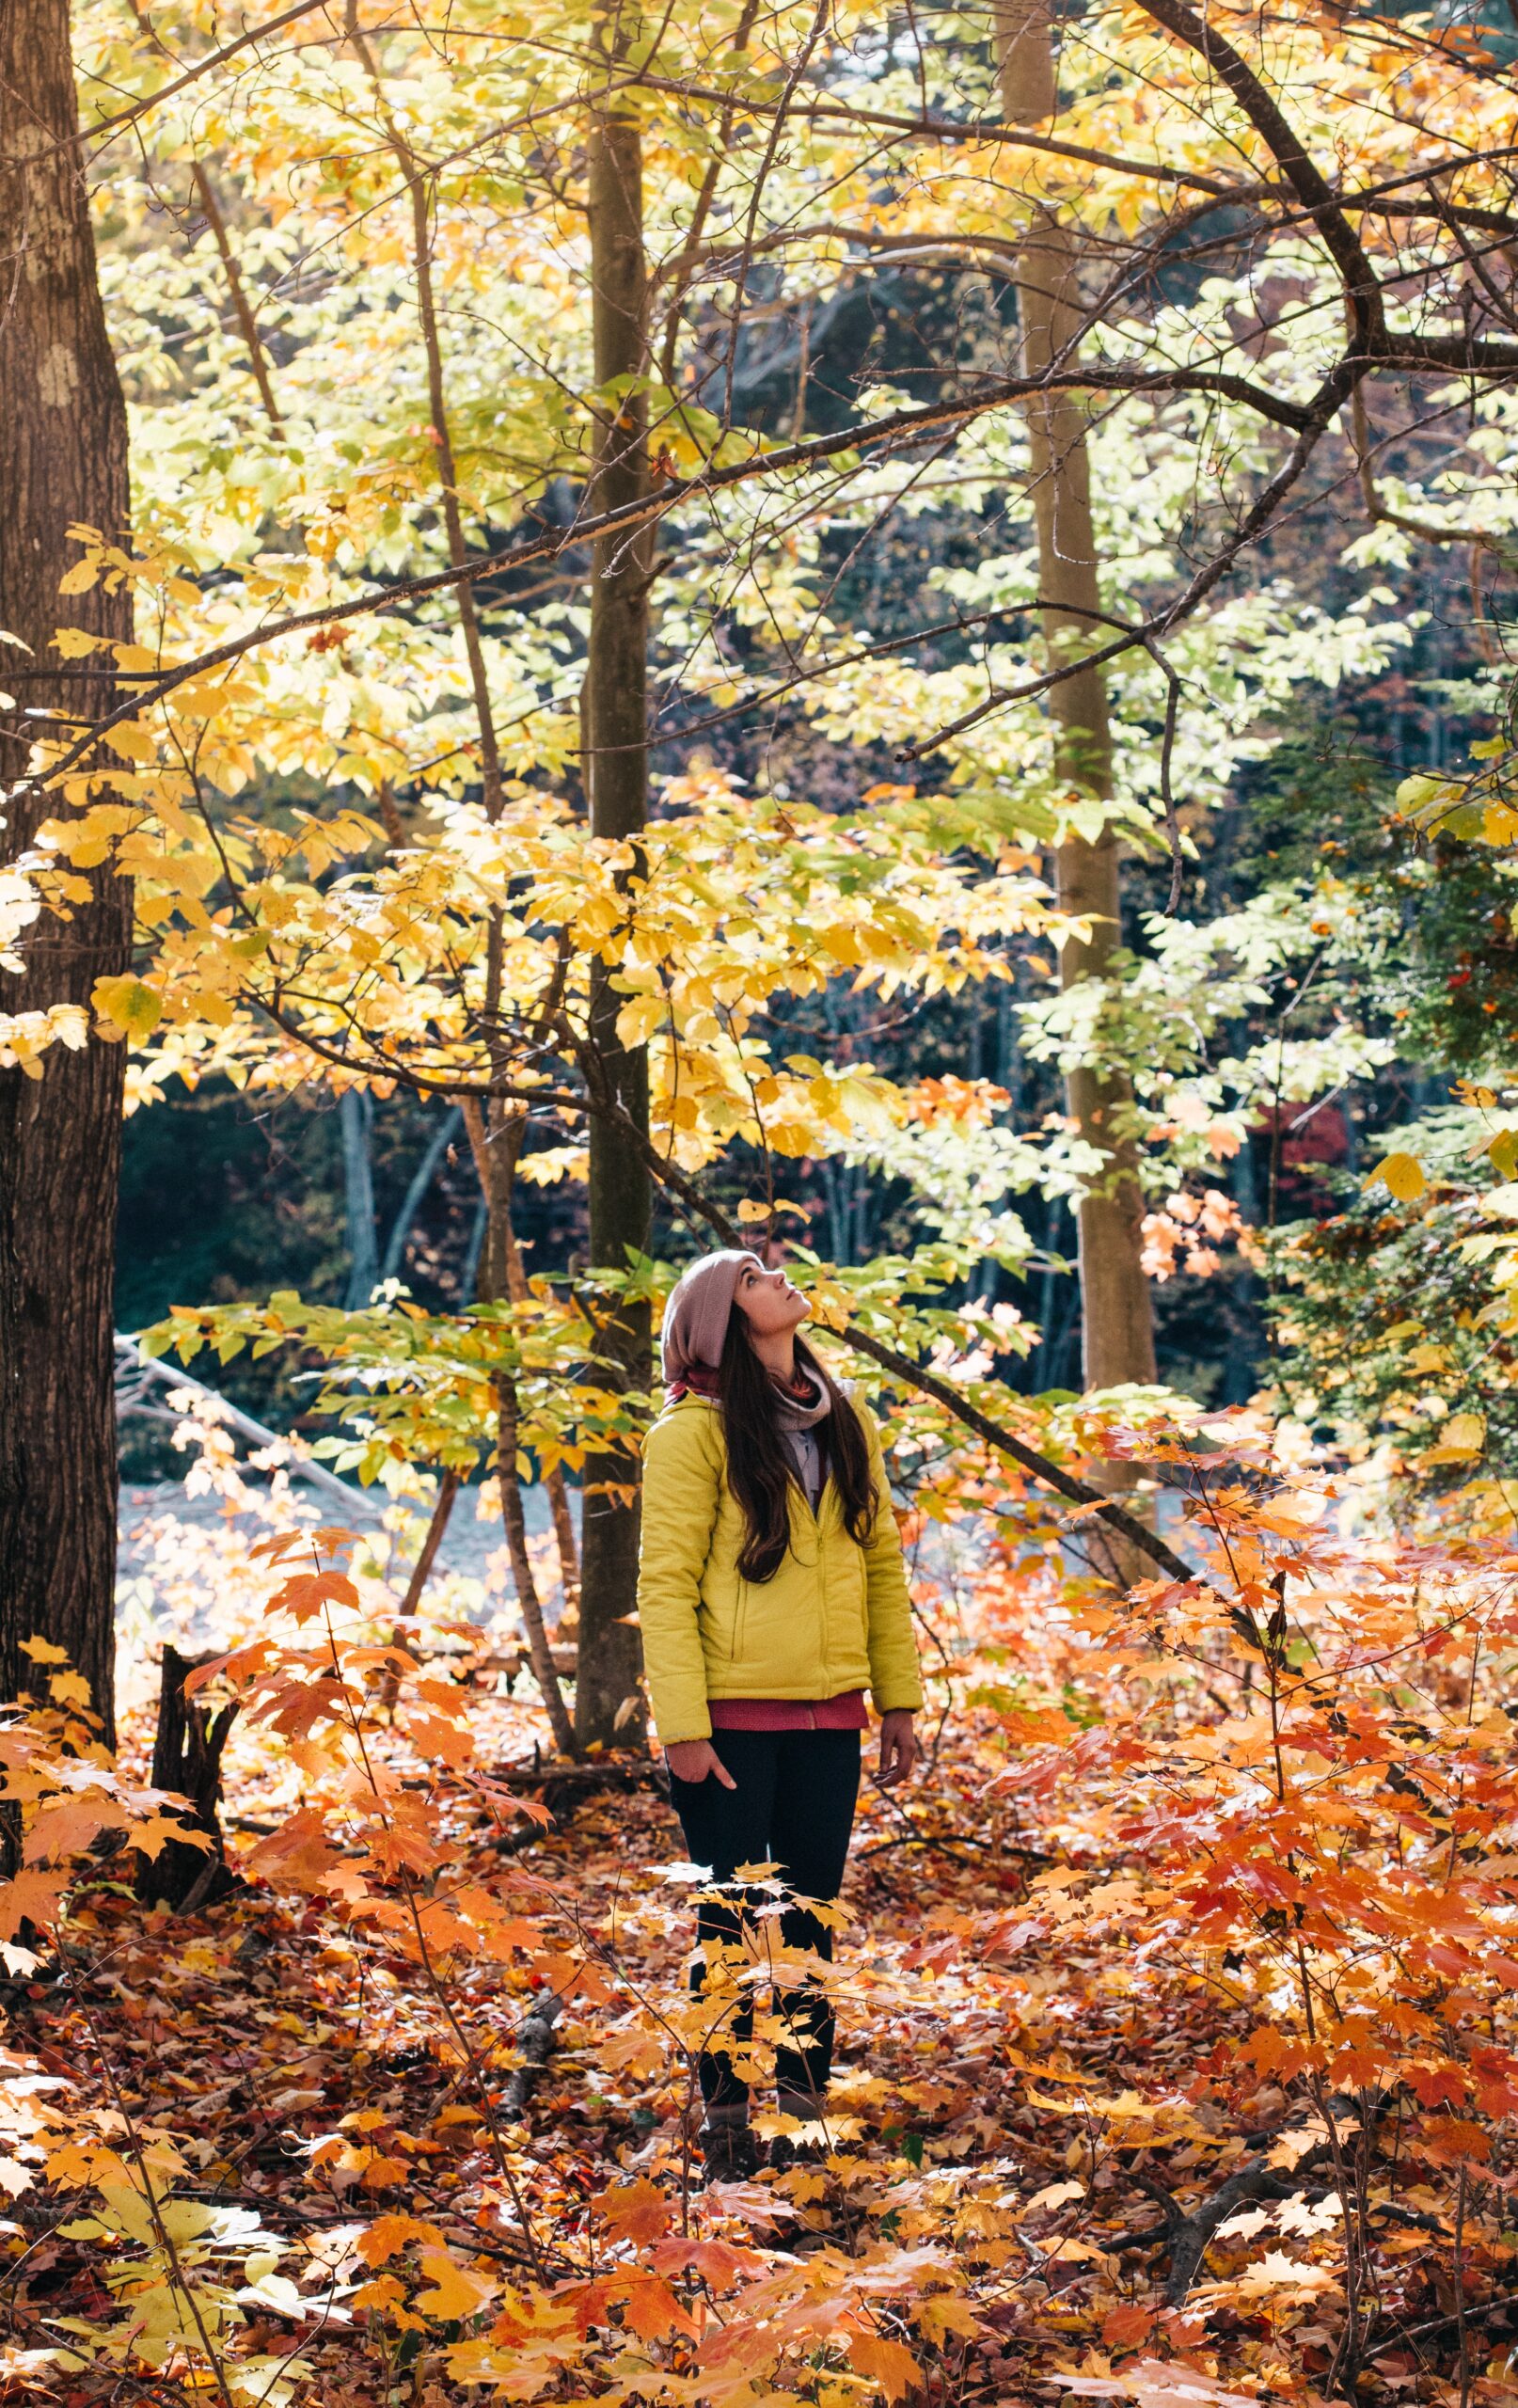
- Especially in a very rich natural context such as the autumn landscape, it is preferable for the subject to take a natural pose and look away from the lens. The subject may also face a particular direction to lead the viewer’s eye to an interesting detail. This type of choice will help to narrate the experience and emotionally capture the observer.
- The subject can also perform a particular action to interact more with the landscape. Starting from sitting on a log, holding or throwing leaves in the air, running among fallen leaves. The photo will thus arouse greater emotional involvement and a dynamic appearance.
- In poses like those just described, you can also choose to make drastic cuts of the subject, limited only to the hands performing the action, the legs, or the hair moving in the wind, excluding the face. Thus, in particular, the photo will represent an autumnal atmosphere rather than the experience of a specific person.
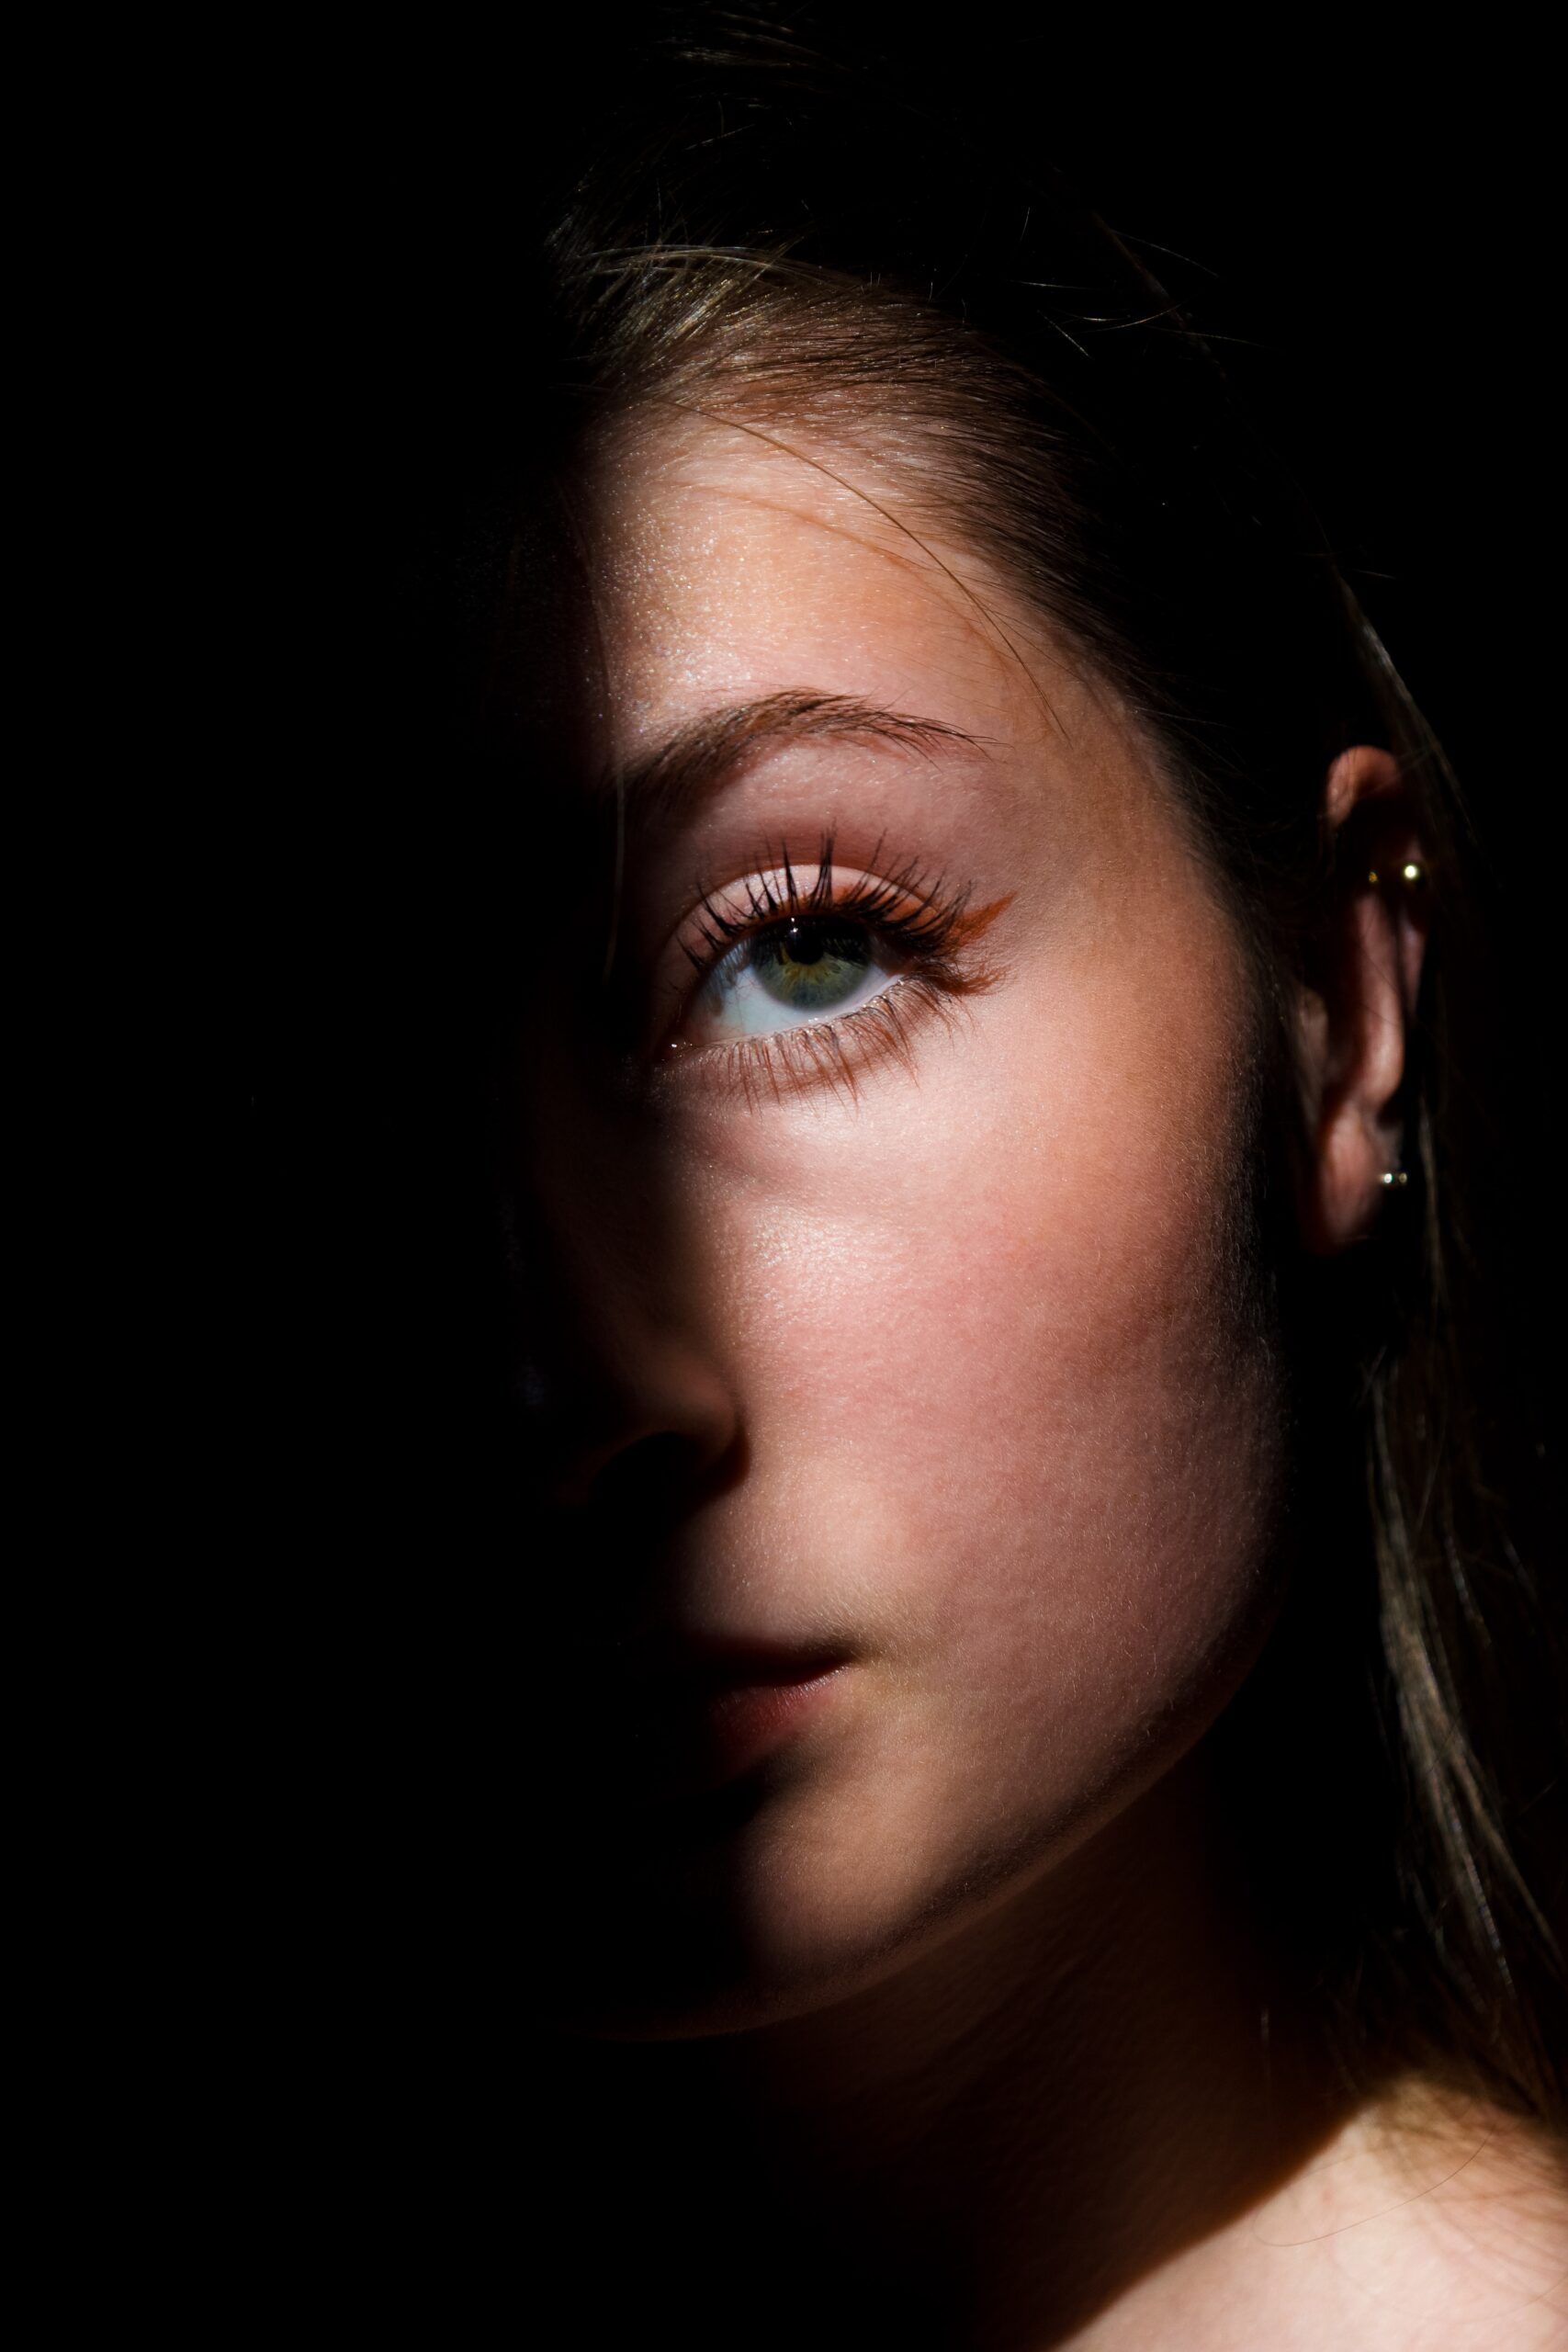
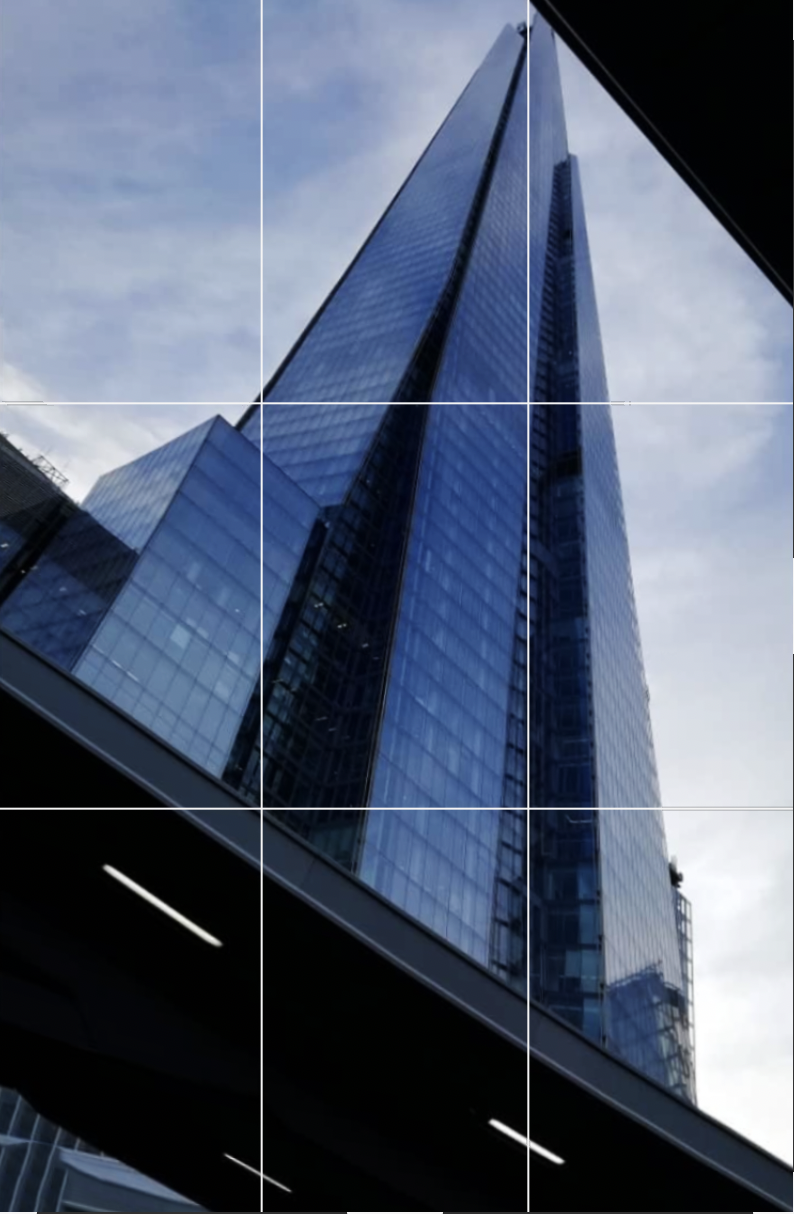
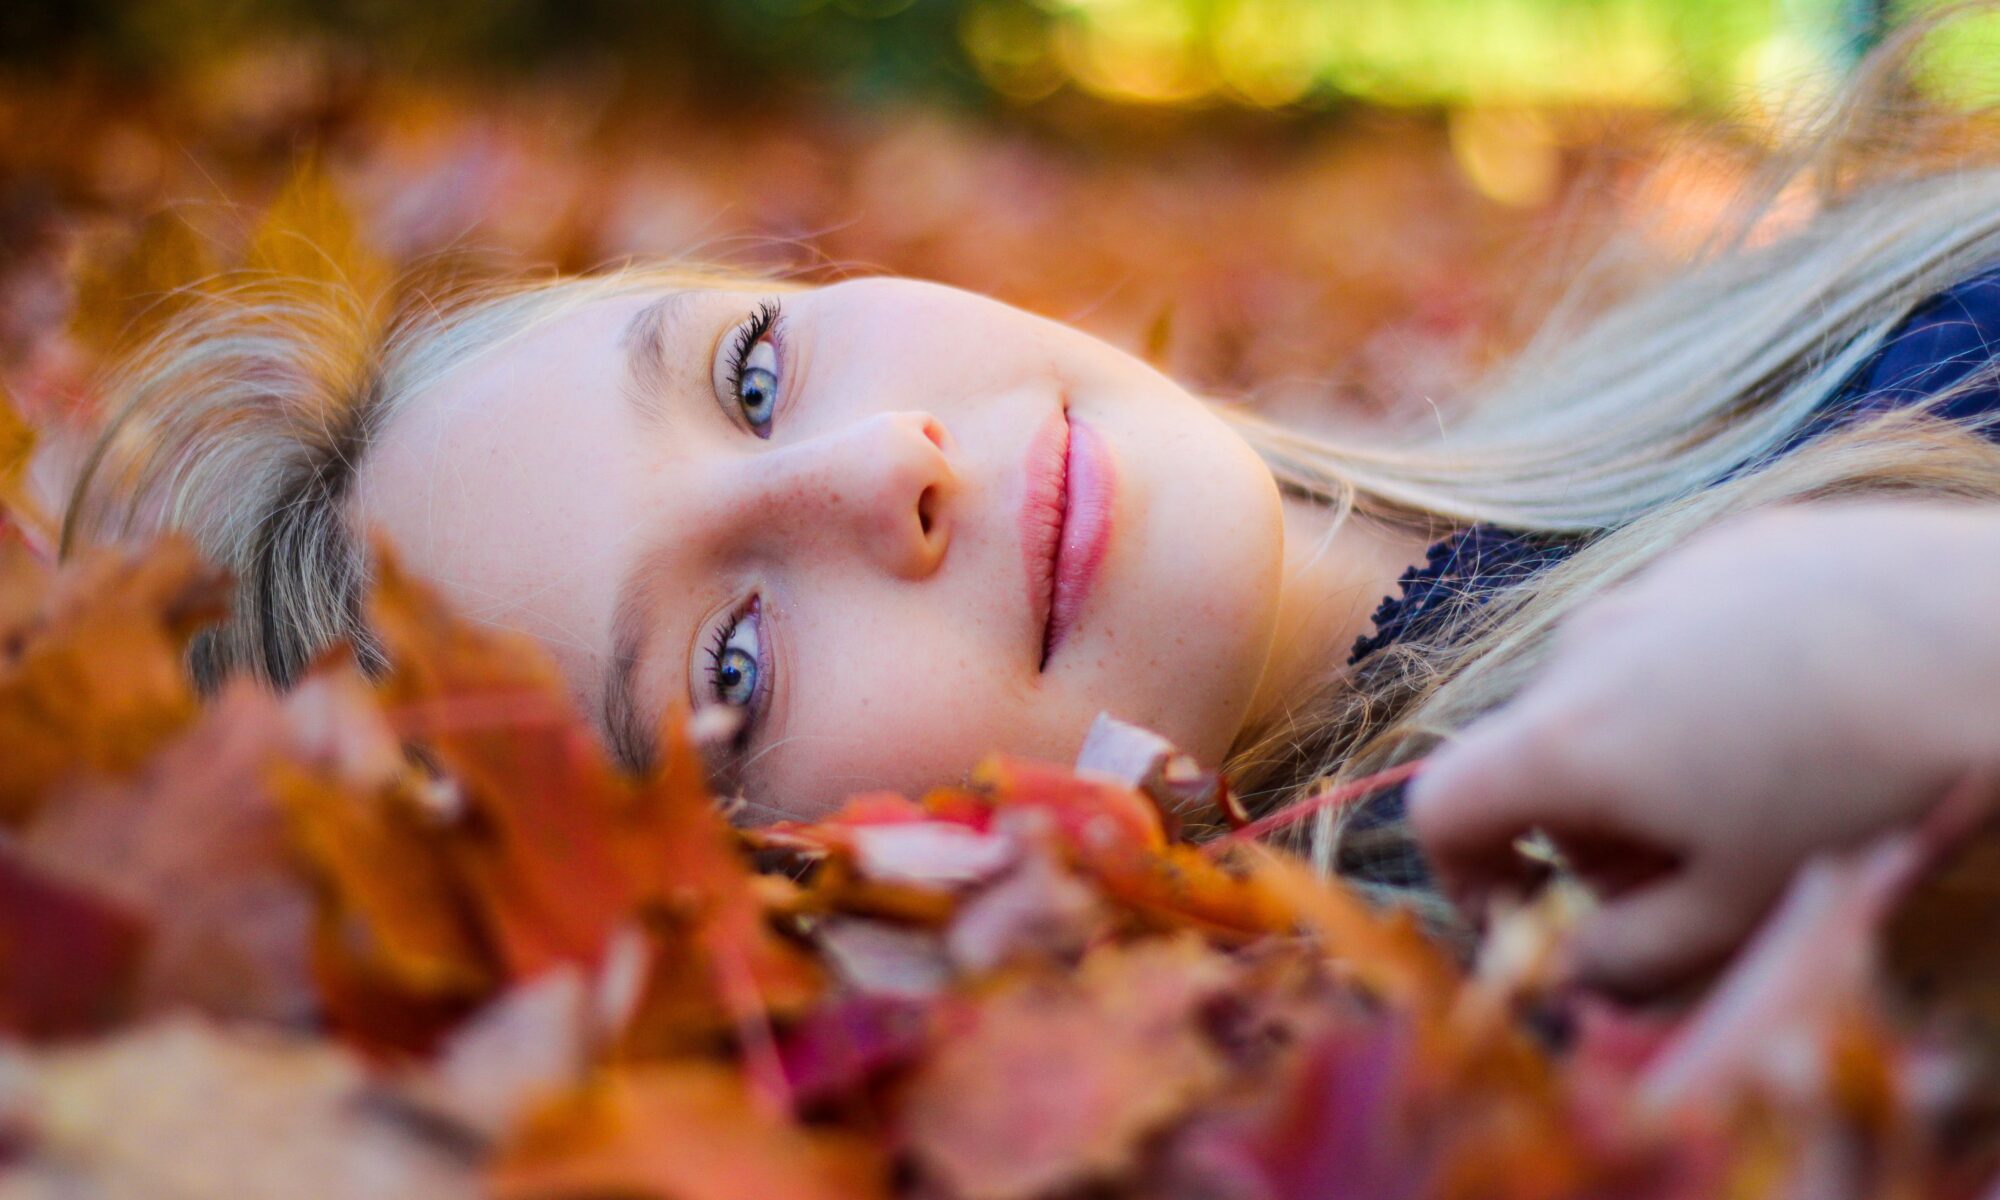
- If, however, the person is looking into the camera, prefer close-ups with little context, perhaps bringing the subject closer to some details. In this type of shots you play with the contrasts between nature, people and colors. The classic example is that of the person lying on the ground among the colored leaves.
hoto by Kristopher Roller on Unsplash 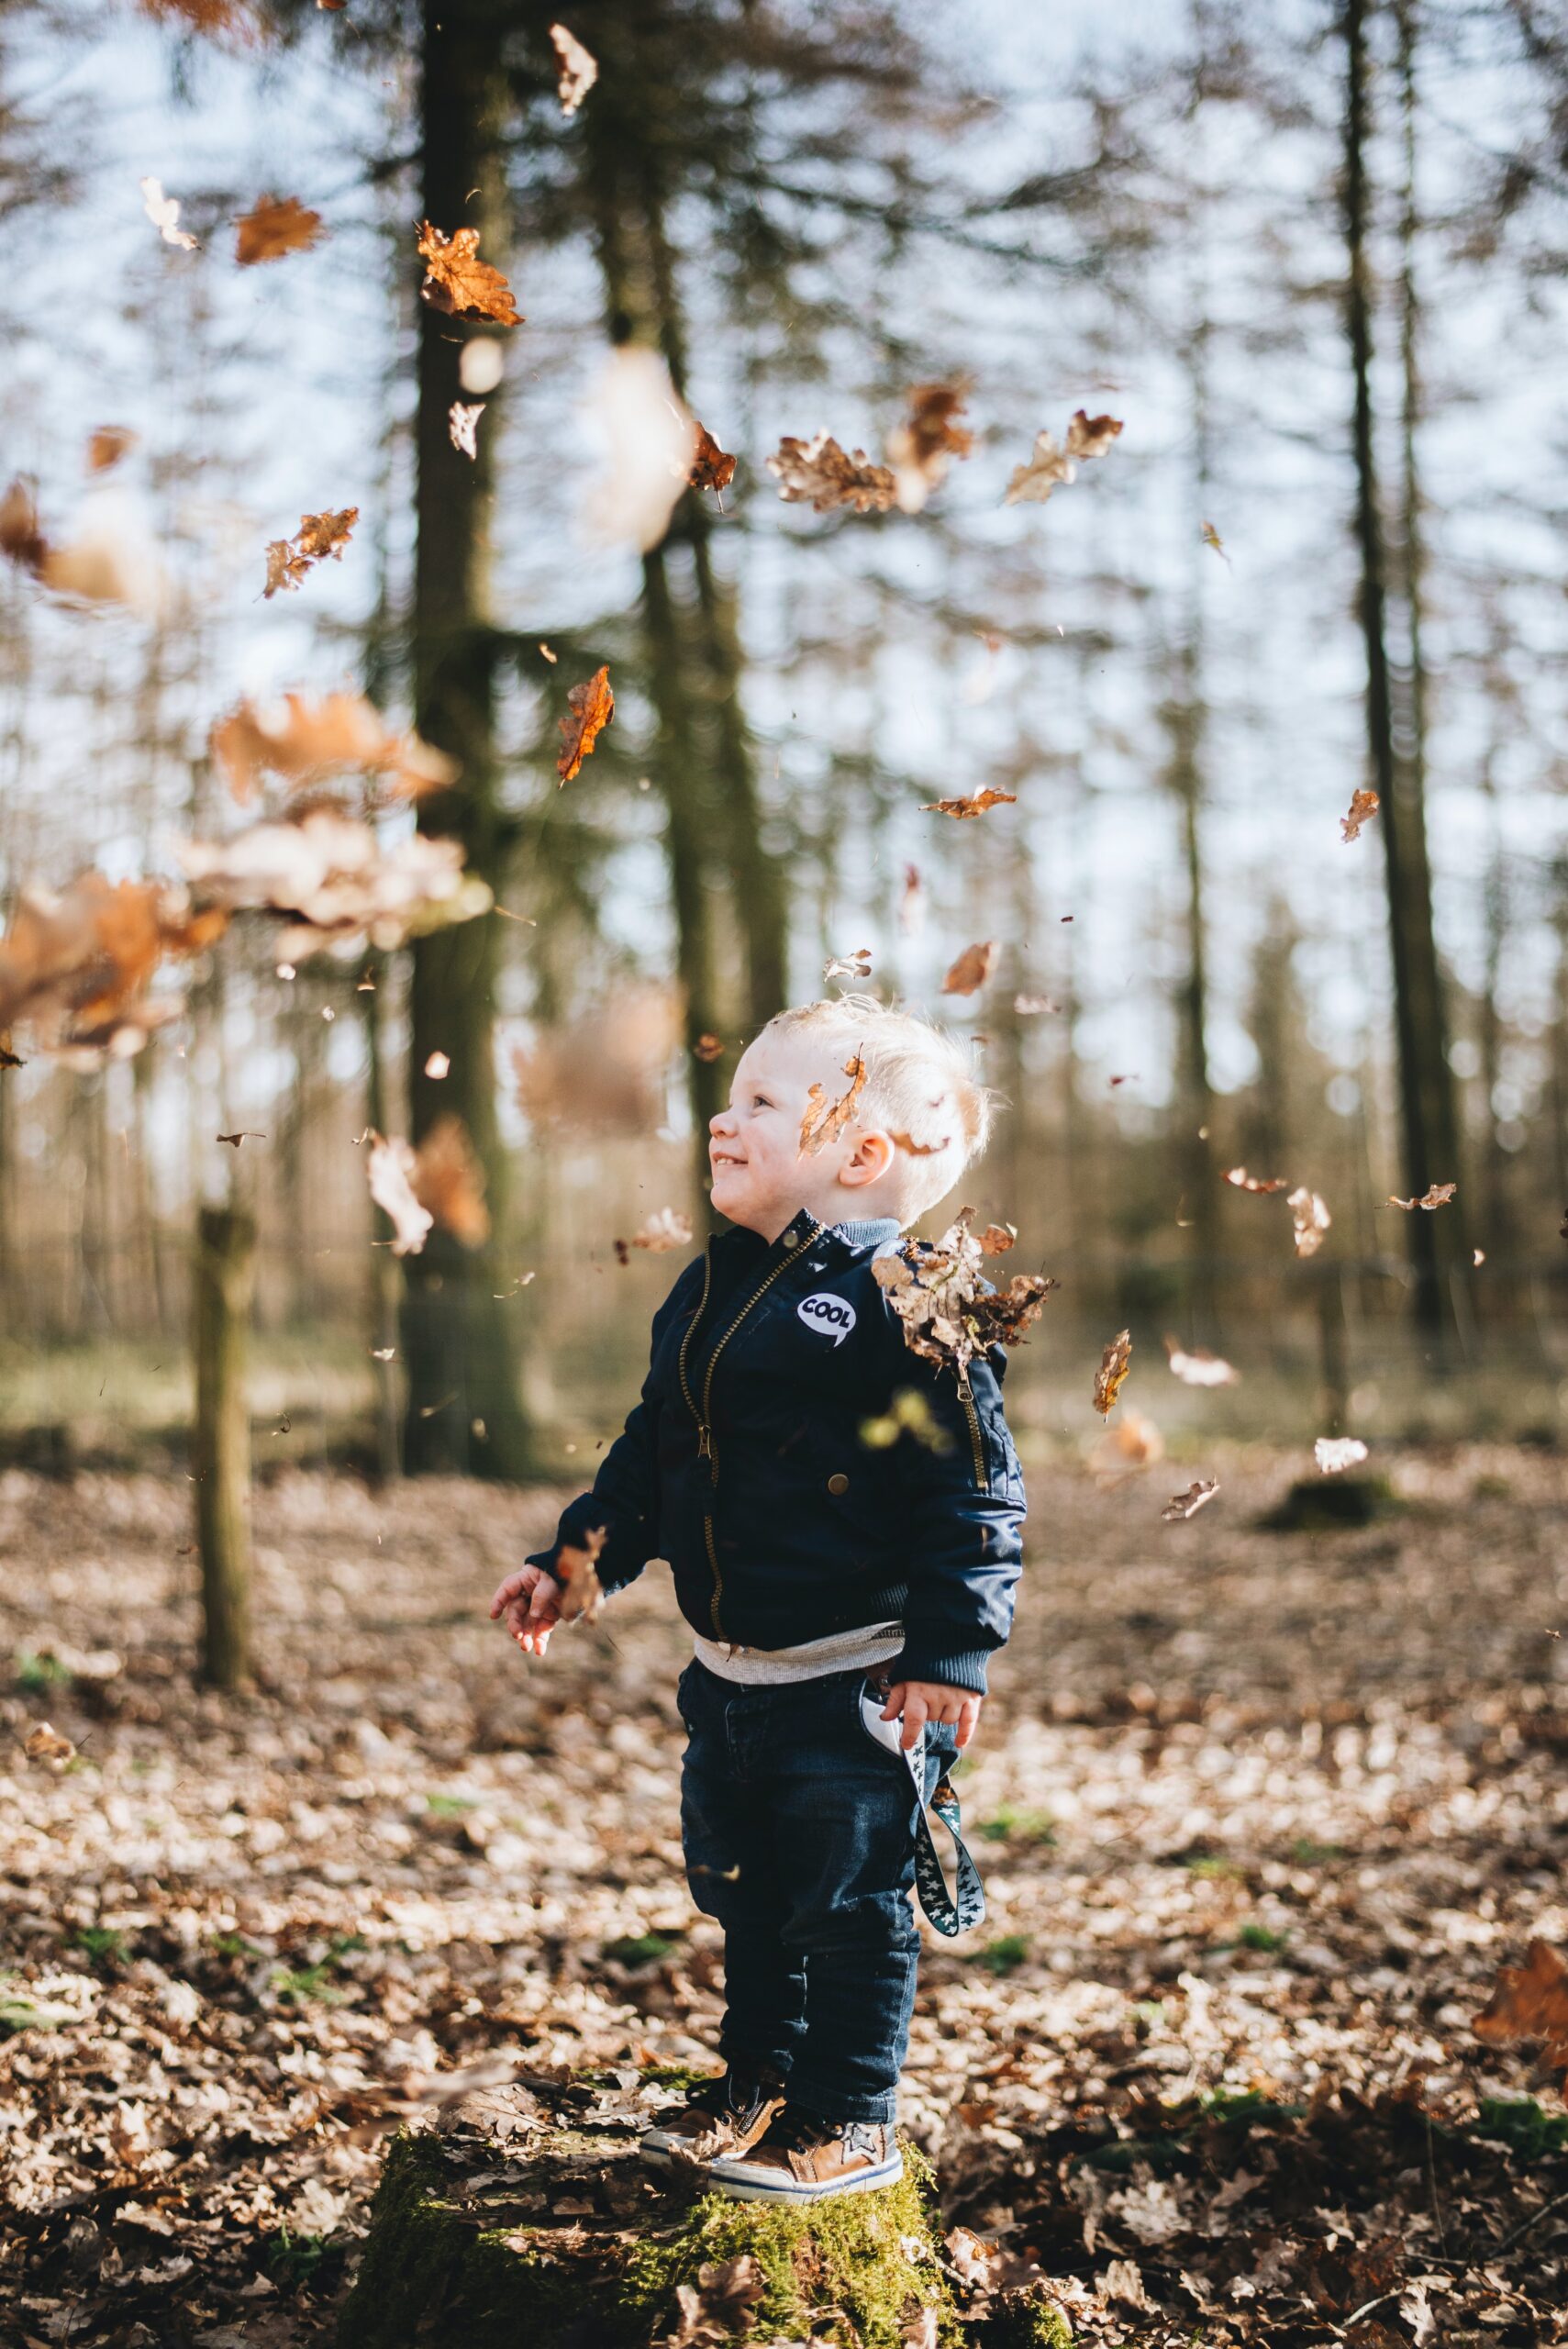
Photo by Sander Weeteling on Unsplash 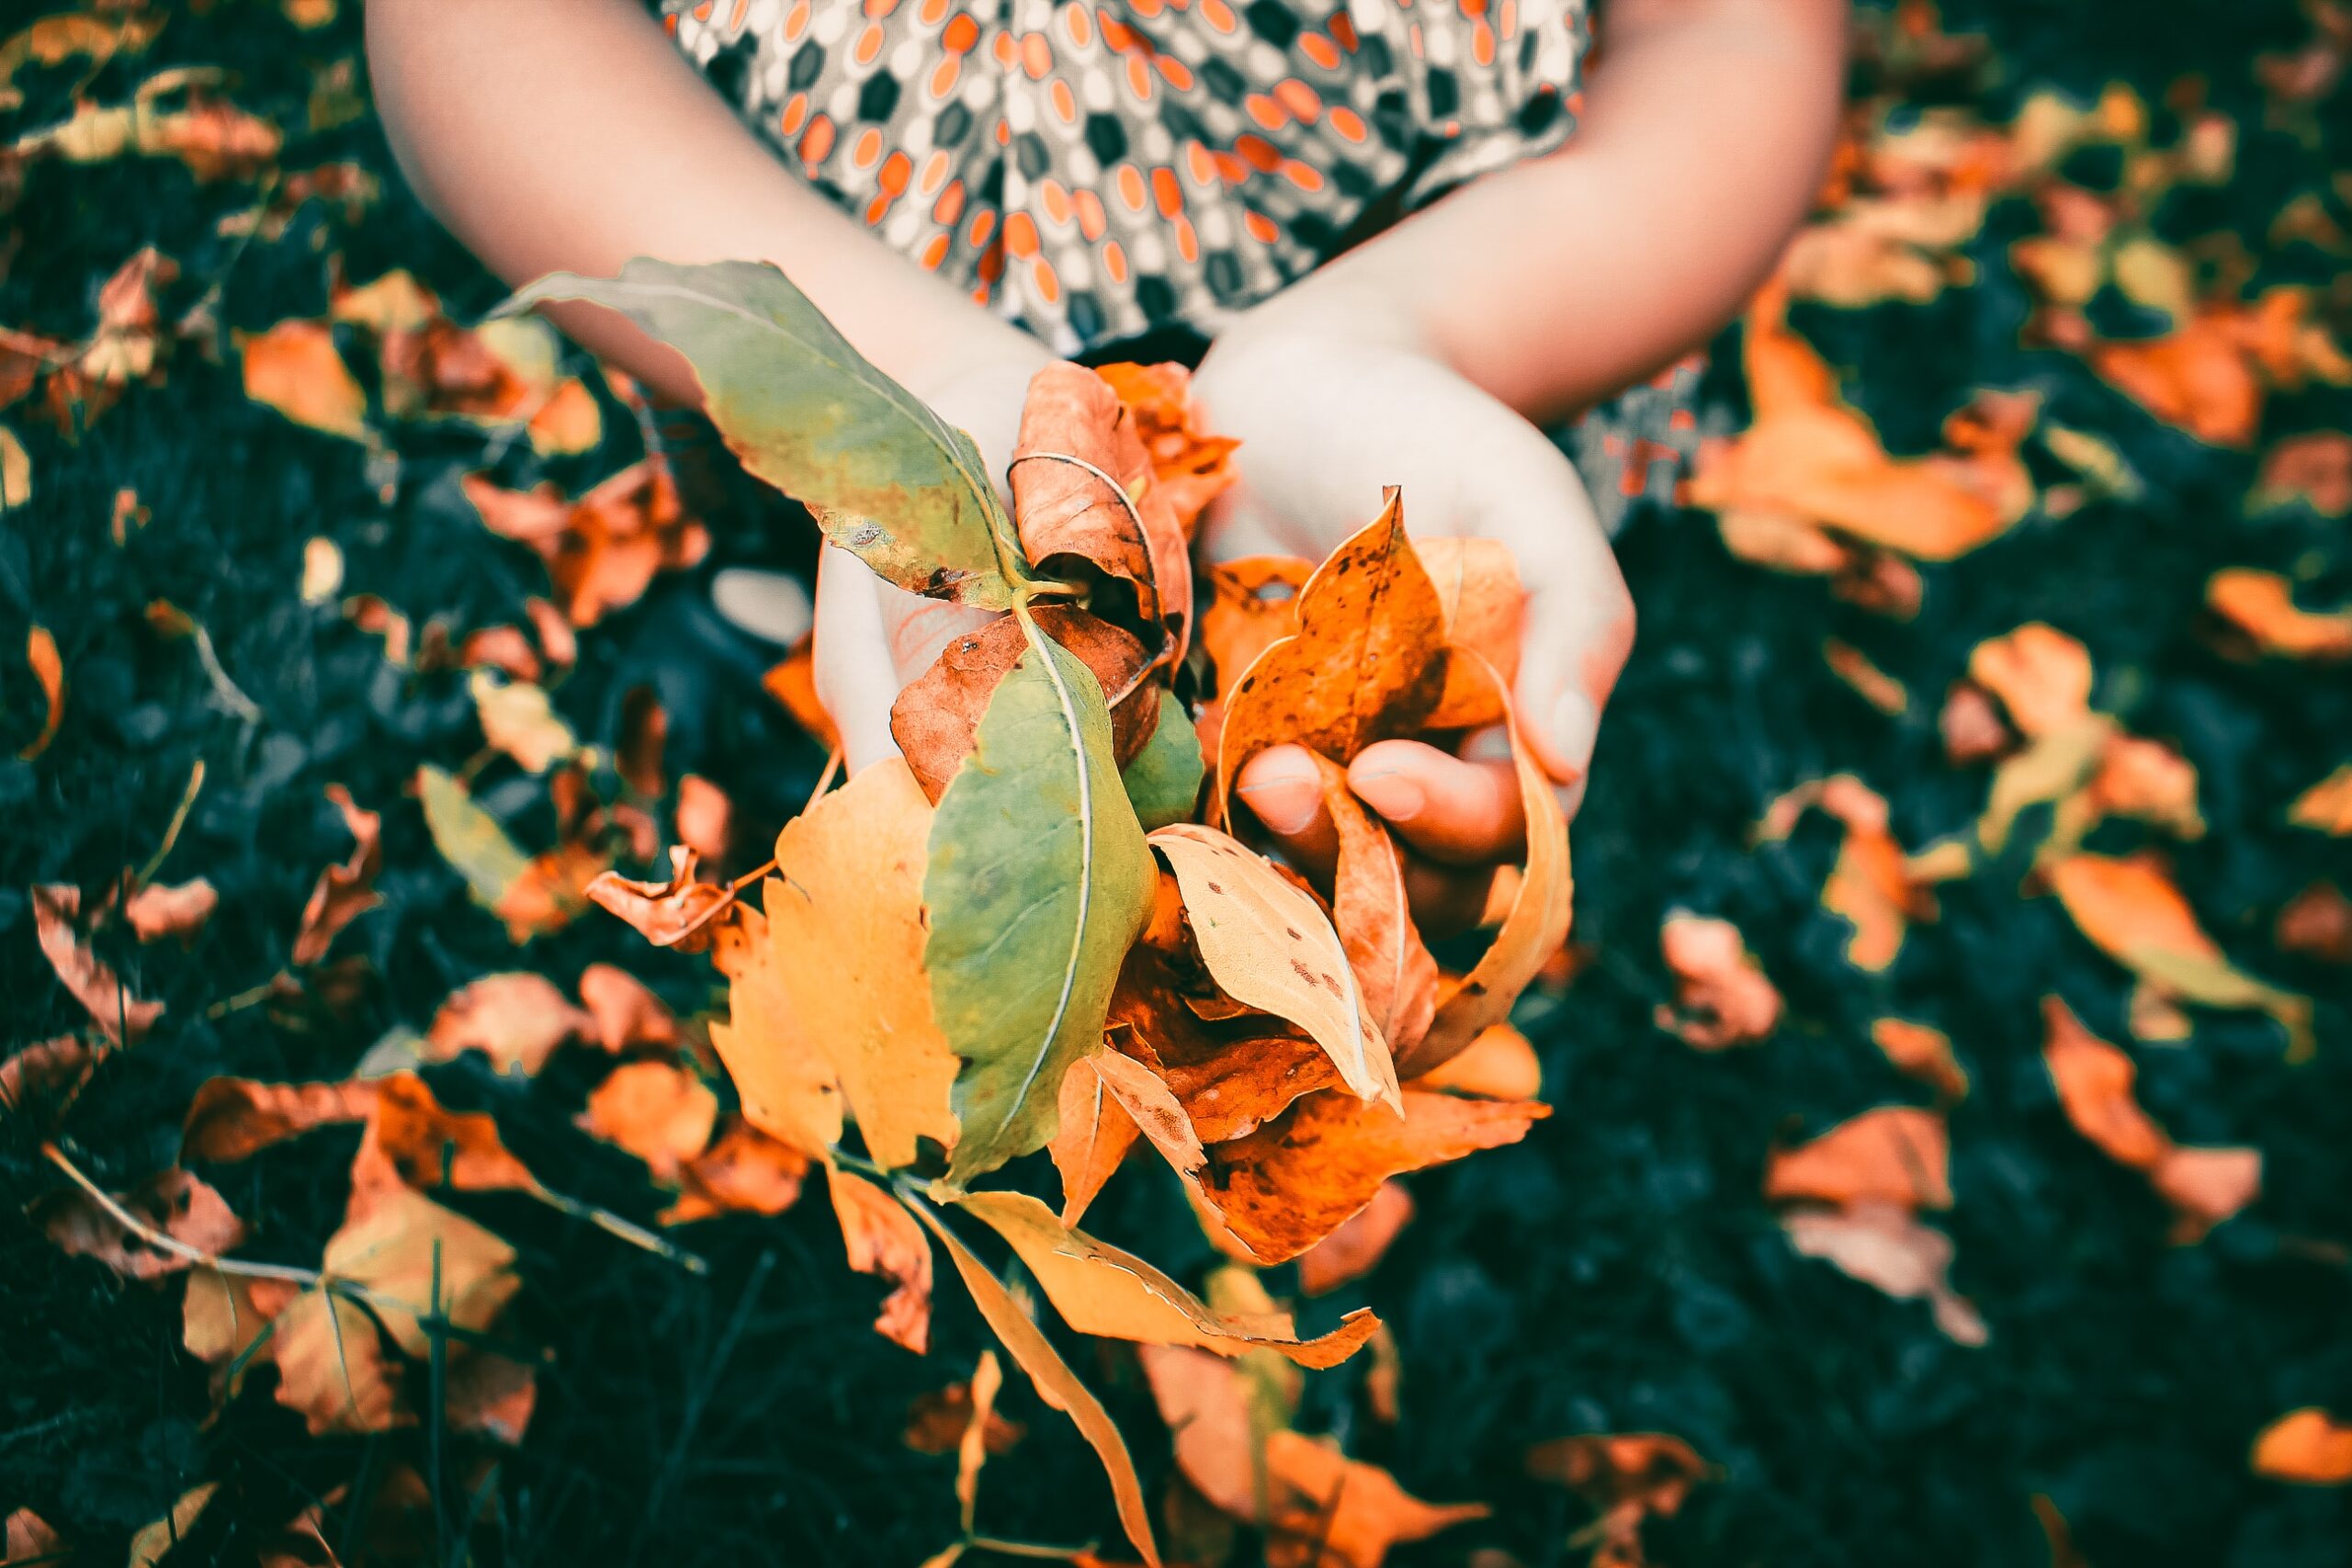
Photo by Nong on Unsplash 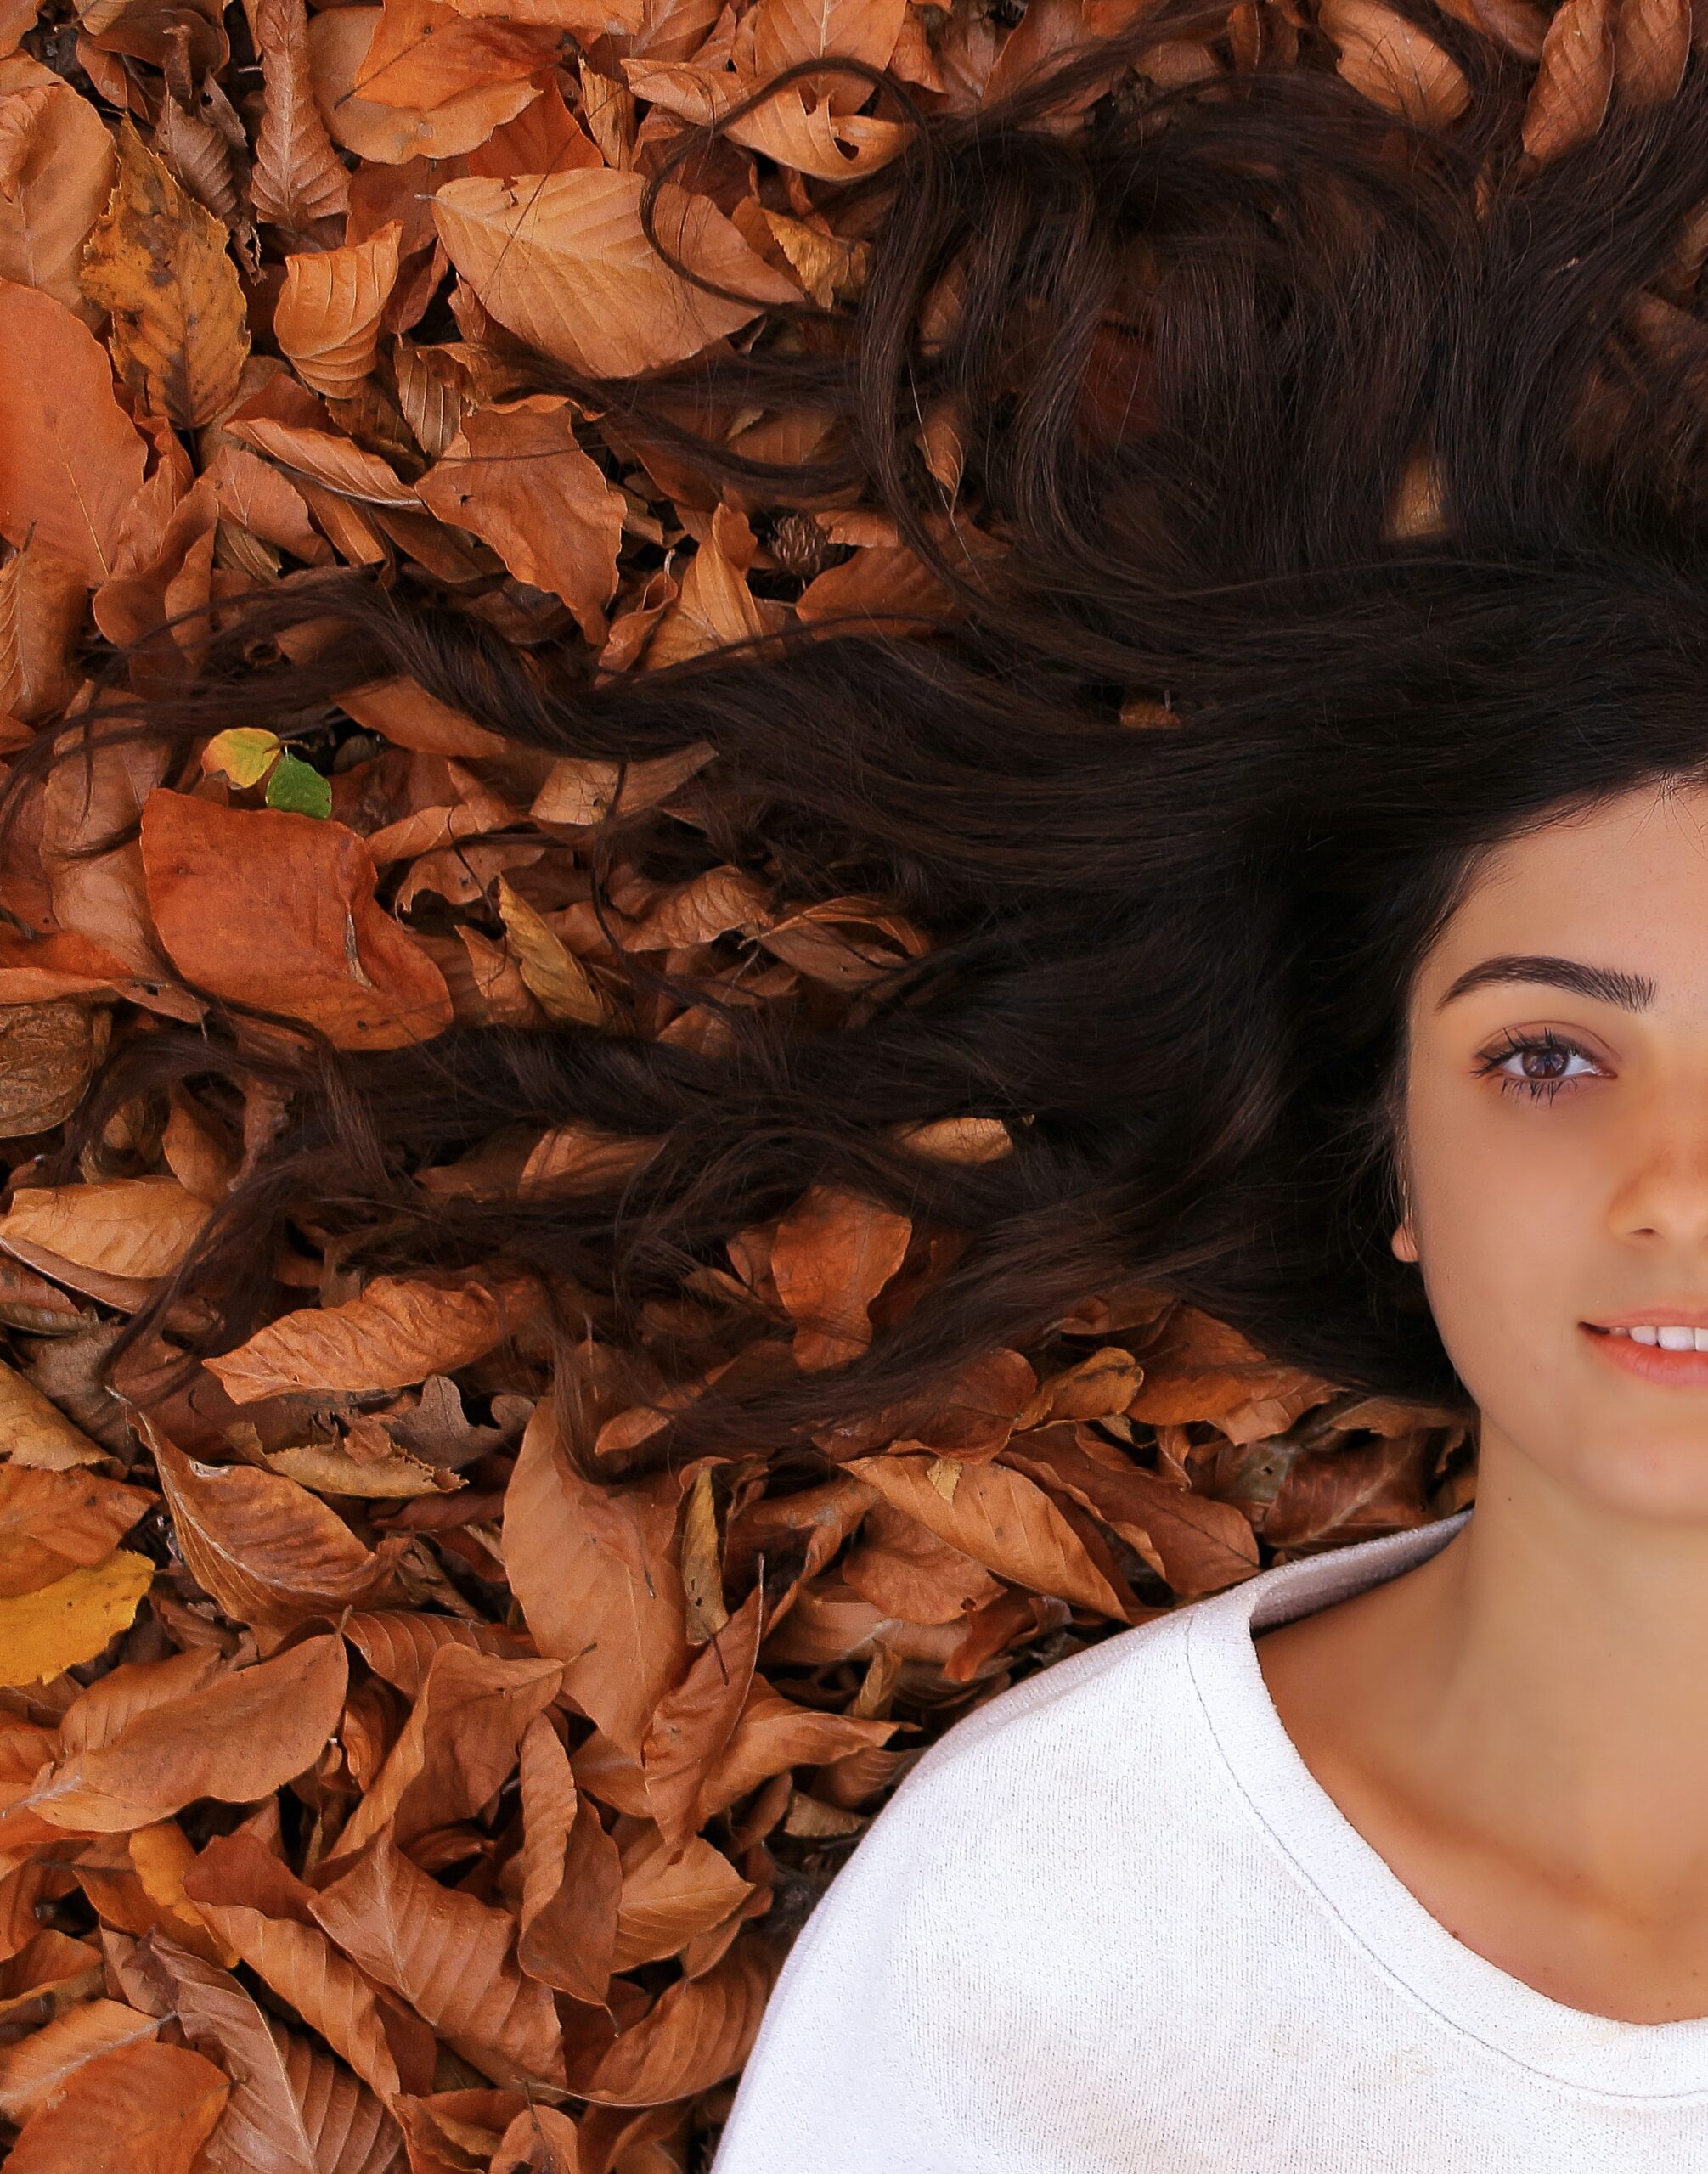
Photo by Sercan Solmaz on Unsplash 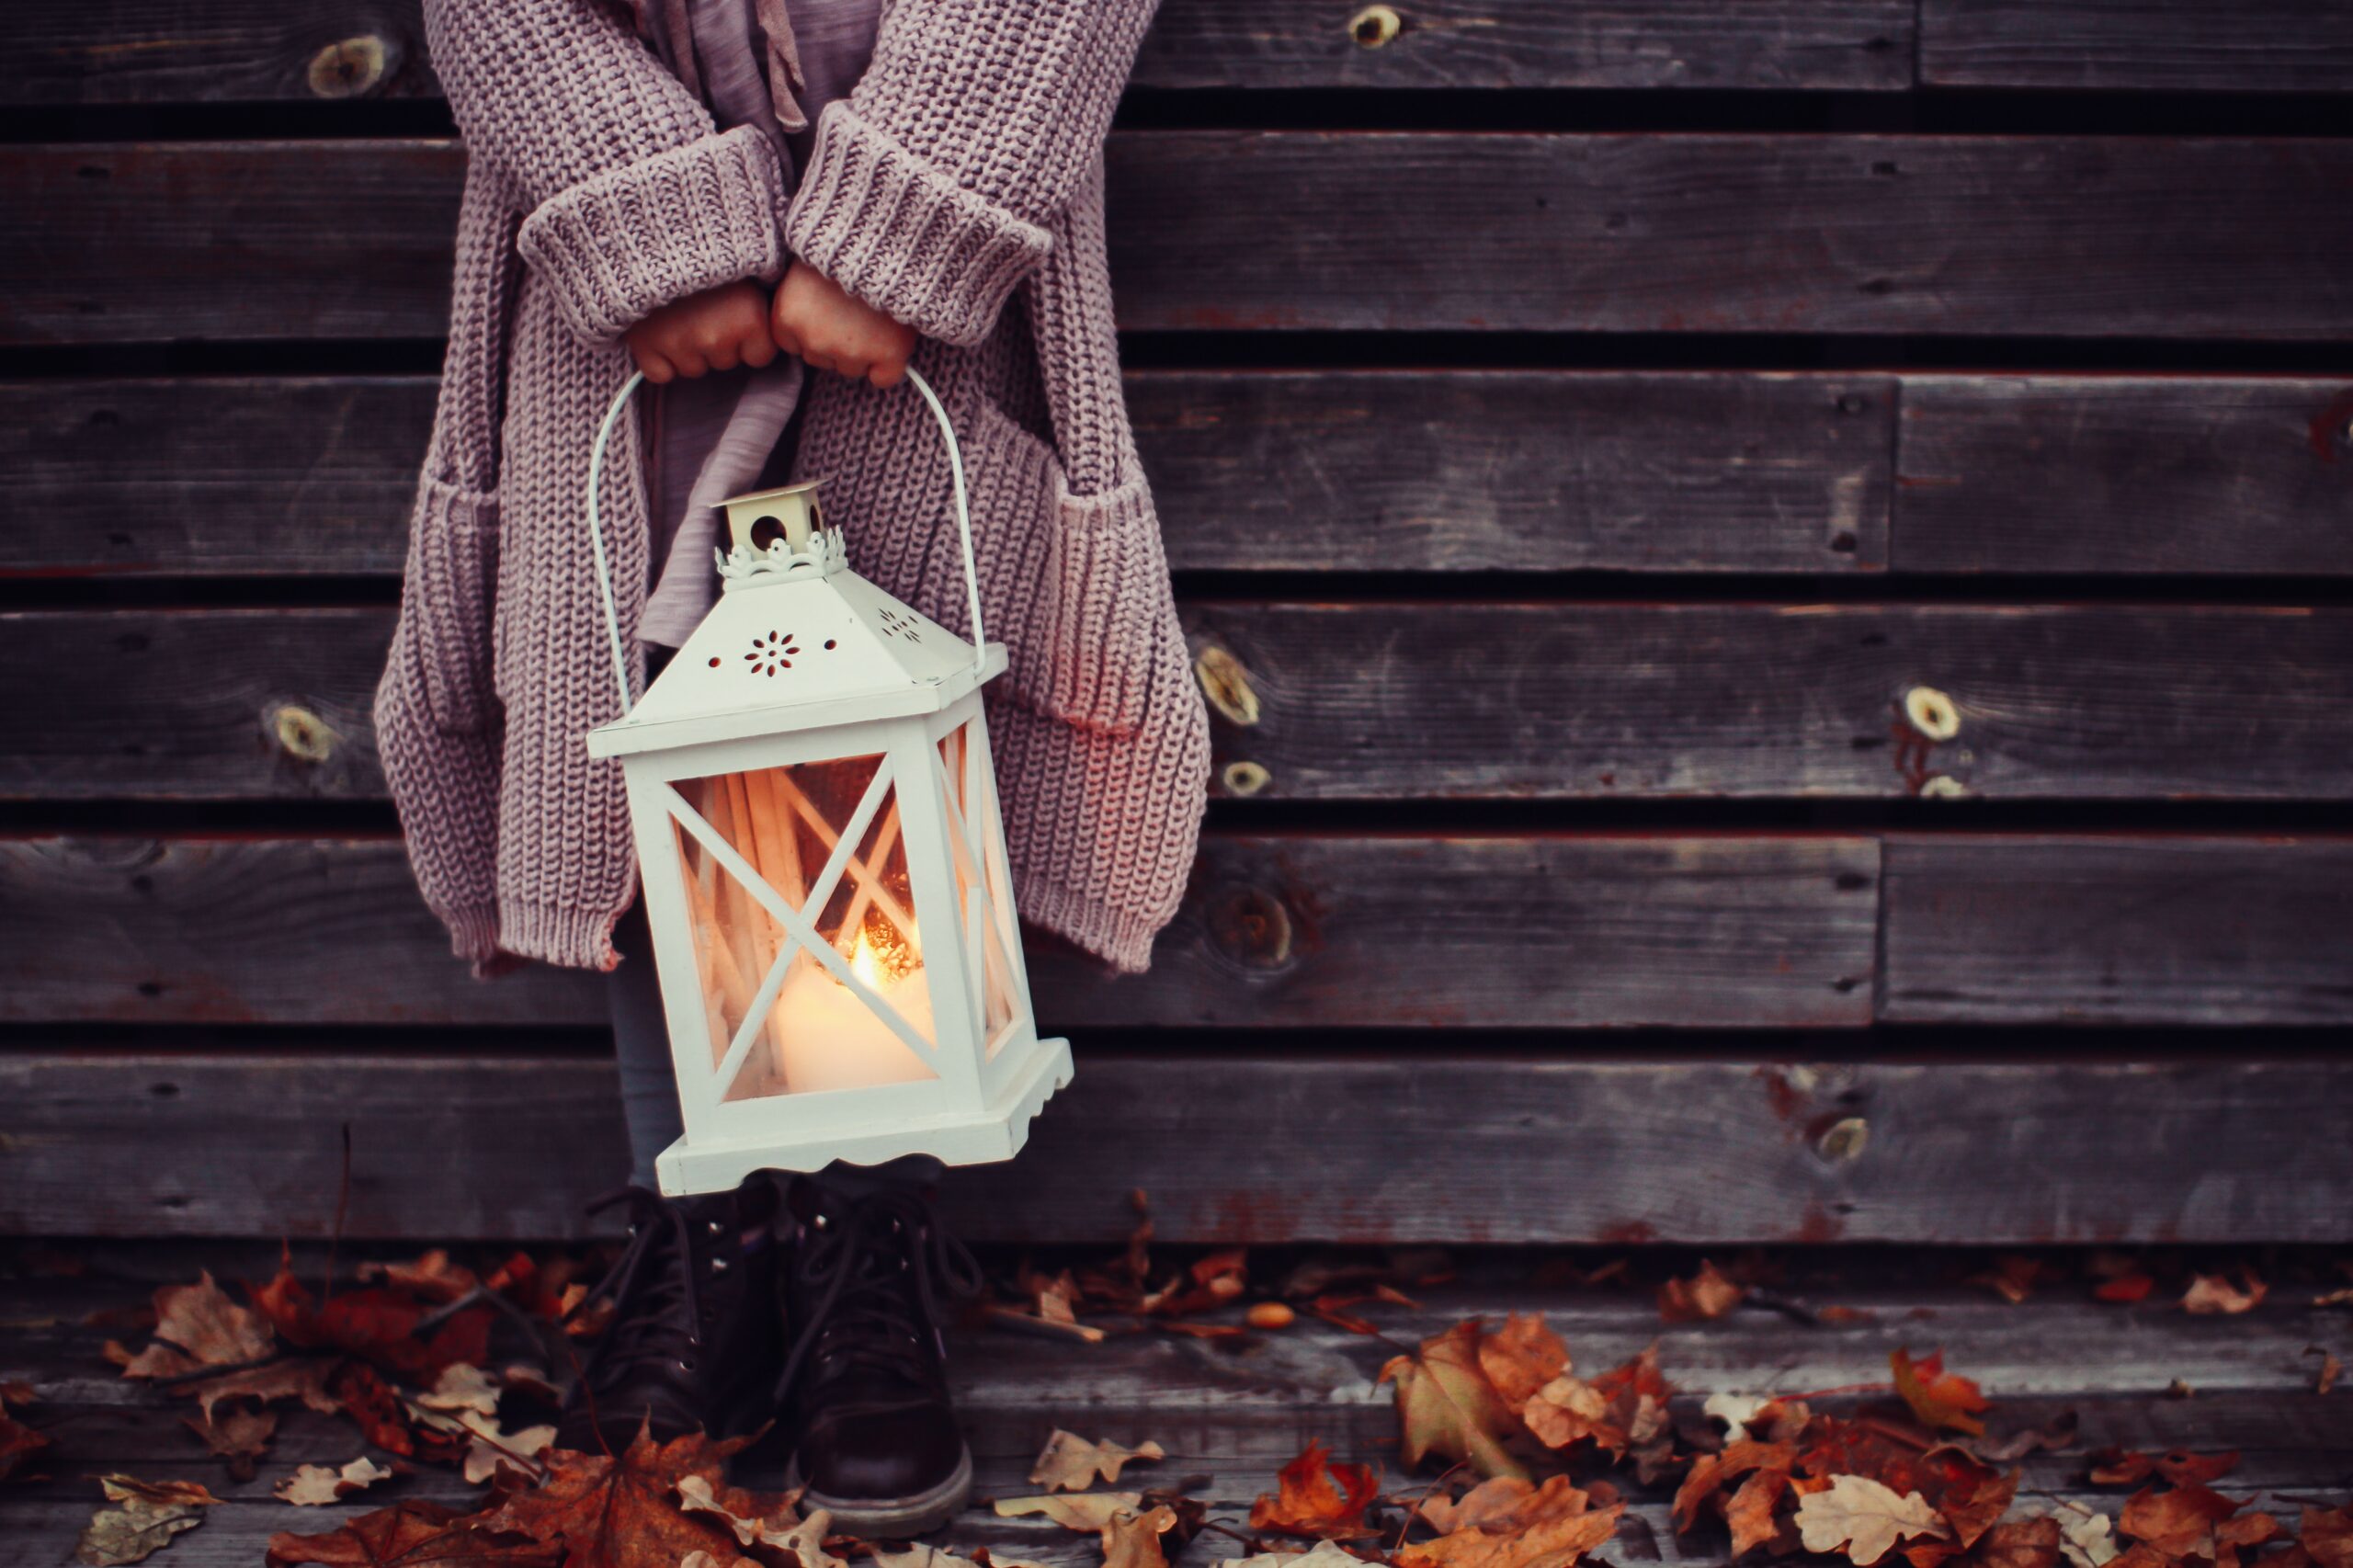
Photo by Daiga Ellaby on Unsplash
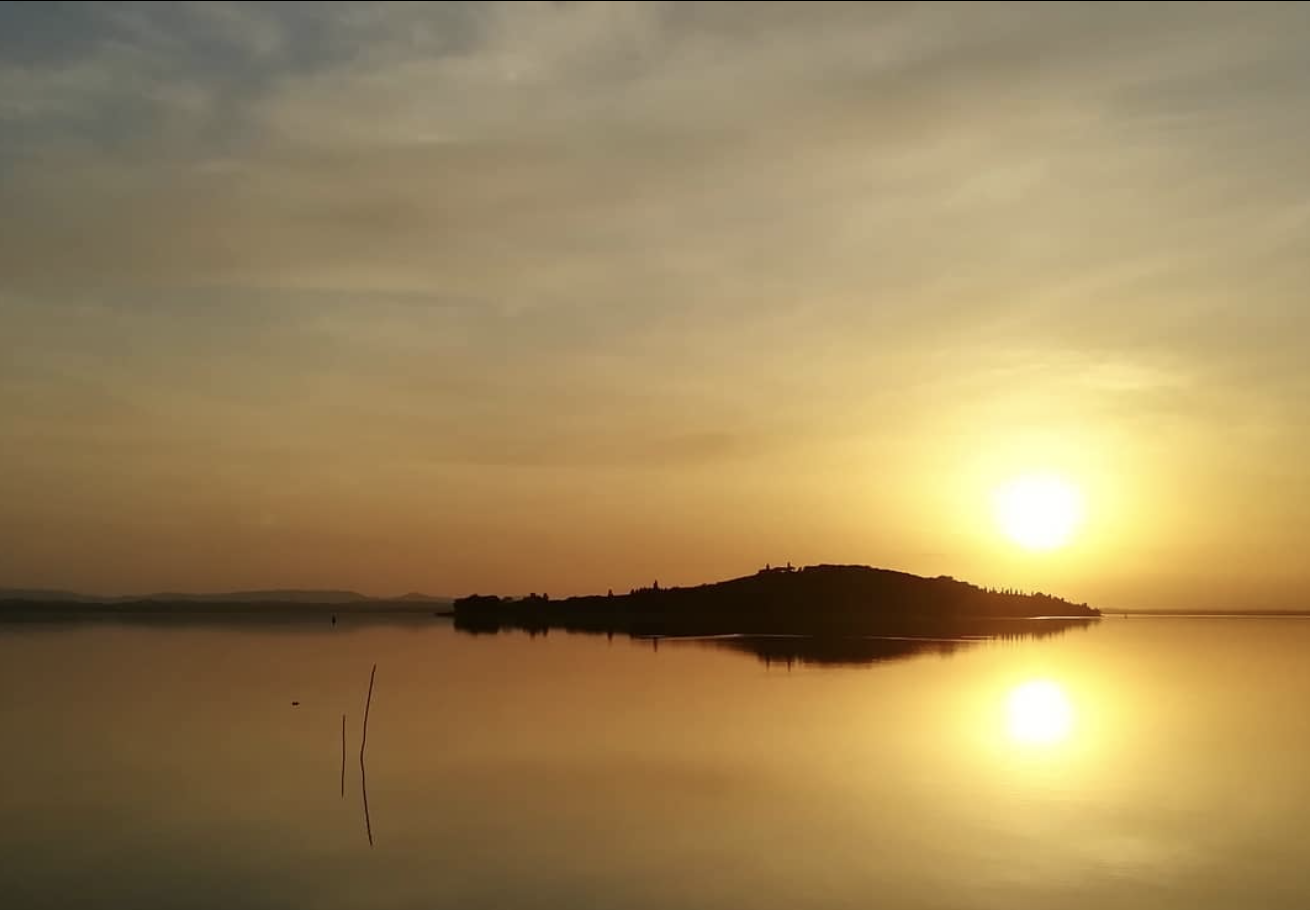
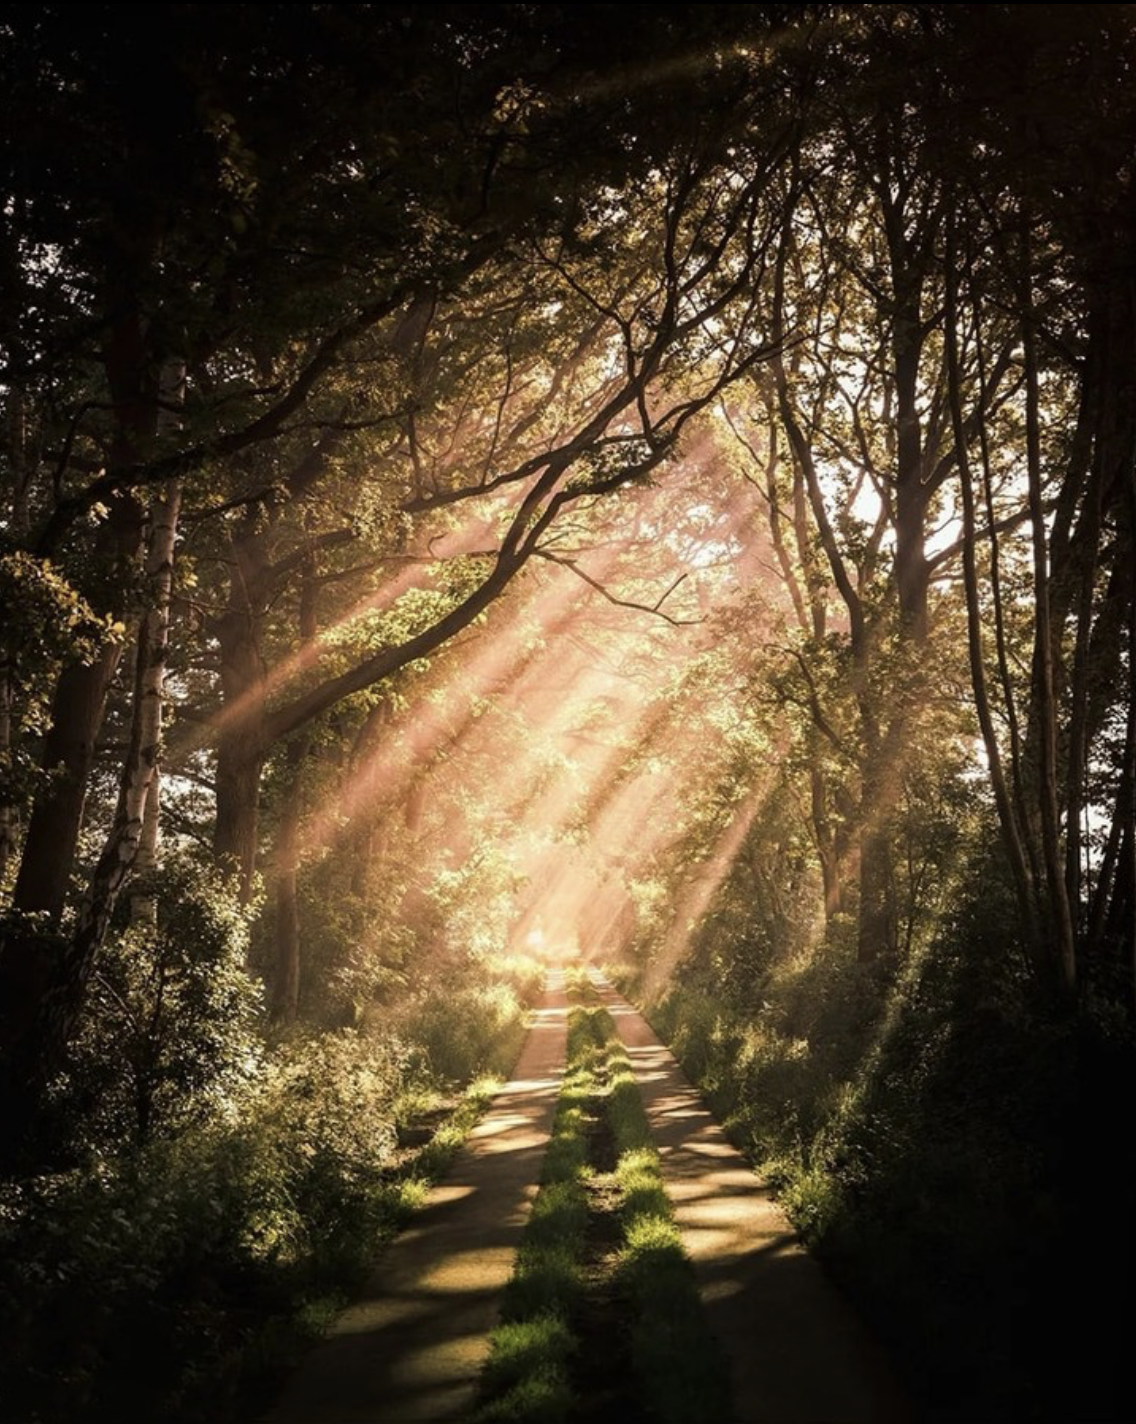
3. Autumn portrait pictures. In focus or blurry?
When taking autumn portraits pictures, playing with blur highlights the person and creates interesting backgrounds.
In fact, the colors of the leaves and the colourful landscapes, if blurred, give the photos a warm atmosphere and represent an excellent background.
To play with blurring, simply change the aperture opening.
Usually you choose to focus on the subject, placing it in the foreground, and blur the landscape in the background.
But even doing the opposite, blurring the person and focusing on an interesting detail, can lead to original solutions!
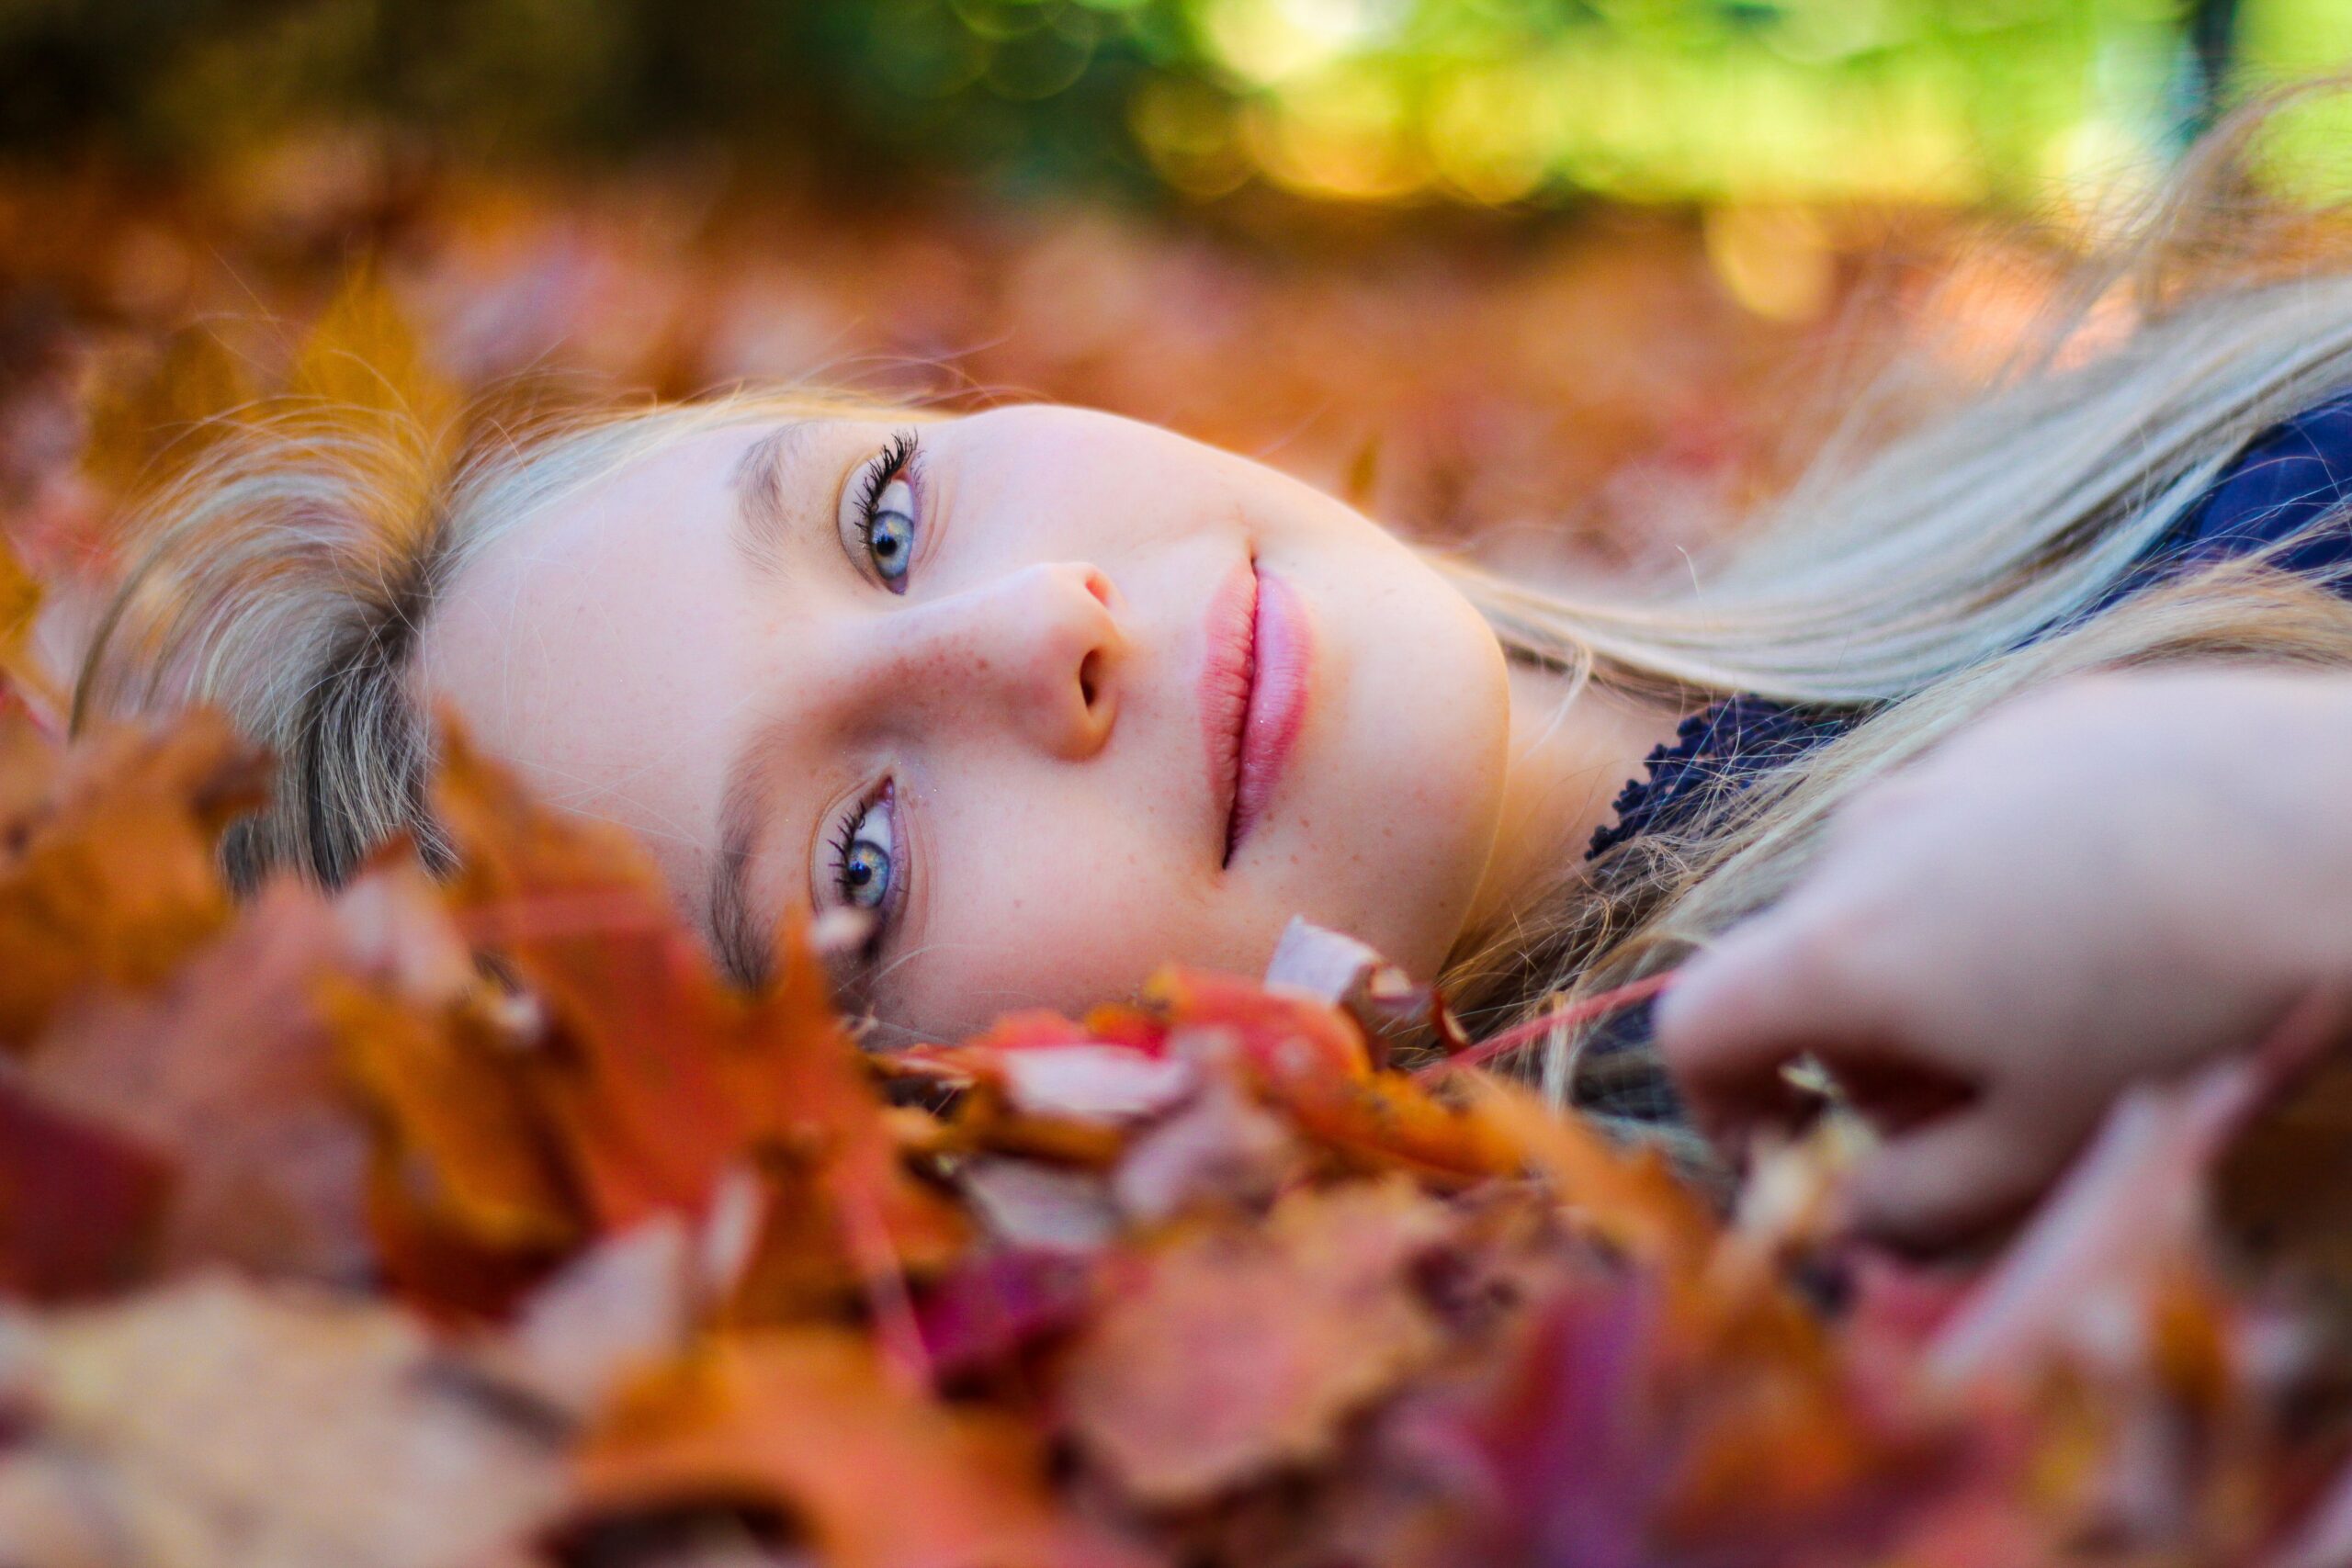
Photo by Neal Kharawala on Unsplash 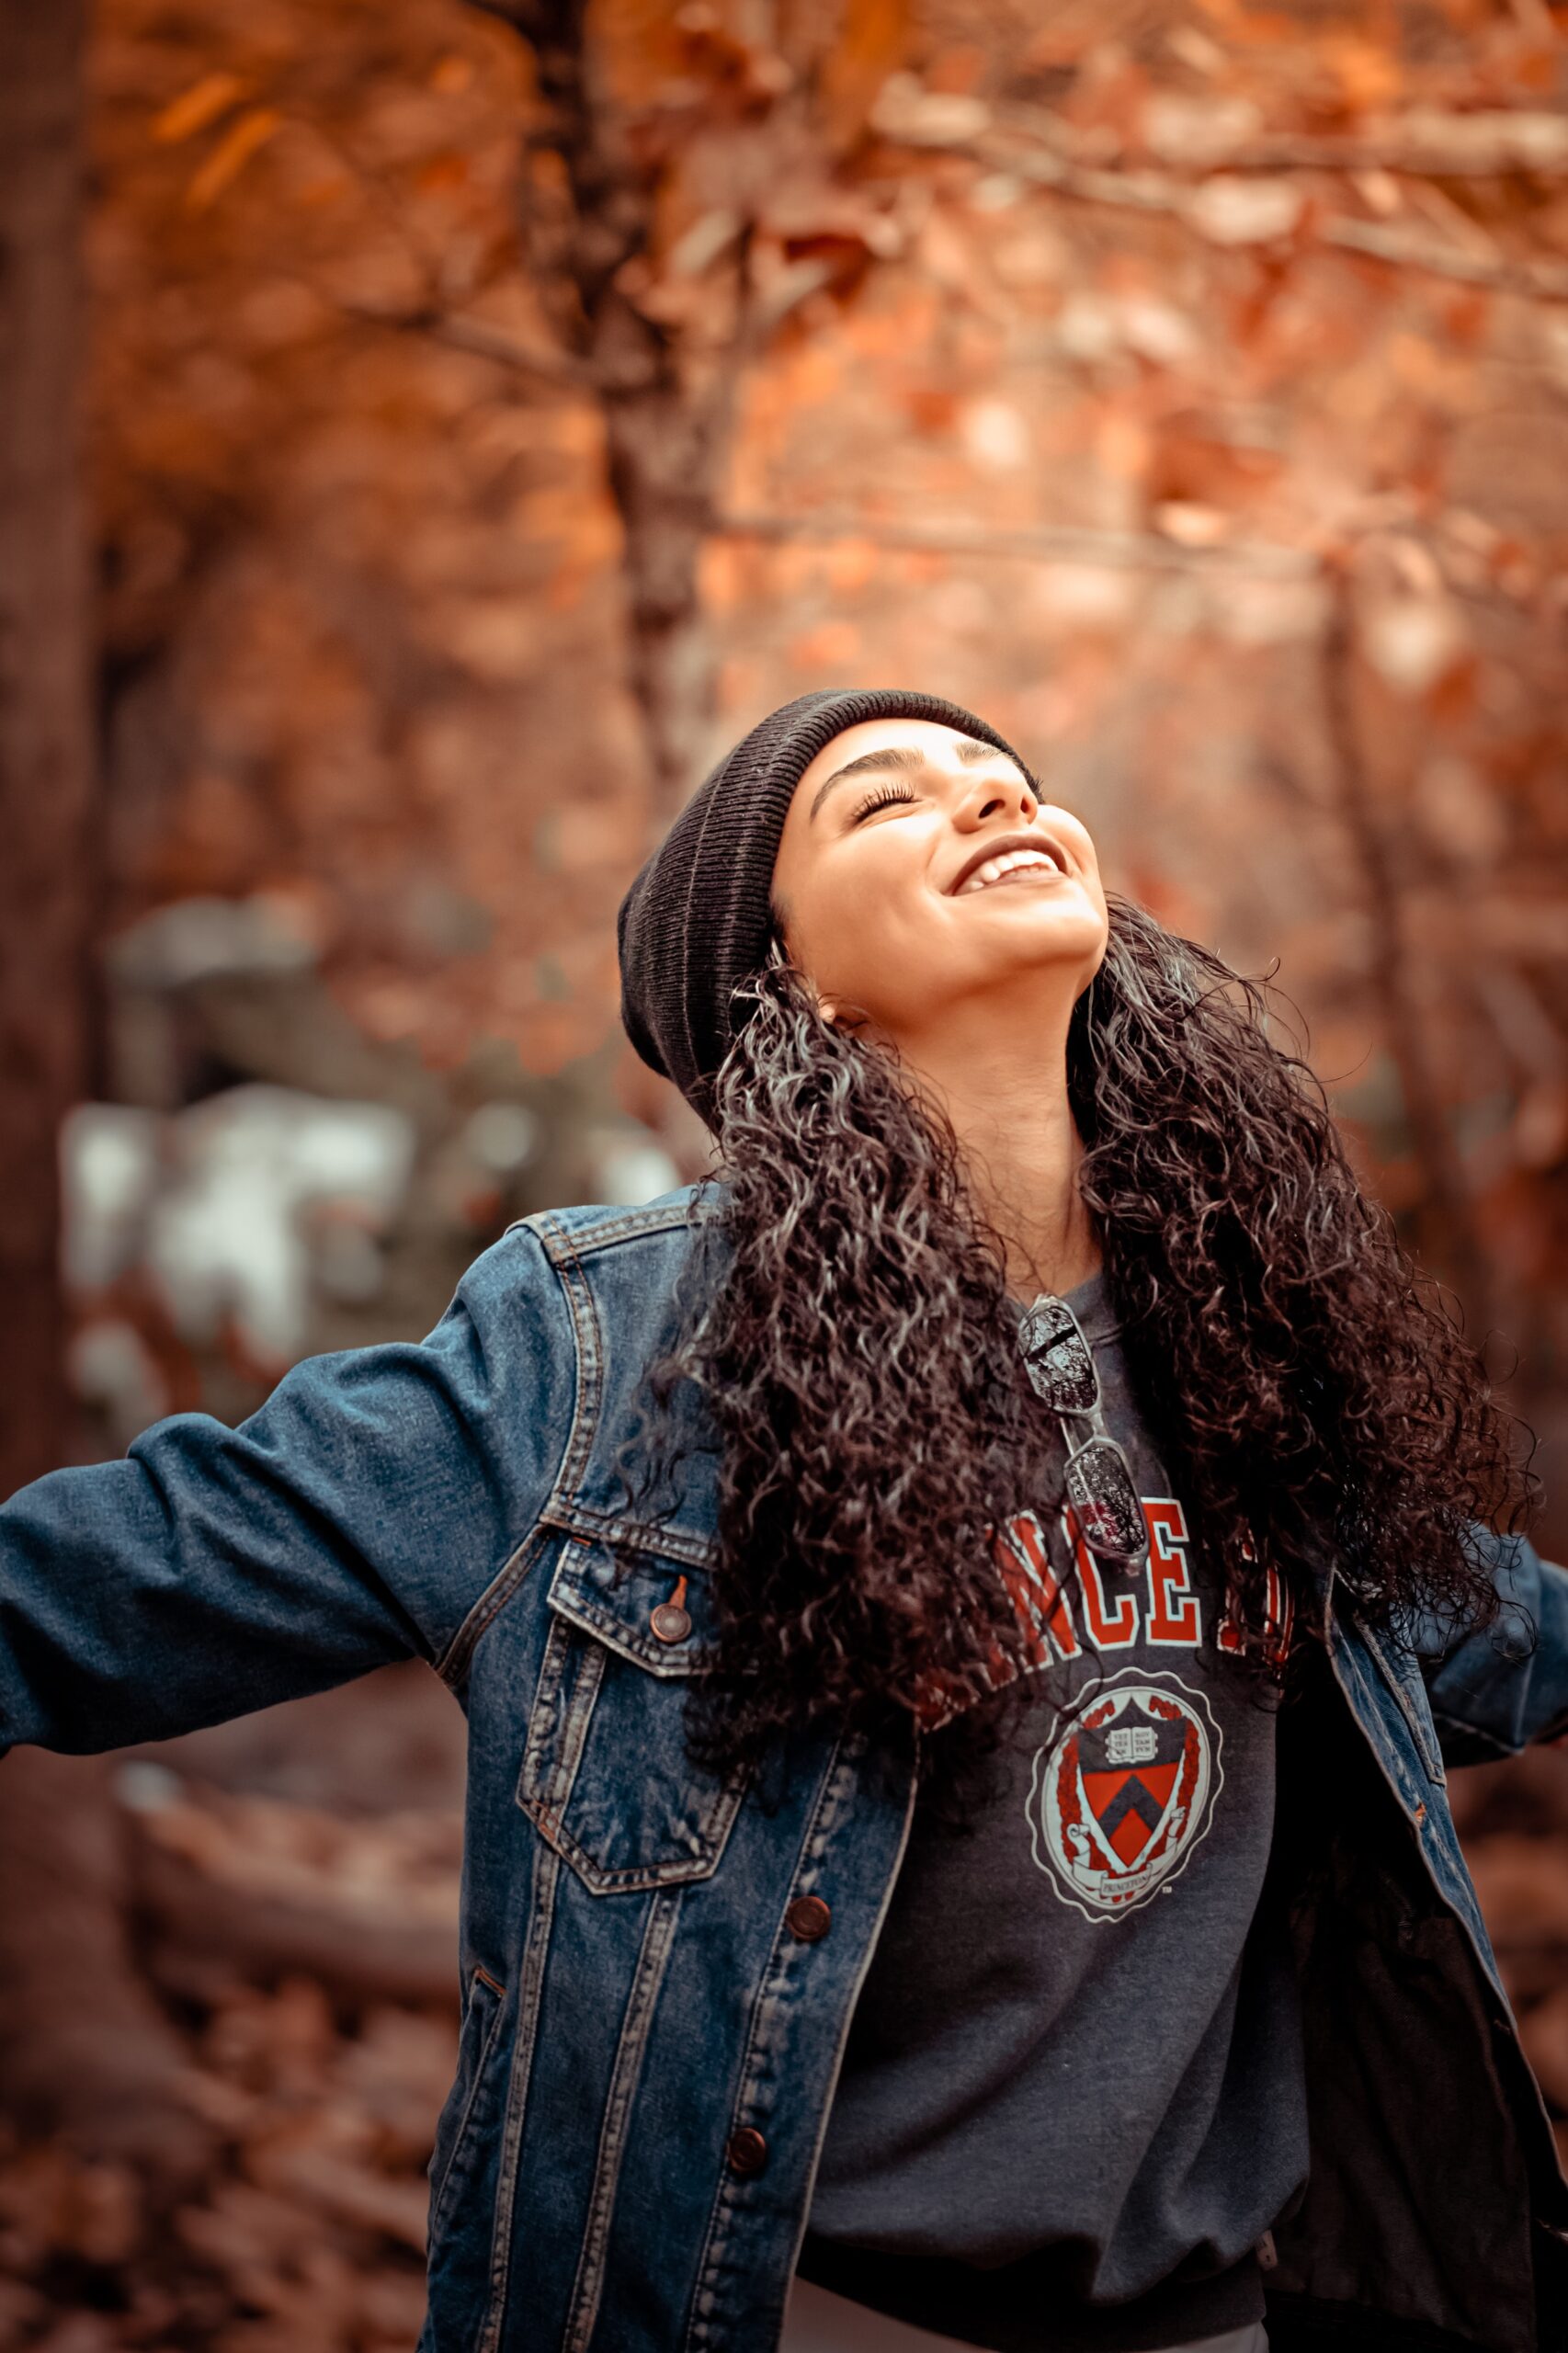
Photo by Omid Armin on Unsplash 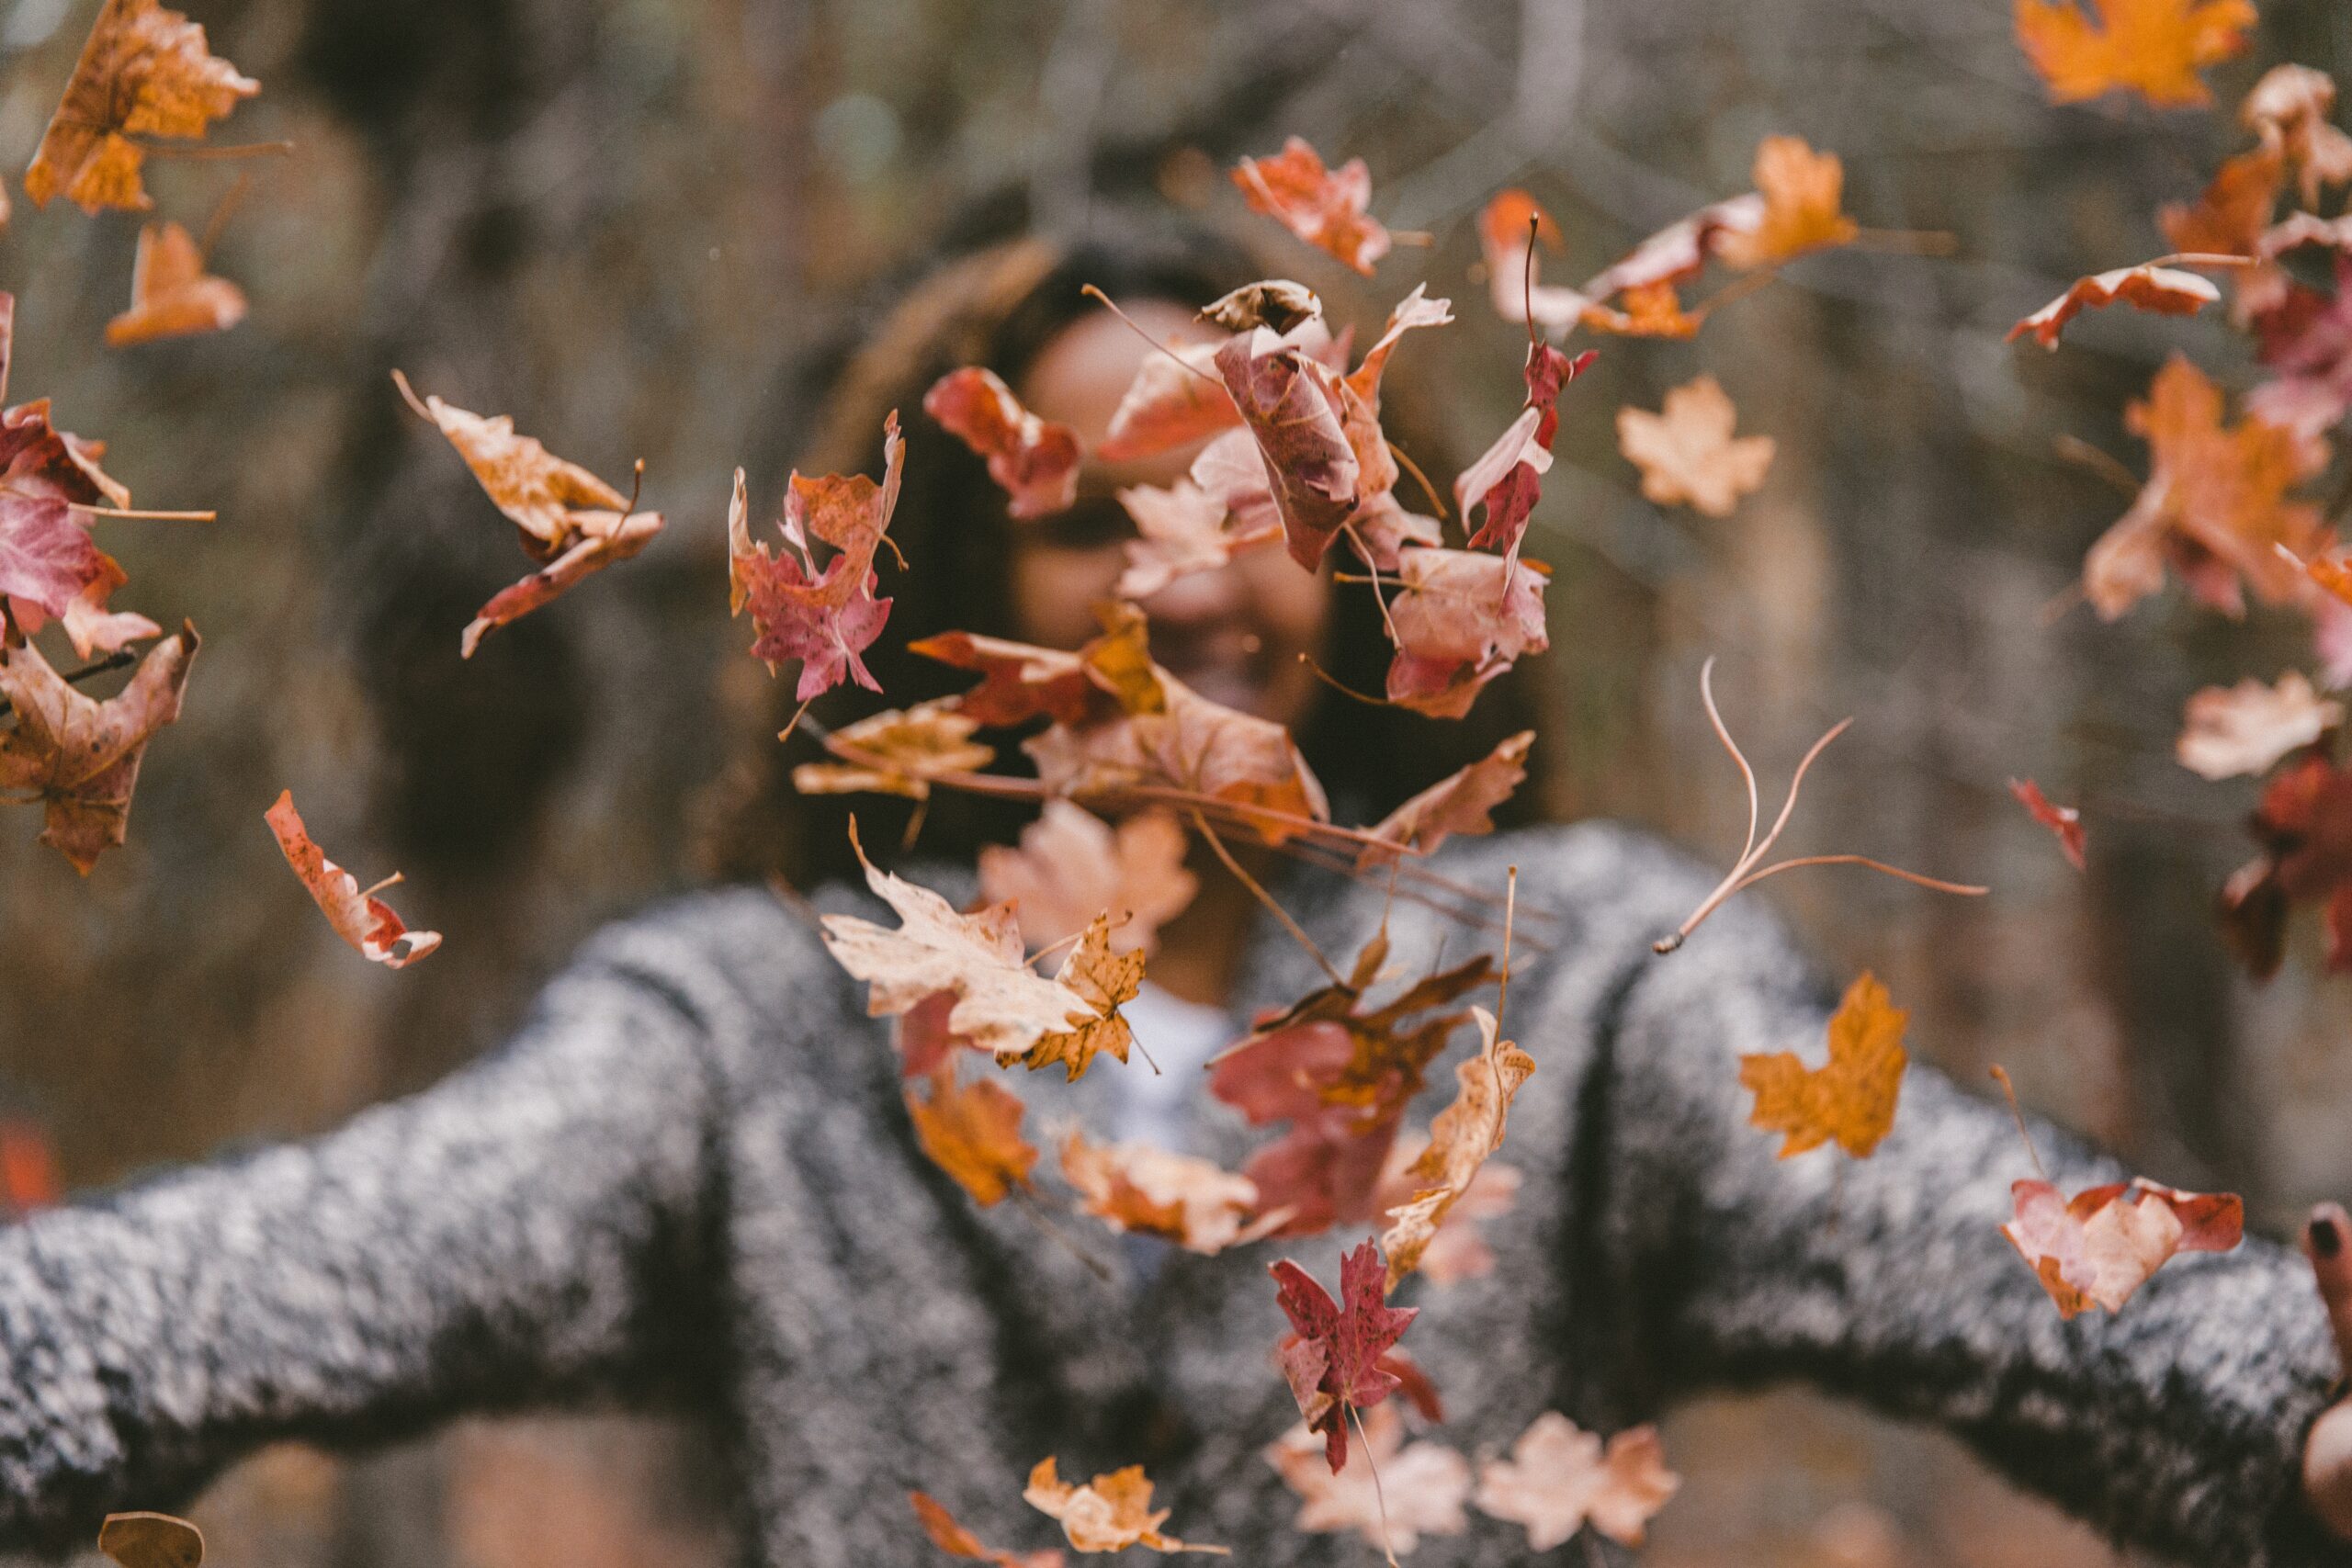
Photo by Jakob Owens on Unsplash
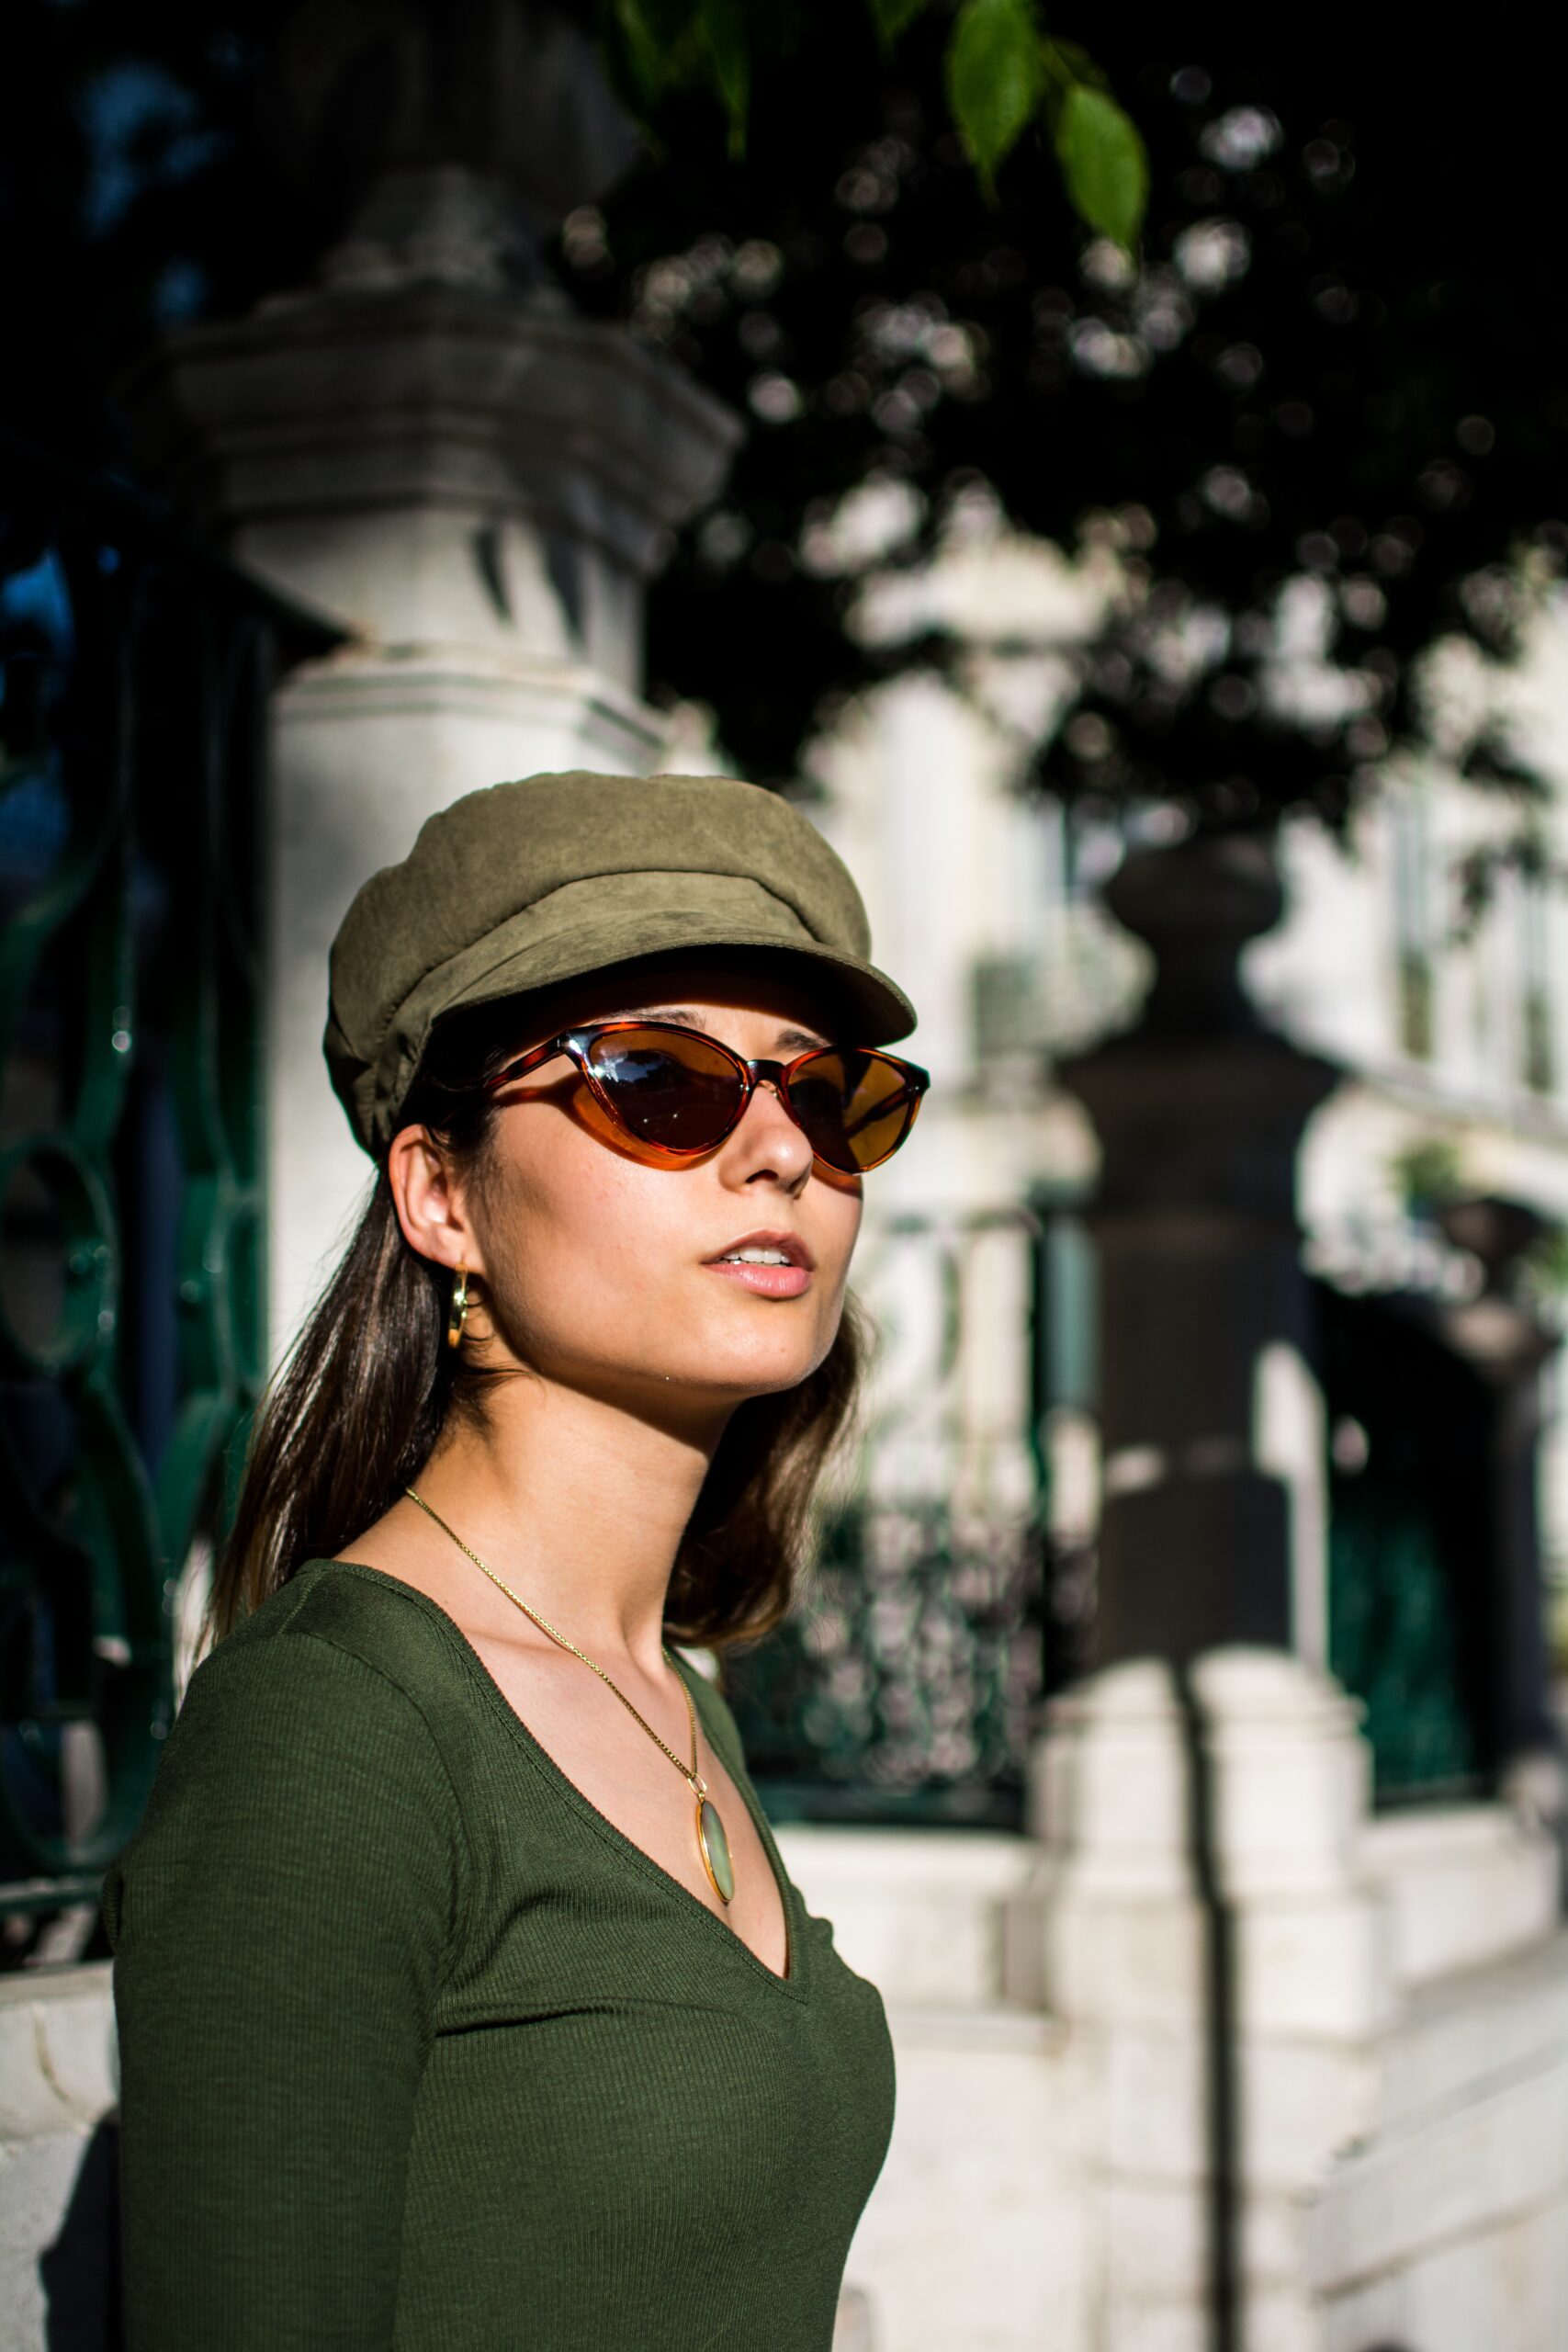
4.Autumn portraits pictures: the best outfit
Even the subject’s clothing, mainly regarding colours, can play a key role in the stylistic choices.
- If you choose warm tones in shades of red, orange, brown and yellow, there will certainly be chromatic associations between the natural context and the subject of the photo. We will therefore work on integration, in the case of overlapping of the two elements, or on correspondences if the person is placed alongside but not superimposed on the colored leaves (as in the example of the first photo below).
- If you choose dark tones of black or light tones of white, you will work on the color contrast instead. The person you are framing will capture attention precisely because of its uniqueness compared to the surrounding landscape.
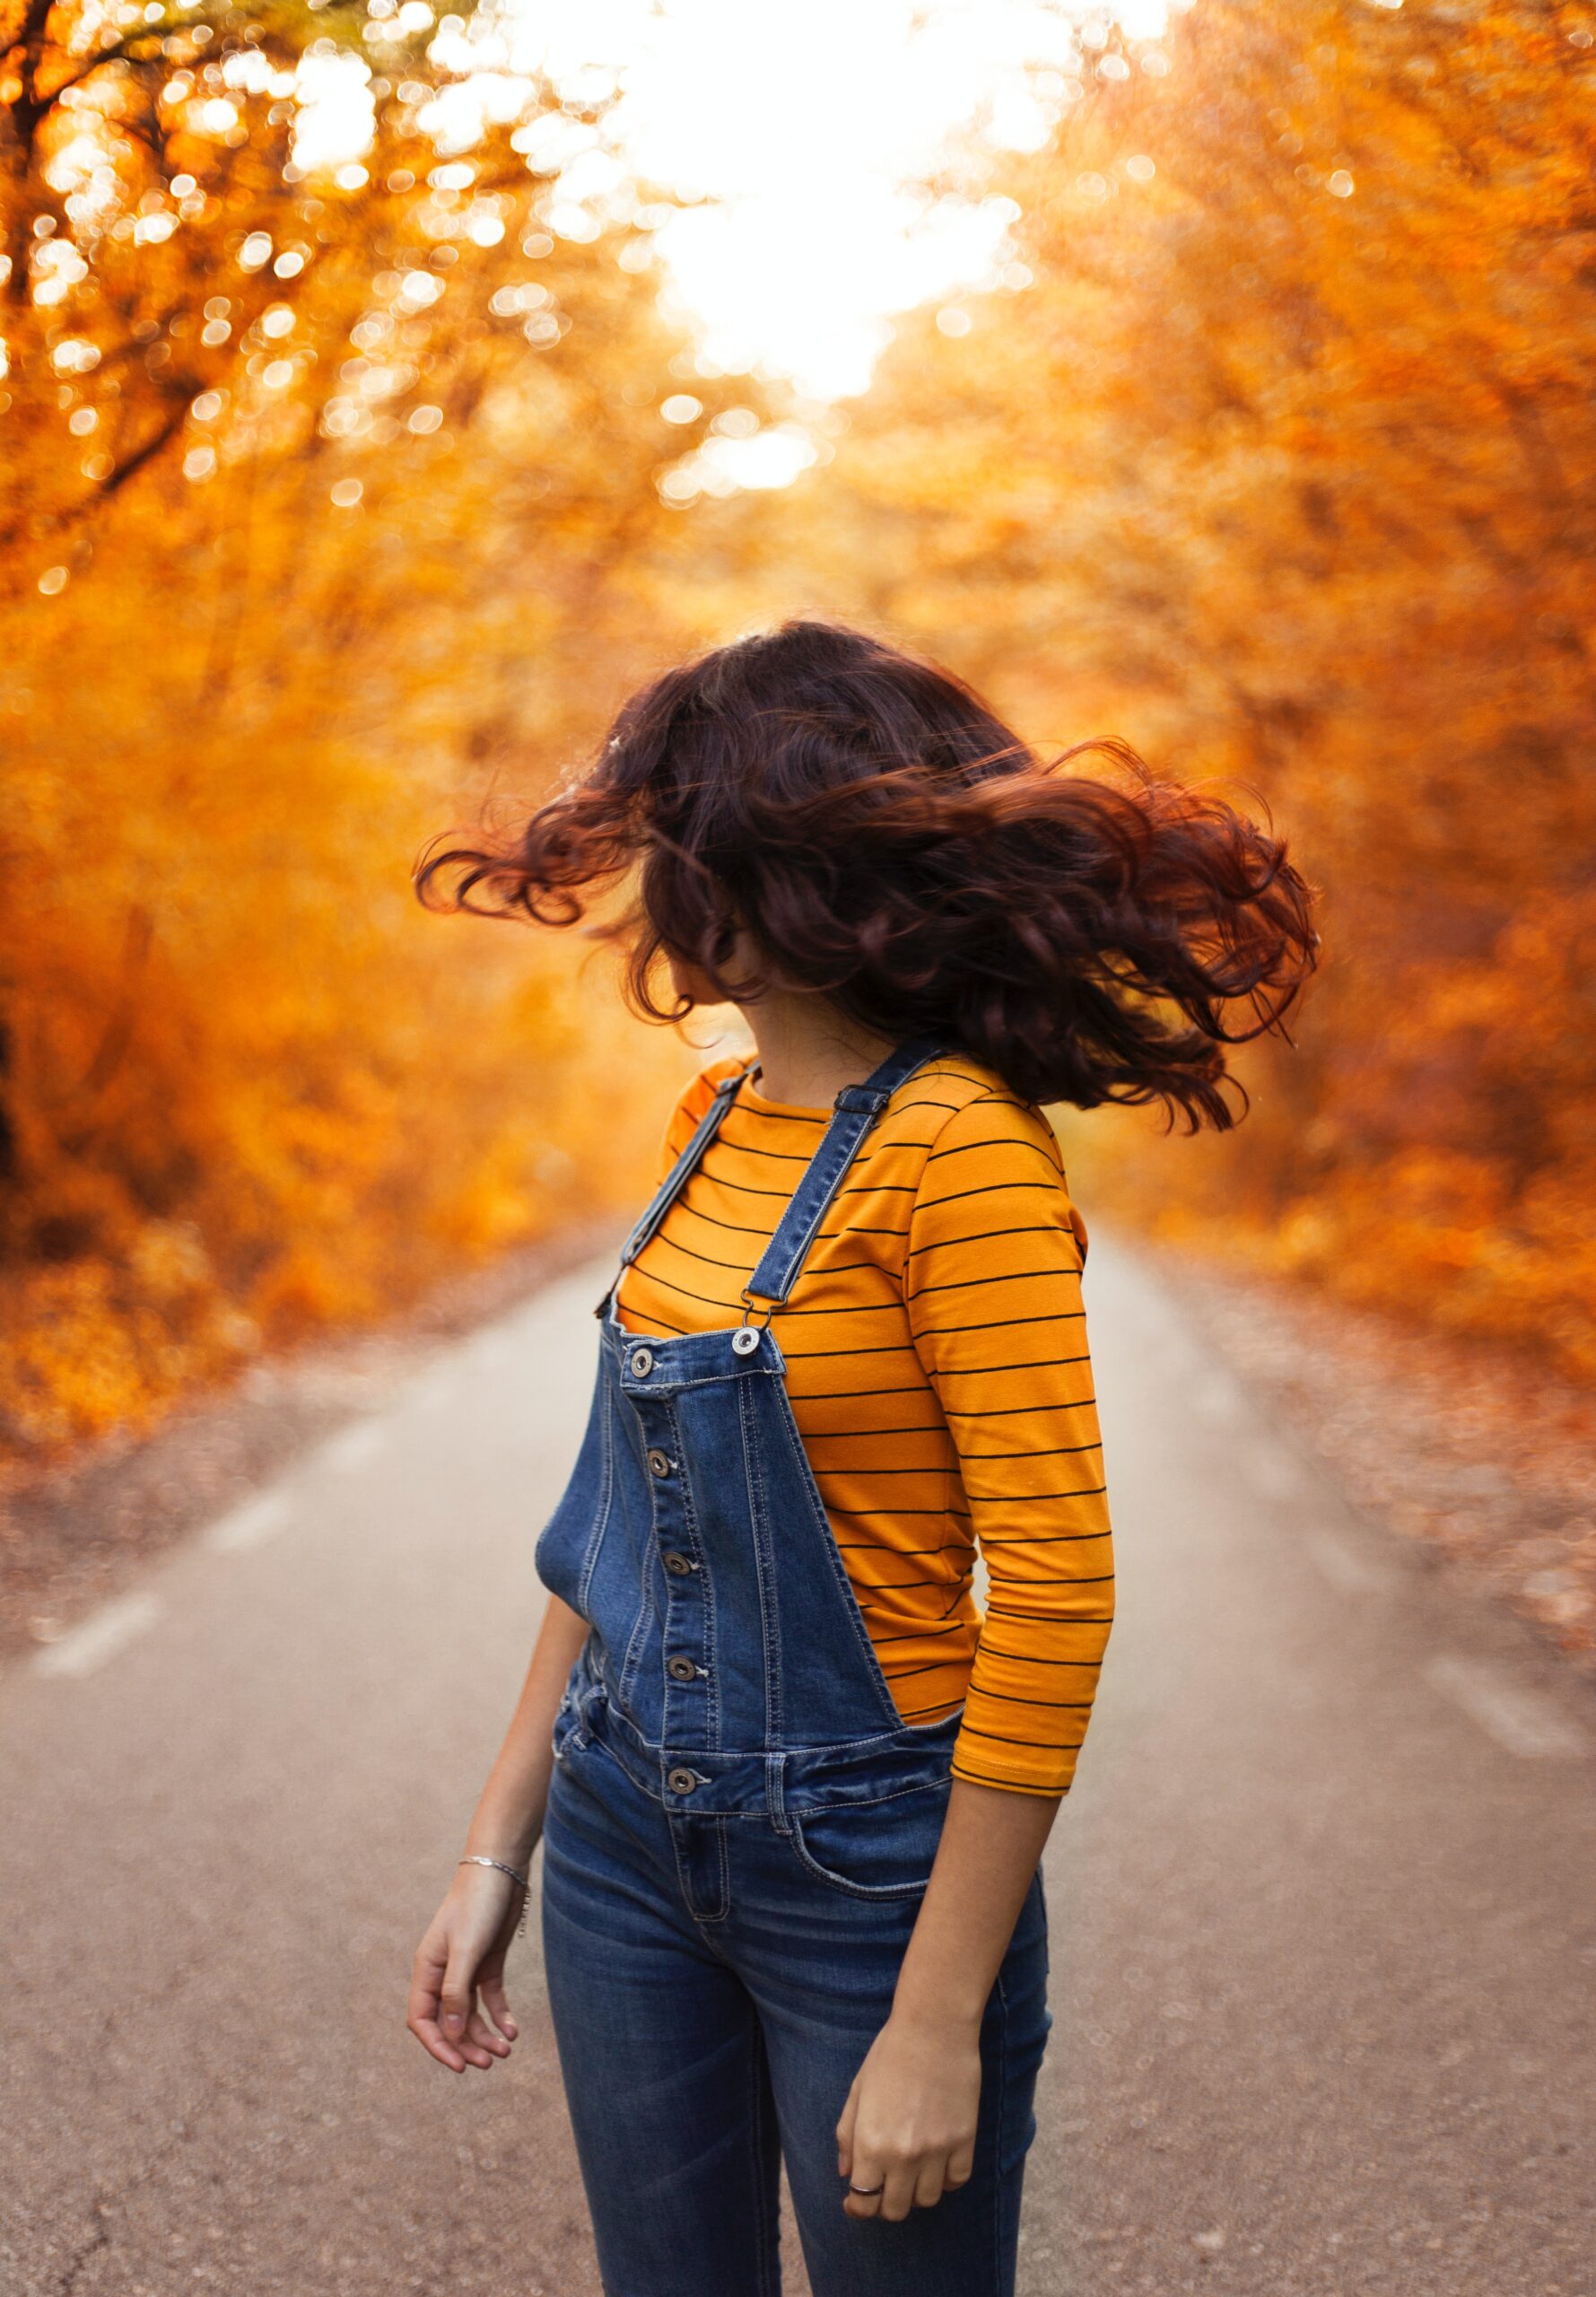
Photo by Alicia Petresc on Unsplash 
Photo by Steven Aguilar on Unsplash
At this point you are almost ready to take your autumn photos. In the fourth post of our column, we will give you the latest tips to make your foliage pictures truly irresistible.
We wil talk about:
4. Fall foliage pics: equipment, post production and presets
What are you waiting for?
Follow our tips and tag us in your shots, the best ones will be shared on Imagomap’s Instagram and Facebook pages.
If you liked our post, share it and leave a comment!