Who hasn’t stopped to take fall foliage photos at least once?
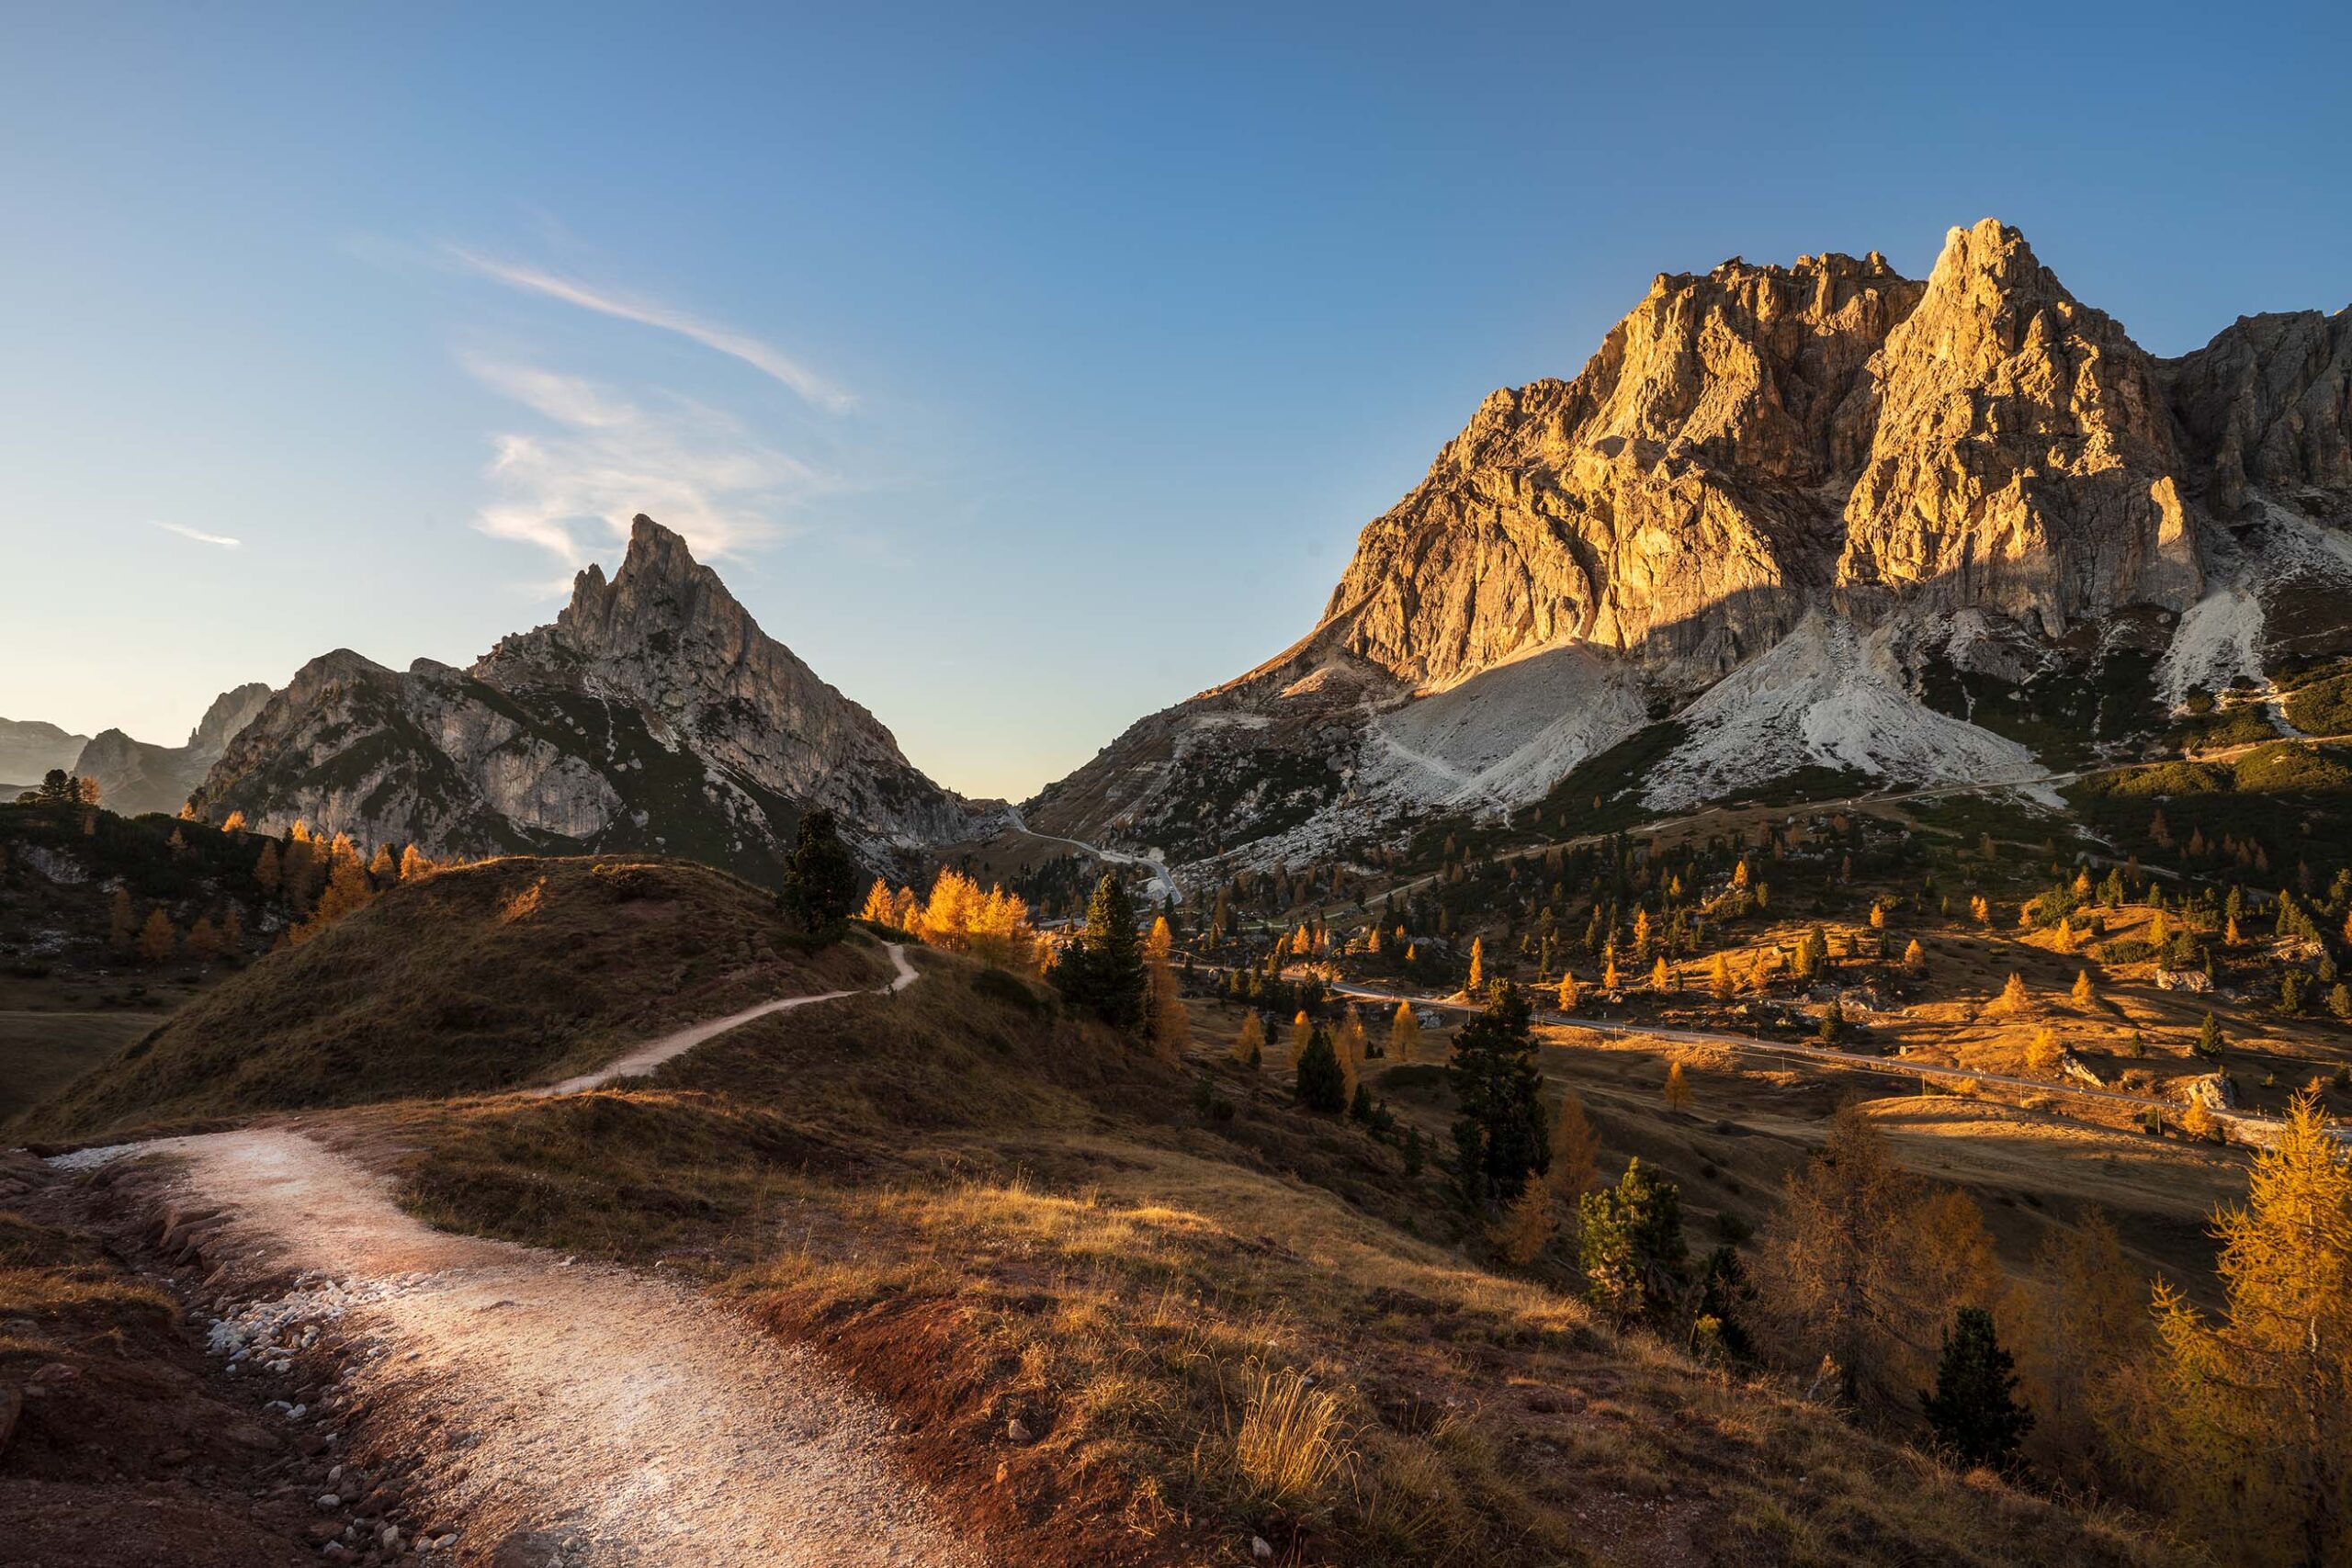
Fall is perhaps the most evocative season of the year, with its amazing landscapes.
In fact, the color shades of the leaves give our photos a unique atmosphere of fairytale worlds.
So, what are the best photo tips for fall foliage pics?
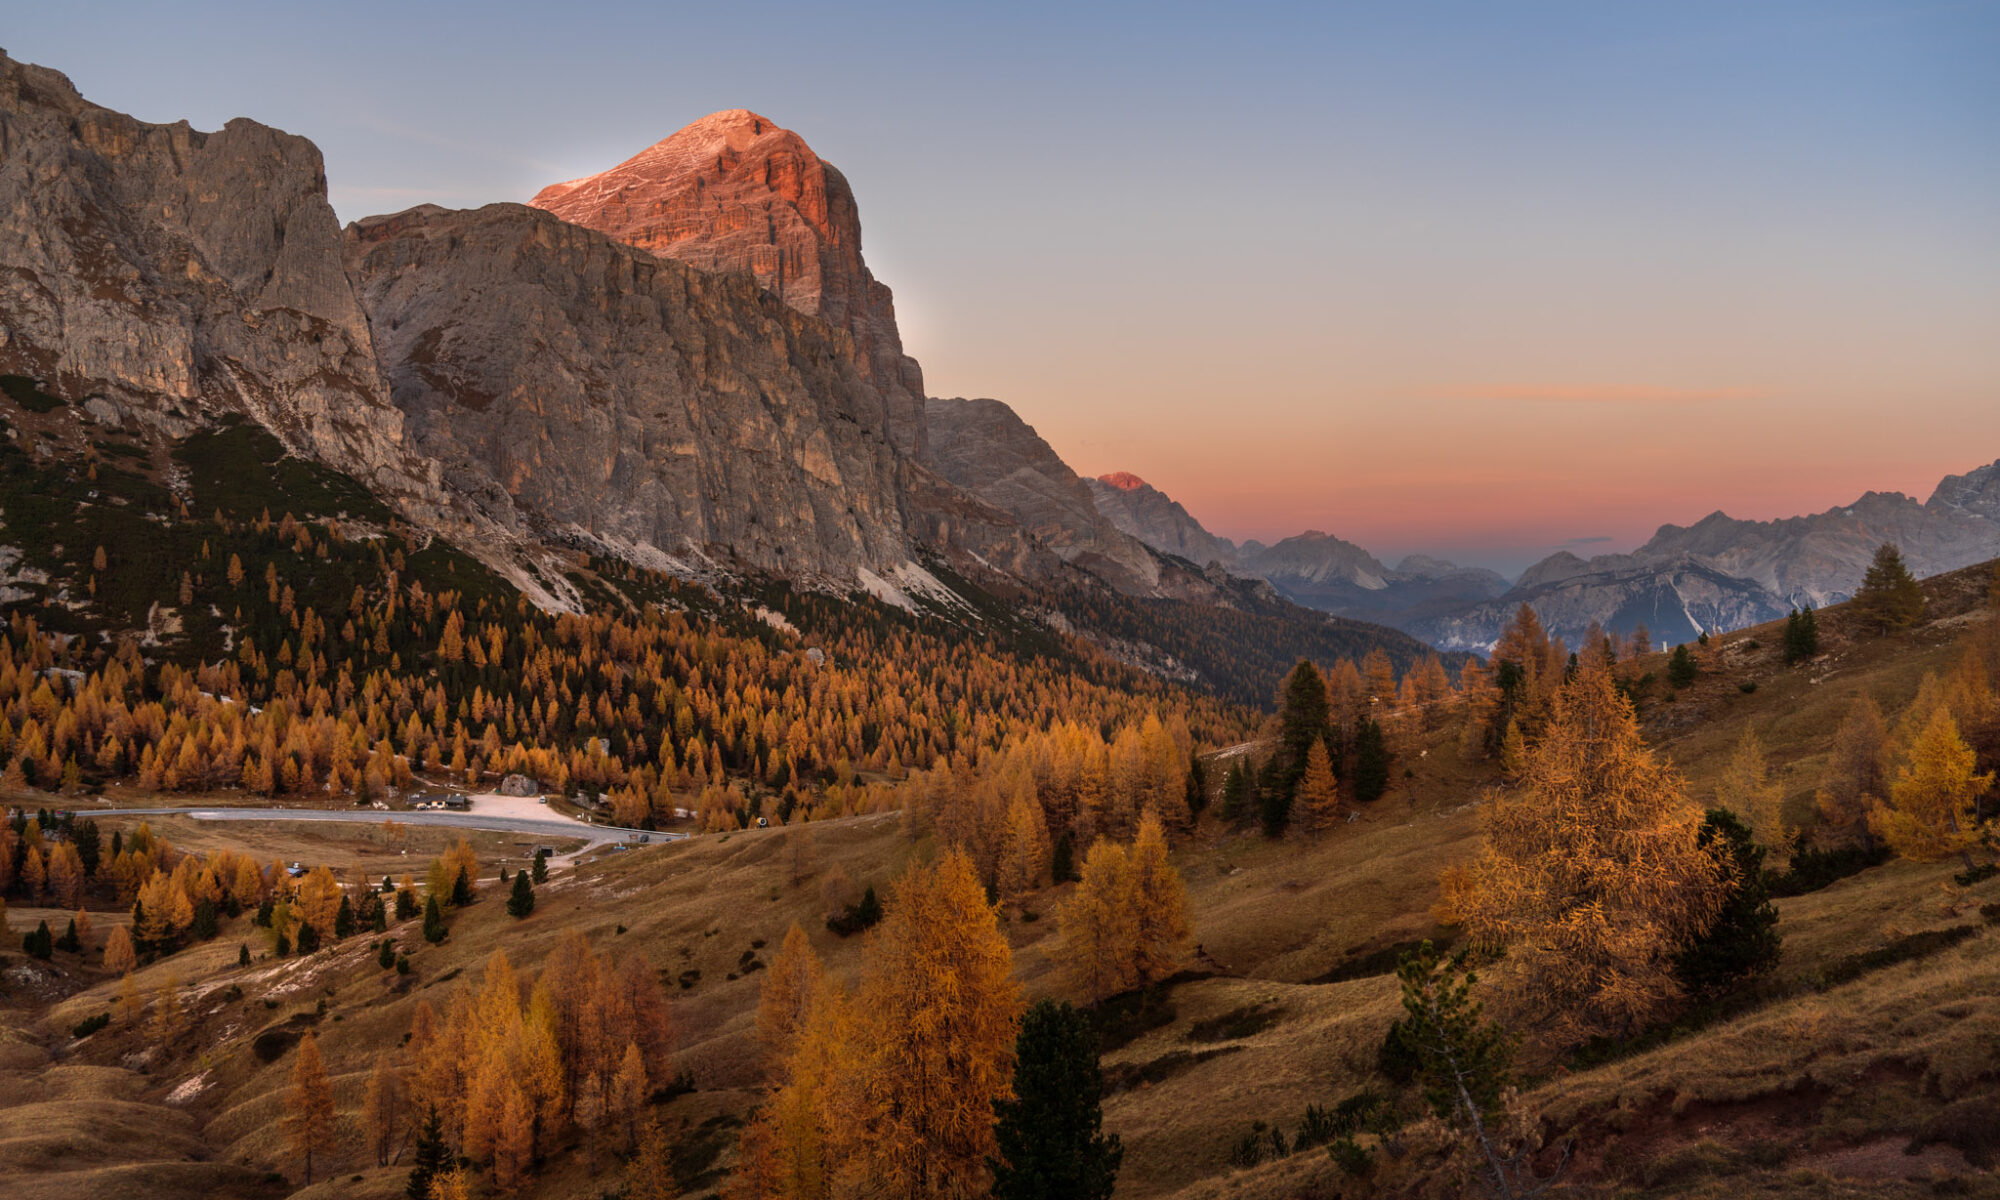
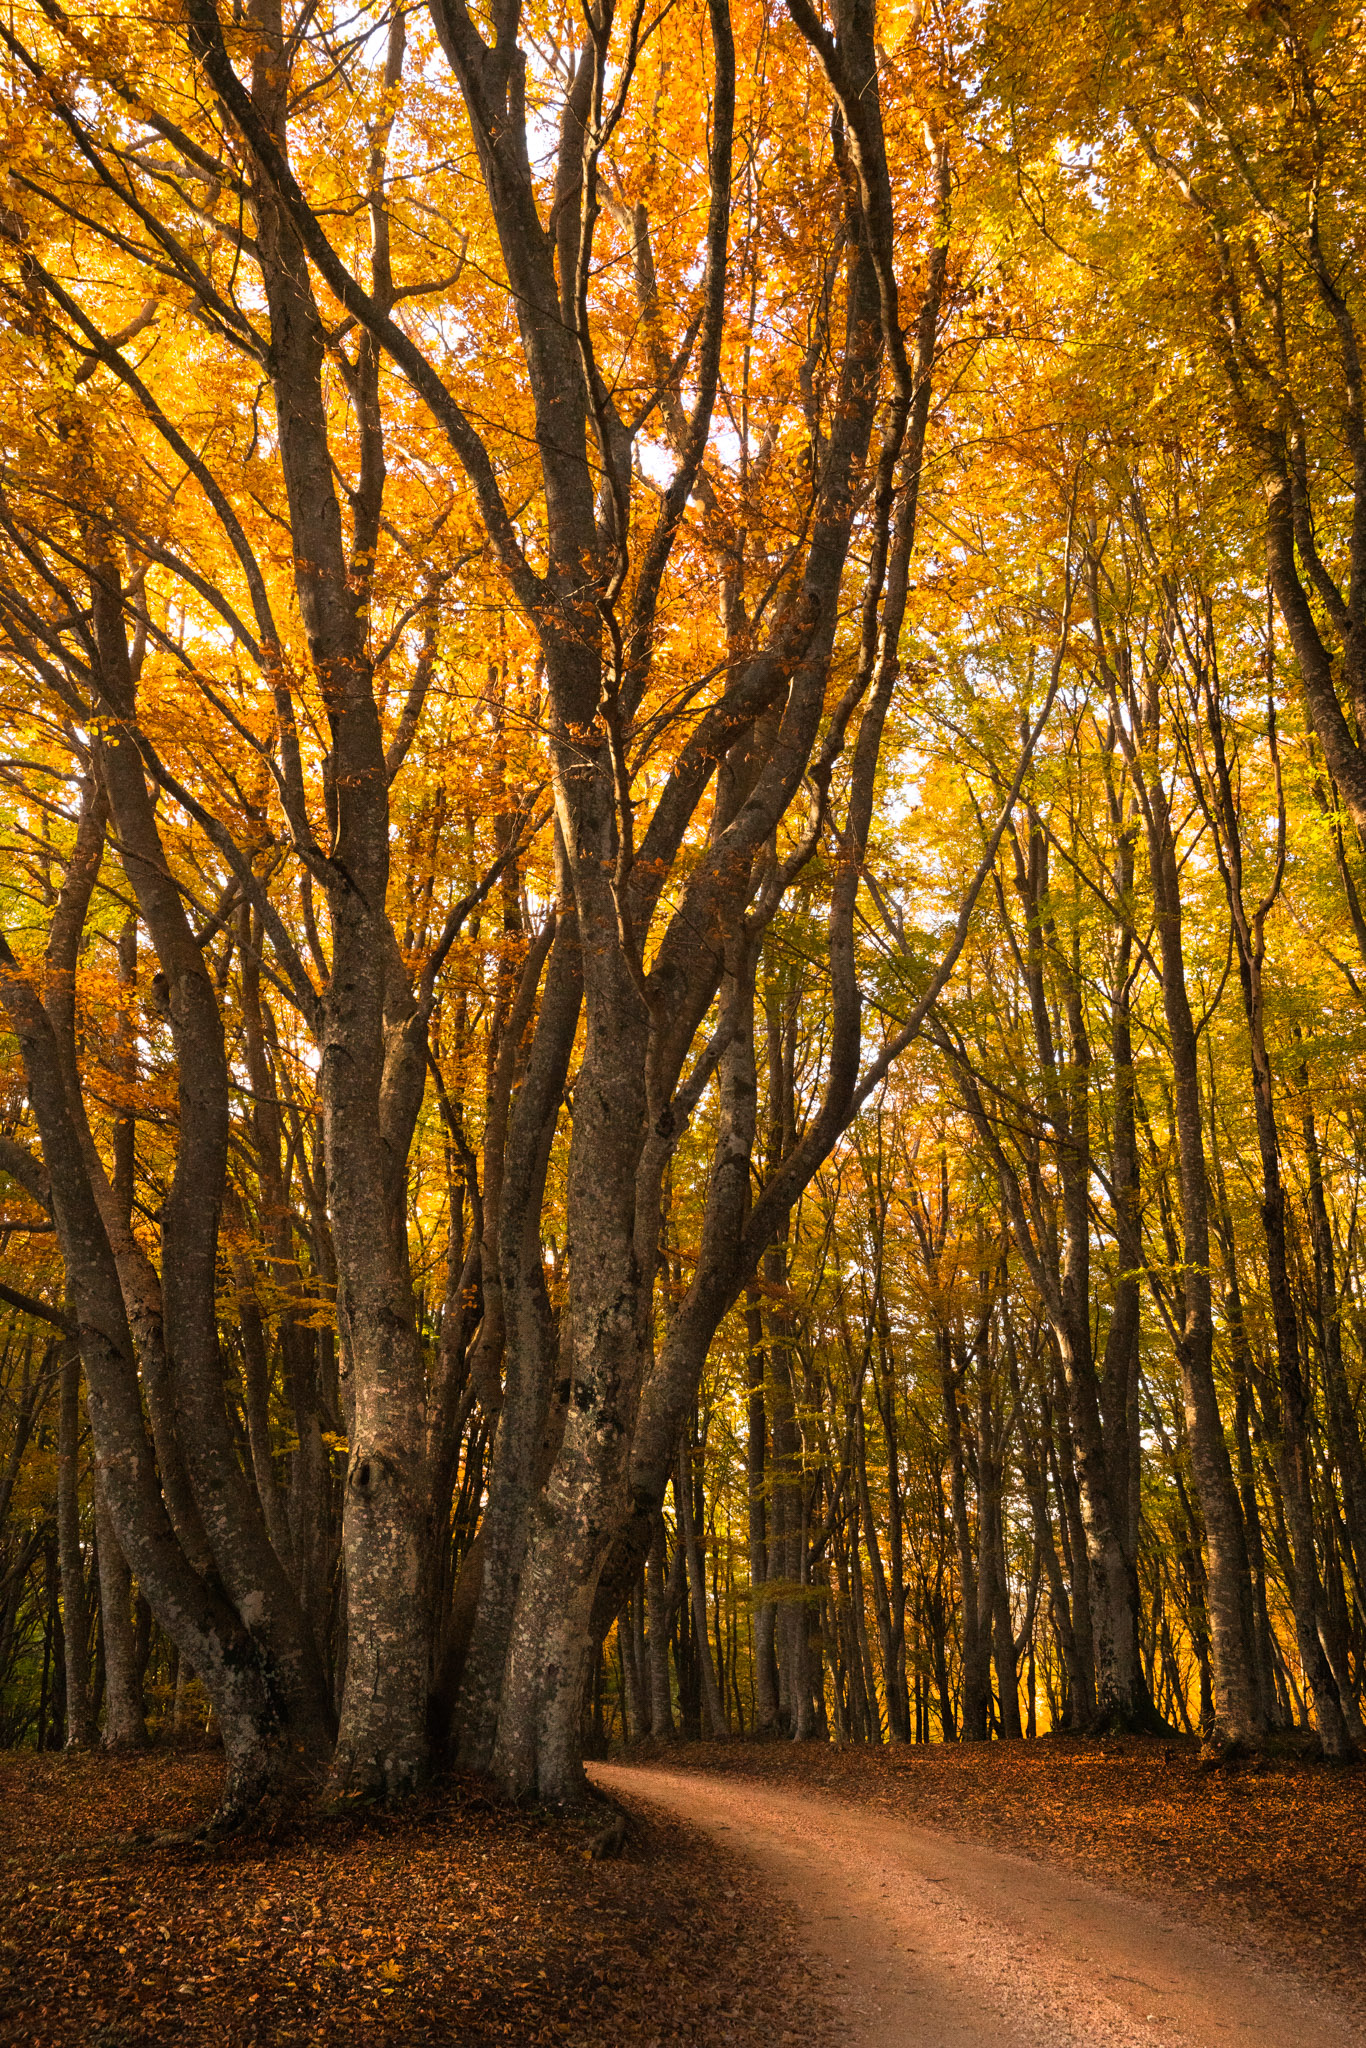
A single tree, an entire avenue, a chestnut or beech forest, some leaves scattered along the sidewalk, offer perfect ideas for composing outstanding images.
In the next posts about fall we will see together, every week, some practical tips that professional photographers follow to get the best pics!
Let’s start from composition!
Photo tips for fall foliage pics: the composition of the shot
As in every shot, the composition is the most important aspect!
Especially during the fall season, where often the scene has too many details, with leaves, branches, trees and others elements.
For this reason, it’s important to stop a bit and observe before shooting.
What do you need to ask yourself before shooting?
When you find yourself in front a scene or landscape that you love, stop for 10 seconds to analyse the scene, before hiding behind the lens of your camera.
The risk of falling into banal photos is just around the corner.
These four simple questions can give you the inspiration for the perfect photo in just a few seconds:
- What are you really interested in?
- What is the subject of your photo?
- What elements do you want to include or delete from the frame?
- How can you make your pic original?
Photo tips for fall foliage pics: 7 easy photo tips
To find the answers to these questions there are some simple practical photo tips for fall foliage pics, to follow before shooting.
1. Isolate with your eyes some details of the scene
Focus on them to identify the subject or subjects of your photographic story.
Whether they are a single leaf or a small group, a branch, a tree or a little mushroom that grows out of the ground, select them.
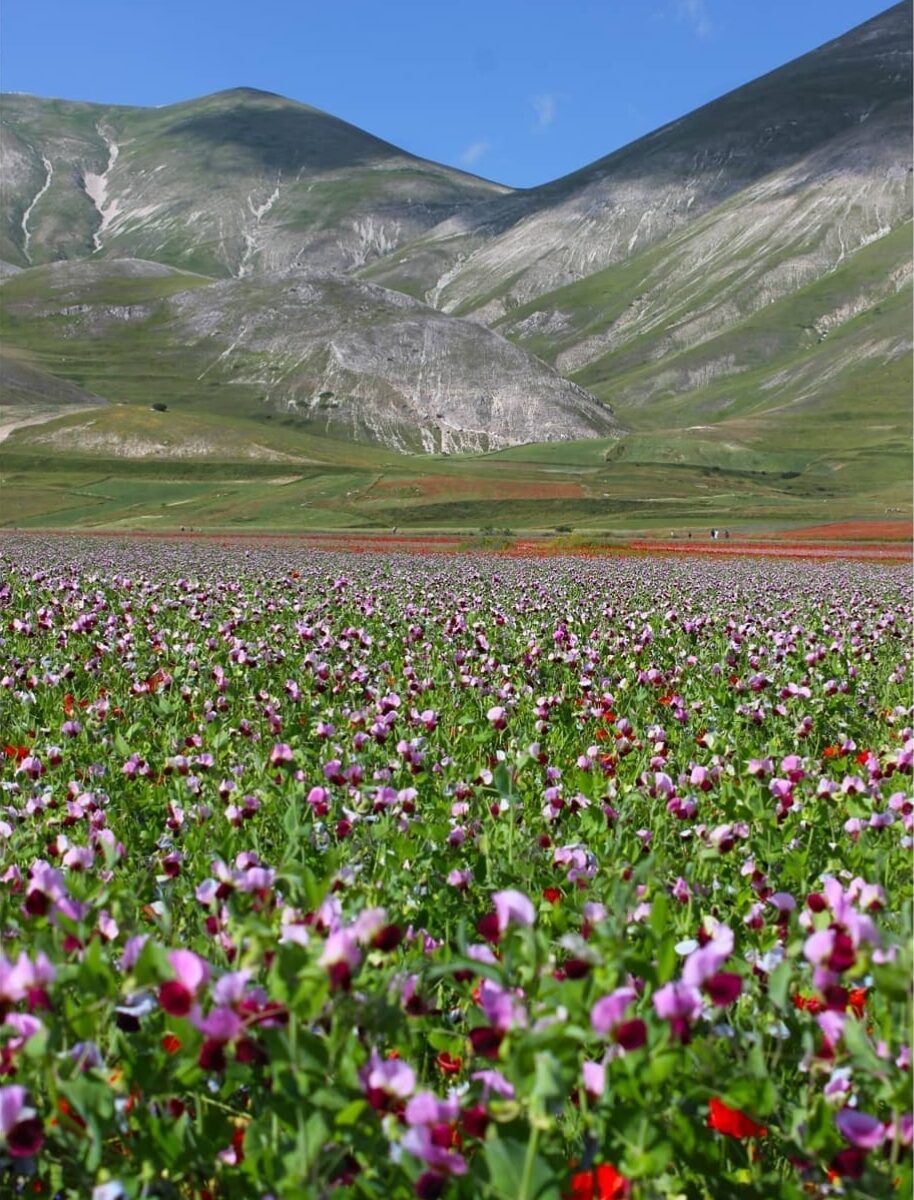
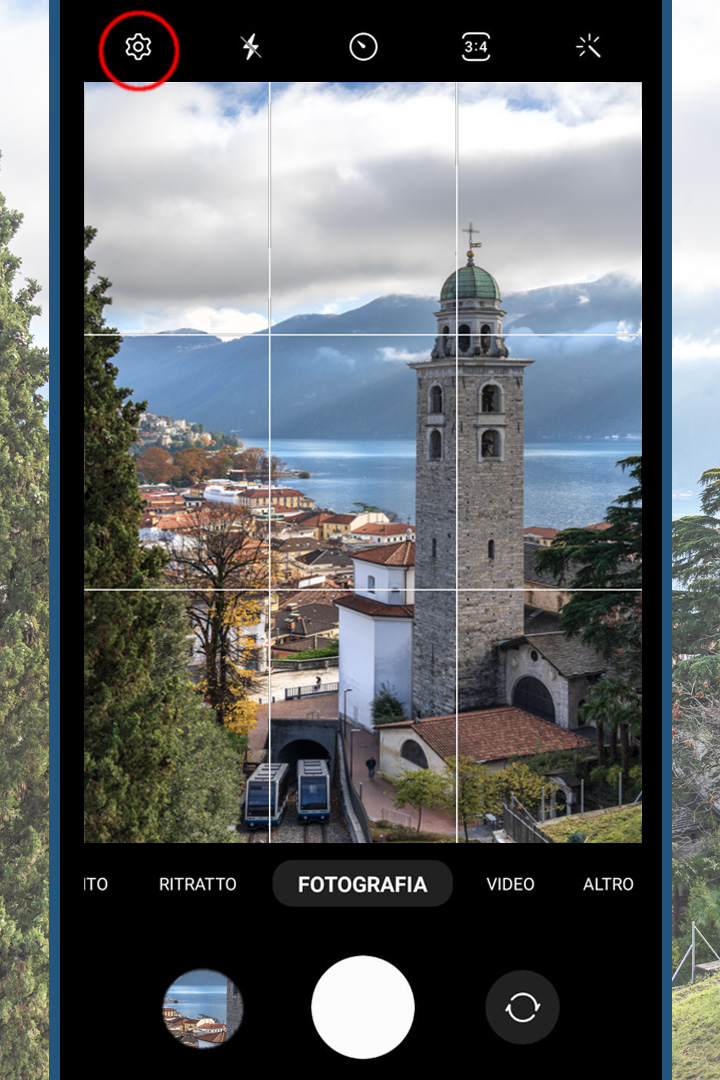
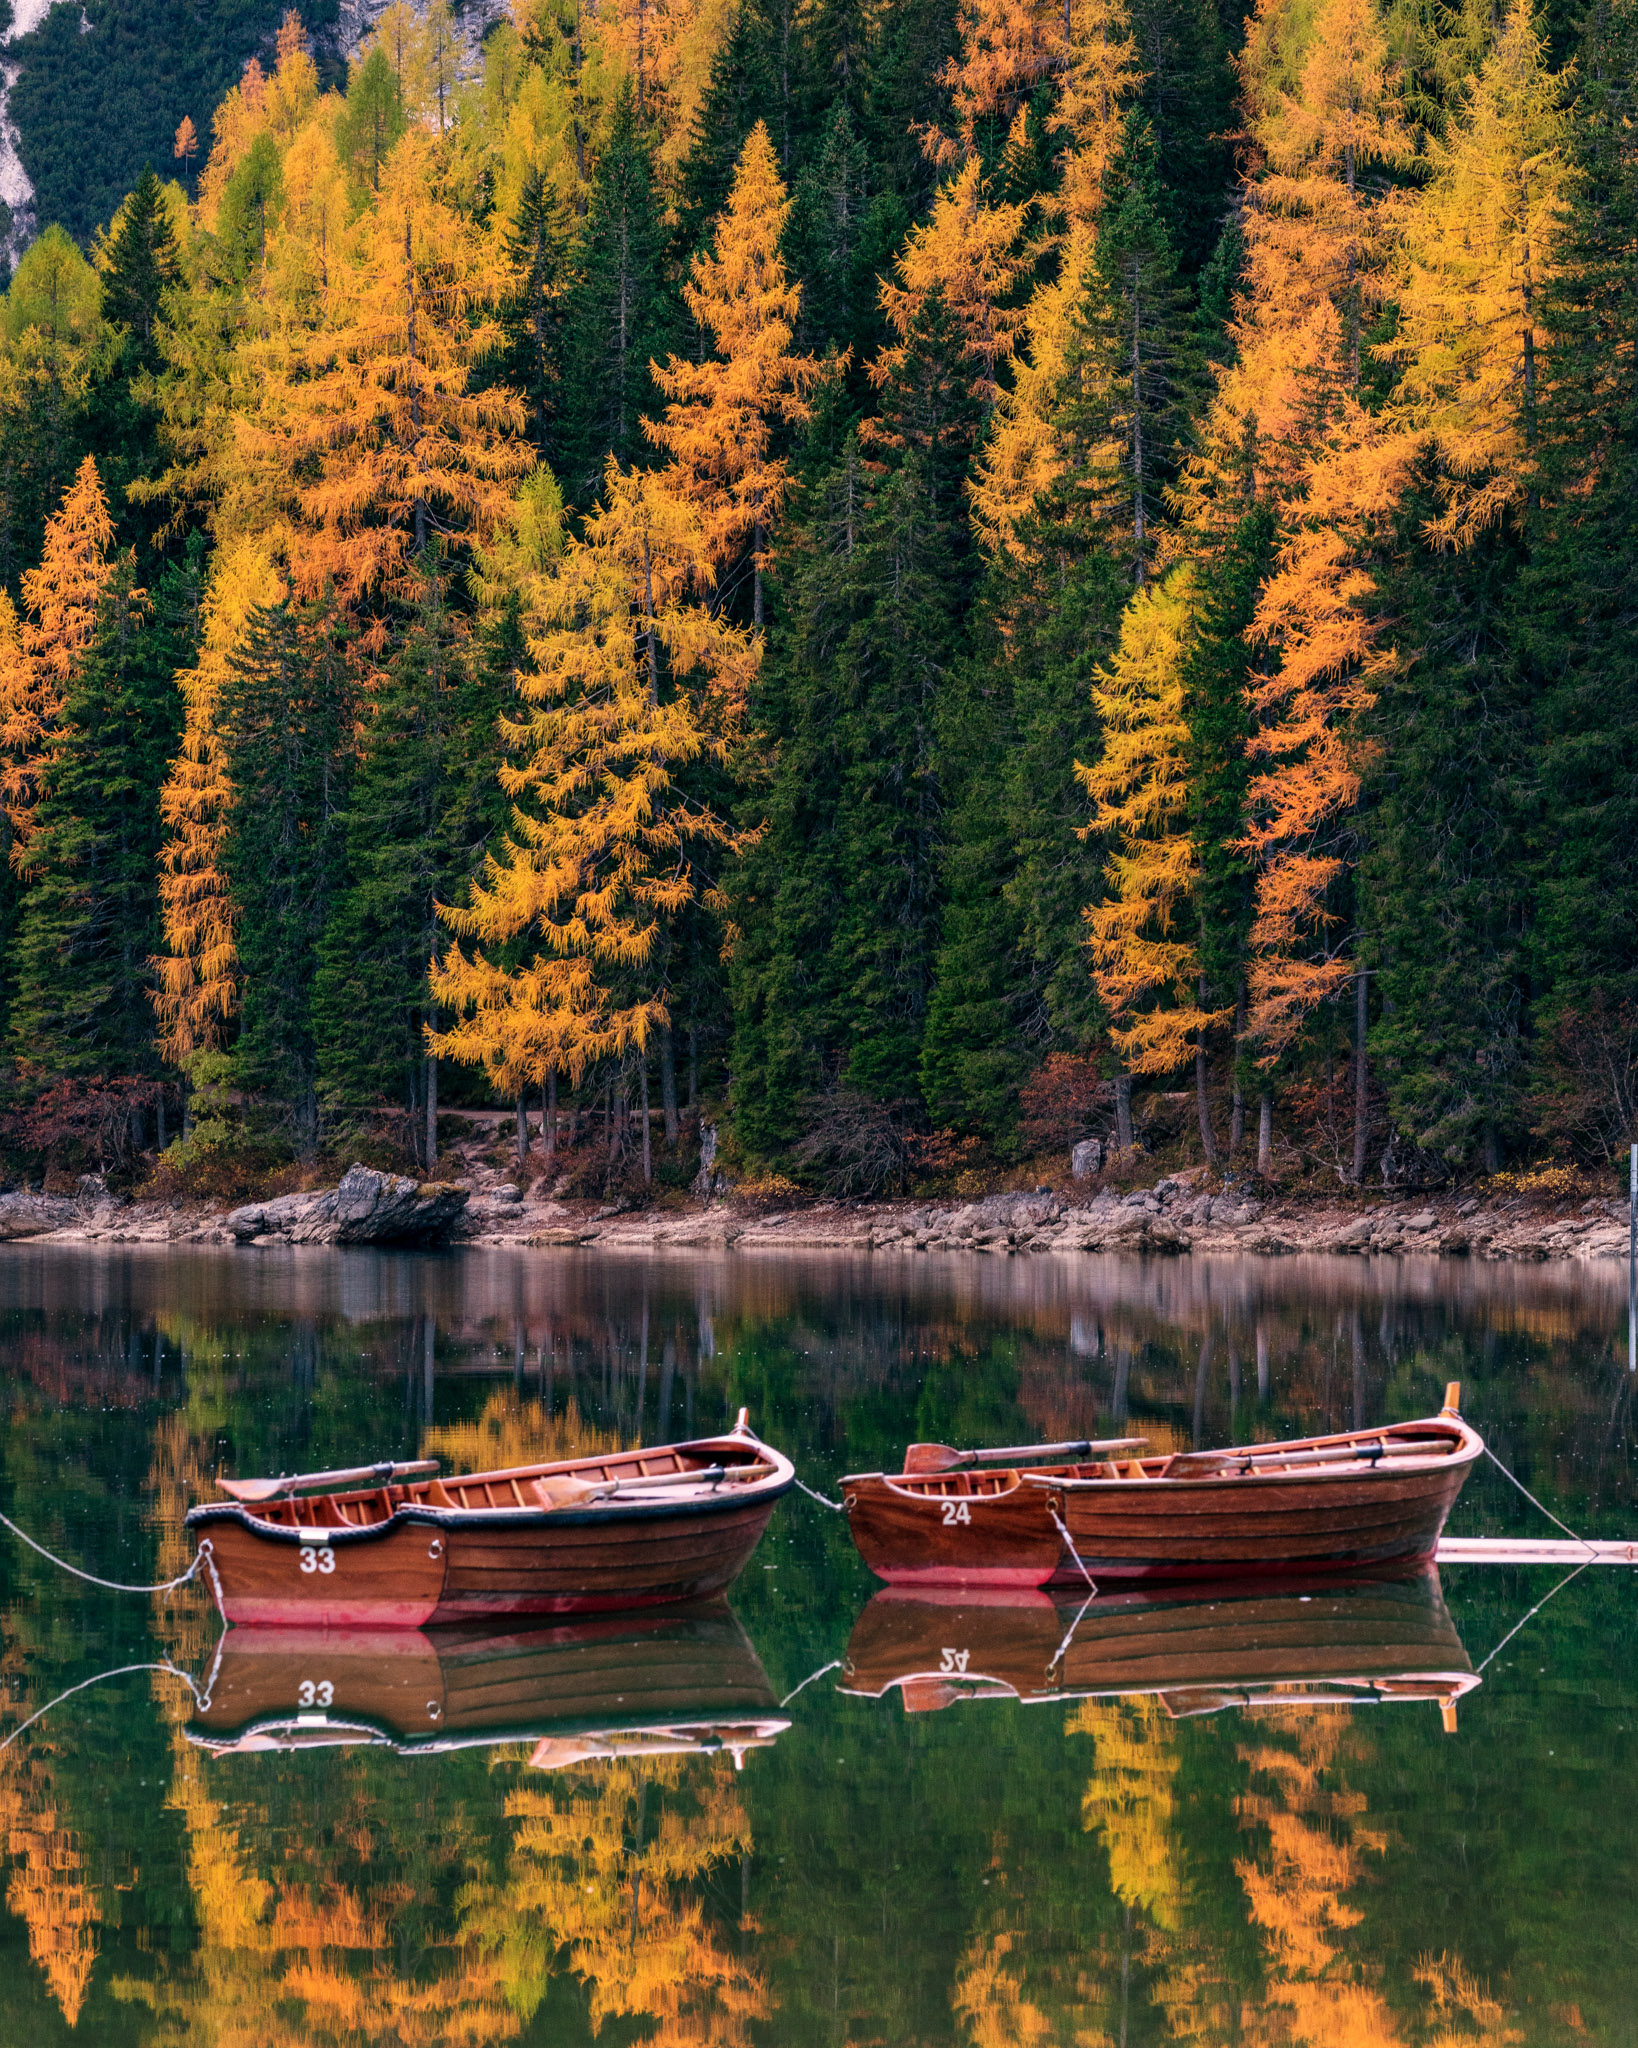
2. Photo tips for fall foliage pics: place the subject inside the composition
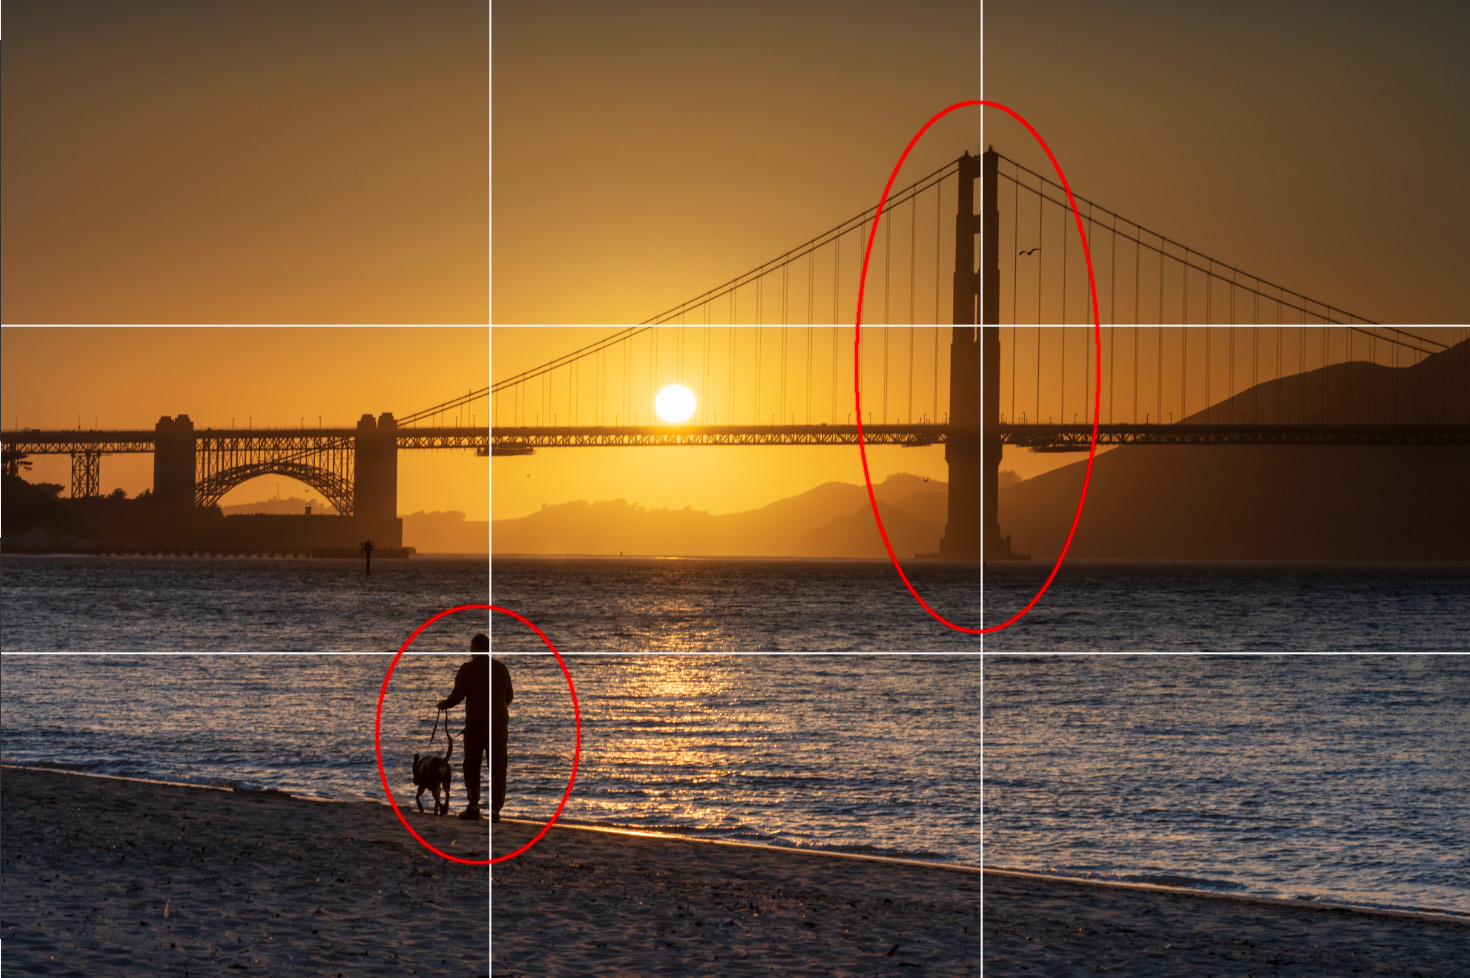
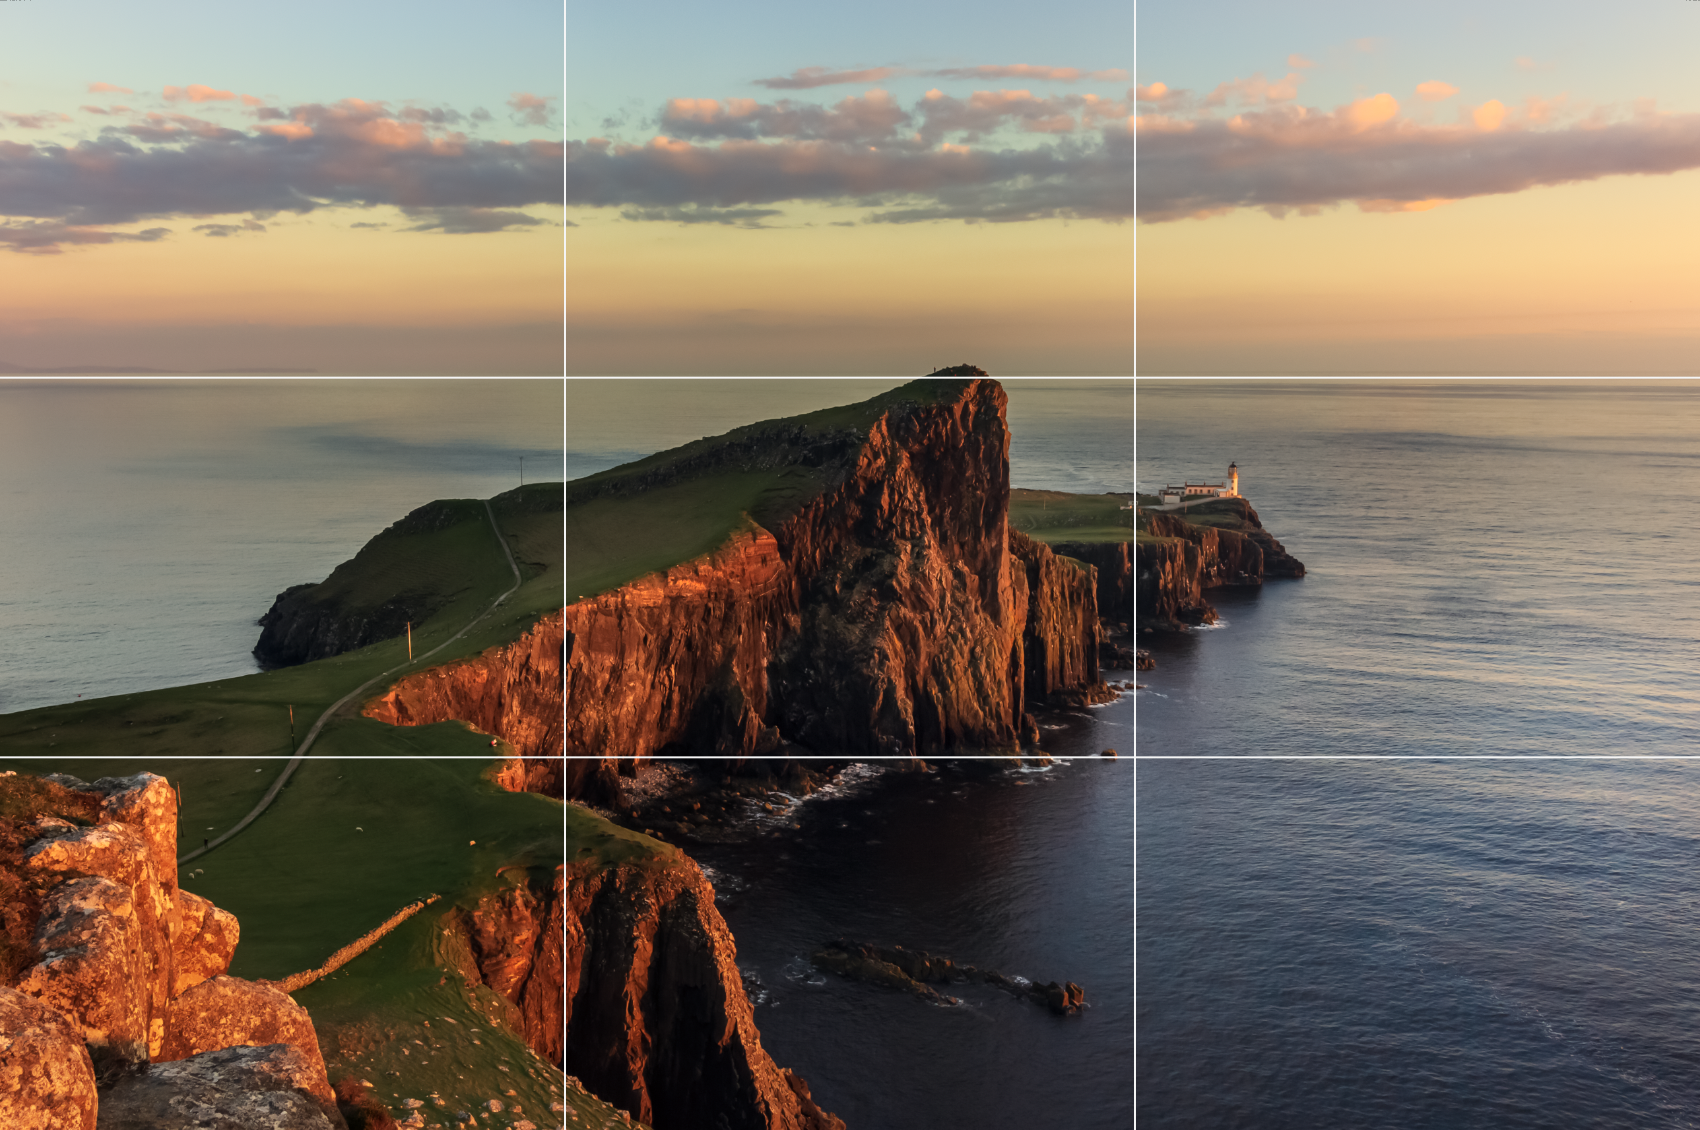
Give the subject the maximum strength, placing it in the center of the composition, or on one of the thirds (remember to activate the grid, both from smartphone or camera).
If your subjects are more than one, placing them one on every third will give you an excellent result.
For example, a tree on the right and a human subject on the left, or a branch full of colored leaves in the foreground on one side and a tree on the background, on the other side.
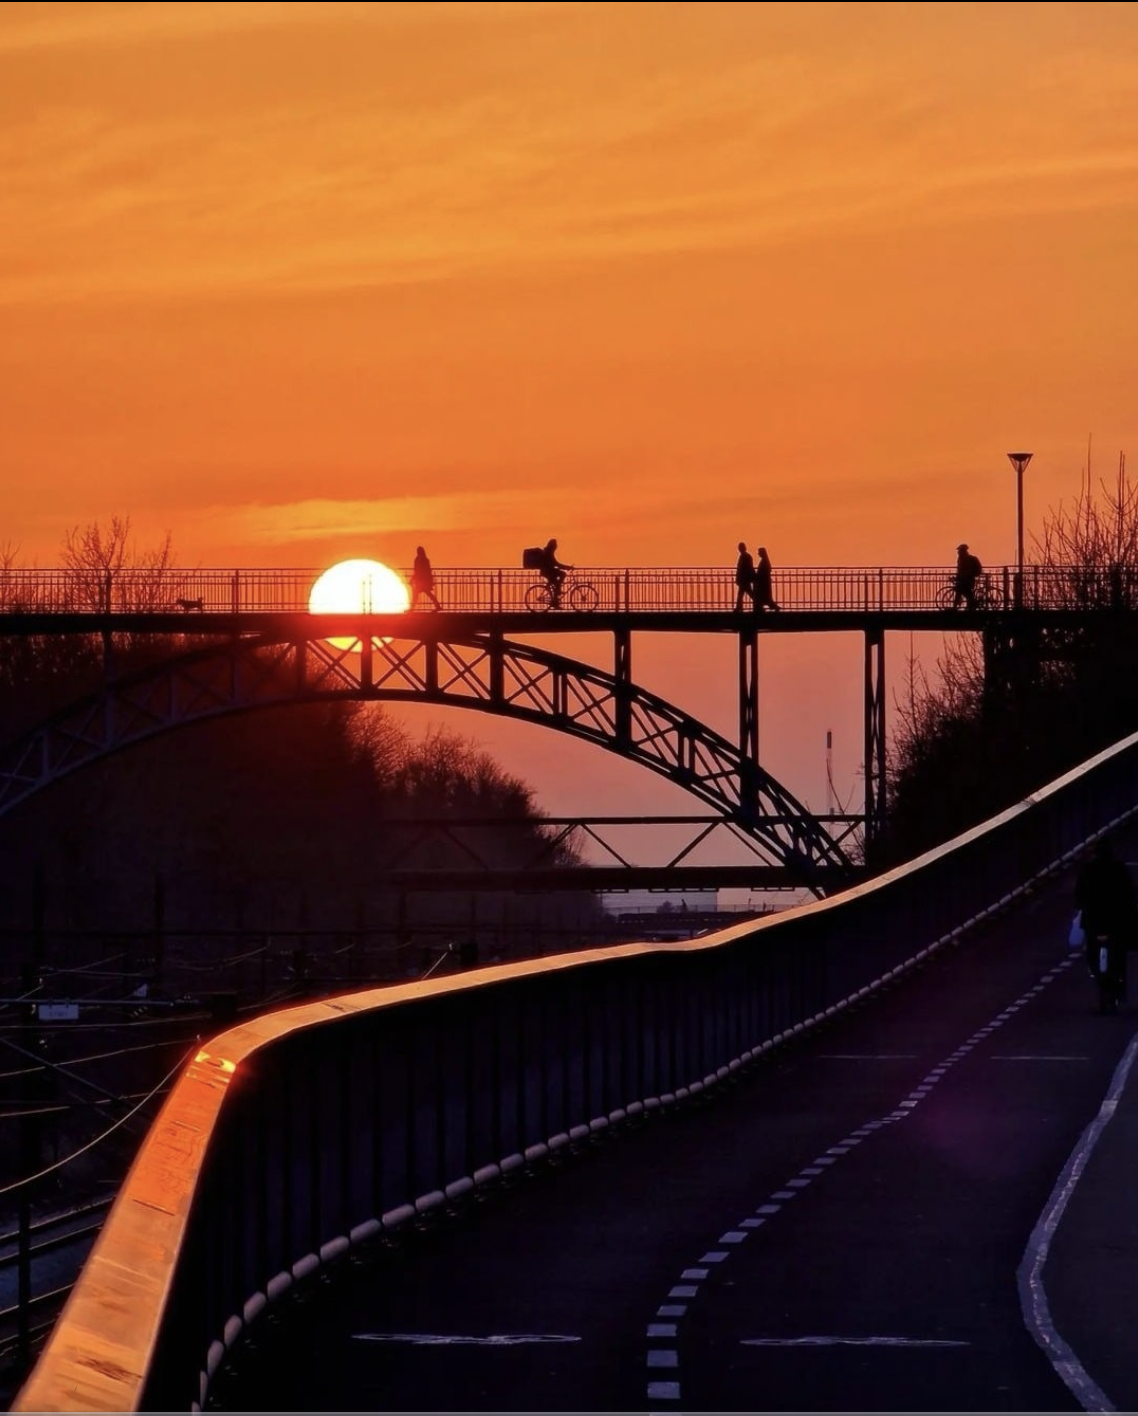
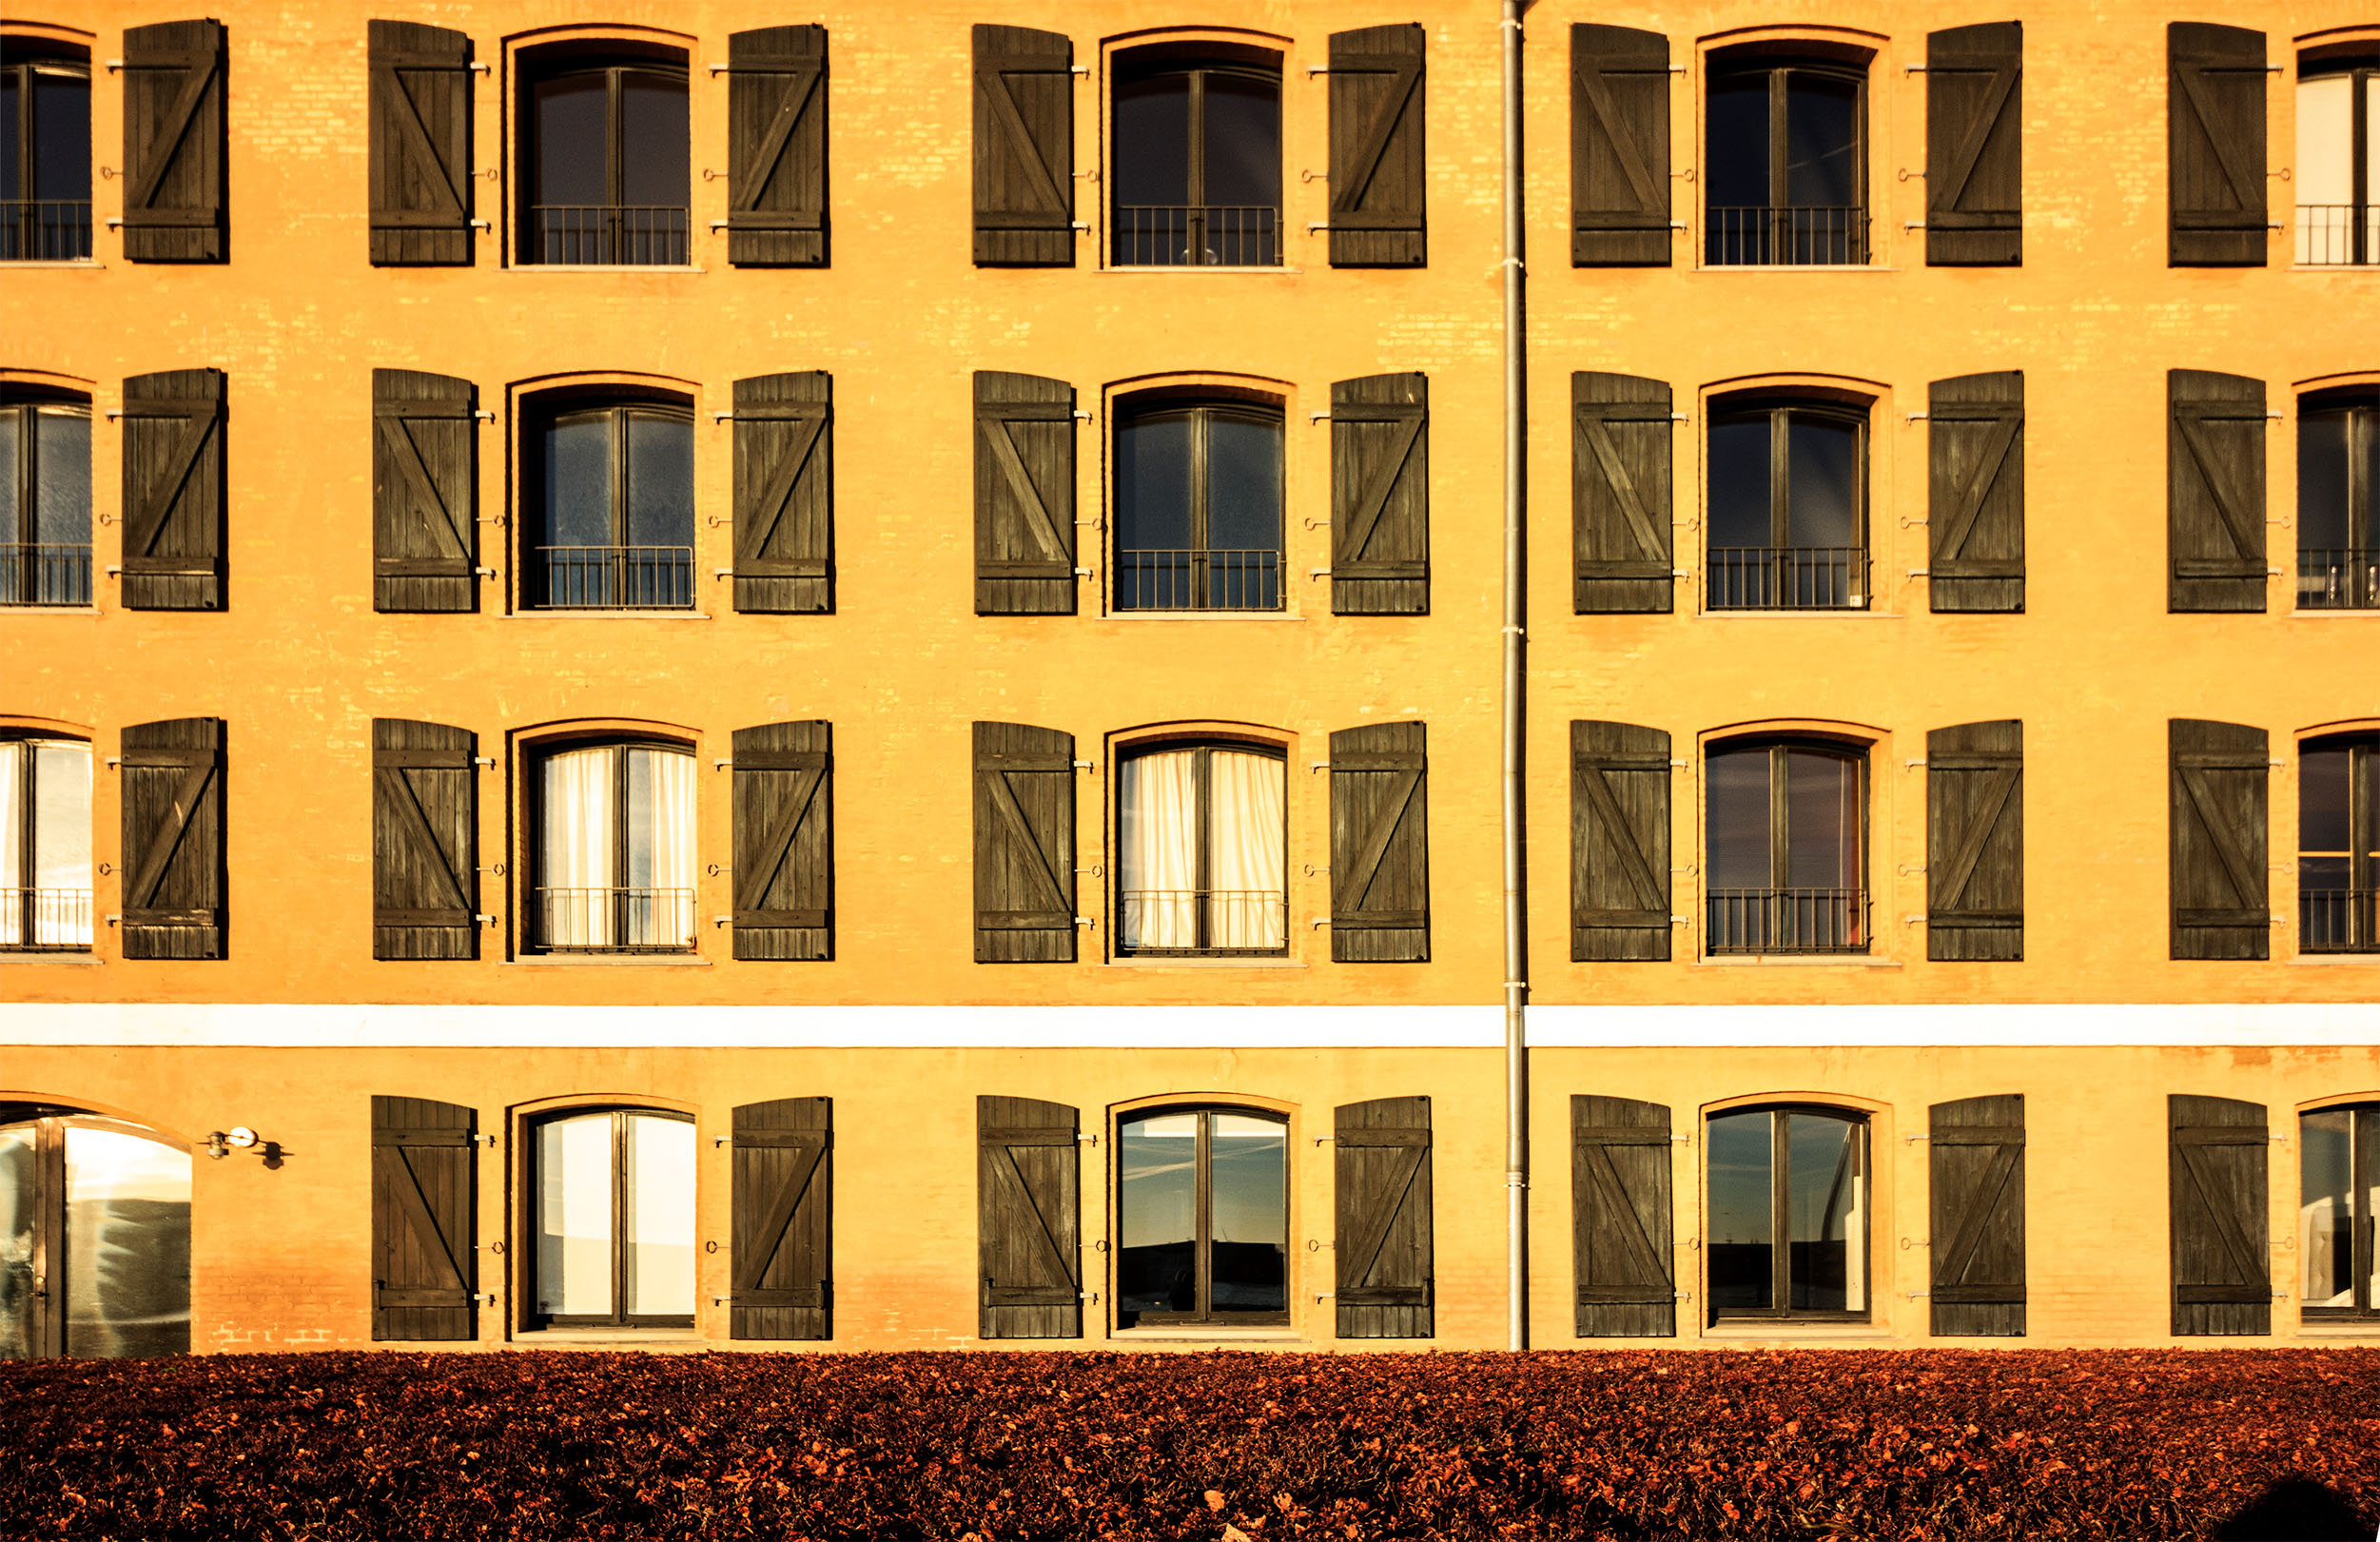
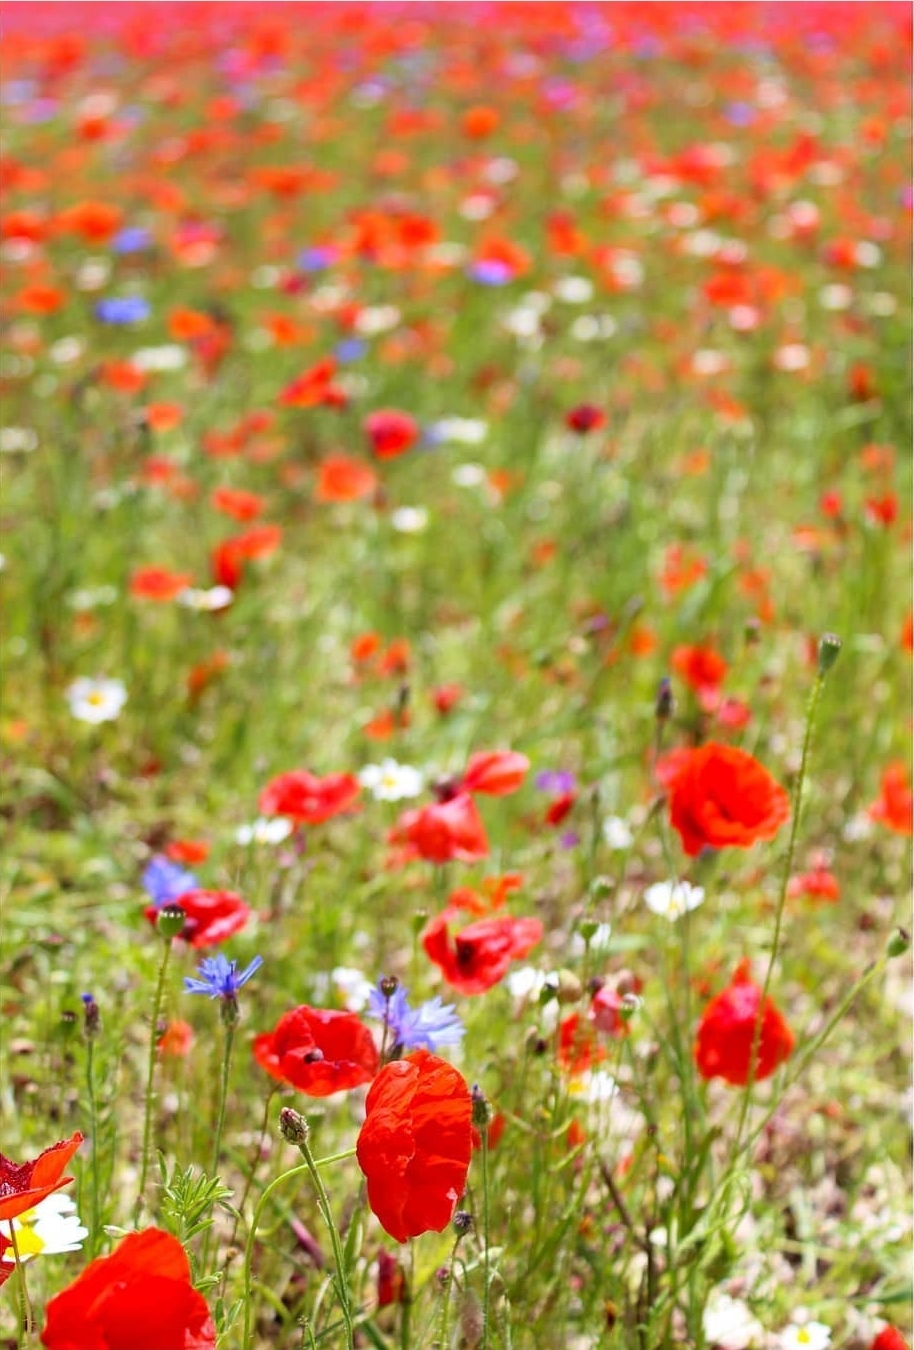
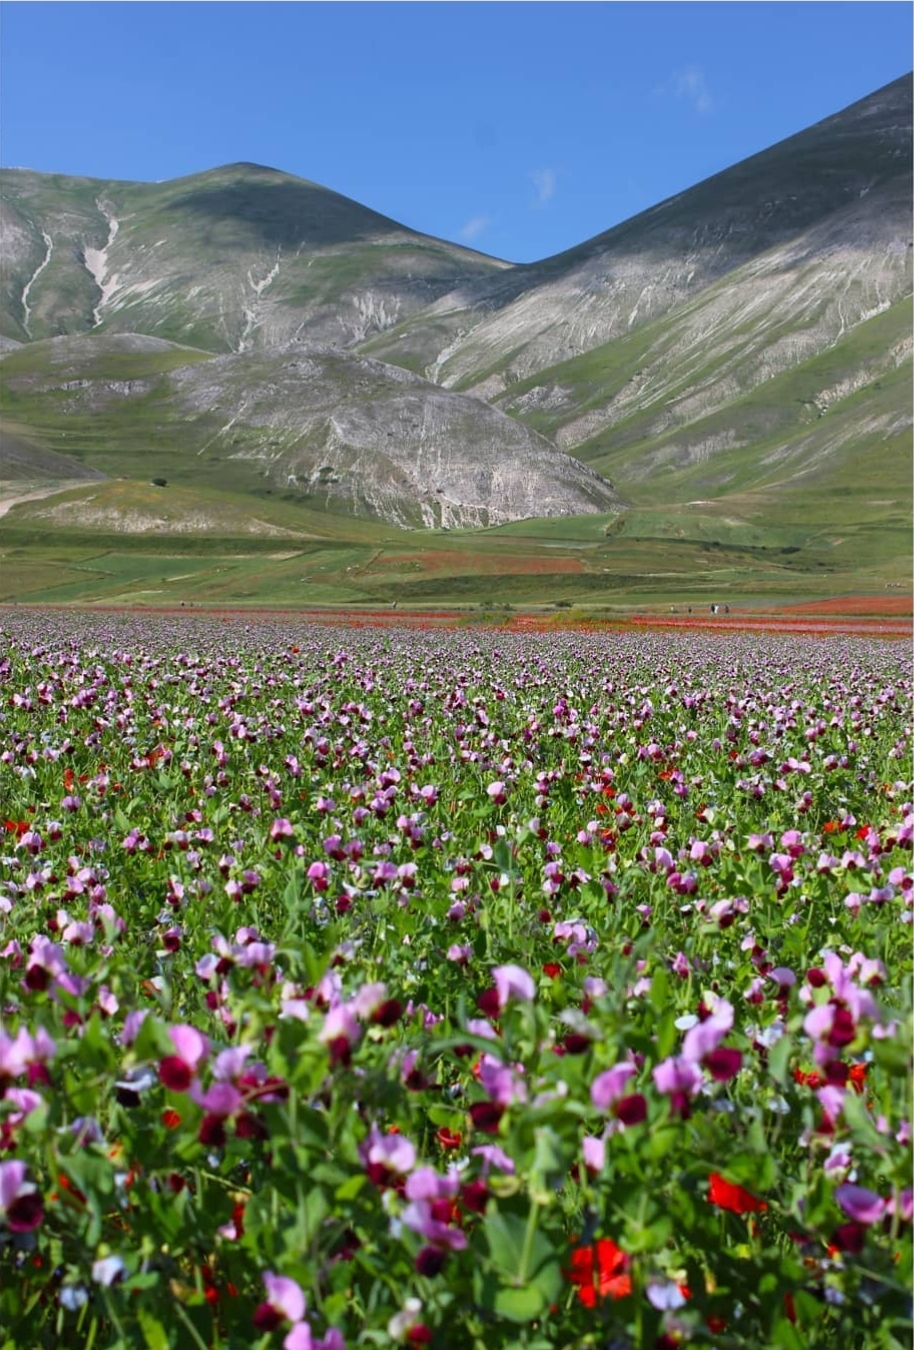
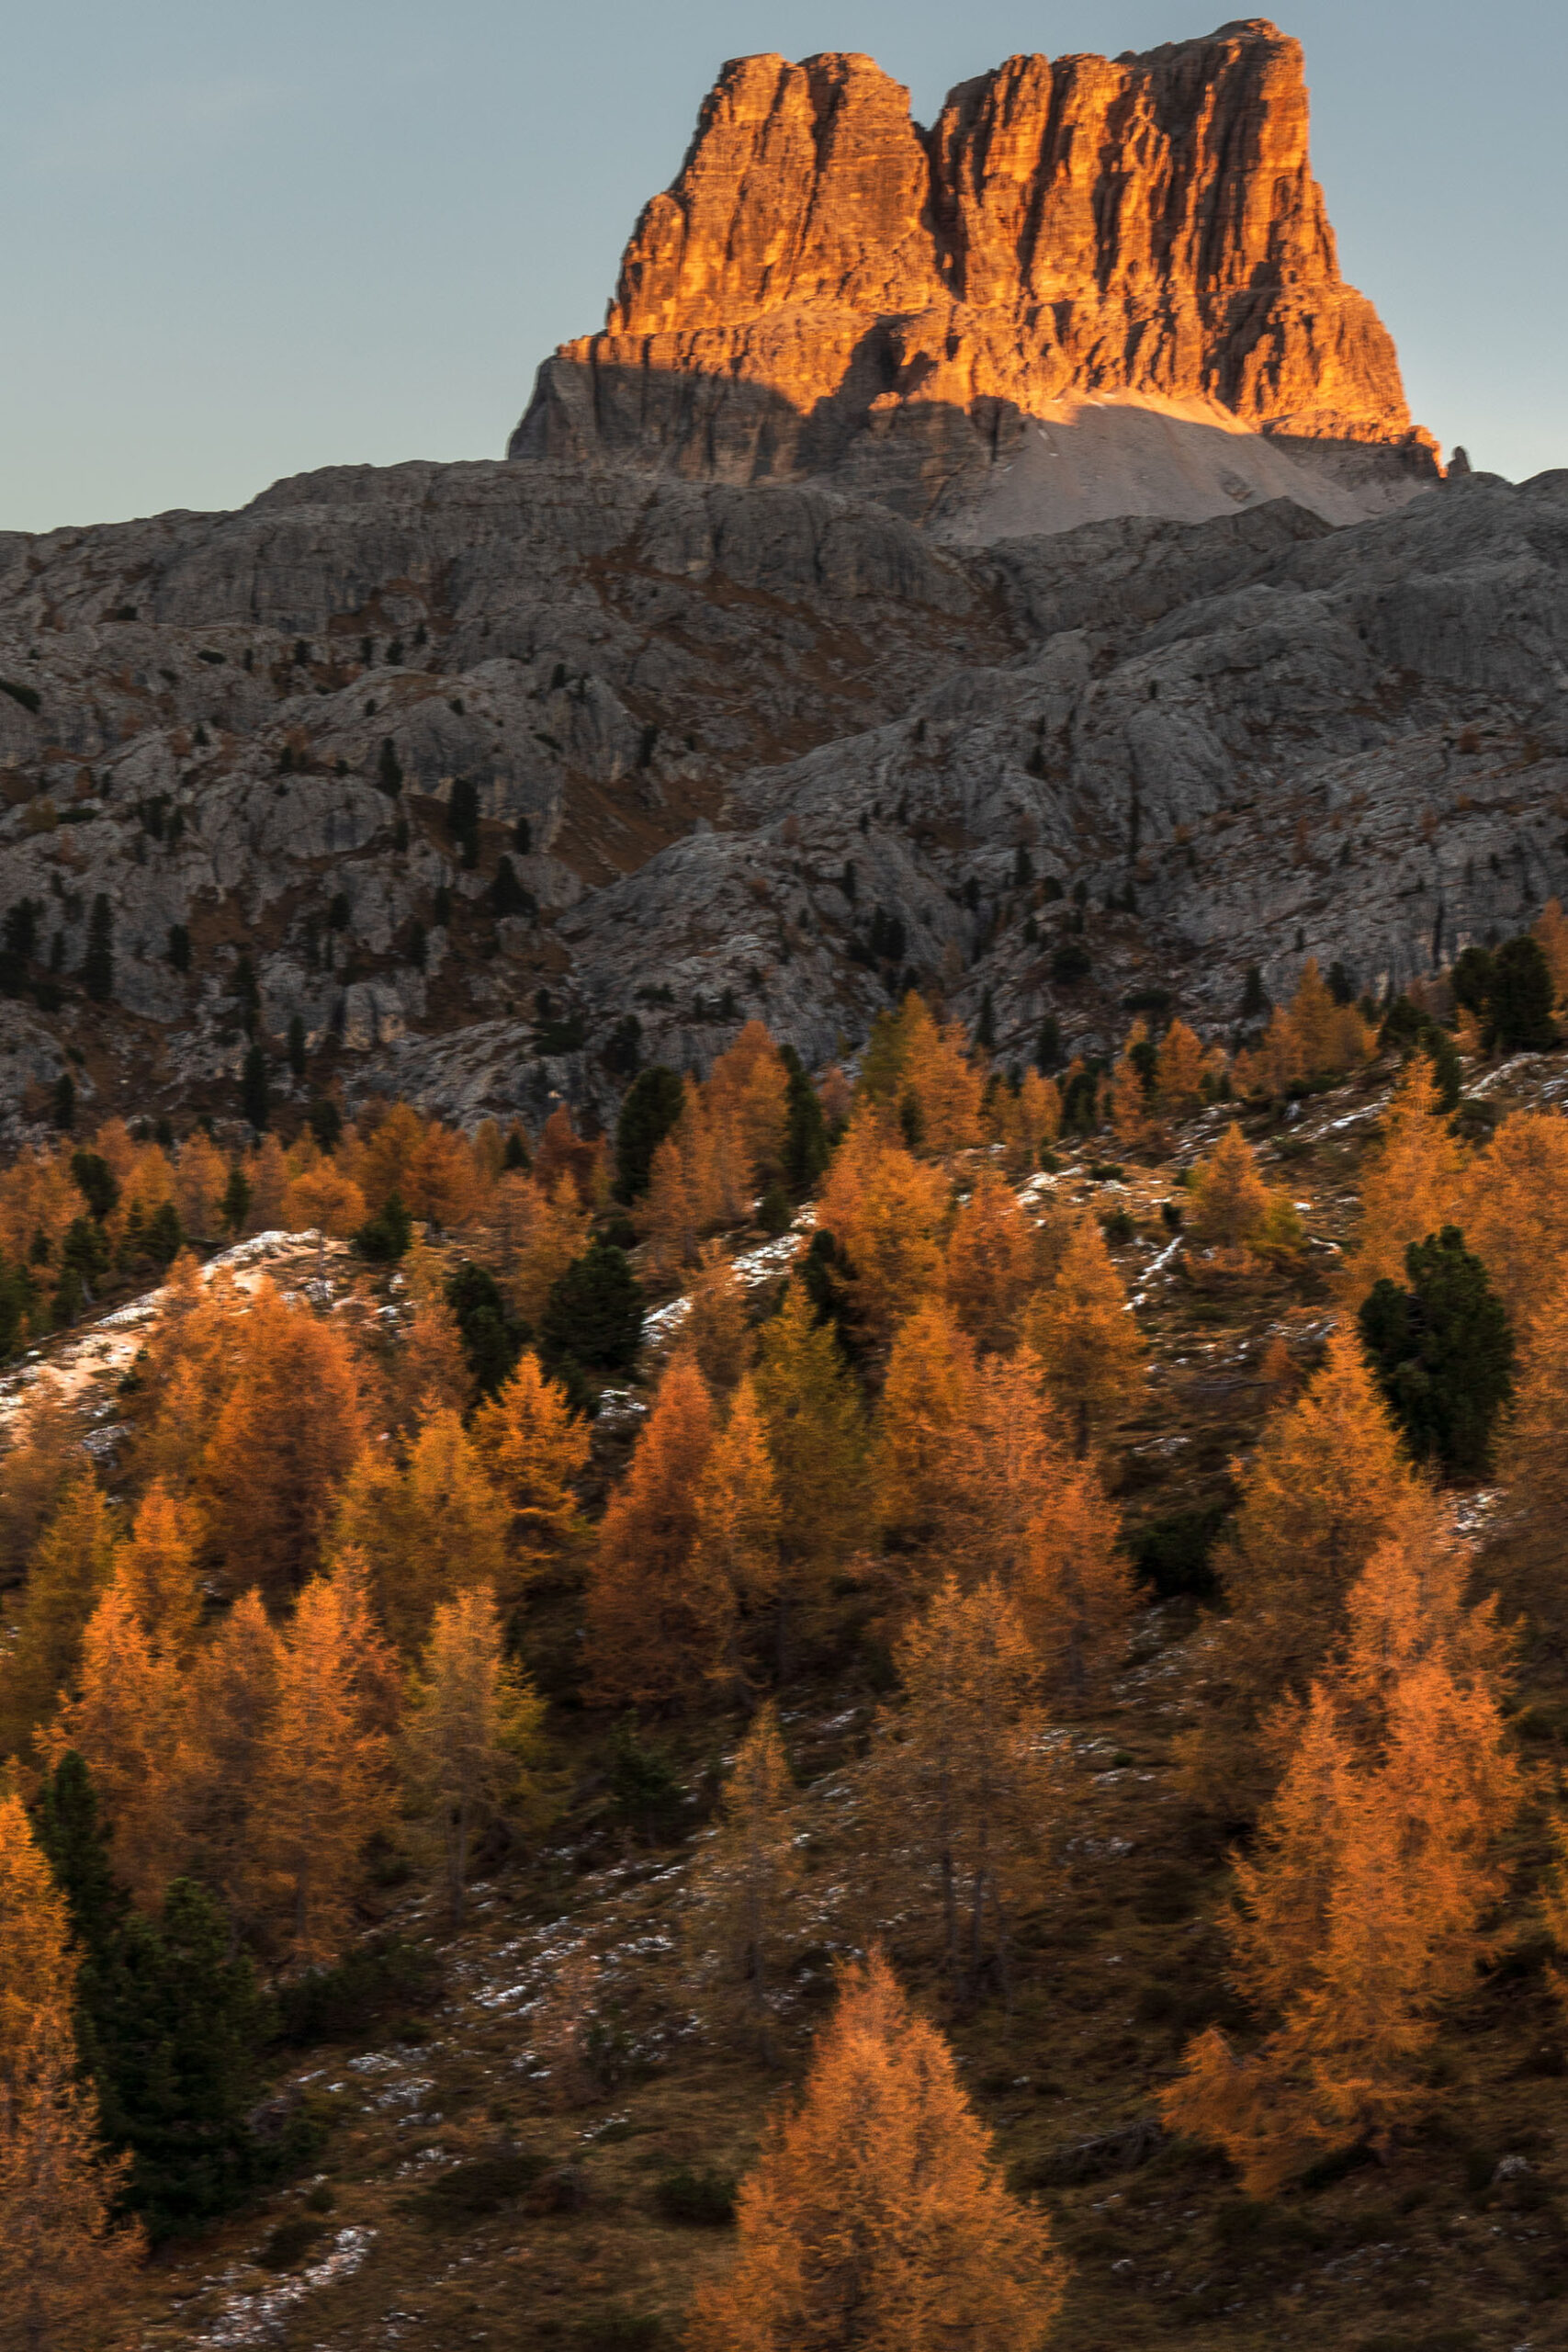
@giadaantonini_photography 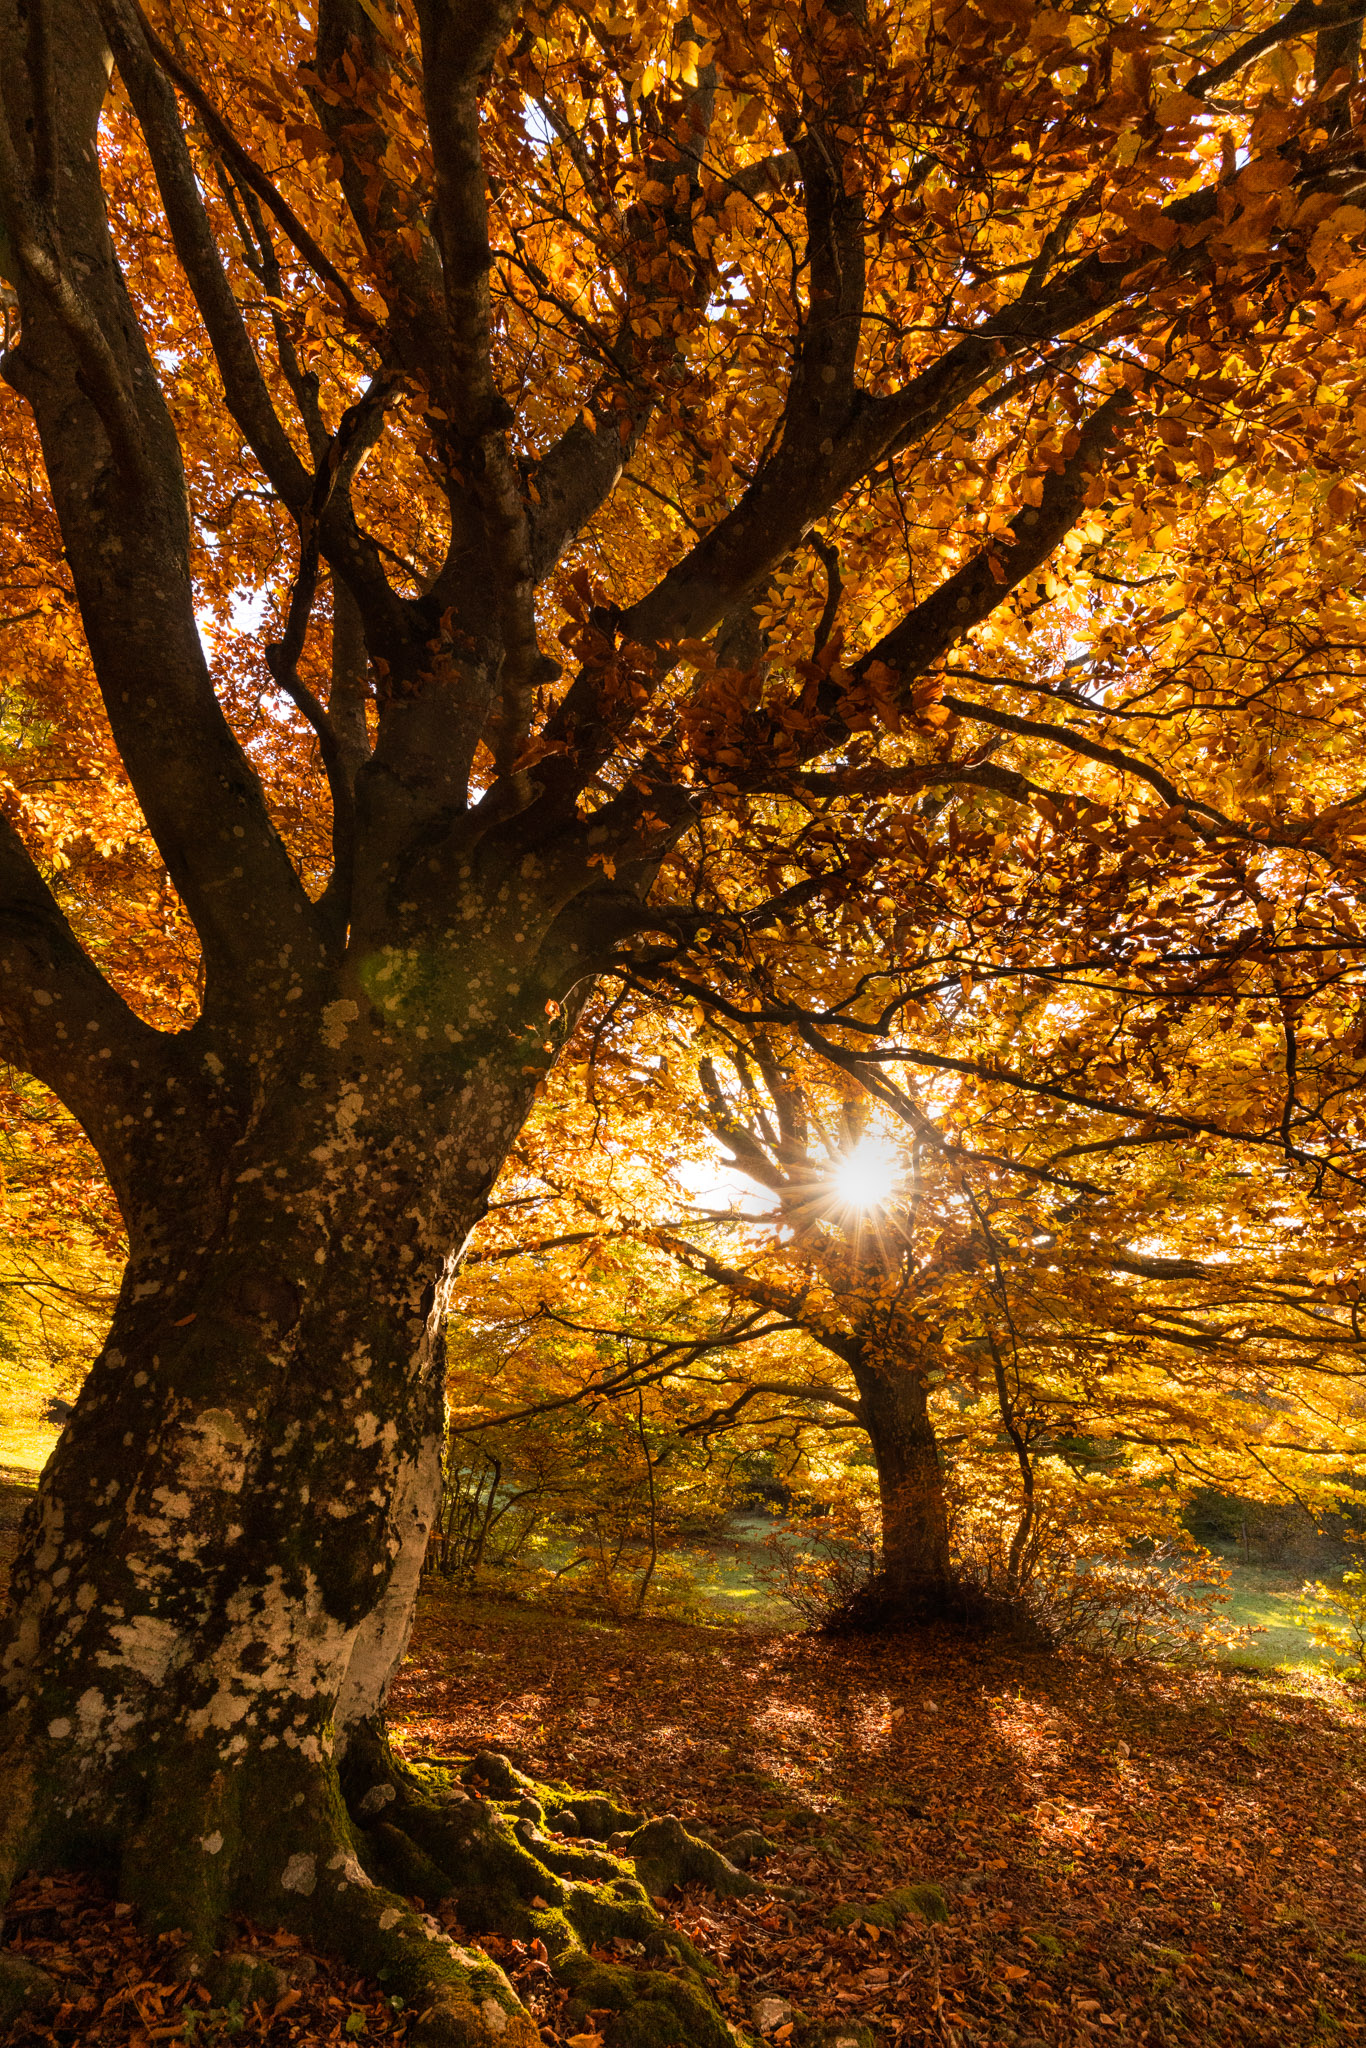
@giadaantonini_photography
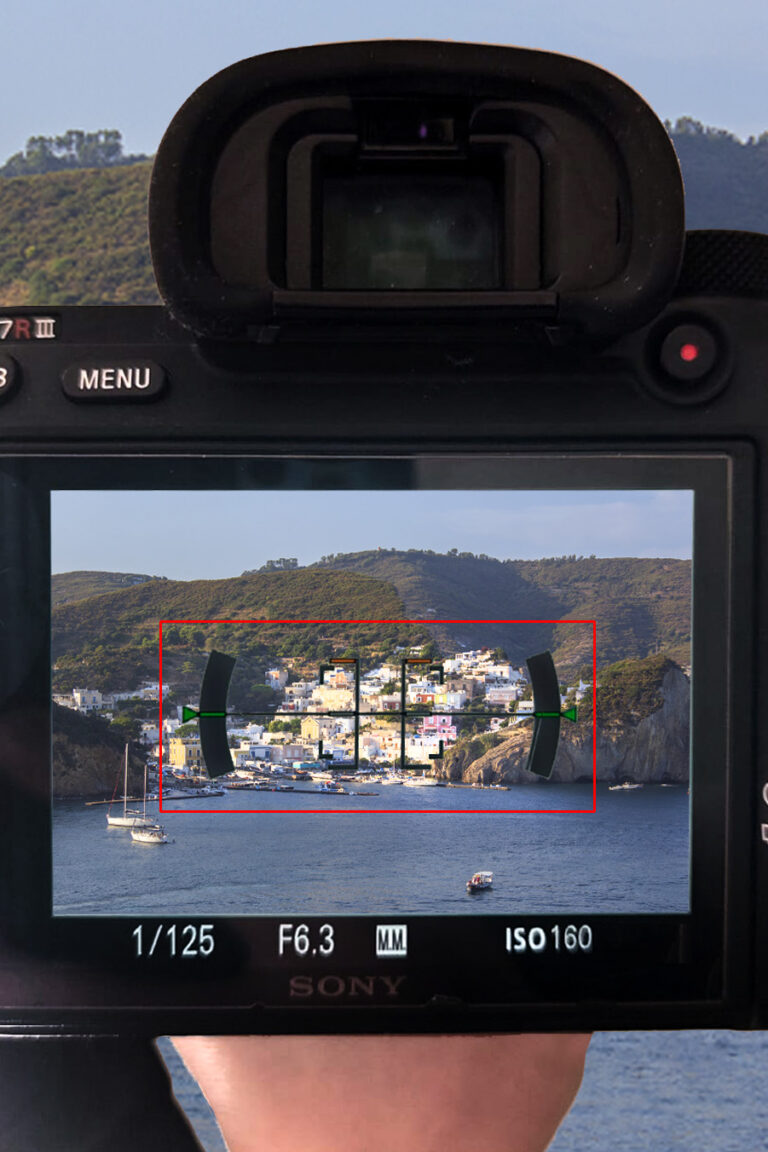
3. Choose the best distance from the subject to raise its significance in the context
Try to move closer or further away physically before shooting. You may find that you need a zoom or macro lens to better isolate the protagonist of your photo.
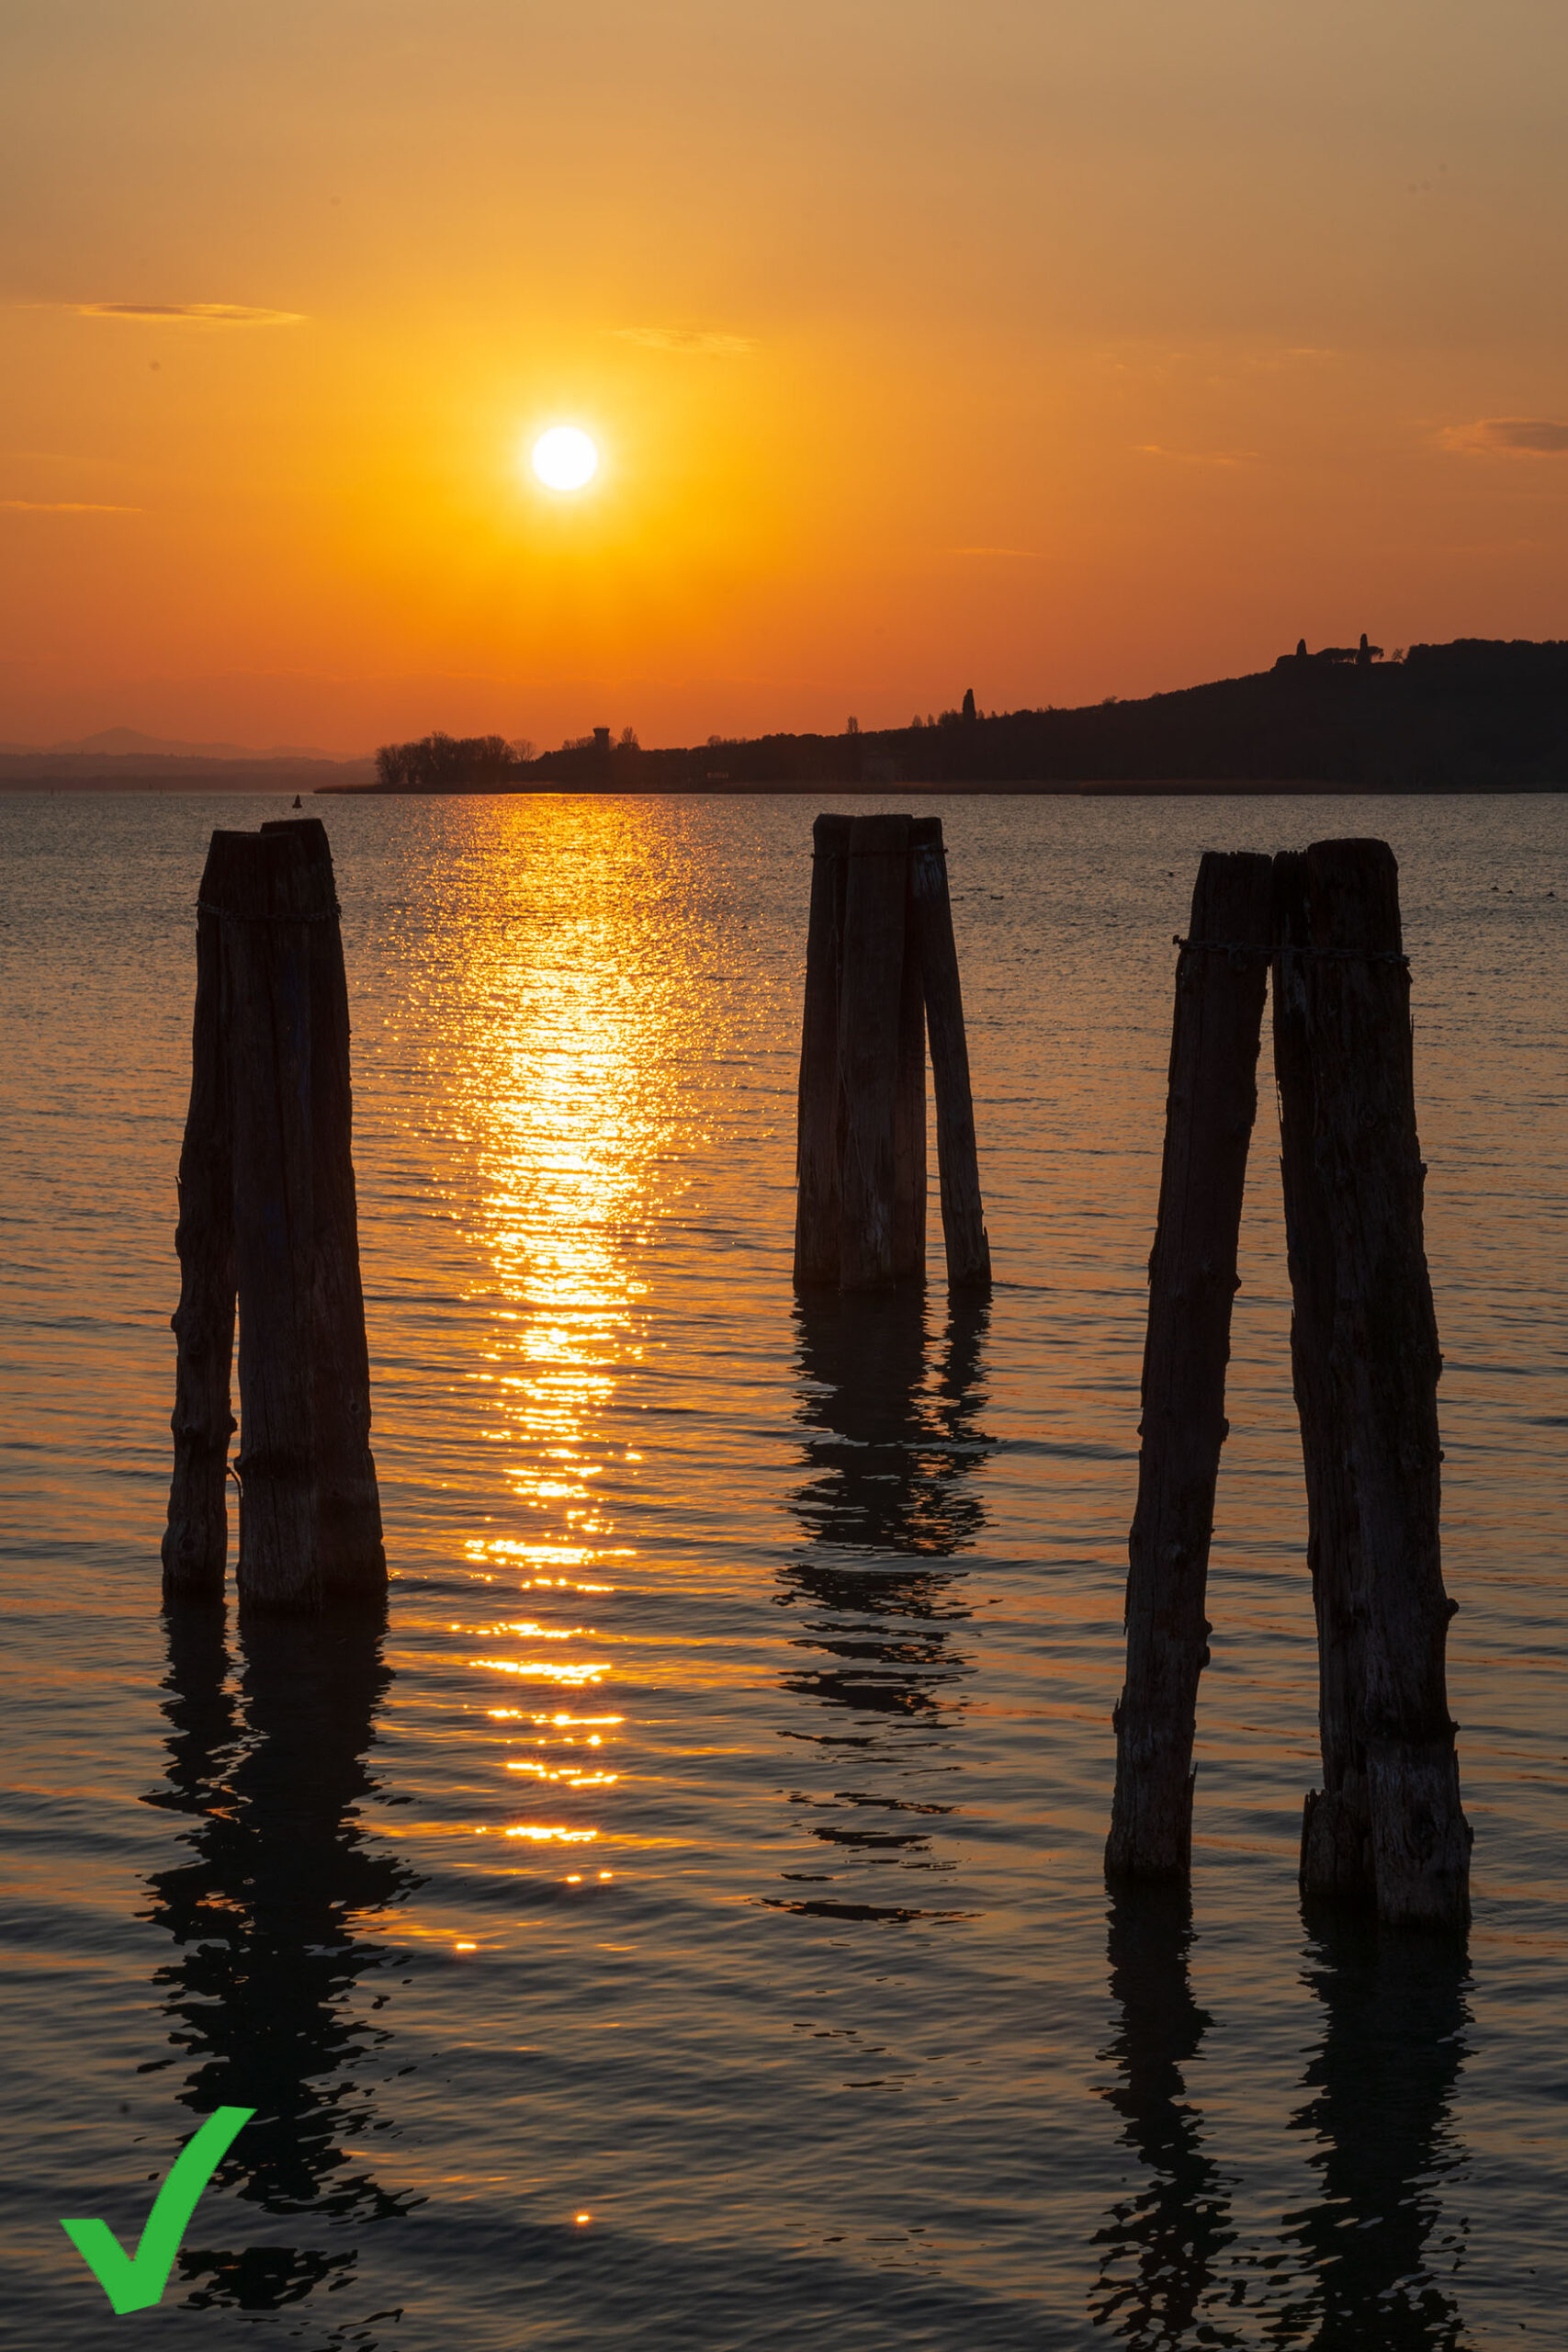
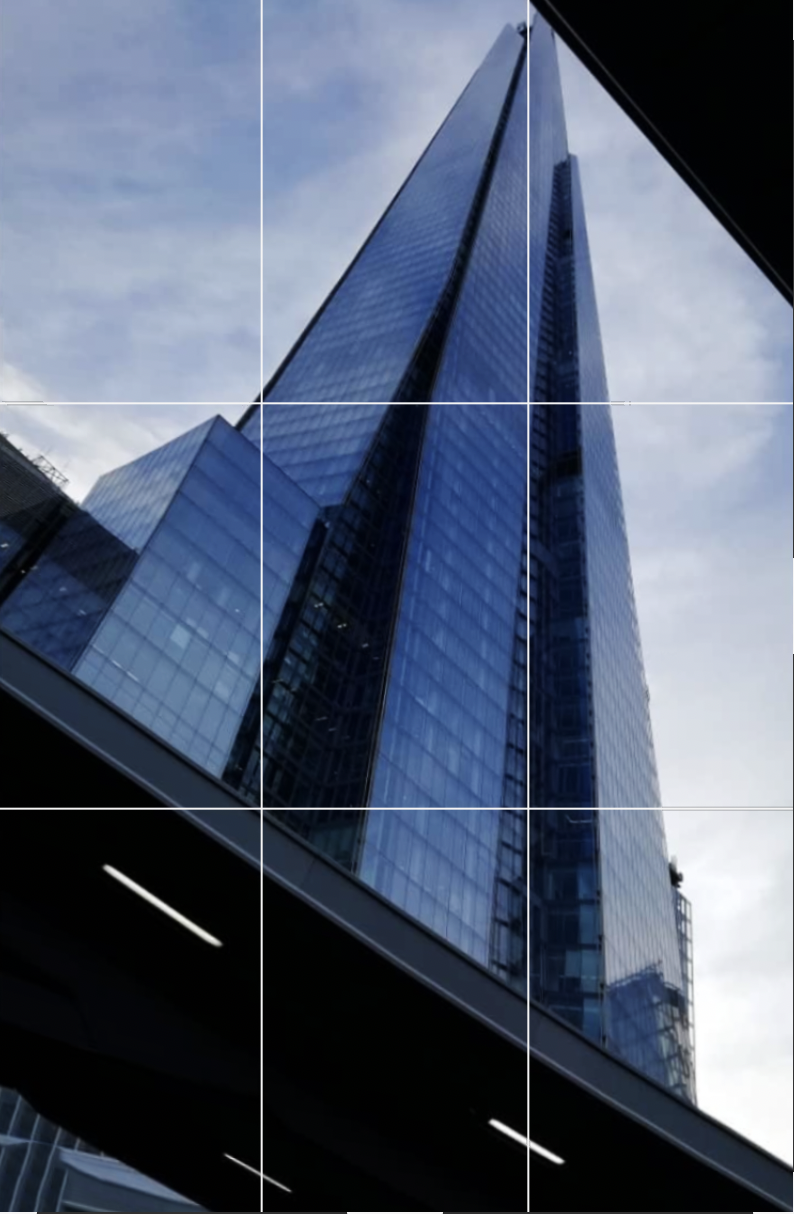
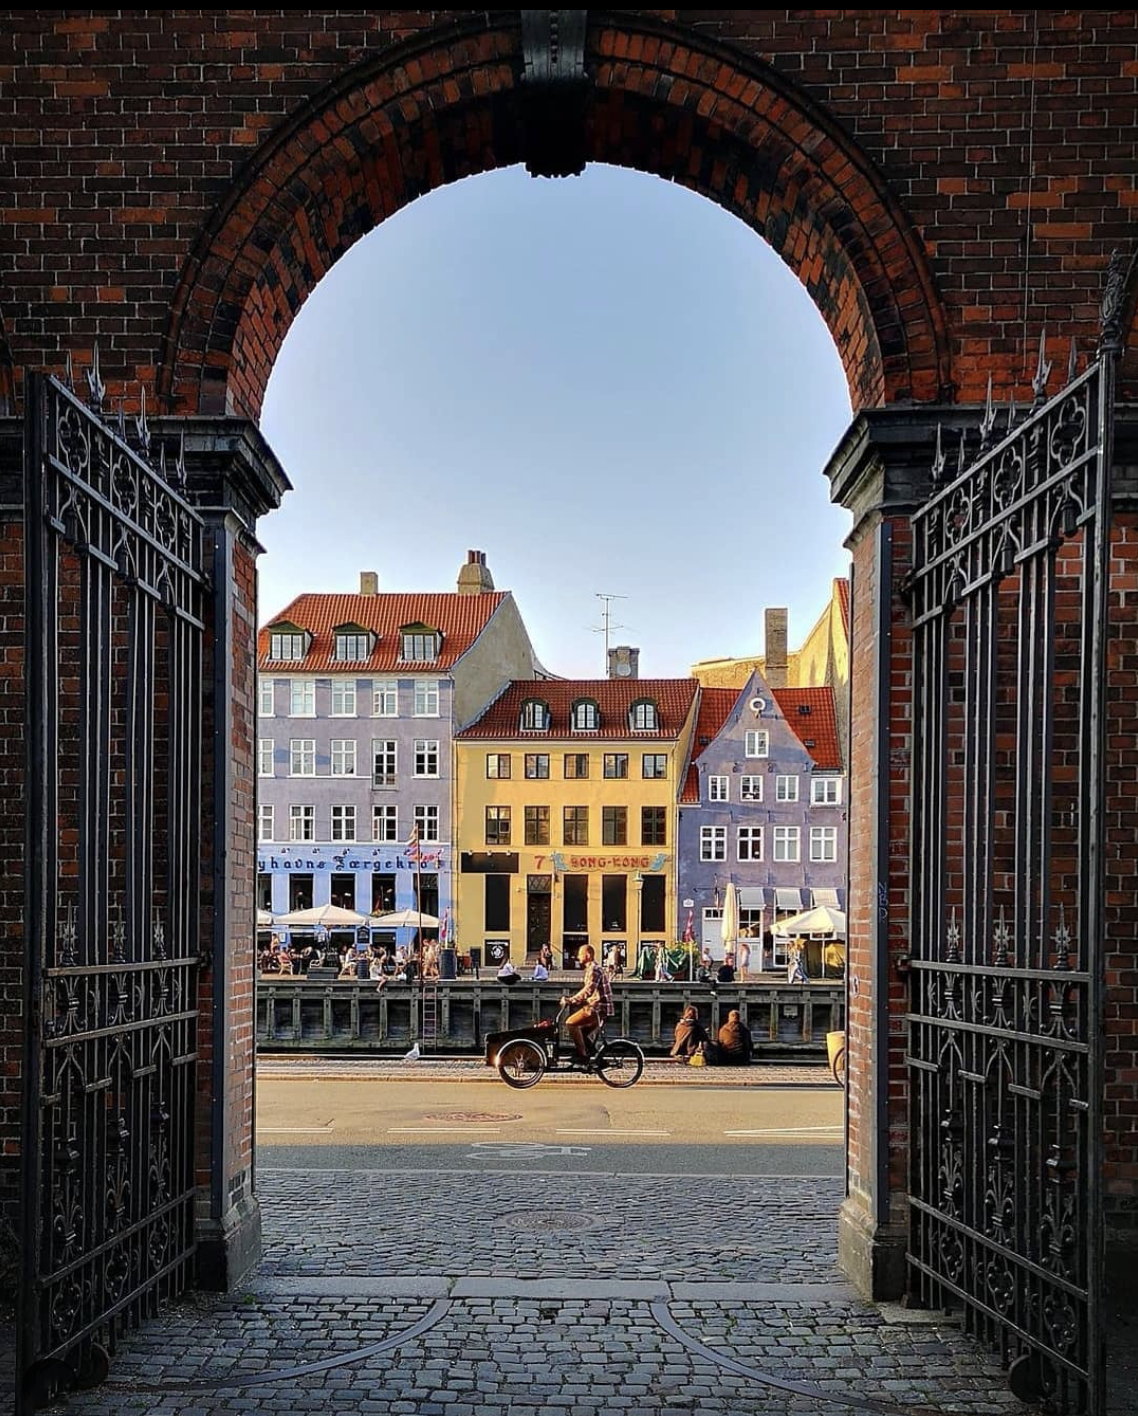
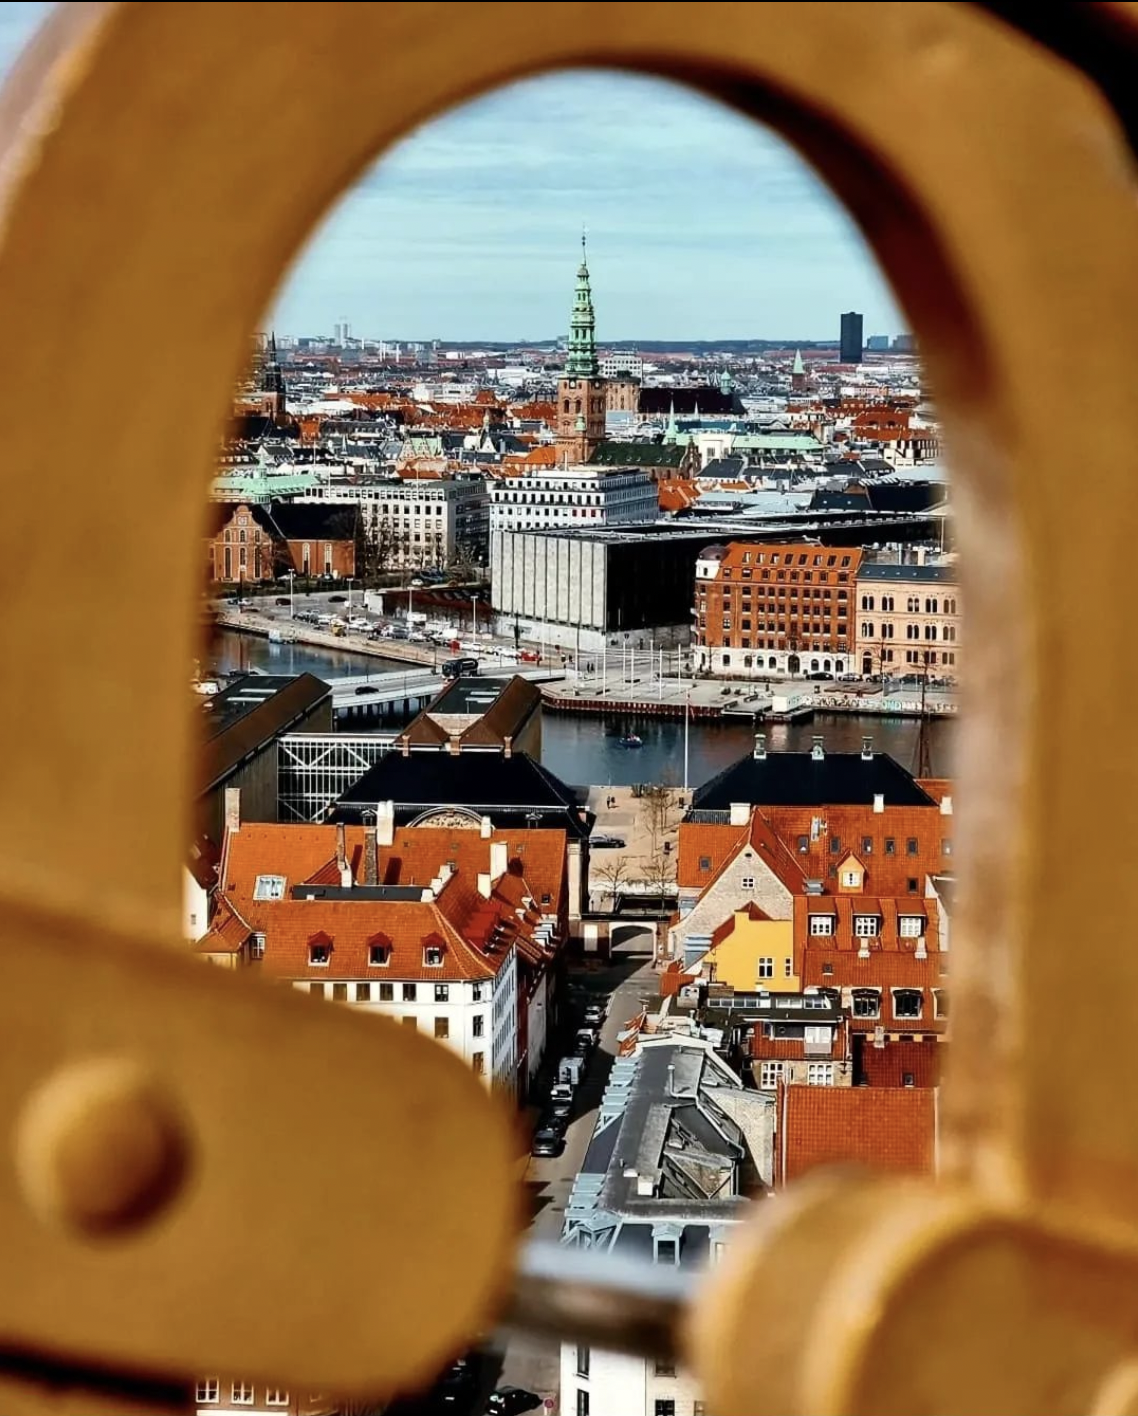
4. Choose original points of view
It can be from above if the main subject is on the ground, as often happens with fallen leaves. Or it can be from below close to the ground, for example to enhance a carpet of leaves and perhaps an imposing tree in the background.
Don’t forget the possibility to choose a point that partially covers the scene, like a tree trunk, that can frame the subject.
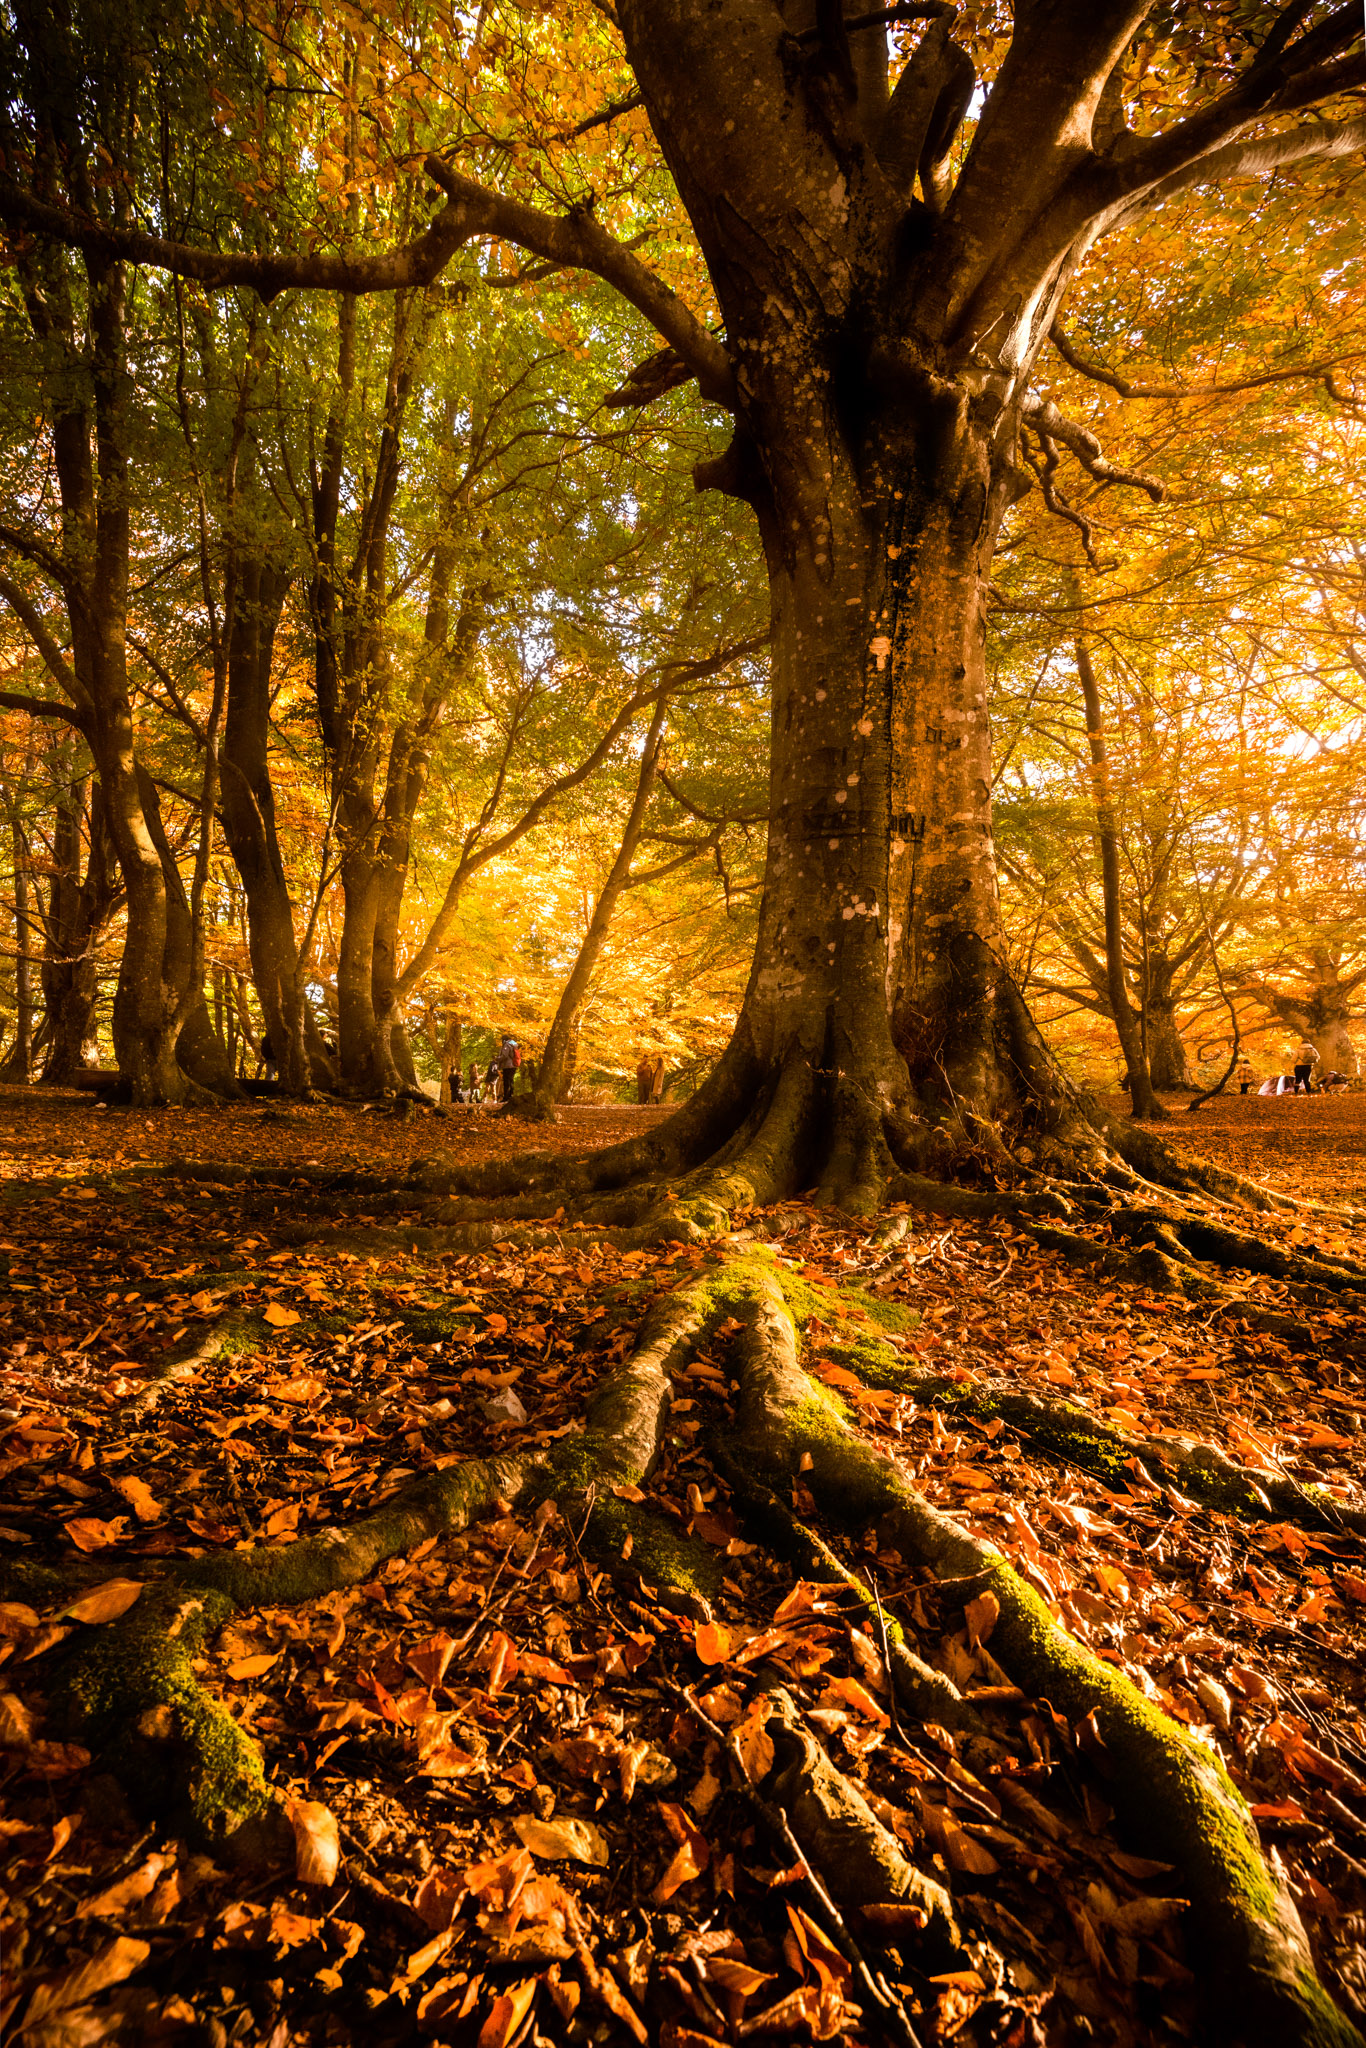
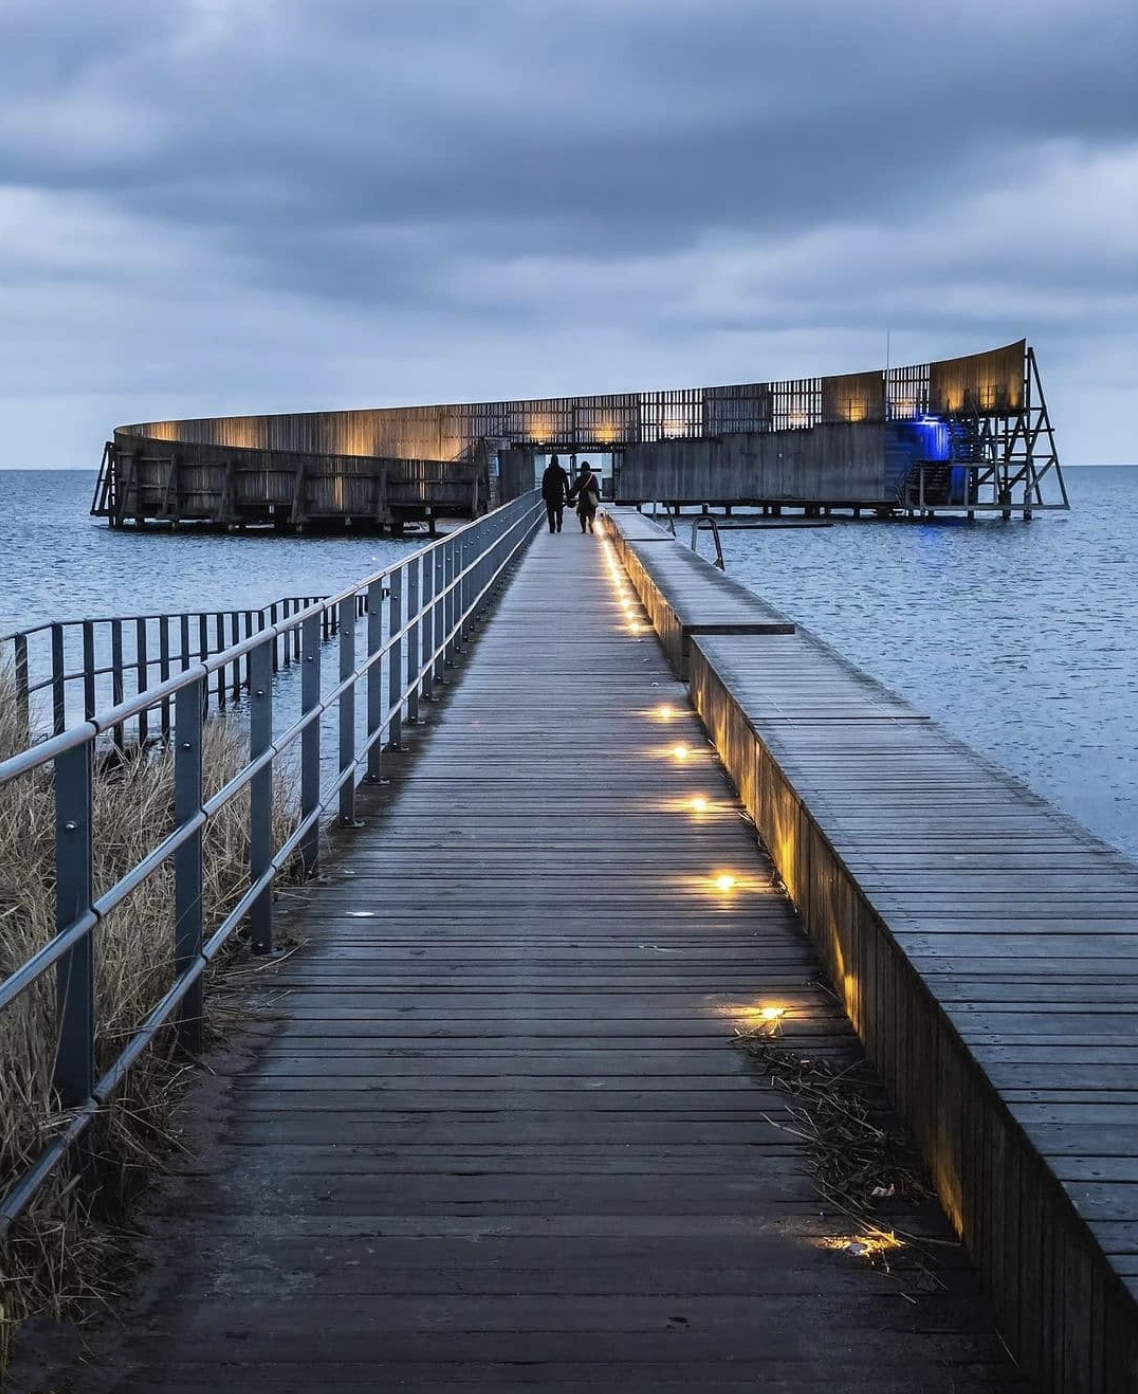
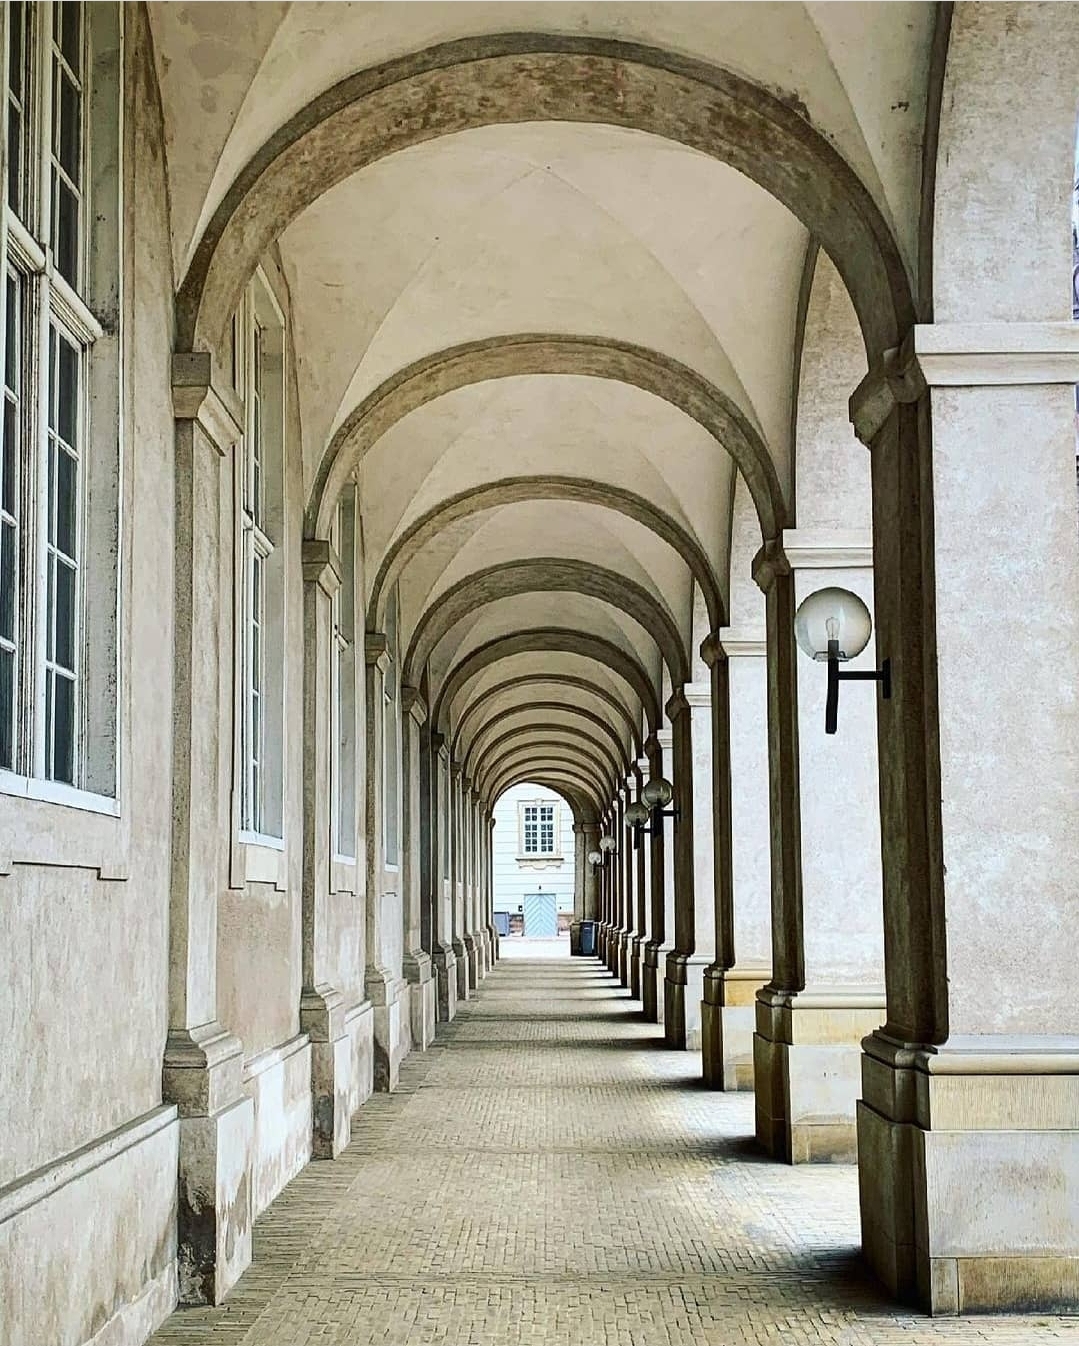
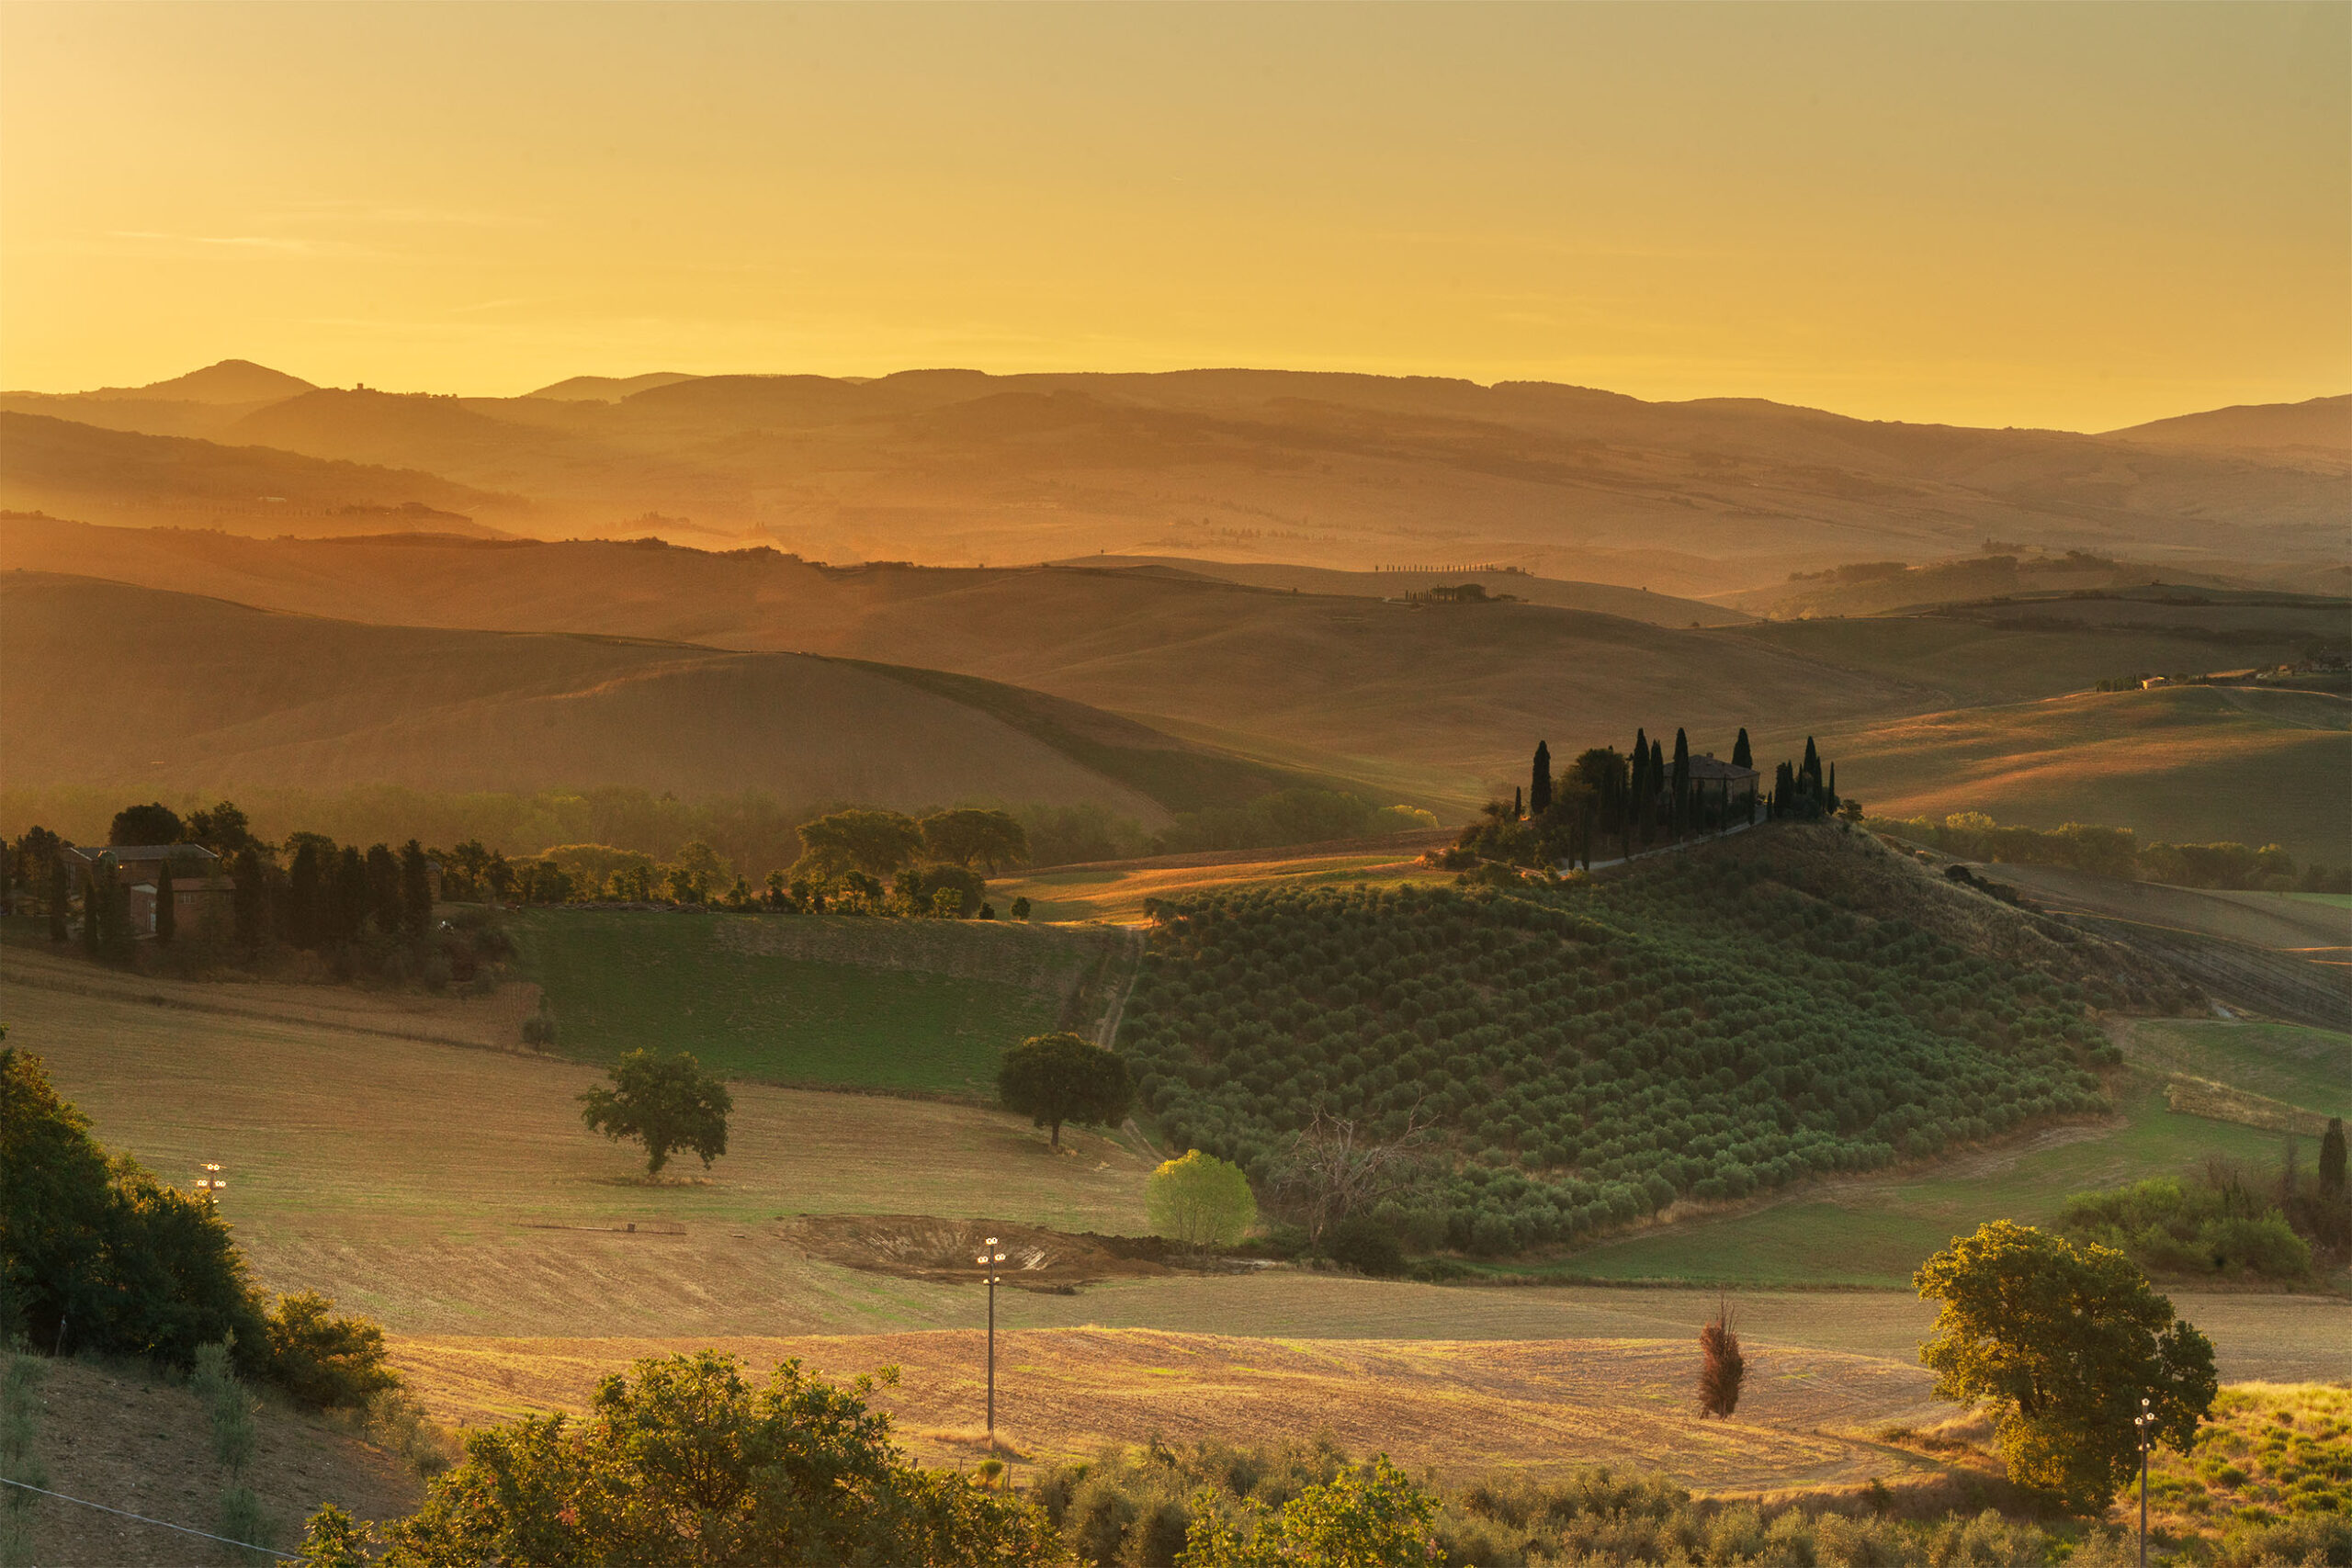
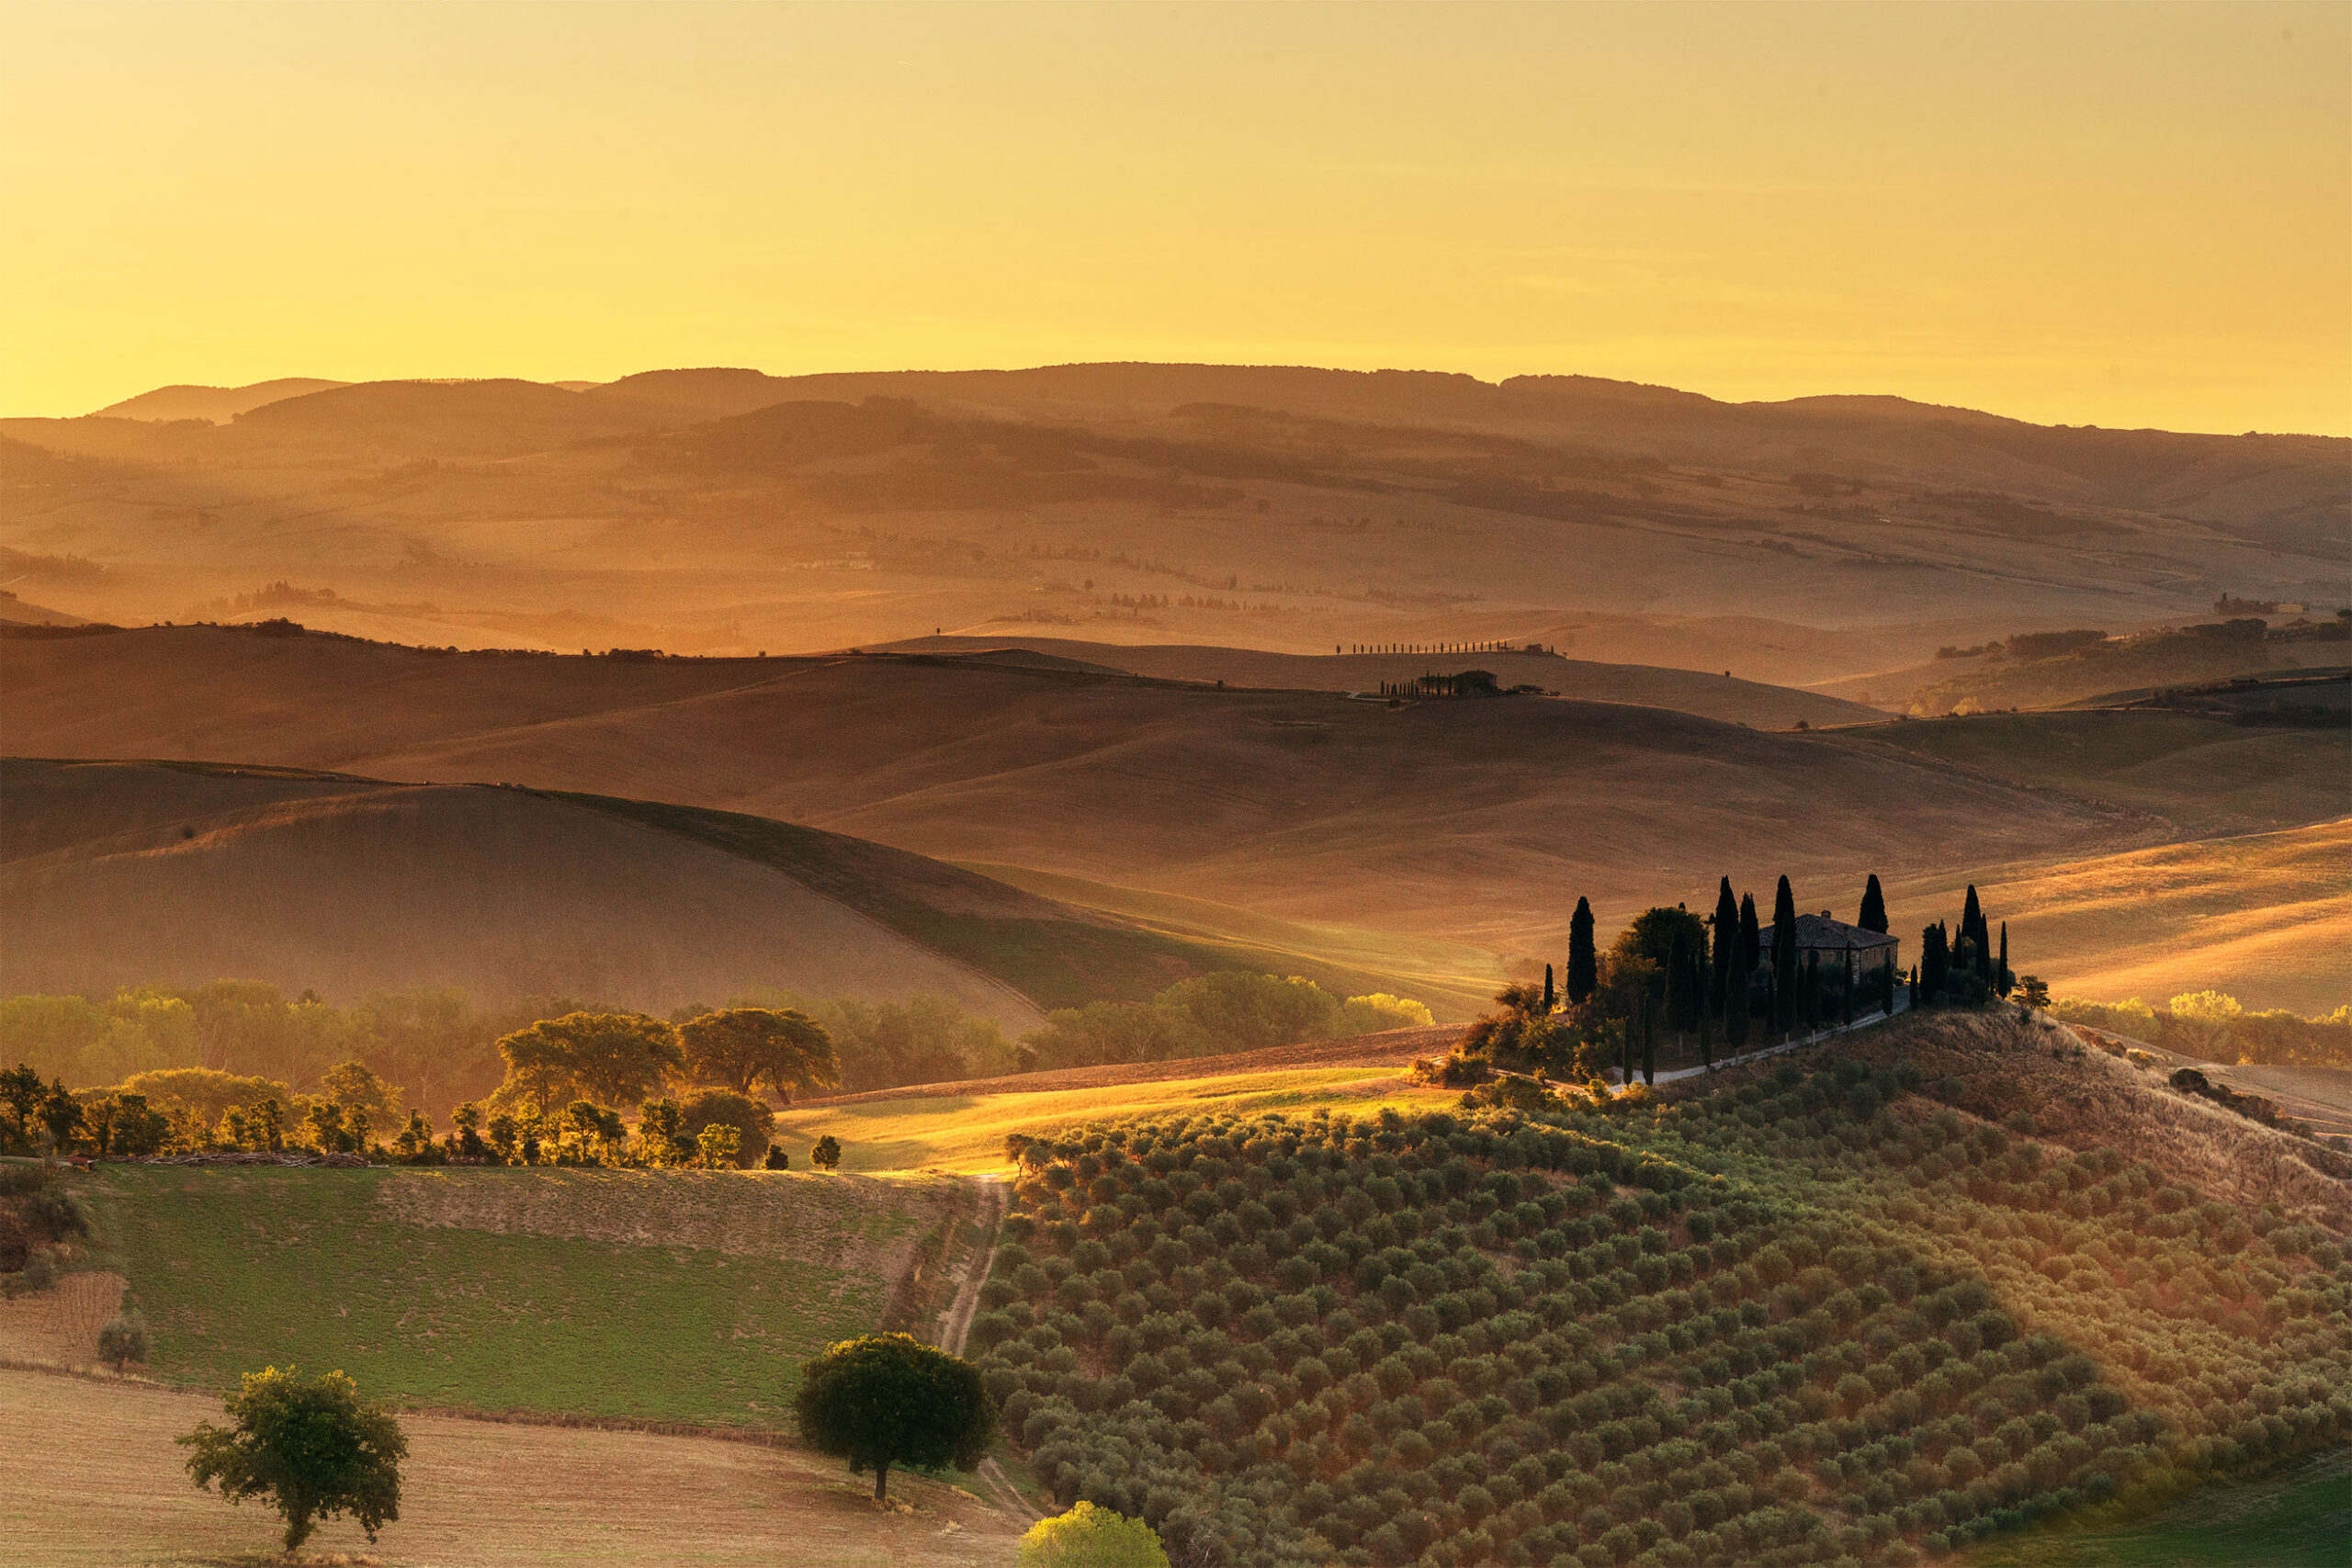
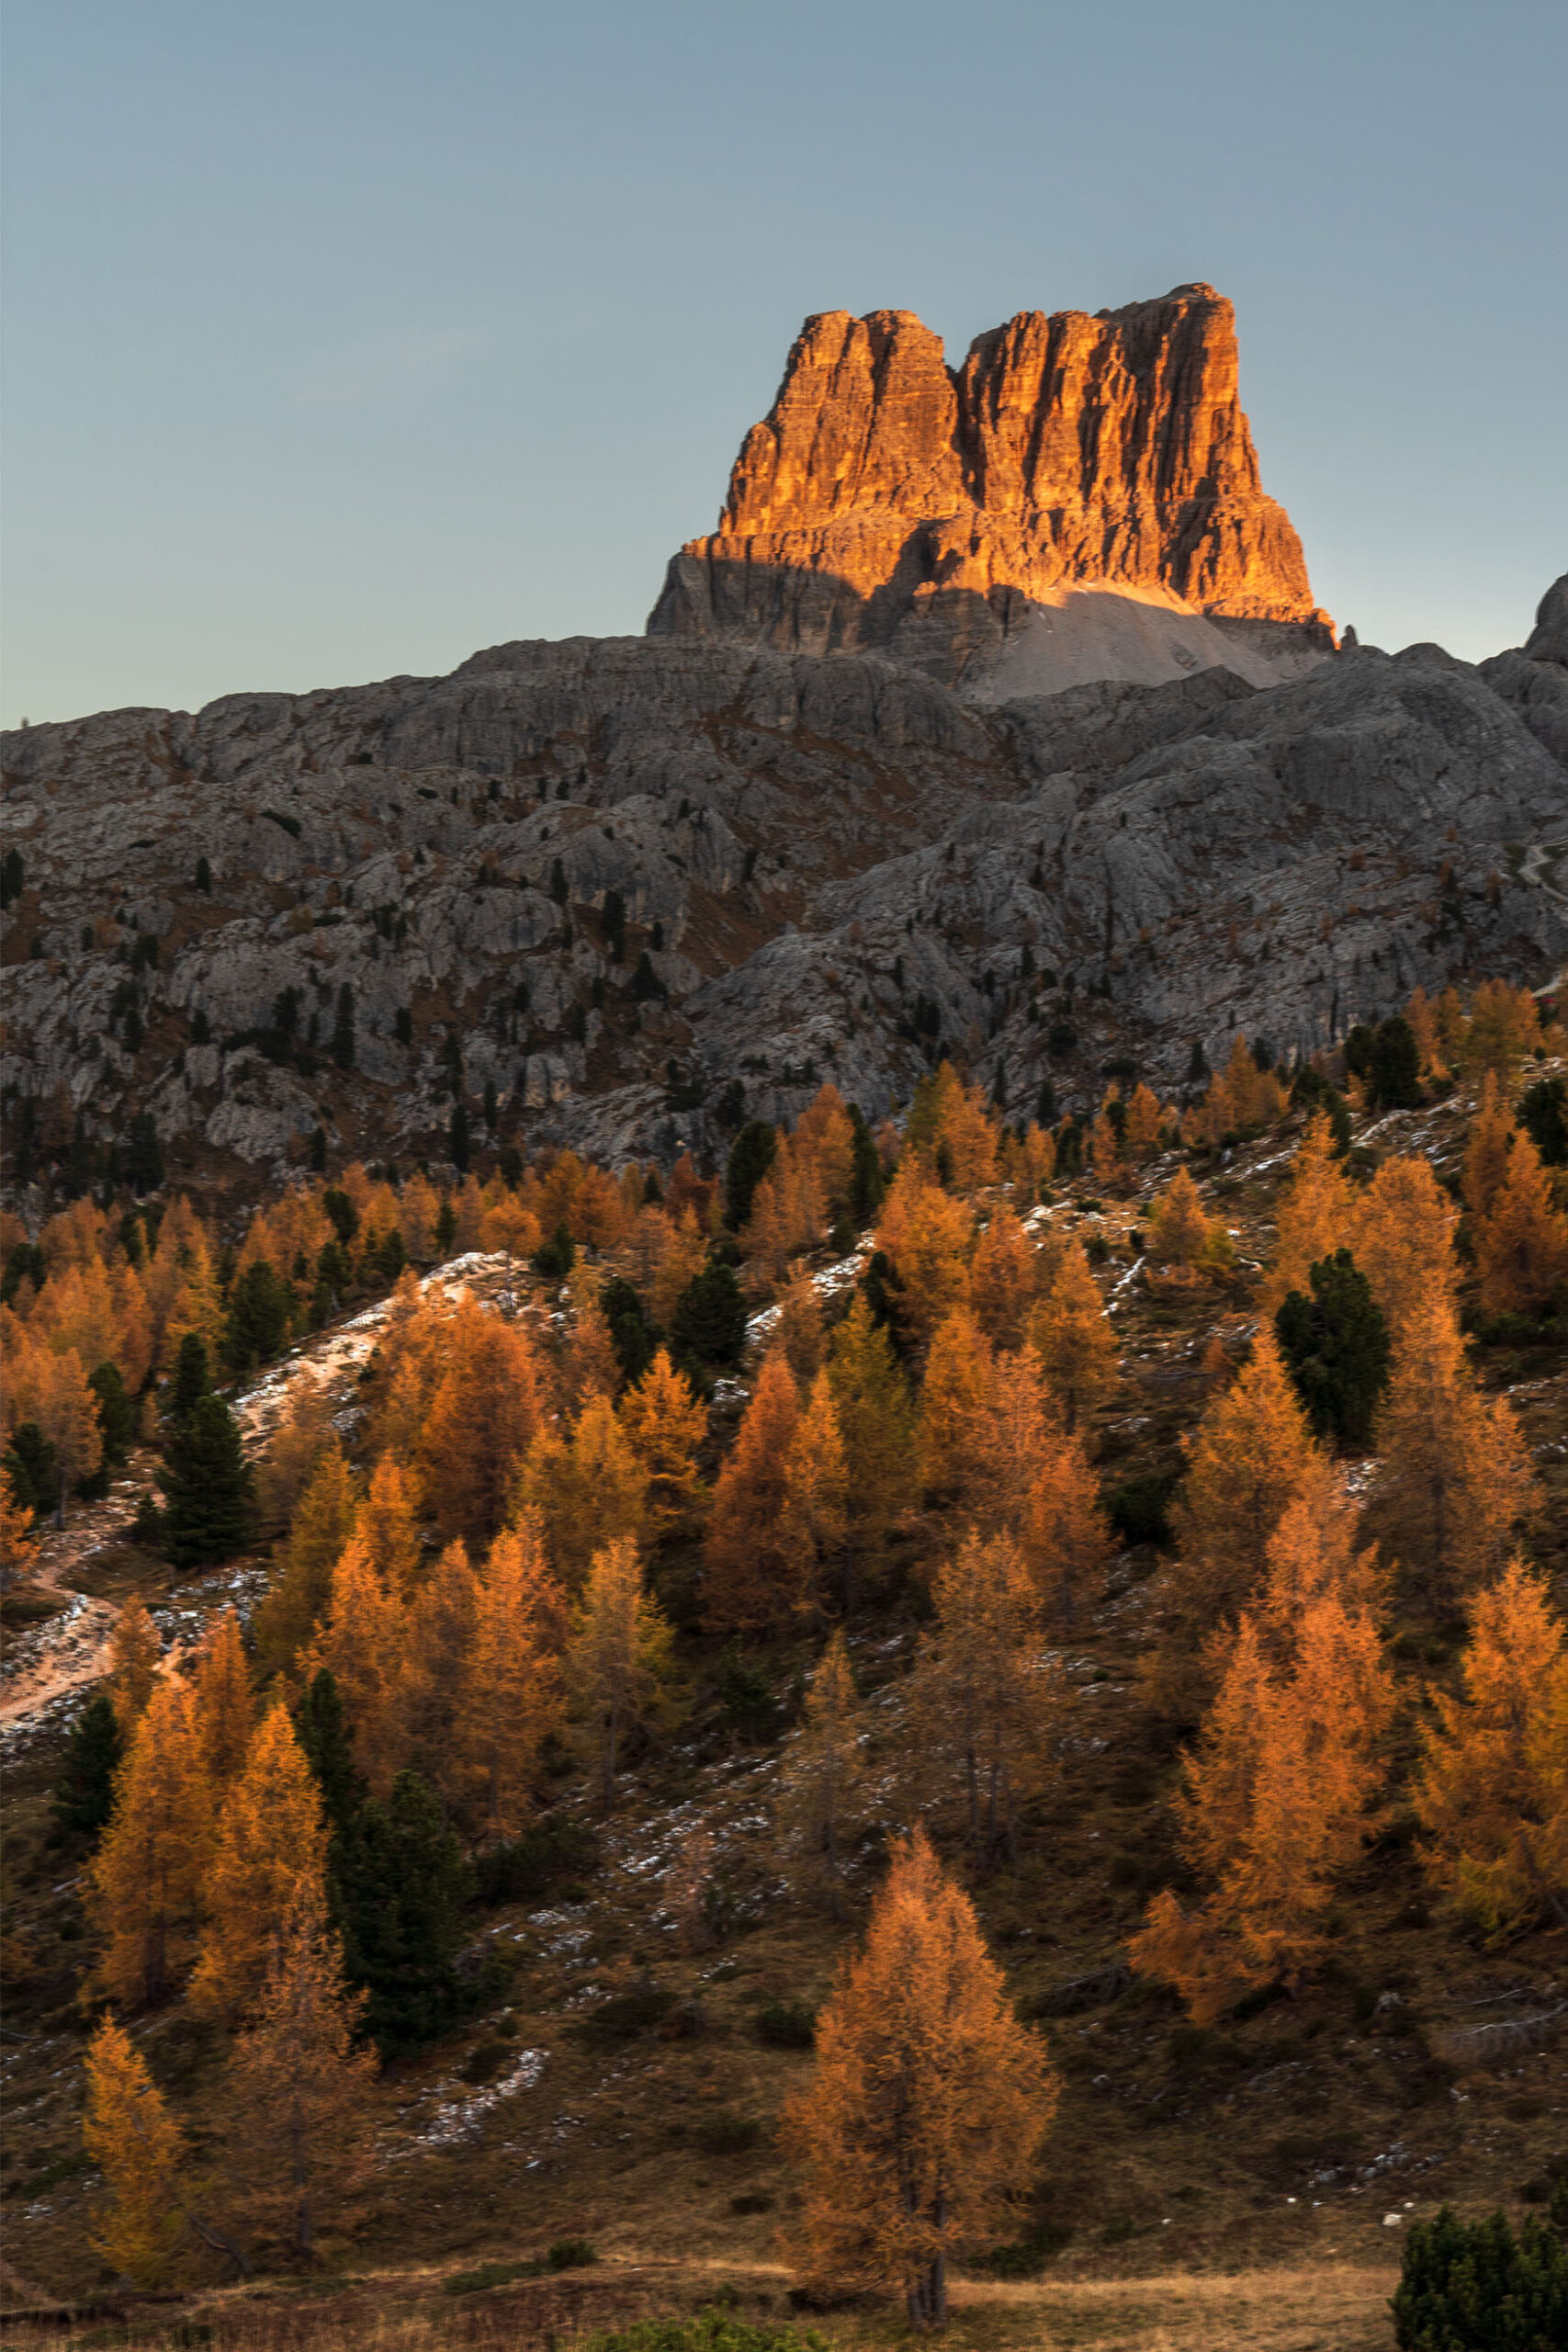
@giadaantonini_photography 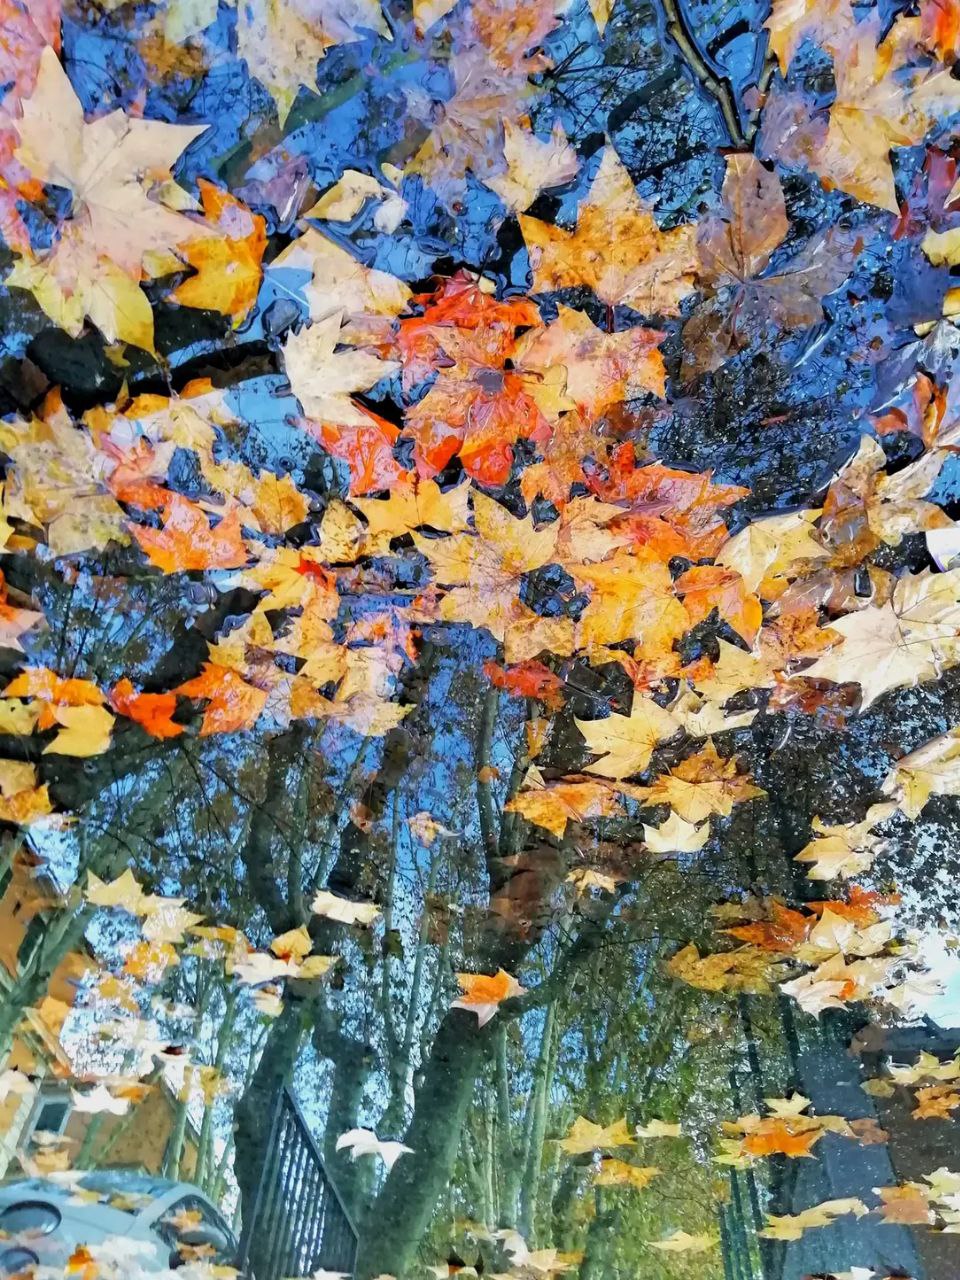
@giadaantonini_photography
5. Photo tips for fall foliage pics: create a subject
If there is no prominent objects in the scene you are observing and you cannot find an original point of view, then create it!
Just move a stone, or a small group of leaves, or put a human subject in the frame to have a protagonist who makes your composition original.
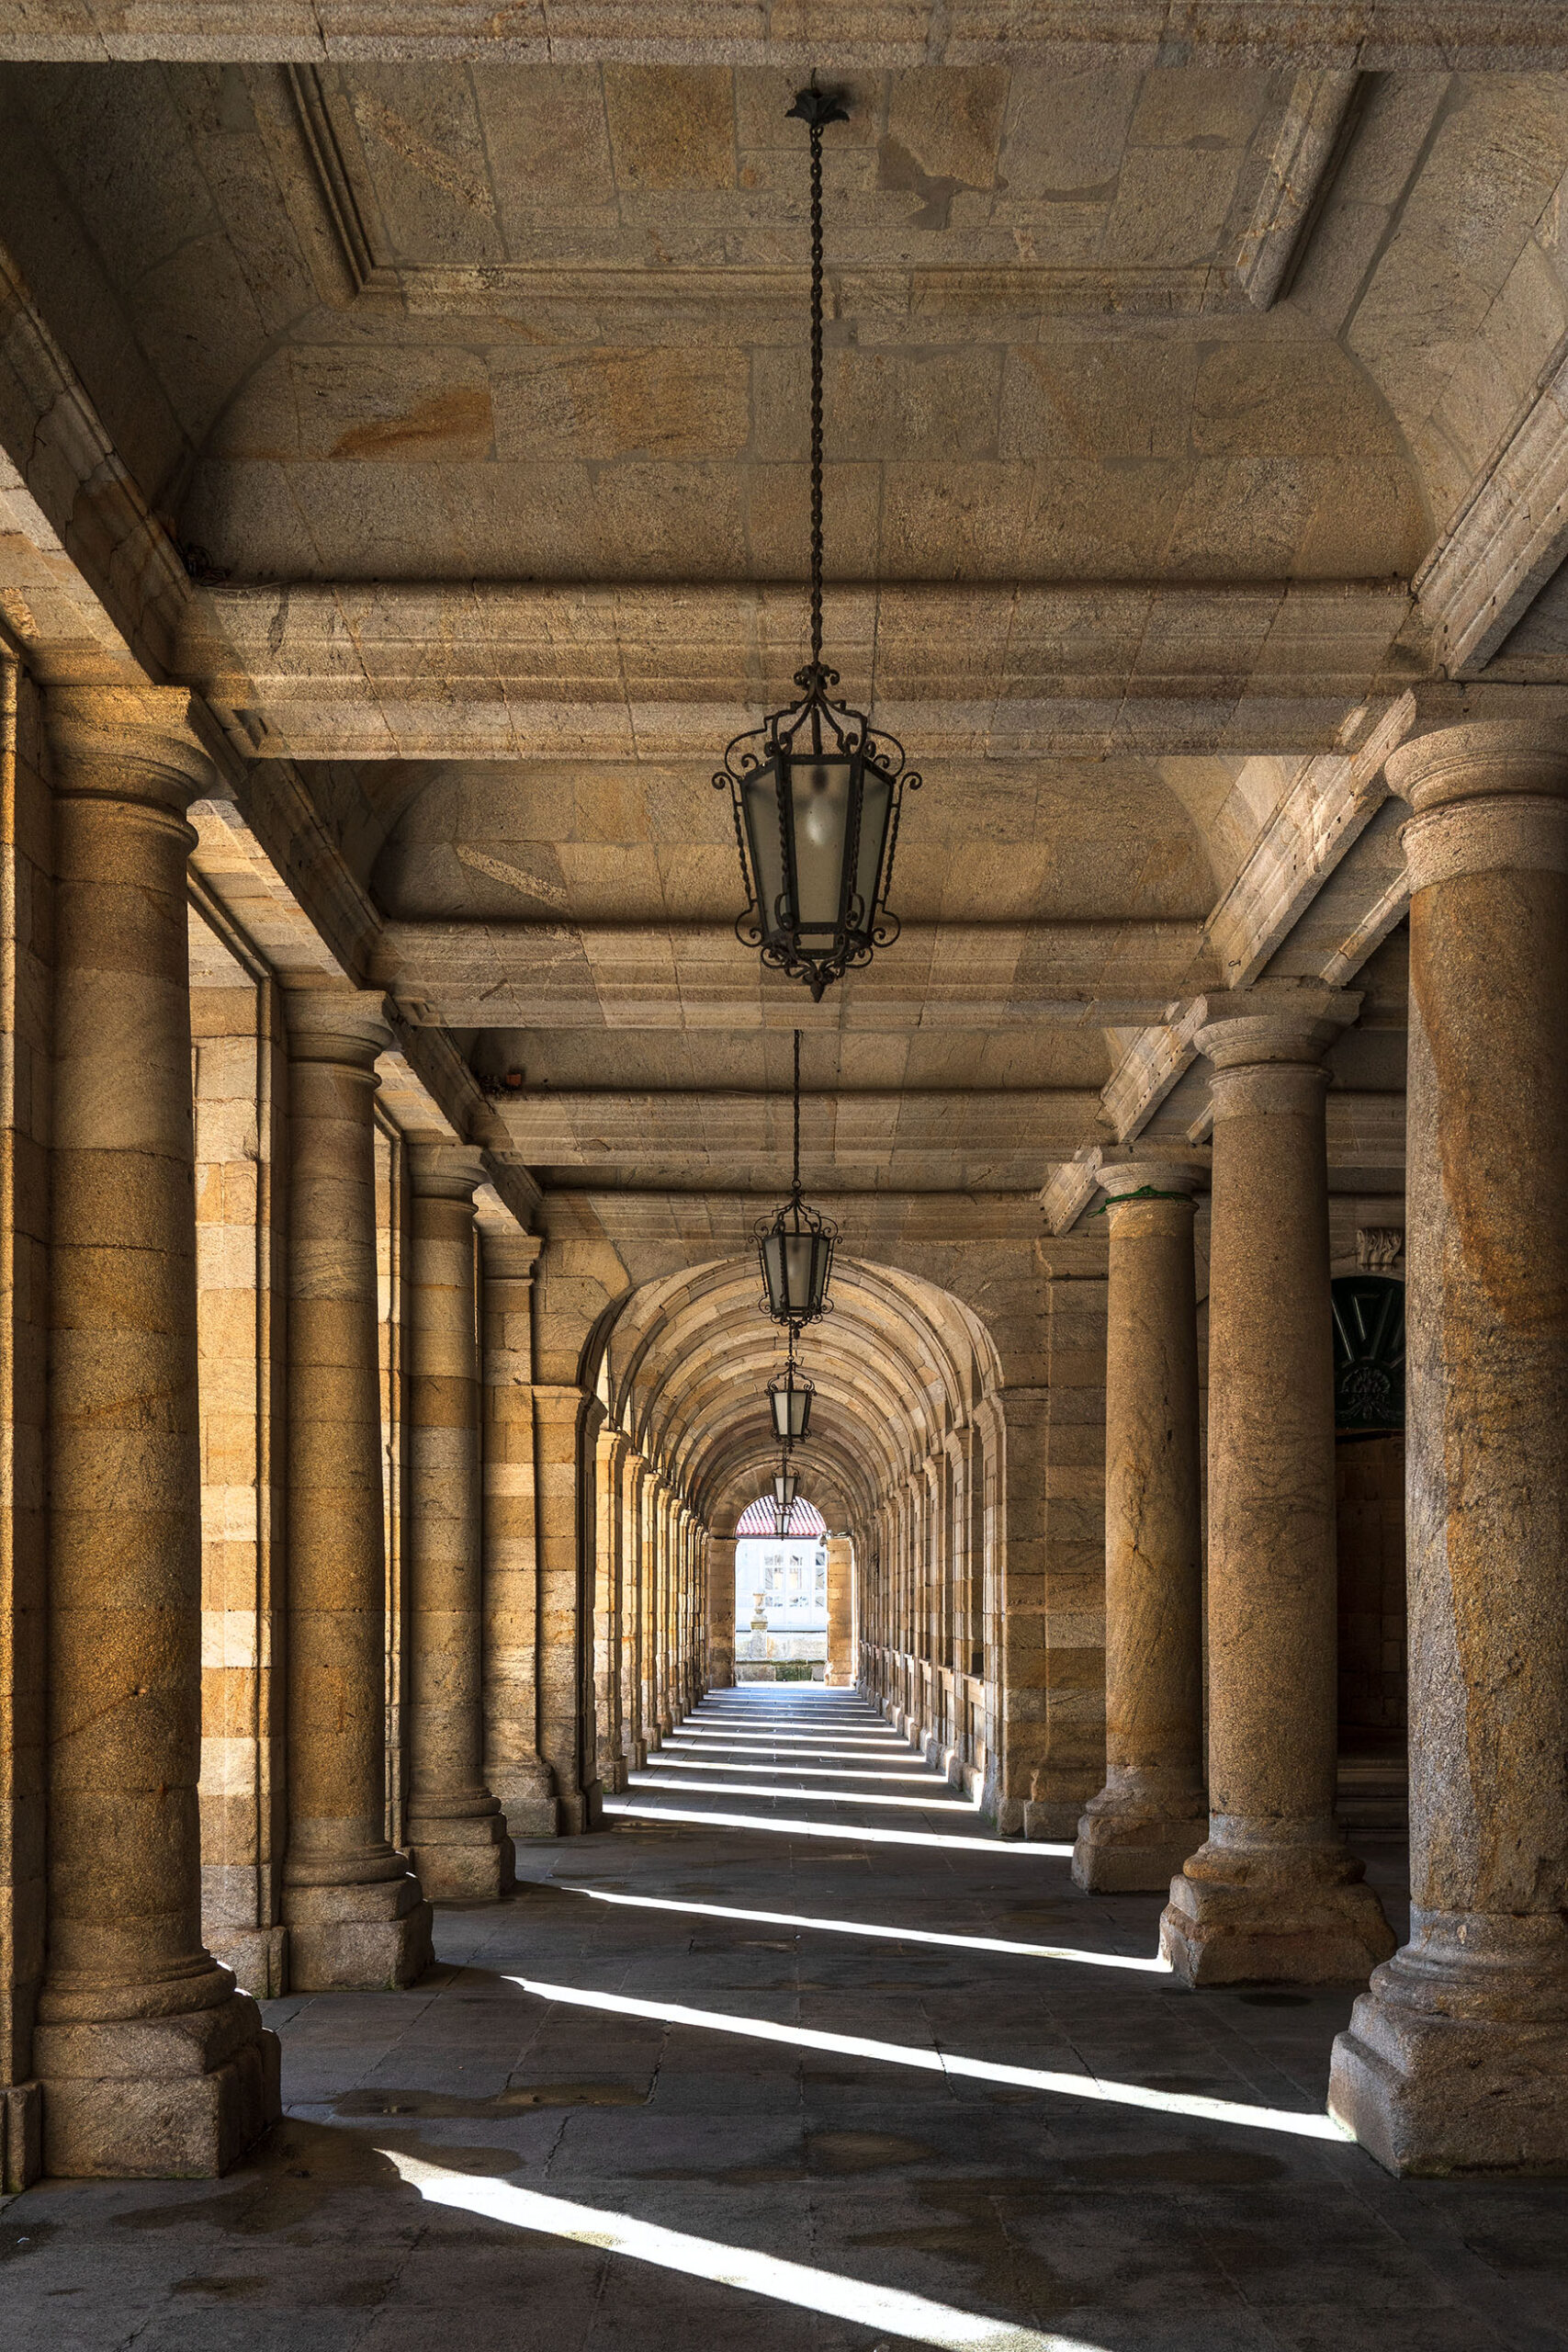
6. Observe the edges of the frame to cut out disturbing elements
They cool be stones, trees, bushes, walls, parked cars and anything else that is not useful for telling what you want to express: “less is more”.
This way, whoever looks at your photo will remain focused on the subject.
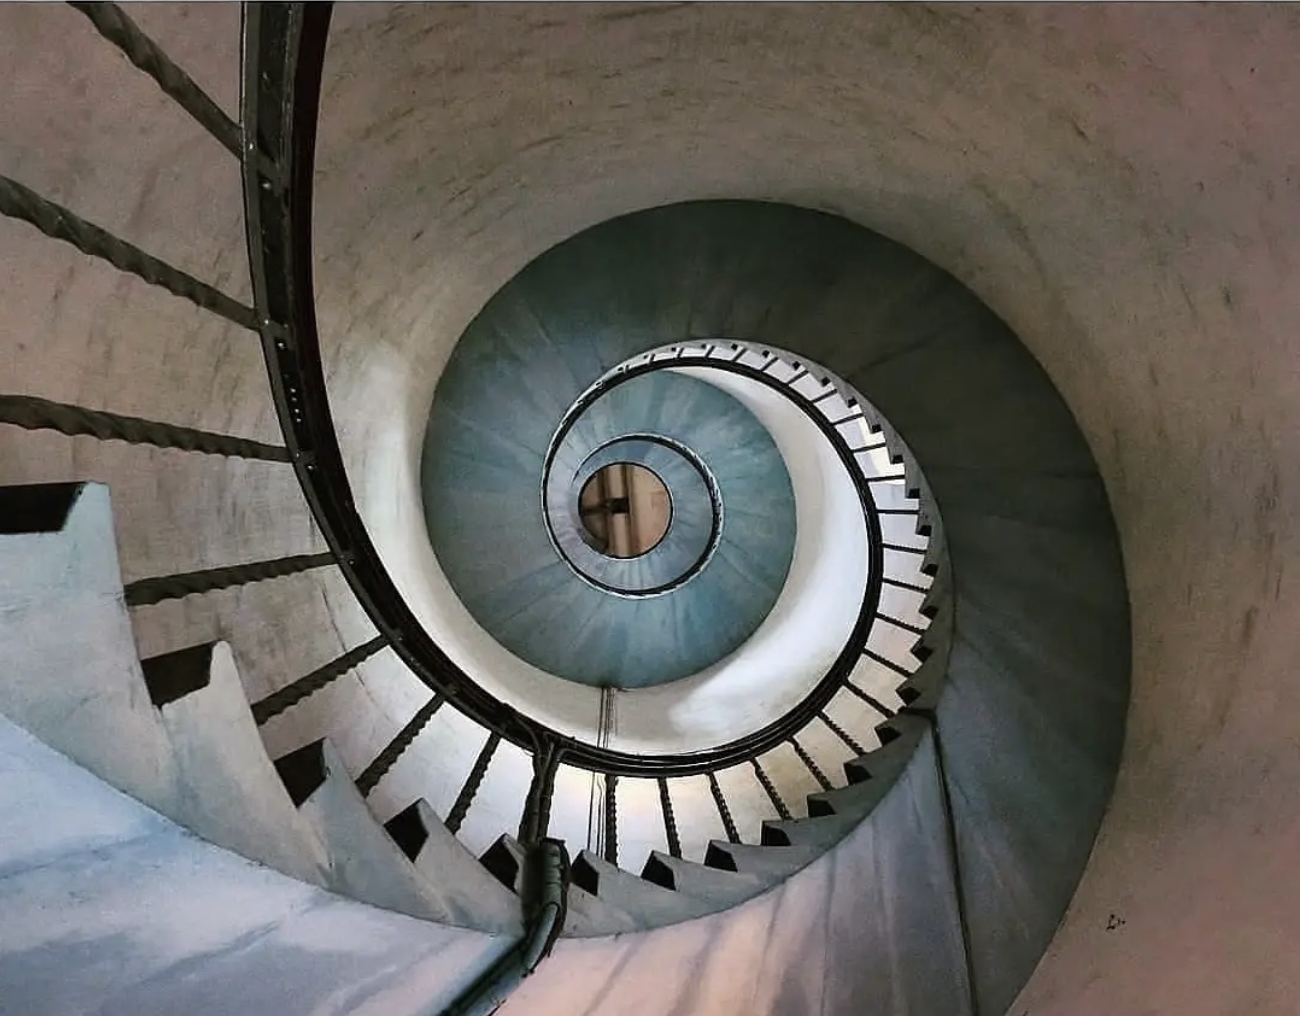
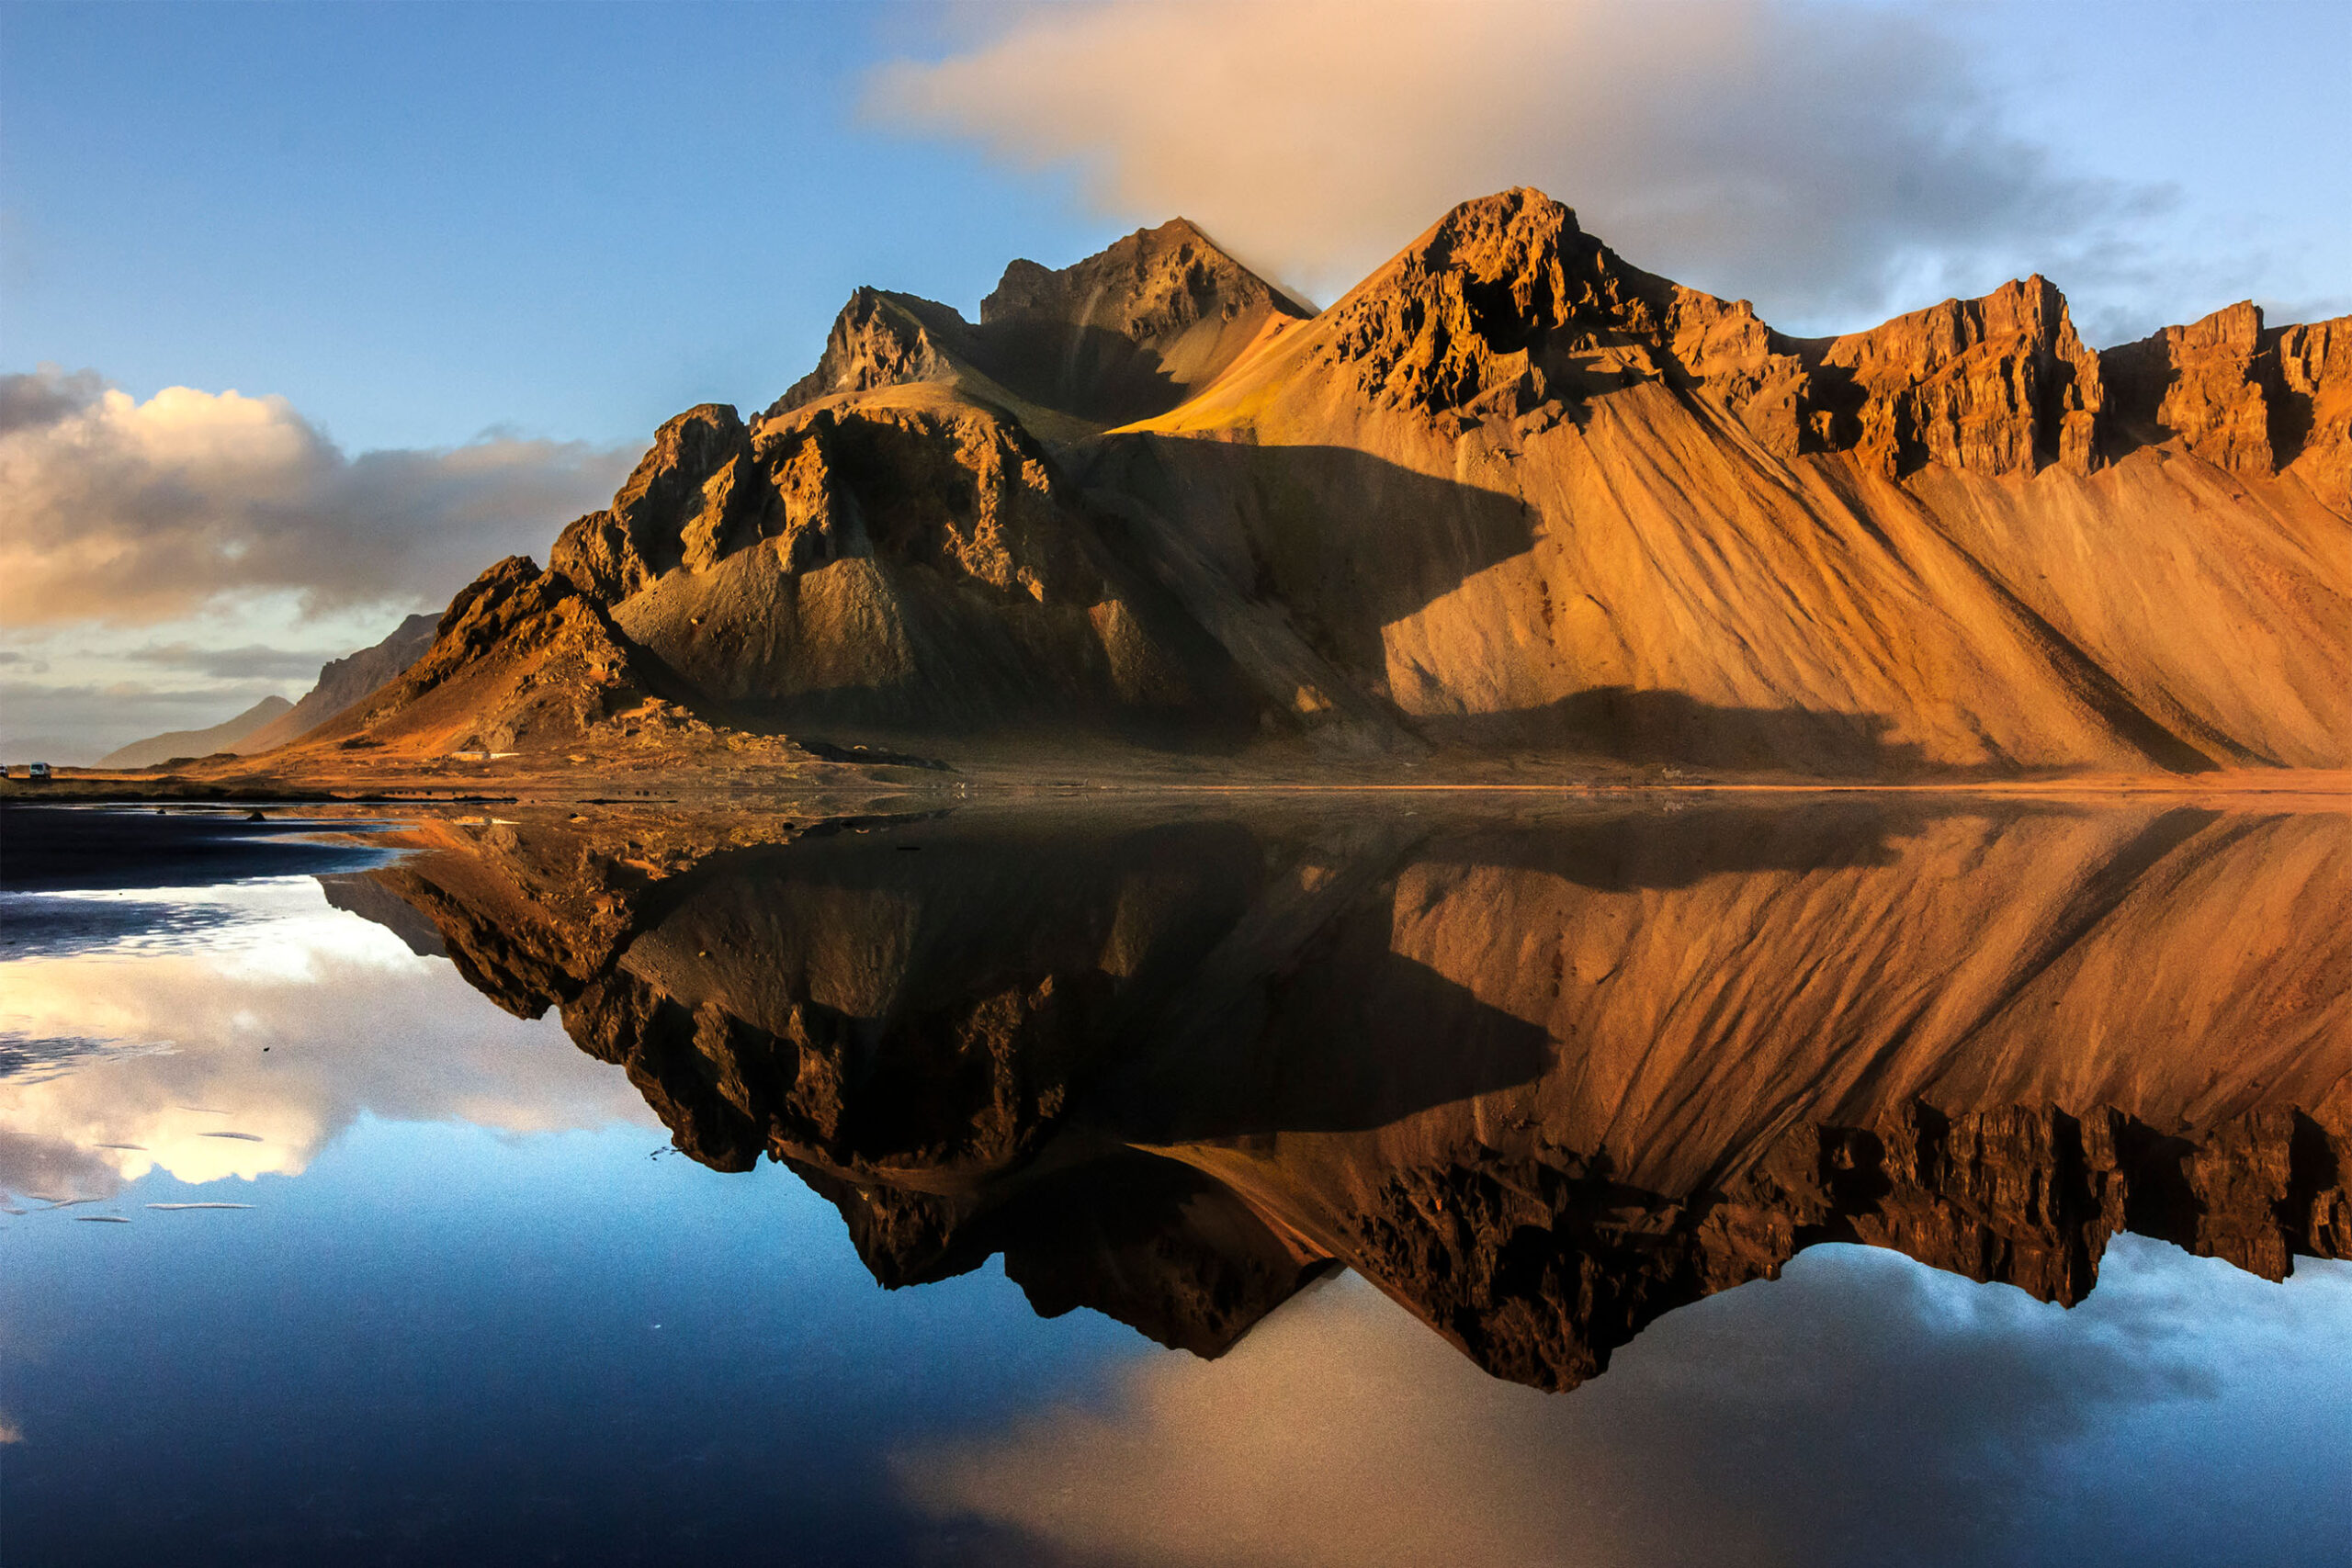
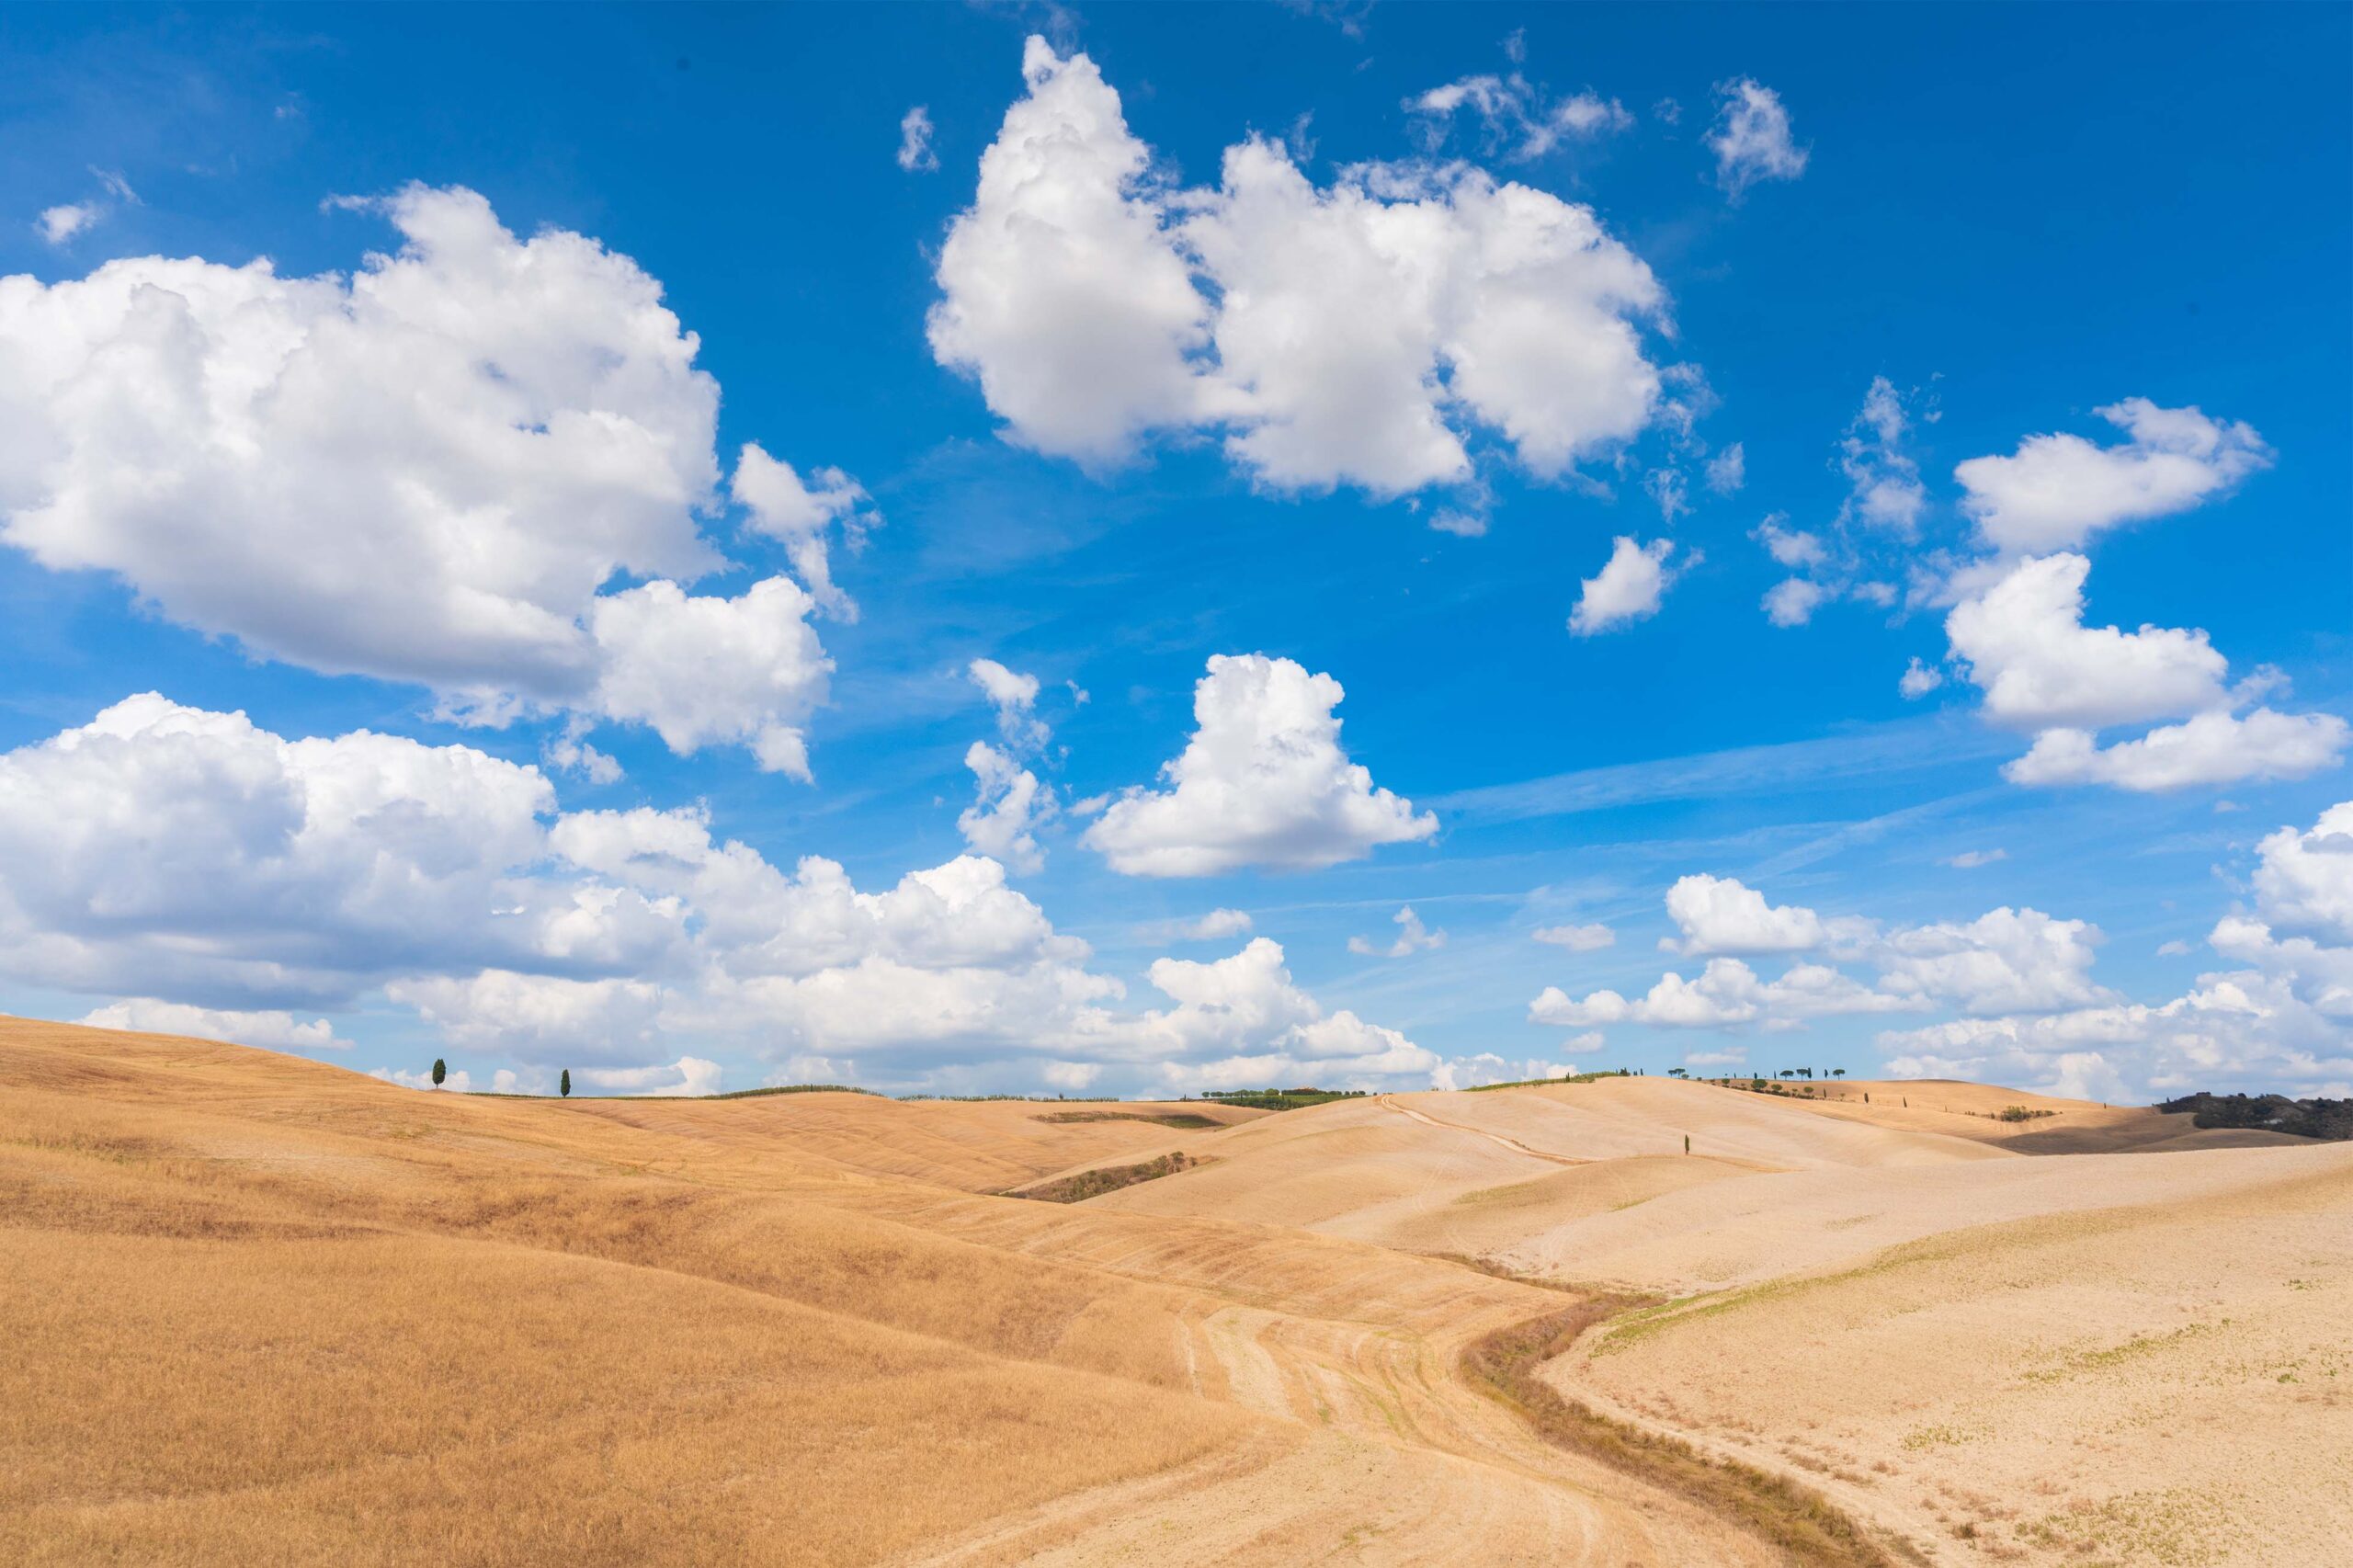
@giadaantonini_photography 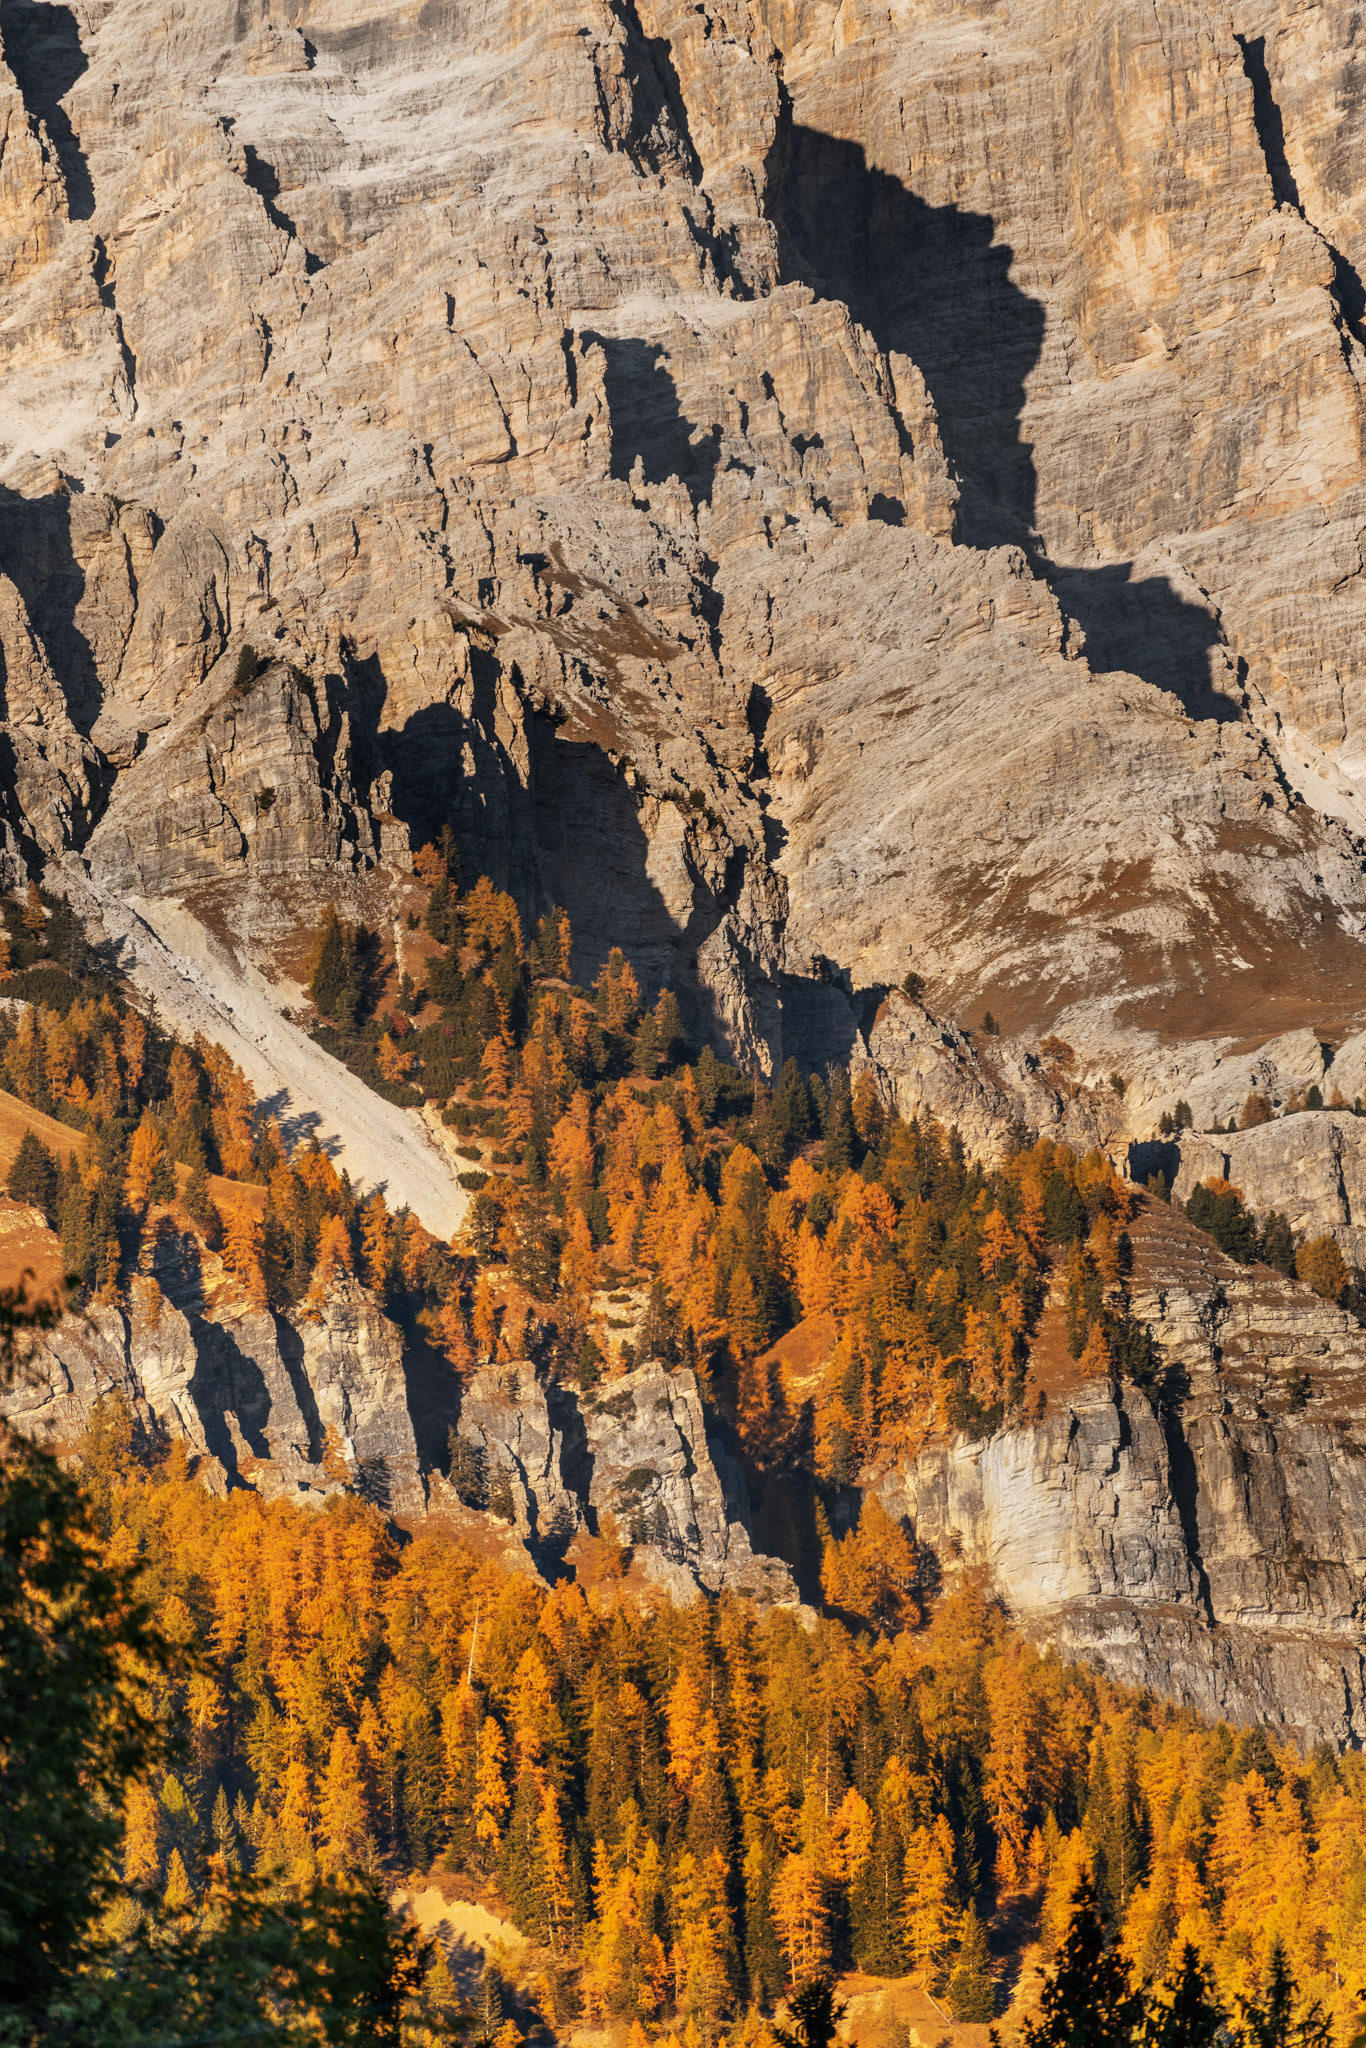
@giadaantonini_photography
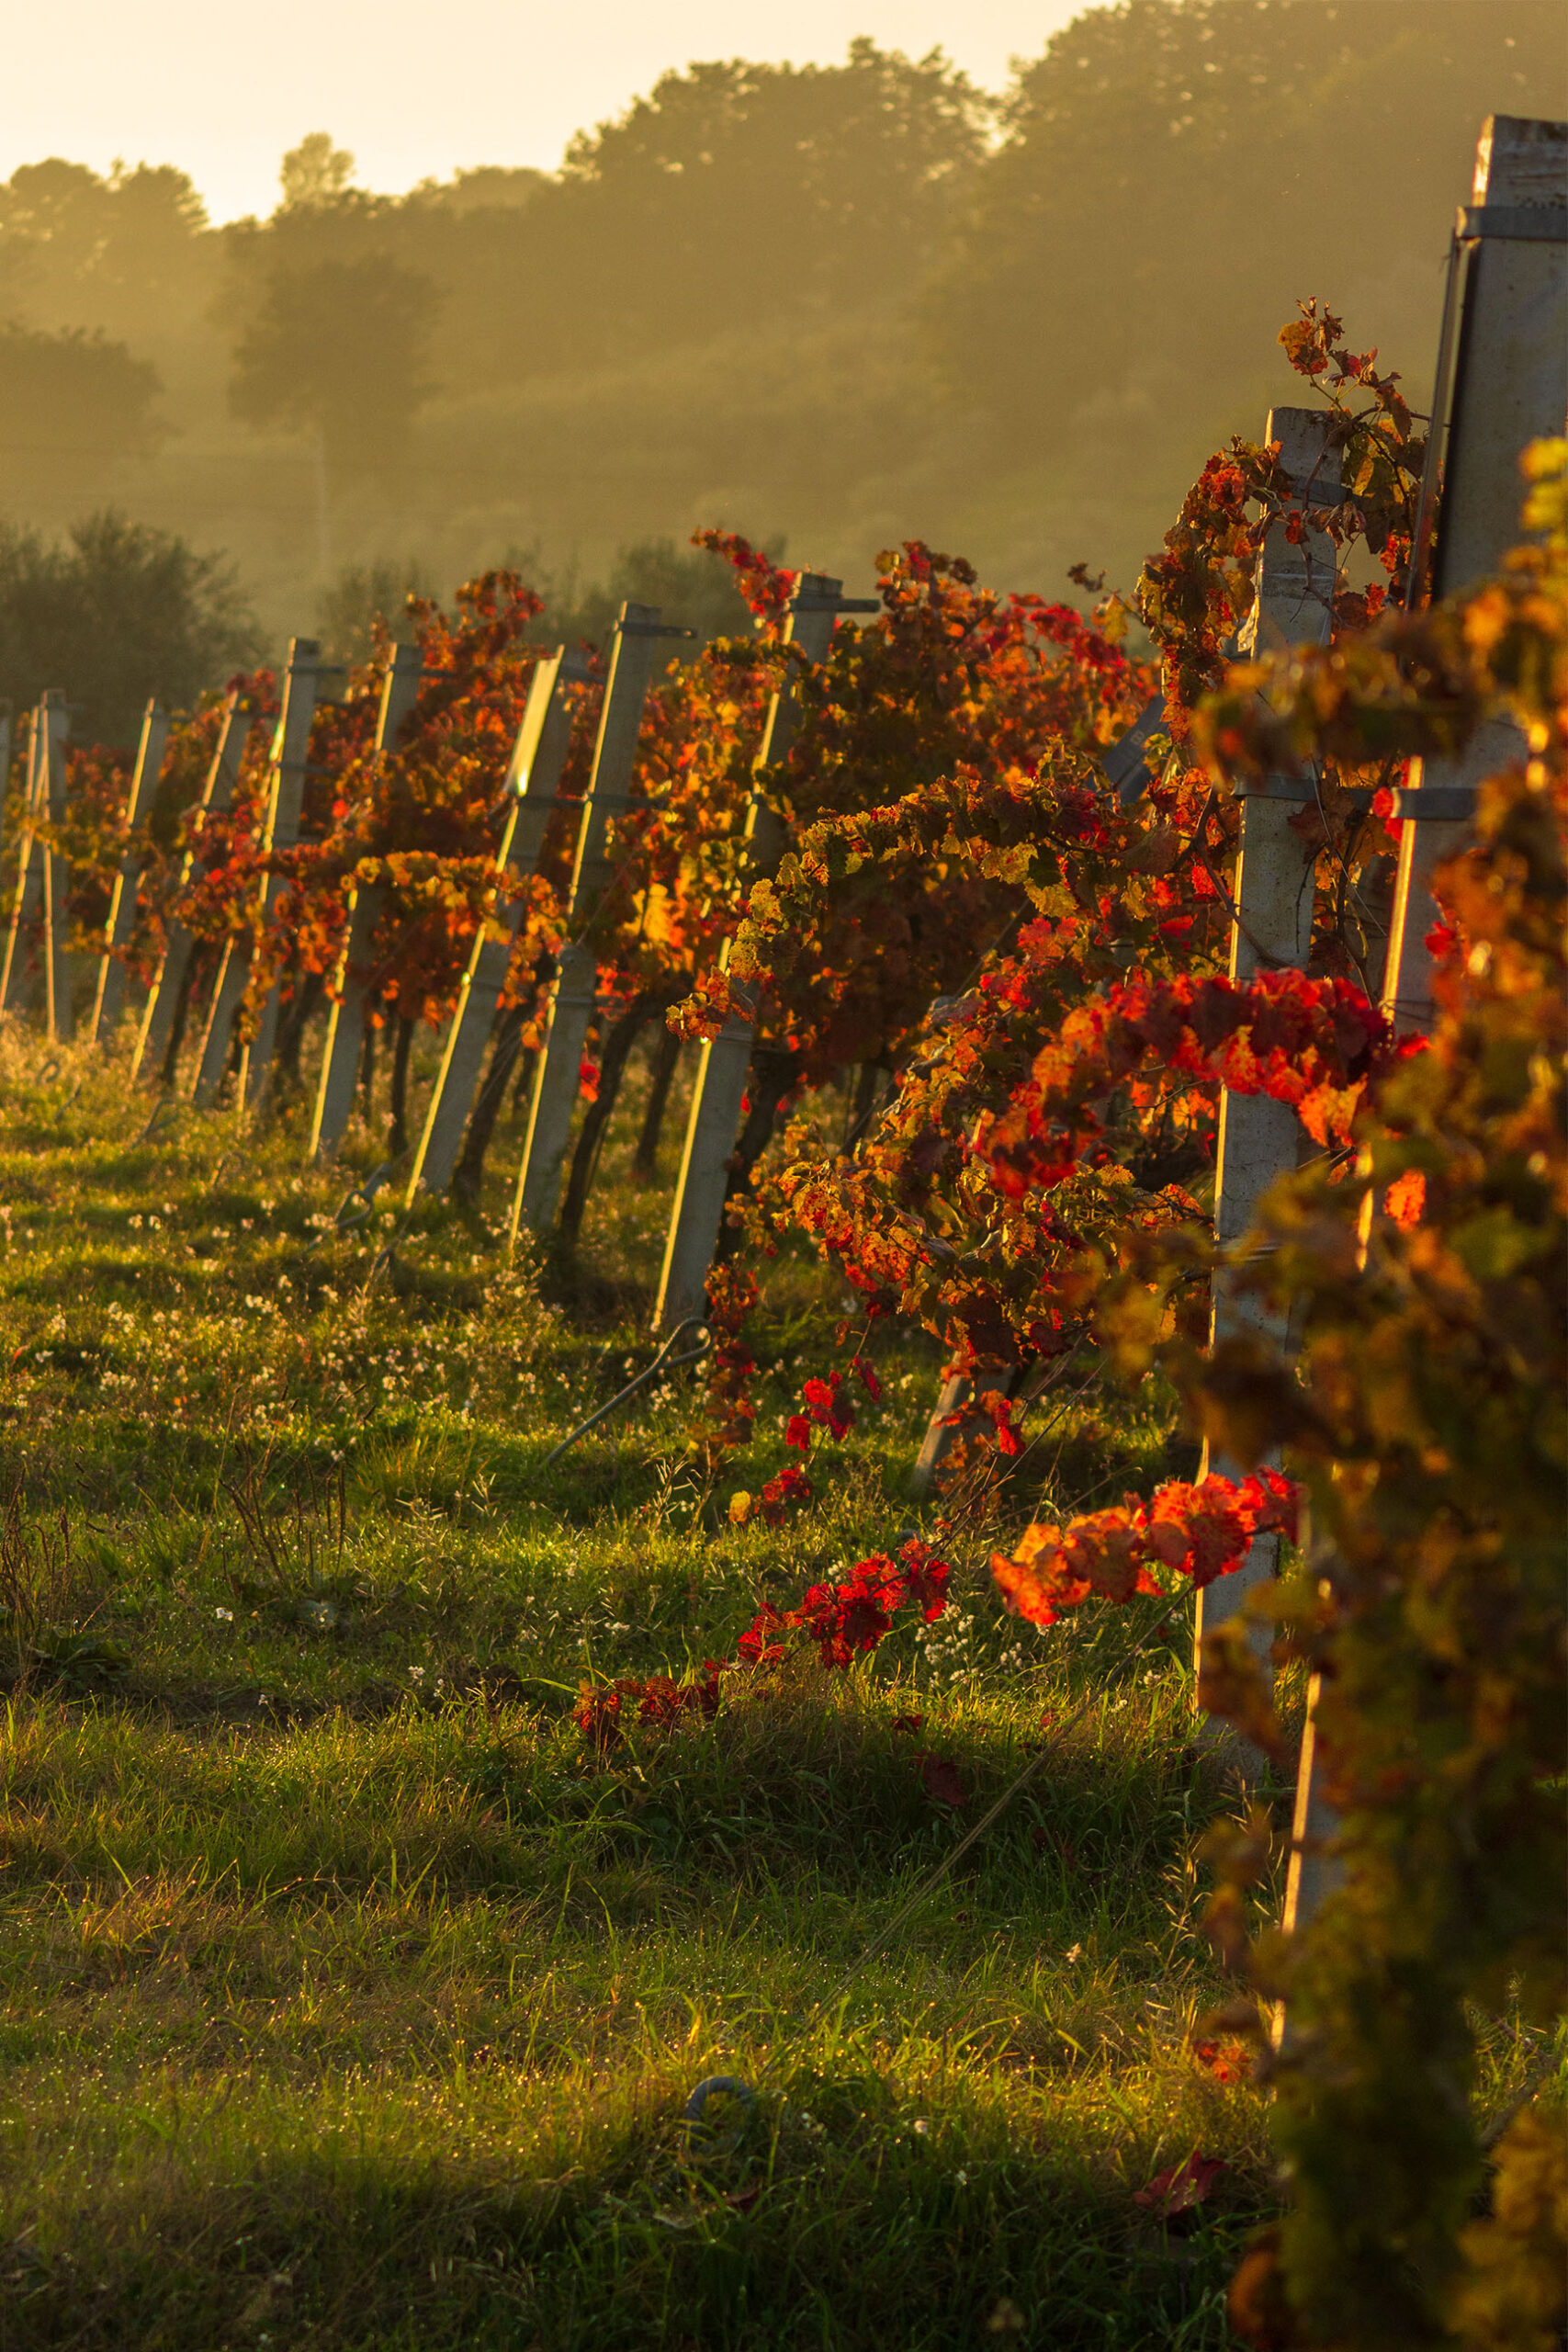
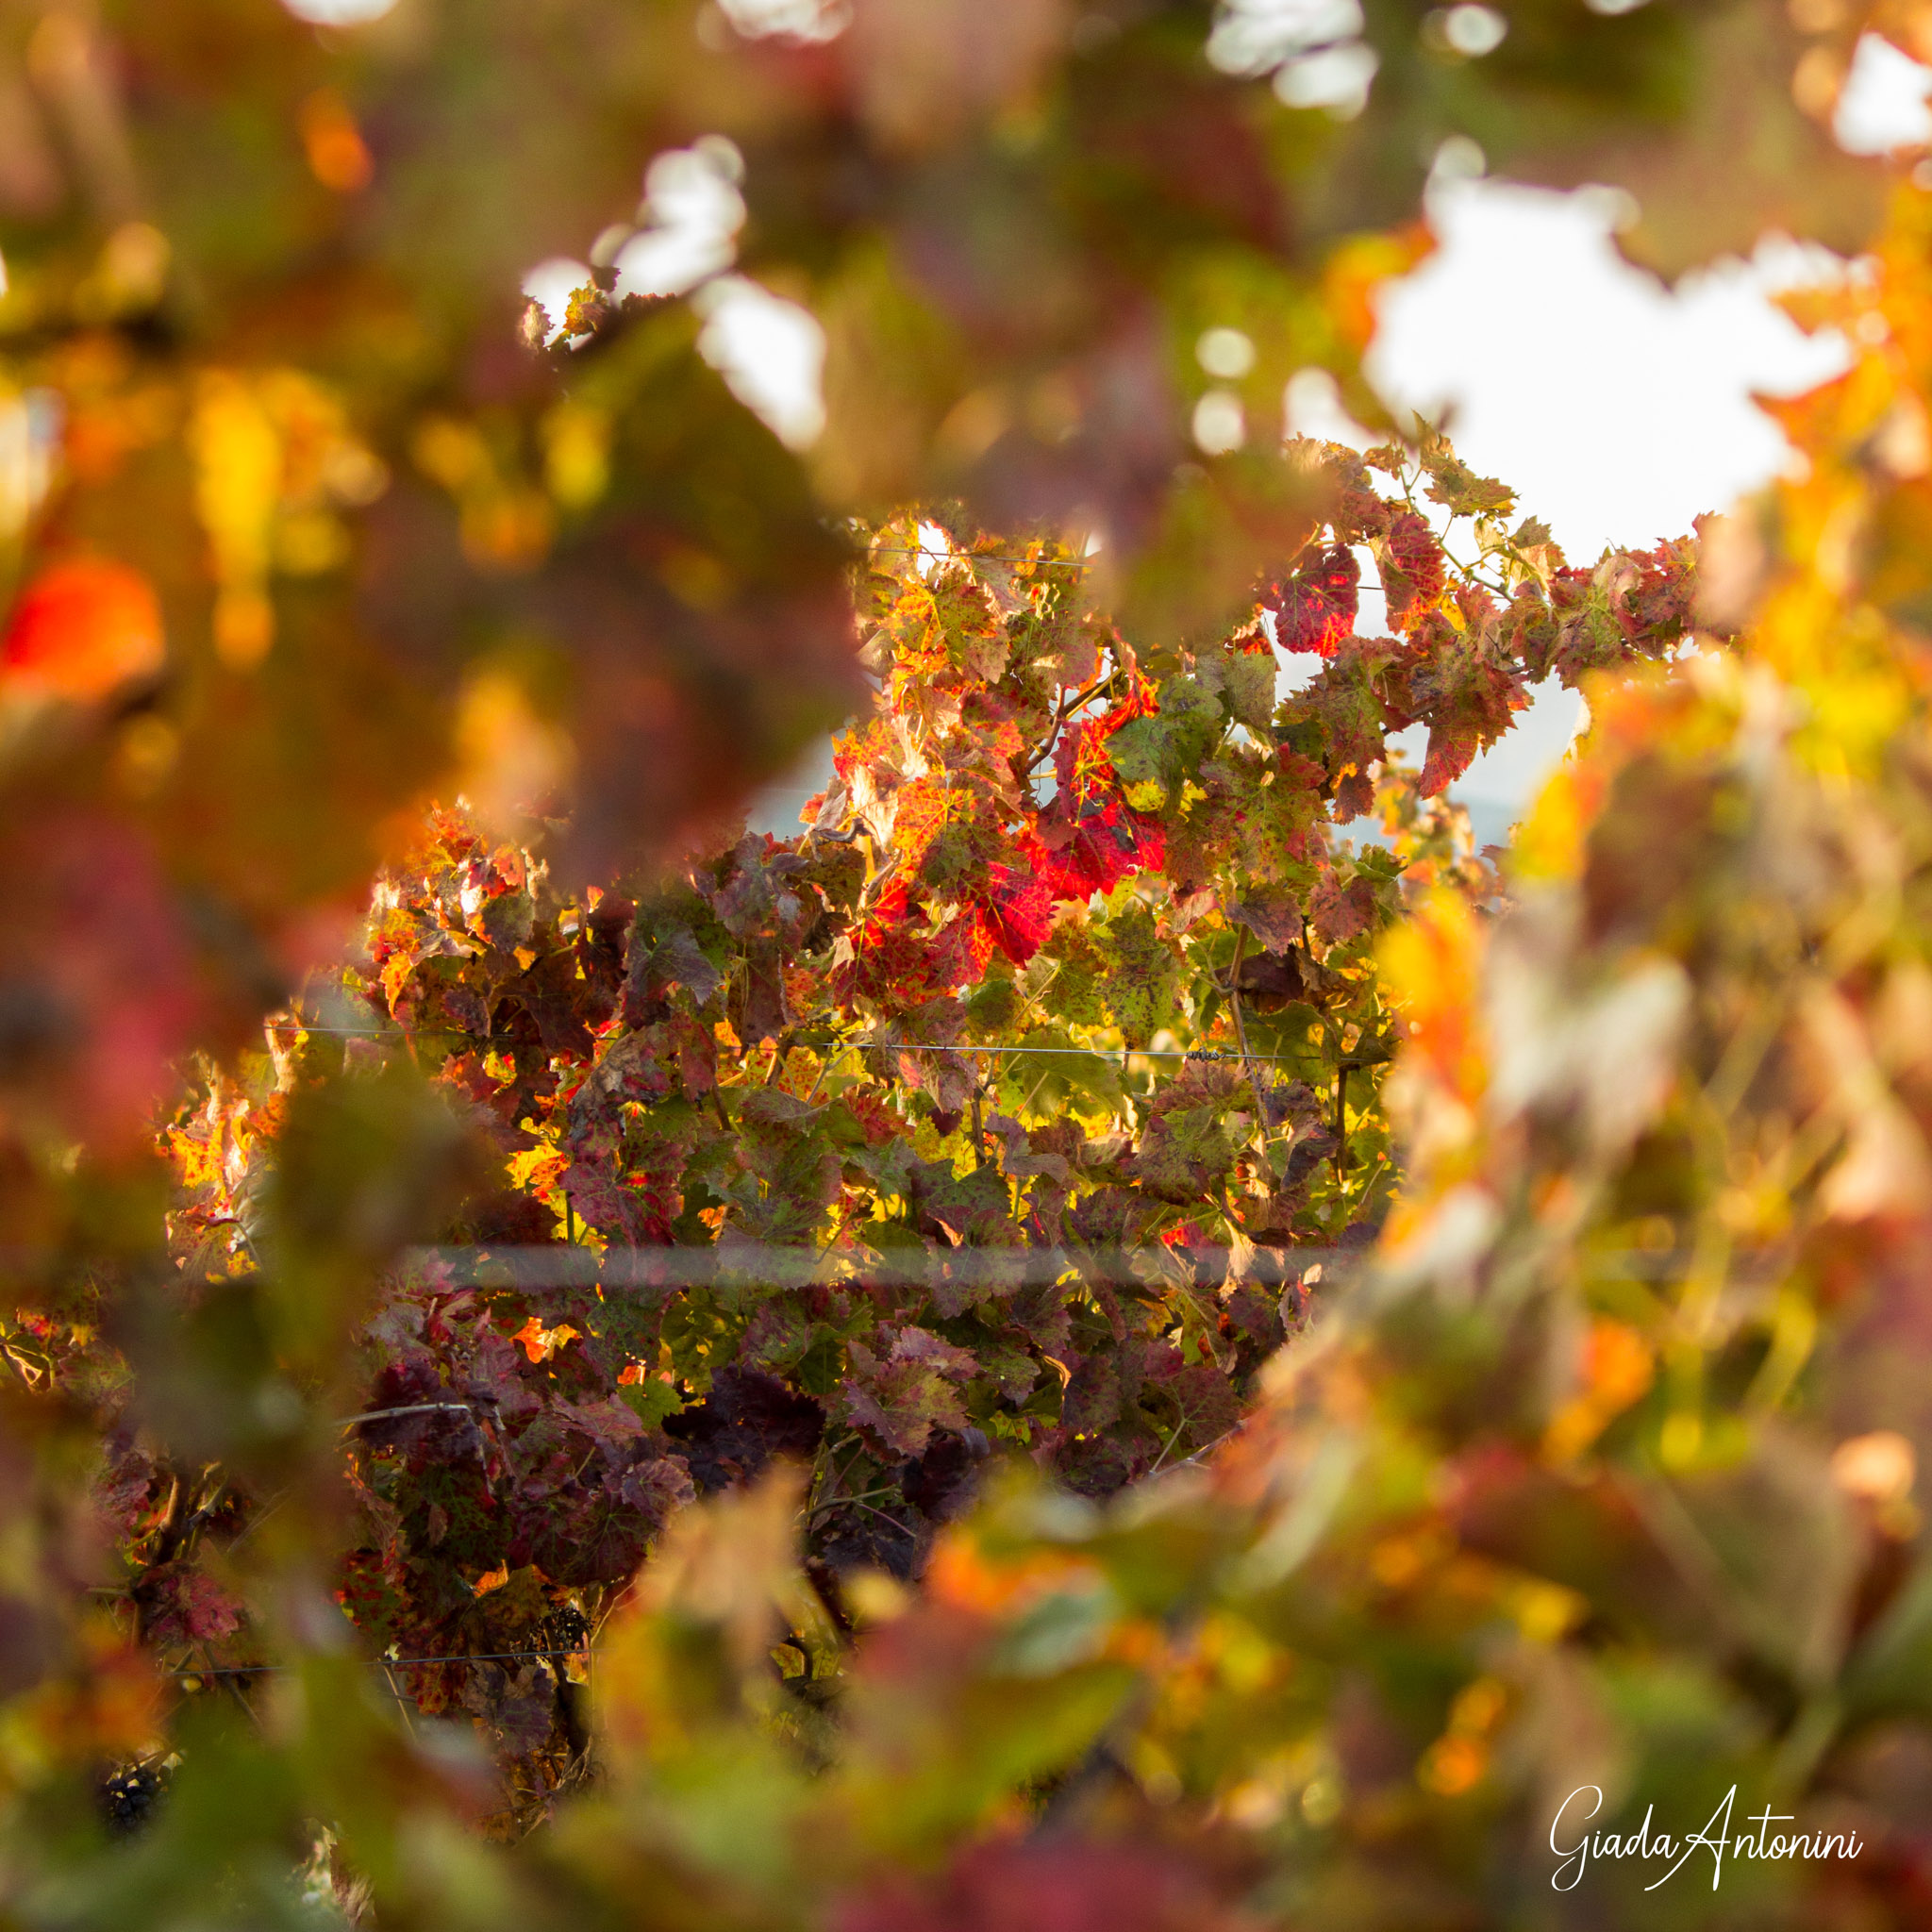
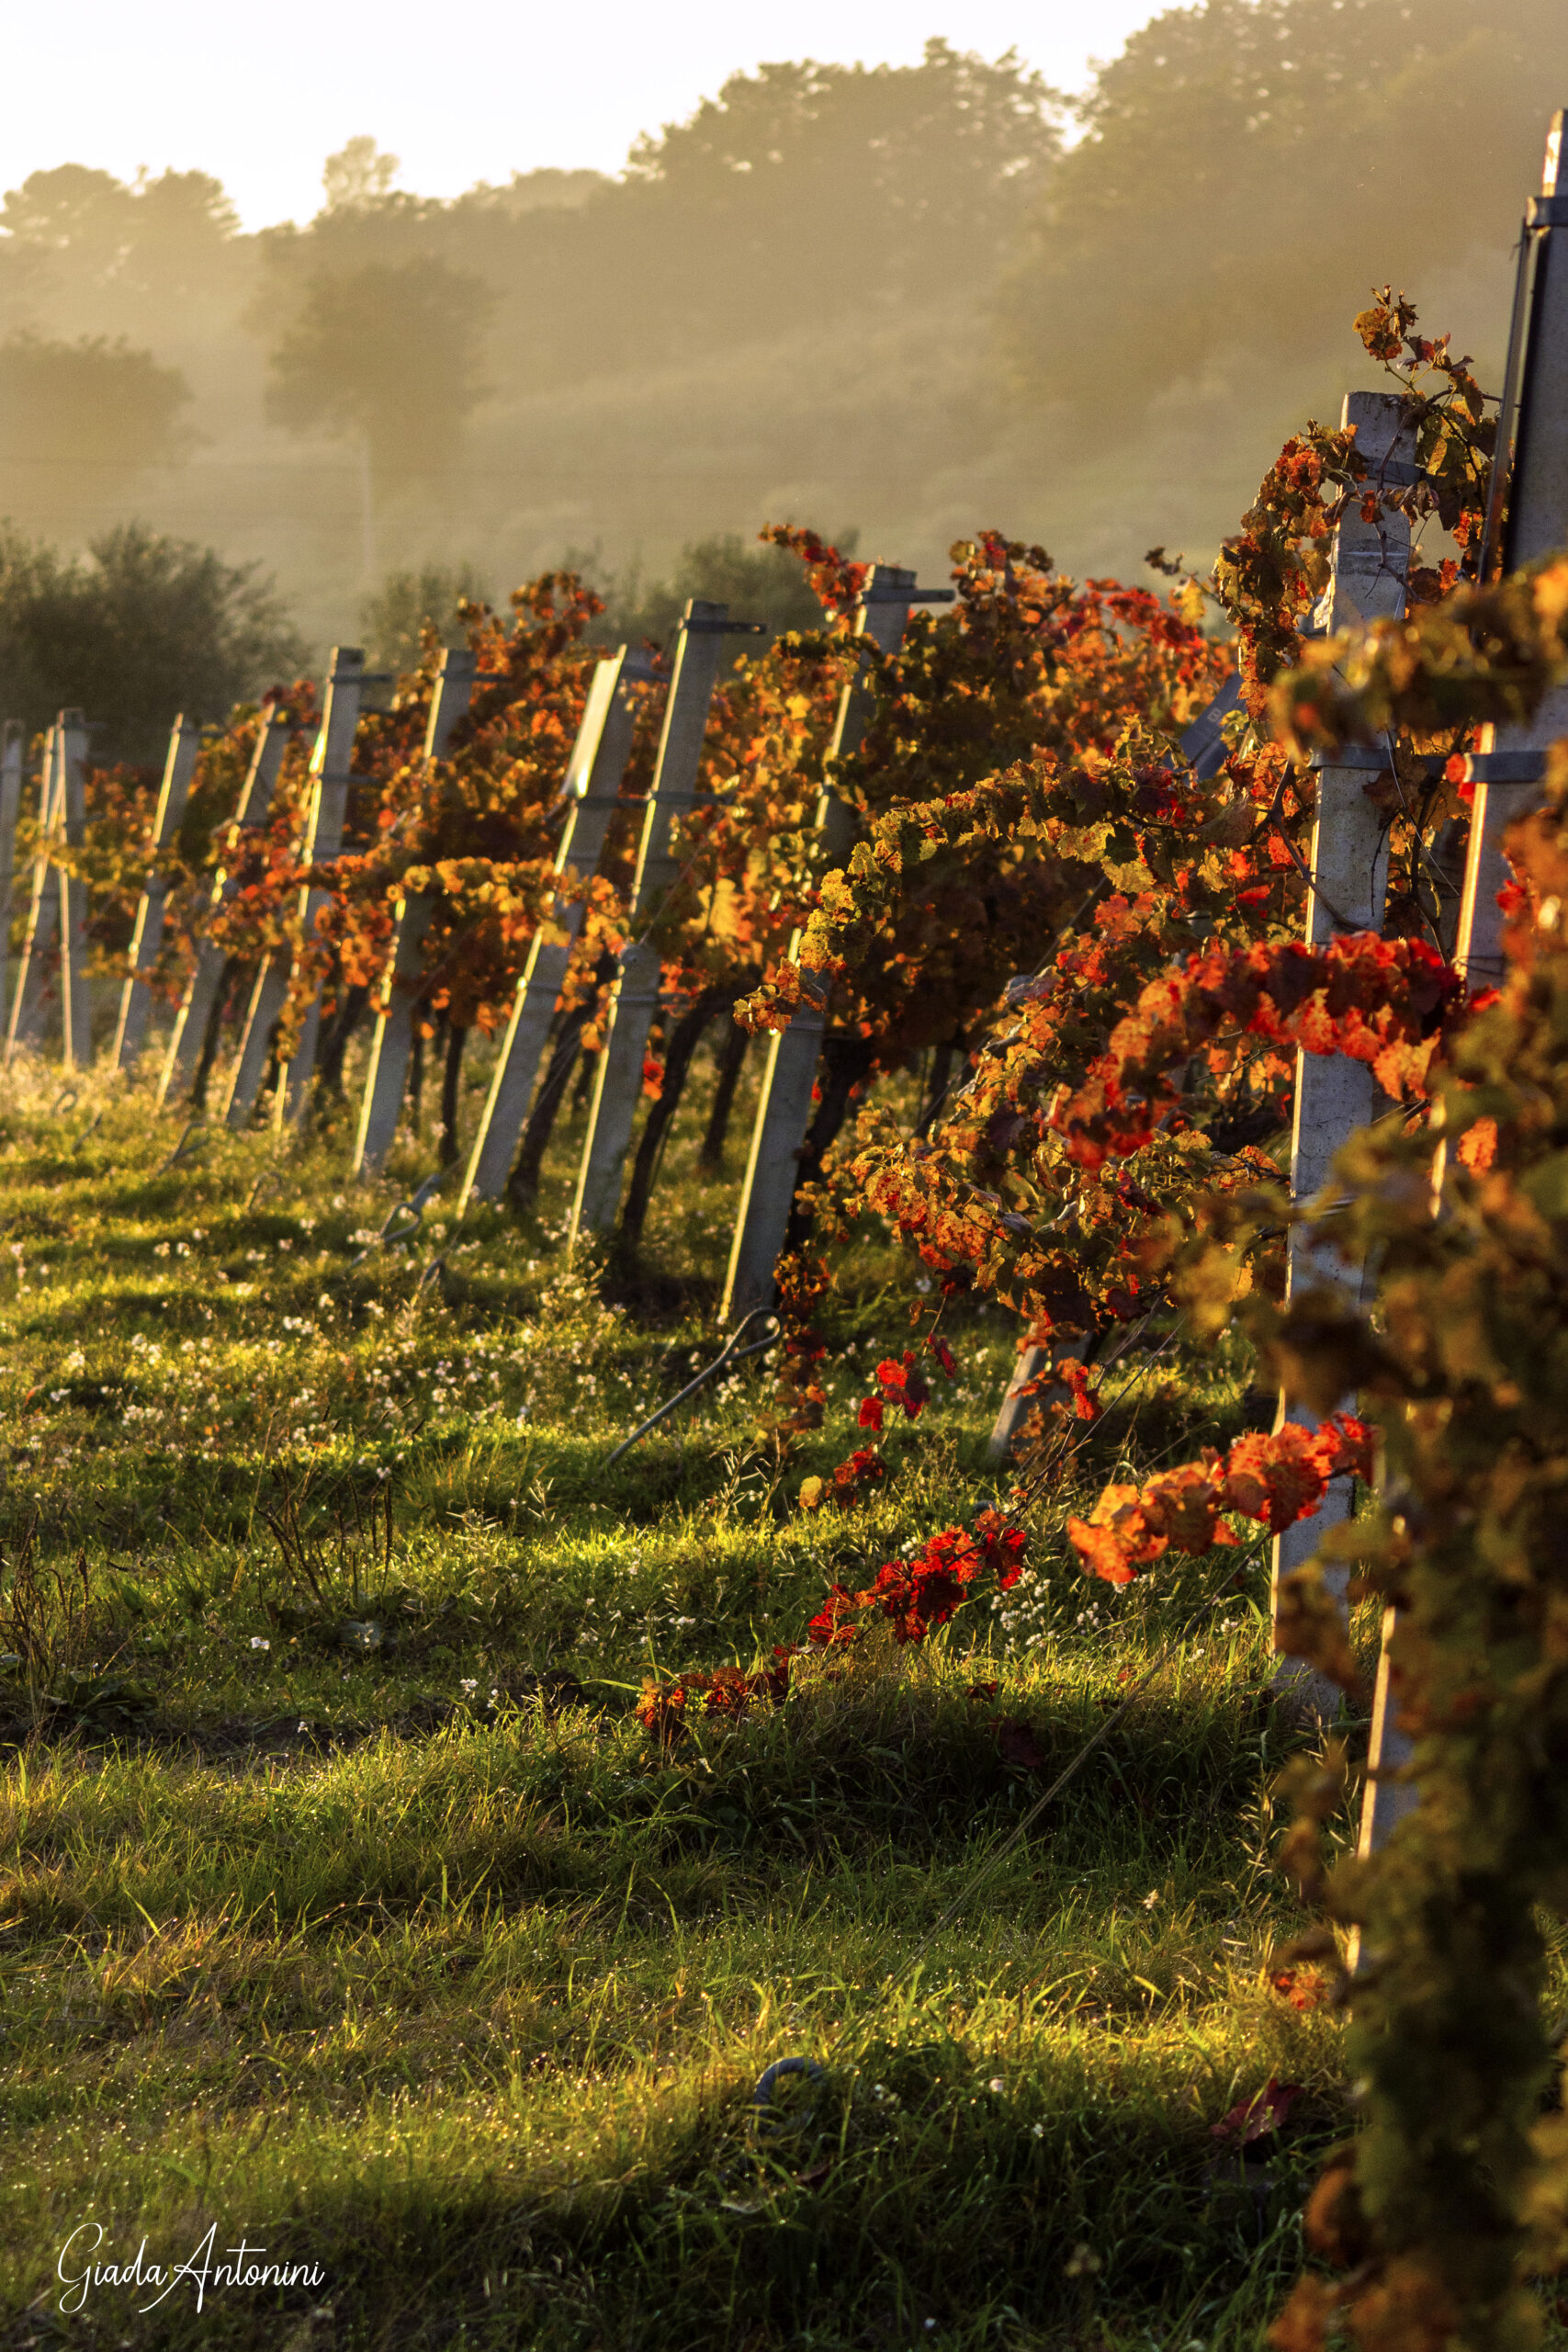
7. Photo tips for fall foliage pics: help yourself with the focal aperture
Play with the aperture in order to keep the subject in focus and blur the background or foreground (with your smartphone just focus on the subject from a fairly close point or use the portrait option).
This method helps especially if the scene is very confusing and full, as often happens in autumn landscapes.
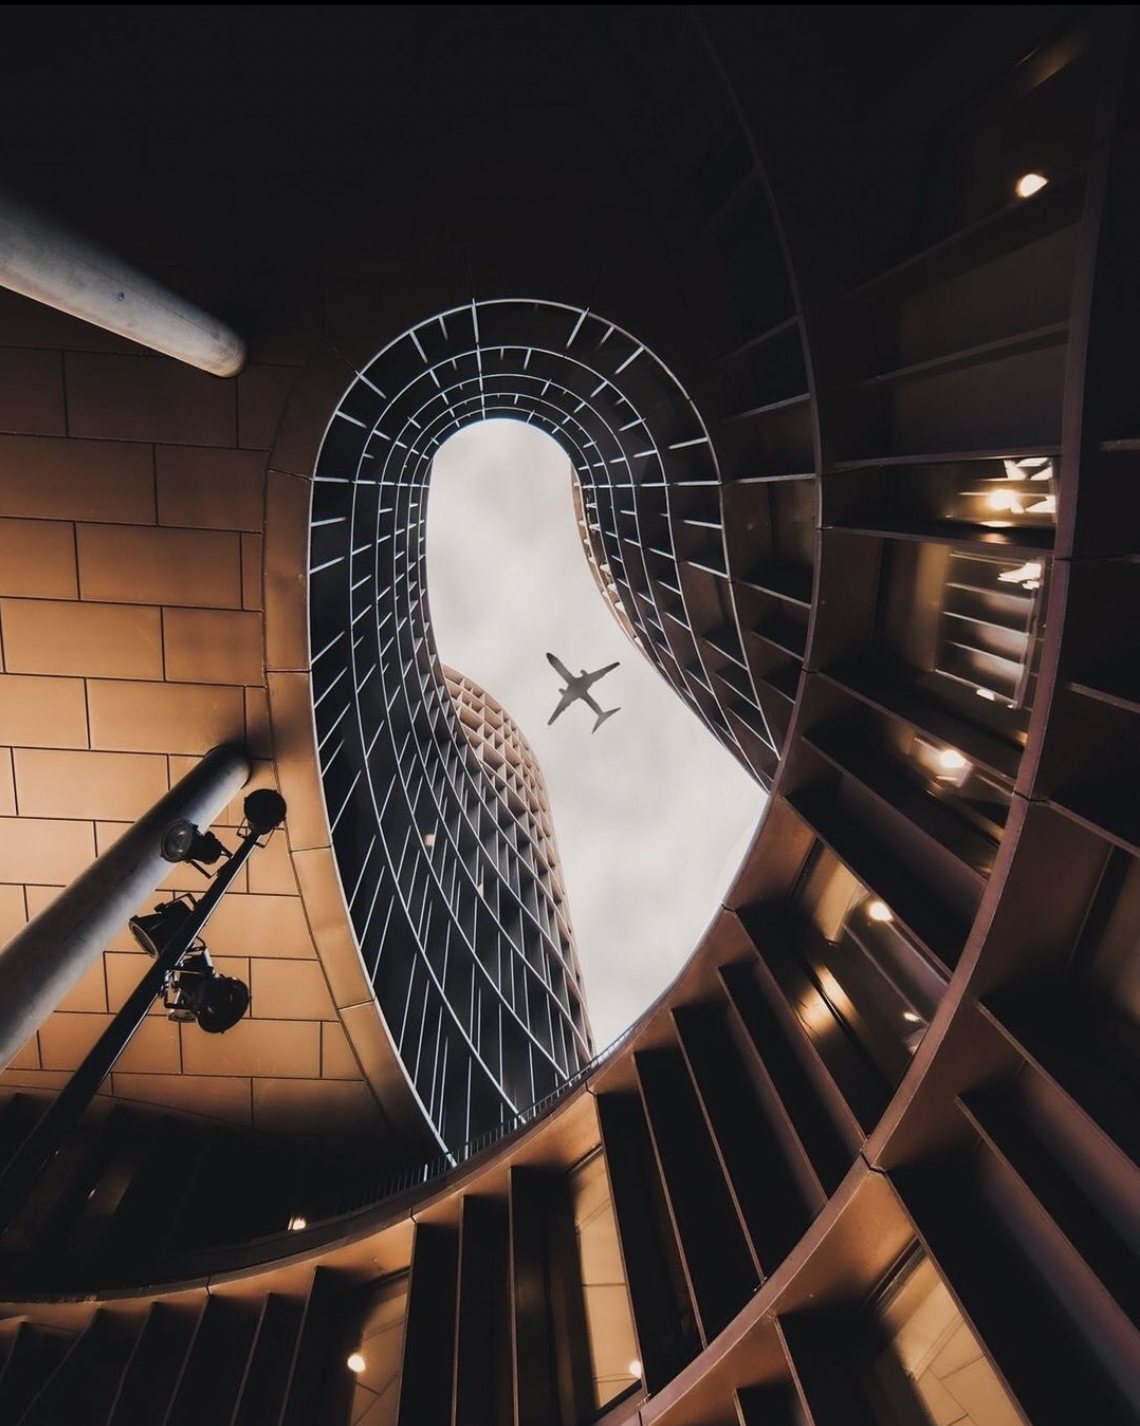
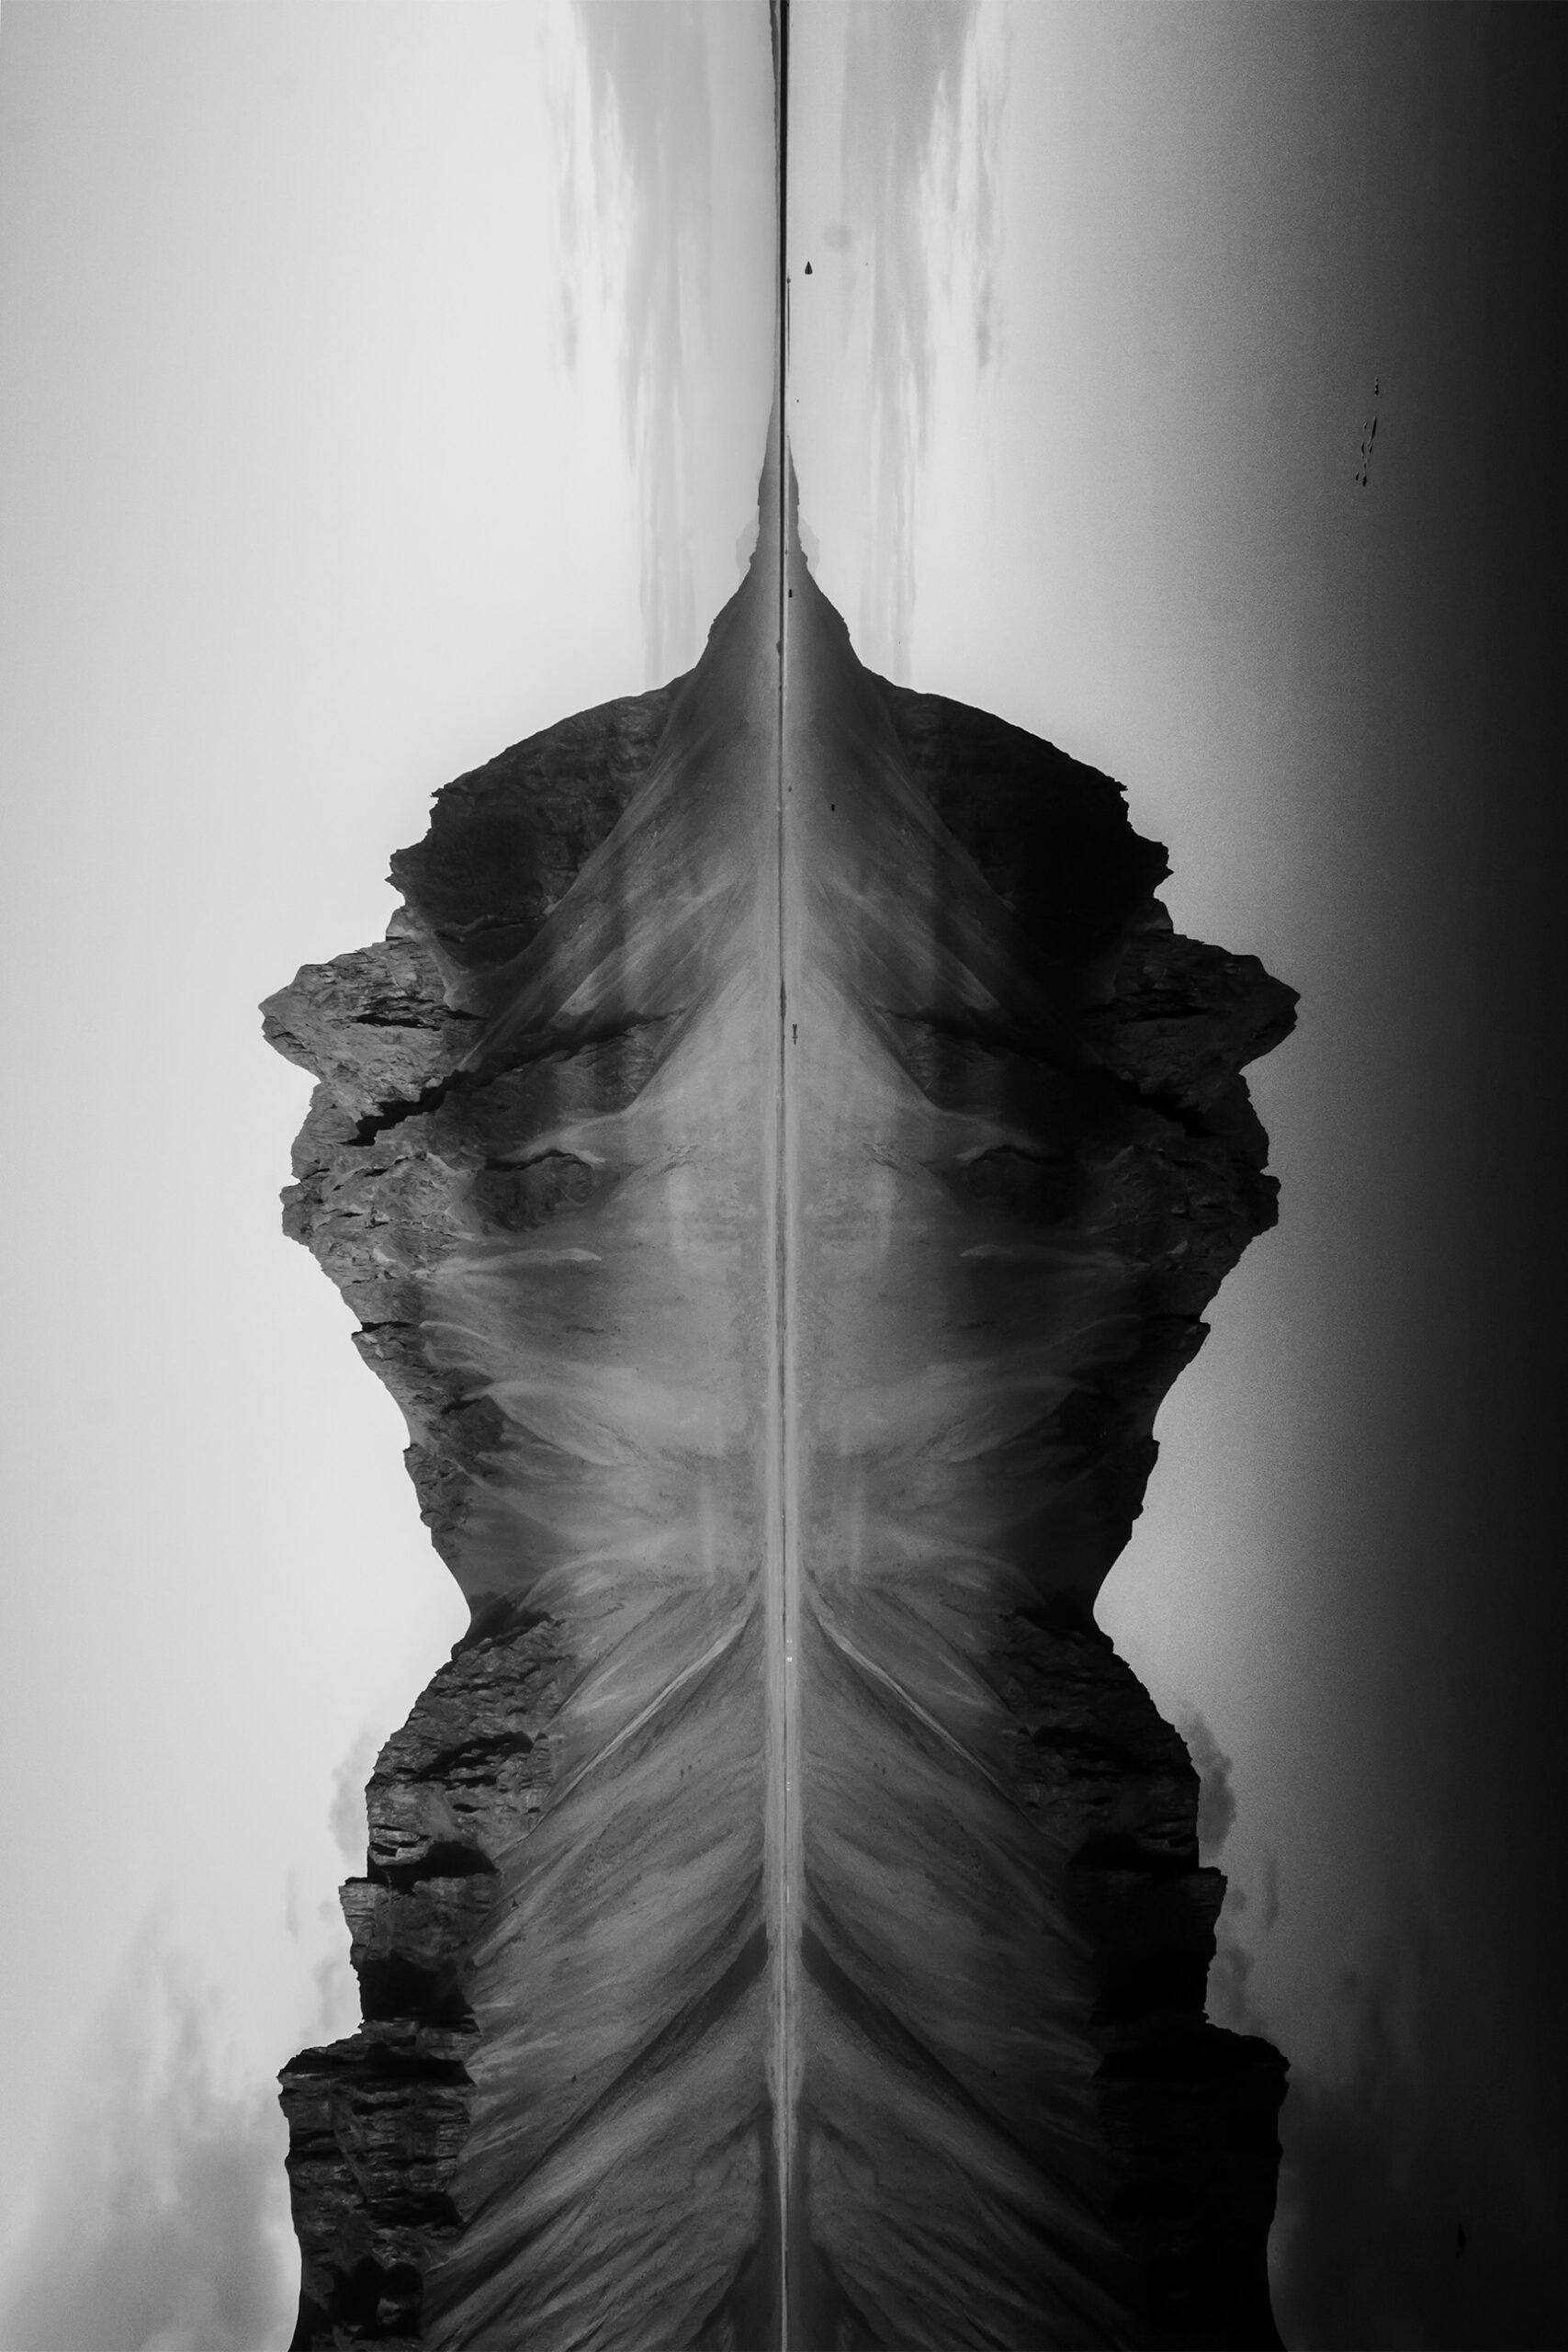
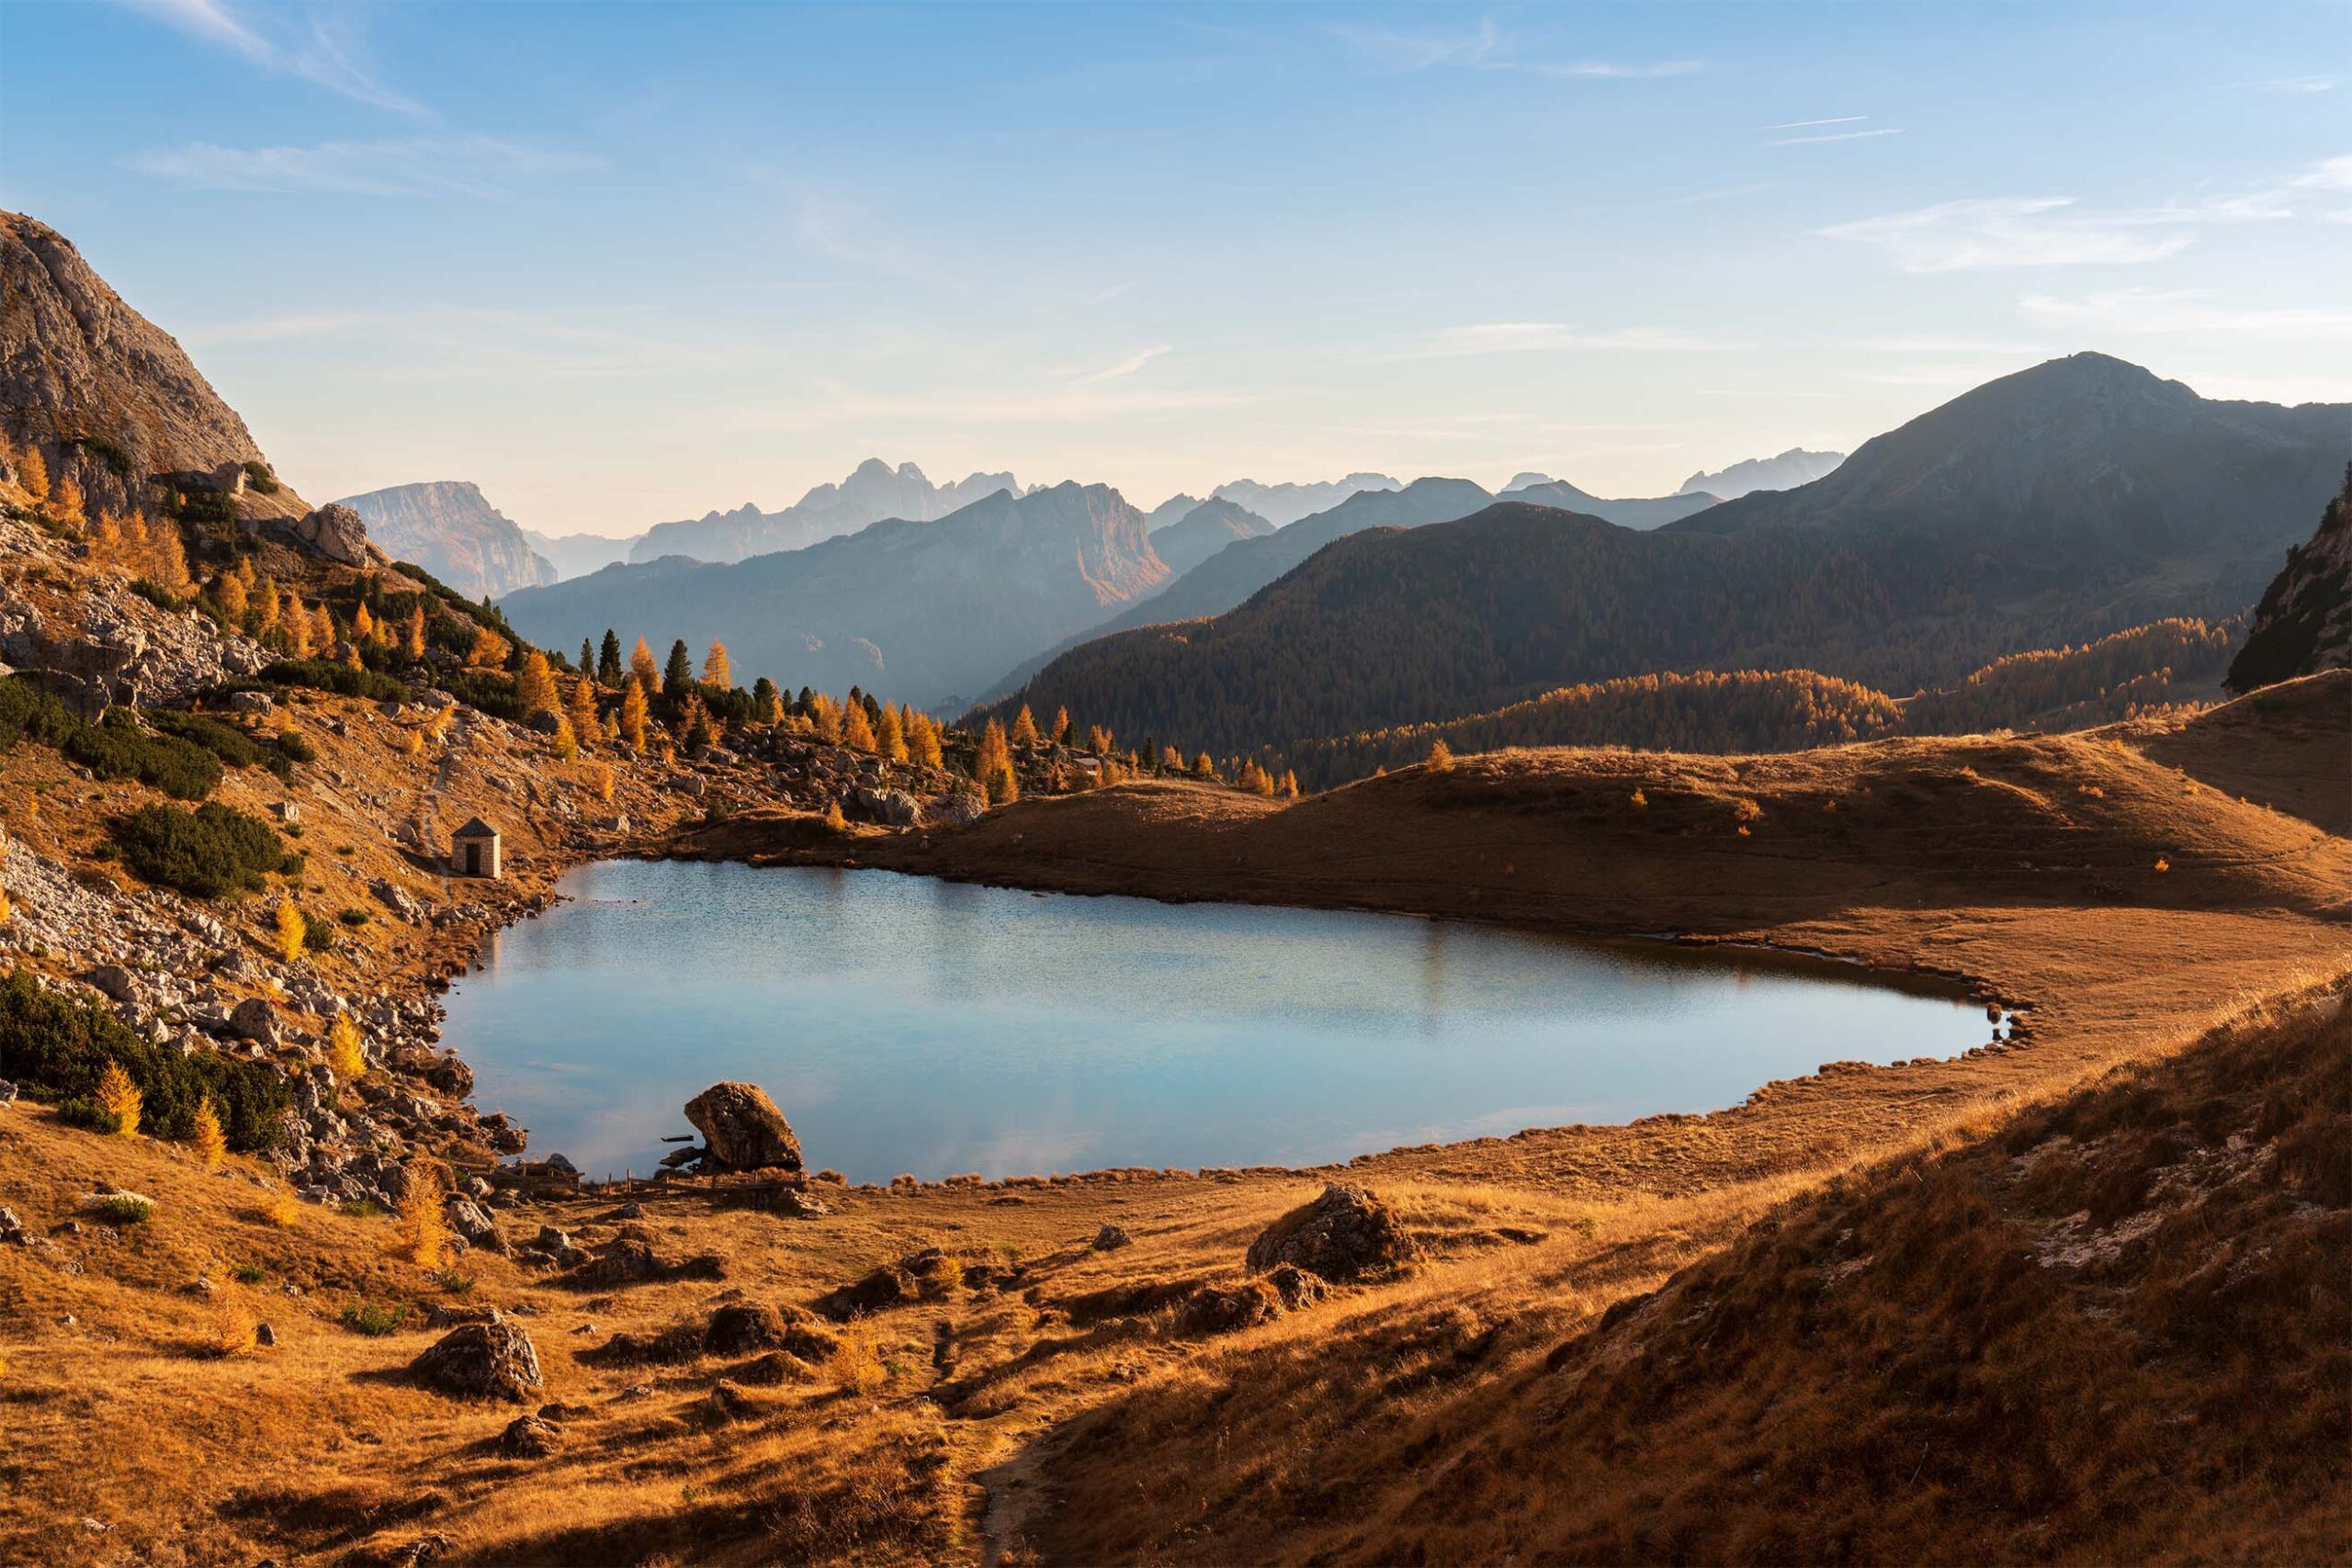
Ph: @giadaantonini_photography 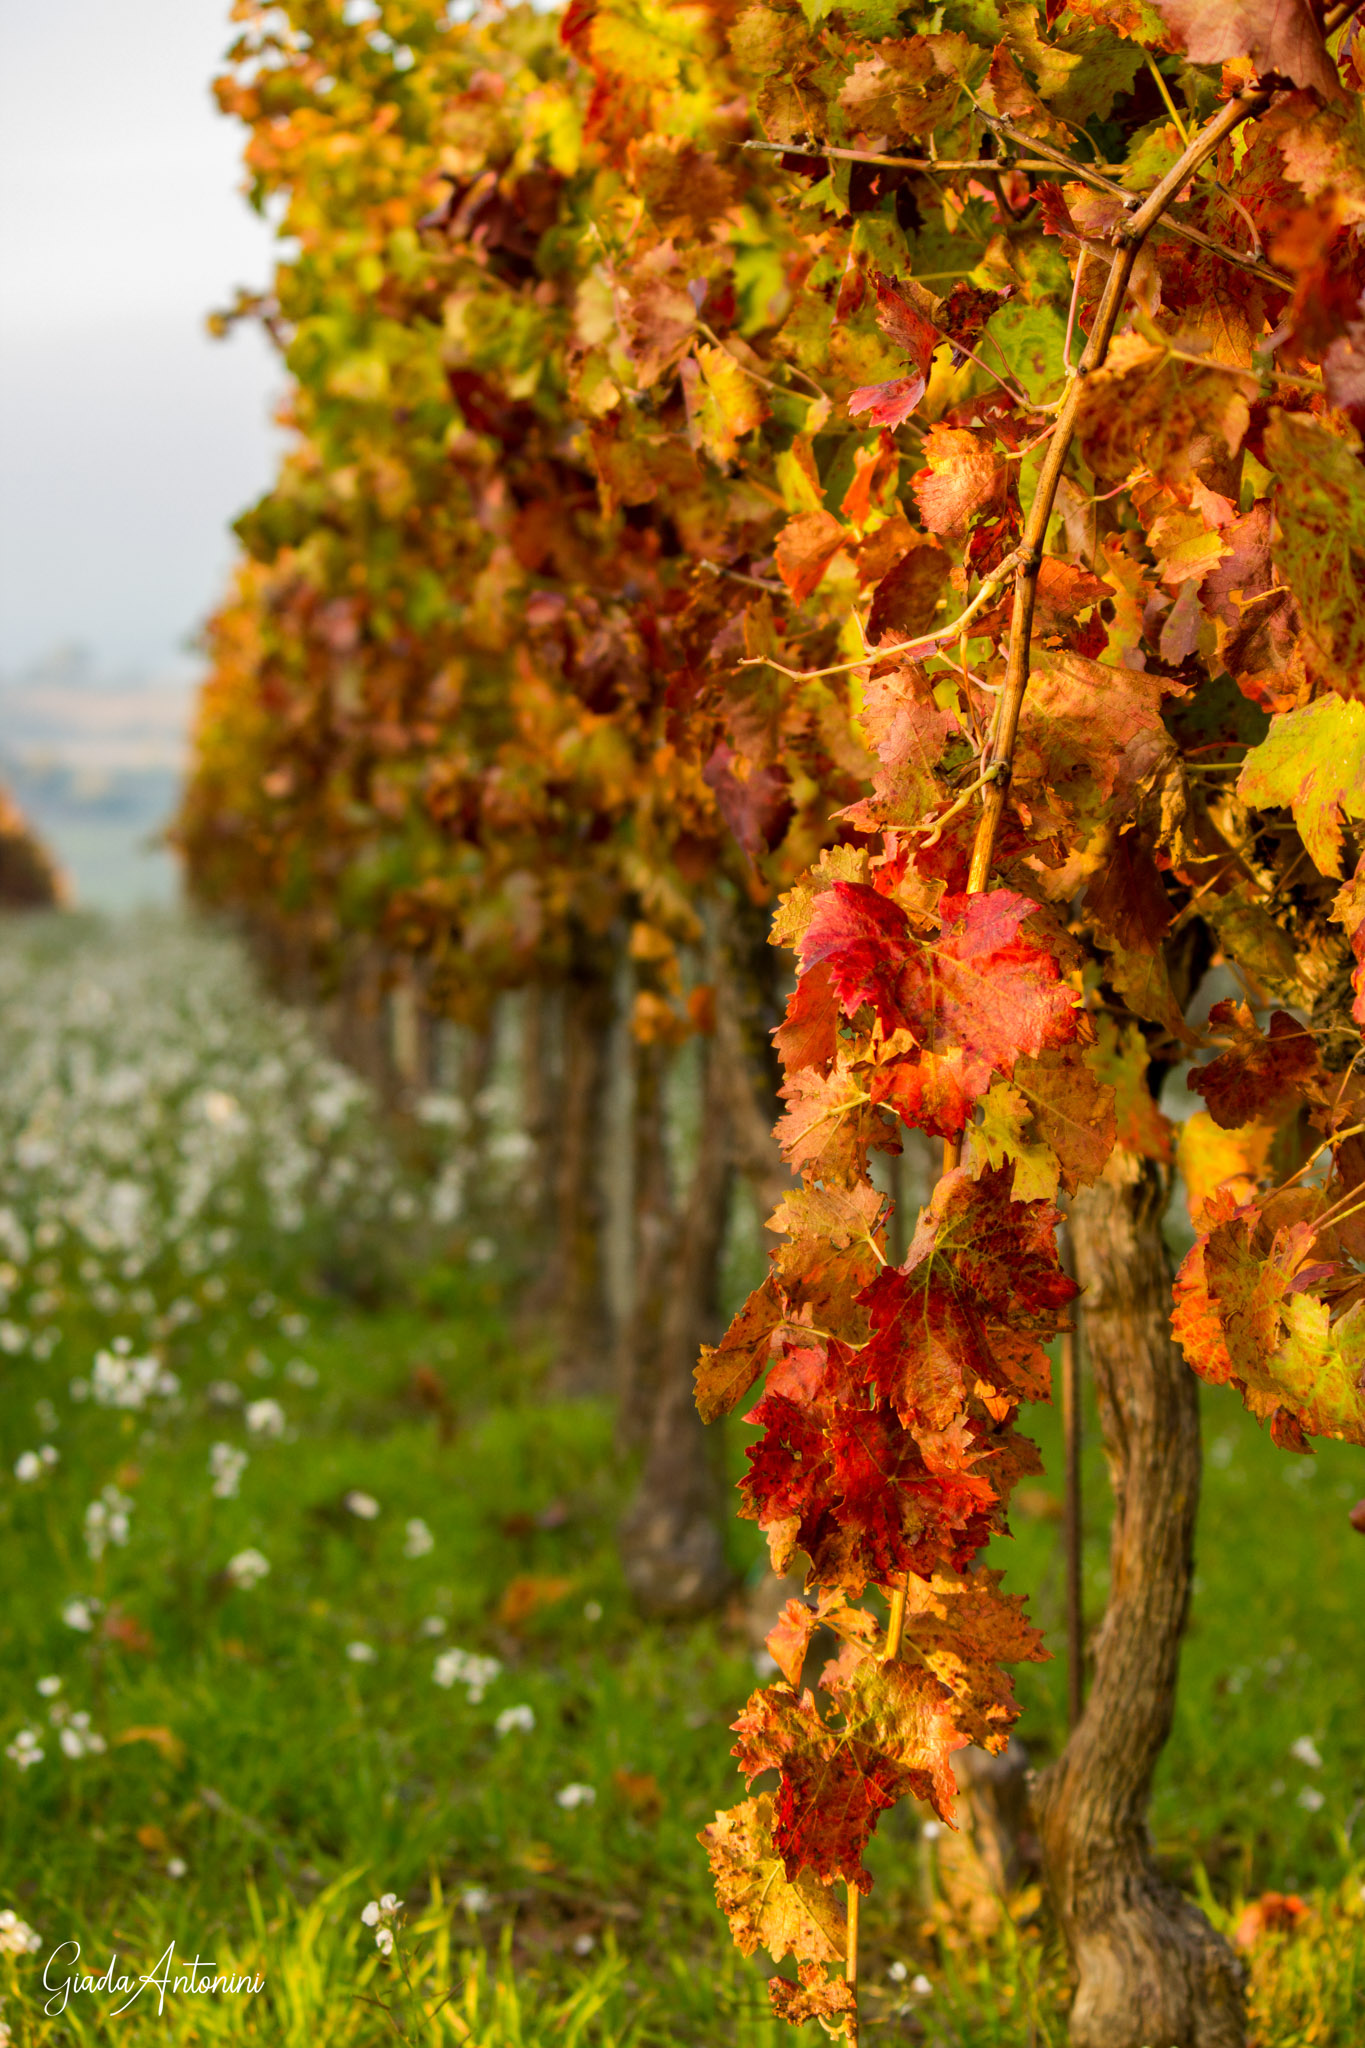
Ph: @giadaantonini_photography
In short, to realise stunning fall foliage pics, move around the scene like a director before shooting!
In the next posts we will give you other photo tips for fall foliage pics, that will help you take incredible shots.
We will talk about:
- Photo tips for your fall foliage photos: the light
- Photo tips for your fall foliage photos with human subjects
- Photo tips for your fall foliage photos: the equipment
- Photo tips for your fall foliage photos: editing, filters and presets
What are you waiting for?
Follow our tips and tag us in your shots! The best photos will be shared on Imagomap Instagram and Facebook page.
If you liked our post, share it and leave a comment!