In this second post of our column dedicated to autumn photography, we talk about other important photo tip for your fall foliage pics: the light.
In the first post, in fact, we talked about framing, and how to apply simple tricks to improve the composition in autumn shots.
Light is always the fundamental element to get a good photo.
And since the foliage shots are mainly taken outdoors, it is necessary to study the light conditions of the place where we are going to shoot, so that we can get the best from our pics.
How to achieve the results we have in mind?
Let’s see it together in 5 simple steps.
Photo tips for you foliage pics: 5 tips to manage light
1. Verify the weather before go
To get the best results from a photographic session outdoor, you necessarily need to check the weather conditions before setting off.
It could seem banal, but it doesn’t mean that you have to give up in bad conditions.
Instead, it means predicting and defining the atmosphere that your photos will have in the event of different weather conditions.
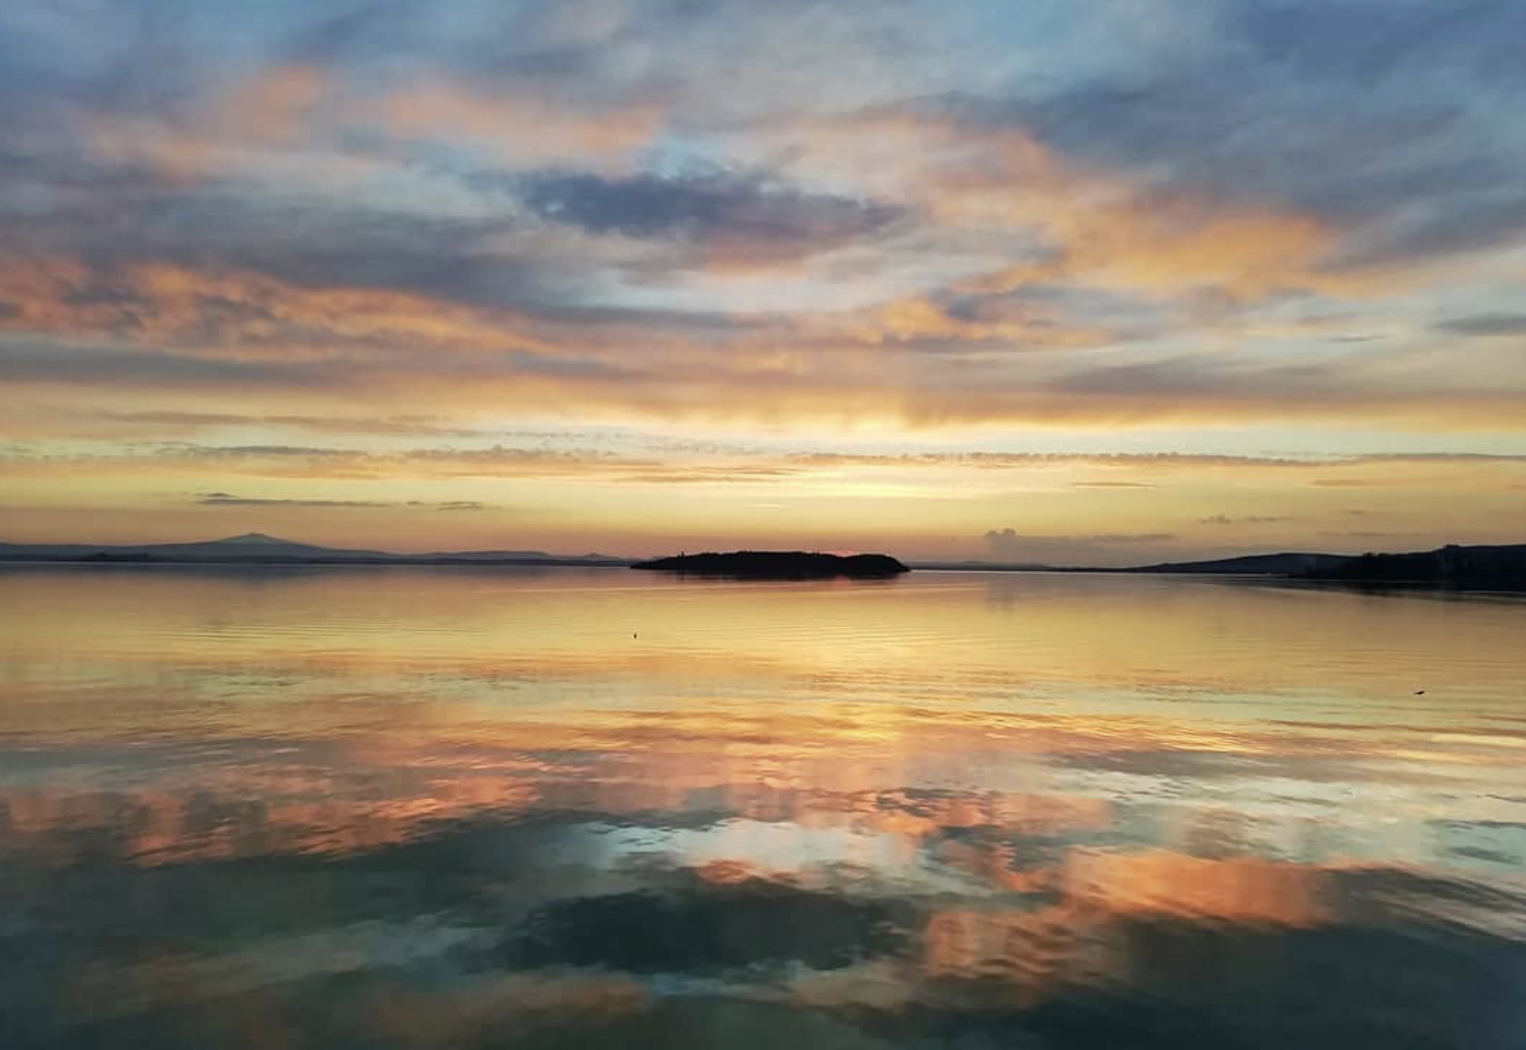
- On cloudy days, to shoot in the woods prefer the central hours, because you will have a soft and diffused light, while in the early morning and late afternoon the light will be insufficient for taking photos.
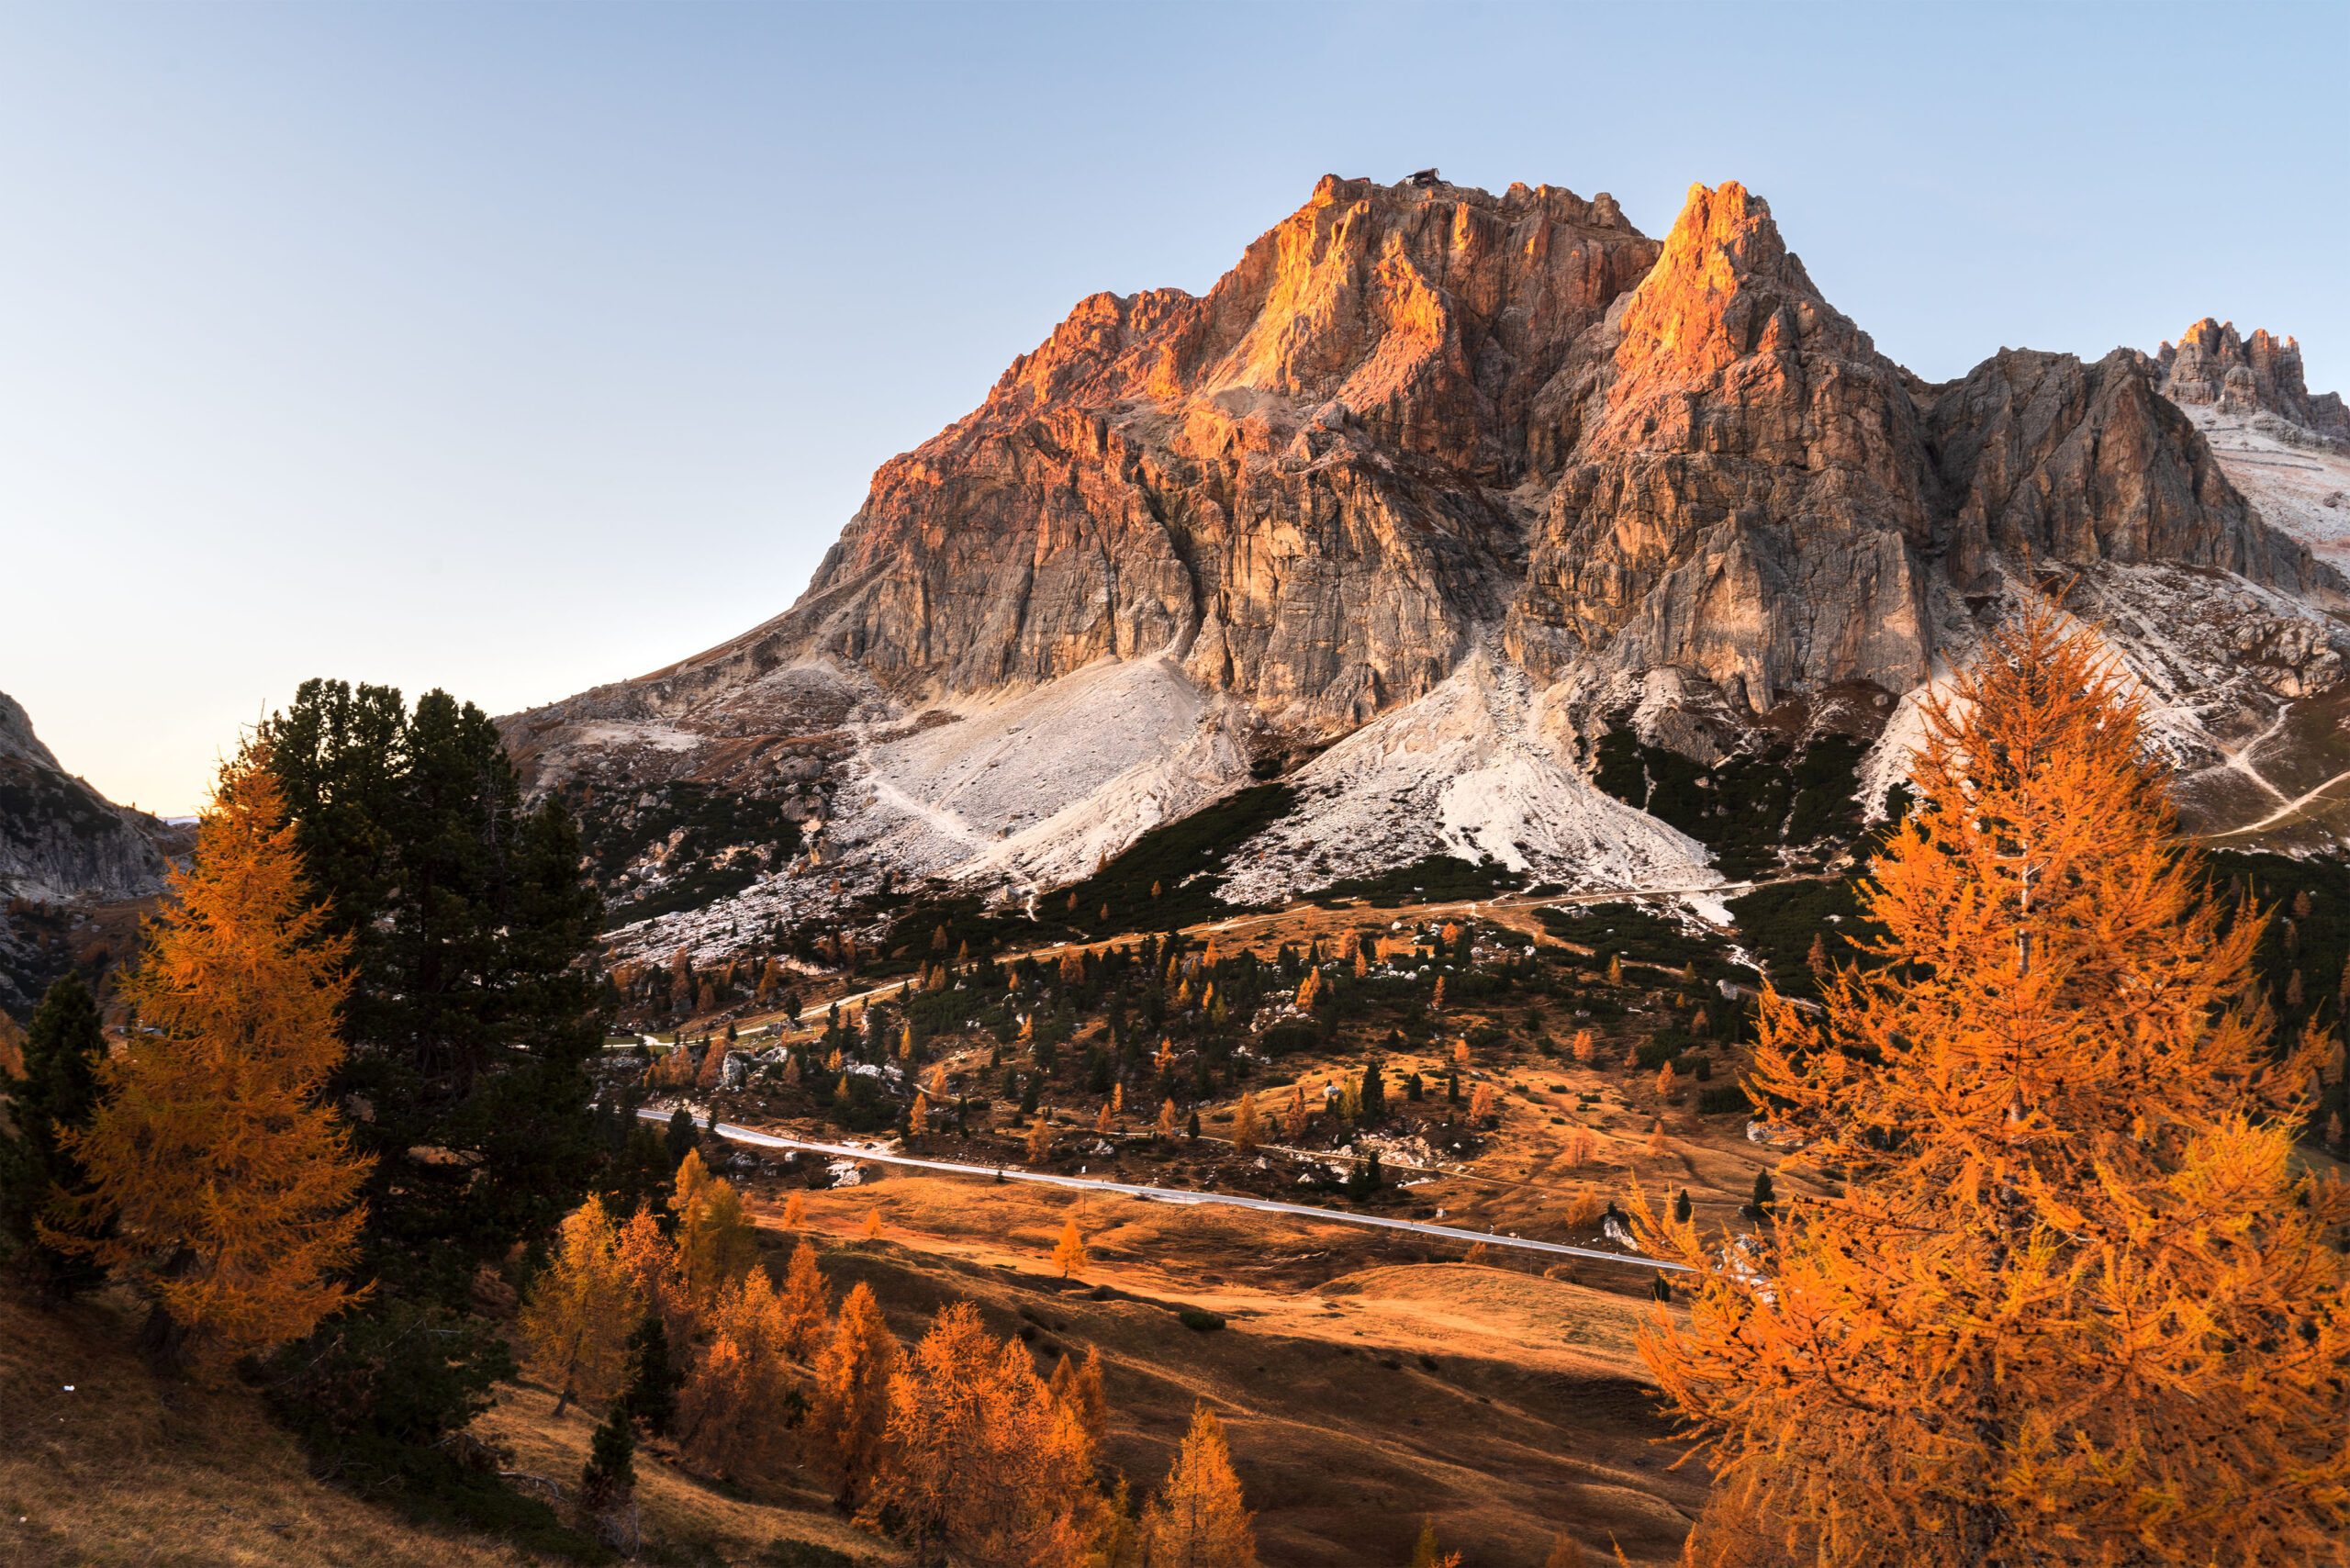
- If the weather is sunny, however, the first lights of dawn and sunset can also be used to create splendid atmospheres.
Furthermore, the full light that hits the leaves gives them a more intense color. In this case, you need to be careful about the high contrasts between lights and shadows. - On a rainy day you can create beautiful effects along wet avenues, or by taking refuge behind the glass of a place overlooking a forest.
Don’t forget the charm of the leaves that rest on the puddles, with their reflections. - If the wind adds to the rain, concentrate on the movement of the leaves falling from the trees.
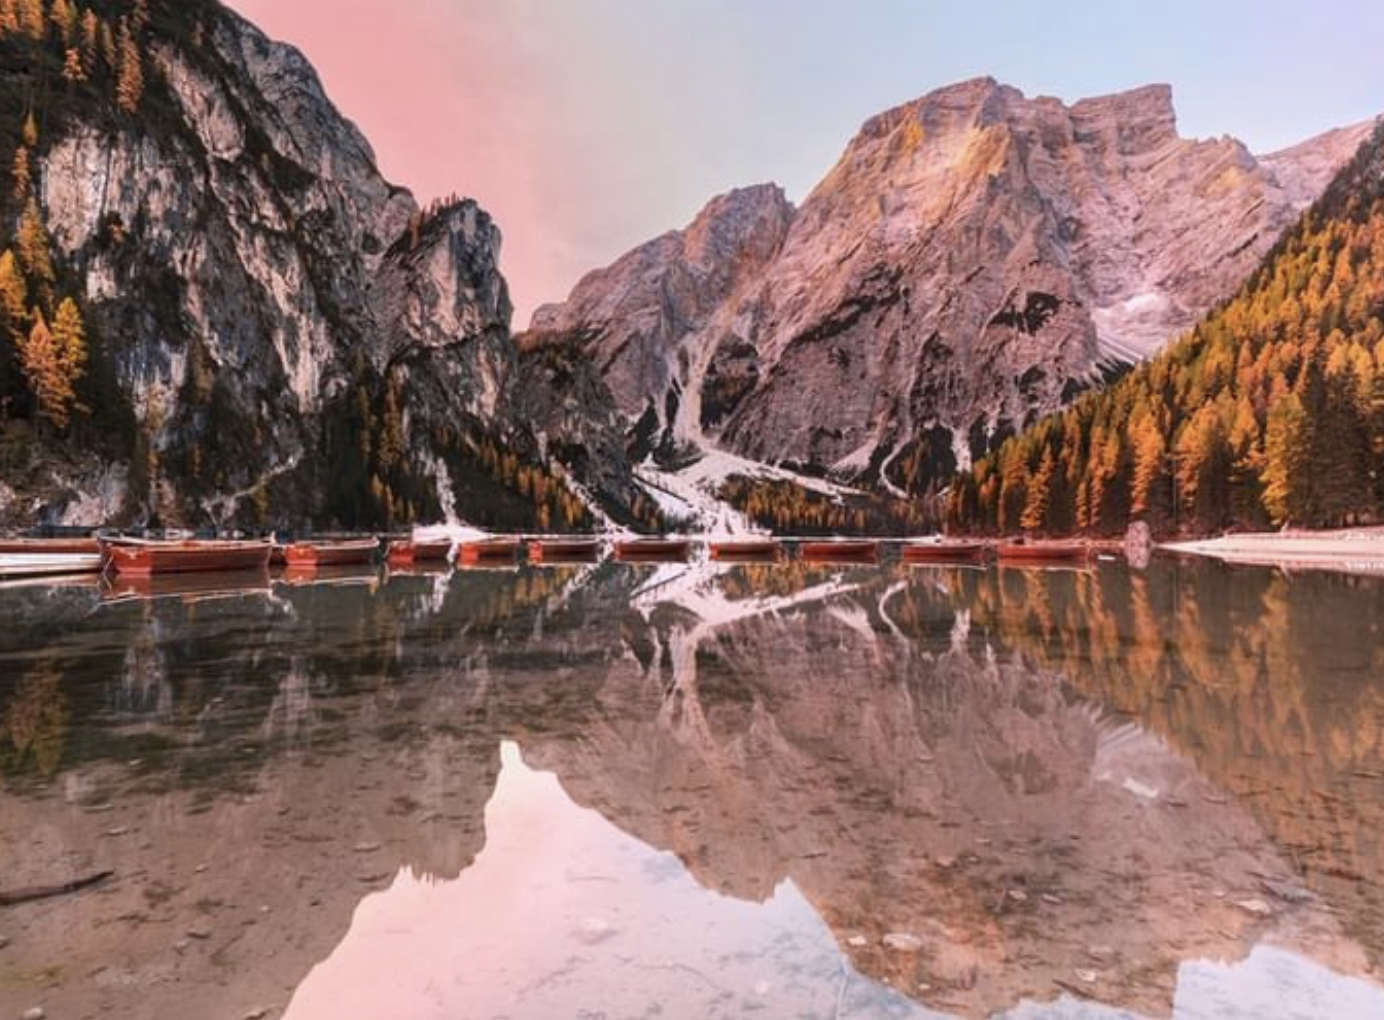
@giadaantonini_photography 
Photo by Temo Morales on Unsplash 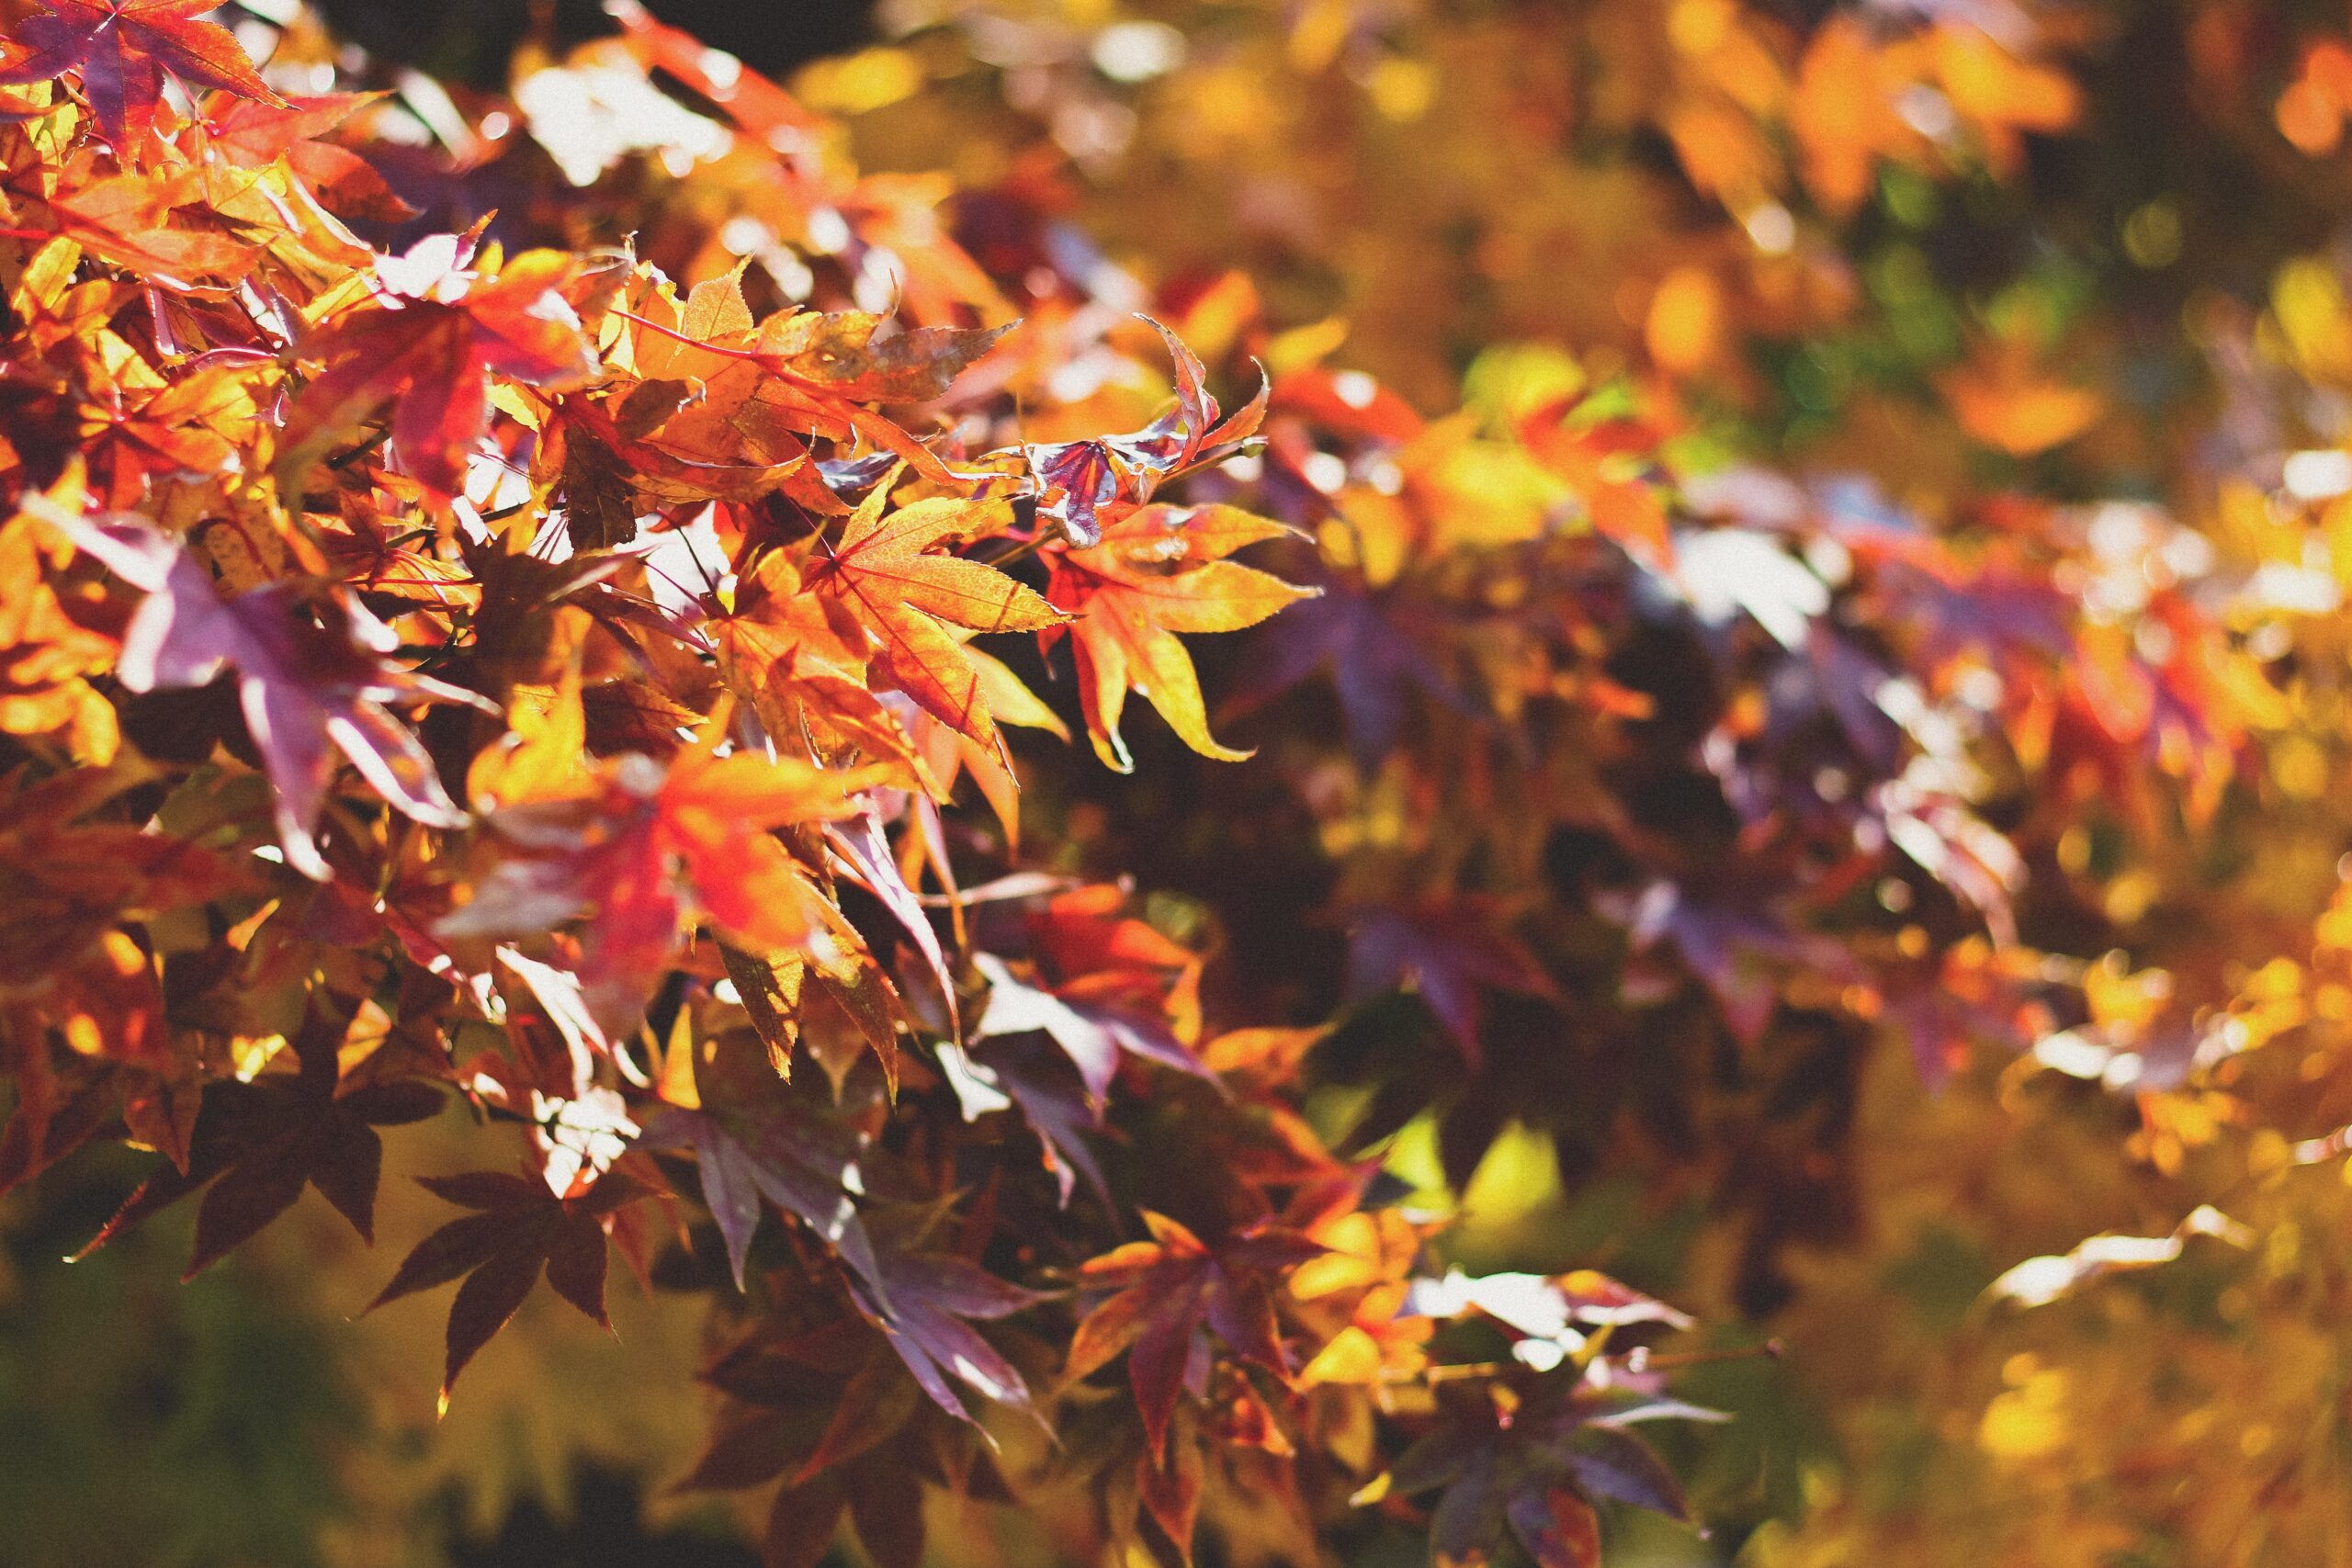
Photo by Dayne Topkin on Unsplash
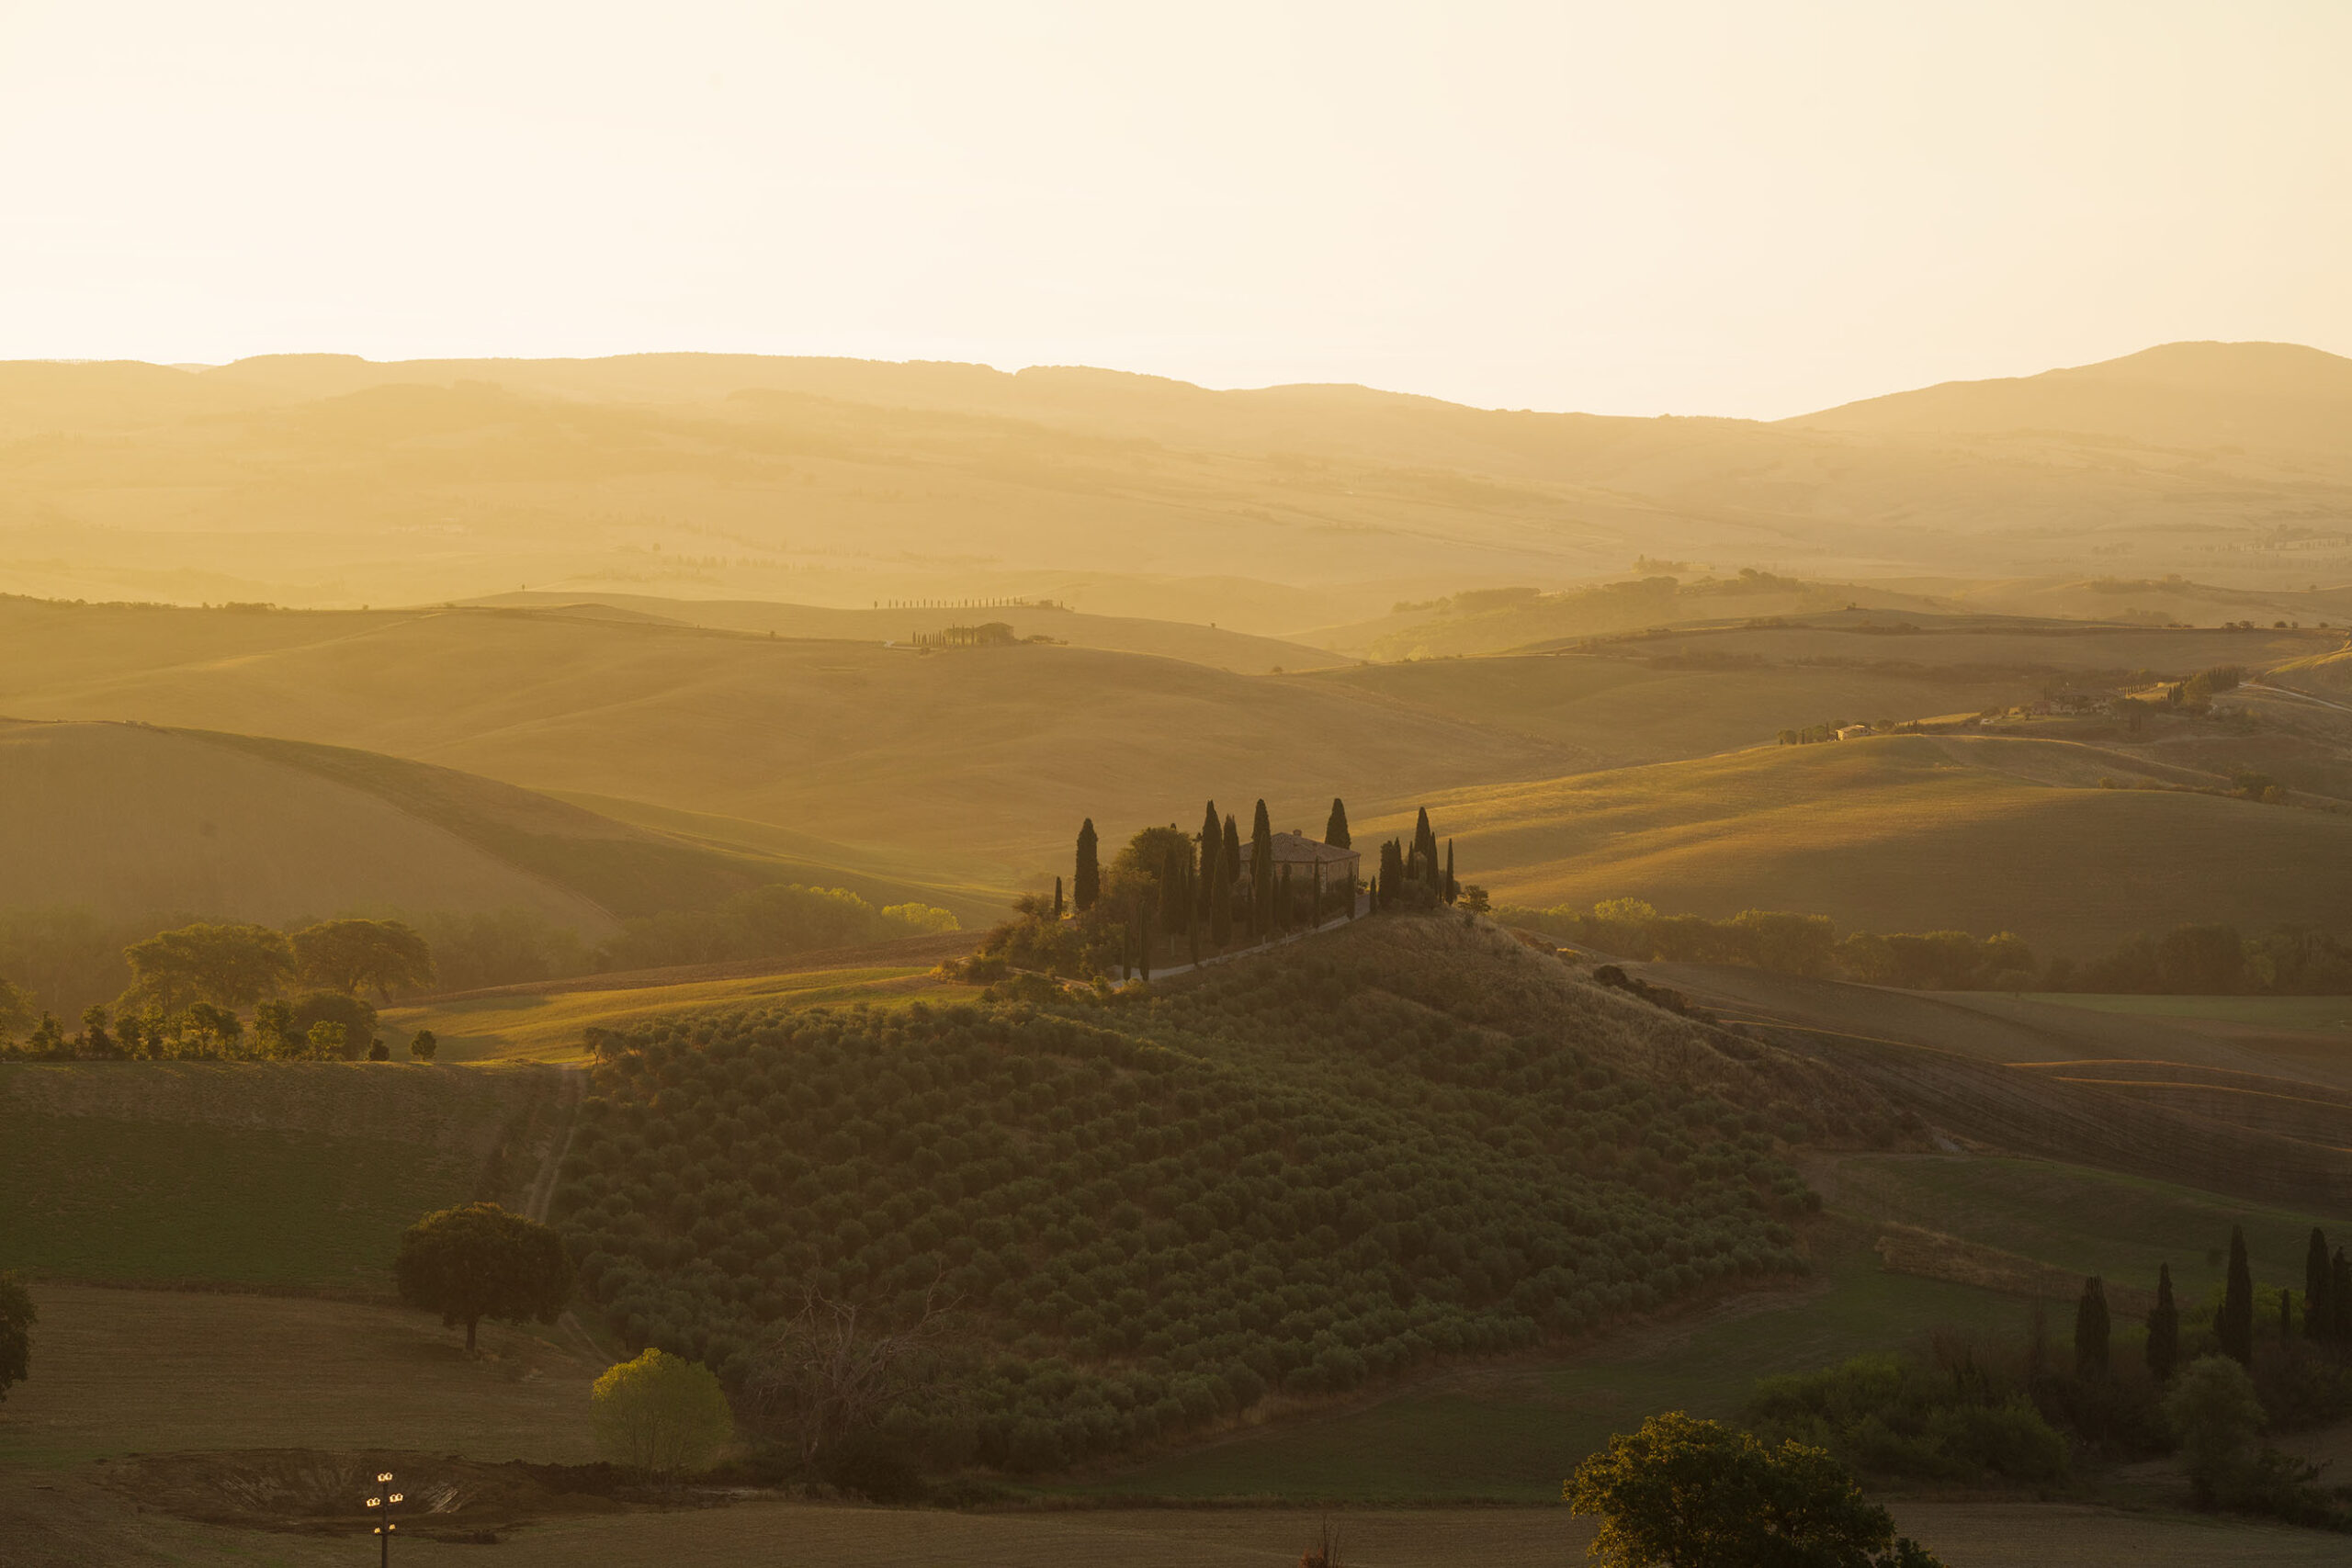
2. Photo tips for your fall foliage pics: sun position
Understanding the position of the sun will further help you plan your outings.
You will be able to know whether the place you are going will be lit in the morning or afternoon, as a mountainside can often be in shadow for half a day.
You will also know what time the sun rises and what time it will be high enough to illuminate the area. Finally, you will be able to better understand the best location: if you want to shoot against the light to create silhouettes, or if you want the sun to illuminate the scene from behind.
For this purpose, there are many apps that provide the position of the sun.
We recommend:
- Sunposition, perfect for beginners, it will tell you the position of the sun in any place at any time of the day;
- PhotoPills, an extremely useful app (one-off payment), which every photographer should have; it allows you to plan each shot, thanks to many professional tools.
Studying the climatic conditions and the position of the sun in advance will help you to create a photographic project, and to start already with the idea of what you want to achieve, so that once on site you can focus on that and easily reach your goals.
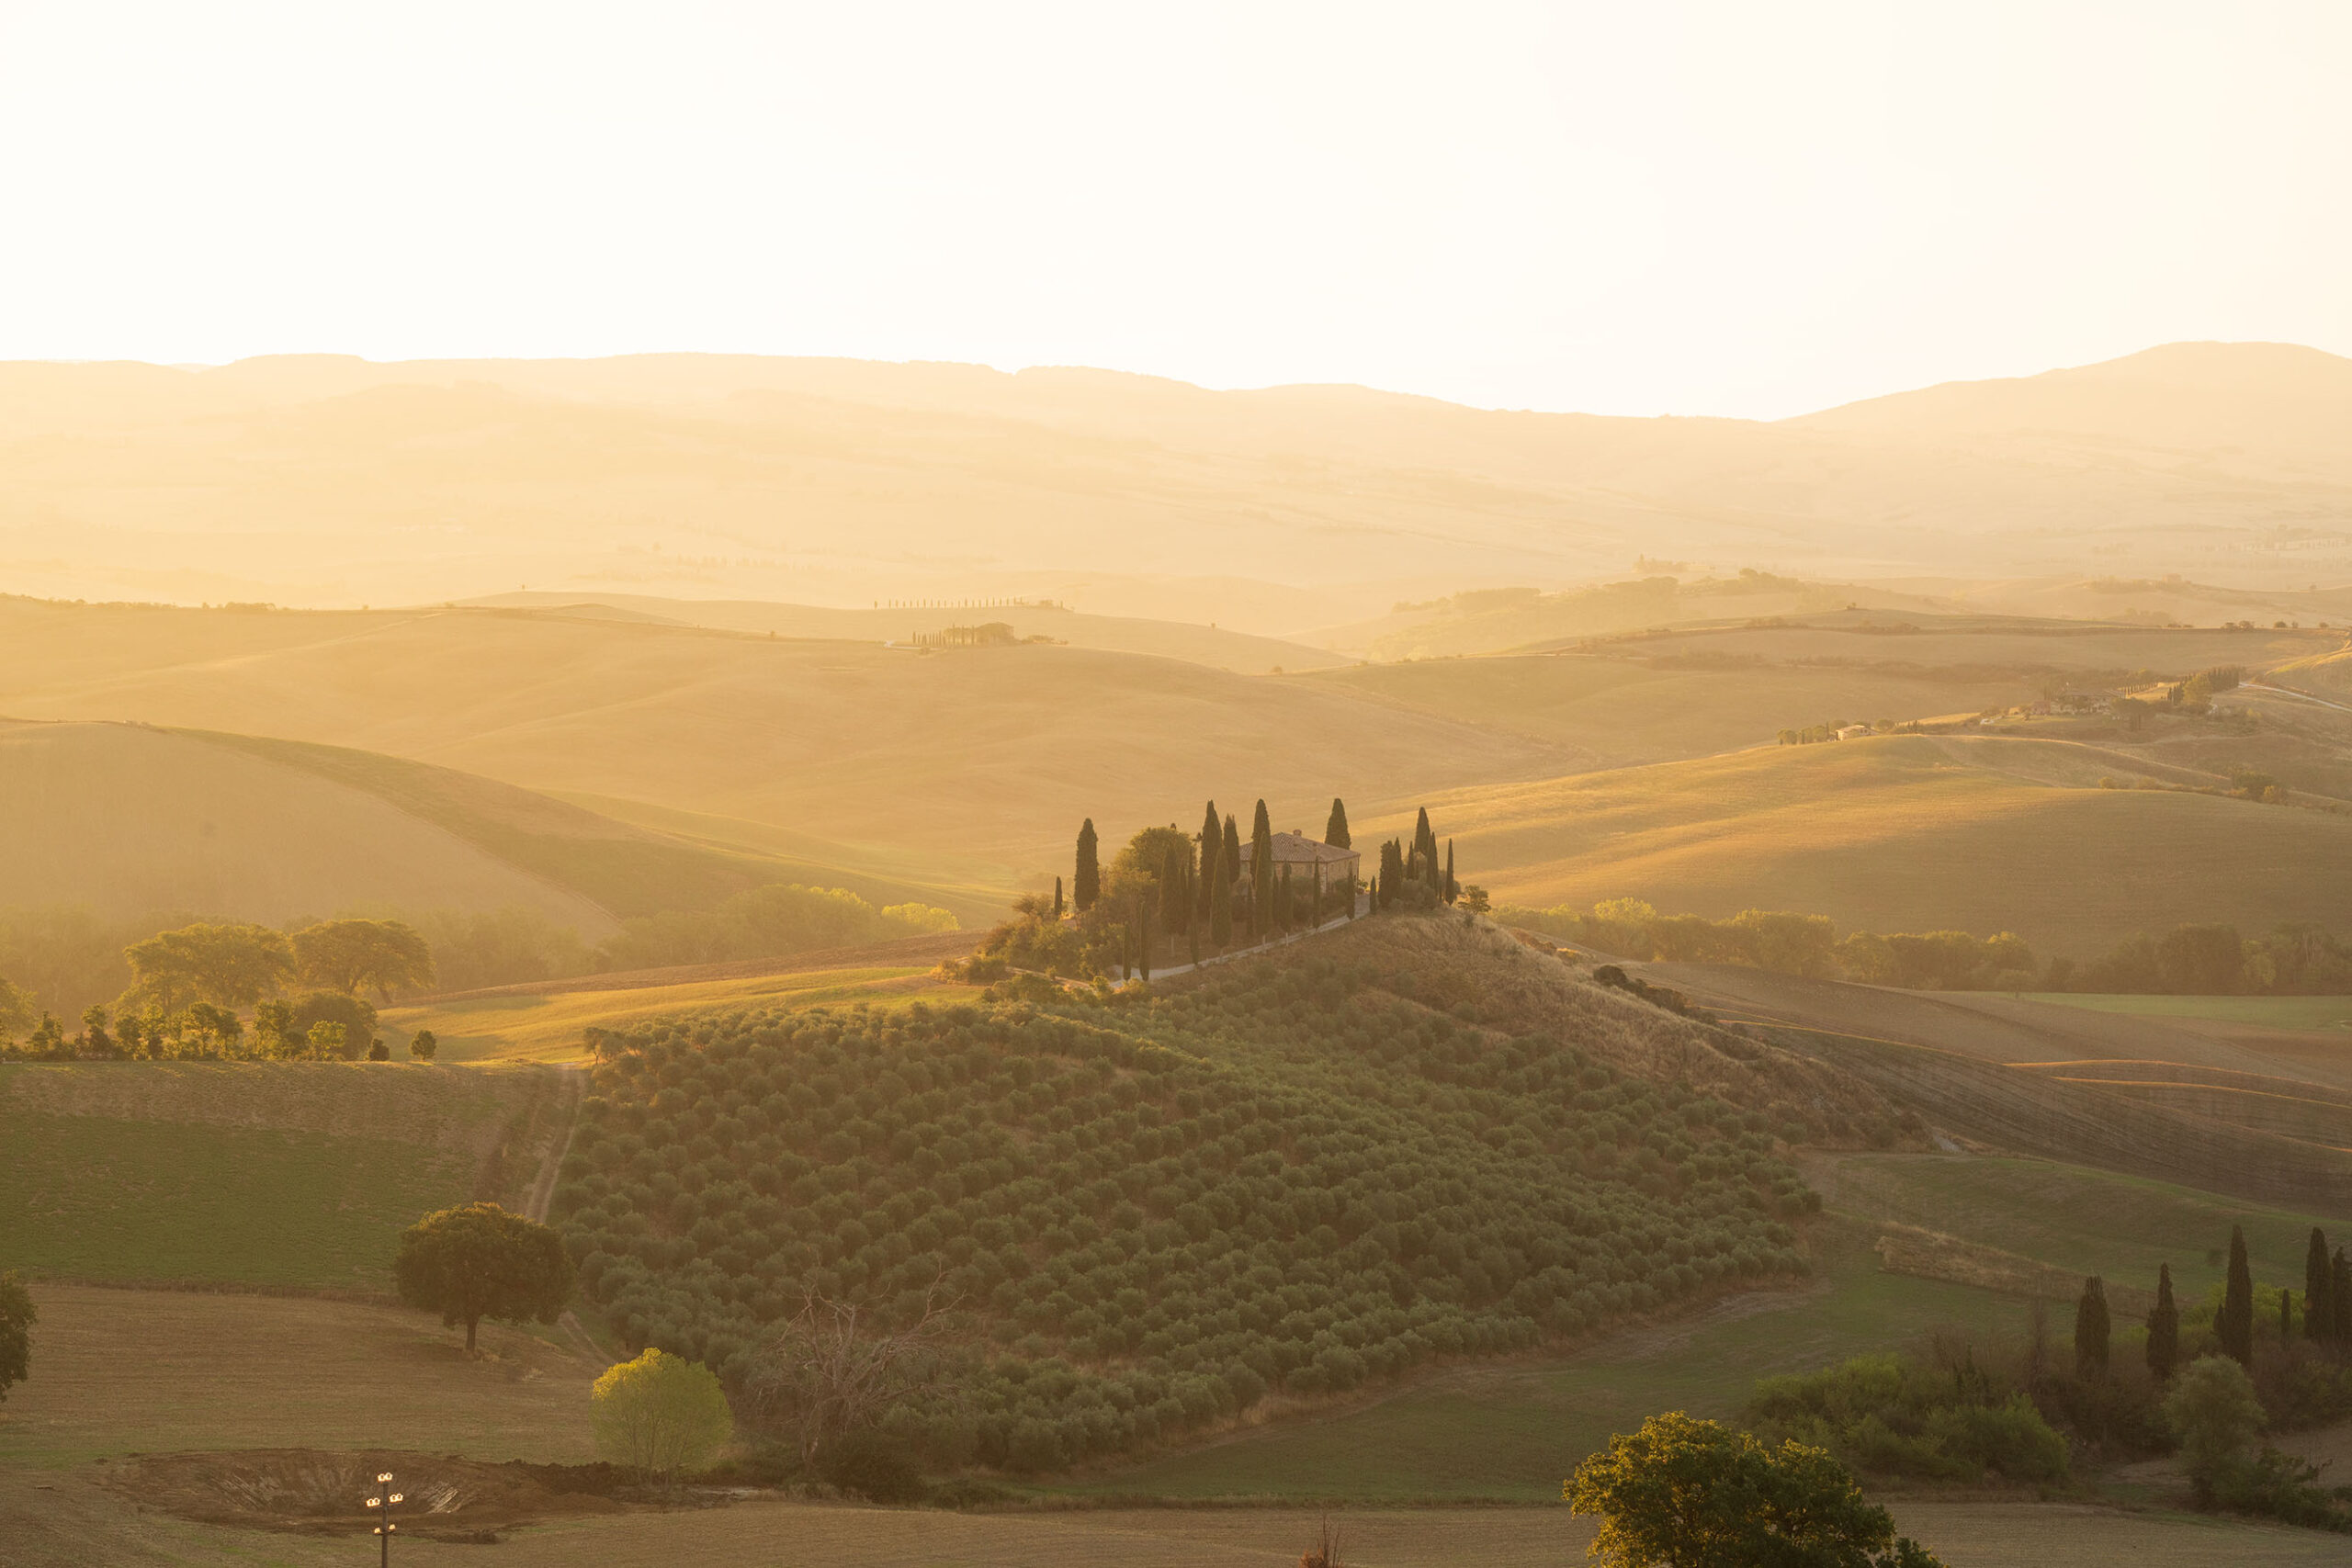
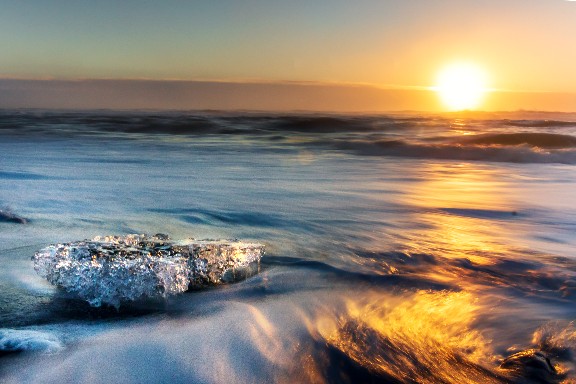
3. Taking photos at sunrise in the mist
One of the most fascinating fall atmospheres is often created in the early hours of the morning, on days of fog and mist.
Usually, in these hours, the low fog creeps between the trees and gives the photos an aura of mystery.
If you then have the patience to wait for the sun to rise above the fog, this will be illuminated by the rays that will penetrate through, creating incredible atmospheres.
In this case, since there won’t be much light, it is useful to use a tripod to lengthen the shutter speed. Slightly underexposed photos, however, are perfect in this context.
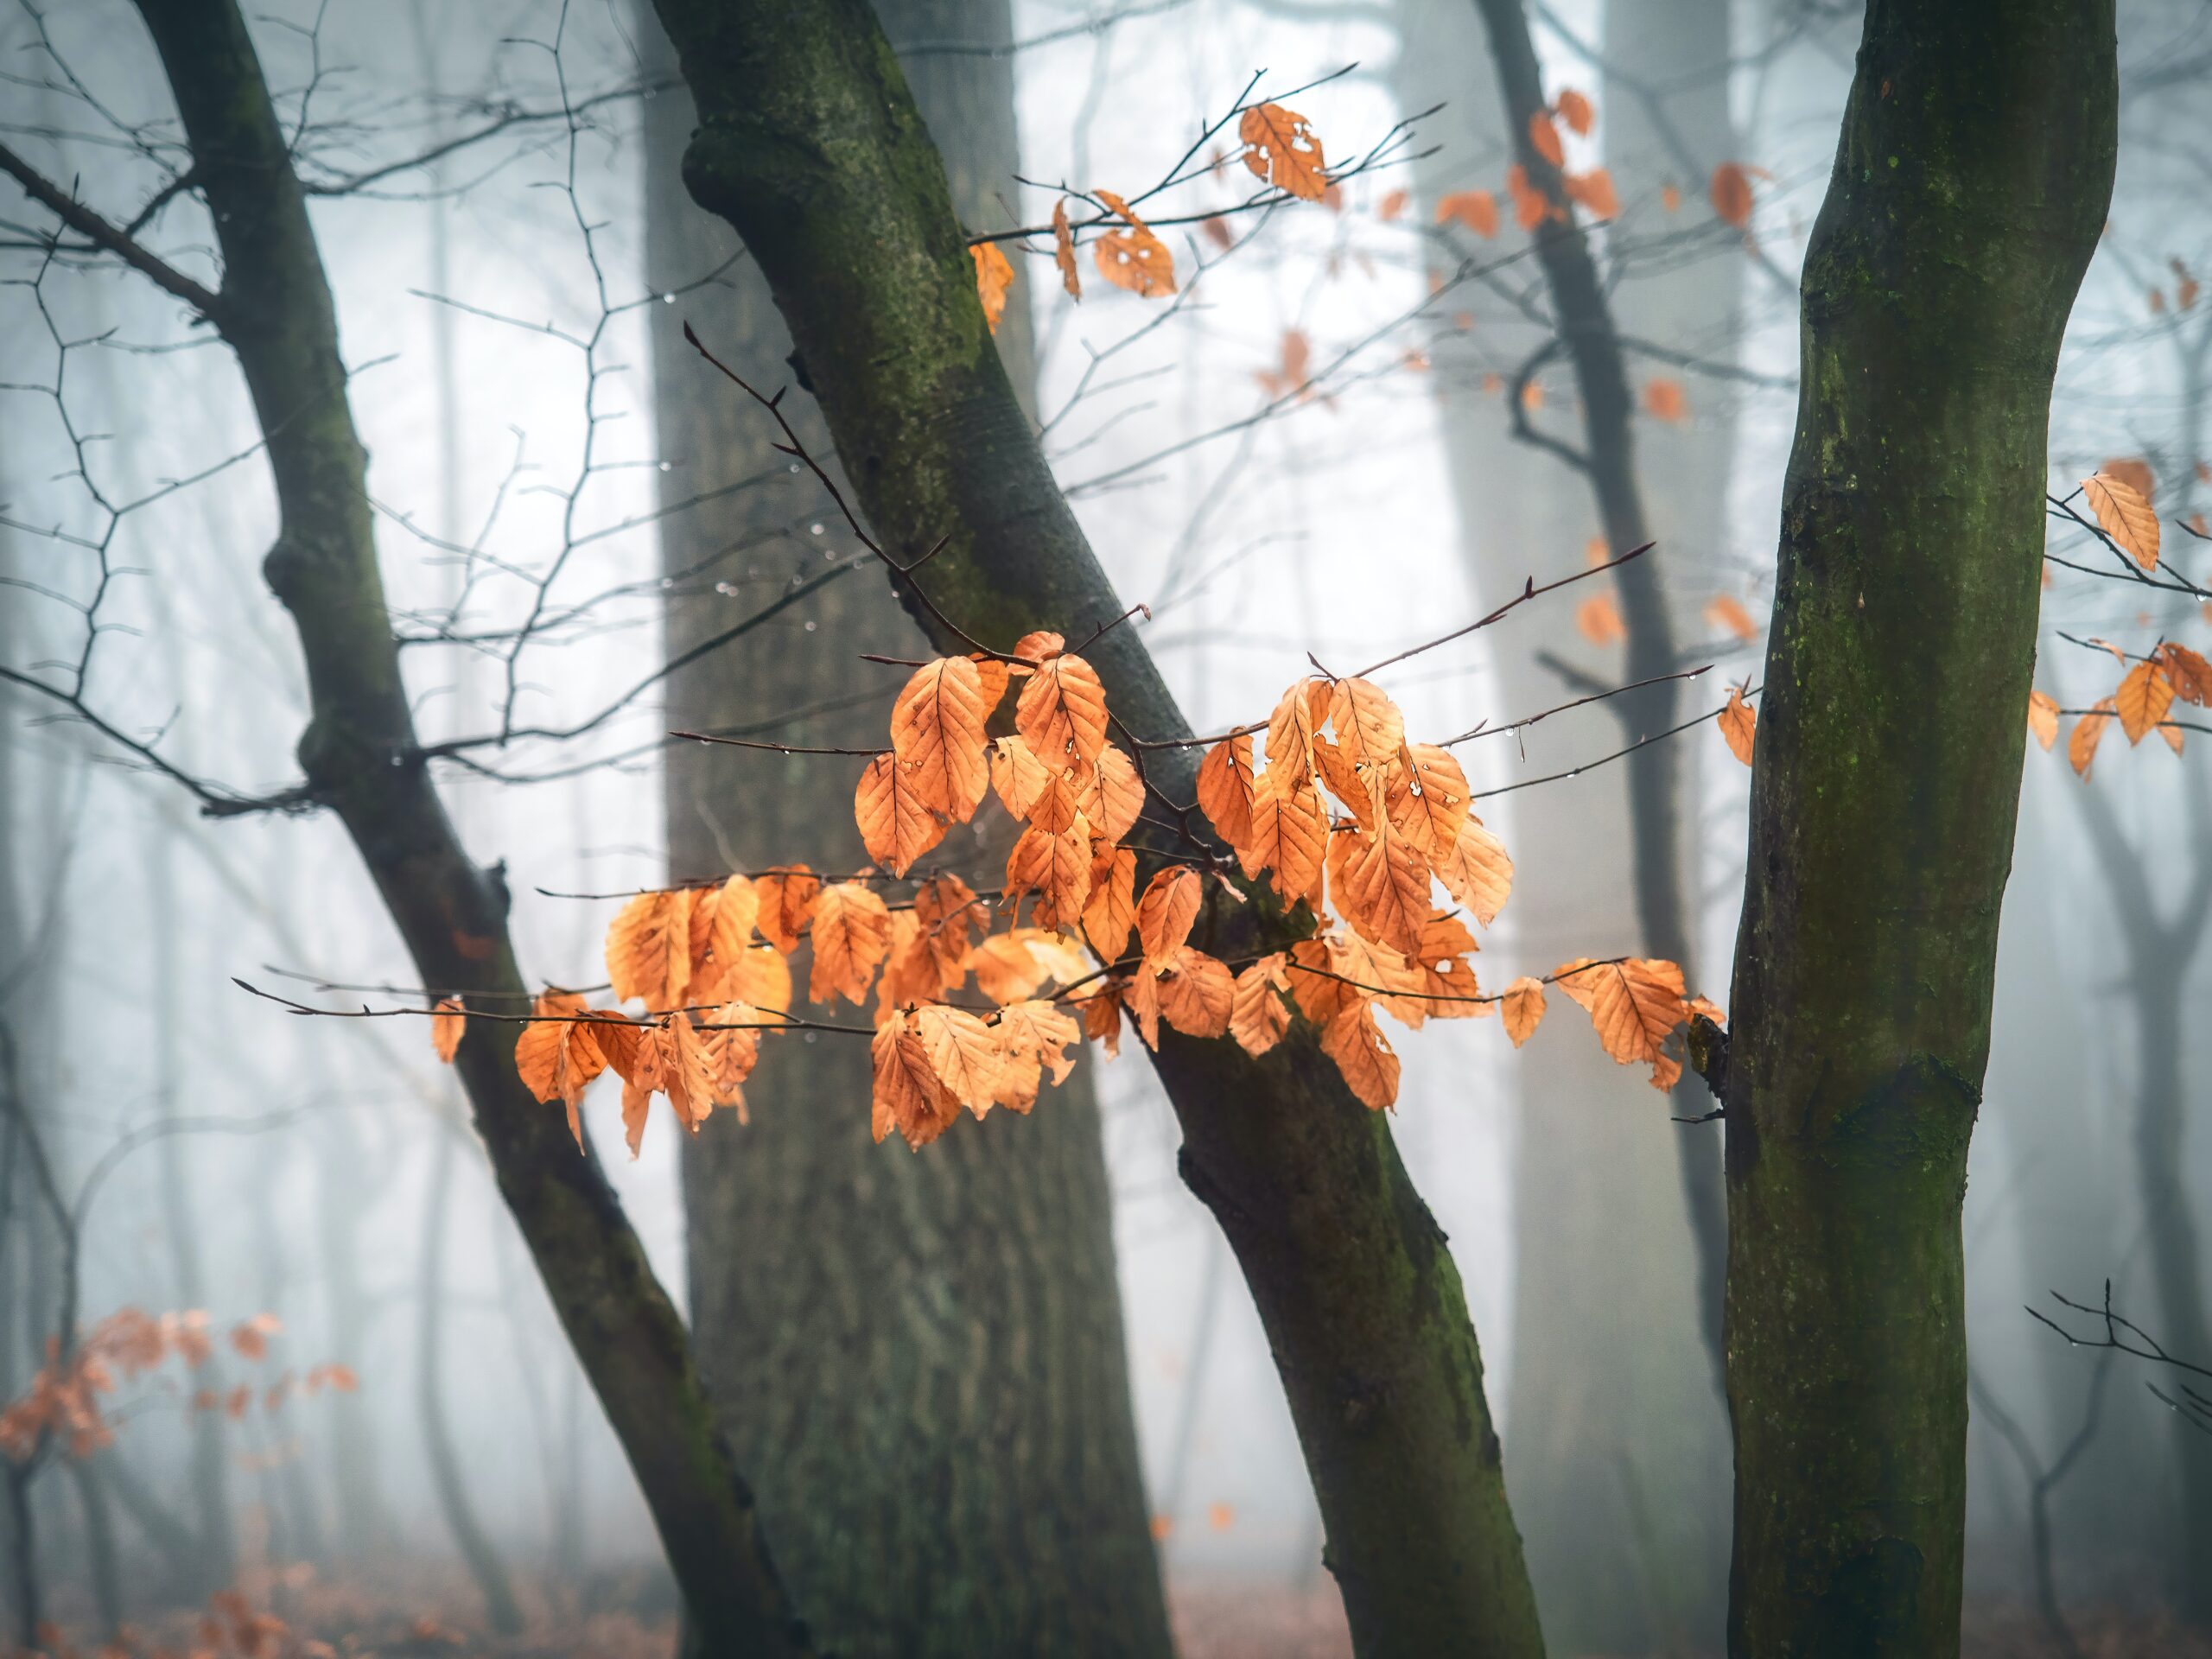
Photo by Simon Berger on Unsplash 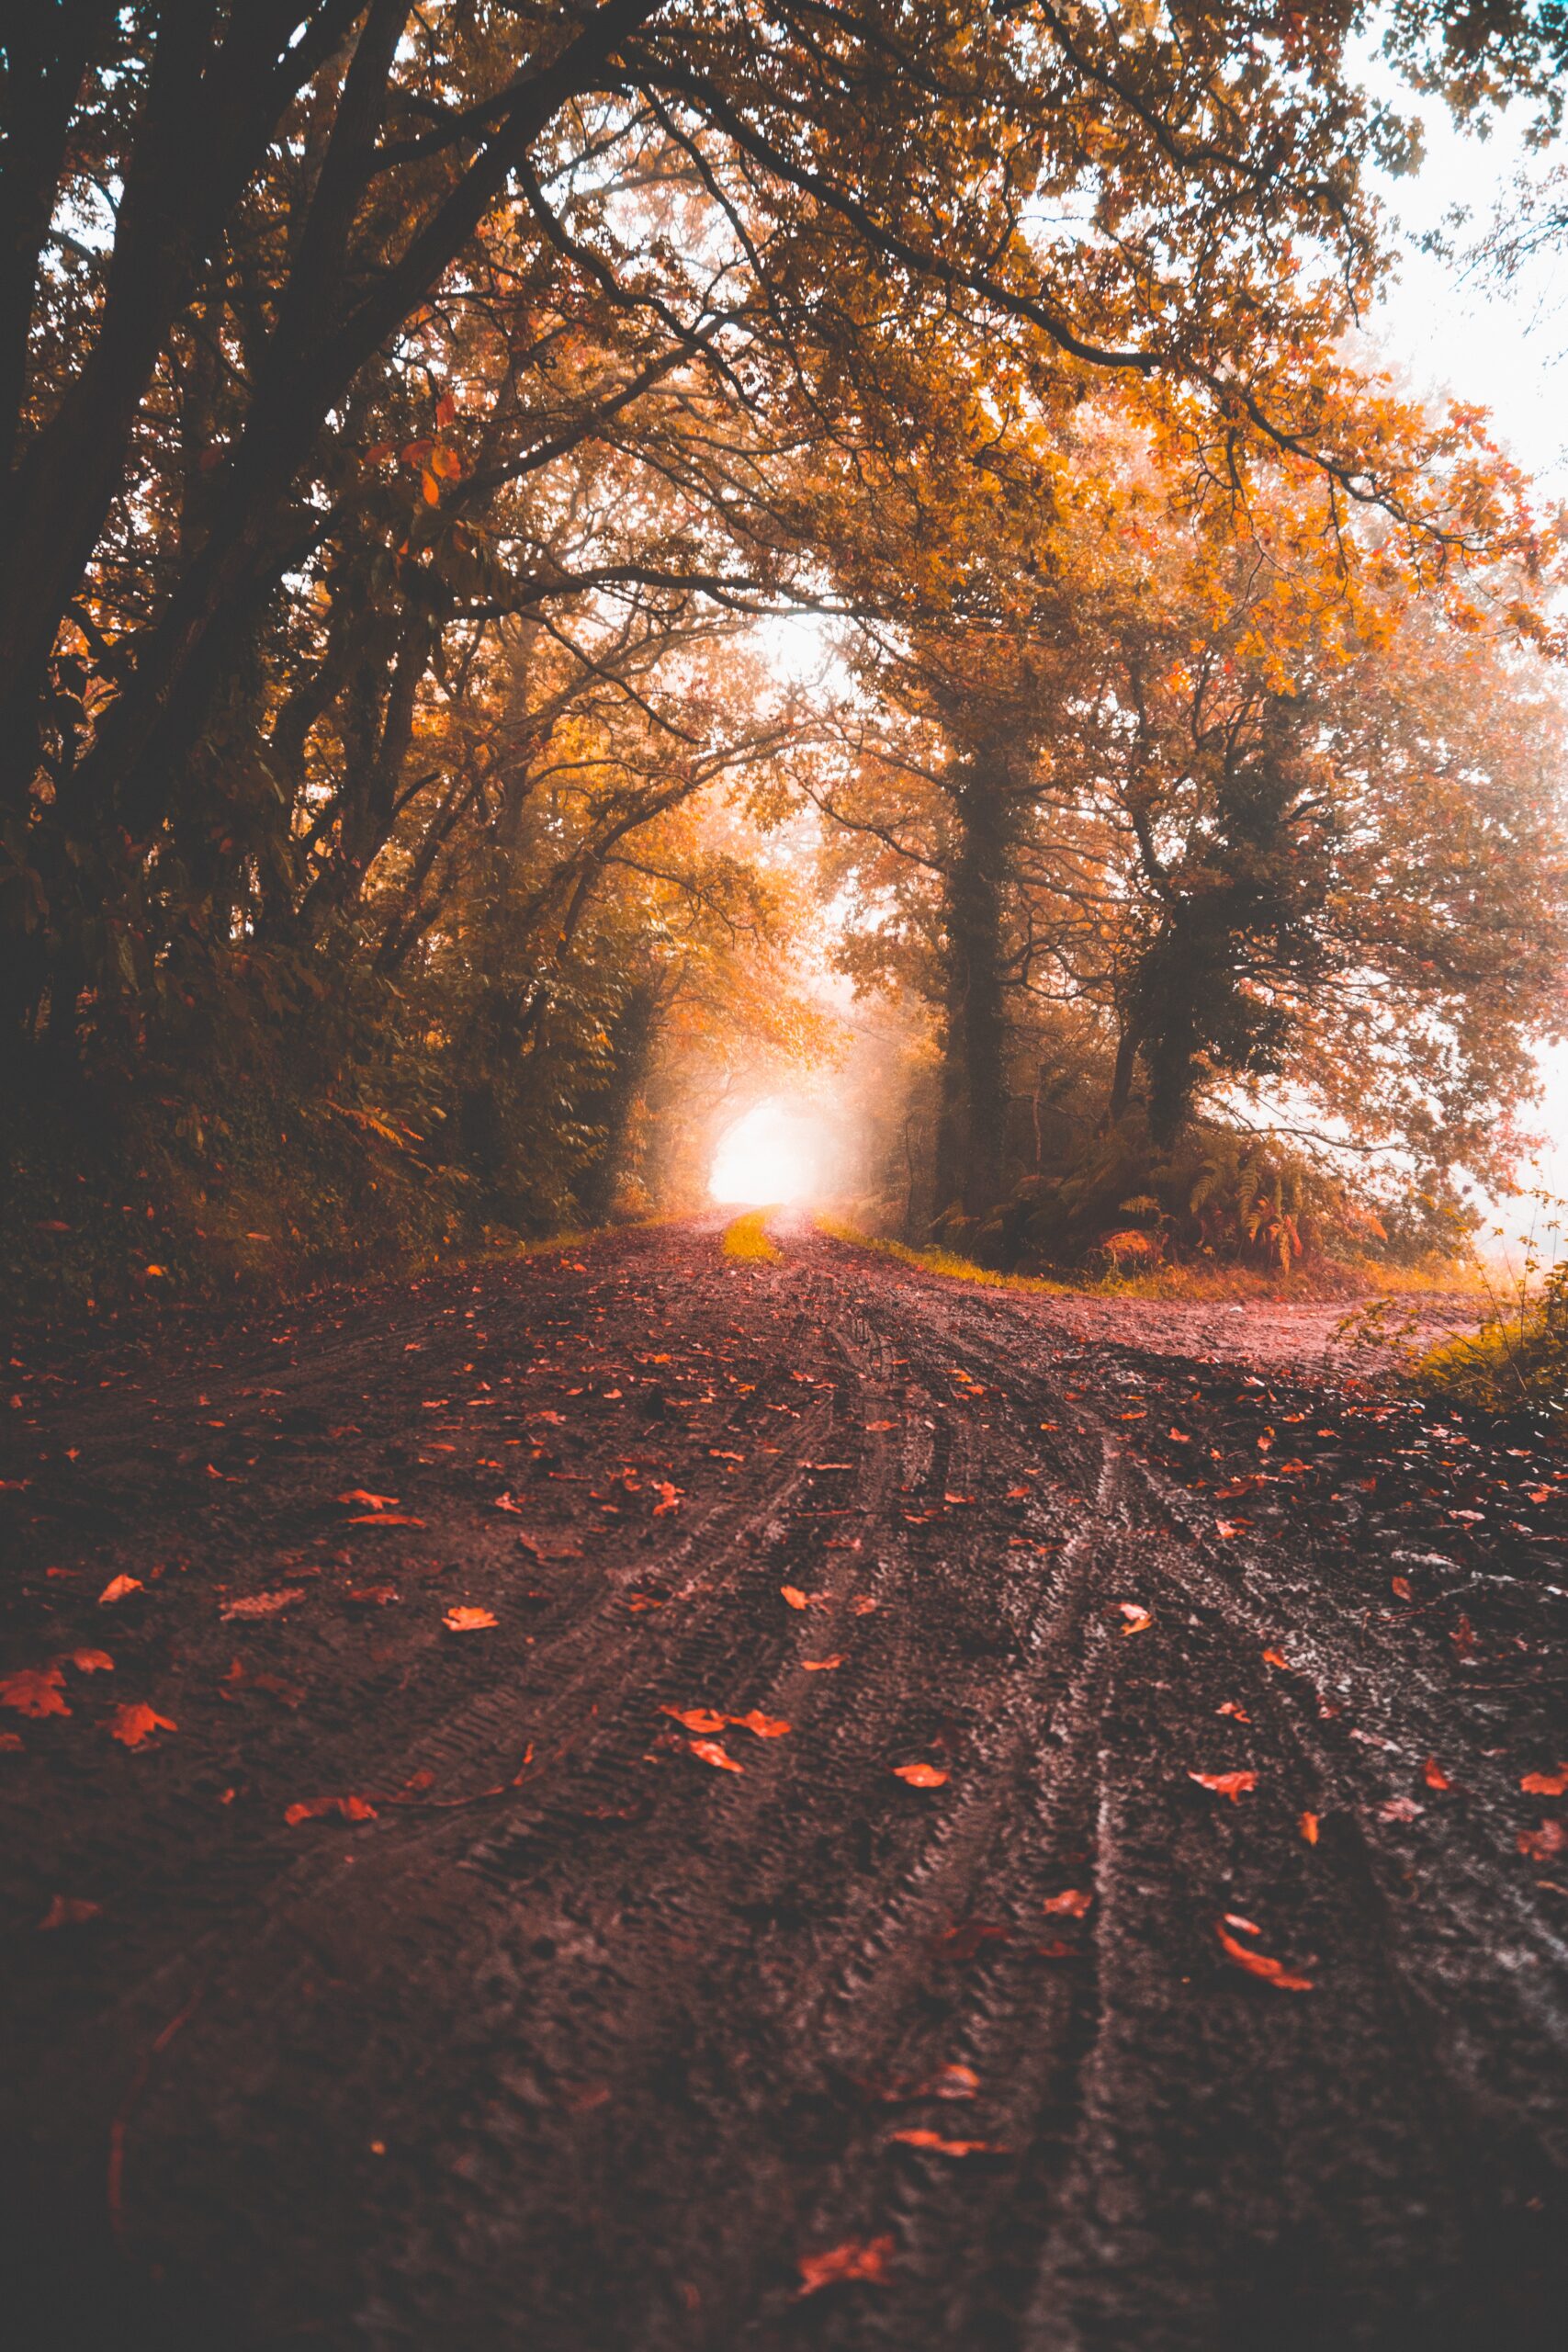
Photo by quentin on Unsplash 
Photo by Sebastian Unrau on Unsplash
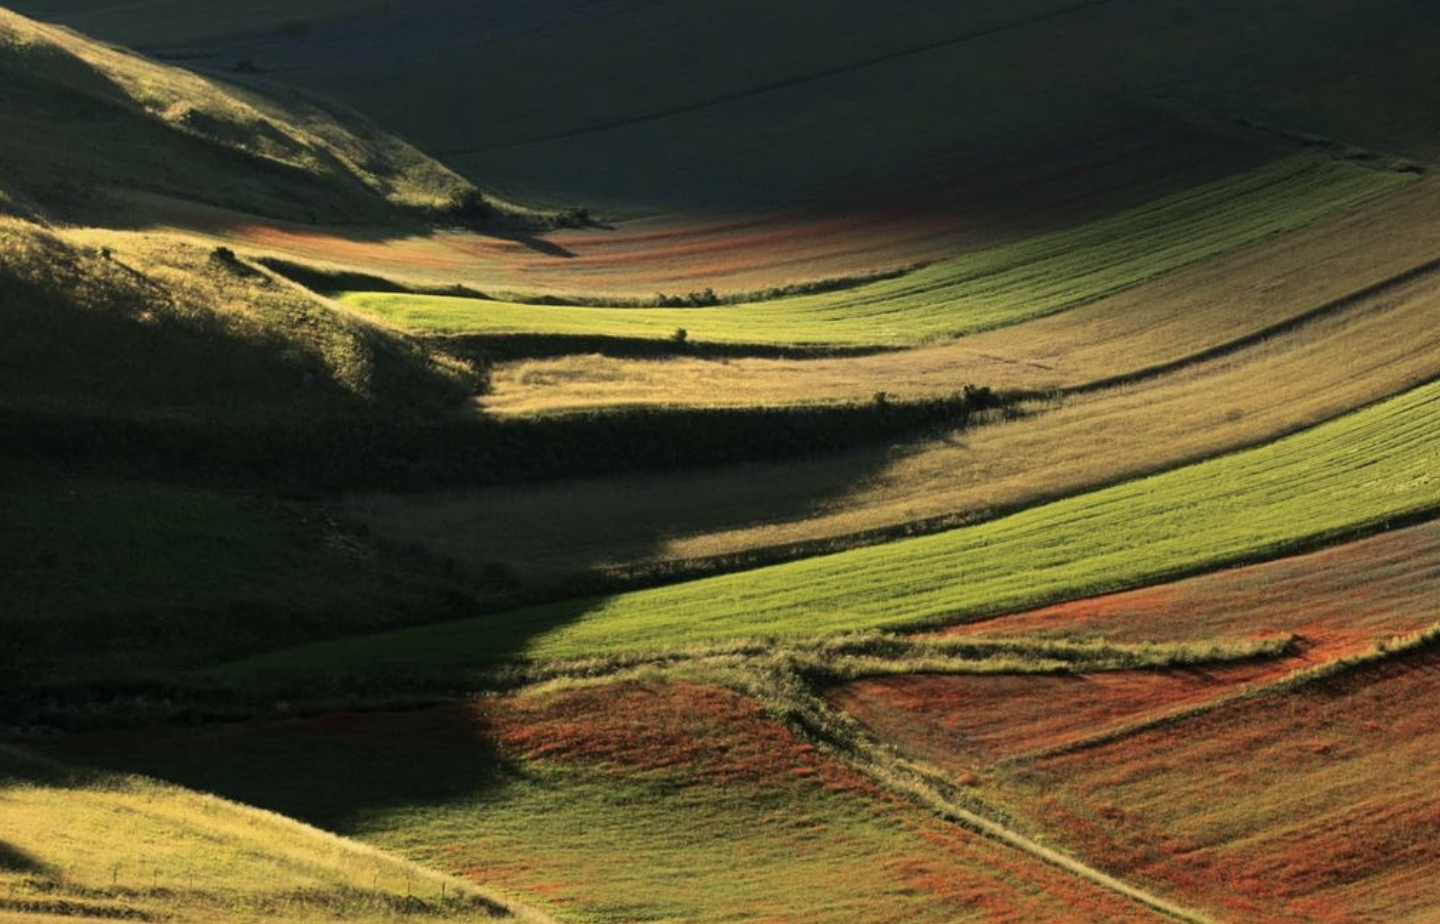
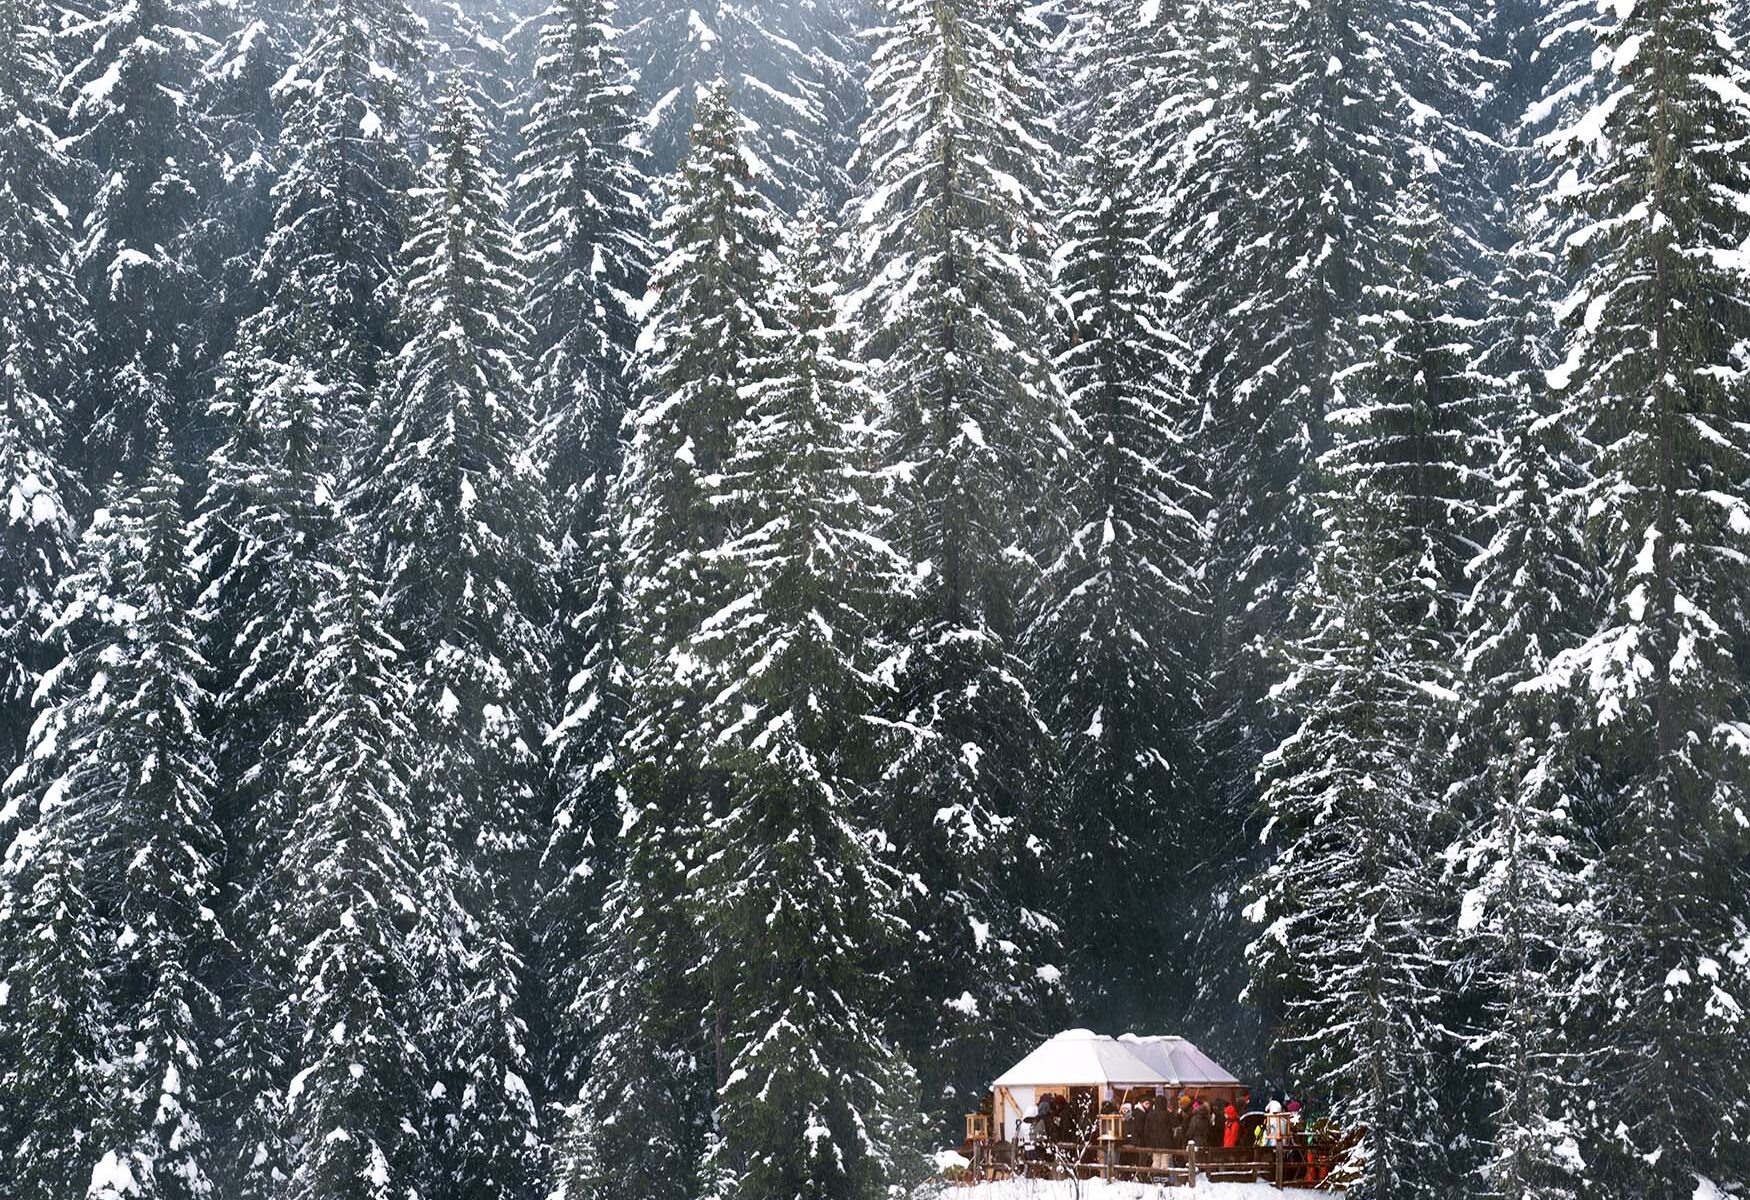
4. Photo tips for your fall foliage pics: manage lights and shadows during the day
Even the central hours of the day offer perfect opportunities for your shots.
Here are some examples of subjects to focus on, based on your style choices:
- If the weather is sunny, you can focus on some details illuminated by the light, which makes the colors brighter.
- Raising the camera upwards under a tree, could provide excellent color contrasts, with the blue sky colored by the leaves.
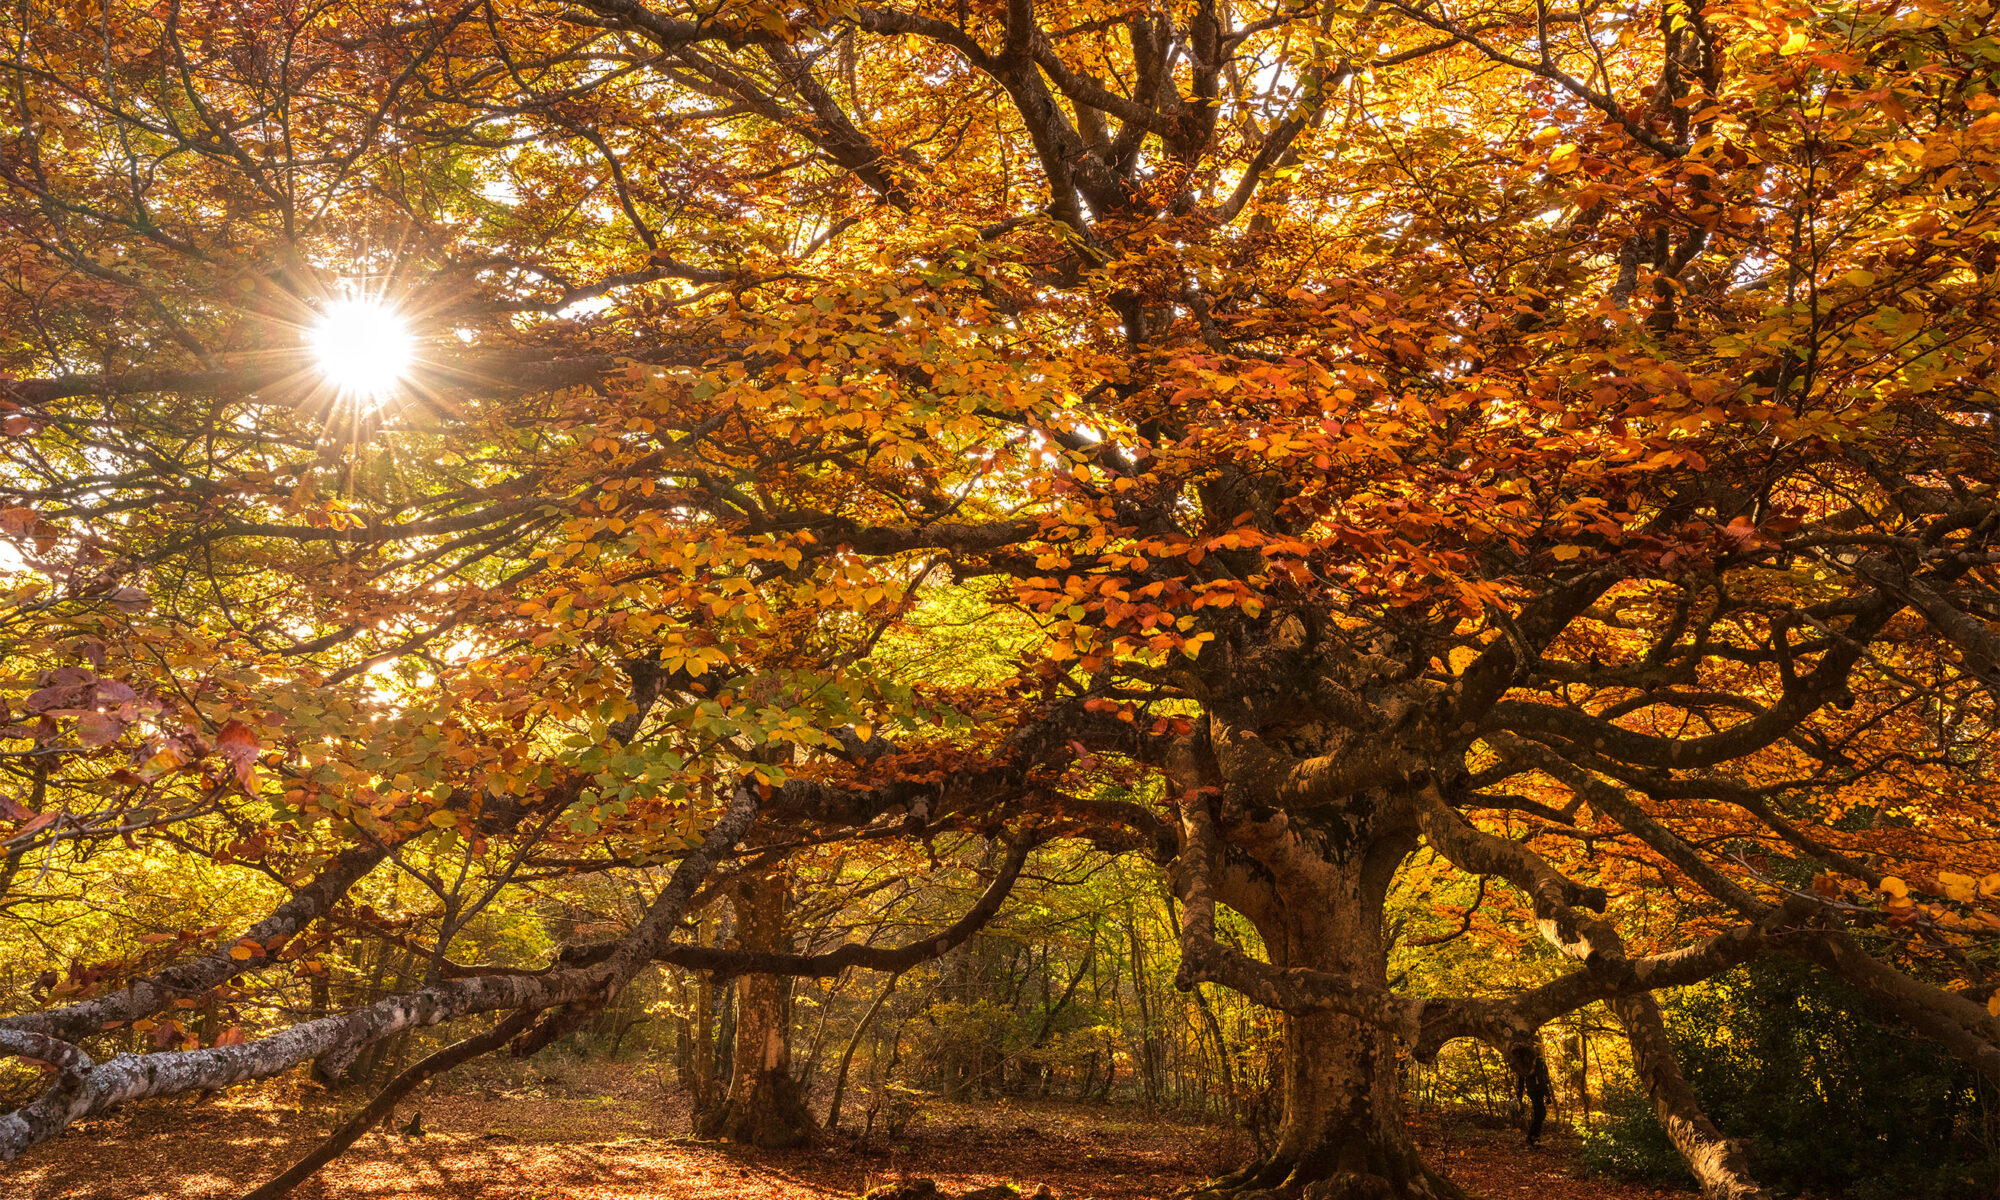
- If you are in a wood, the sun penetrating the branches can create interesting lights and shadows, difficult to manage due to the strong contrasts, but certainly original.
Focusing on a detail, in these cases, can help keep exposure under control, always excluding backlight. - If, however, you want to work with backlight, you can partially cover the sun with a trunk or another element and close the aperture to create the “star” effect of the rays, or cover it completely to create a silhouette effect.
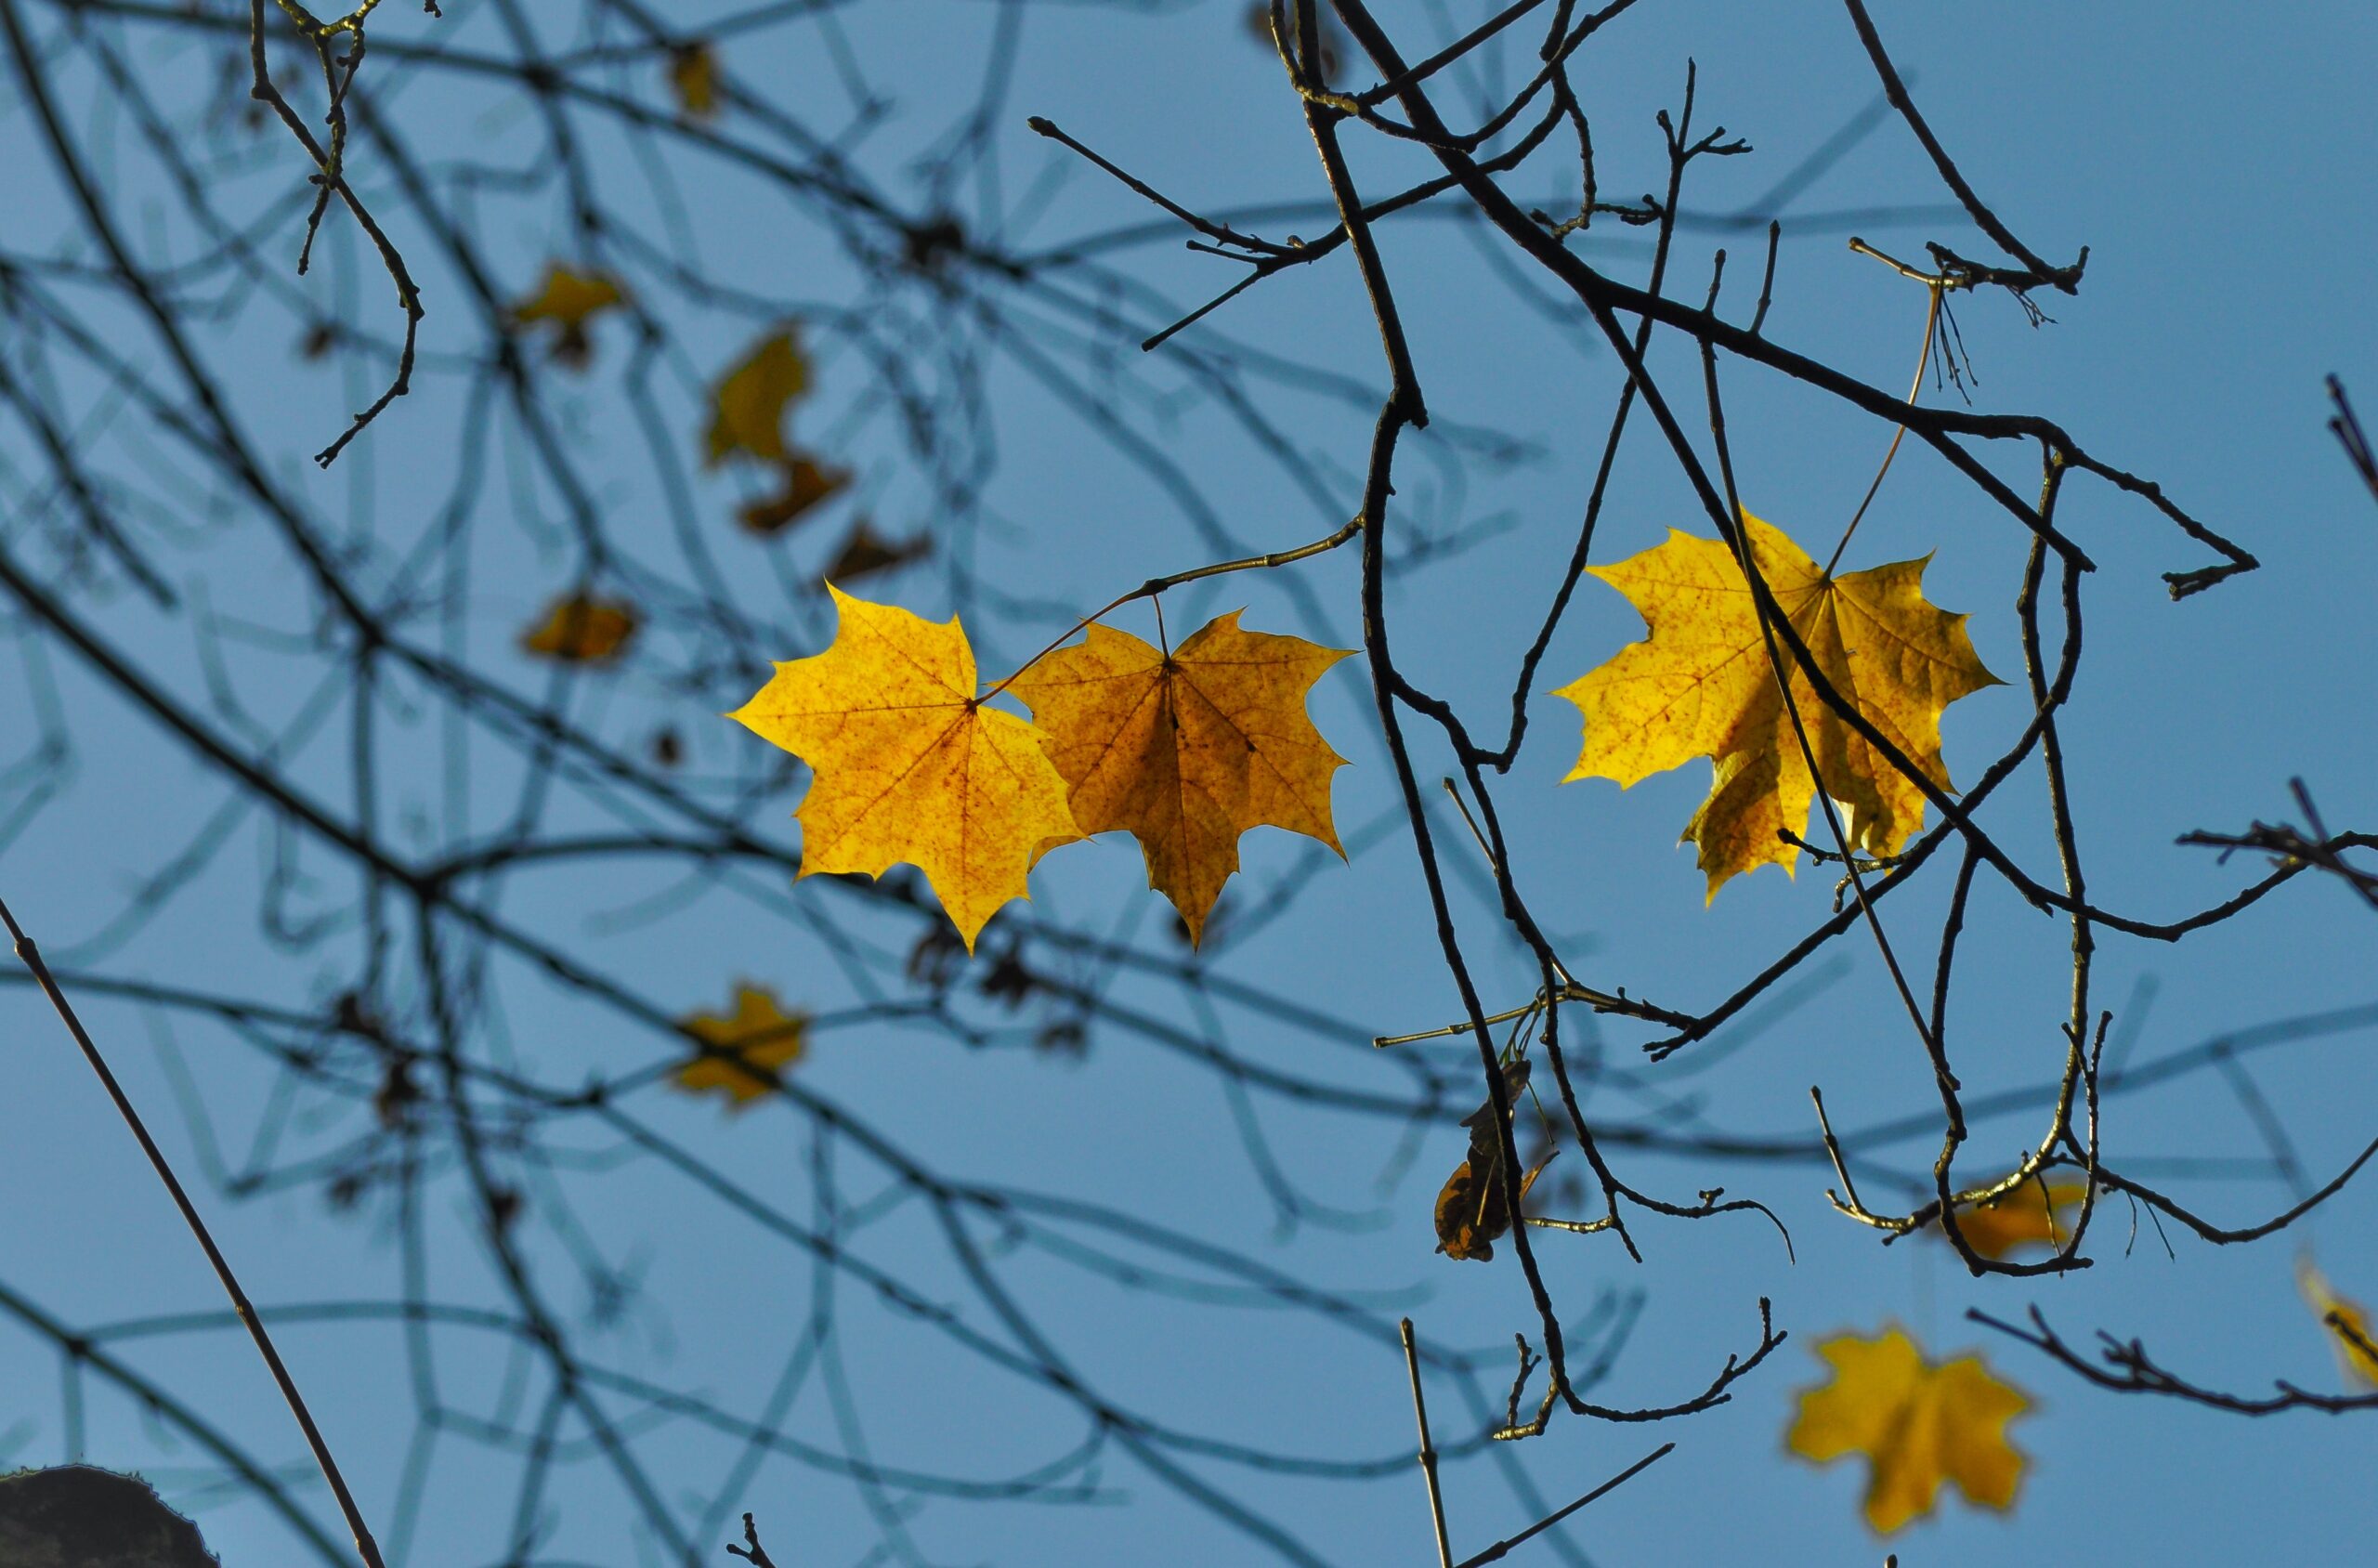
Photo by Łukasz Łada on Unsplash 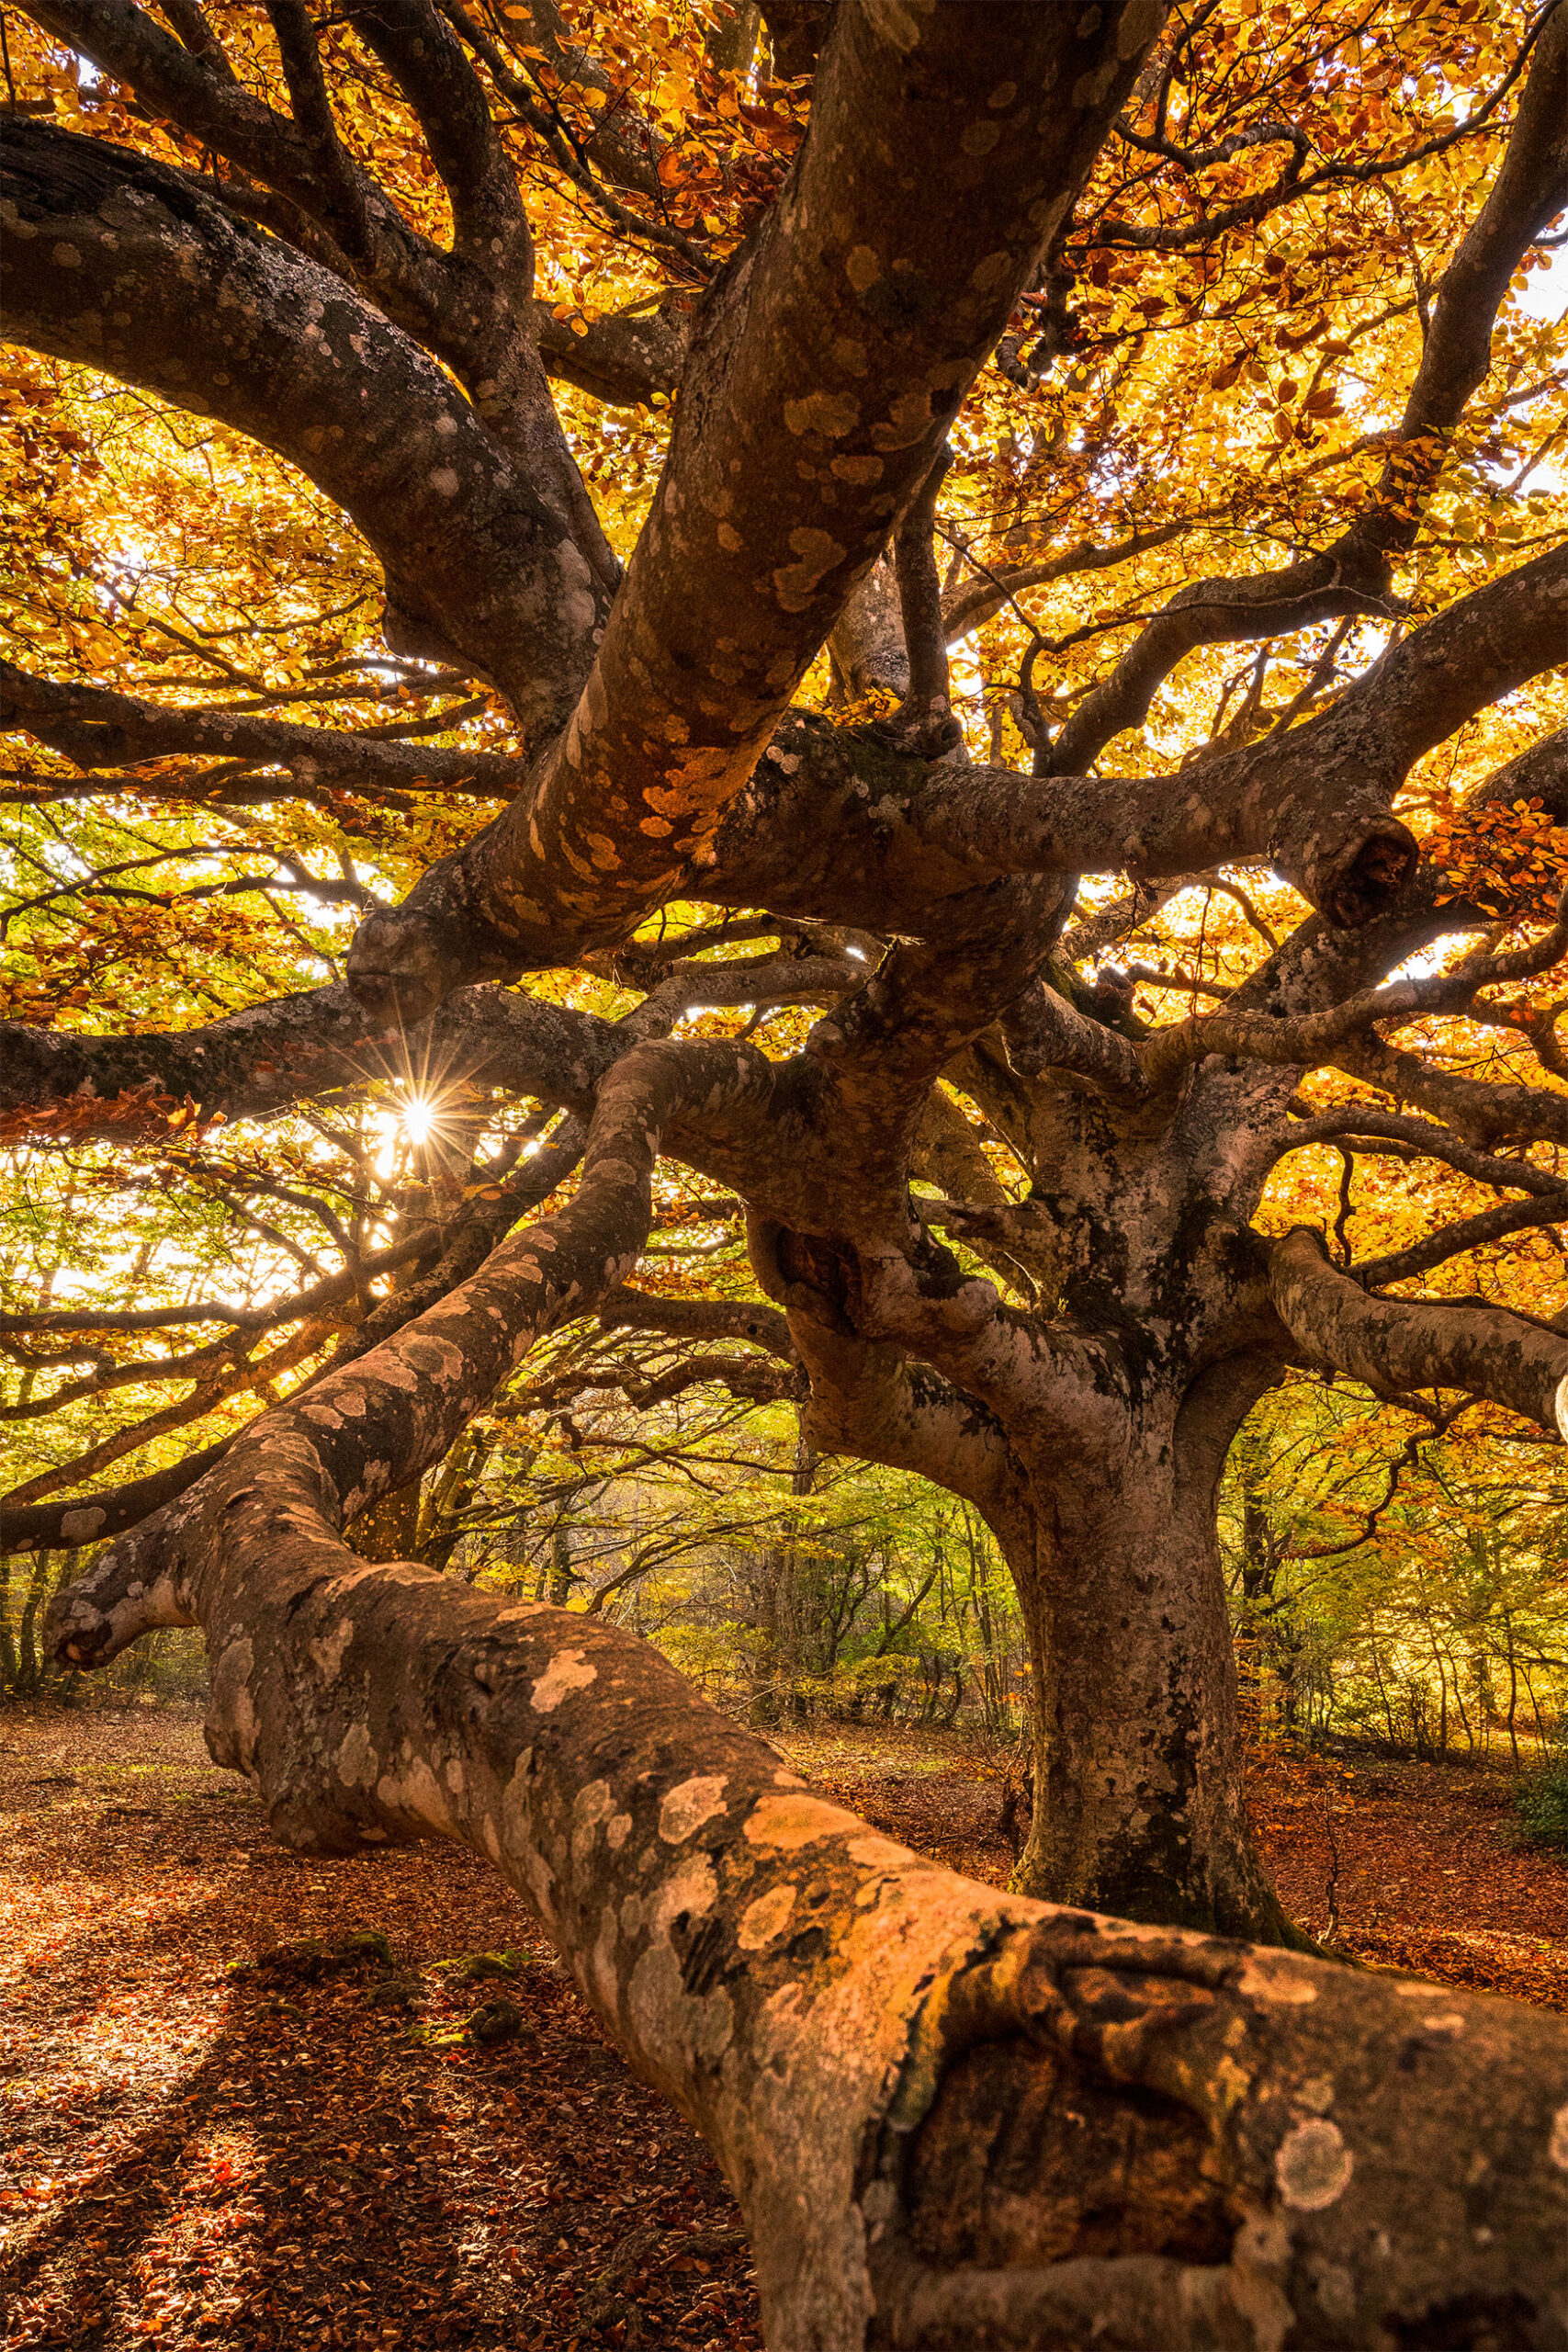
@giadaantonini_photography 
Photo by Timothy Eberly on Unsplash
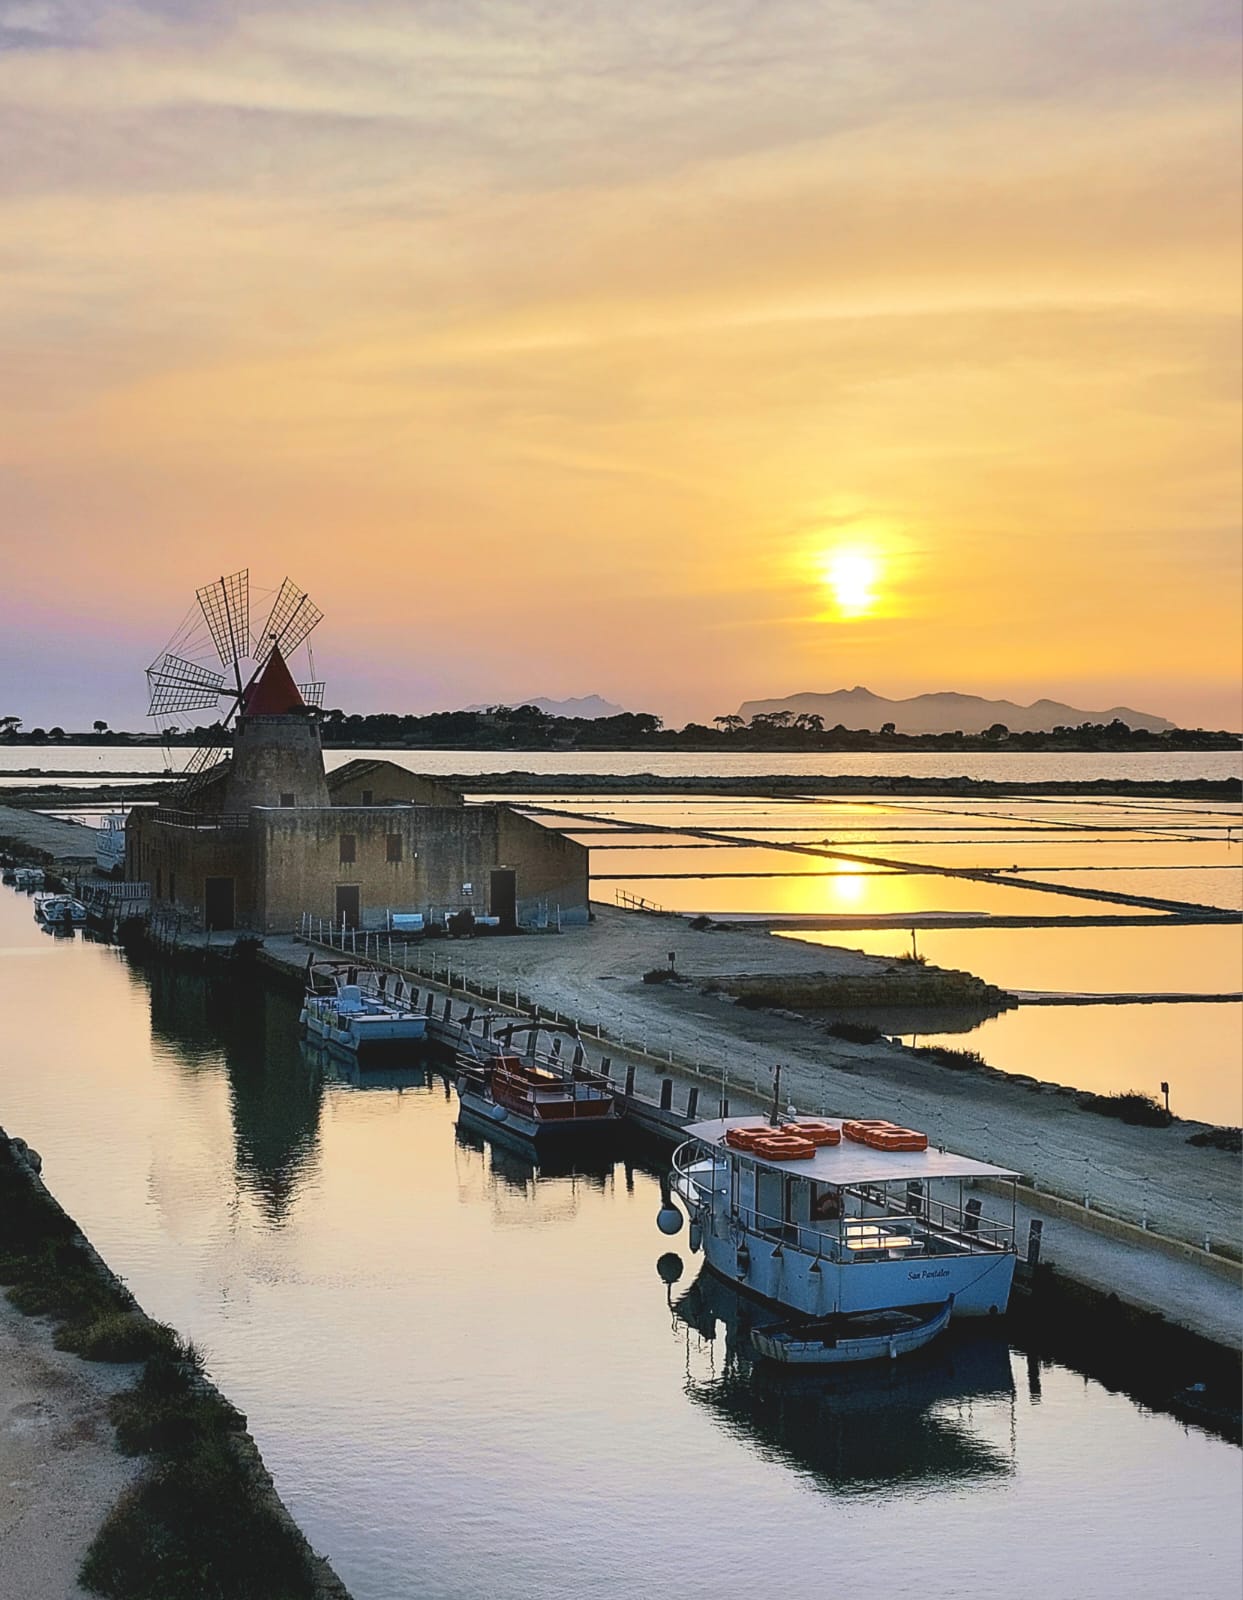
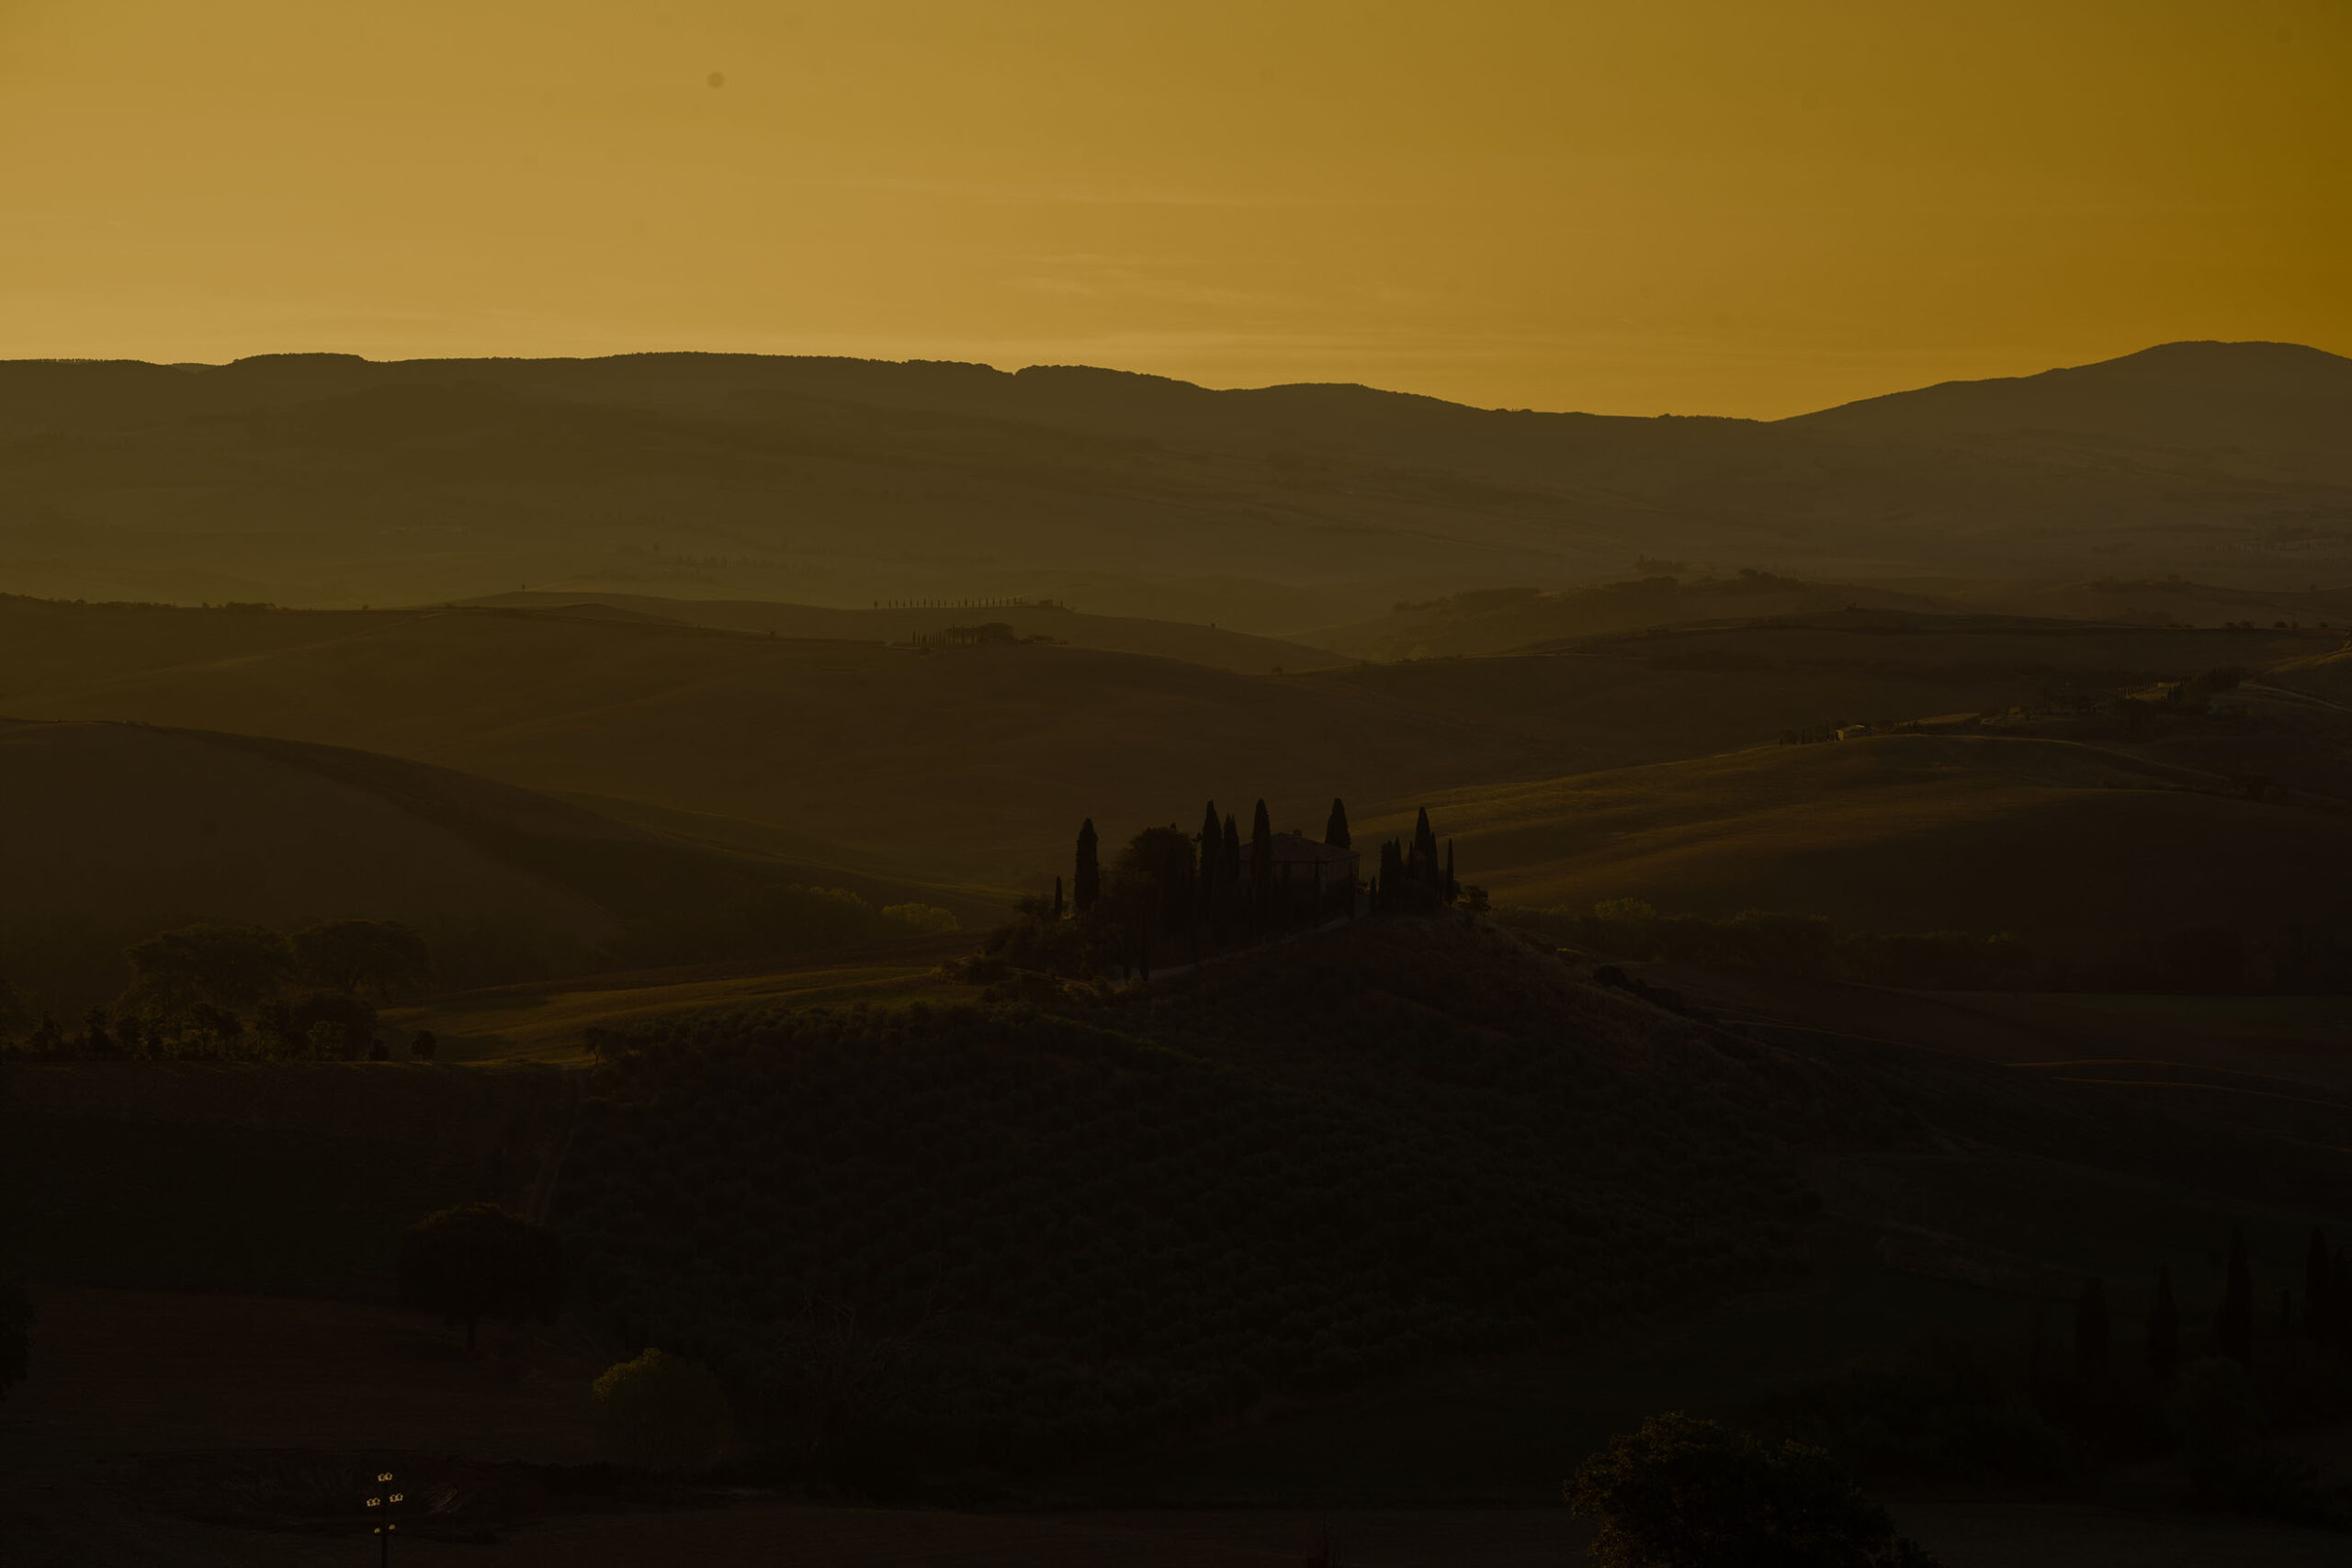
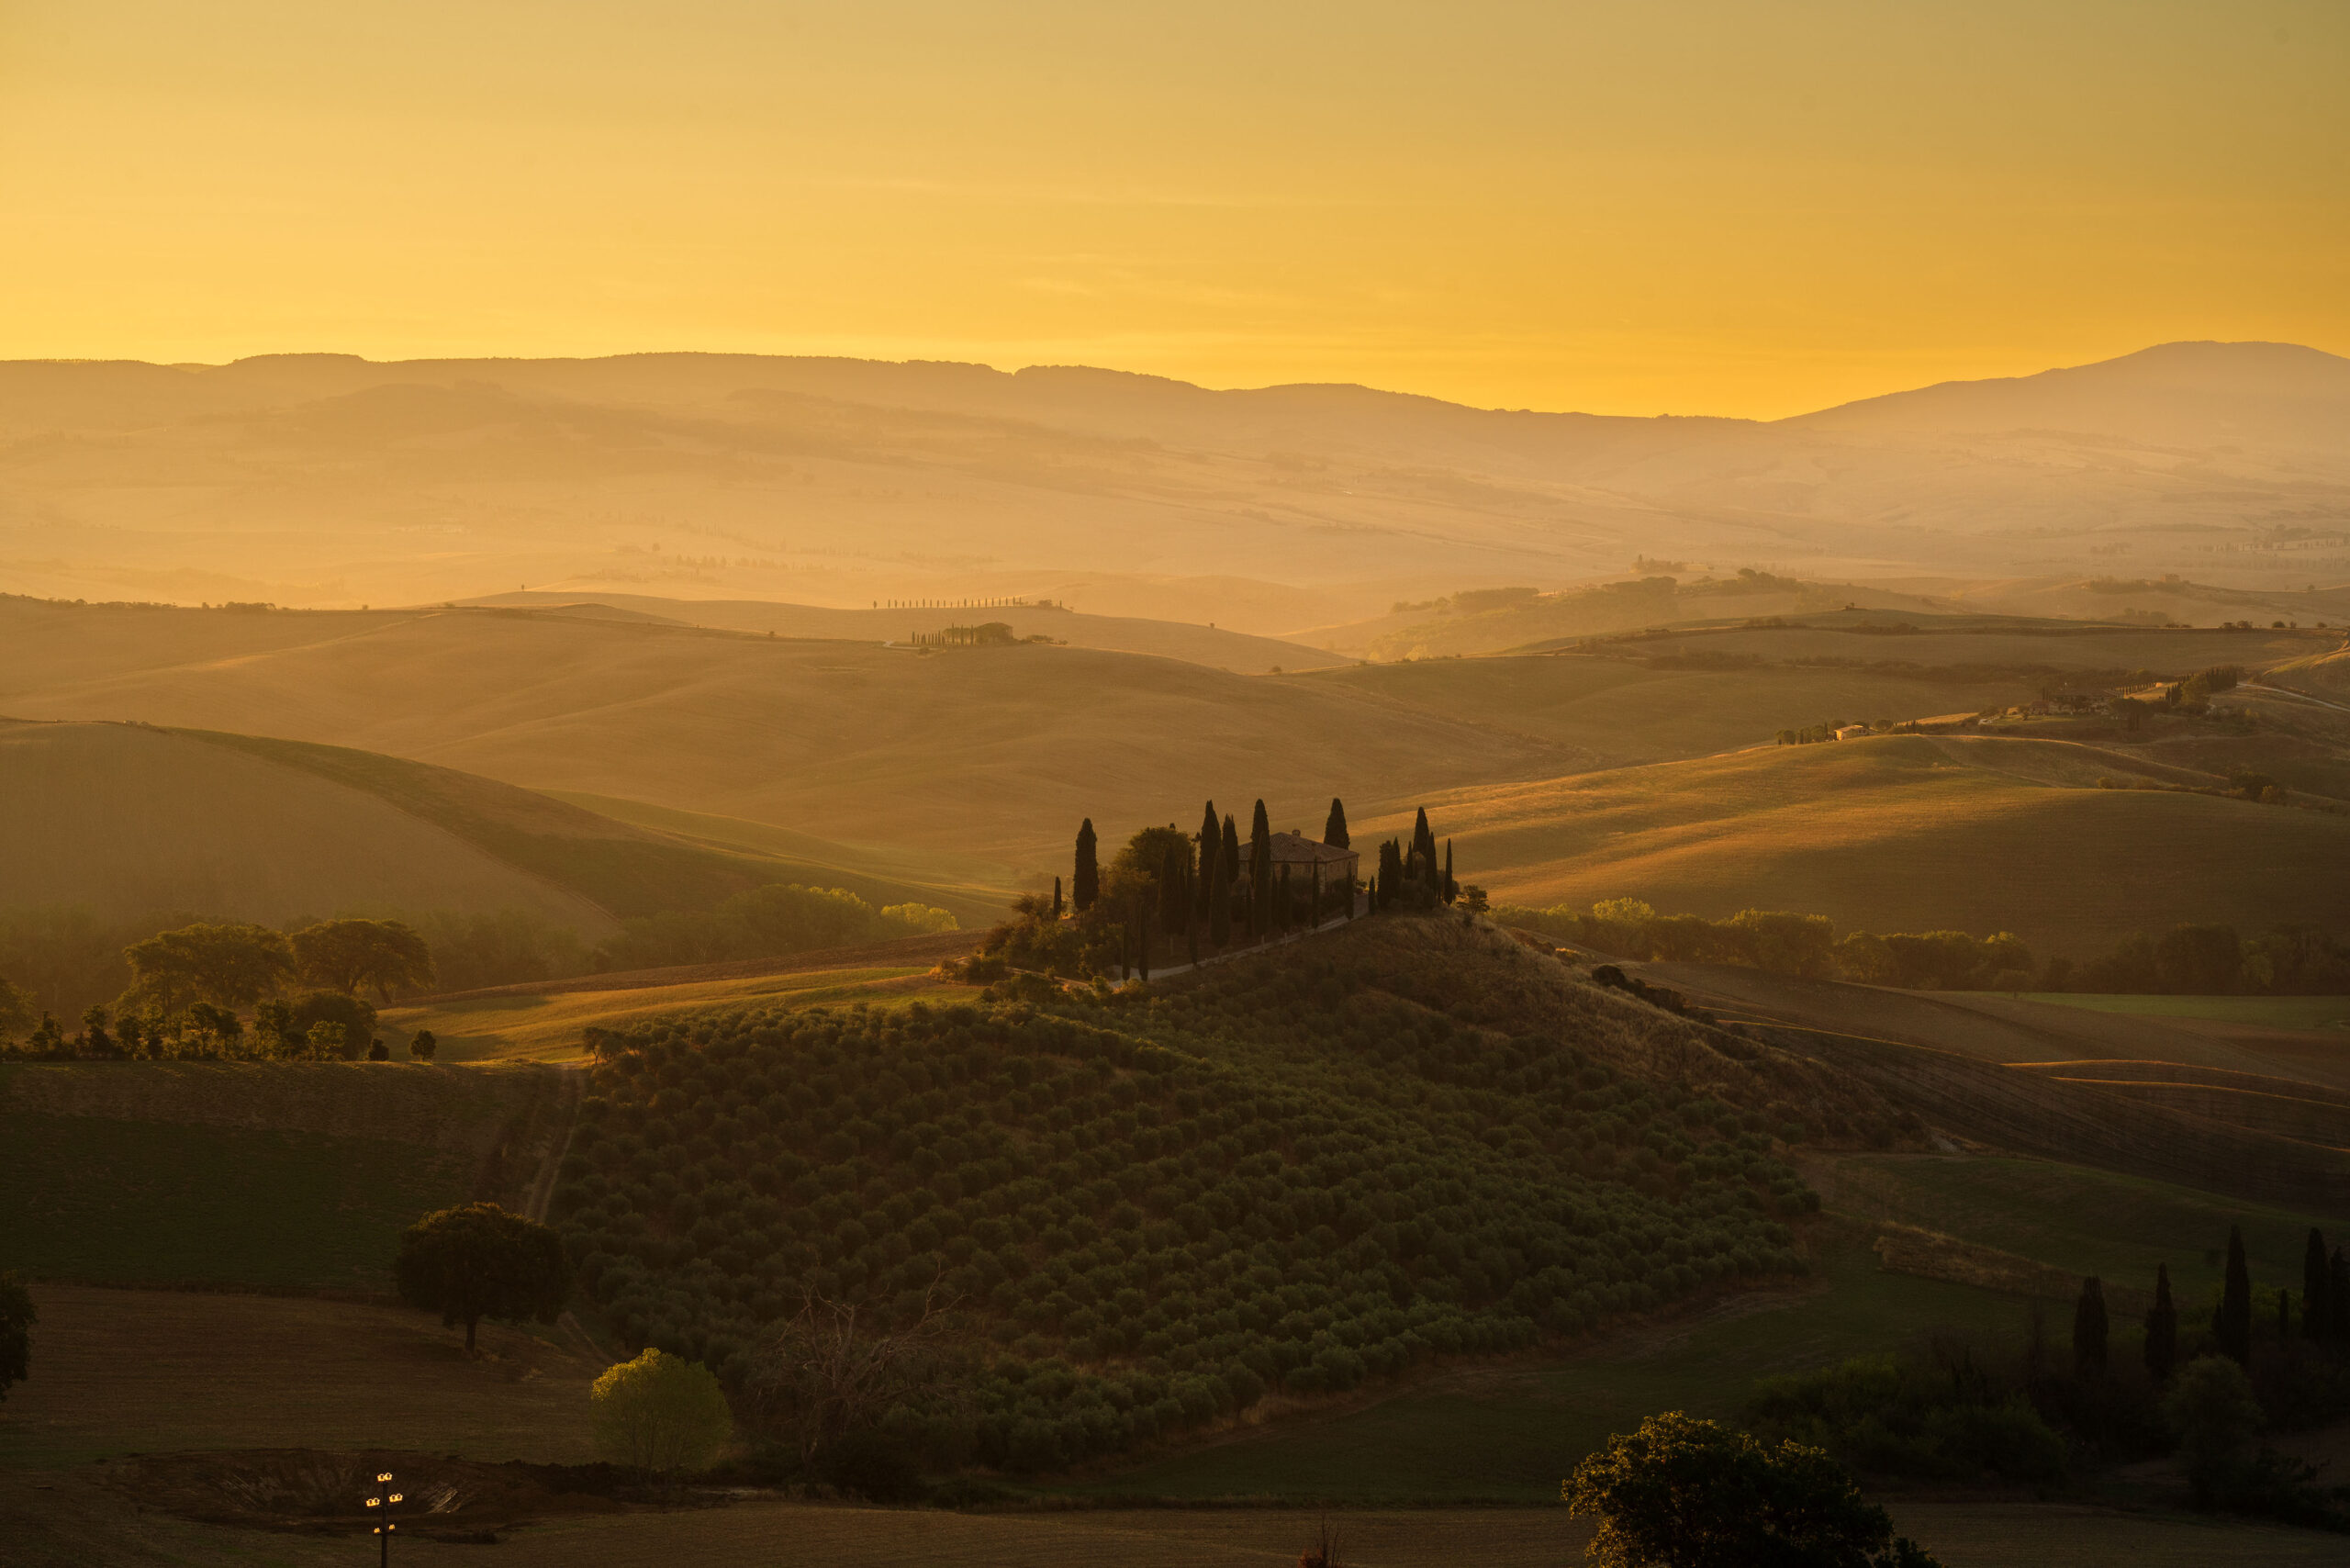
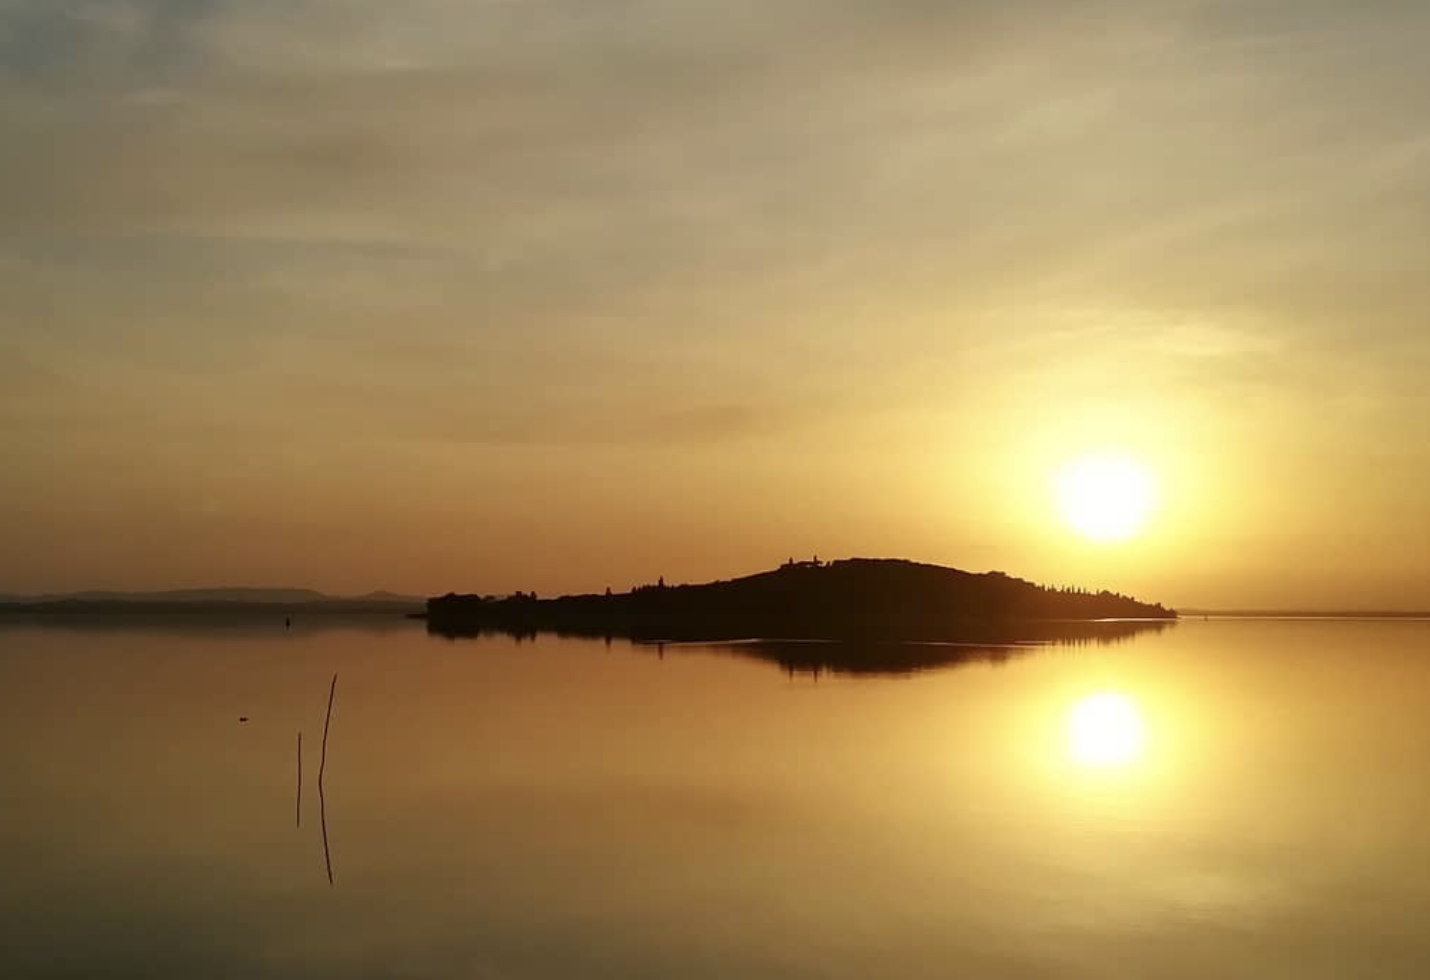
5. Focus on colors in the warm light of sunset
To take photos at sunset you have to consider the subject and where you are.
- If you are in the woods, don’t wait for sunset, because the light will be insufficient. Here the last useful moment will be half an hour before the sun disappears behind the horizon or behind another mountain. You can take advantage of the light that penetrates between the branches as described in the previous point.
- If, however, you are photographing an avenue, an isolated tree, a hill of vineyards or any other subject that leaves the sky and the horizon free, then you can shoot for the entire time of sunset, playing with the colors of the sky that are close to the shades of the leaves.
The warm light of the sunset will emphasize the colors of the foliage and details and give warmth to the whole scene, without the need to apply further filters in post production.

Photo by Jake Givens on Unsplash 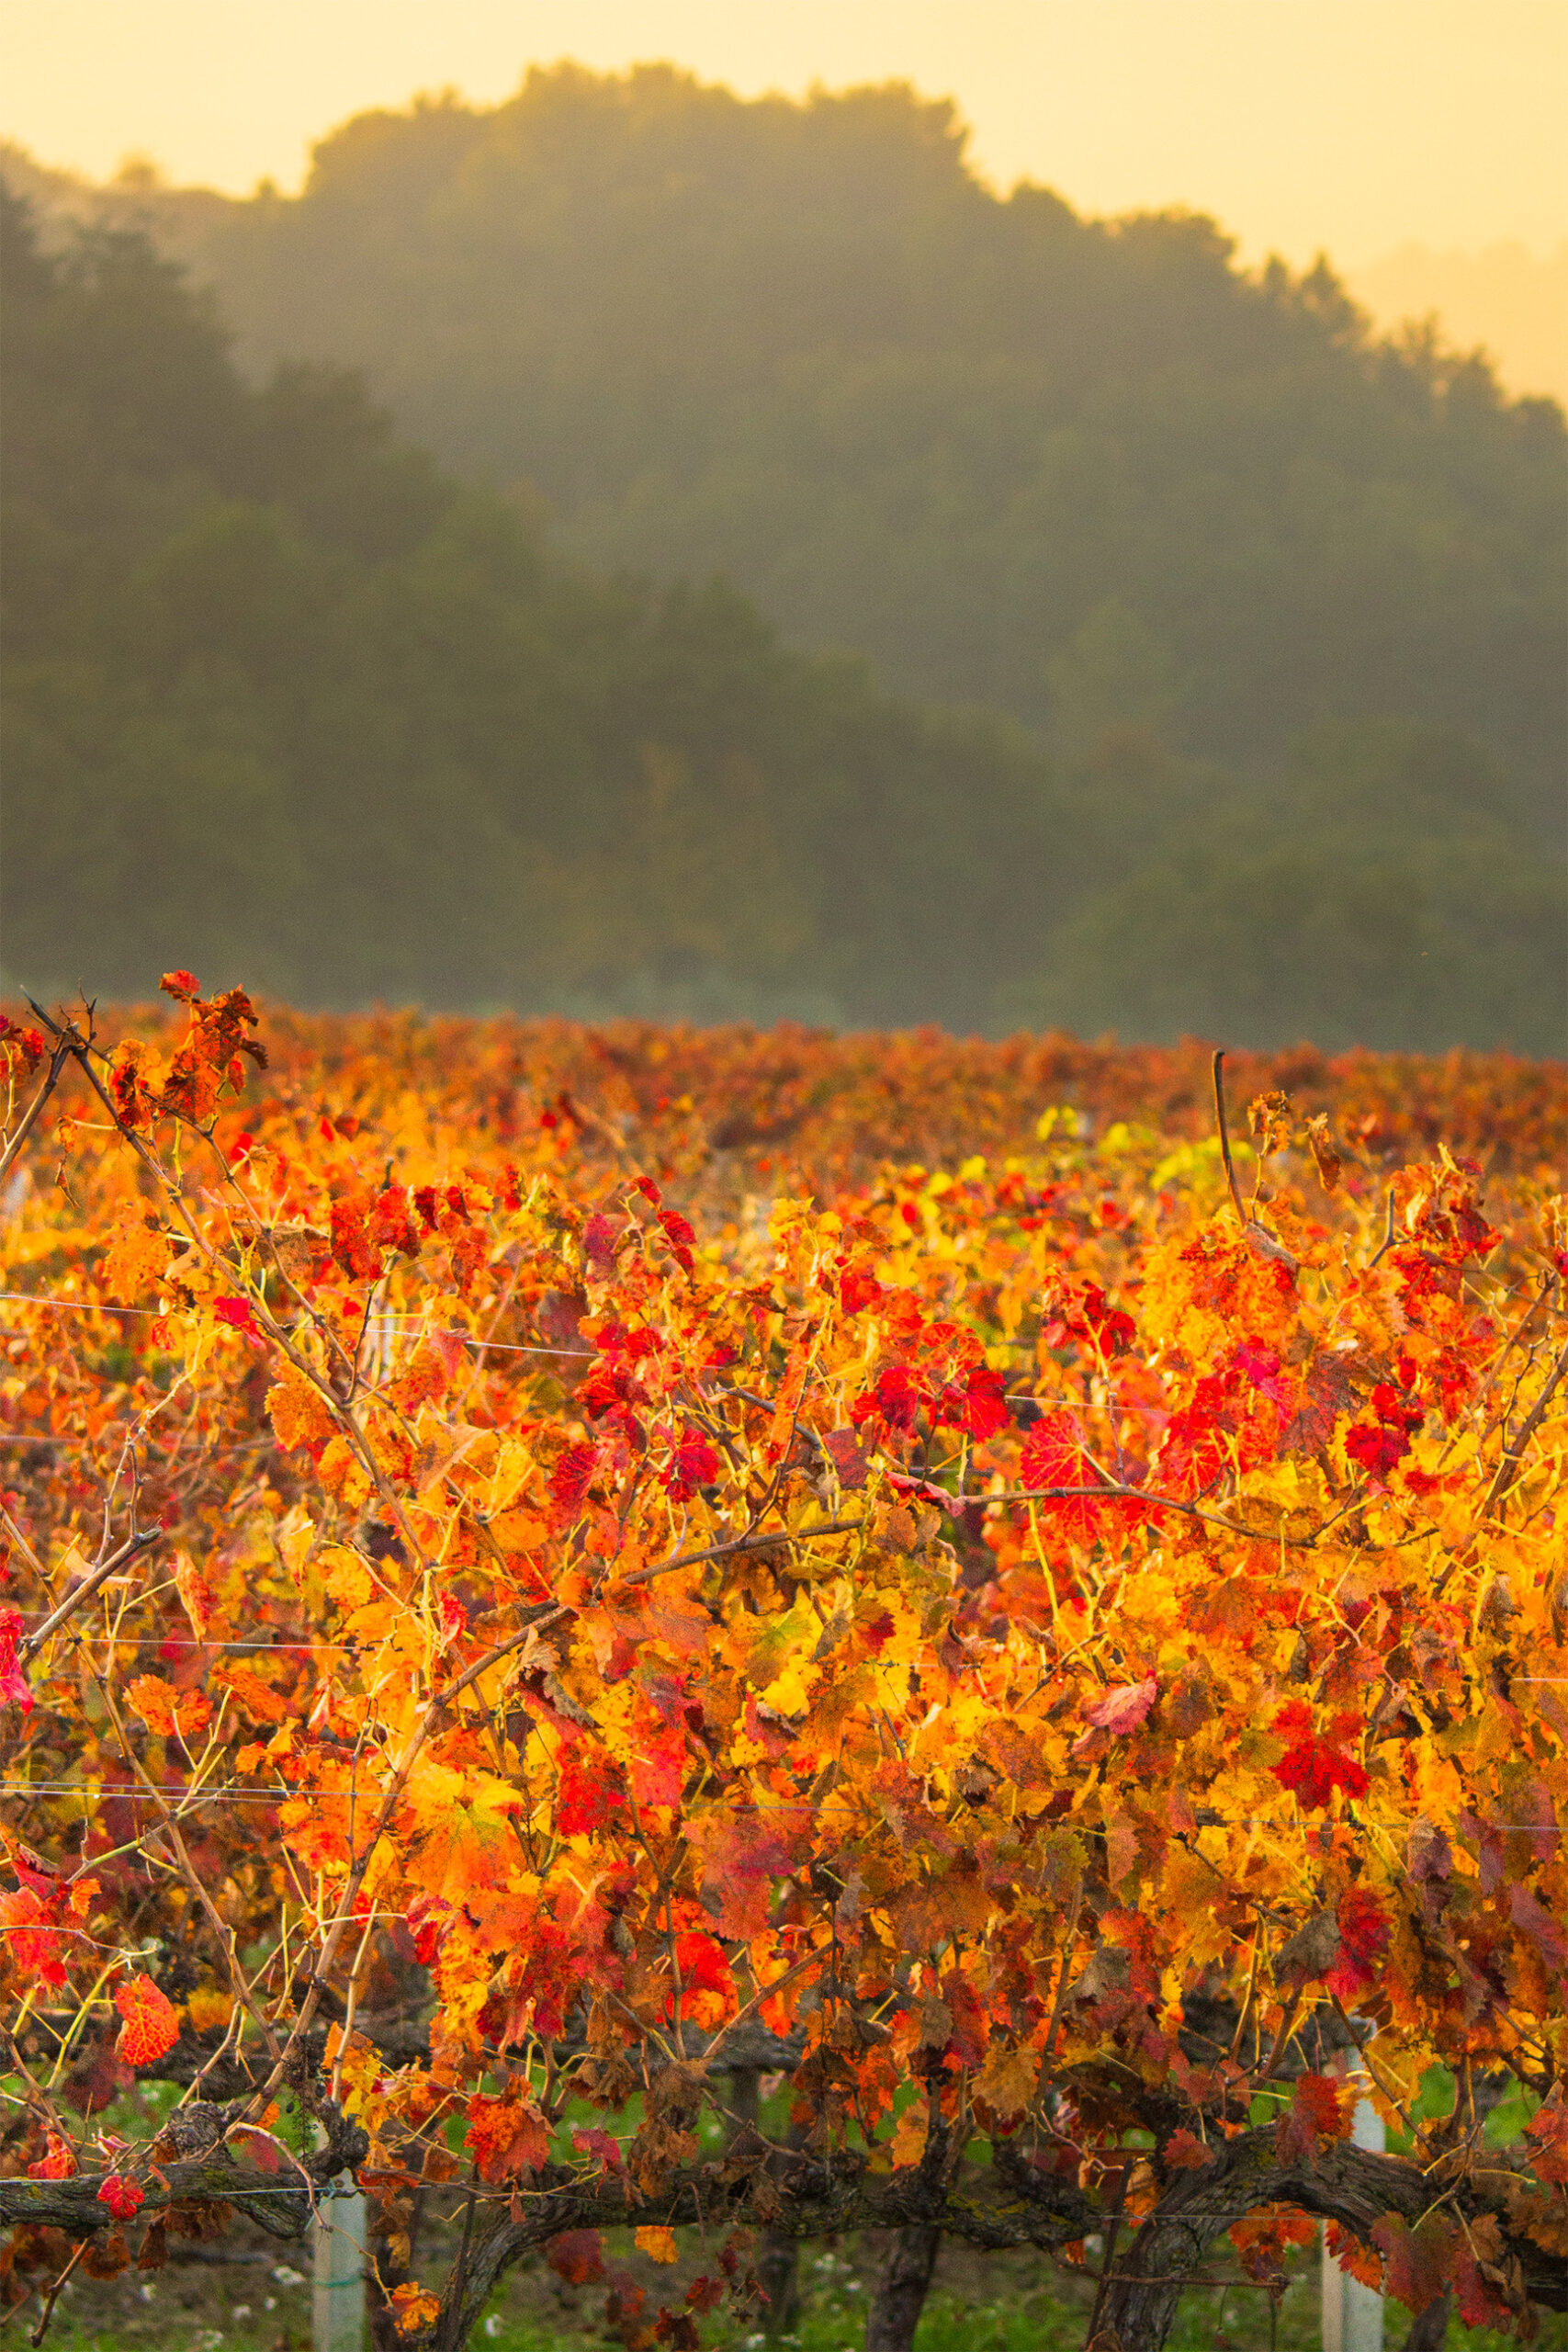
@giadaantonini_photography
In the next posts we will give you other photo tips for fall foliage pics, that will help you take incredible shots.
We will talk about:
- Photo tips for your fall foliage photos with human subjects
- Photo tips for your fall foliage photos: the equipment
- Photo tips for your fall foliage photos: editing, filters and presets
What are you waiting for?
Follow our tips and tag us in your shots! The best photos will be shared on Imagomap Instagram and Facebook page.
If you liked our post, share it and leave a comment!