Discover our sunrise and sunset photography tips and practical examples to realize beautiful shots and capture unforgettable atmospheres!
But managing those light conditions, in which there is a lot of contrast between the brightness of the sky and the dark earth, is not easy at all.
So, let’s see how to best manage our camera to get incredible photos, which will not betray the beauty of what our eyes observe.
Often, in fact, looking at our photos, they do not seem to represent what we have seen in person at their best. This happens mainly because our eye, unlike the camera, has an extraordinary ability to adapt to almost any existing light condition, even when observing environments with different exposures at the same time. For the camera however, when the dynamic range of the image is greater than the capabilities of the sensor, some very bright or very dark parts will not be able to be captured correctly, resulting black or white respectively.
So how can we compensate for this problem in our cameras?
Follow our advice!
1. With your smartphone
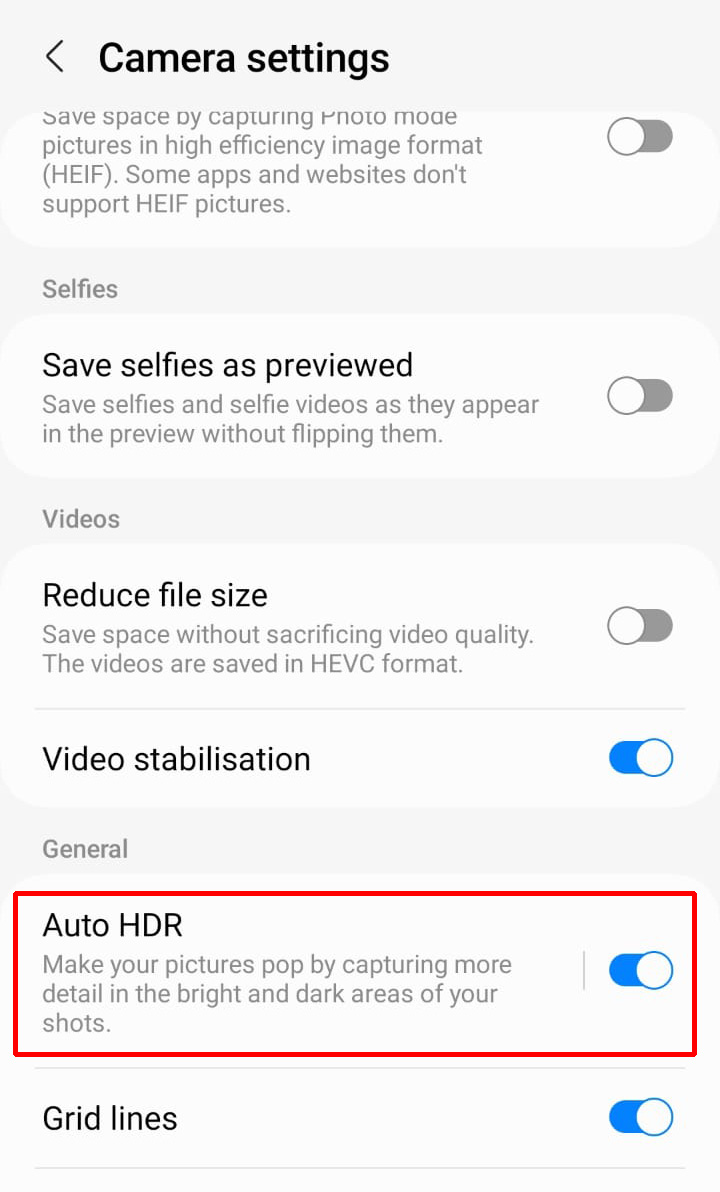
If you use a smartphone, automatic HDR is usually present, just activate it and focus by touching the screen in a dark part of the frame, to calibrate the brightness. In this way the lightest part, that of the sky, will become almost white.
But after taking the shot, looking back at the photo, you will see that the phone will have automatically recorded several exposures and the result will be perfect, with no areas that are too dark or too light, and with bright colors.
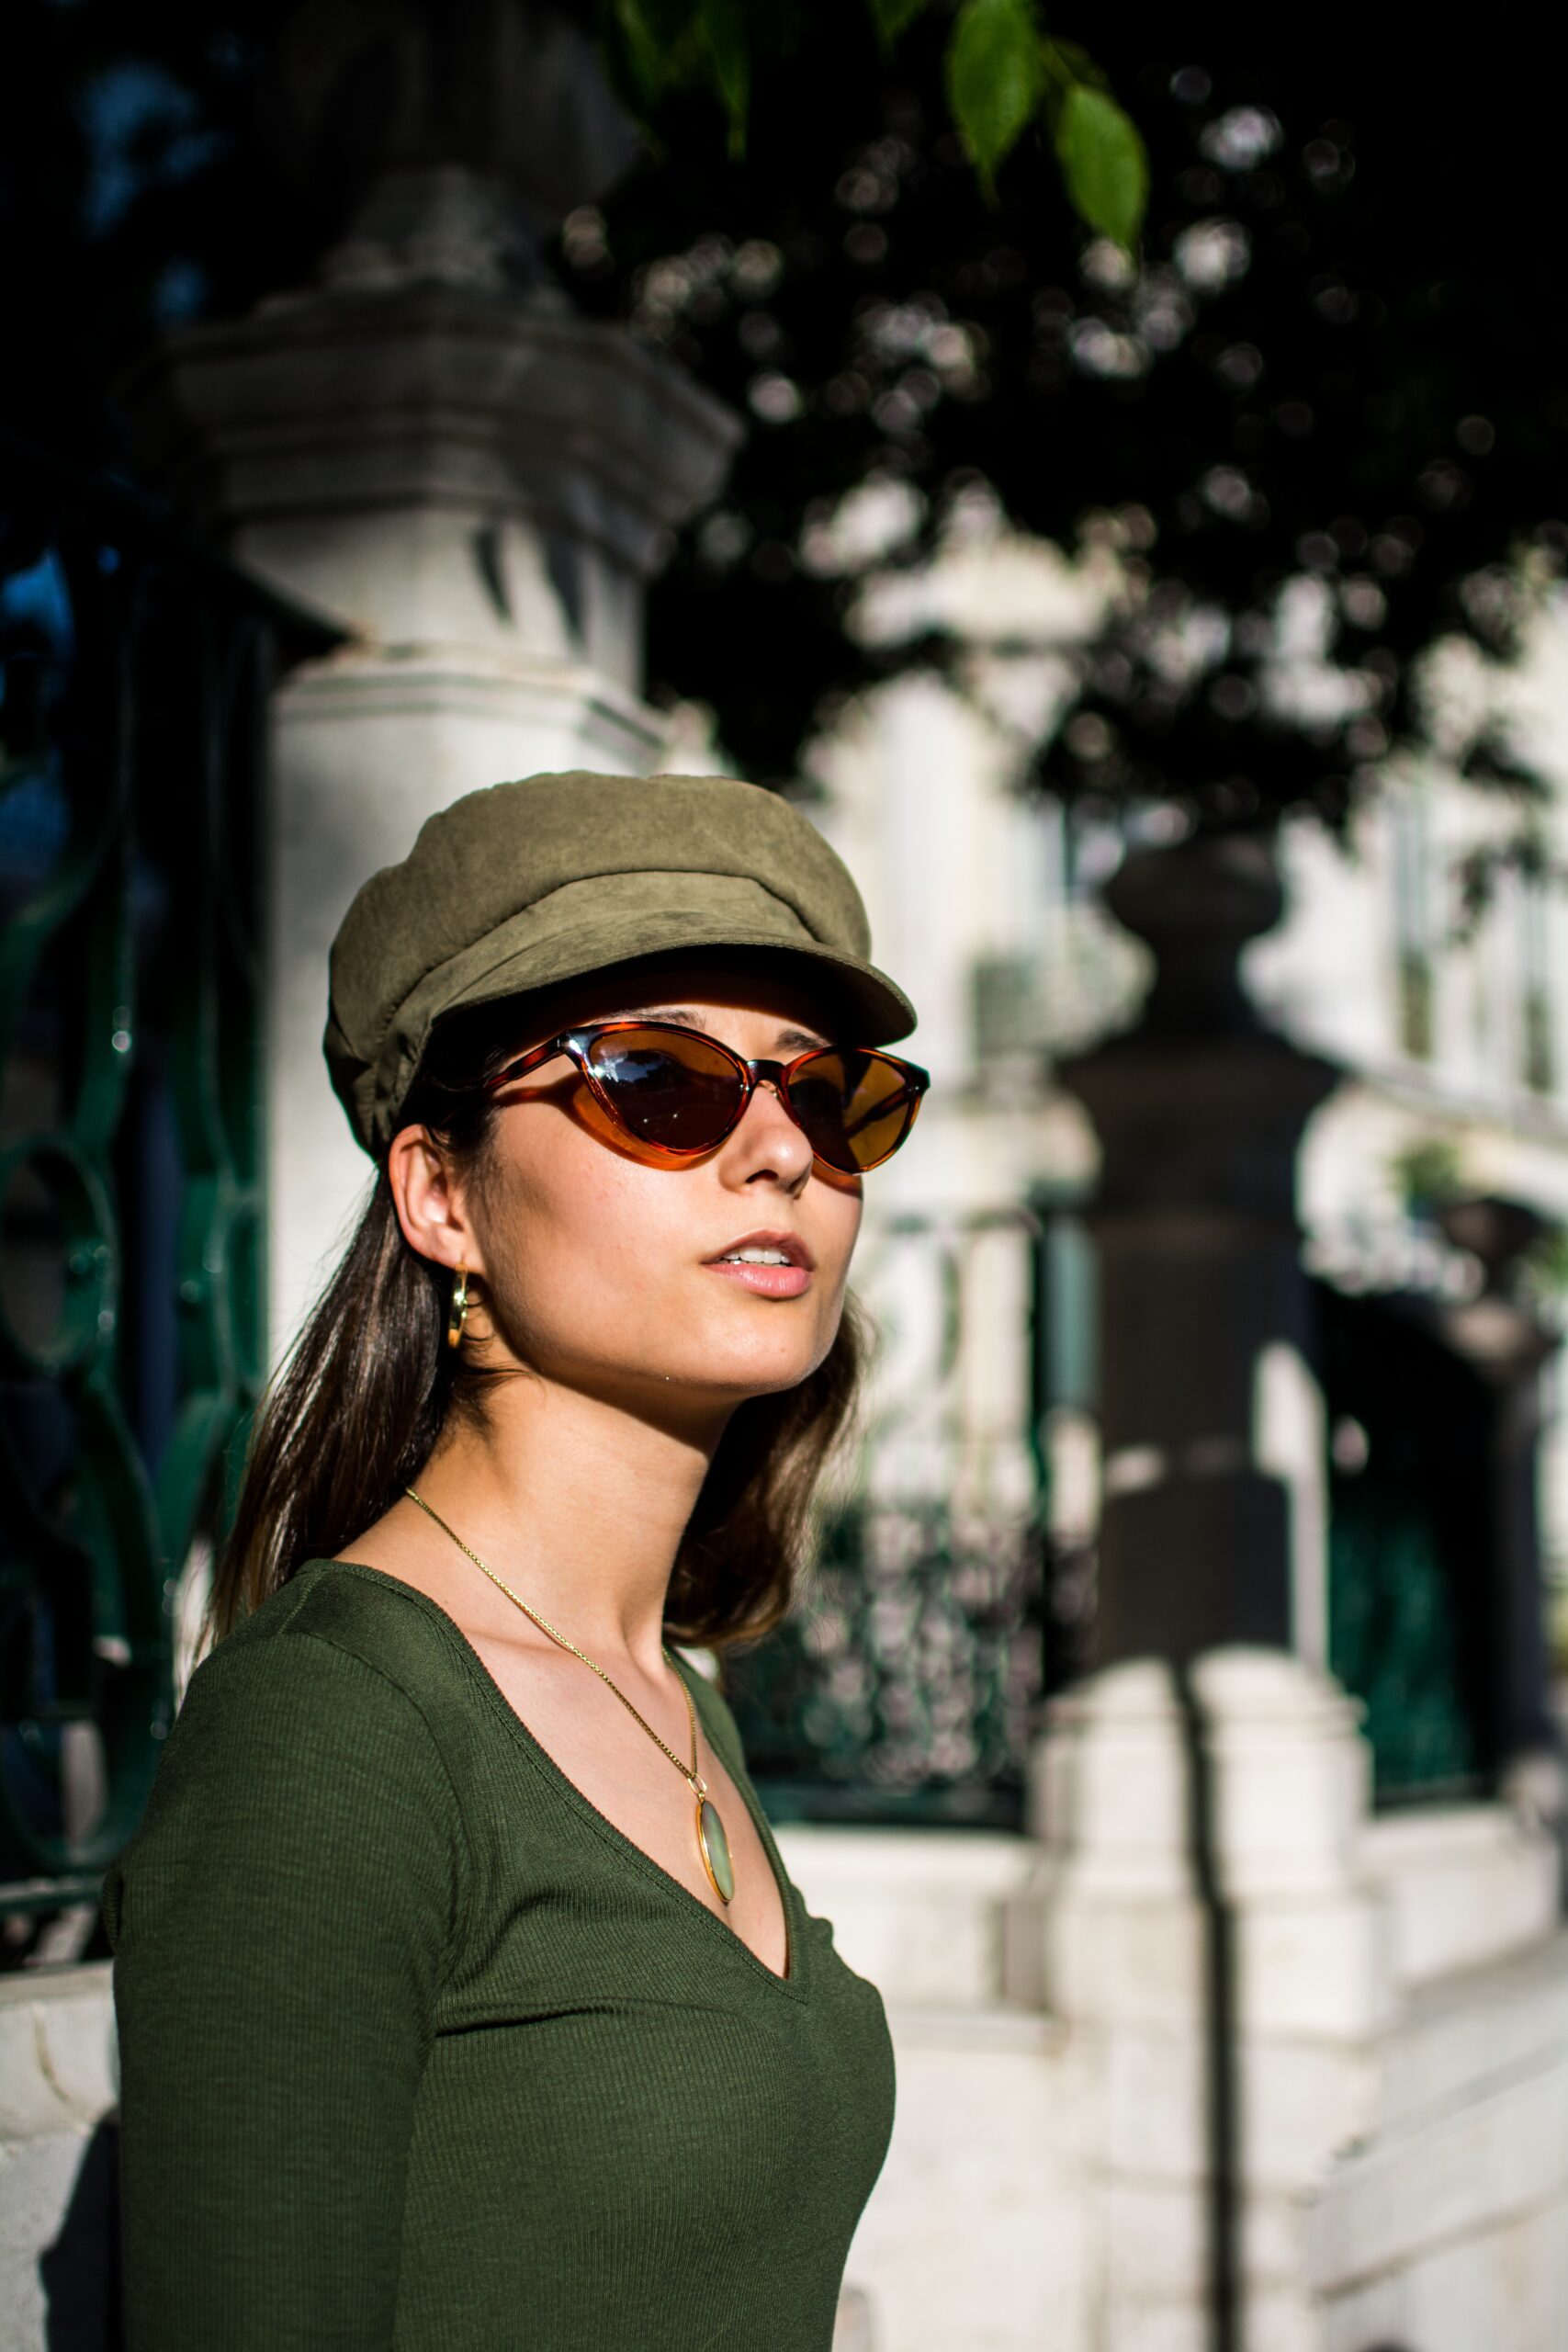
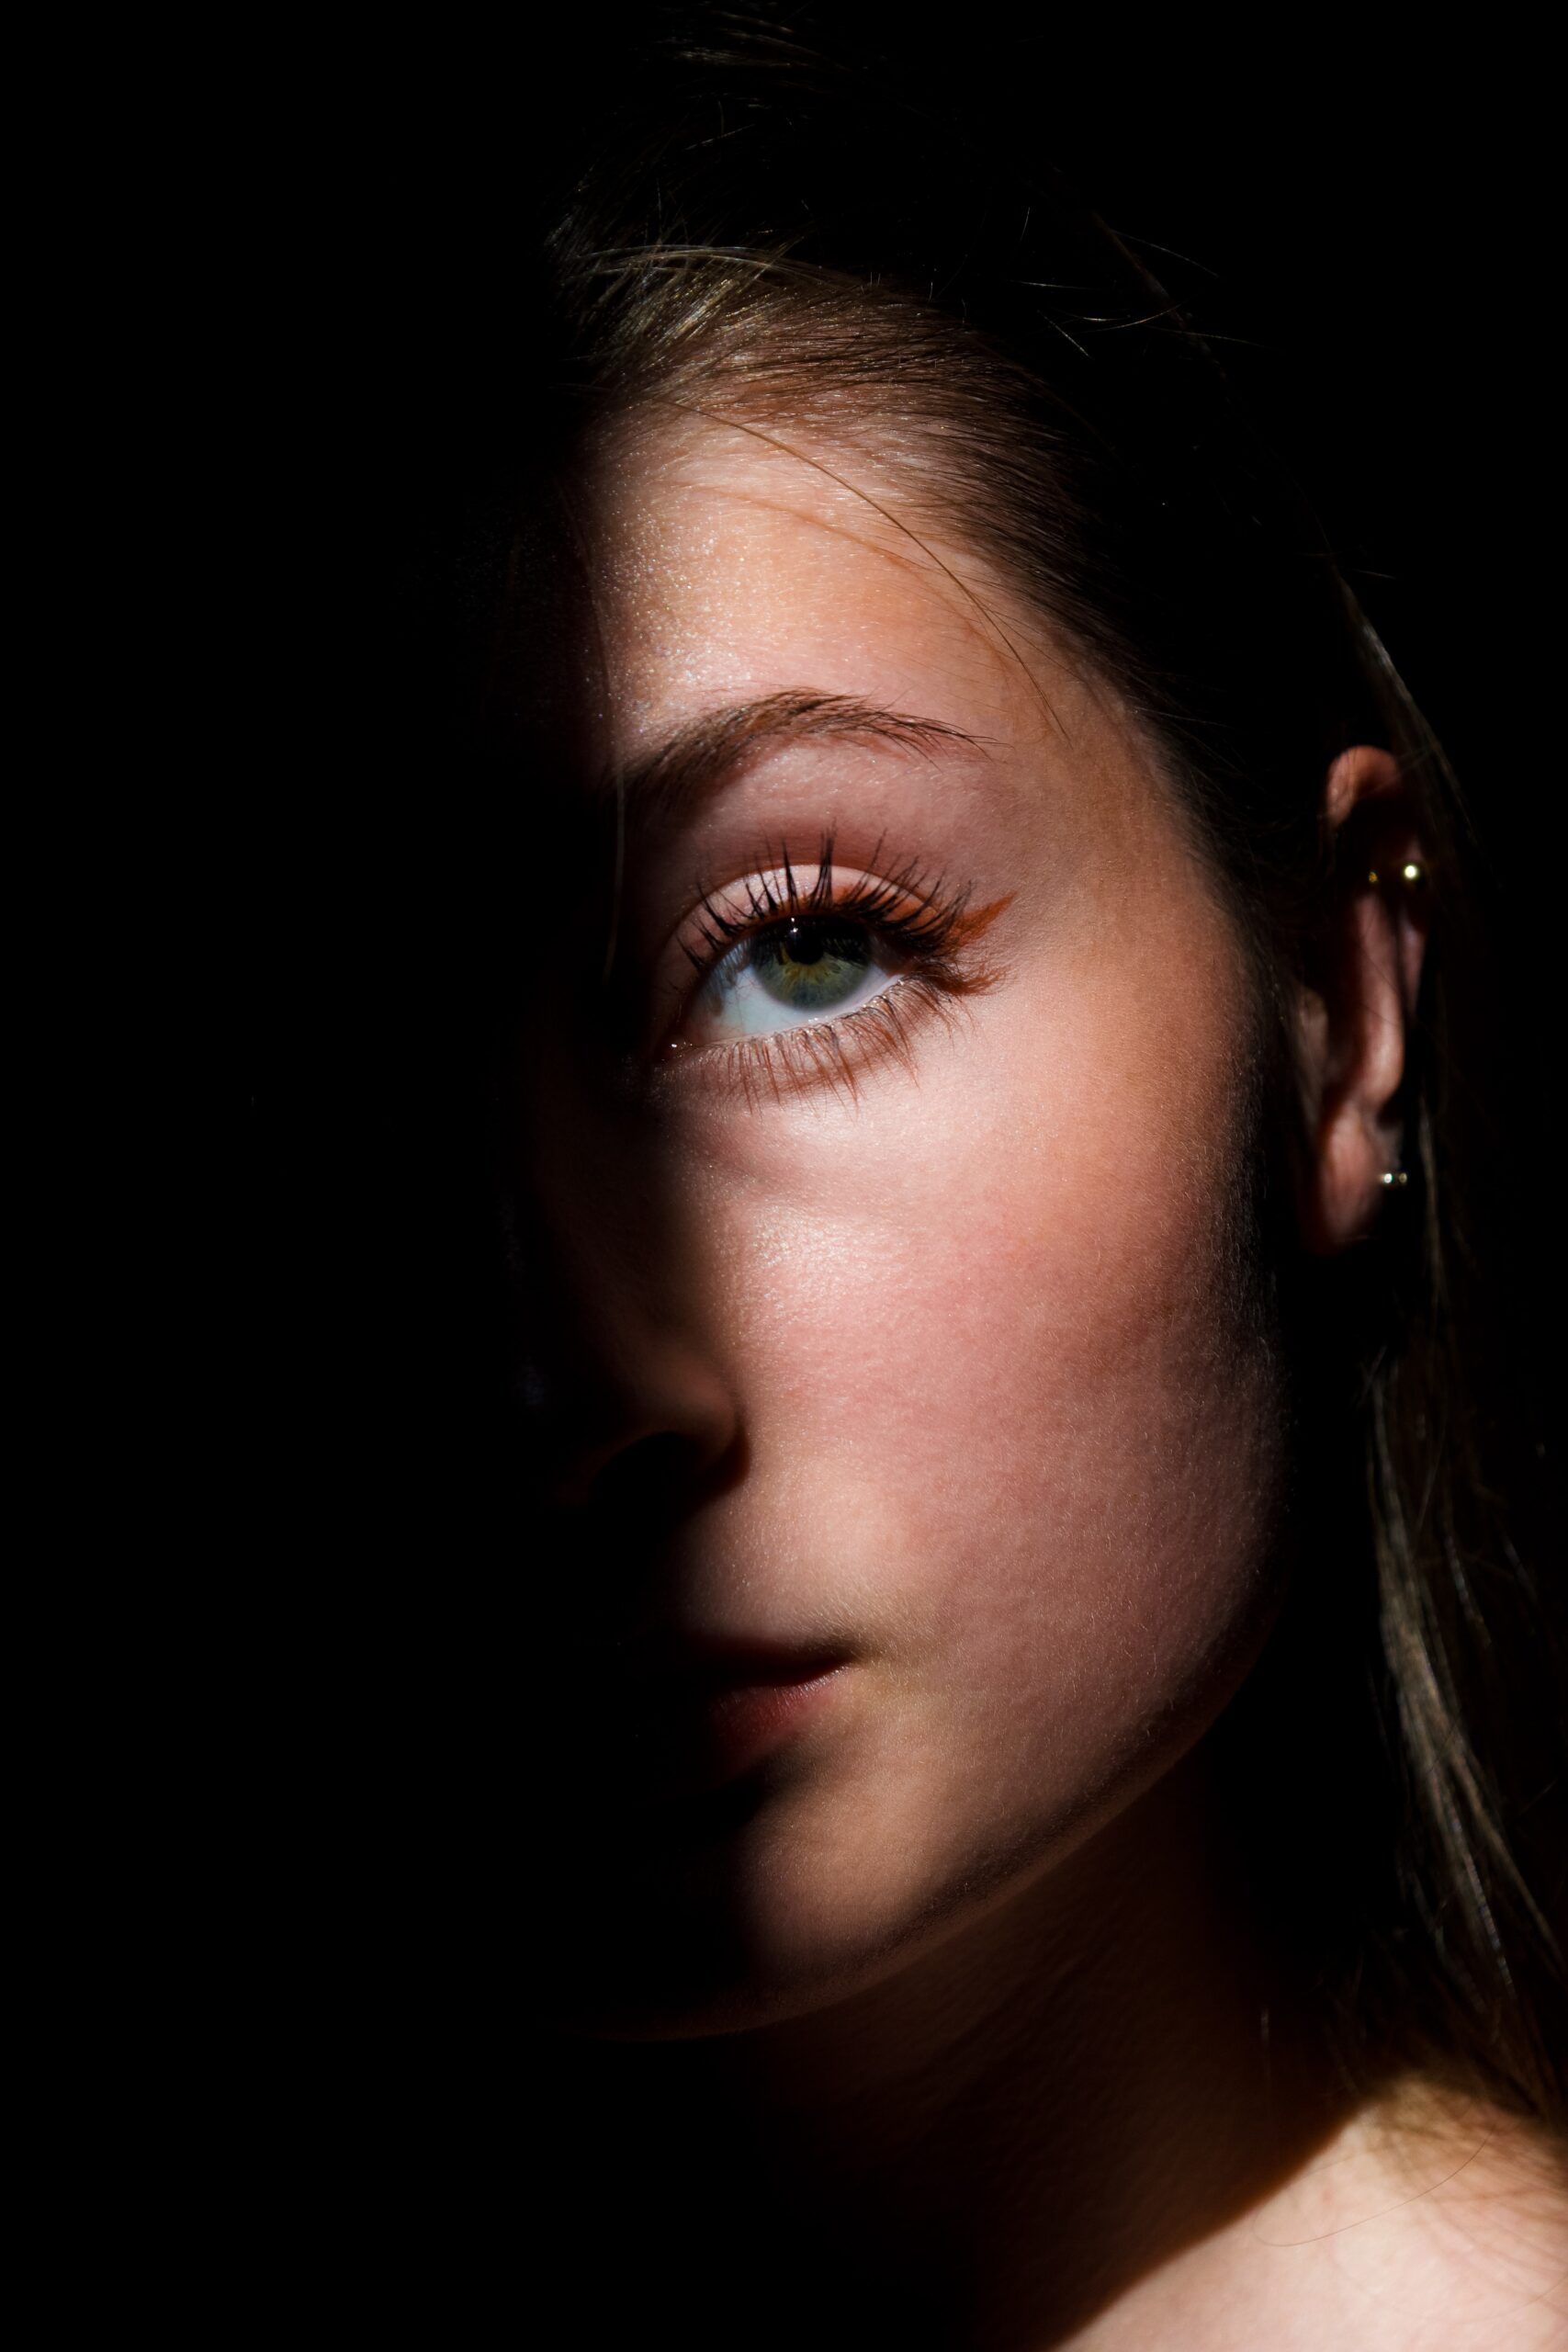
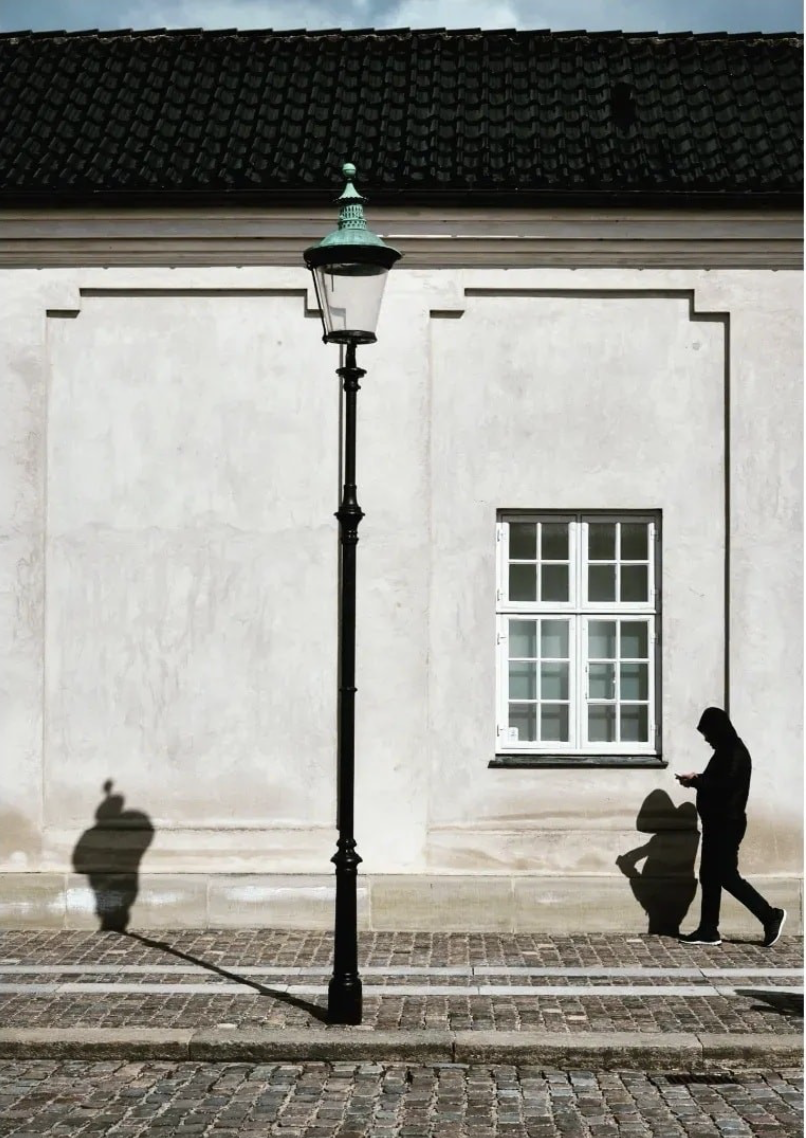
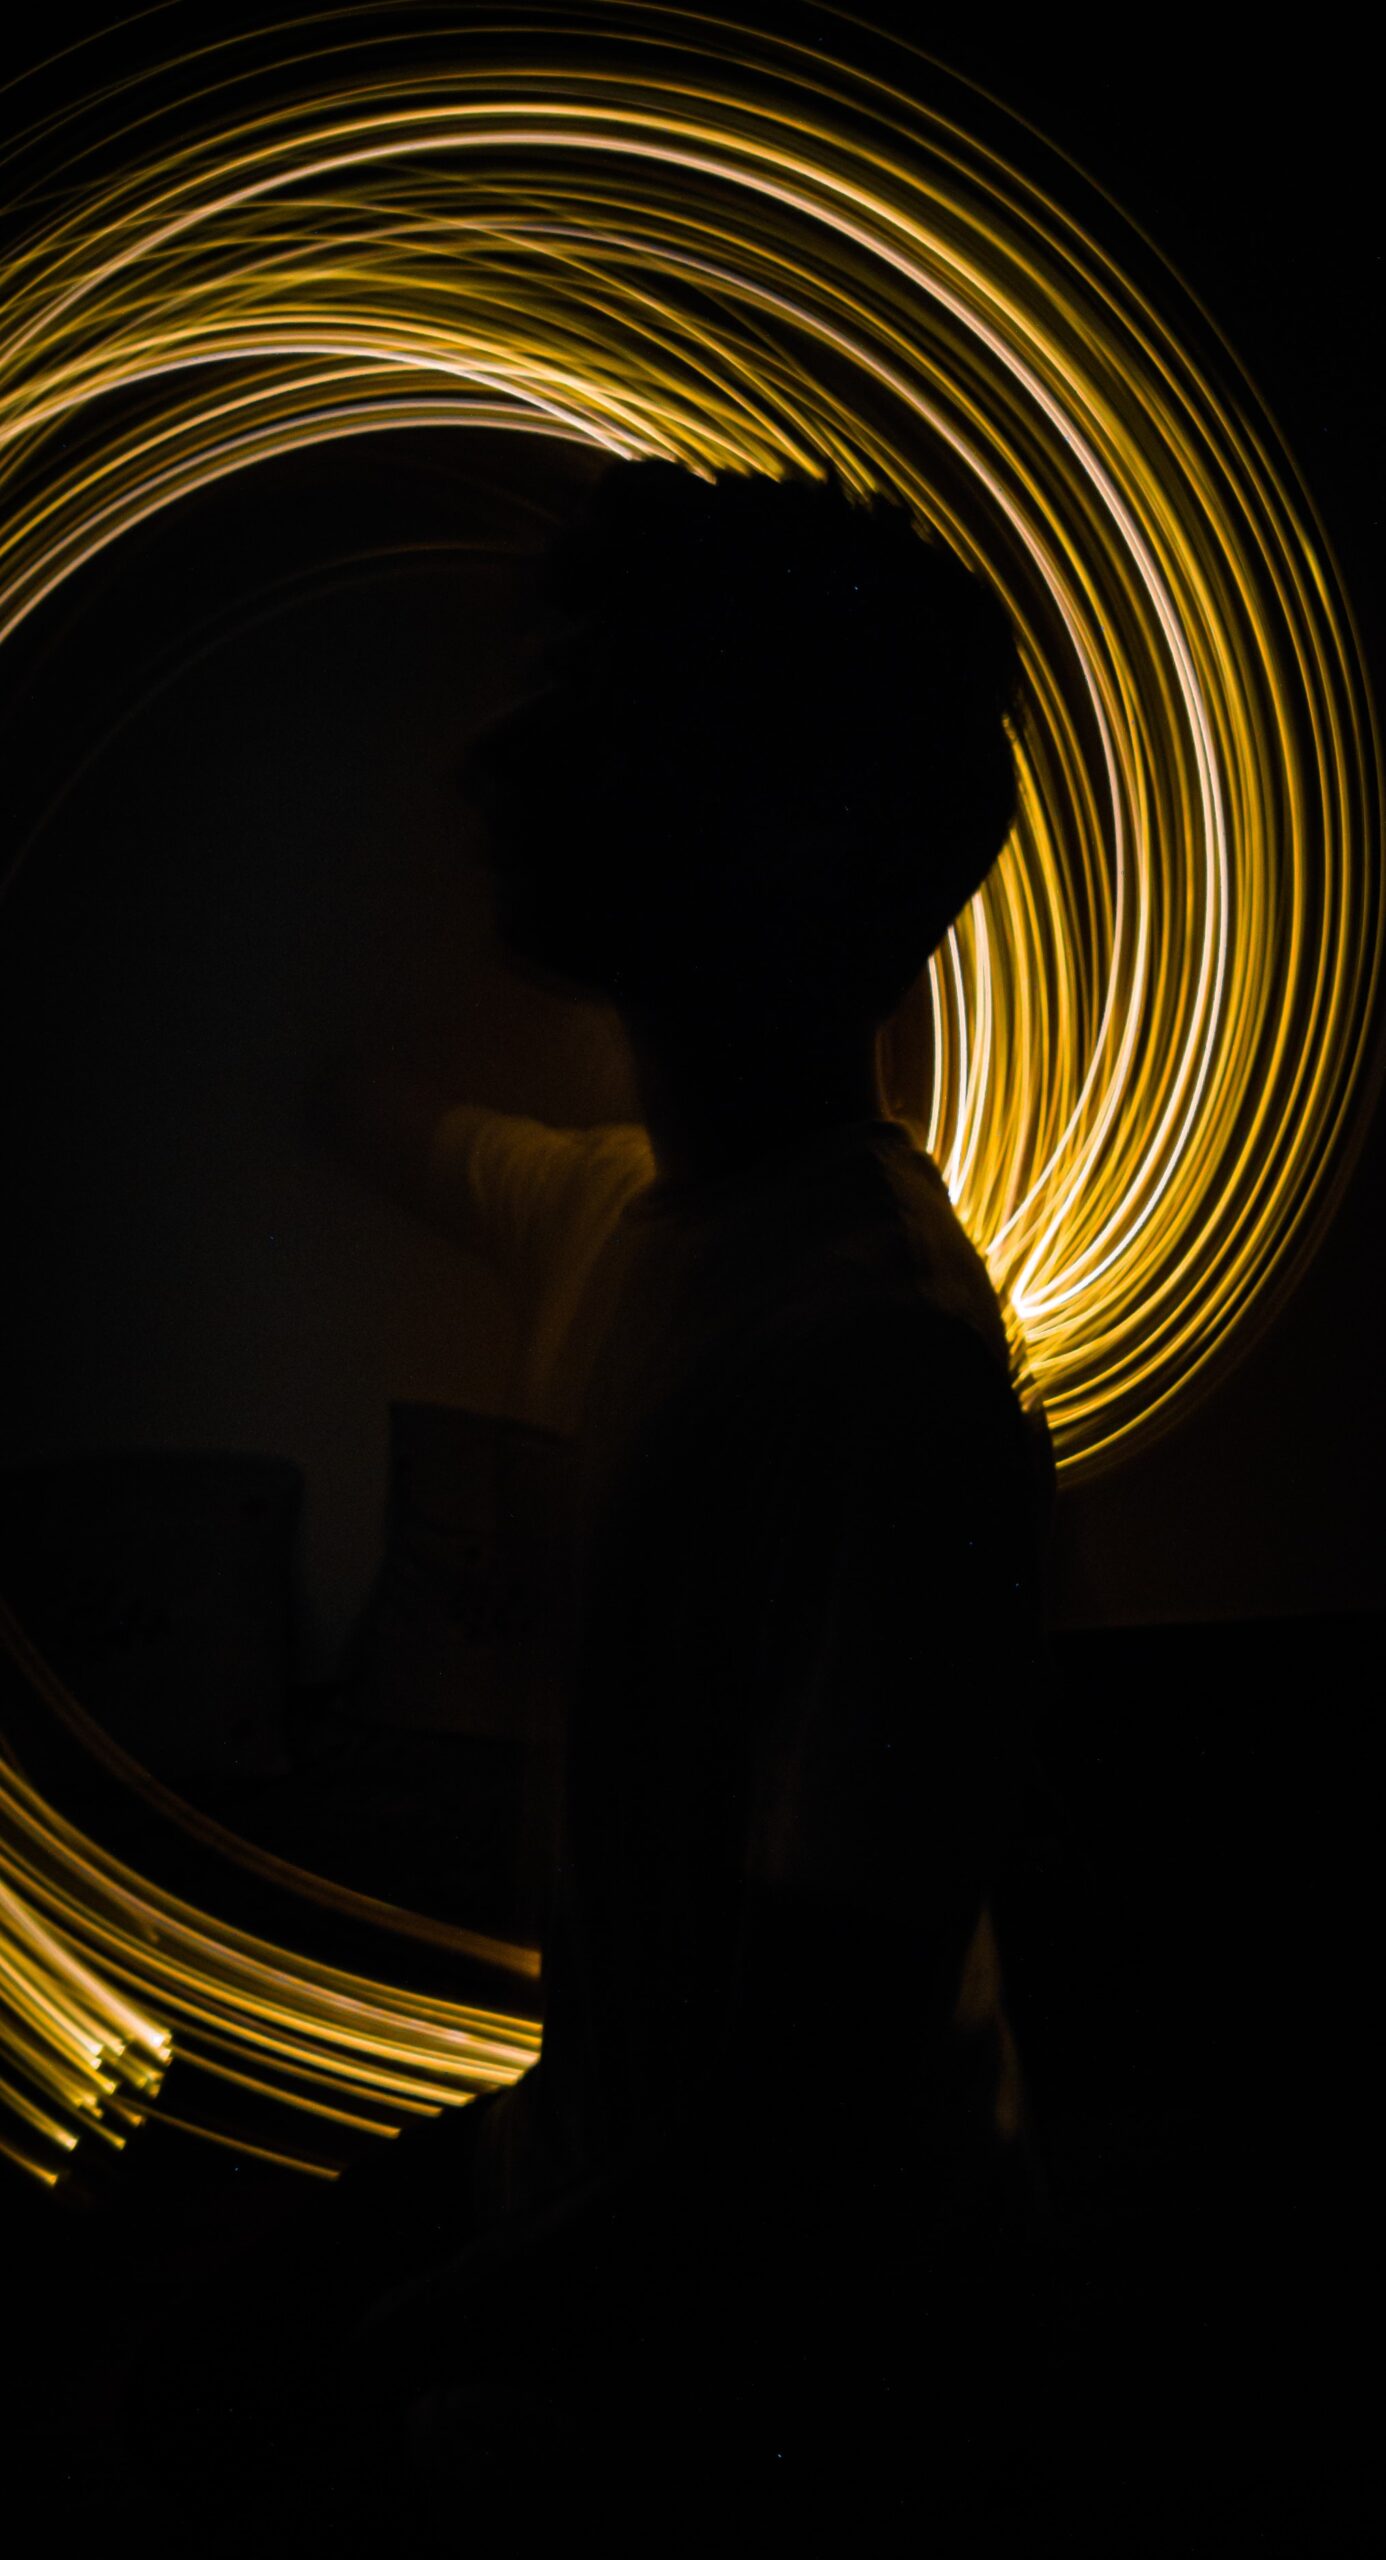
Automatic HDR is usually already active, otherwise look for it in the settings. If you shoot against the light and insert a human subject, but the color of the sky is too light and the face remains dark, click right above the face before shooting, to increase the brightness.
After shooting, thanks to the HDR mode, you will also have recovered the background colors and at the same time you will have your subject bright and recognizable!
In the image below you can
Ph:@giadaantonini_photography 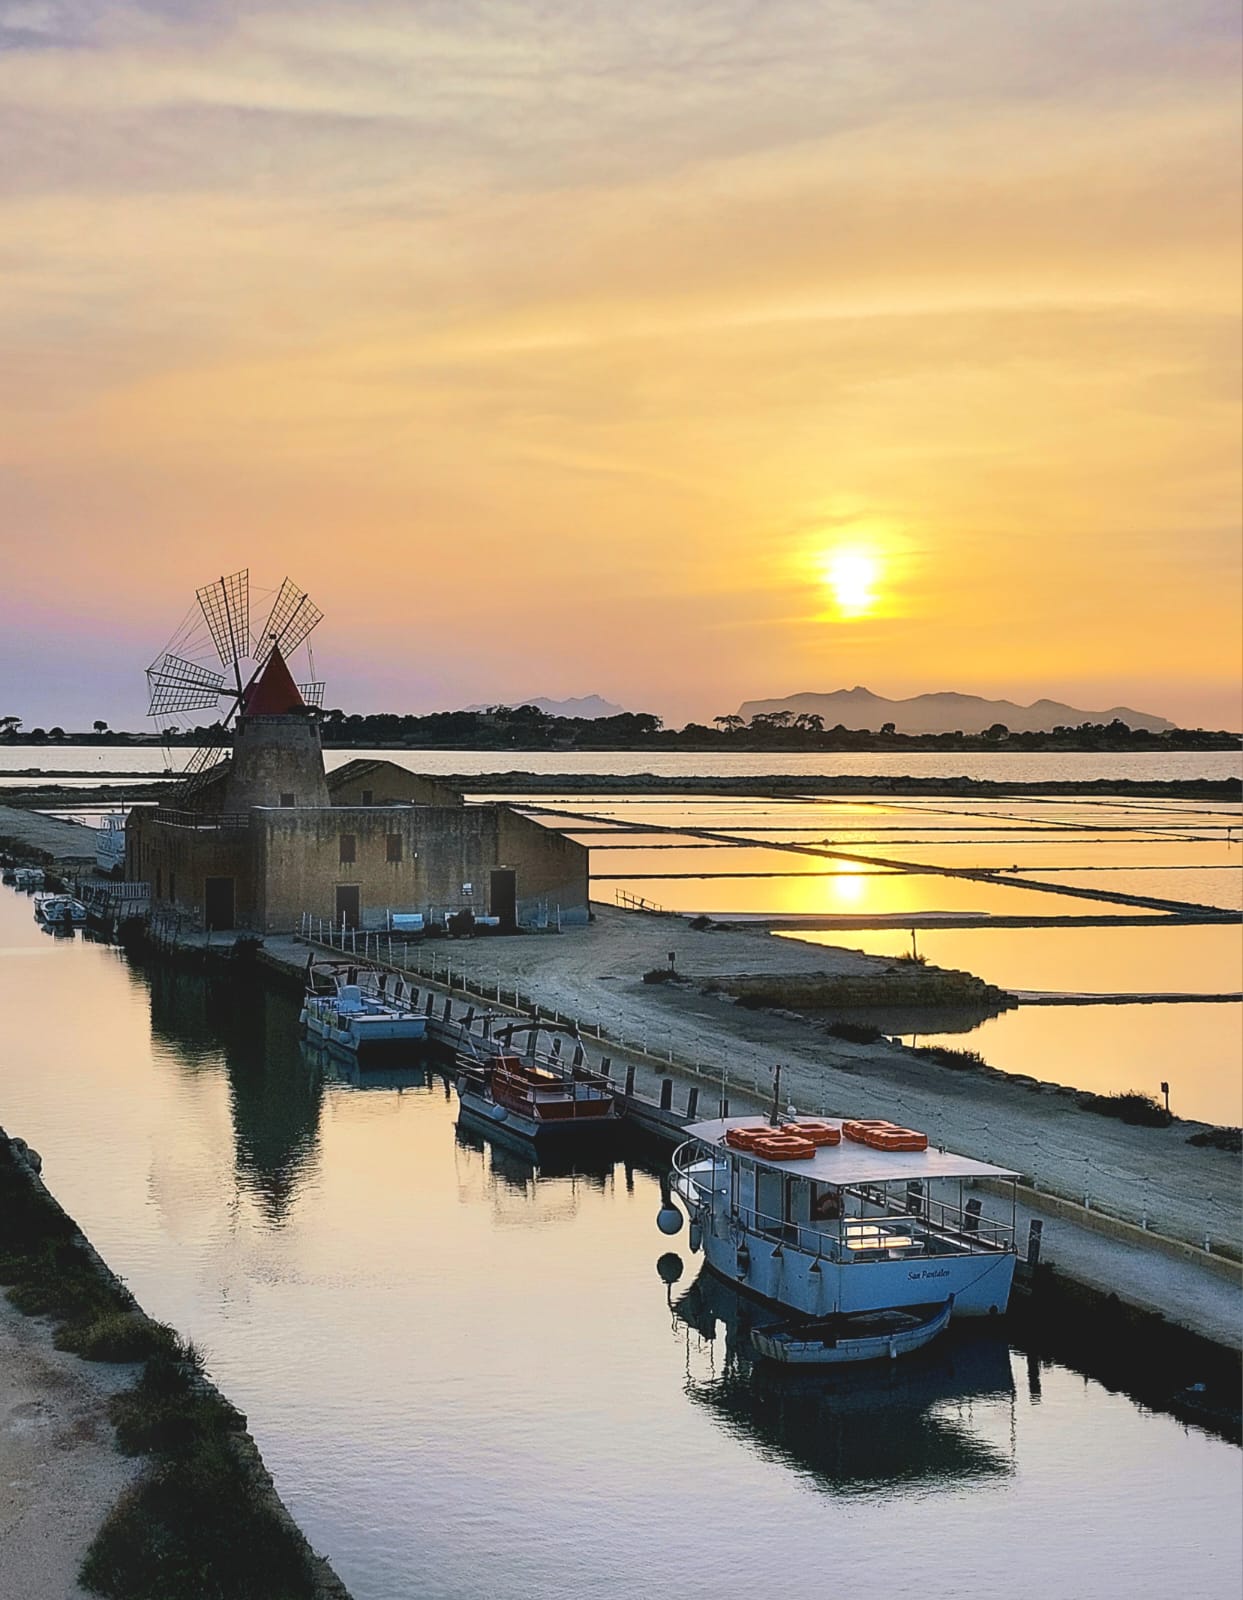
Ph:@giadaantonini_photography
2. The filters with the reflex
If, on the other hand, you use a reflex, you can use two methods: the first is to use a degrading filter, that is a glass plate that goes from completely transparent to black, to be mounted in front of the lens thanks to a holder, in order to recalibrate the exposure of the darker areas.
The filters are of different materials and intensities, more nuanced or with a sharper edge, depending on your needs, but you won’t need to spend too much money to start with.
You will also need the holder to screw onto the lens (check that your lens has the thread) and where to insert the filter.
By positioning the dark area in correspondence of the brightest part of the photo, you will be able to compensate for the difference in exposure and obtain ready-to-use photos, without the need for post-production.
Furthermore, using this method you will not need a tripod to take multiple overlapping photos, as we will see with the next method, but you will only need it if the light conditions will force you to use long exposure.
In this case, pay attention to where the darkest part of the filter ends and the transparent part begins, especially if this division is clear. By placing the filter on the lens, make sure that this line of demarcation happens right on the point where the exposure of the landscape you are shooting changes.
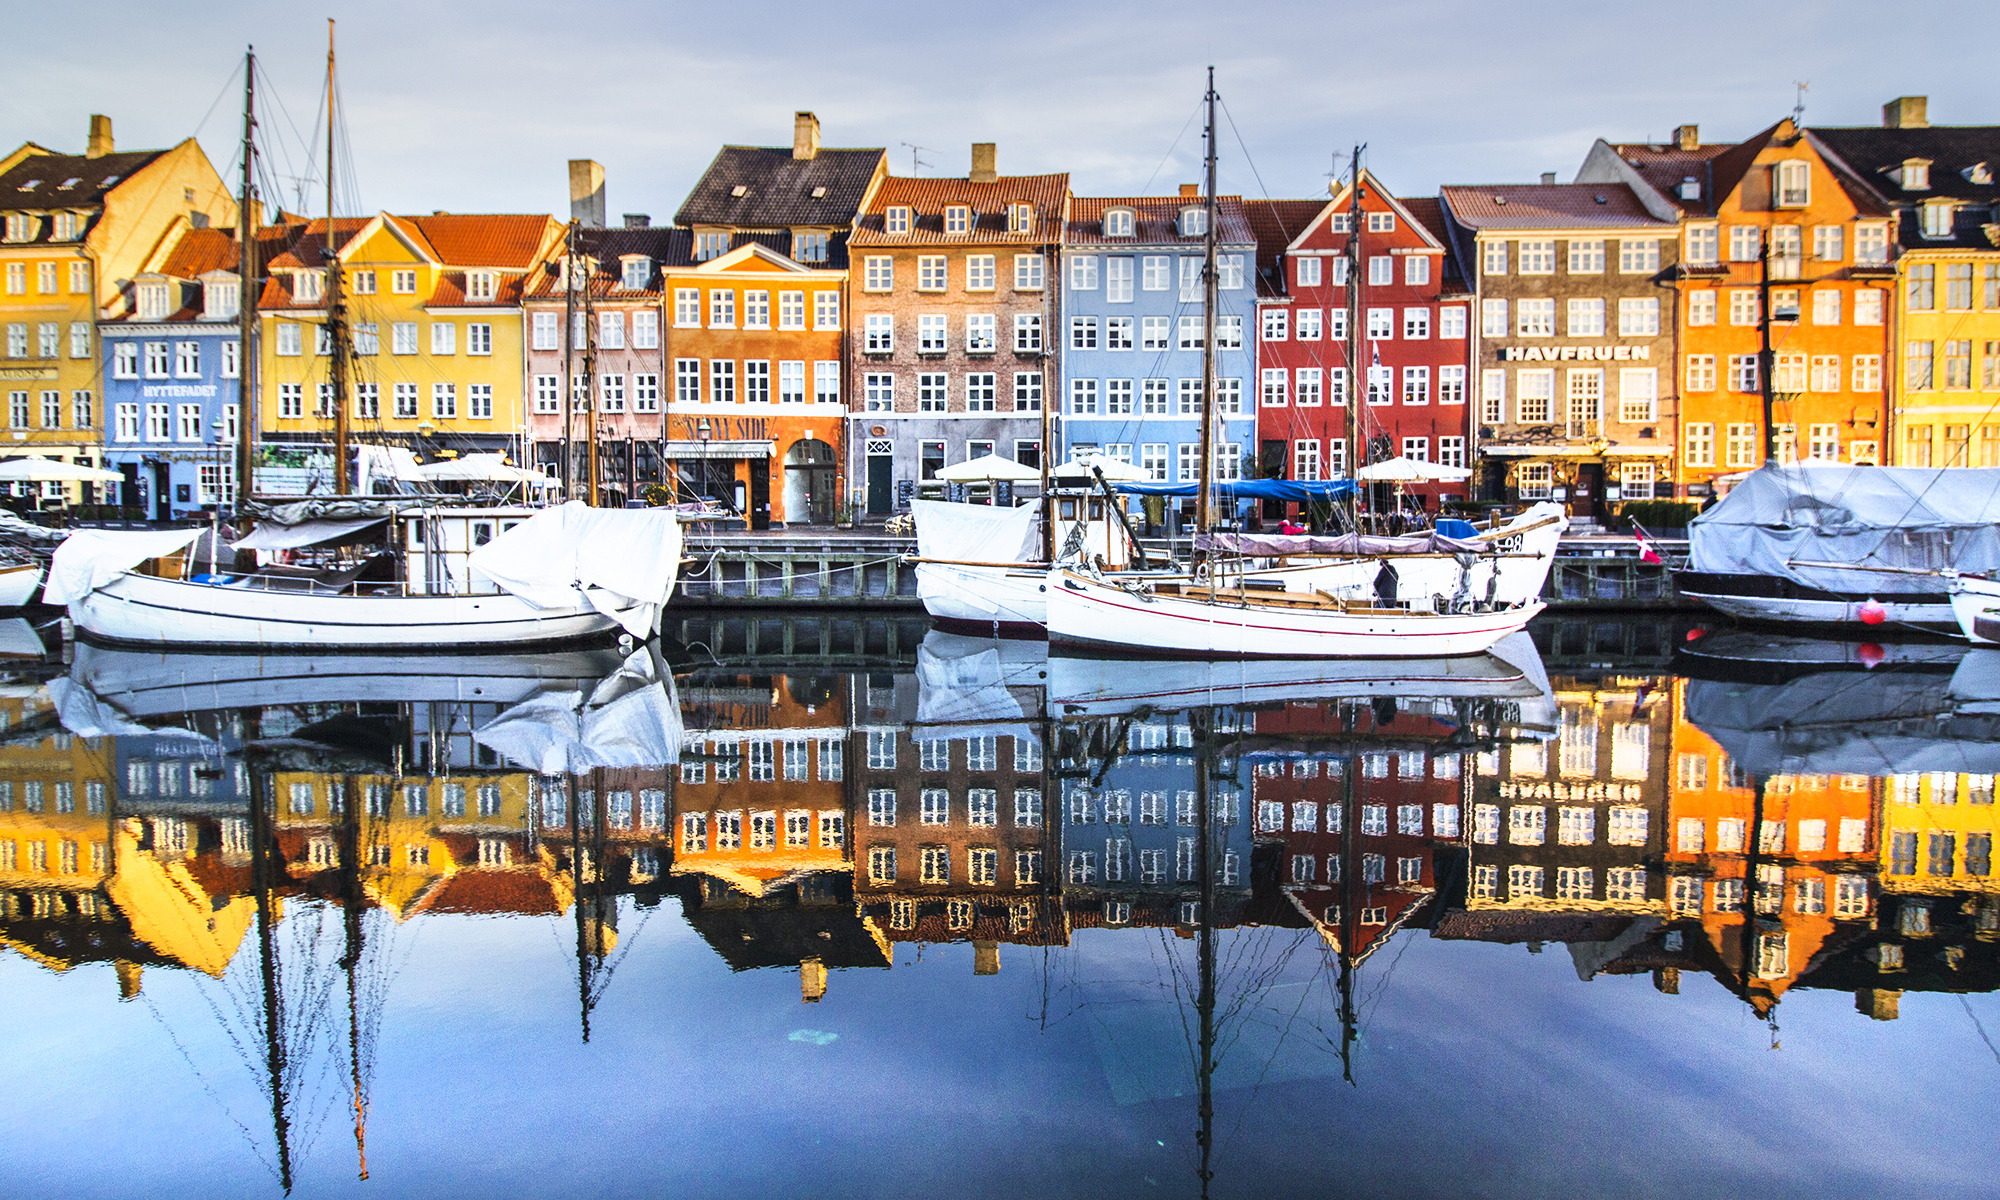
Ph: @giadaantonini_photography 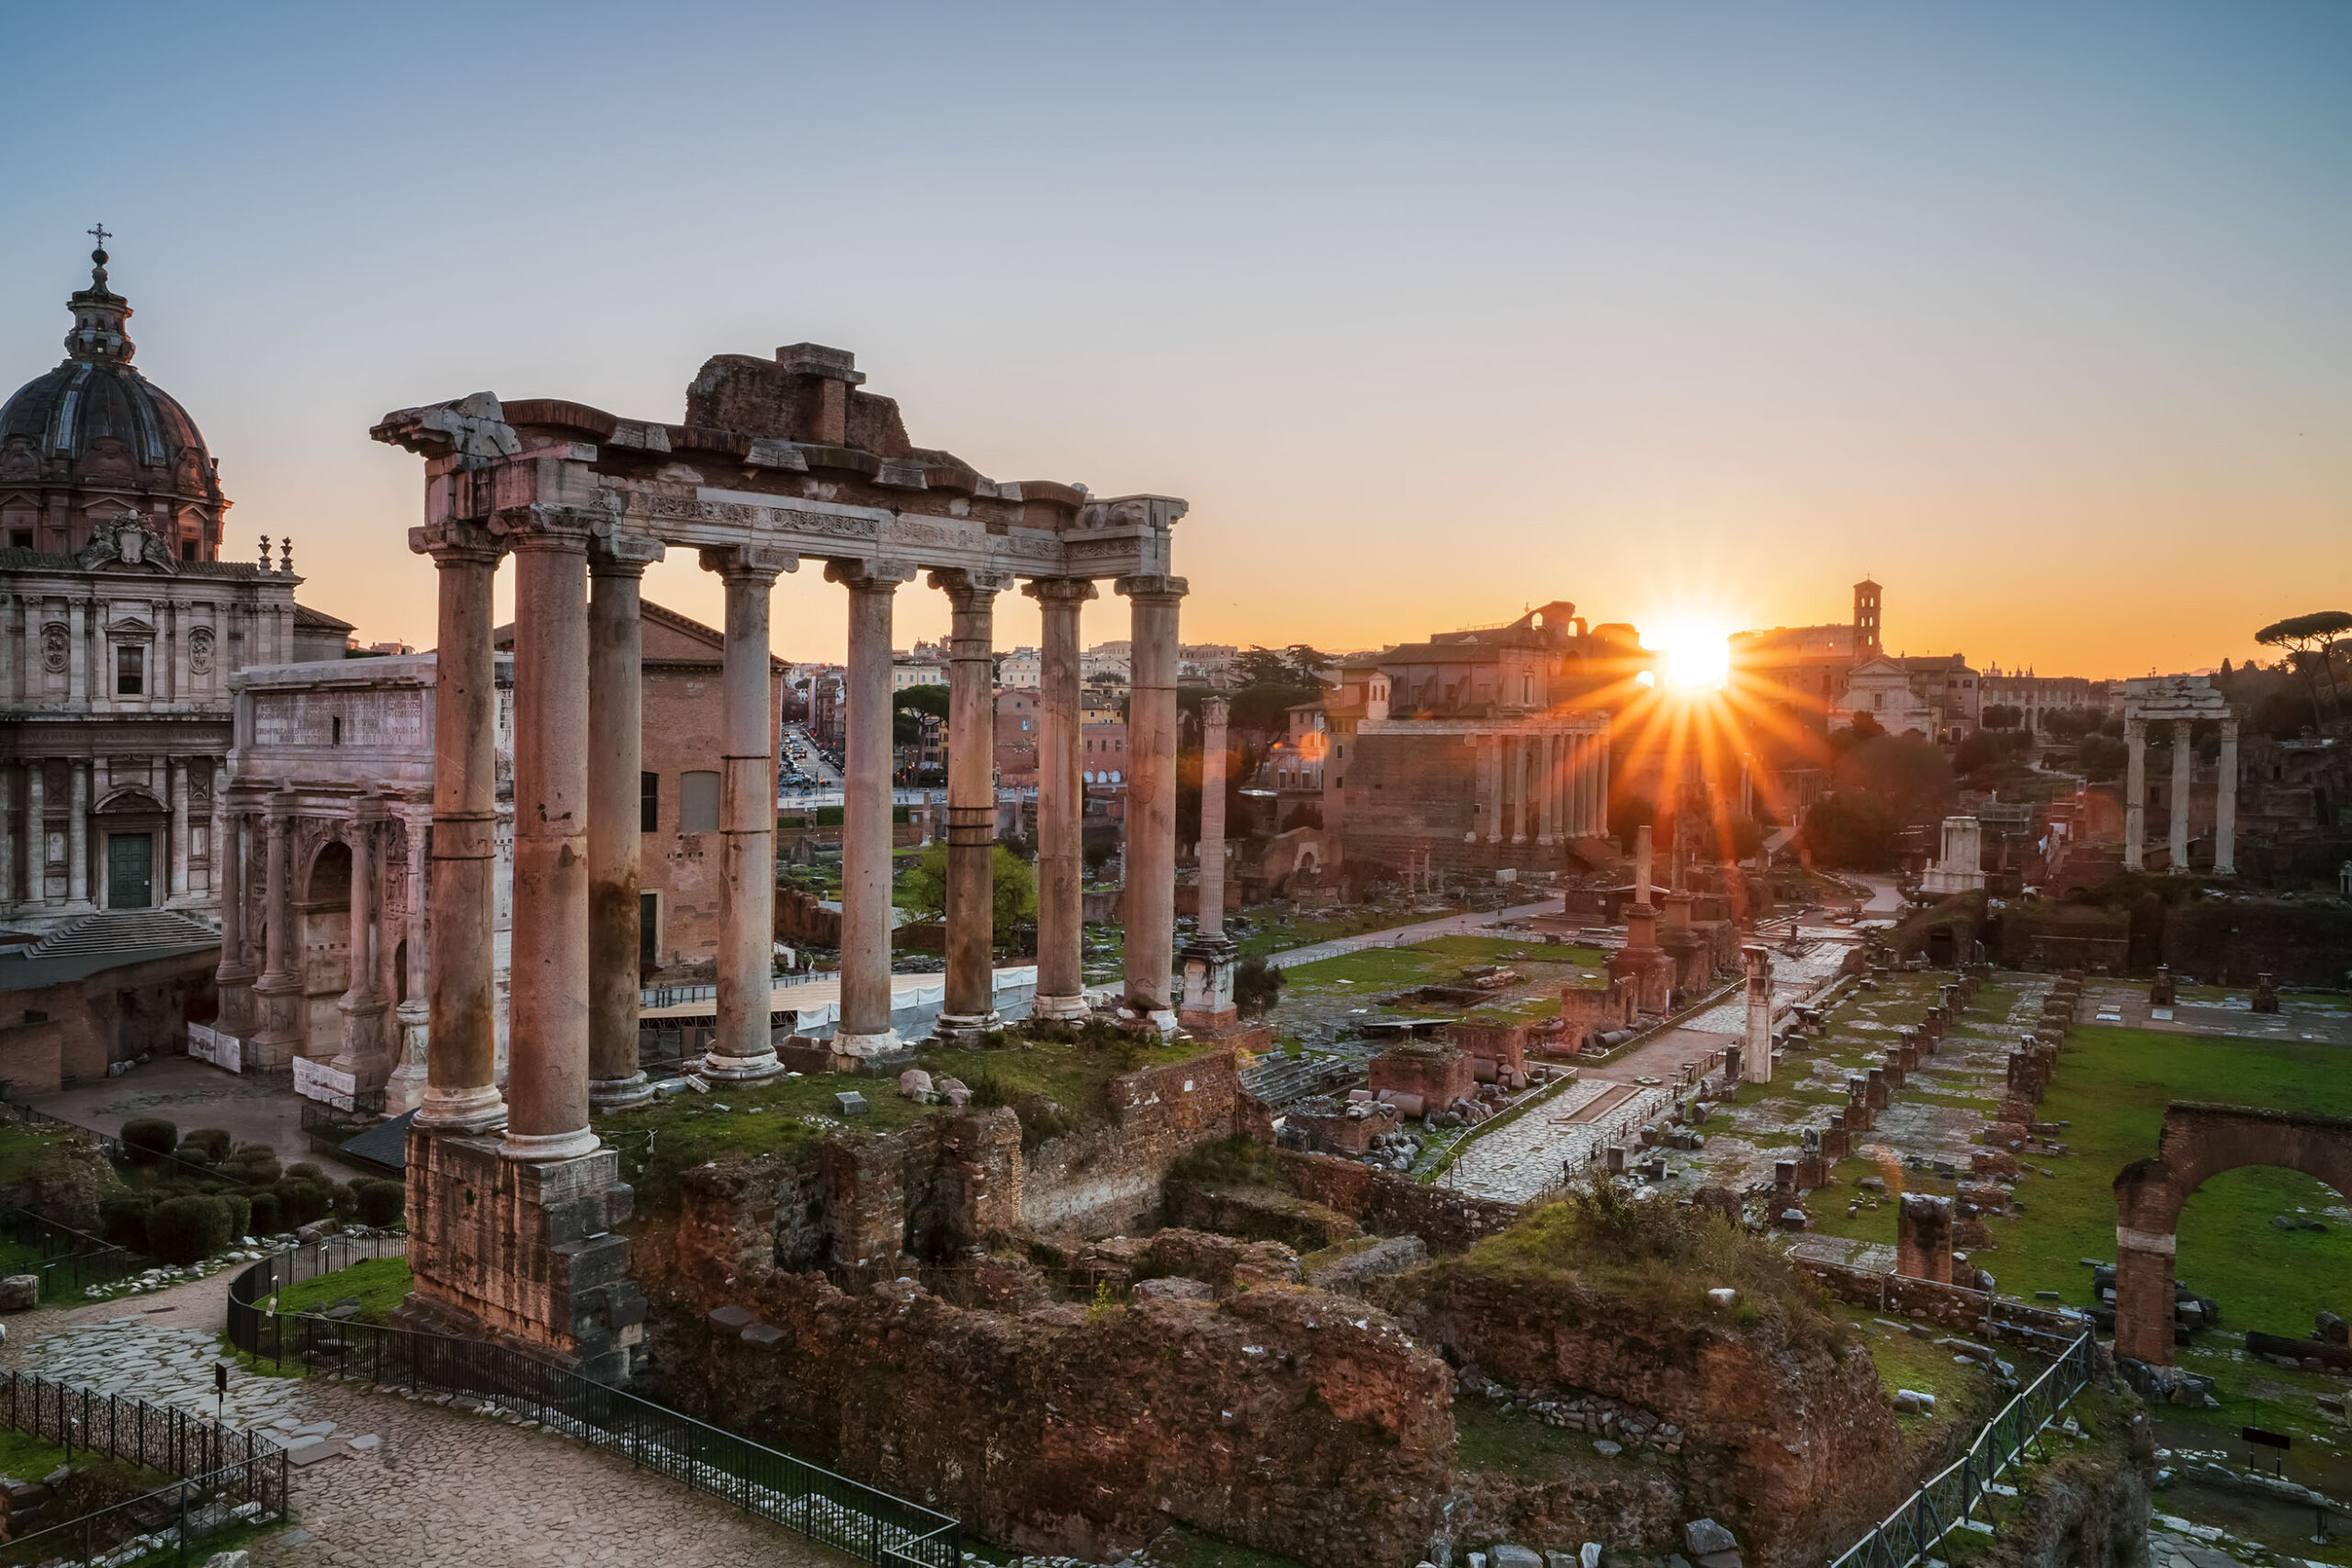
Ph: @giadaantonini_photography
3. Bracketing with the reflex
The second method, without filters, is to take multiple photos with different exposures and then combine the shots in post-production, with a special automatic command. This technique is called bracketing.
Usually, you take at least three shots or five shots, from one very light to one very dark, one normally exposed, one slightly underexposed, and one slightly overexposed. In this way, each shot will have a perfectly exposed area, and only by putting them all together we will obtain the correct exposure throughout the image.
You can apply this method changing the settings about auto exposure bracketing in your camera, turning the dial to set the different exposures, before taking the three photos.

Most cameras have also a special setting to take these shots, just choose the number of total shots you want and the number of exposure compensation stops between shots.
In each of the shots, the aperture will be left constant, so as not to change the depth of field and therefore the focus of the subject between one shot and another, but the shutter speeds will change.
The first shot will be taken with the setting you chose, the second will capture the brightest areas, while the other shot will capture the darkest ones.
You can then do some simple shooting tests to understand how to improve the settings.
Naturally, for this technique, it would be better to use a tripod or to find a support to keep the camera stable, not only because some shots could take a long time and therefore the single photo could be blurry, but also because the photos should be perfectly the same to simplify post-production work.
It is also better to shoot in .RAW mode (just choose this format from the various available in the camera settings). This way your photos won’t lose quality when editing in post-production.
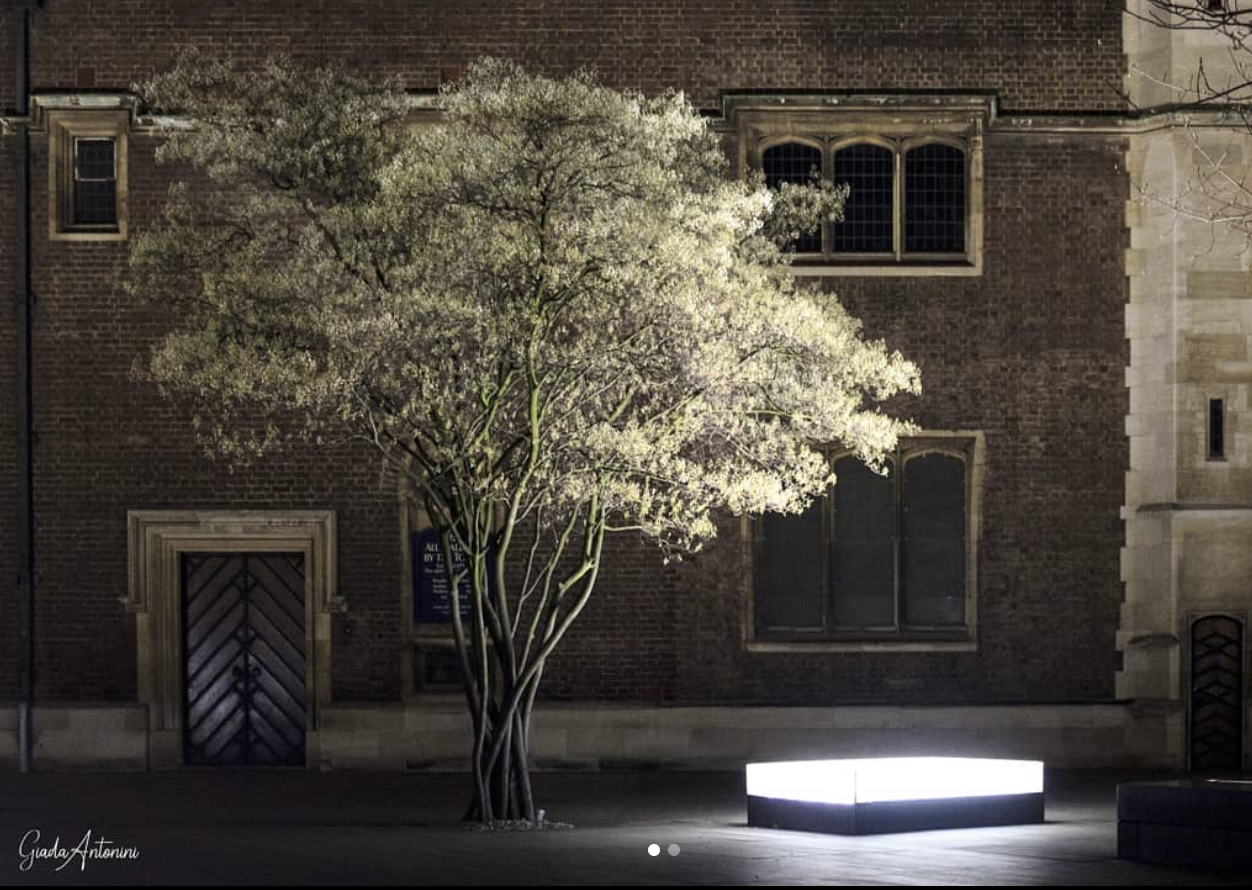
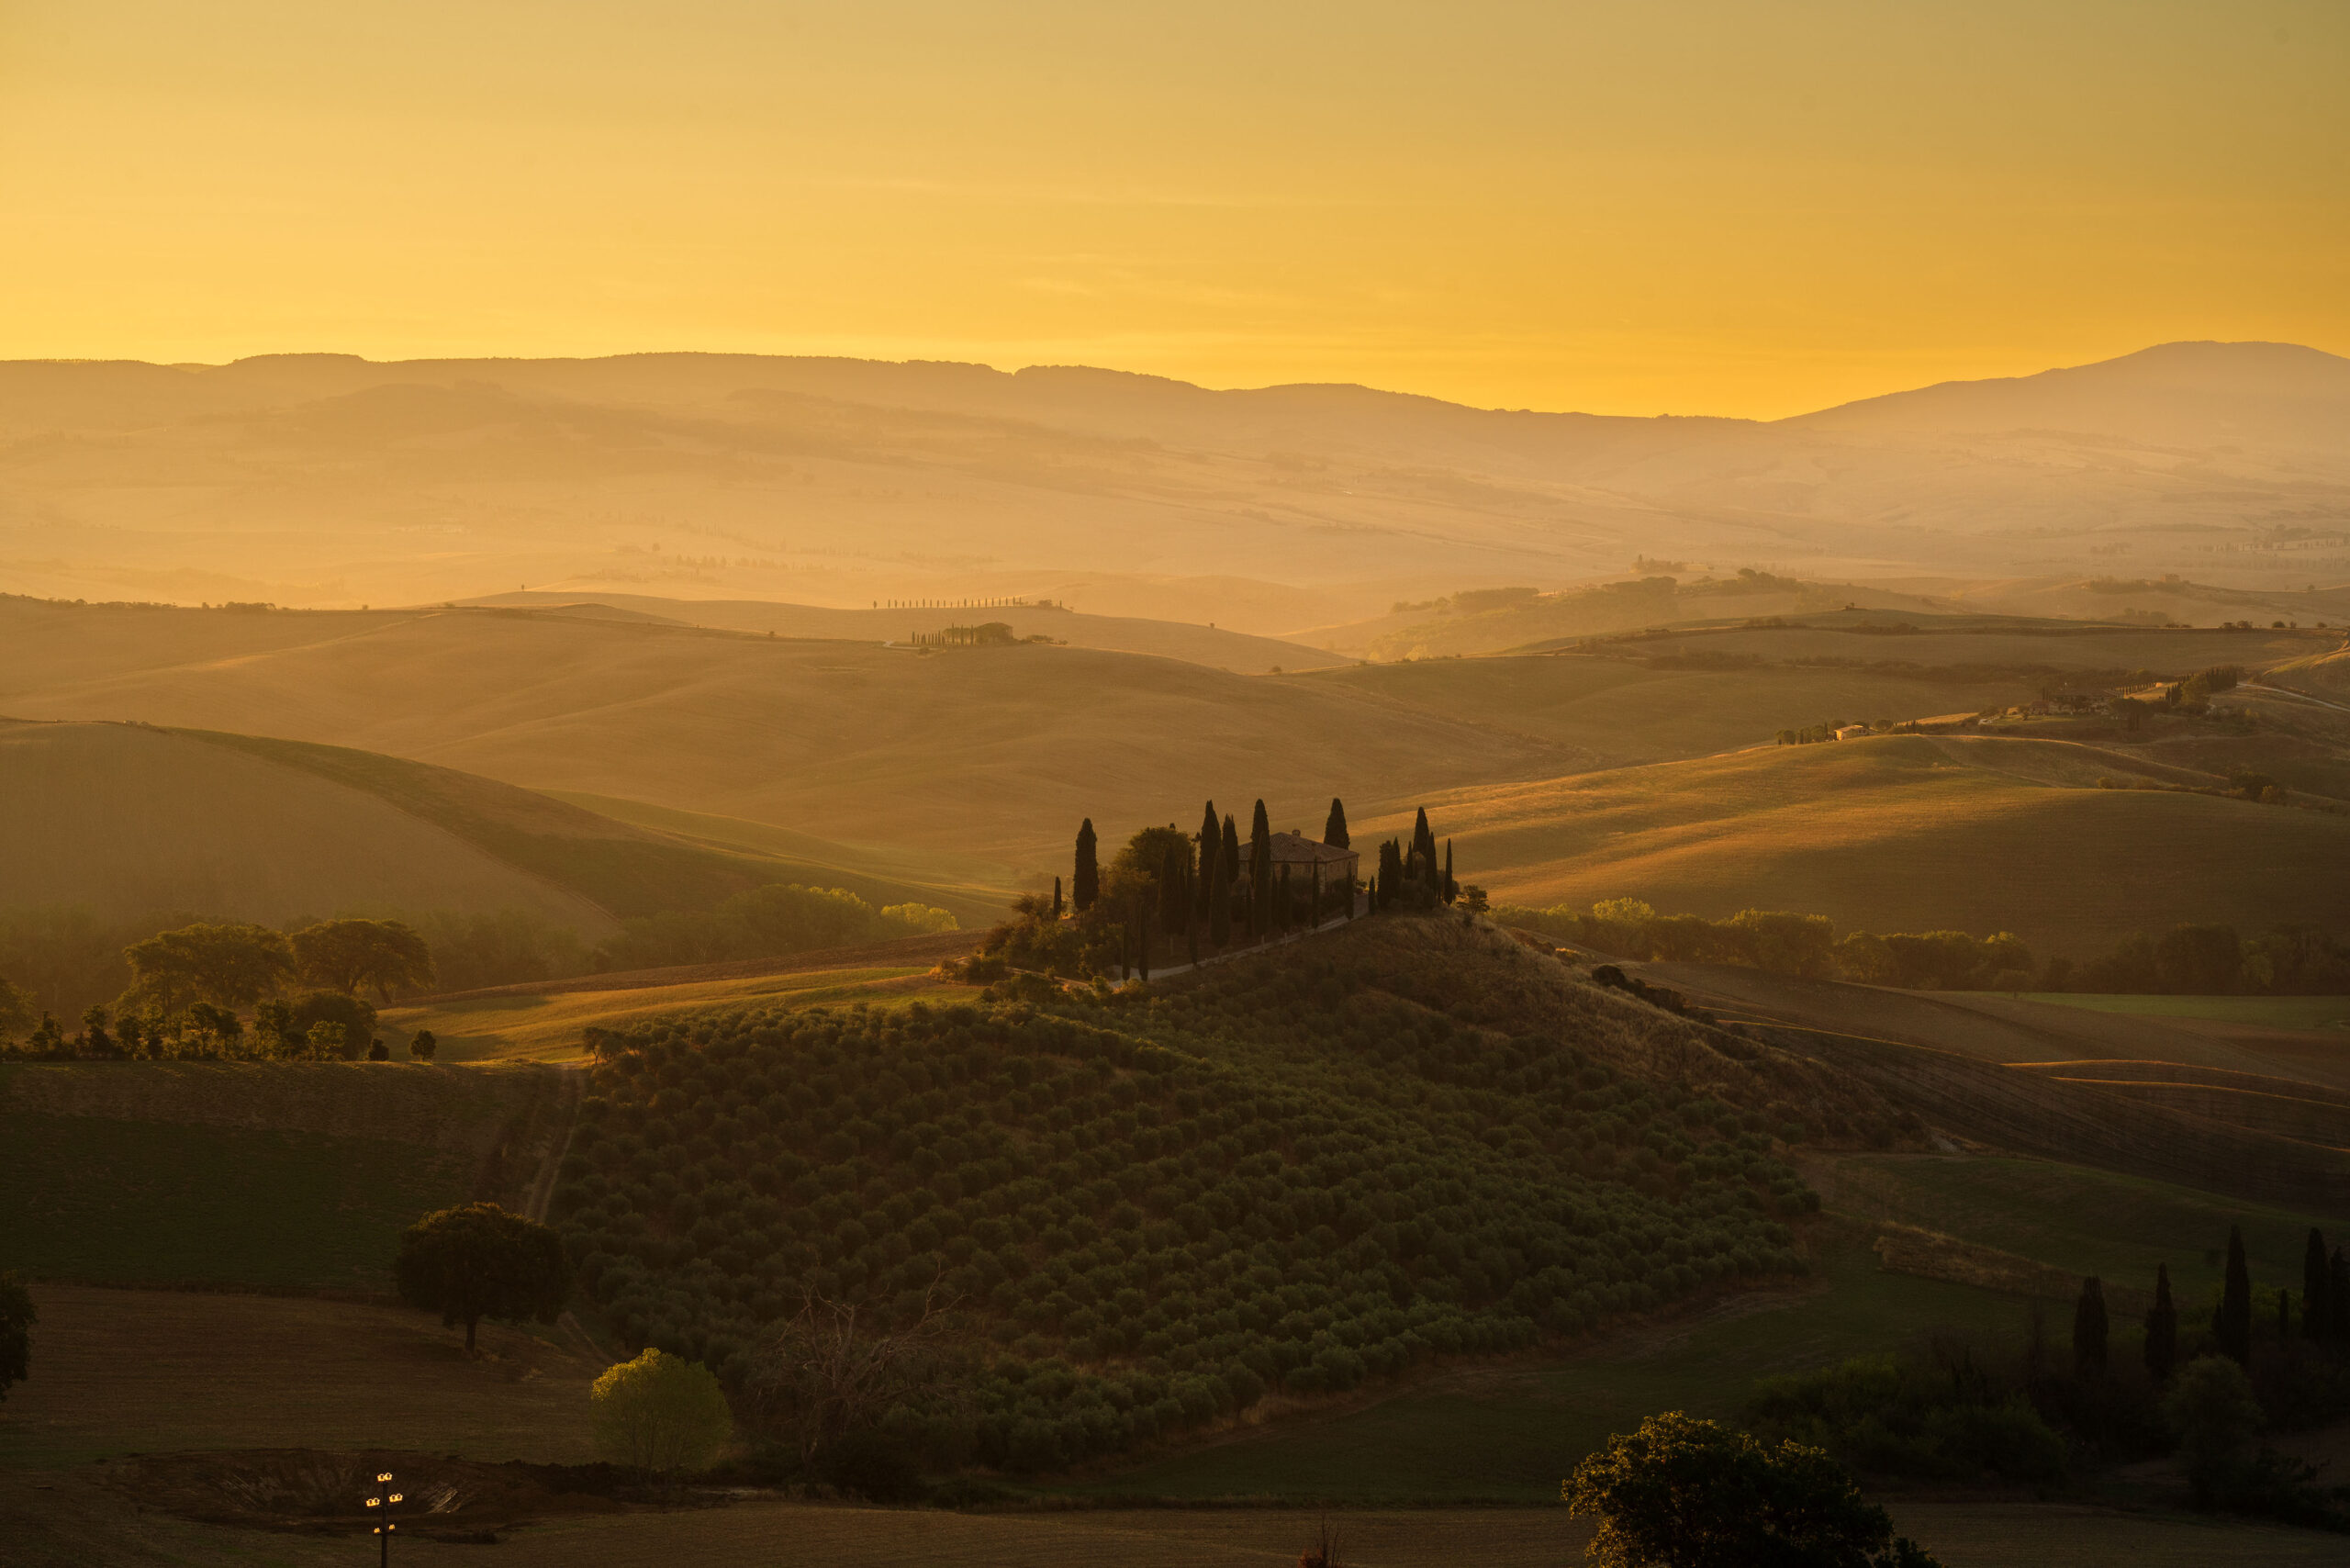
In the following images you can see the tree shots taken with the bracketing method. The last photo is the final one, after post-production.
1st photo 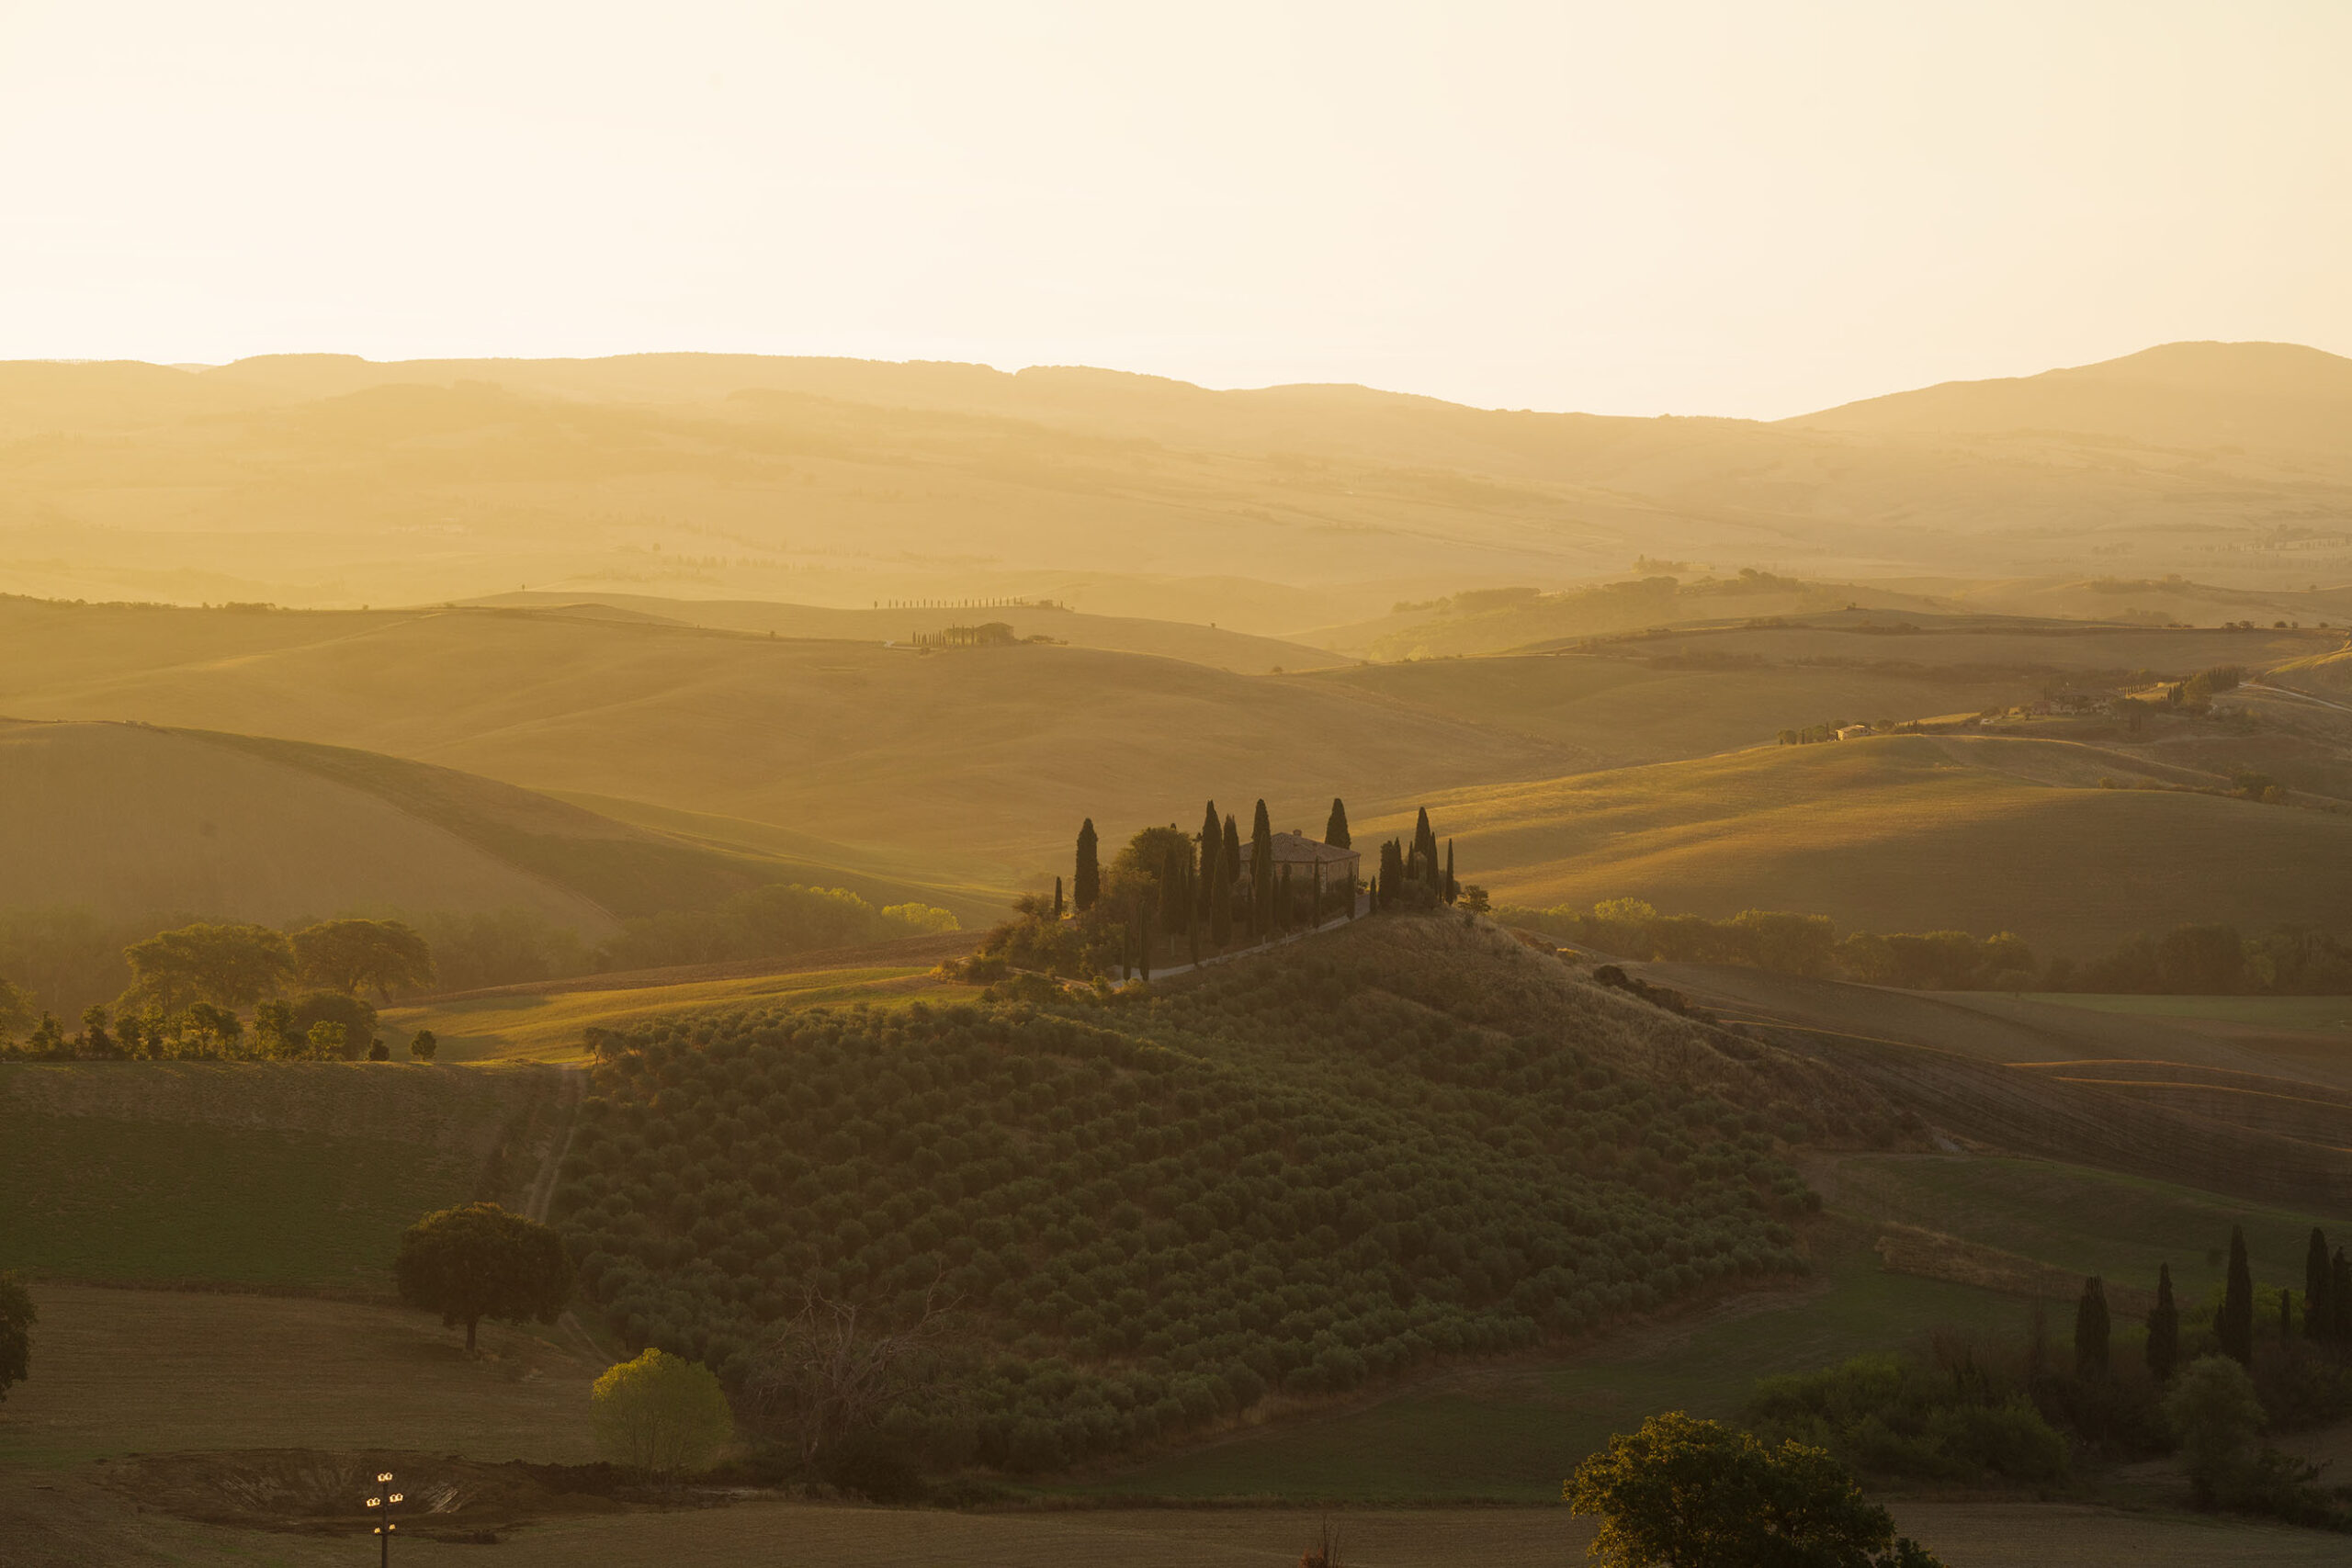
2nd photo 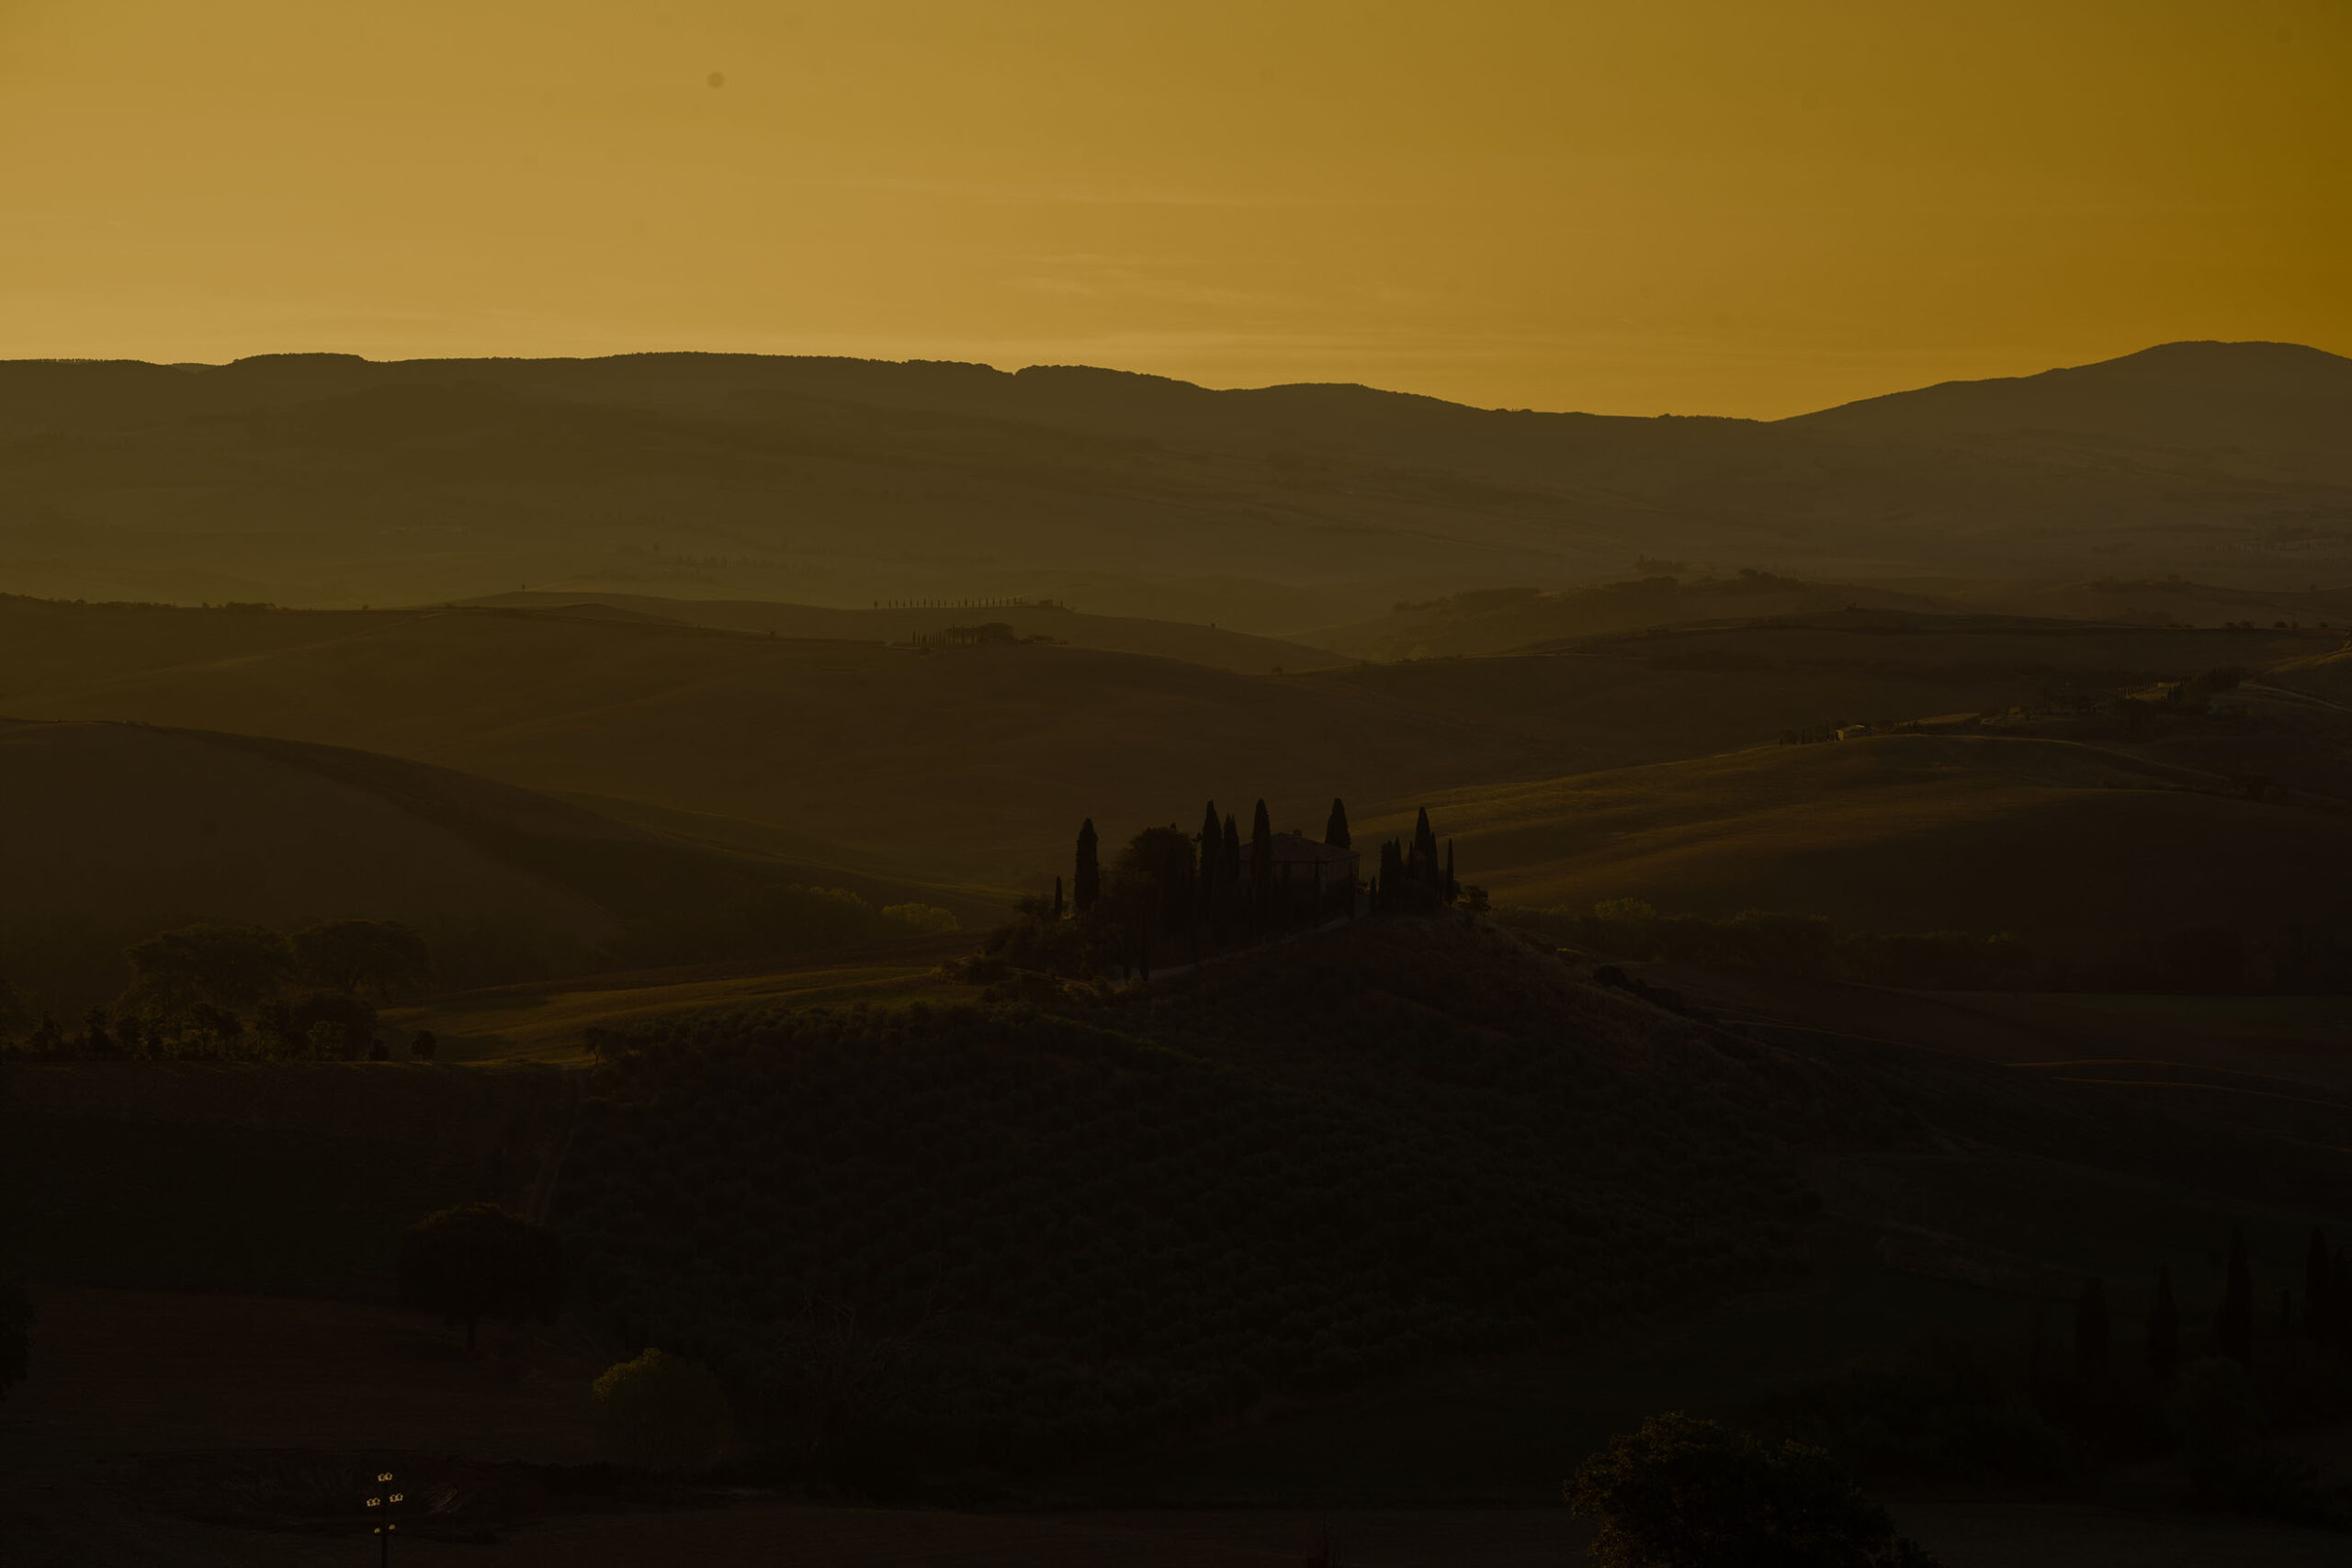
3dr photo
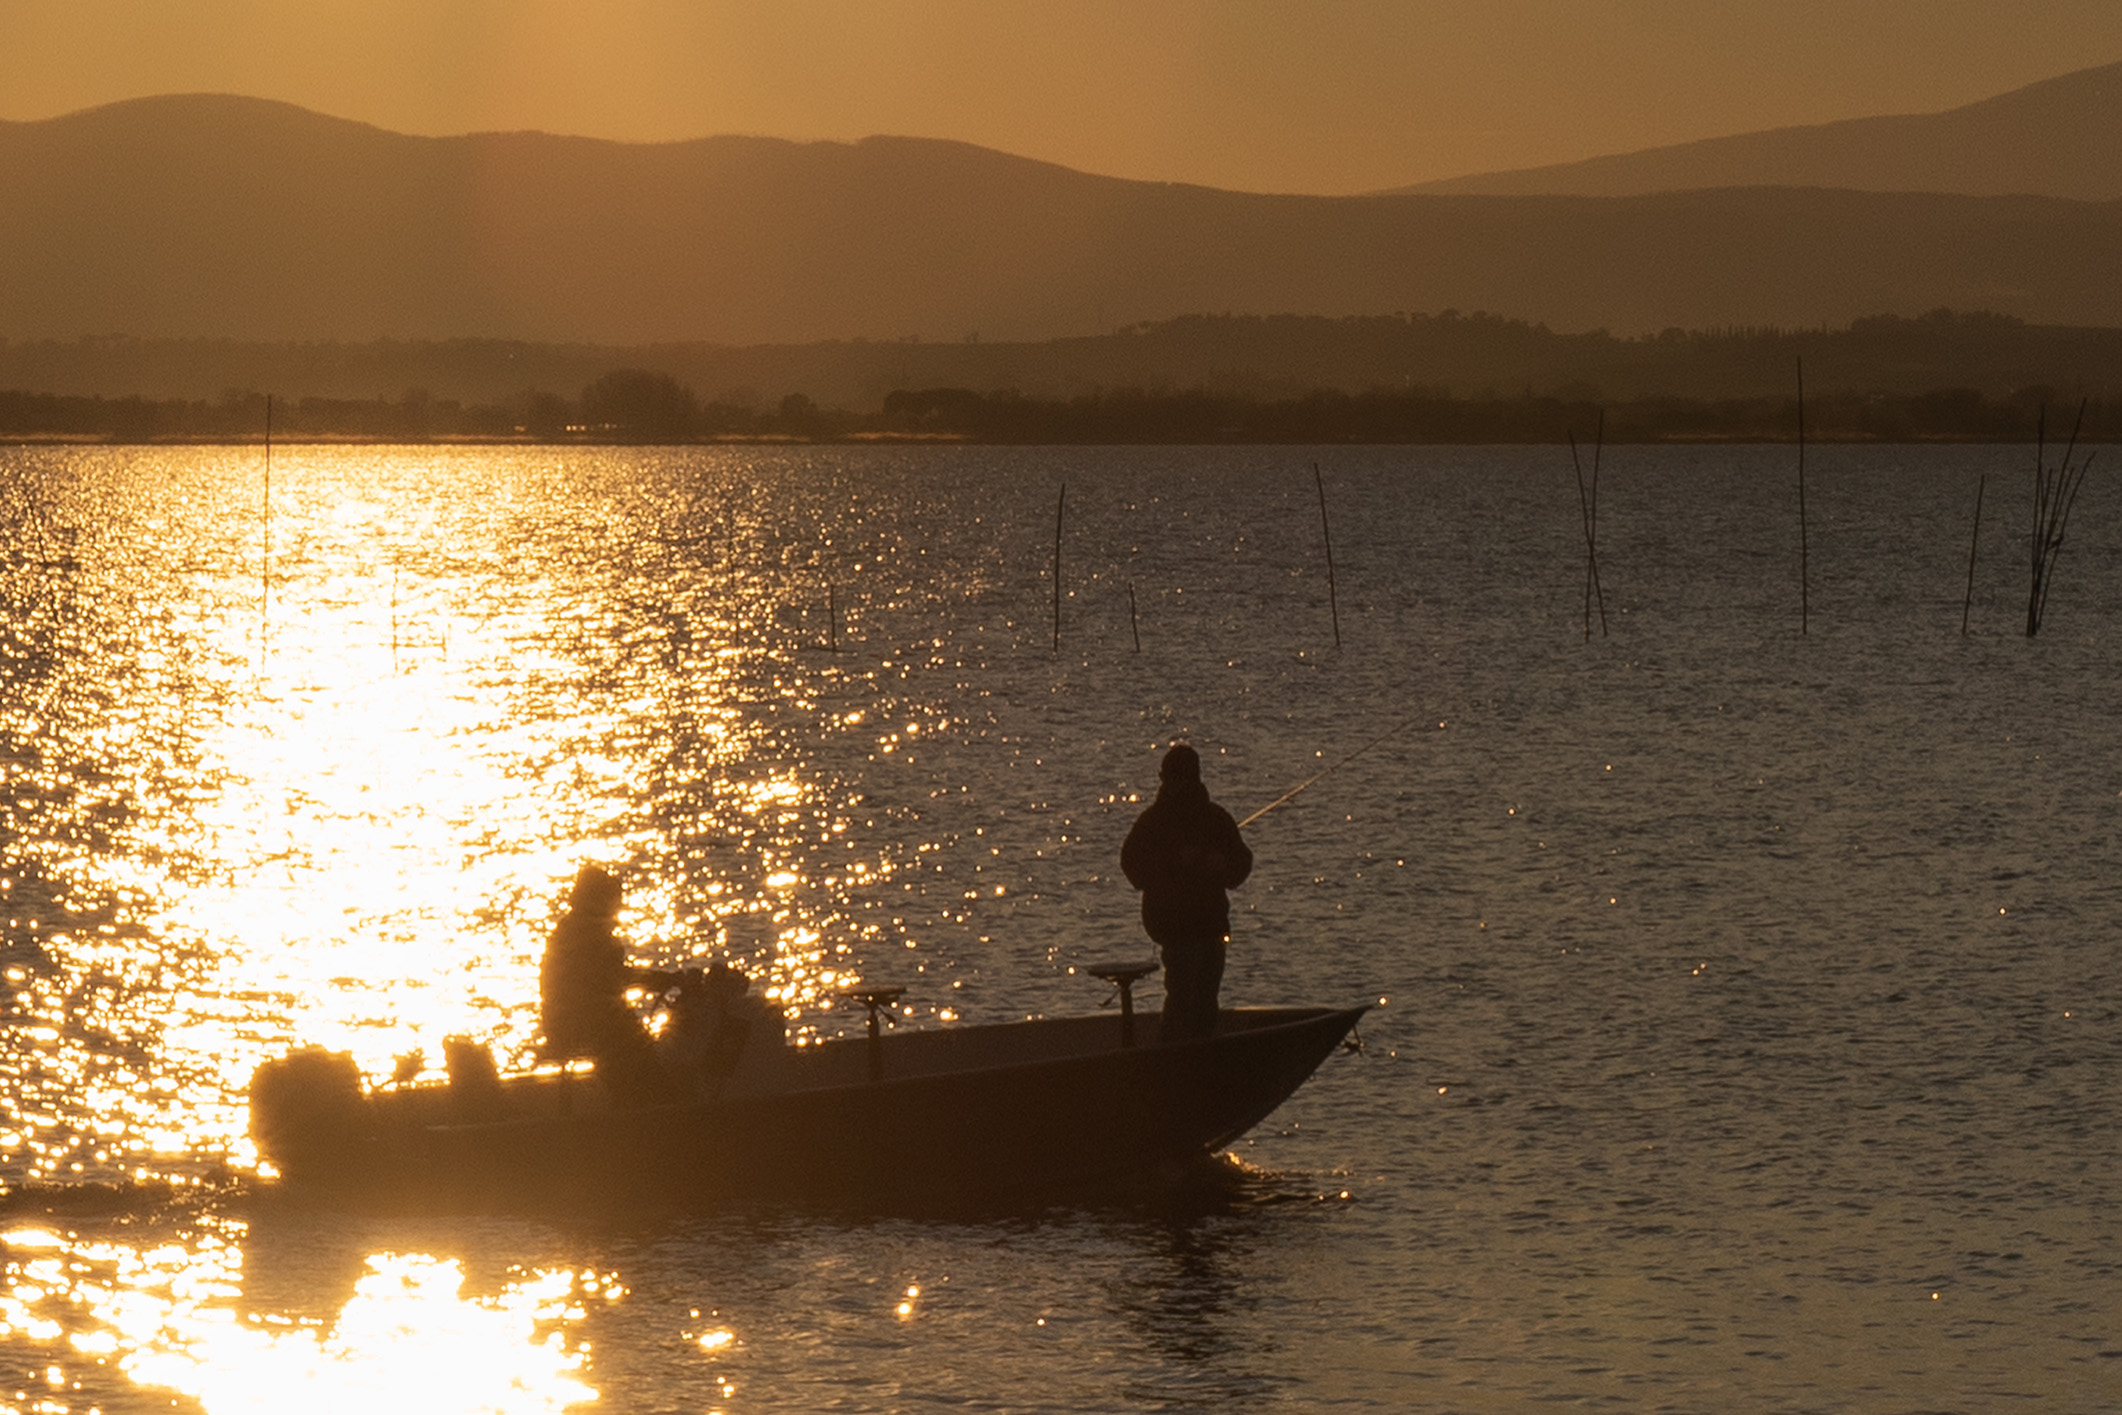
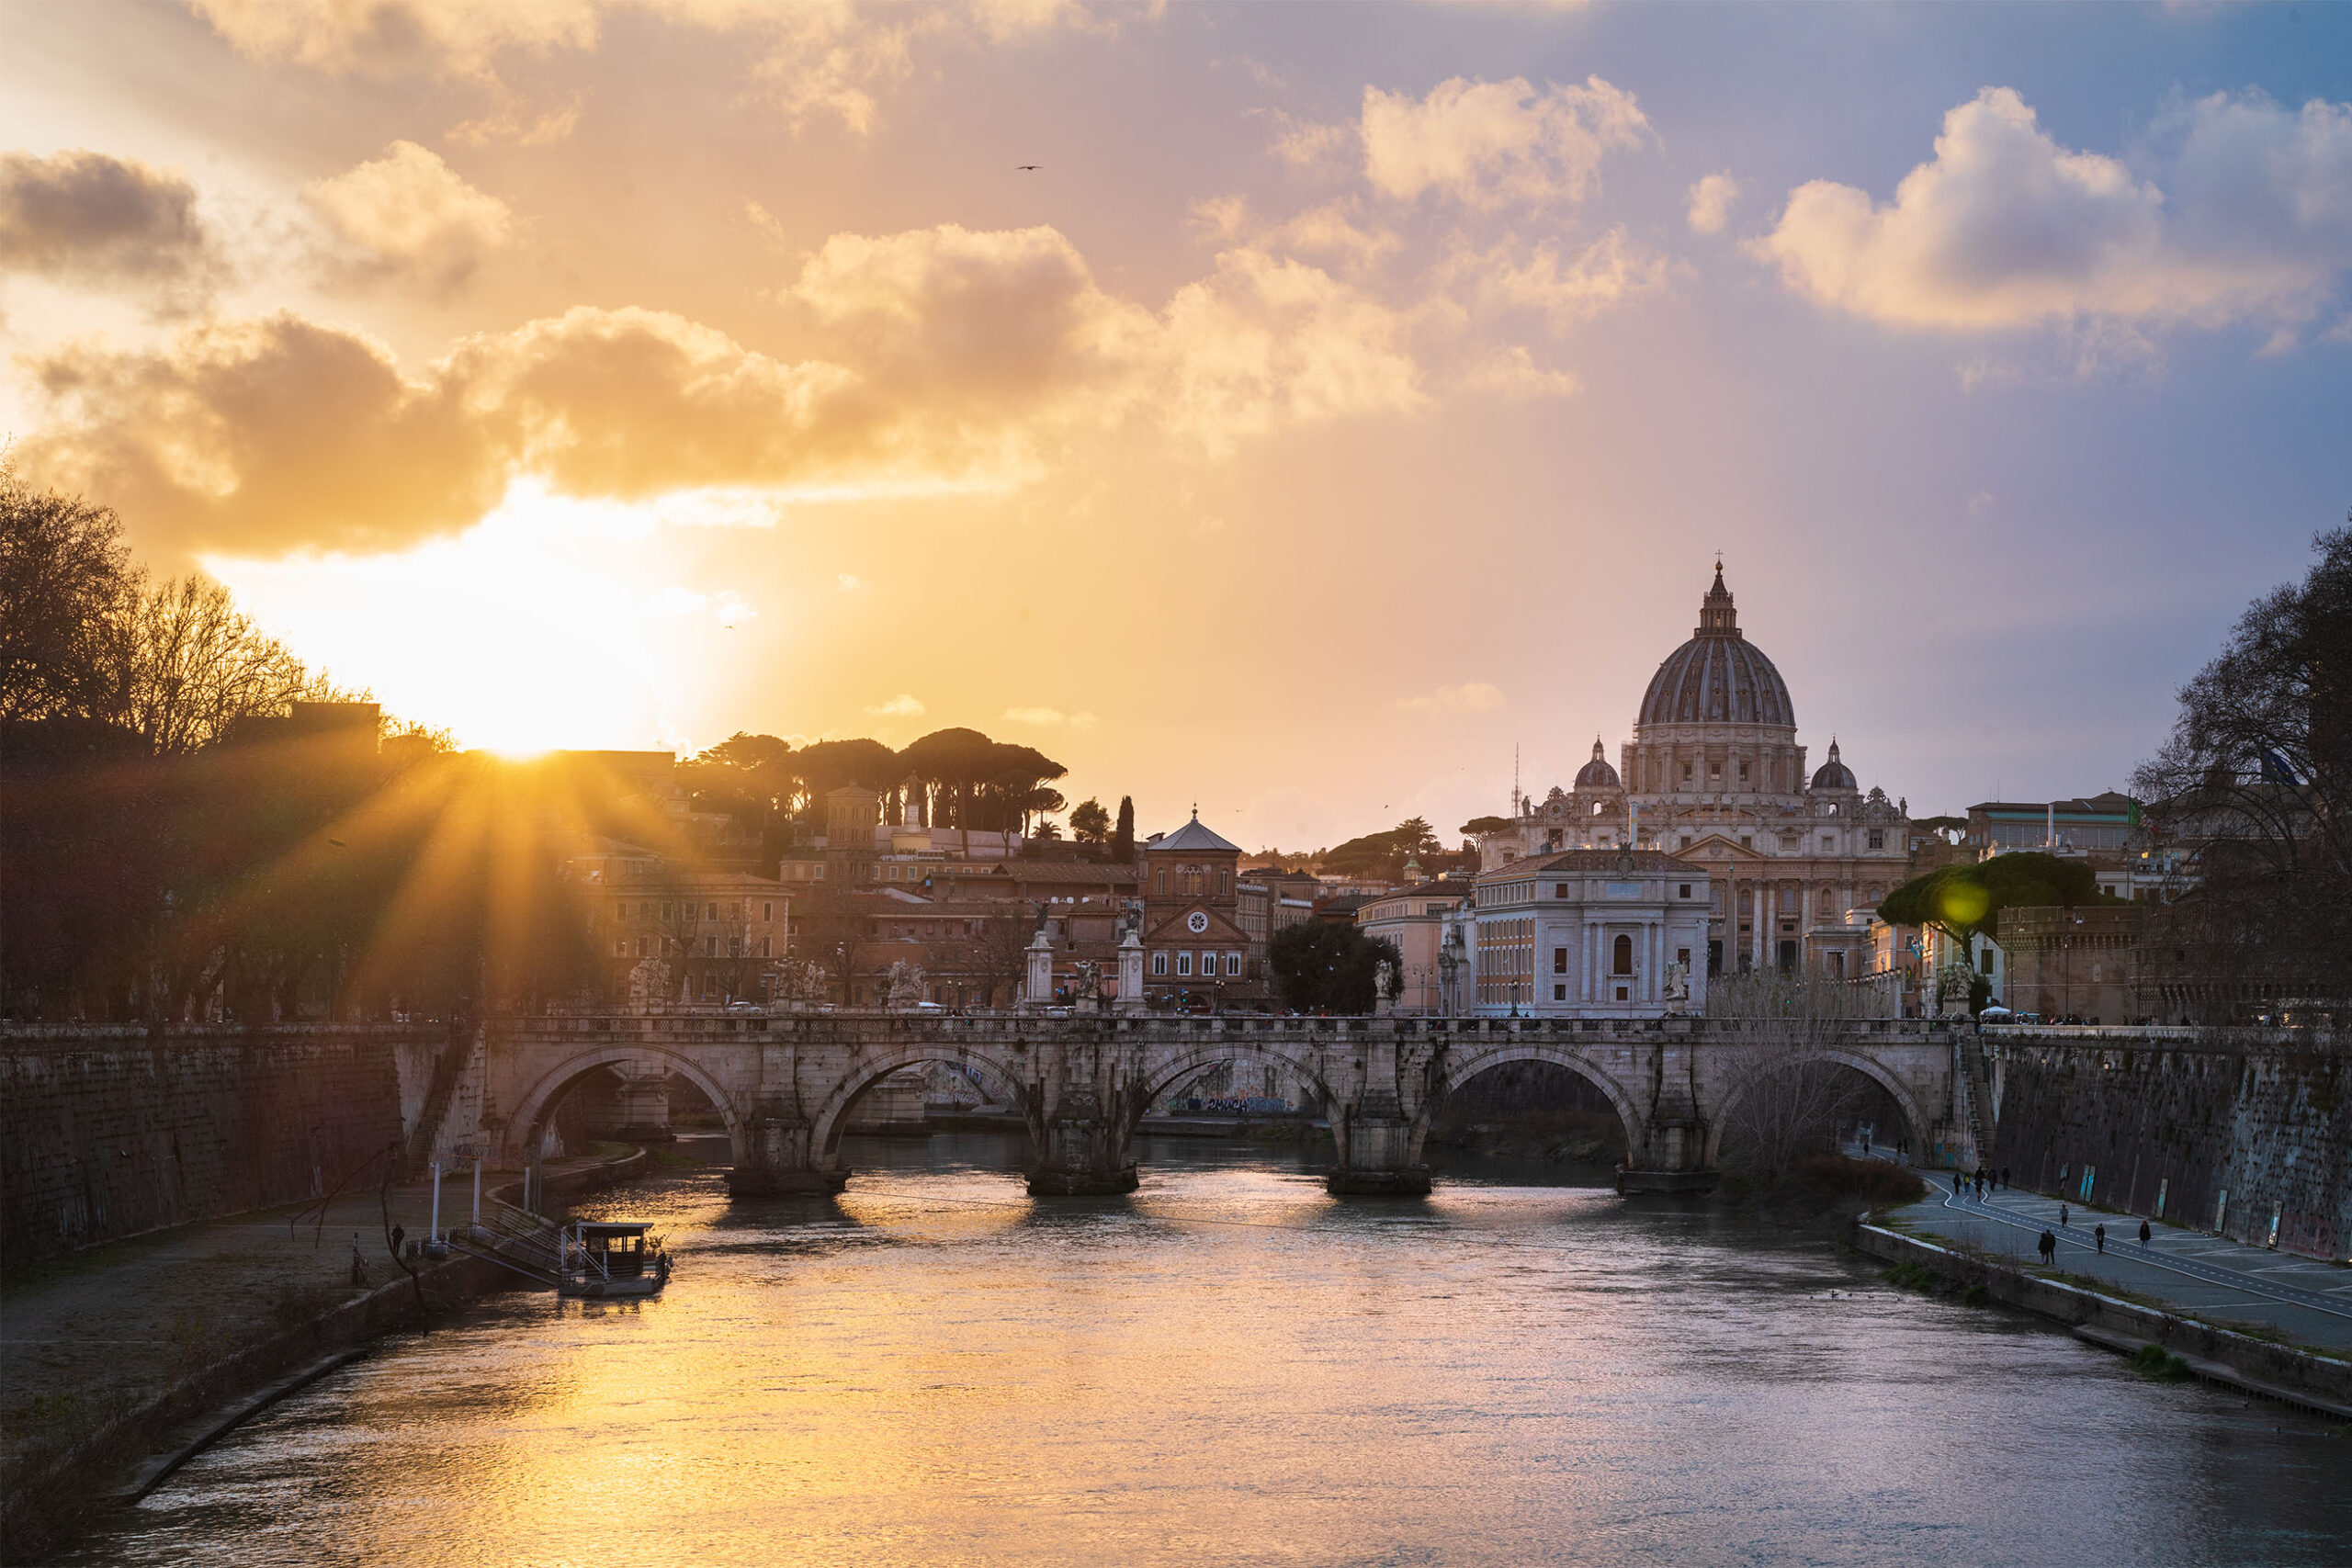
4. Don’t just focus on the sun!
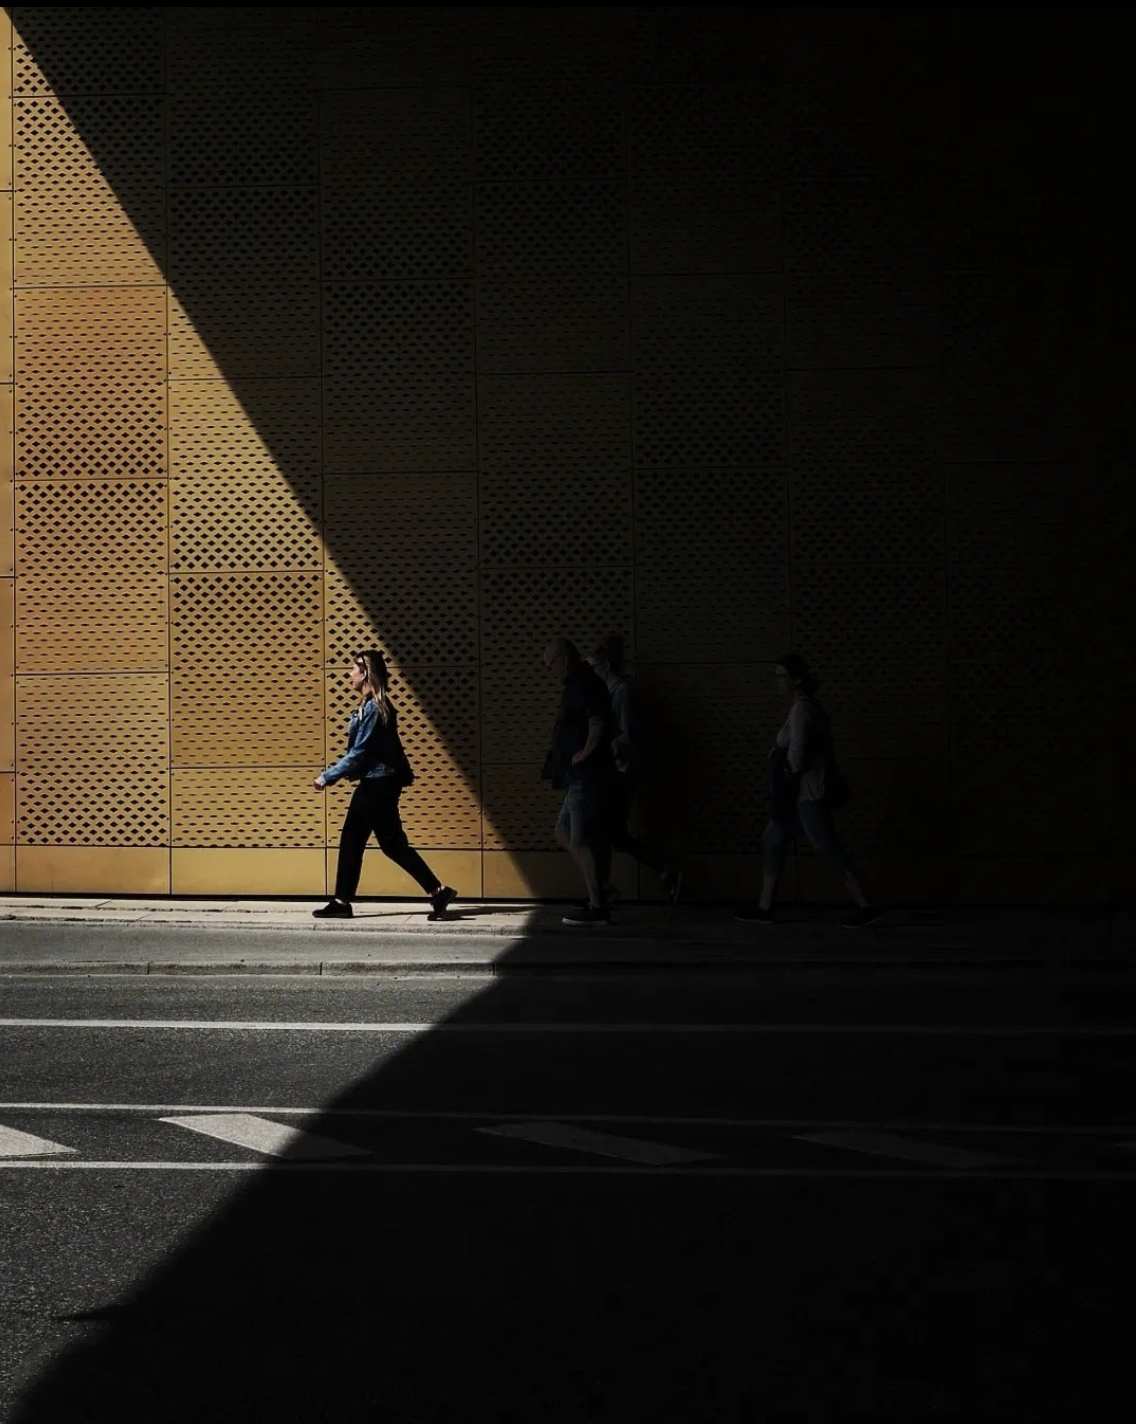
If the sun is full and too bright, before sunset or just after sunrise, try not to include it in the scene because the photo would be overexposed or you will have annoying glares or reflections (the fleur is not always appreciable).
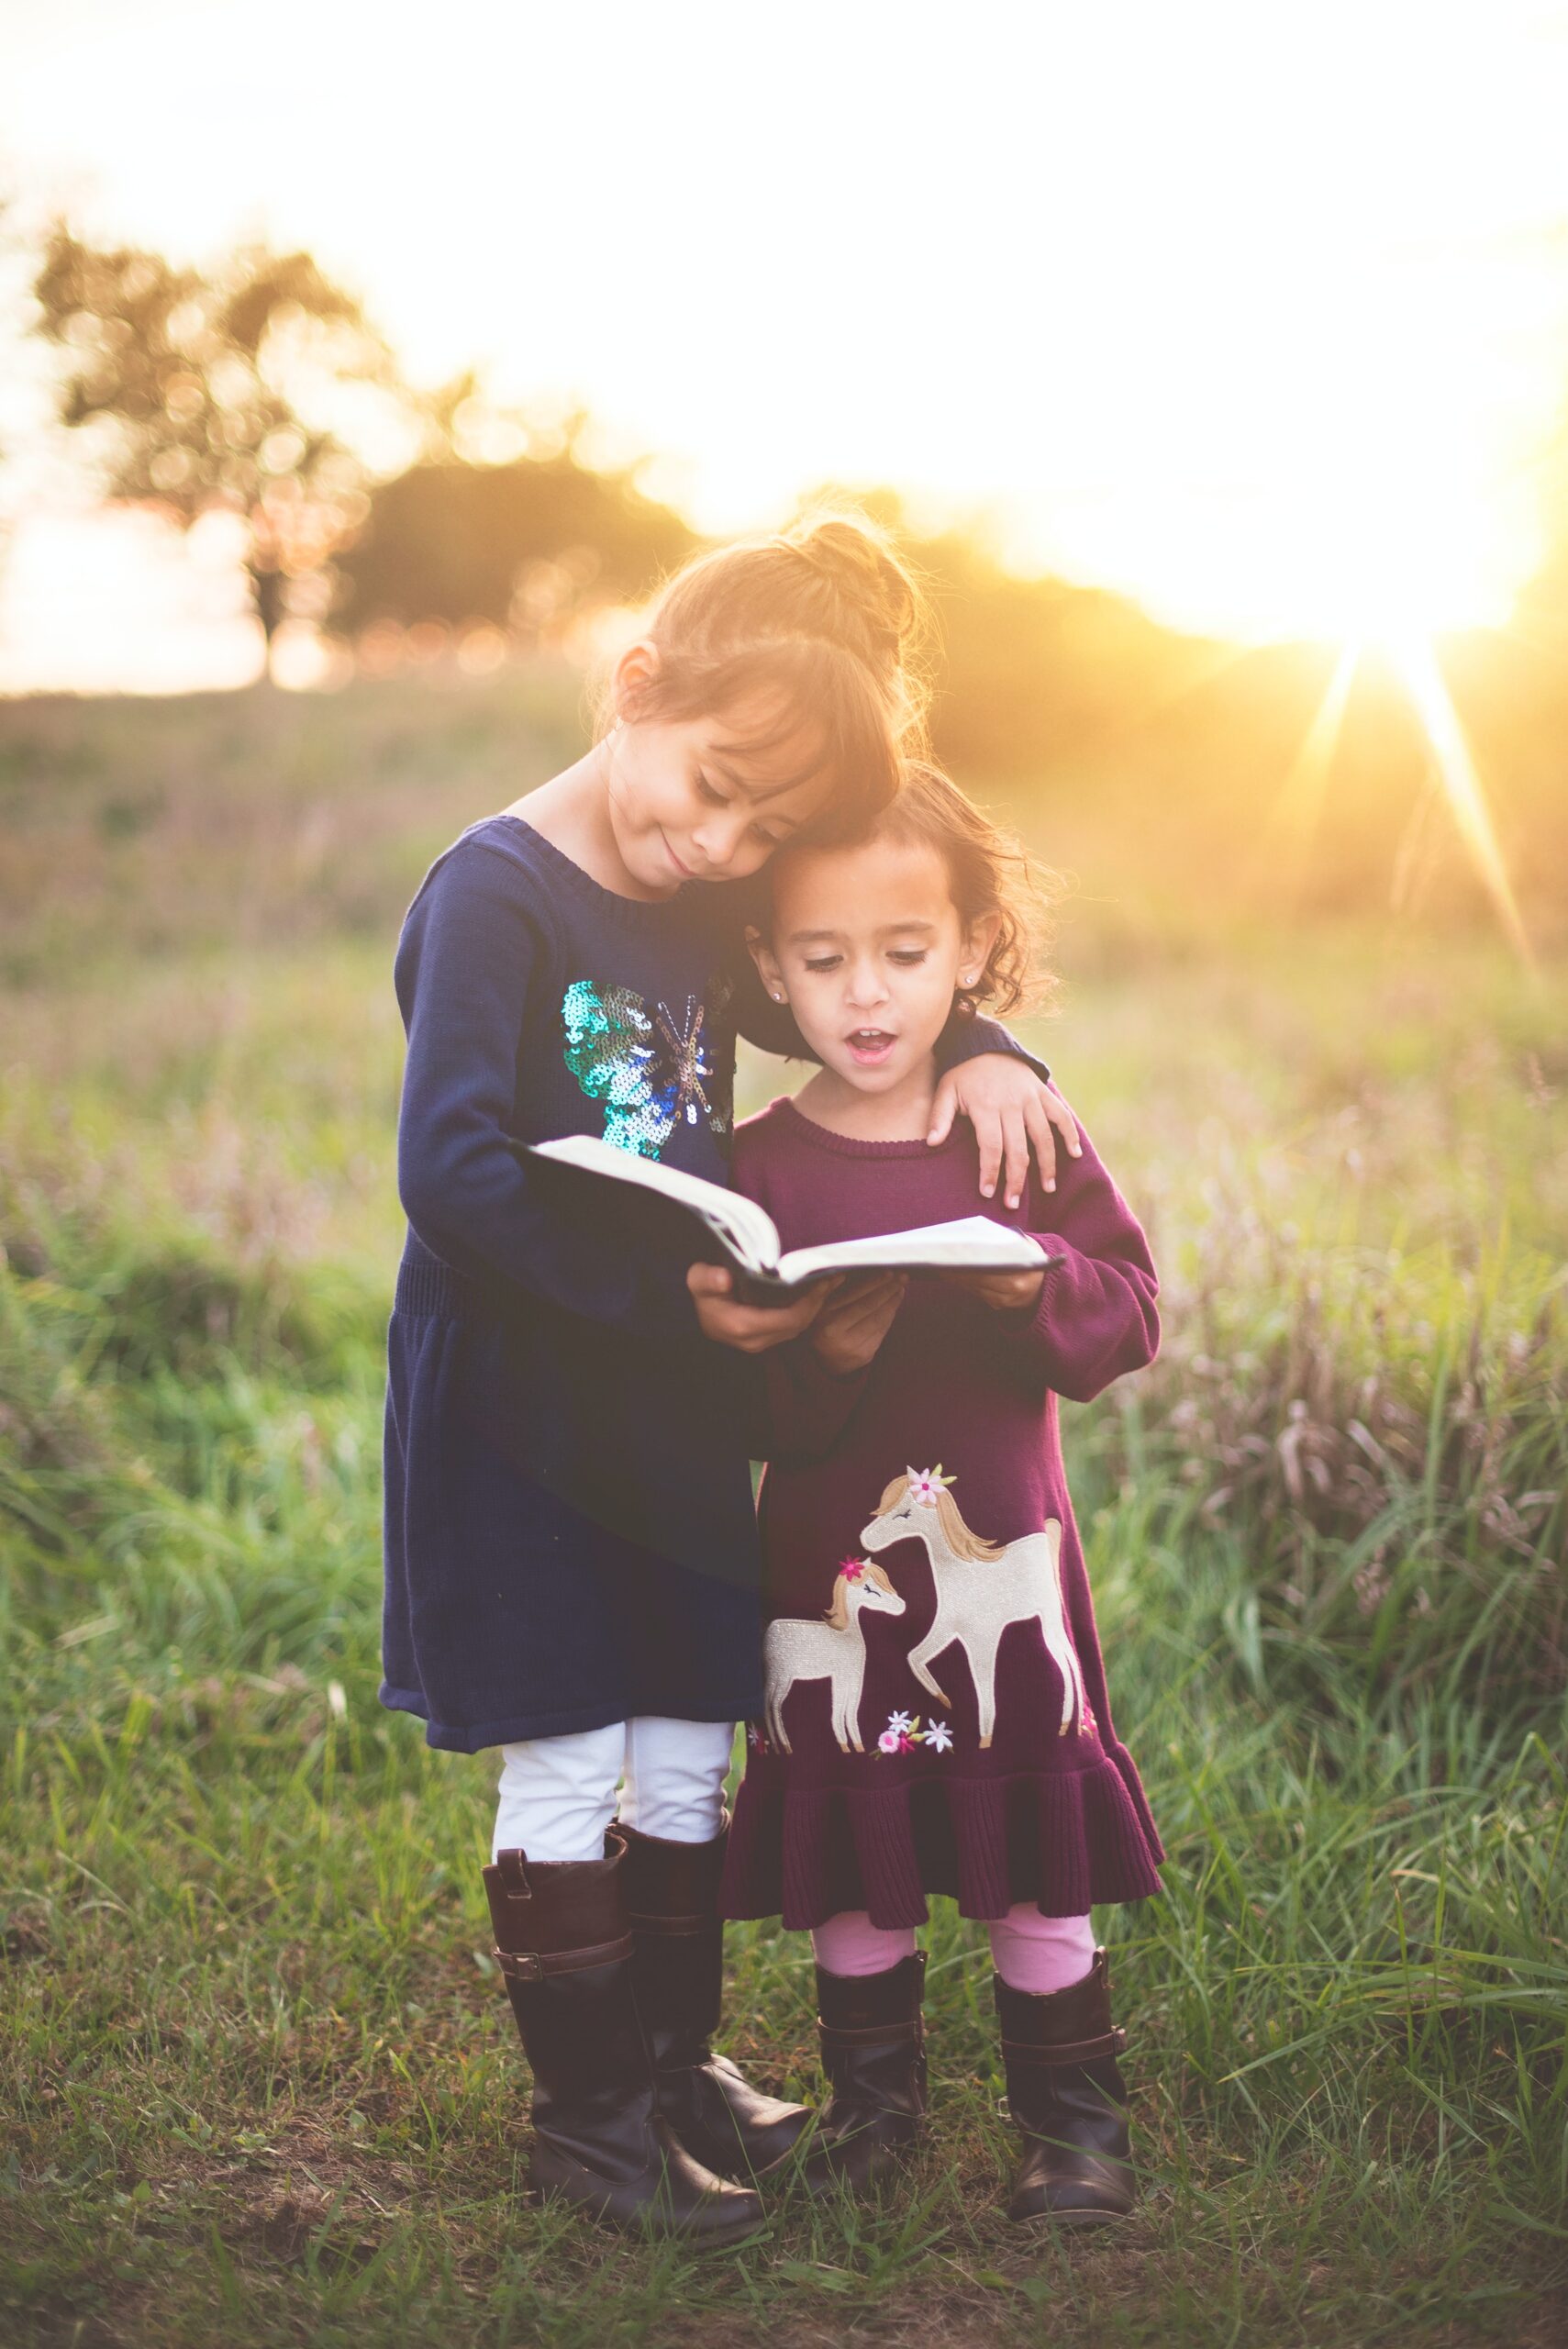
Concentrate rather on the colors of the sky or of the subjects in the photo, which take on amazing shades because they are lightened by the warm light of dawn or dusk.
In this way you will be able to take much more interesting photos than framing the sun!
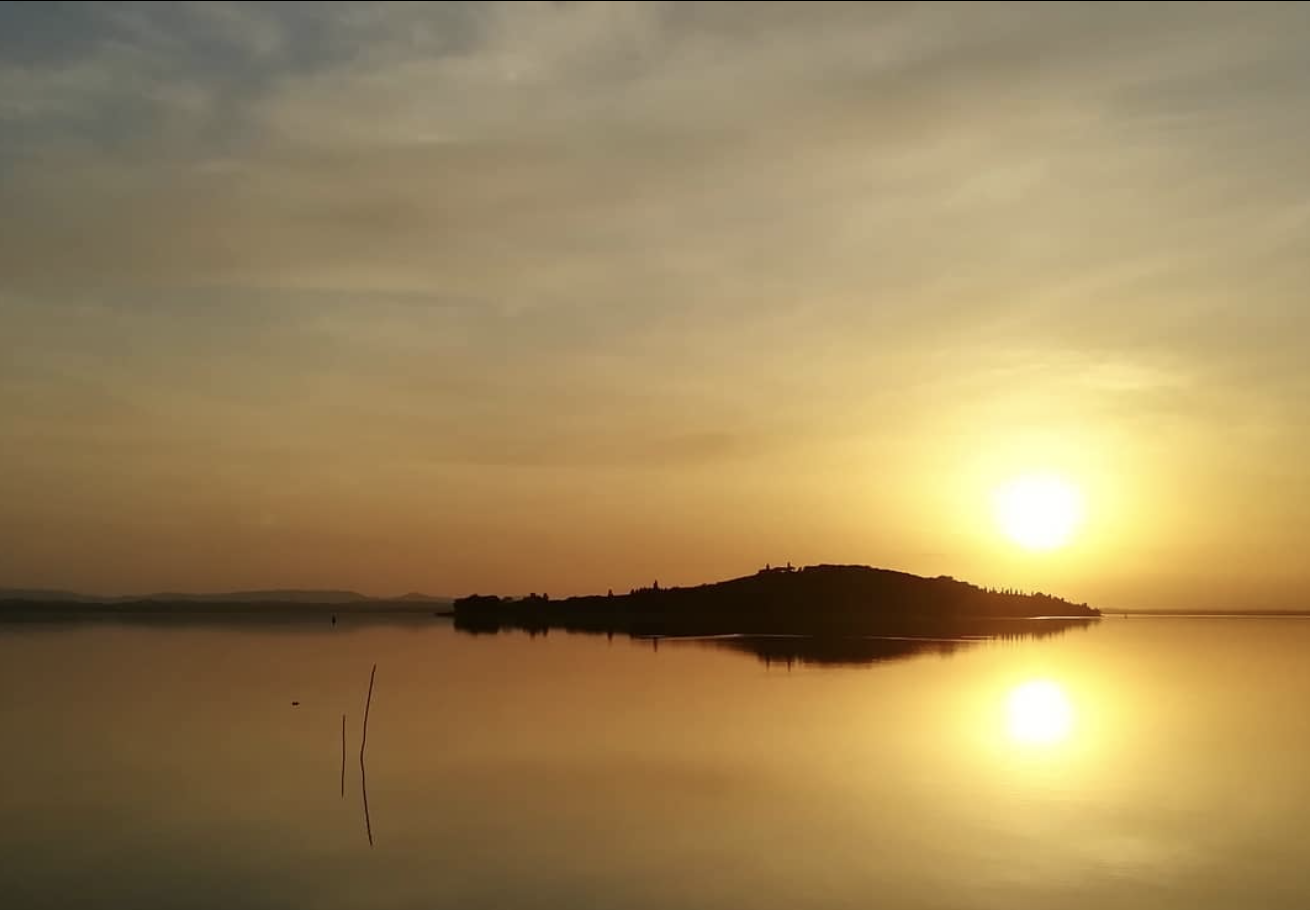
The best moment to frame the sun is certainly sunset, when it is about to disappear behind the horizon, because its brightness will not compromise the scene and your camera sensor.
At dawn it is much more difficult for the amount of light to be sustainable, unless there are clouds covering the sun.
Ph: @giadaantonini_photography 
Ph: @giadaantonini_photography 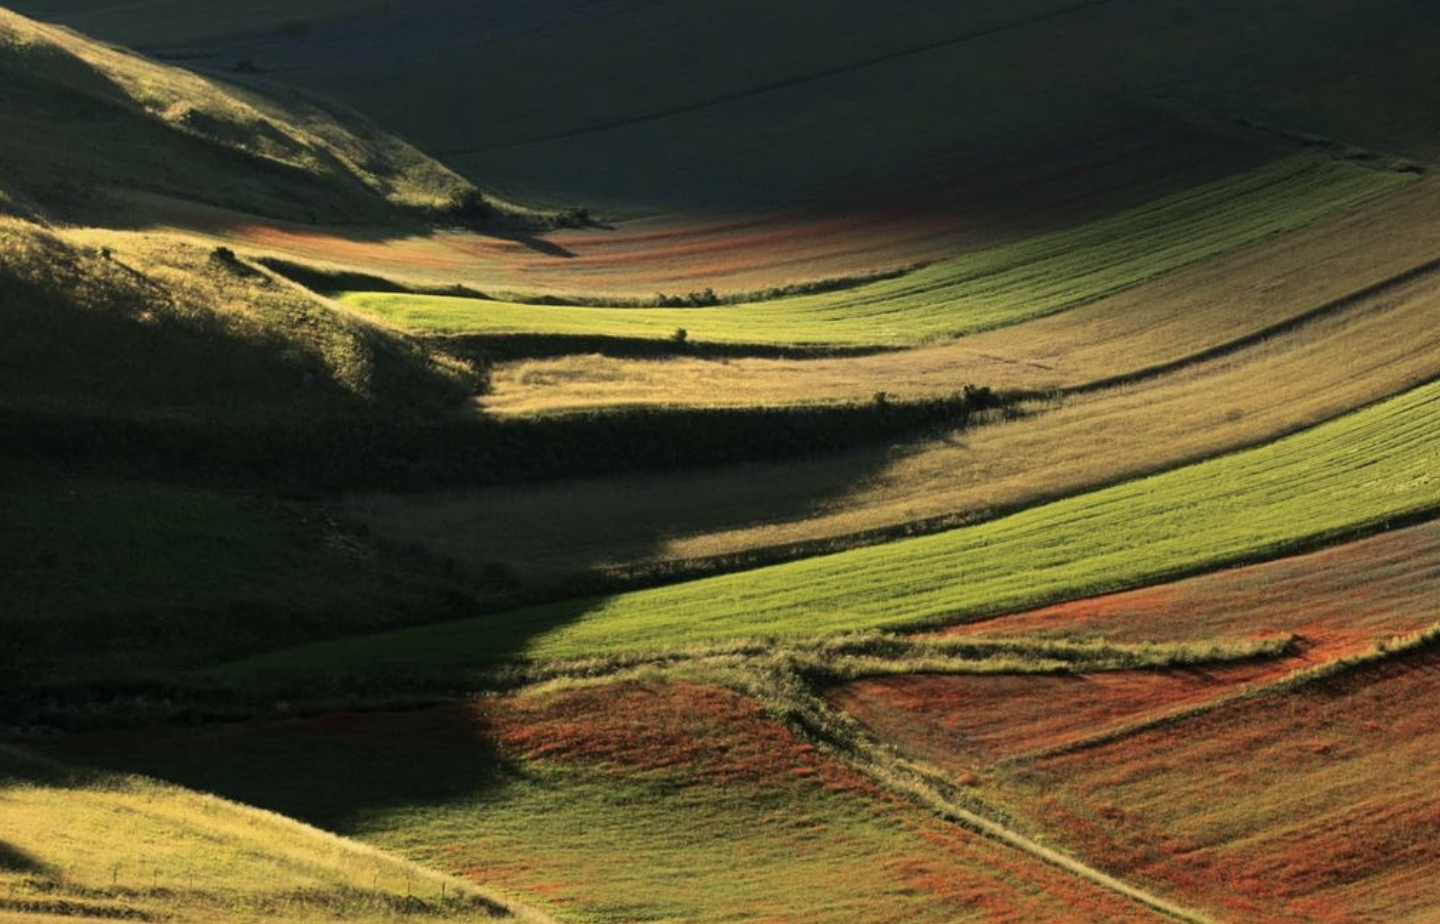
Ph: @giadaantonini_photography 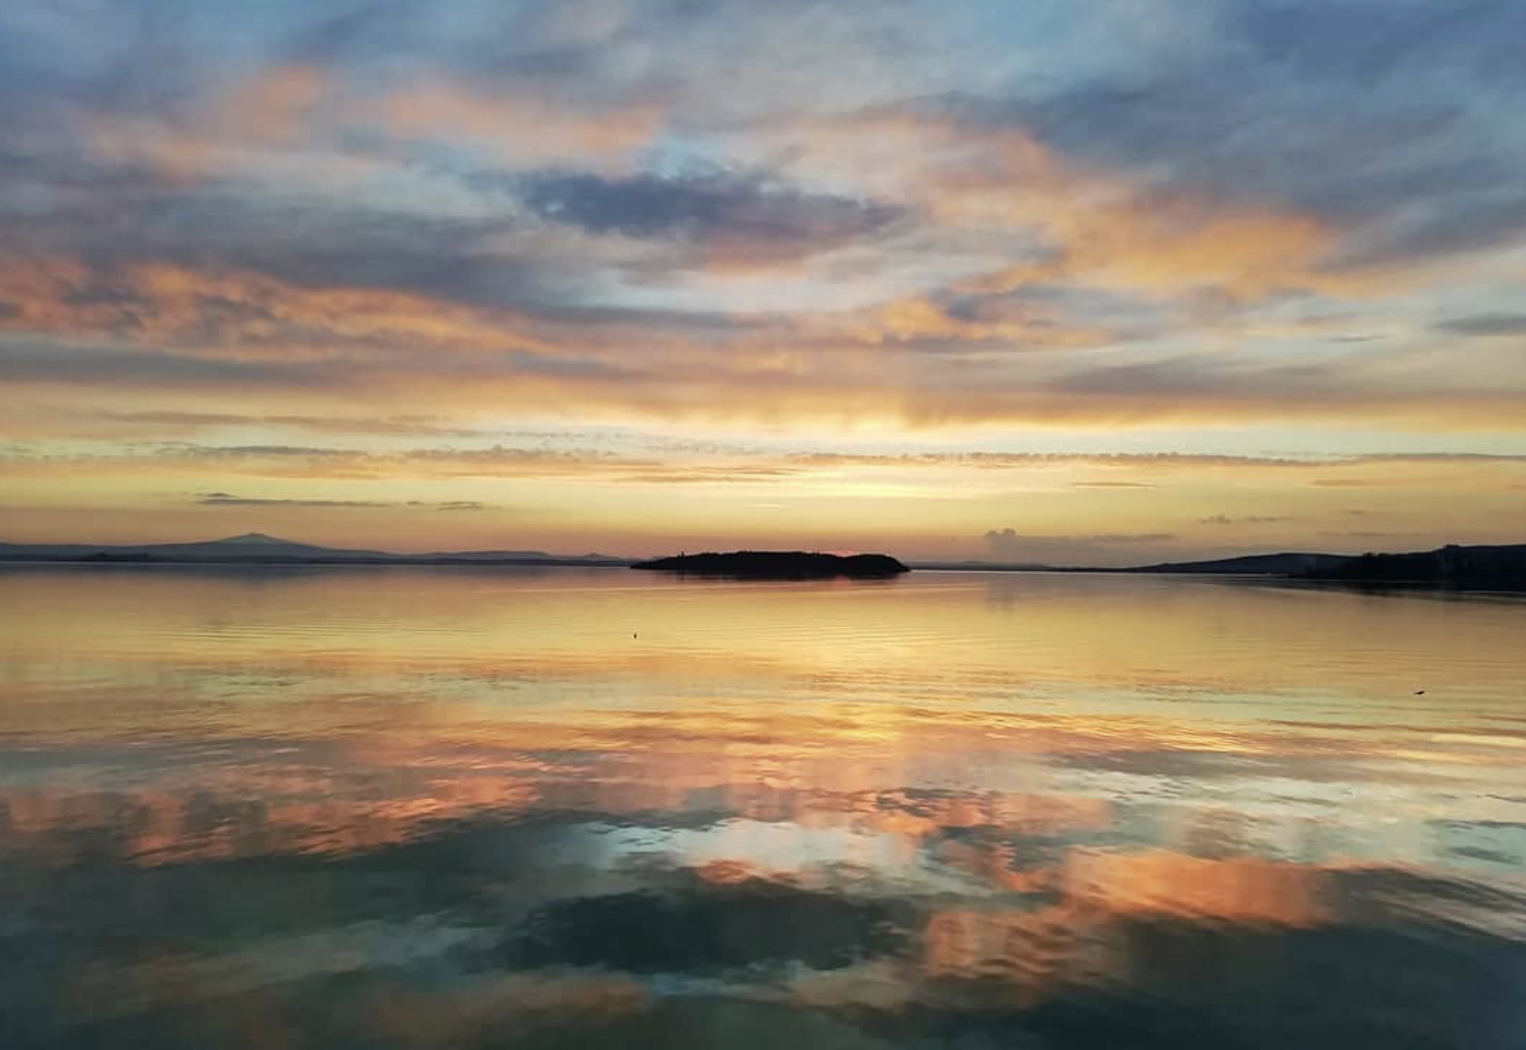
Ph: @giadaantonini_photography
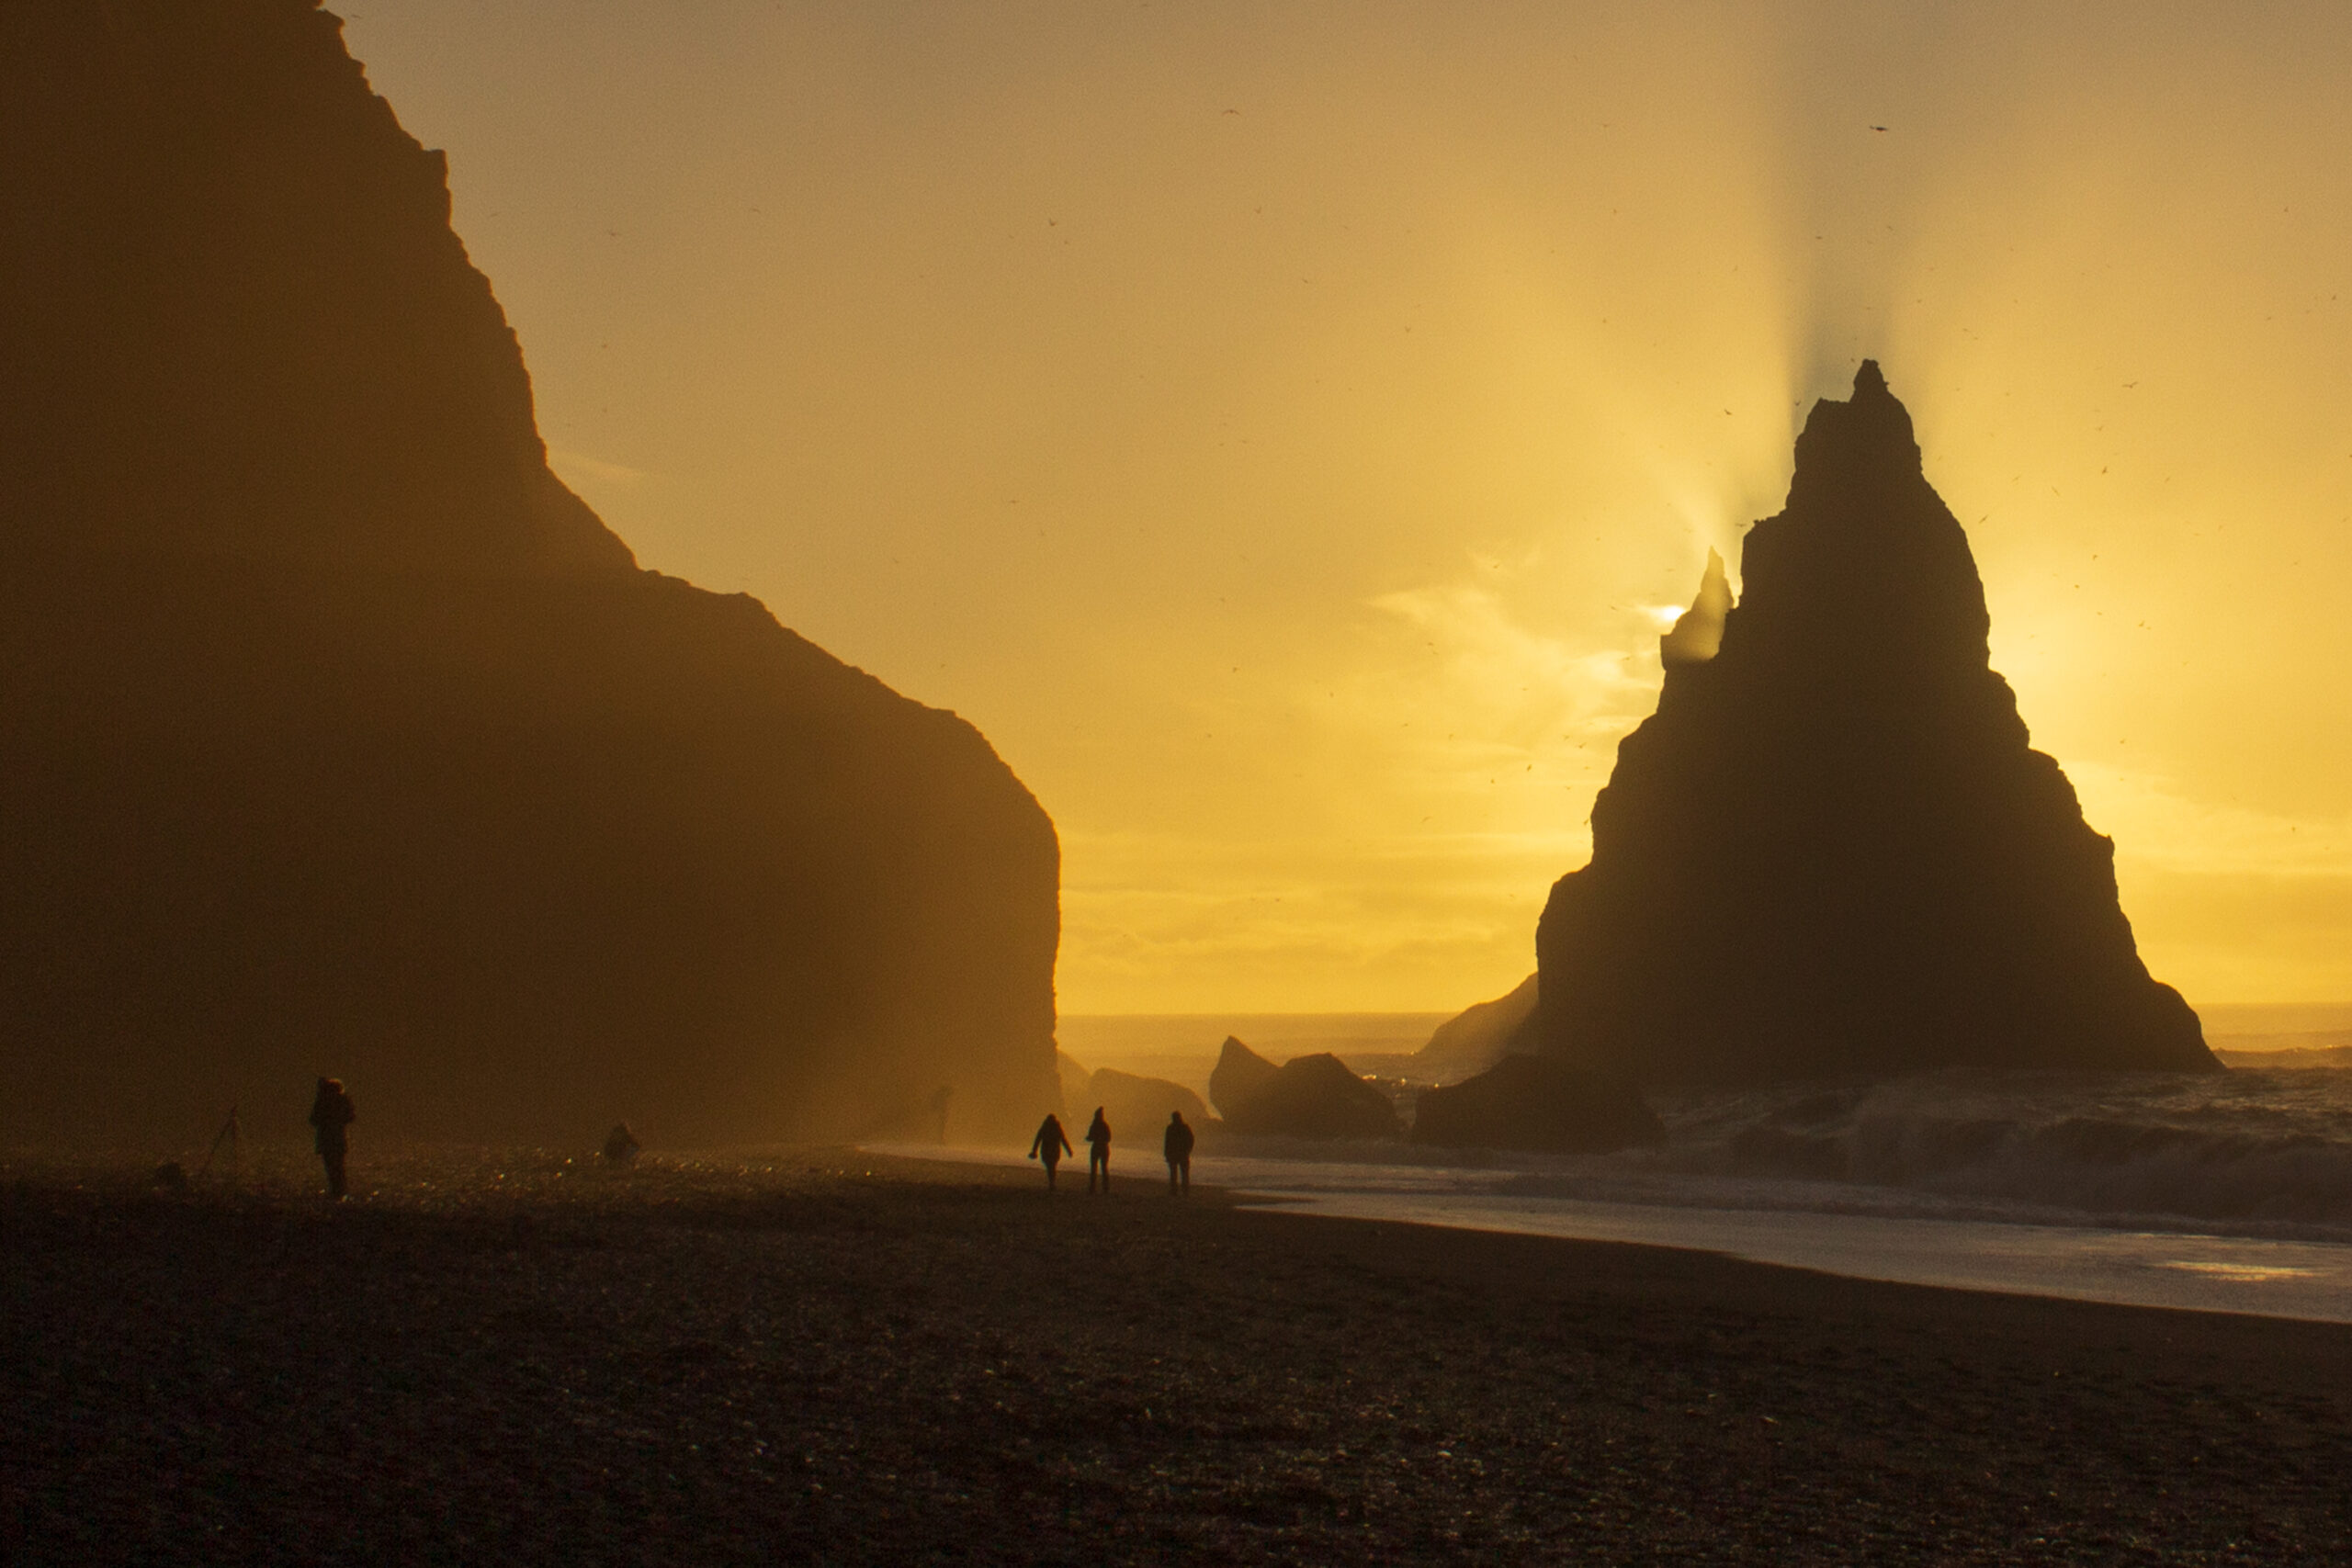
5. Sunrise and sunset photography: how to frame the scene
At sunrise and sunset you can mainly make three choices.
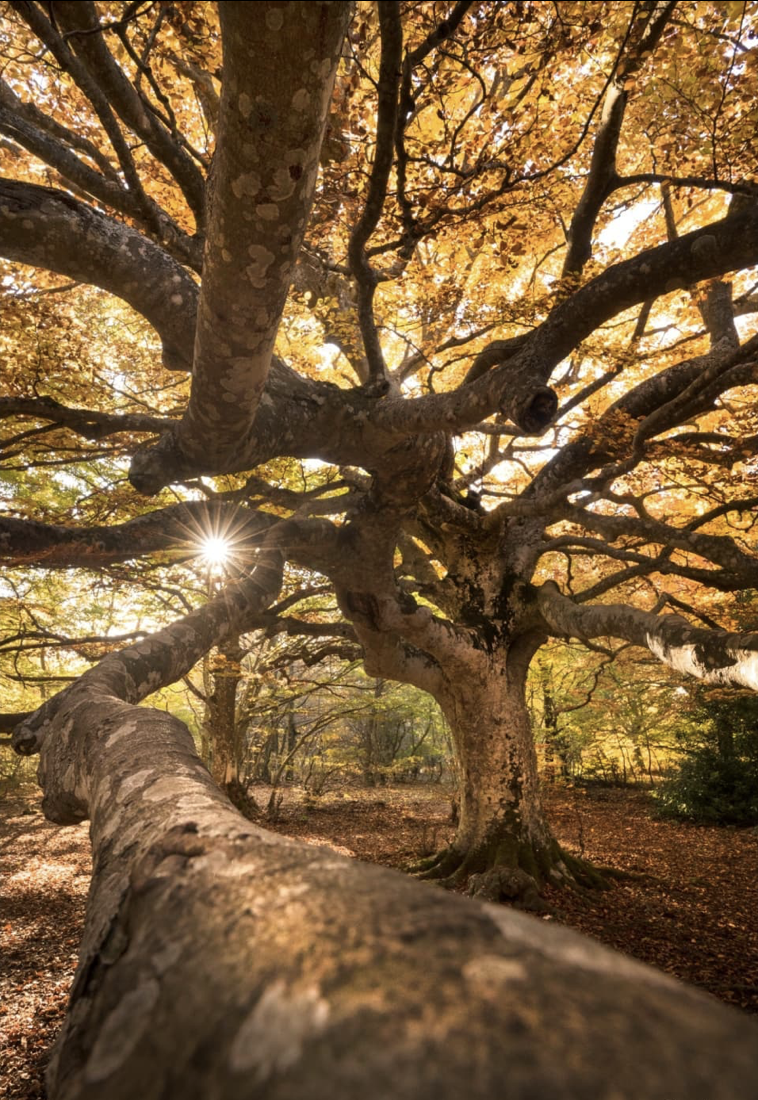
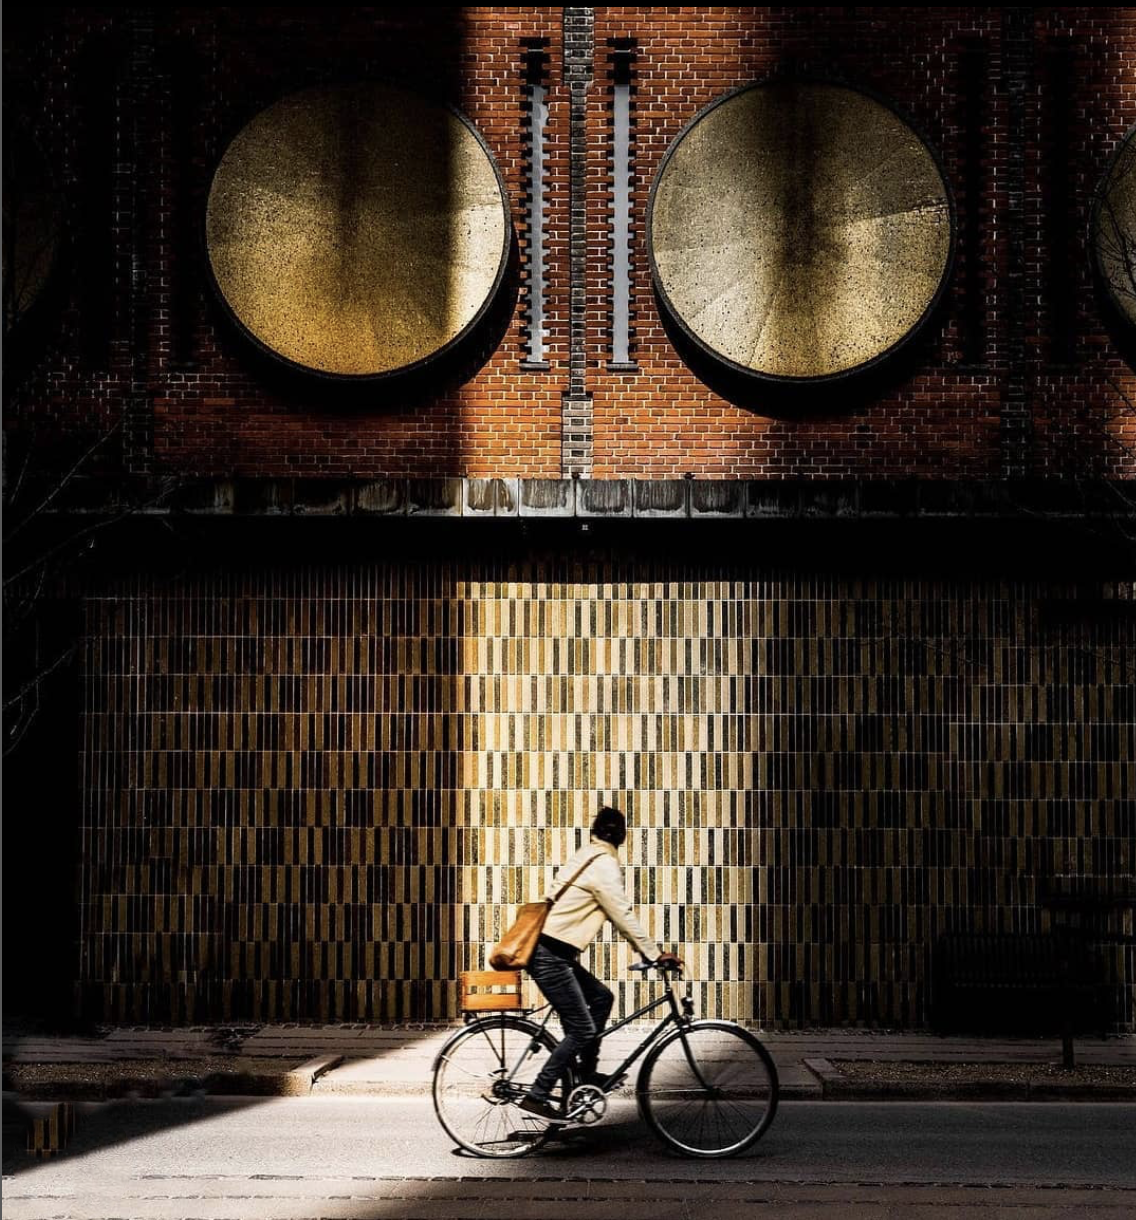
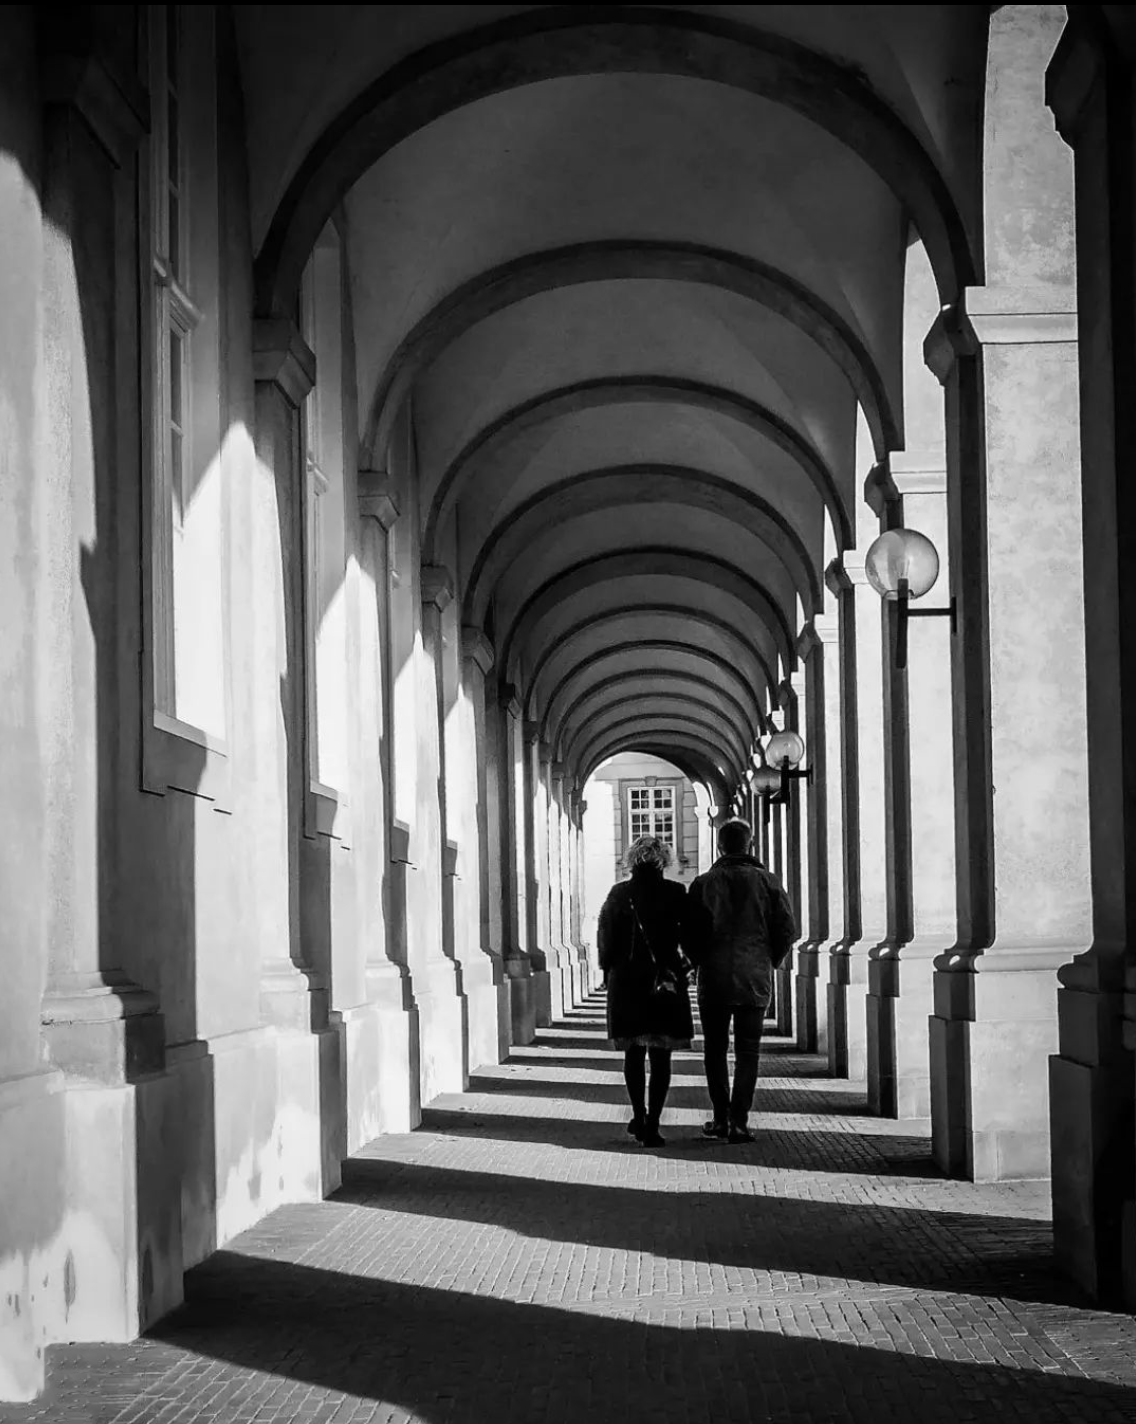
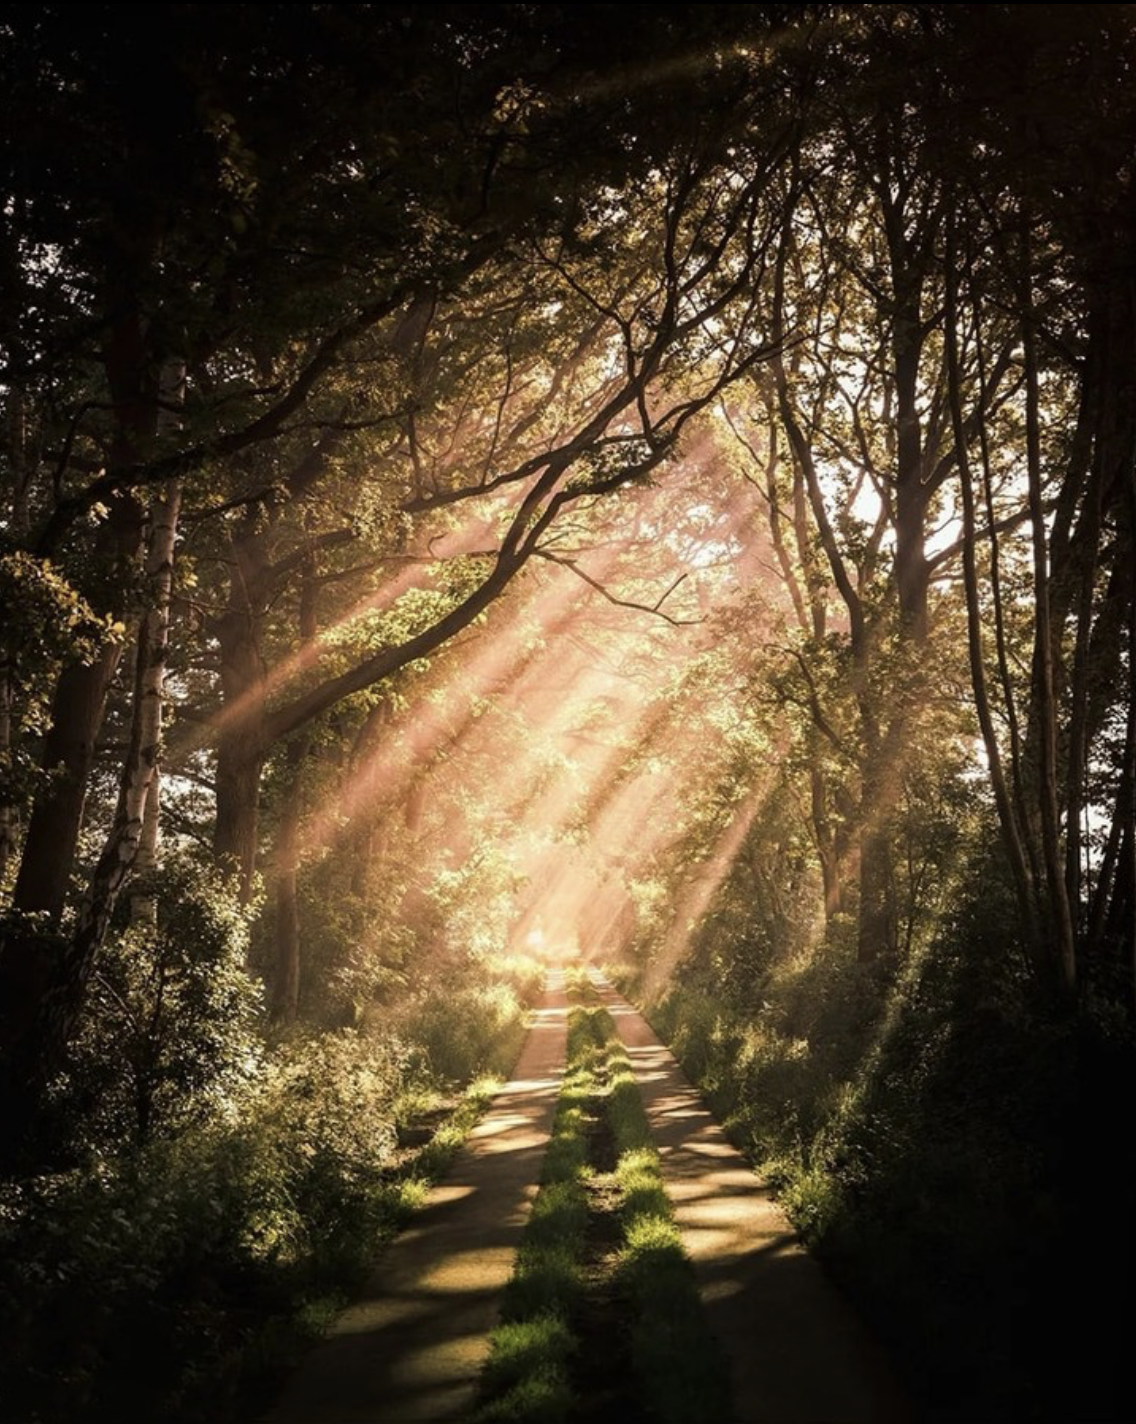
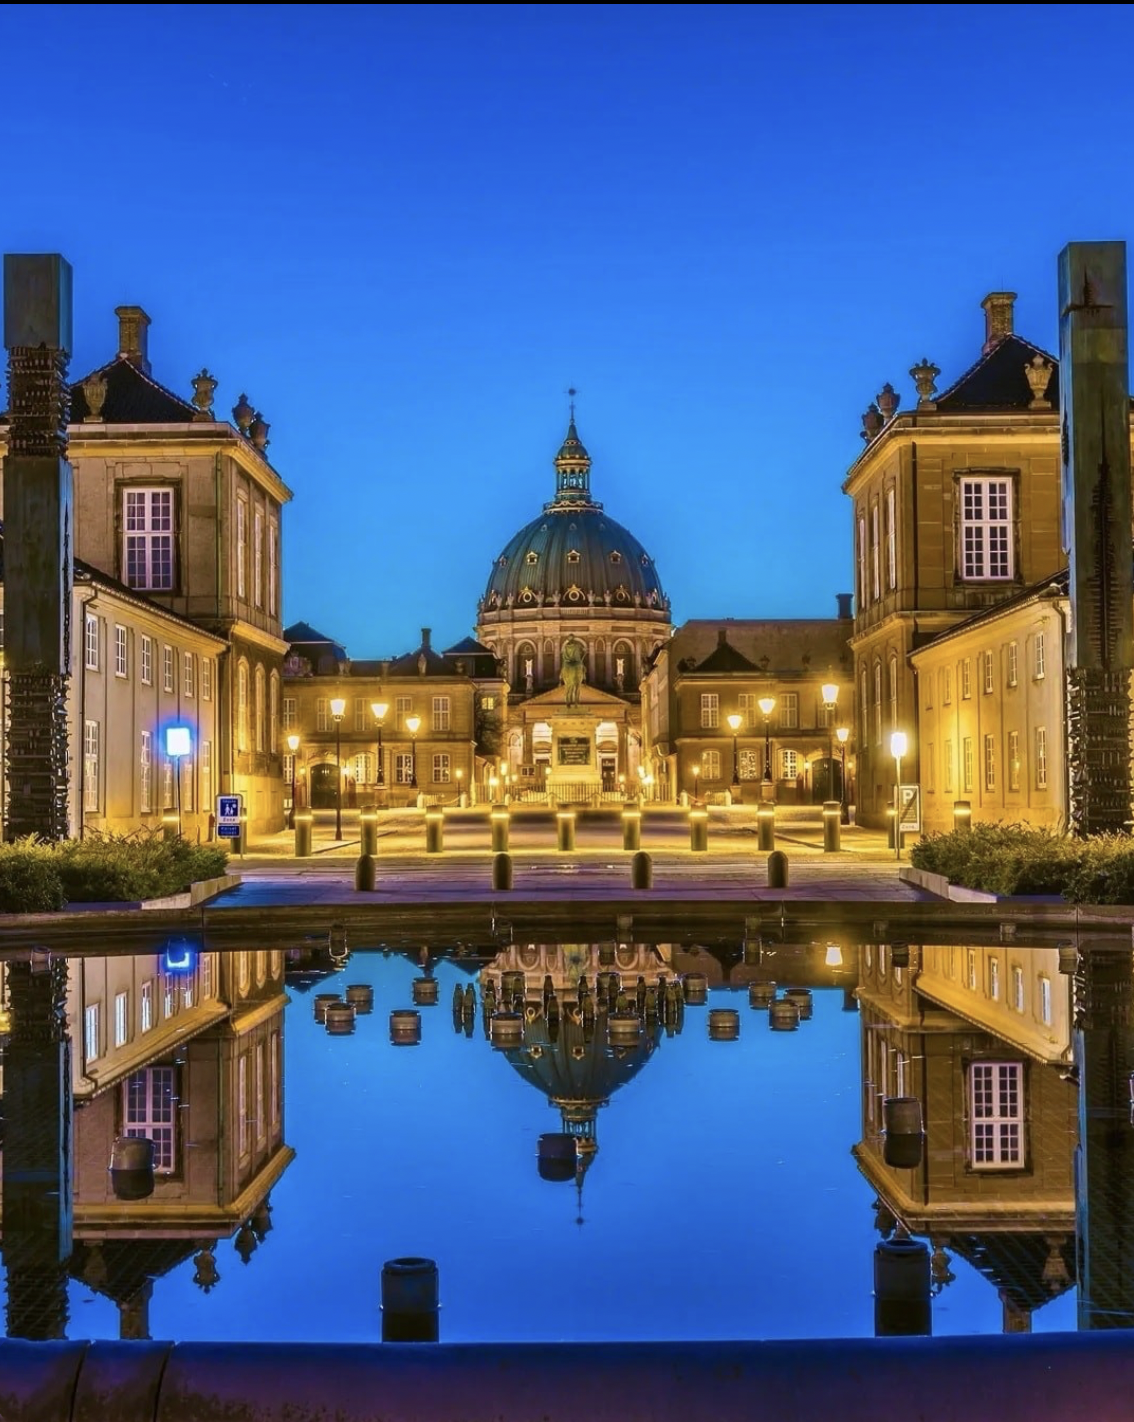
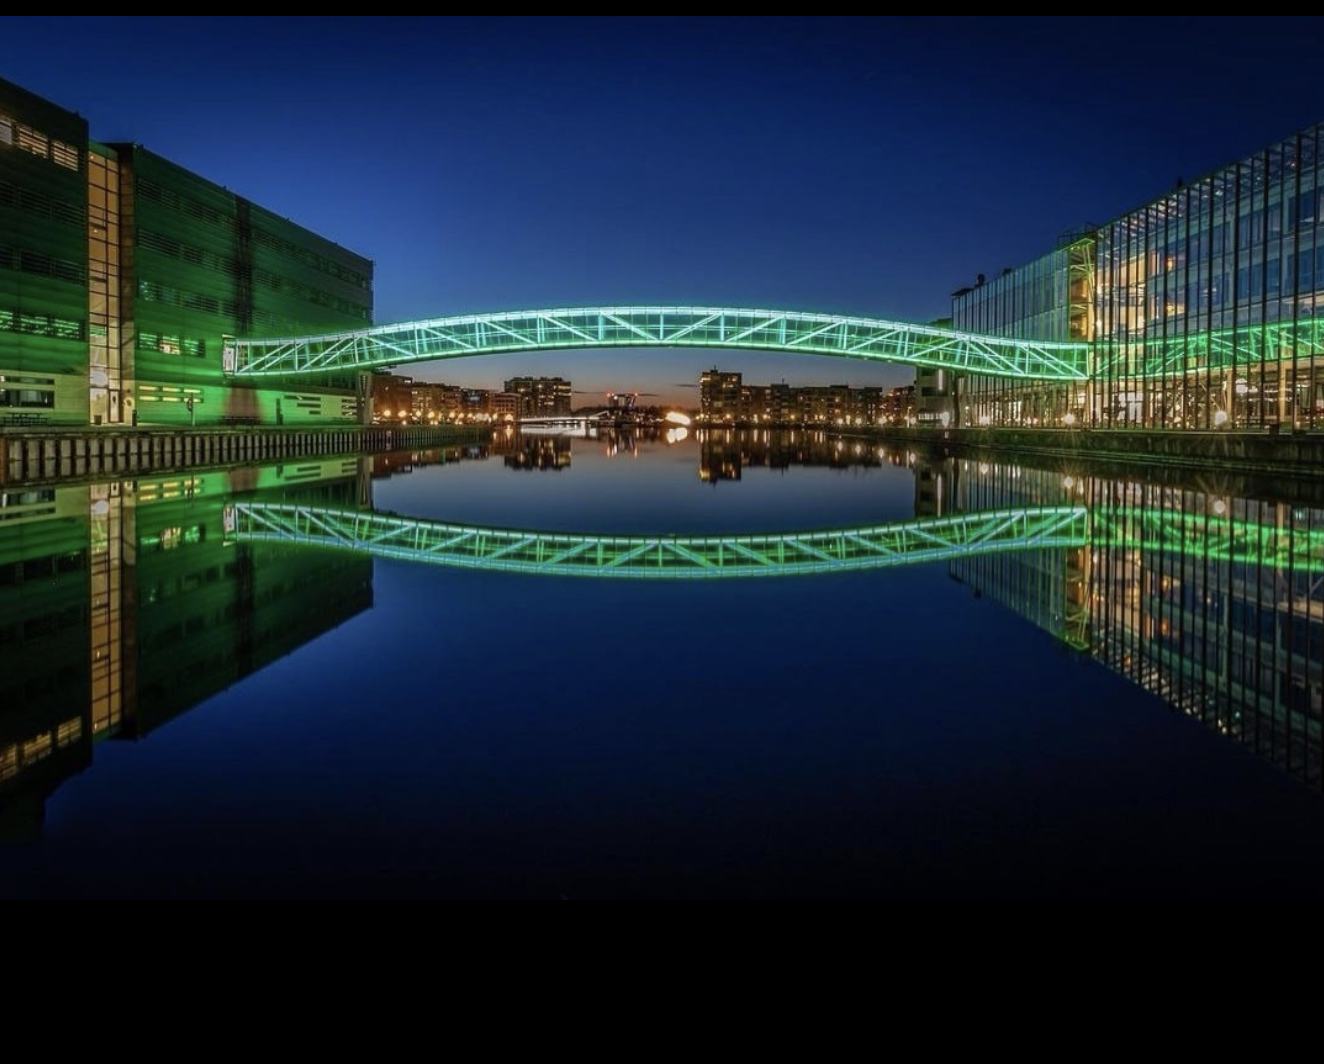
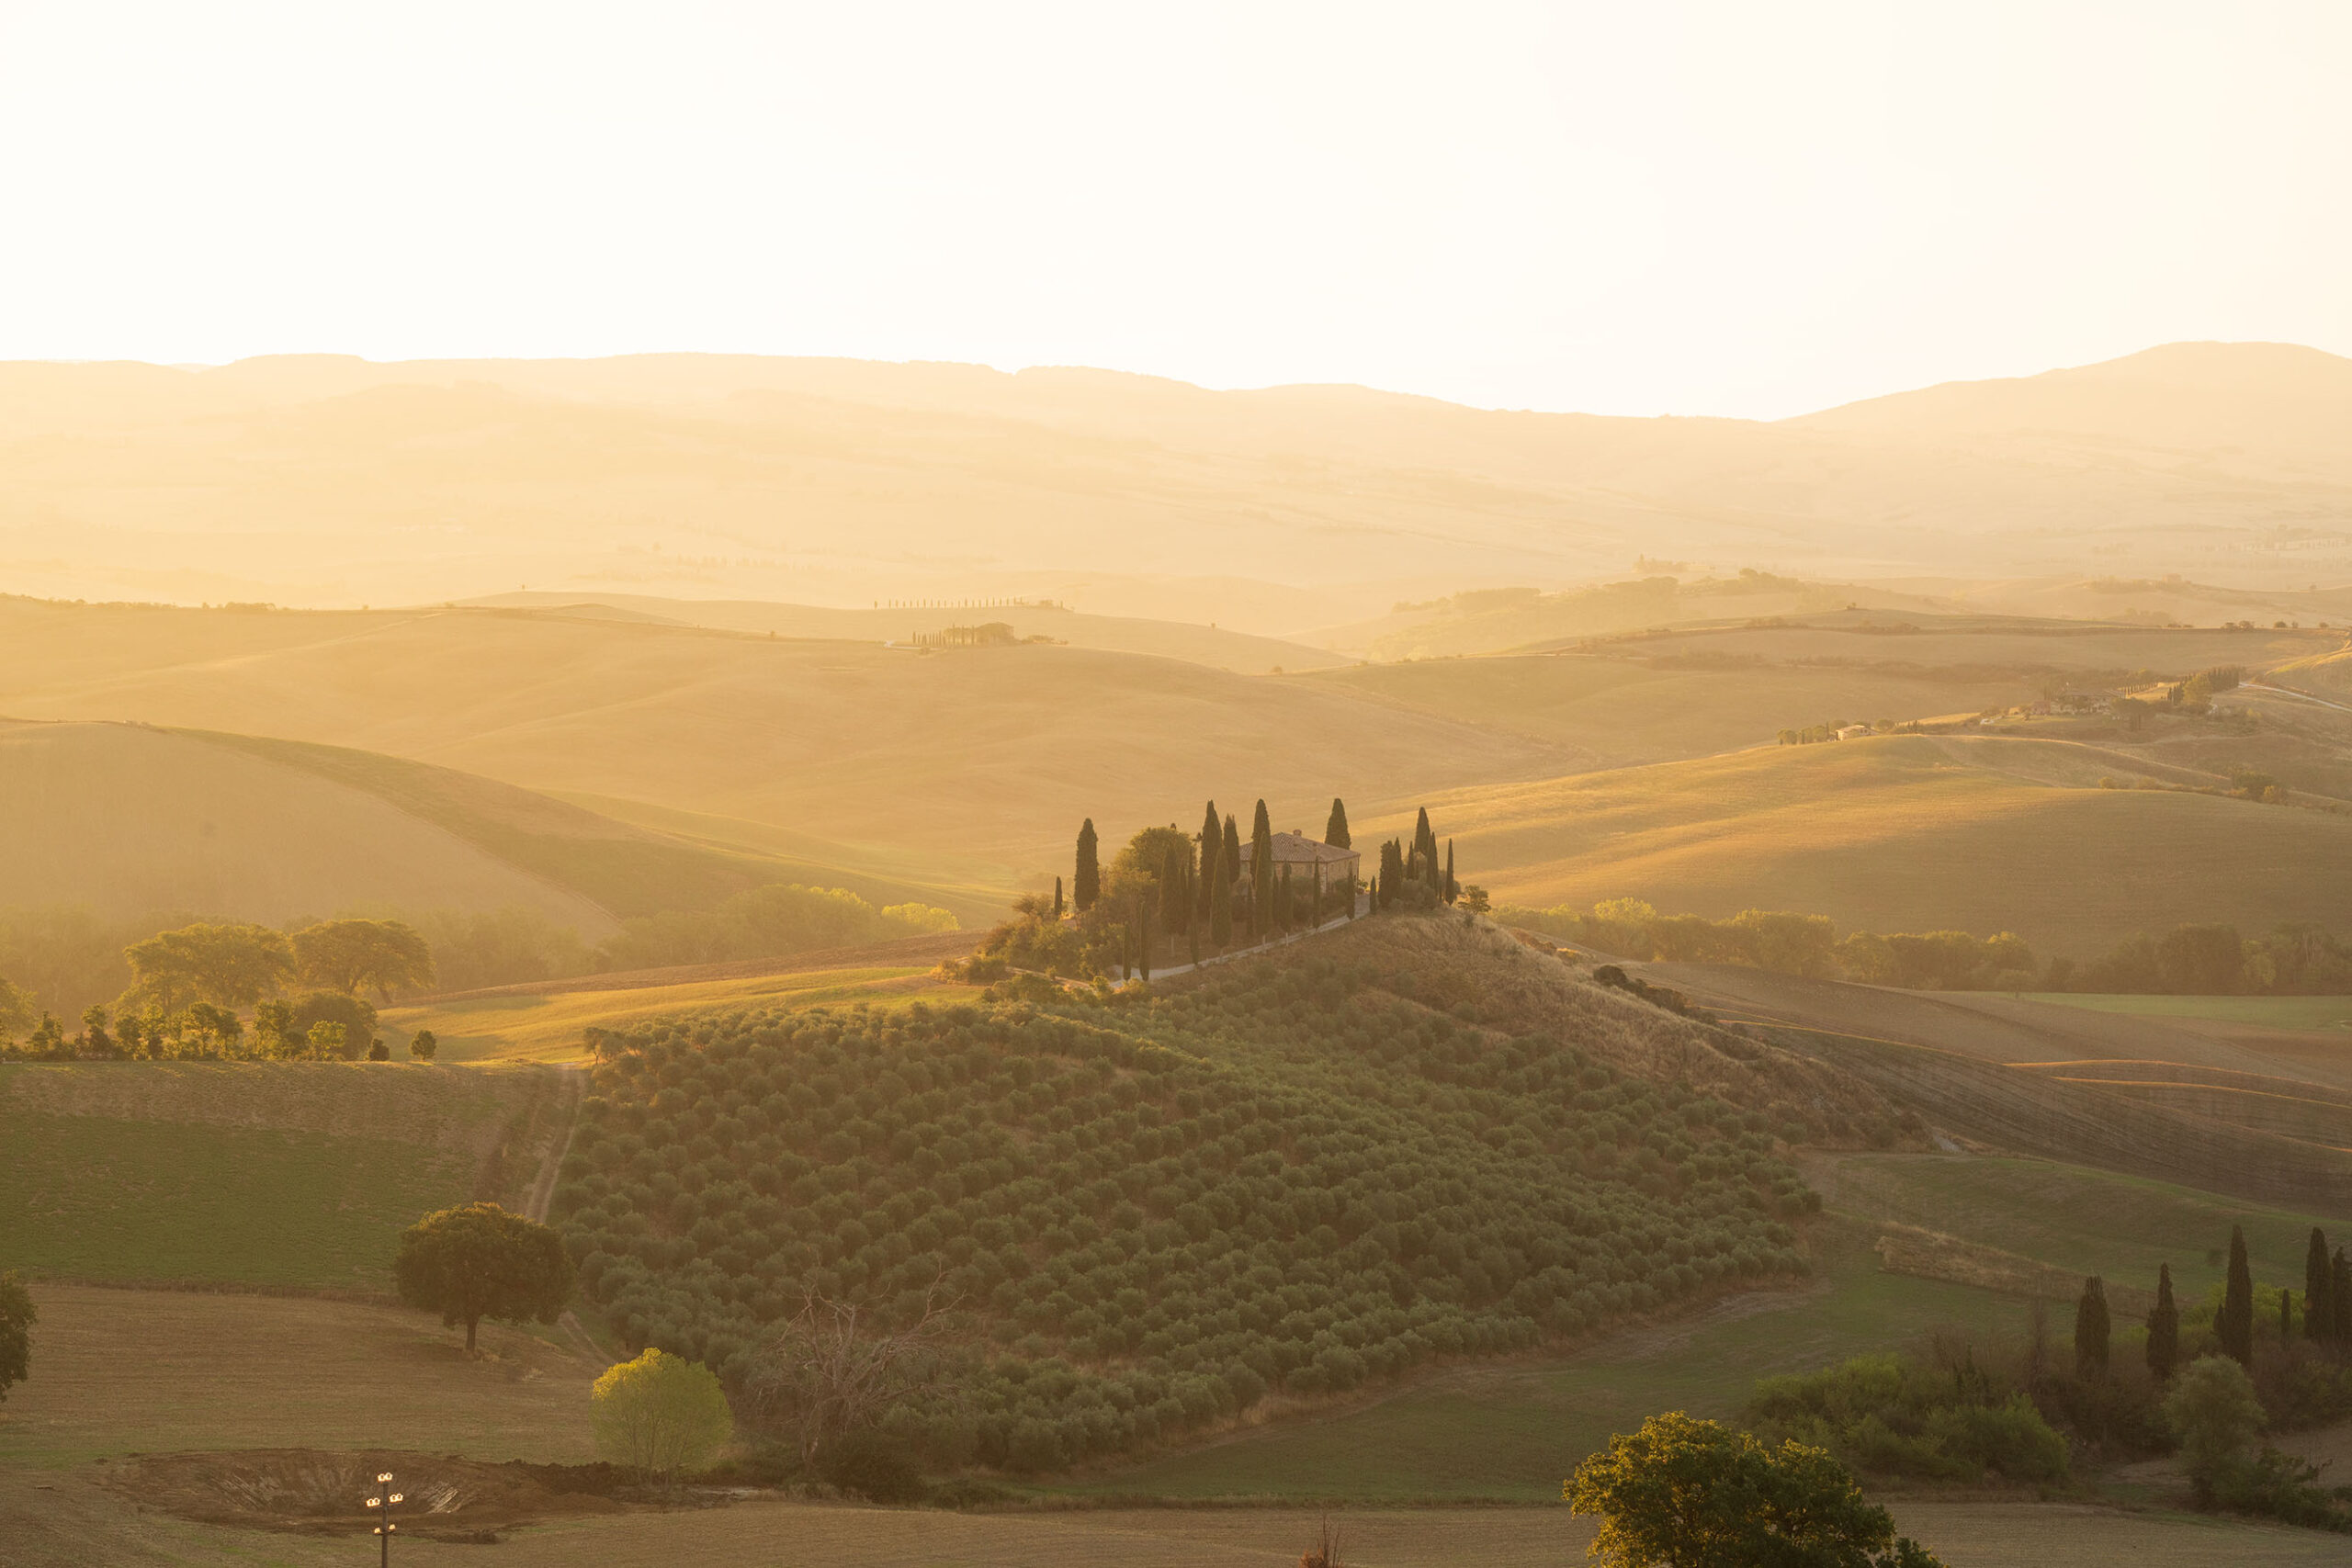
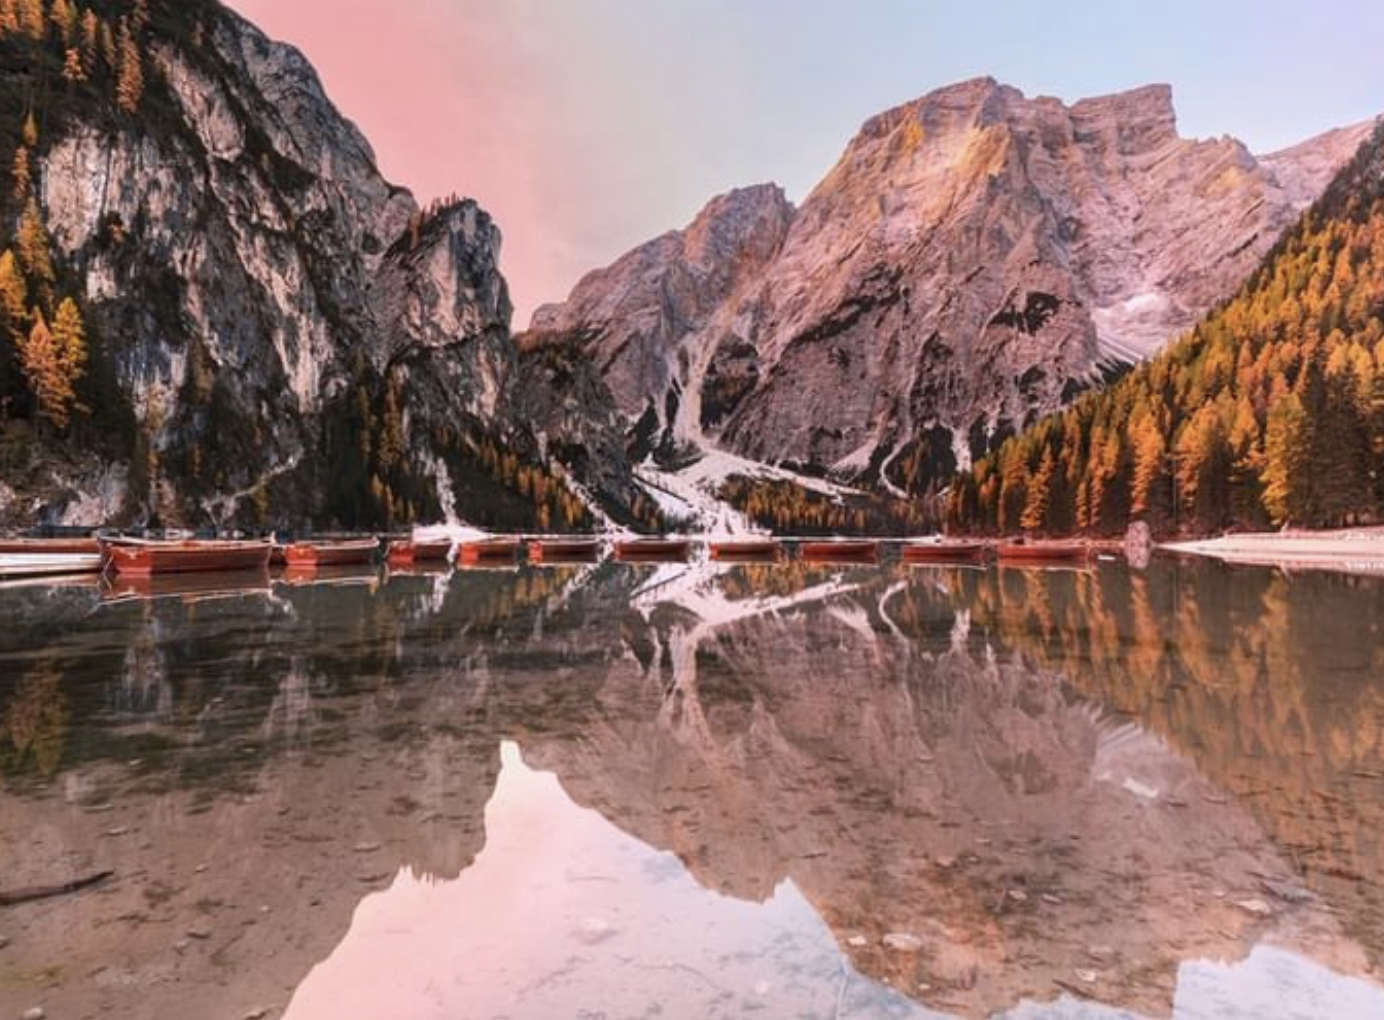
The first is to not include the sun but focus on the overall light, capturing other details of the landscape characterized by it.
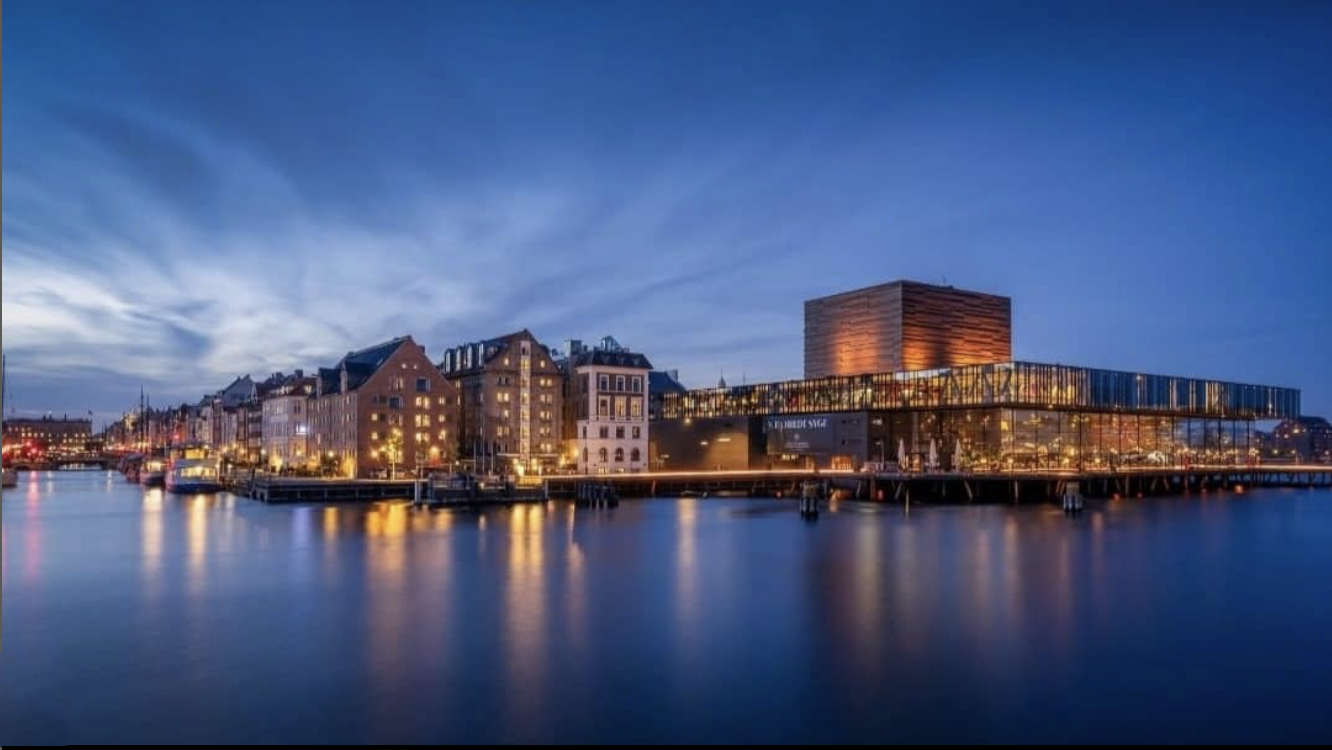
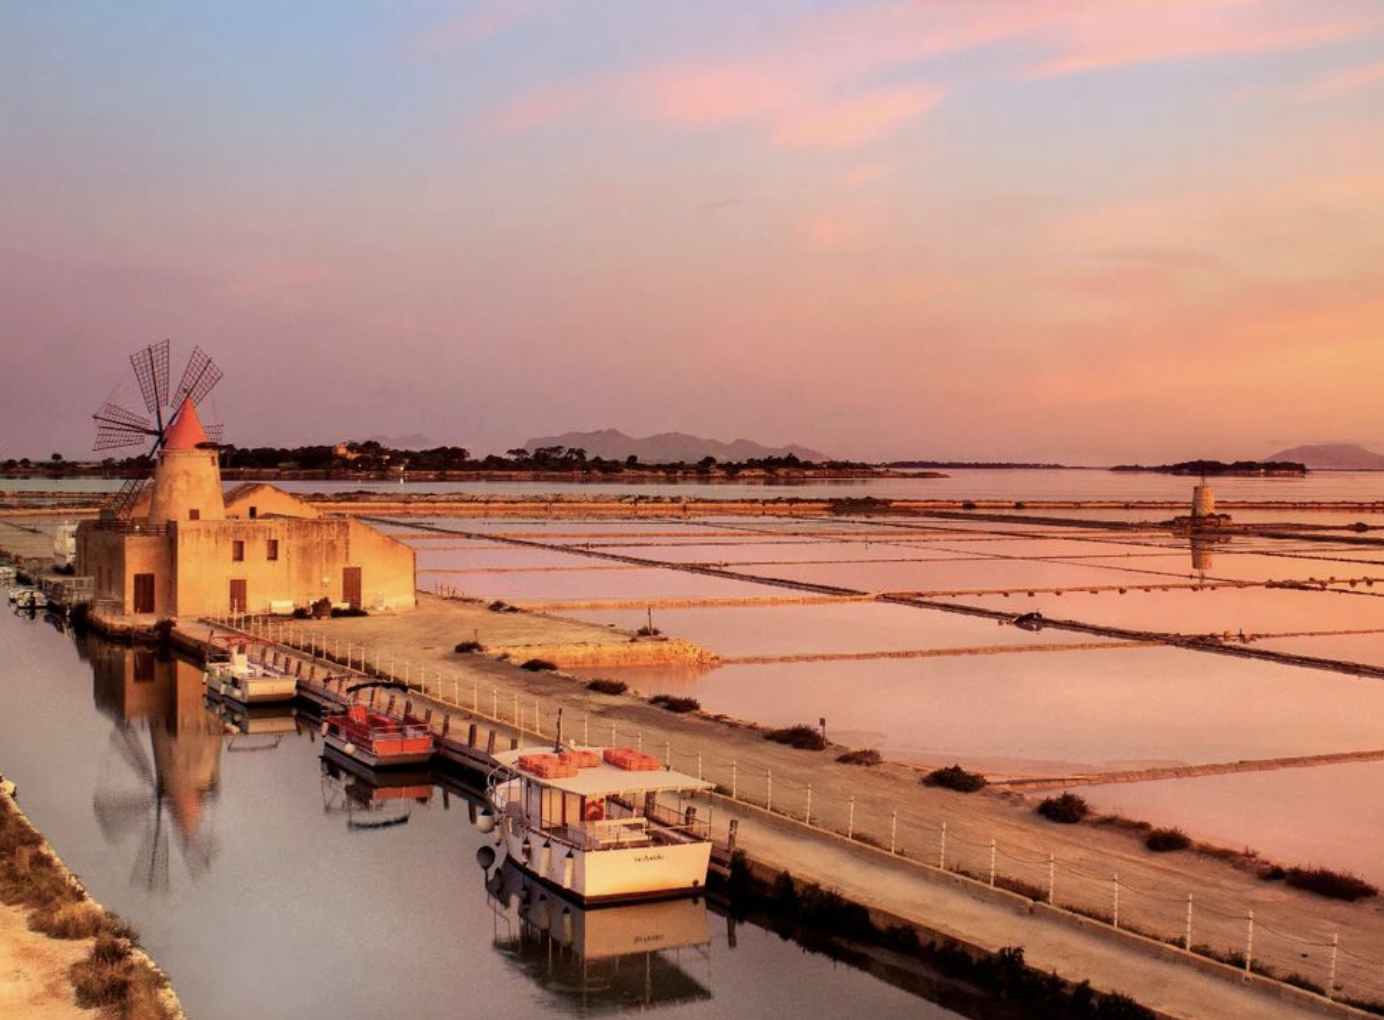
This choice also includes all the photos taken before dawn and after sunset, when the nuances of the landscape and the sky change to shades of pink, red and yellow and you can see incredible panoramas with a thousand shades.
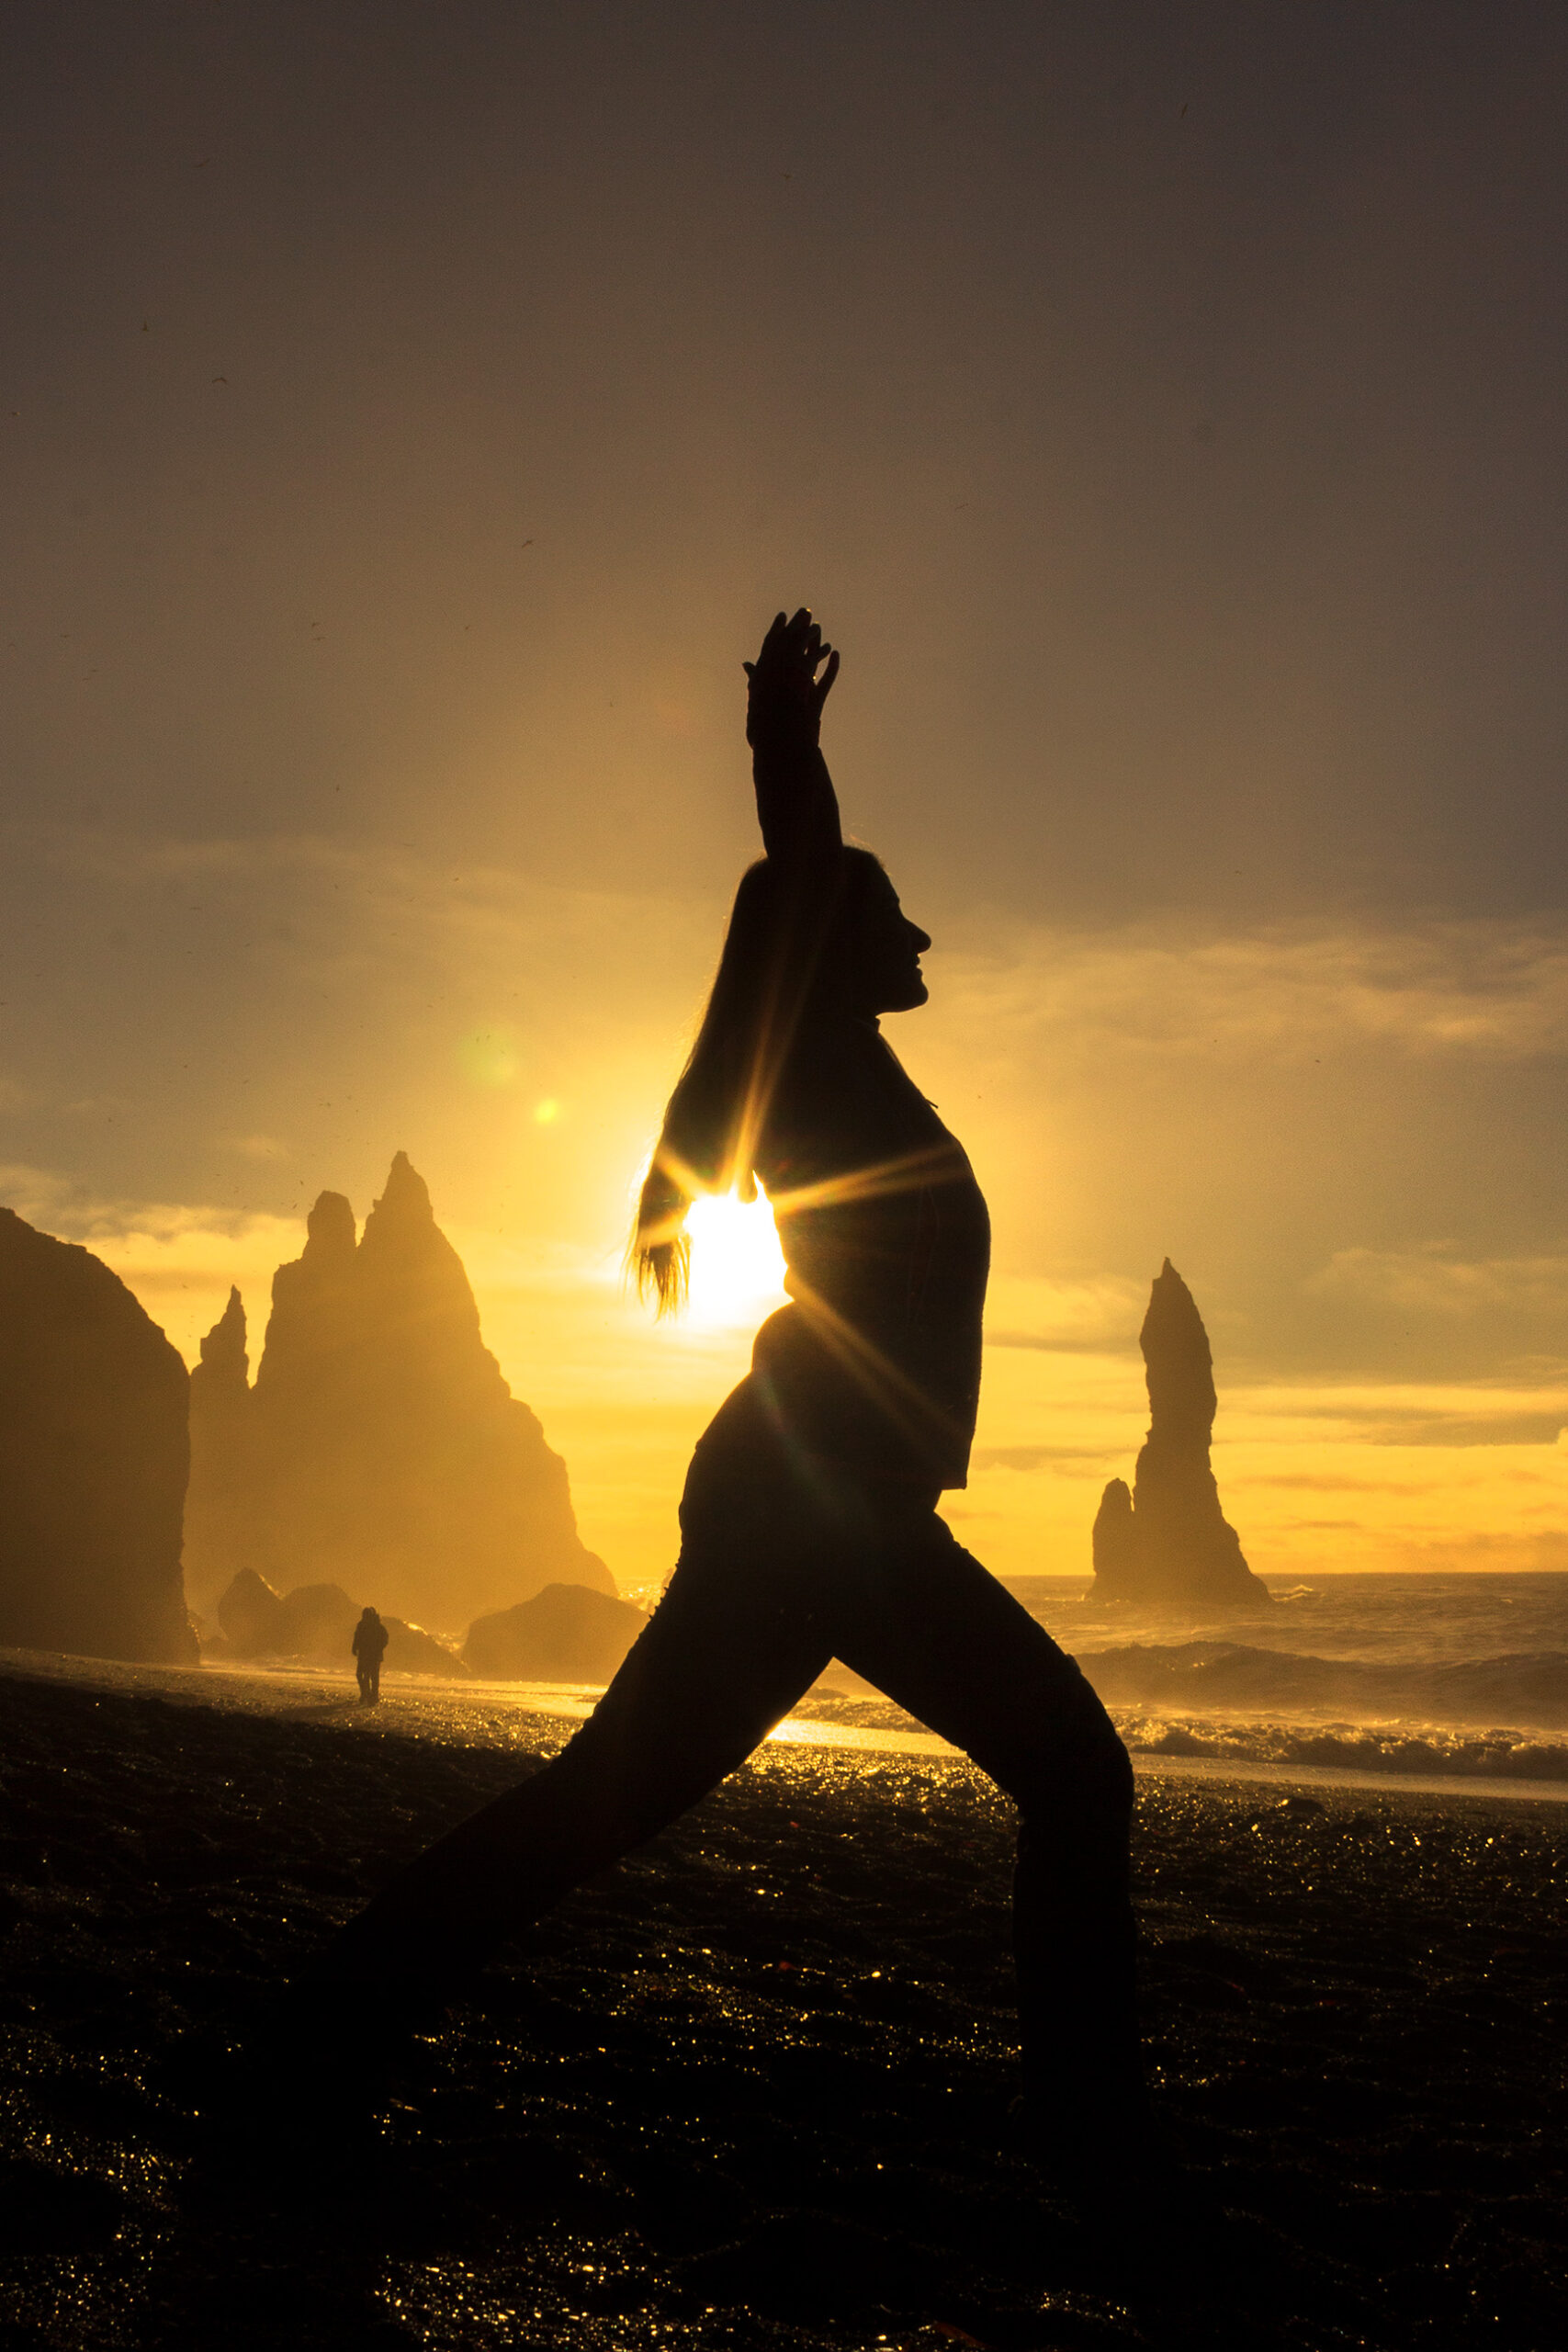
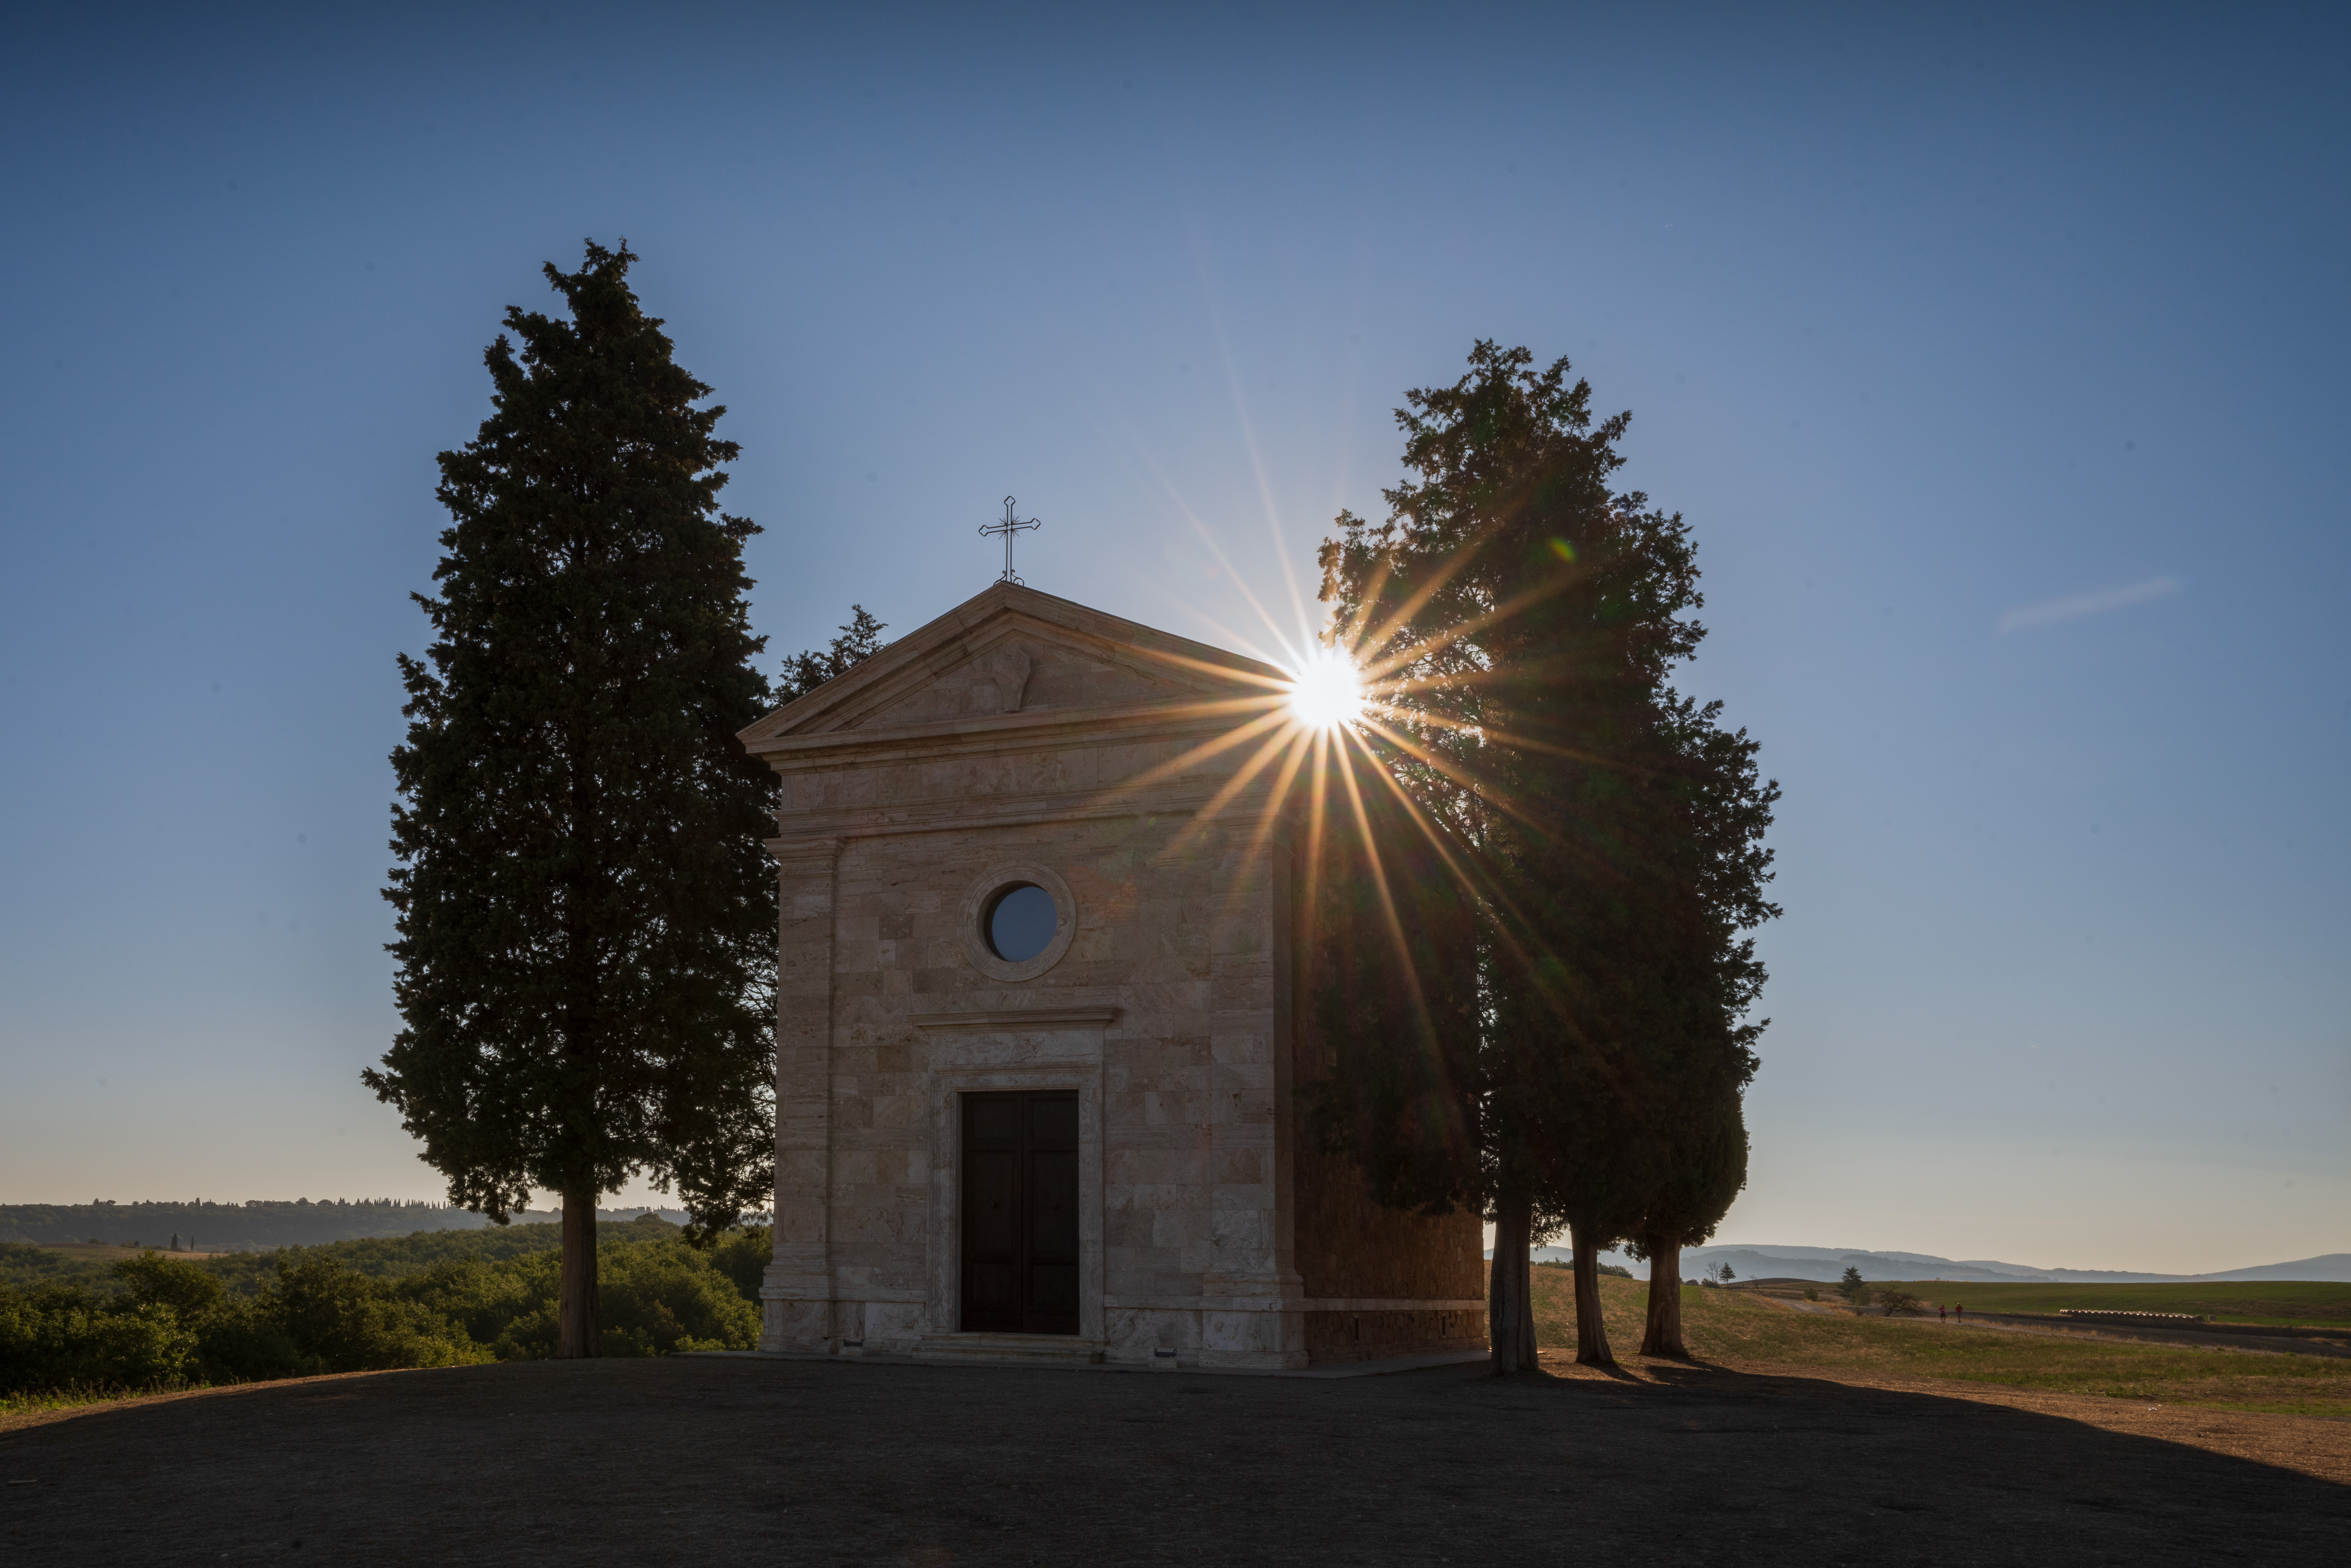
The second is, as we mentioned before, to make the sun your subject, especially at sunset, focusing on its colors and those of the surrounding context. In this case the sun will assume a central position and you will probably choose to use a zoom.
The third is to include the moment of sunset or sunrise in a larger frame, including both the sun and the entire landscape. In terms of composition, you will probably choose a wide angle shot, placing the sun in one third and another important subject, in the other third (read this article to learn more about the rule of thirds and other simple rules of composition).
Ph: @giadaantonini_photography 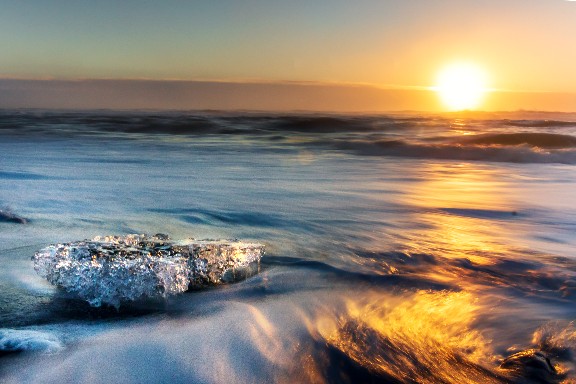
Ph: @giadaantonini_photography 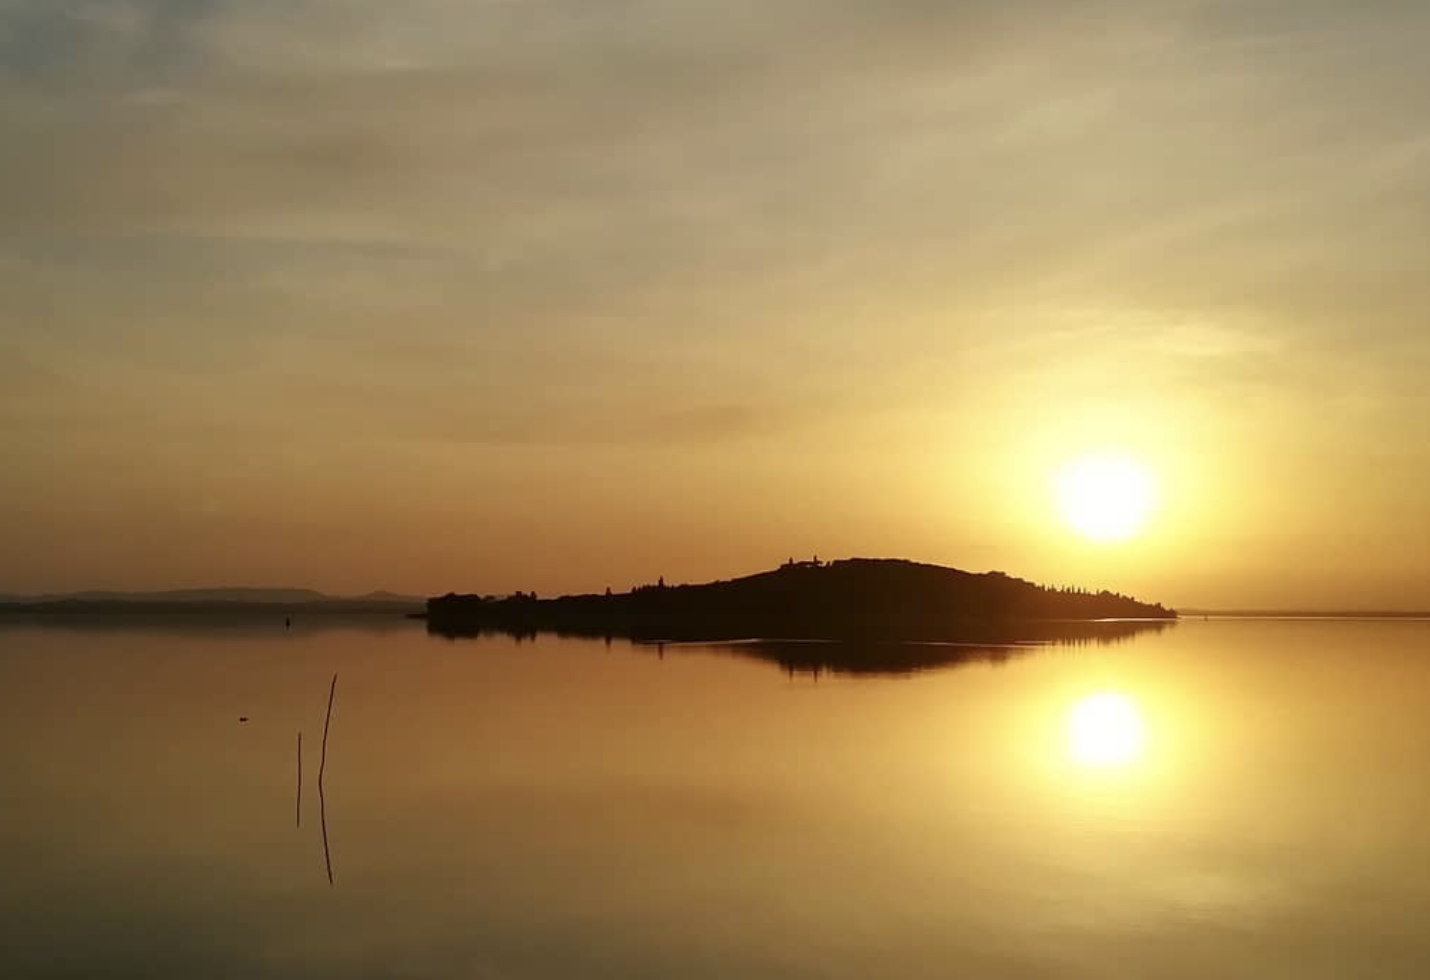
Ph: @giadaantonini_photography 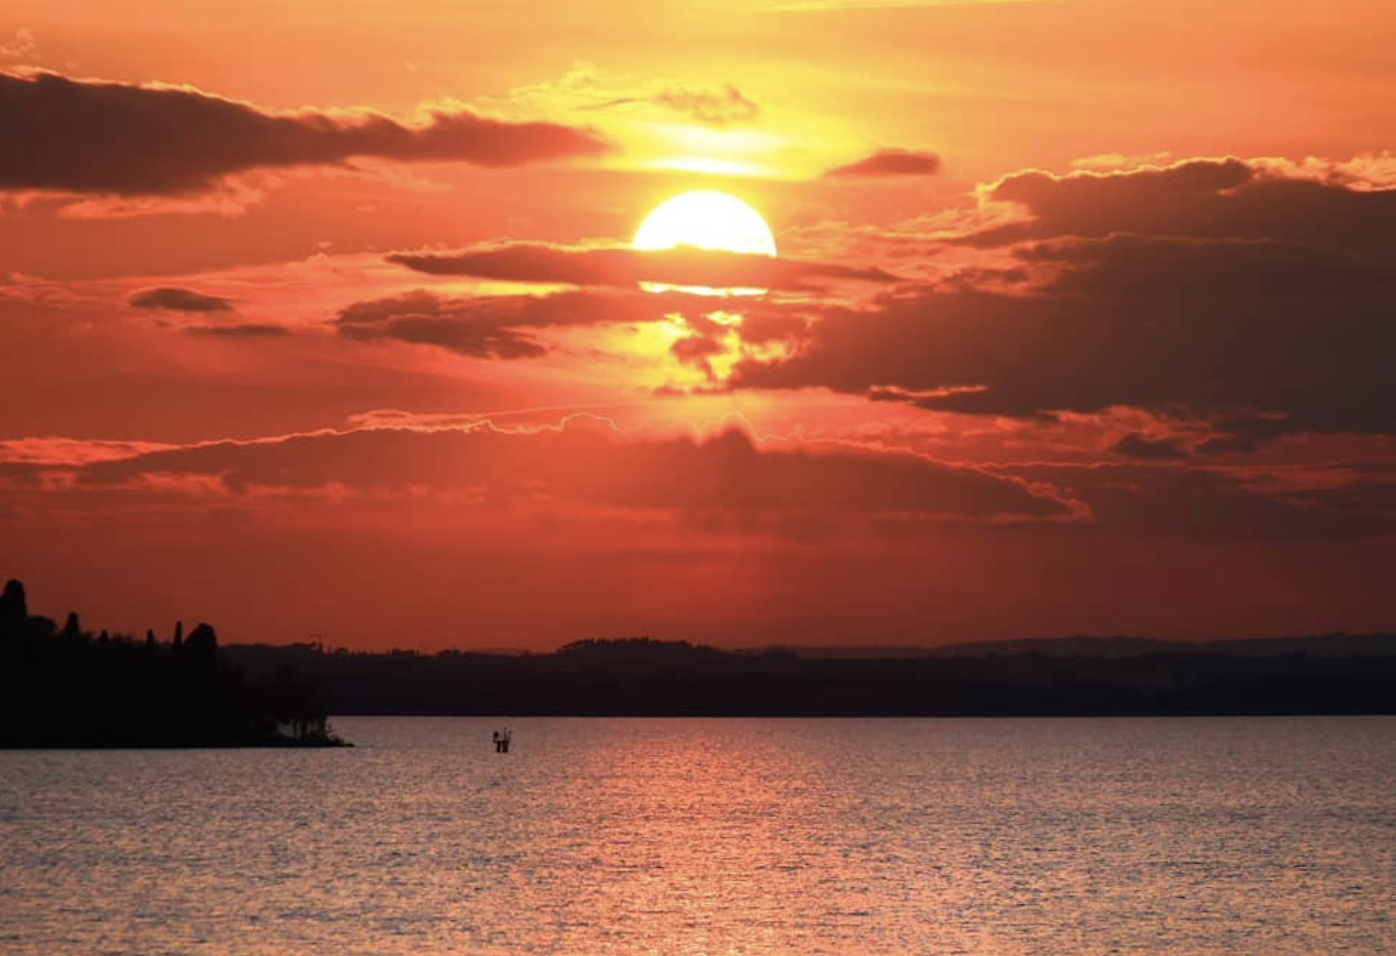
Ph: @giadaantonini_photography
Do you want to know more about how to frame your shoots? Find out out tips in this article!
What are you waiting for?
Try to put our tips into practice and tag us in your photos, we will publish them on our Instagram and Facebook pages.
Curious about more tips to shoot with different lights?
Find them out in this article!
If you liked the article, let us know in the comments and share it.
Subscribe to the newsletter to always be updated!